The MGA With An Attitude
MGA Guru Is GOING MOBILE - (February 1 - February 15, 2022)
Tuesday, February 1, 2022:

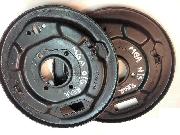
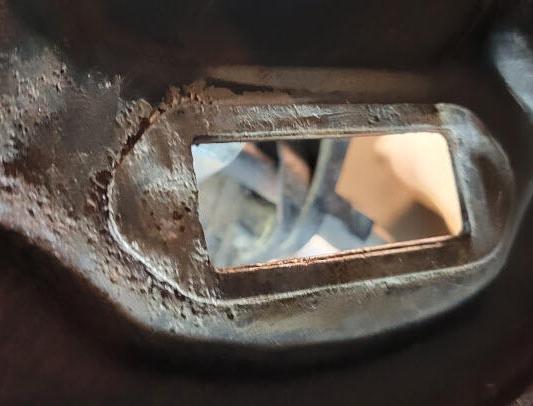
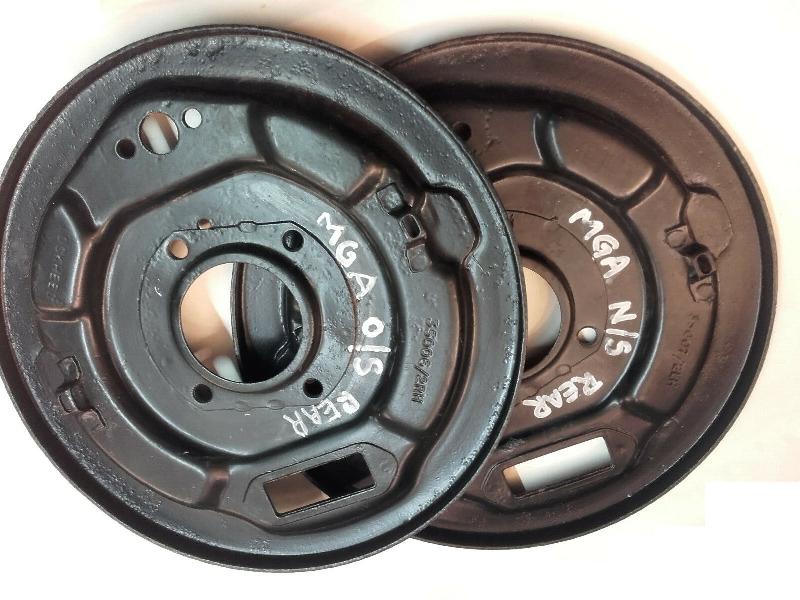
Killed half the day posting a new tech page on MGA Rear Brake Plate Corrosion problems.
Also a new Part Numbers page for these Brake Backing Plates.
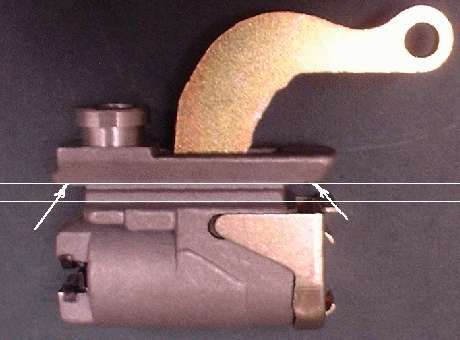
And another new Part Numbers page for the Rear Slave Cylinder that slides in that slot (and may have misfit issues).
Wednesday, February 2, 2022:
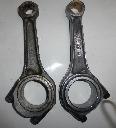
Posted more pictures of Twin Cam connecting rods showing the change from early parts to later parts desogn, following a change in strategy for balancing the rod sets.
 In the evening the electronic Publisher copy of the CMGC newsletter arrived, and I got start posting that on line. In the evening the electronic Publisher copy of the CMGC newsletter arrived, and I got start posting that on line.
Thursday, February 3, 2022:
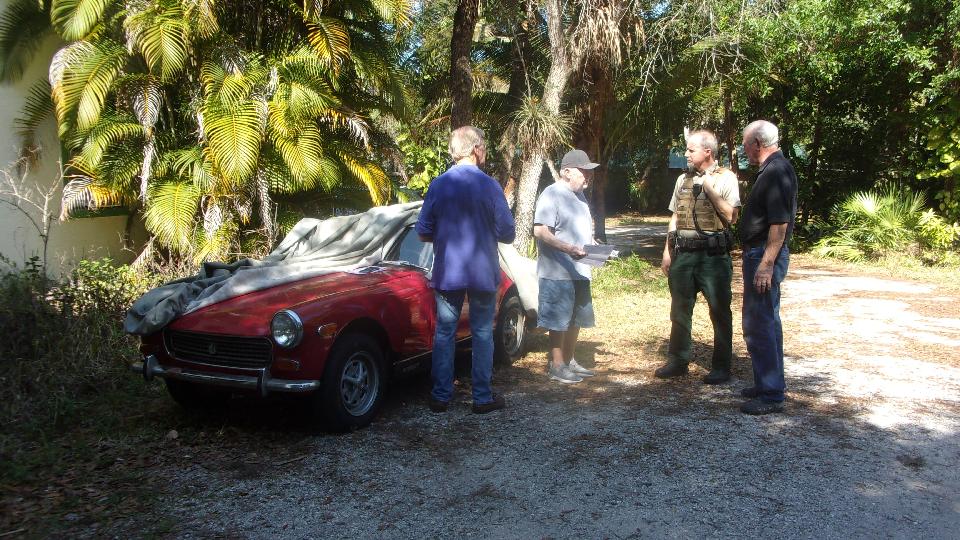
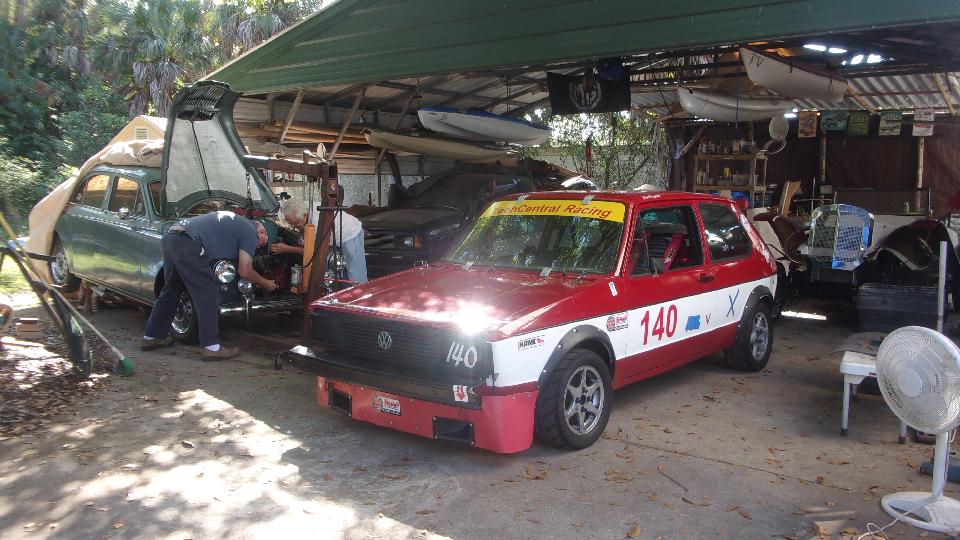
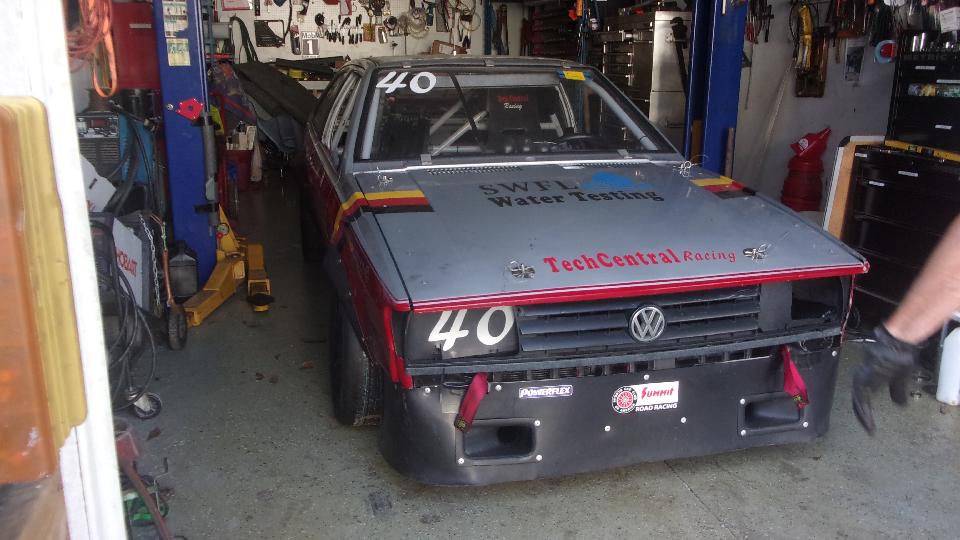
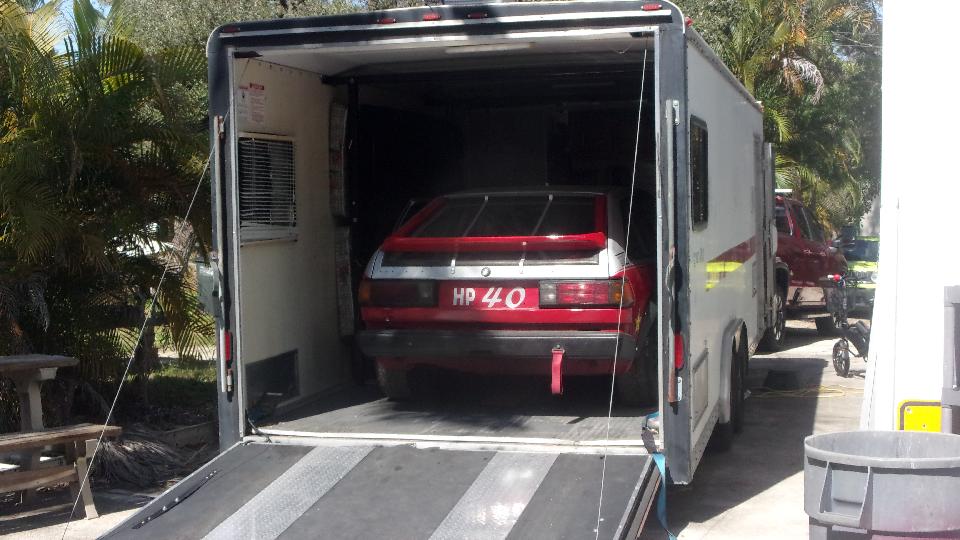
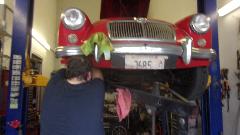
Had to get the VW race car out of the shop so we could use the lift. Then someone called the cops. Well, we
 called for a Sheriff's Deputy to drop by to verify the VIN number on the rusty Midget to attain a new title. Apparently it had been off the road for nearly 20 years, and it still had an out of state title. That should work out okay.
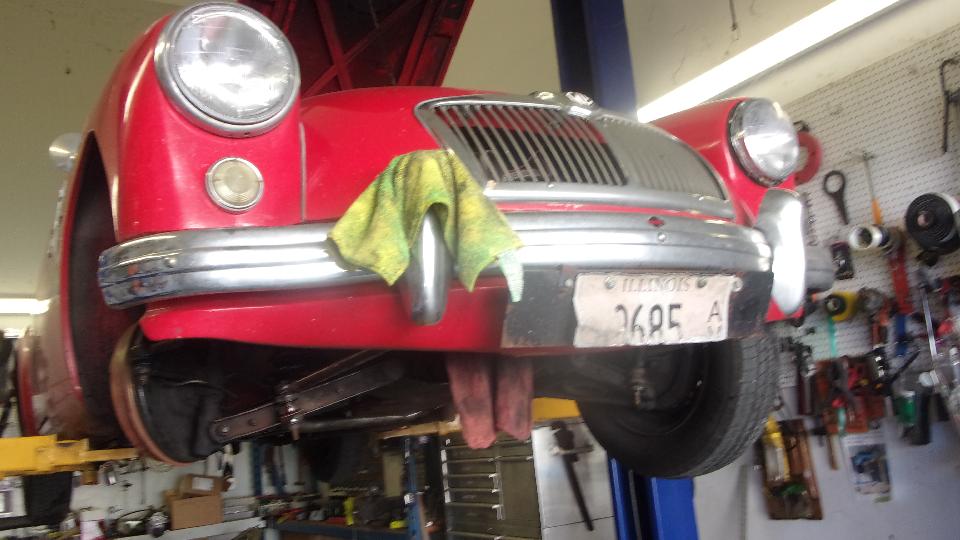
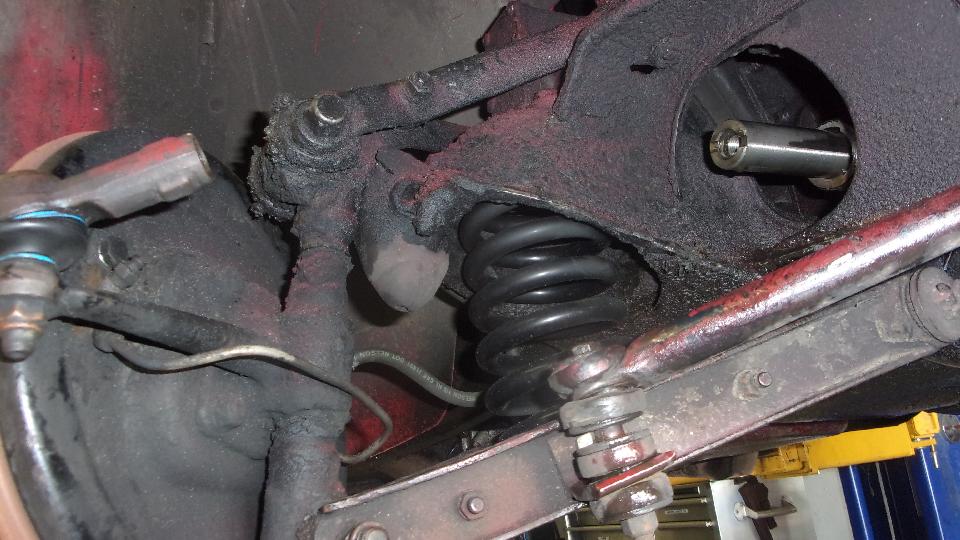
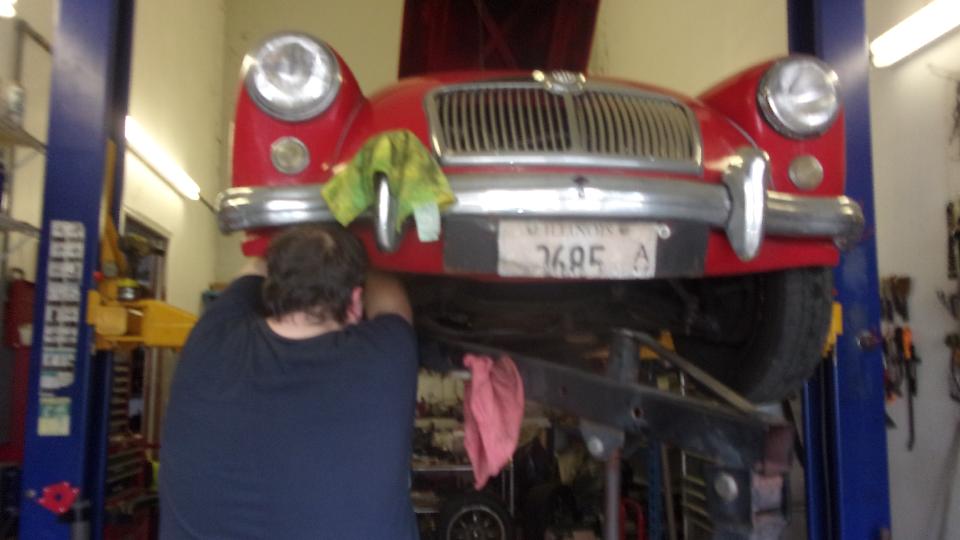
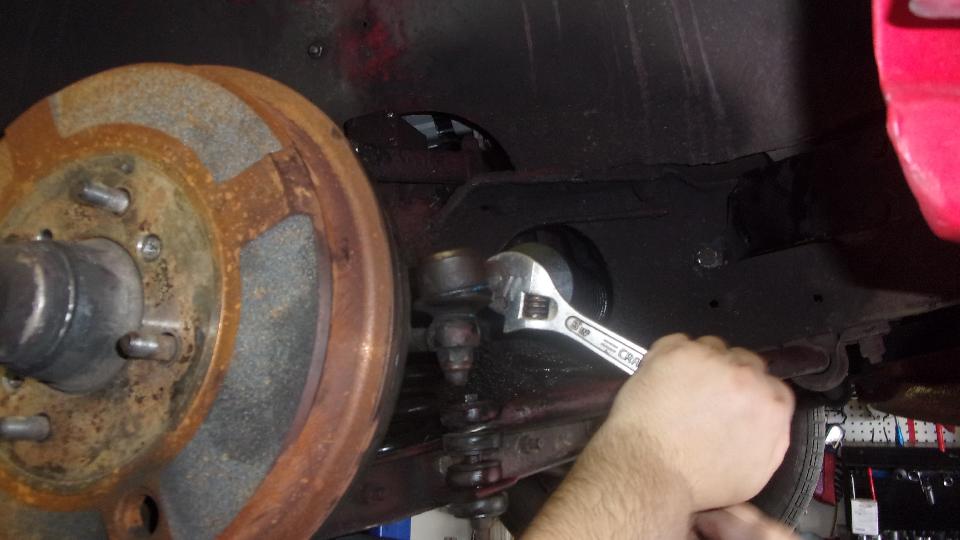
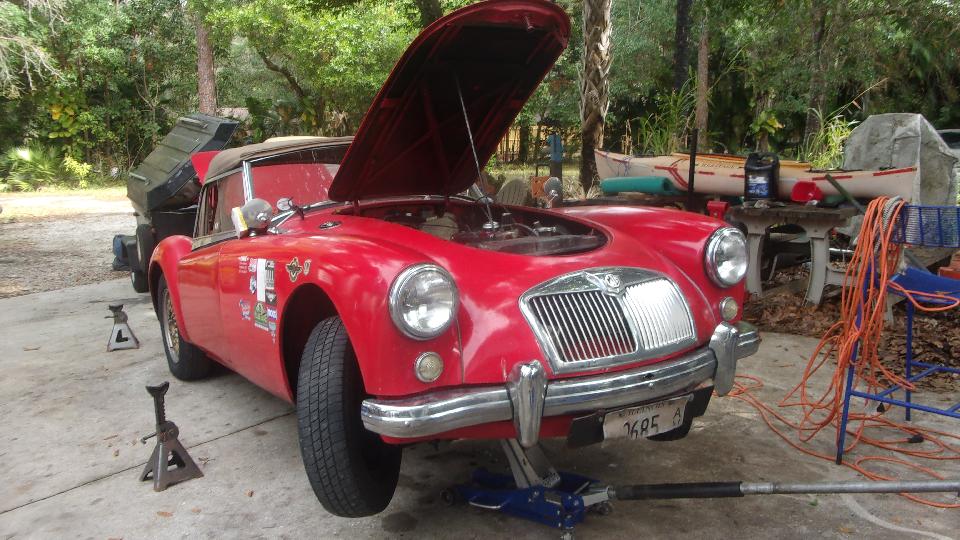
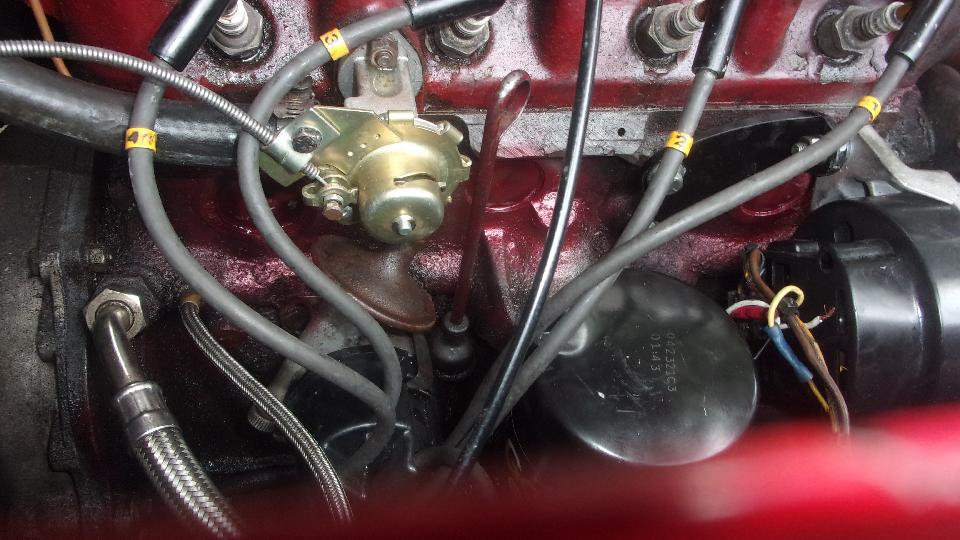
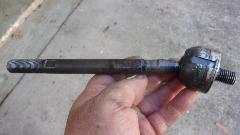
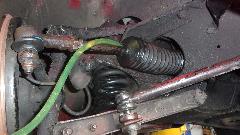
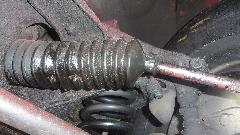
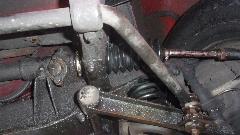
We unhitched the trailer, backed the MGA into the shop, and got it up on the lift. RF wheel off, loosen the jam nut on the tie rod end, and remove the clamps on the steering rack rubber boots. Unscrew the tie rod 20 turns (until it came apart). remove the jam nut, and pull of the rubber boot (and mop up a little oil spill). Knock back a few tabs on the lock tab cup, and use a pipe wrench to unscrew the inboard tie rod end from the steering rack. There's the little beast we were after, the tie rod assembly with the slightly loose inboard ball joint. It wasn't so loose to be hazardous, but it was a bit irritating when it would shimmy at expressway speeds. And this repair was WAY overdue.
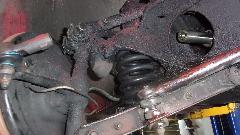
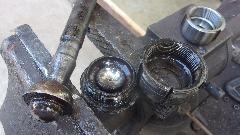
I've fought with these things before, and they are nearly impossible to disassembly without damaging something. So I just bought the new 2-piece ball nut assembly, and we will cut the old one to get it apart this time. Easy short work with a thin abrasive cut-off wheel in the angle grinder. One little slit, a slight tap with a screwdriver, and it just about unscrewed with fingers only. I found a 0.020" thick steel shim in the narrow flange joint, which I take to mean that I've never had this one apart before. I did rebuild a steering rack (more then one) about 20 years ago, but I guess this particular joint didn't need anything at the time.
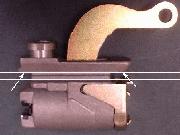
There are some tricks and shortcuts to this job. The small coin size button inside is the spherical seat for the small size of the track ball. It measures 0.250" thick as new. If the assembly is too tight, you can grind a bit off the back of the little button to allow more space for the ball. If the assembly is too loose, you can grind a bit off the face of the large acorn nut housing to shrink the space a bit. In theory, you might only do that if you didn't have enough of the proper shims in hand (which is very common).
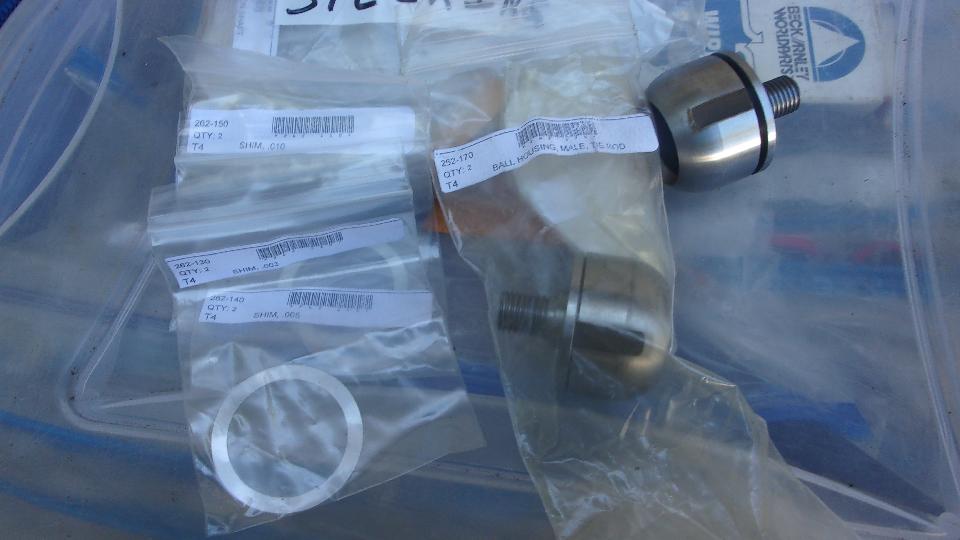
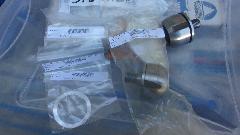
From the Magic Trailer, pull out a new 2-piece ball socket, and hand full of shims in various thickness. I left out the old 0.020" steel shim (that was damaged anyway). With no shims the assembly was tight, as expected, but the gap between the two parts of the housing was a lot smaller than anticipated. When I ground 0.005" of off the back of the button the joint was then marginally tight, but I could move the tie rod with some force.. I subsequently installed two 0.003" shims, which loosed it up a bit more to a reasonable preload with zero clearance. Gotta say I don't like the thin plastic shims Moss is now supplying in place of original metal shims. The plastic flows too much, so when tightening the ball nut the resulting torque and clearance seems unpredictable, rather finicky to work with.
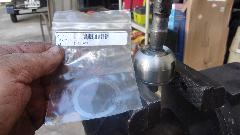
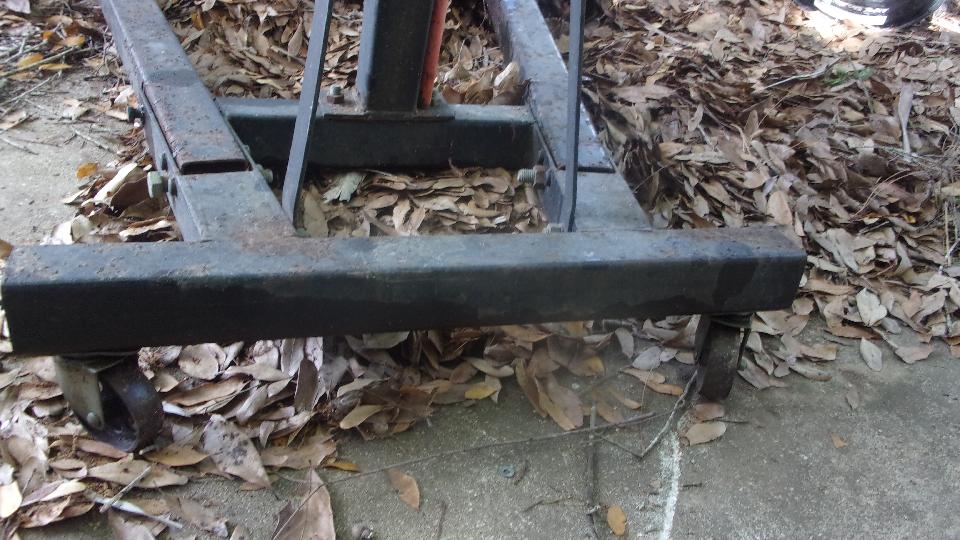
Beginning to reassemble the tie rod, the inboard end went together okay, including the locktab cup and the rubber boot and Jam nut. But the rod got somewhat tighter when pushed off center, making it hard to wrench to screw it into the tie rod end. I wanted to lift the suspension arm to level things out to be easier to turn. Didn't see a transmission jack handy, but there are two engine hoists here. One is occupied holding the Magnette engine. The other hoist needed a generous dose of penetrating oil and some encouragement to get the six caster wheels to turn before it was good to use. With the engine hoist lifting the suspension, there's navigator Elliot wrenching the tie rod into the rod end, 20 turns back together, less 1/2 turn as planned to realign the steering wheel slightly.
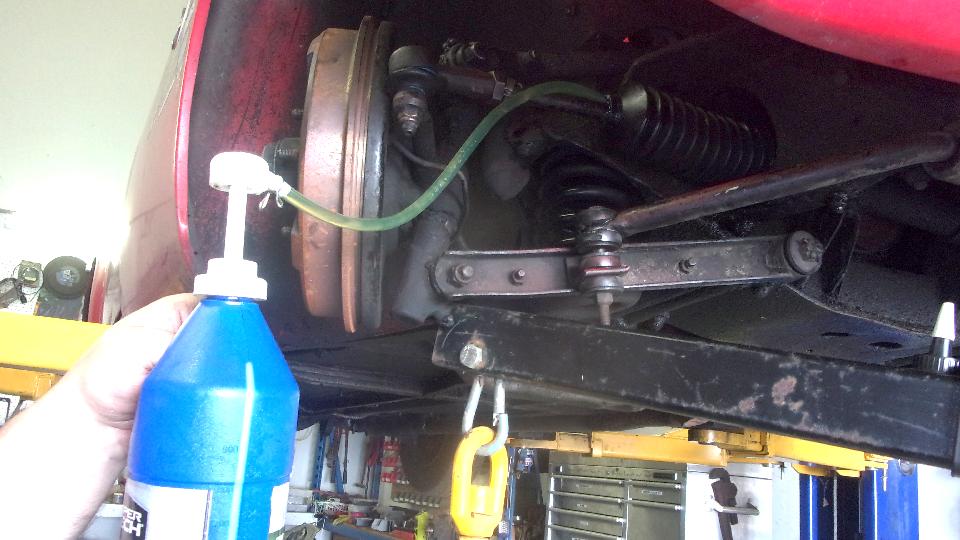
While he was doing that I was after the rubber boot clamp and jam nut on the other side to shorten the left side tie rod 1/2 turn (to maintain track alignment). Then we take what seems to be the easy way to install gear oil into the rack at this point. We have a nice little hand pump that screws onto the oil bottle, which we bought to install oil in the differential, and which we did use once or twice before, so it was all set up with the correct bits of tubing. One or two screwdrivers can stretch open the outer end of the rack boot to insert the injection hose, then just pump away (while trying to prevent oil leaking back around the hose). Only took a couple minutes to inject 8-ounces of gear oil, then reinstall the small end boot clamp, and it was good to go. Wheel on, lift down, pack up, clean up, lock up, and we were off to find WiFi to bring you these notes.


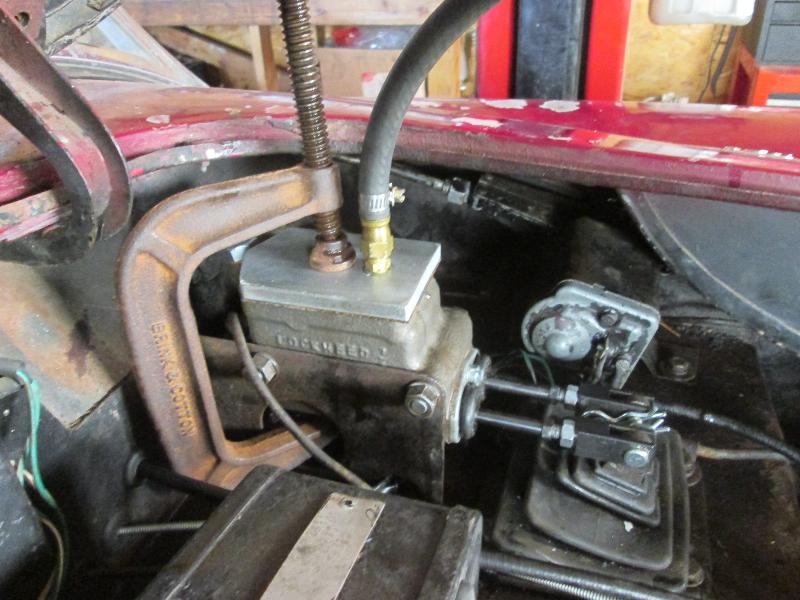
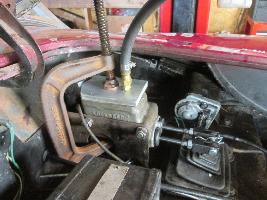 In the evening I did up a new tech page for a different idea on how to make a positive sealing master cylinder cover for pressure bleeding. Also spent some time catching up recent changes in the parts inventory list (for the Magic Trailer) and future order list. Did not get the CMGC club newsletter on line yet.
Friday, February 4, 2022:
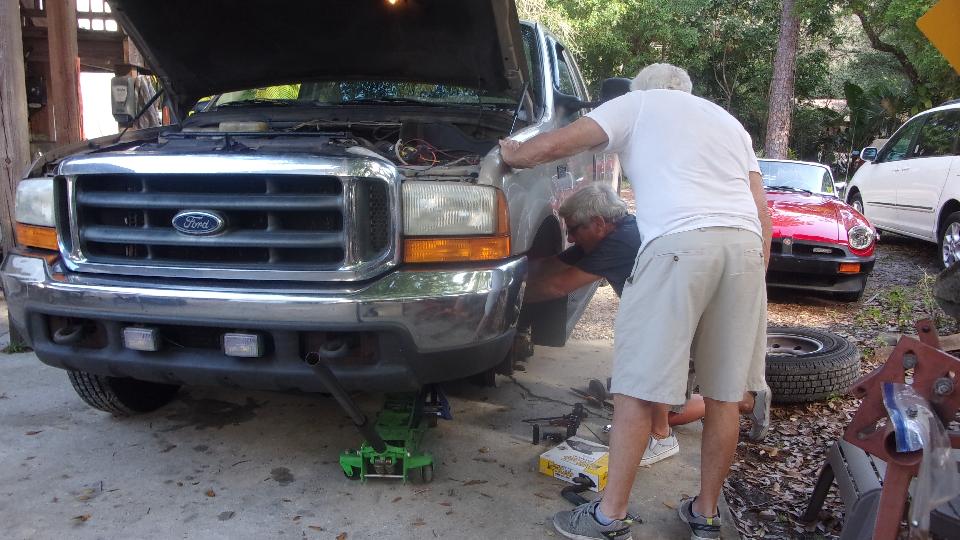
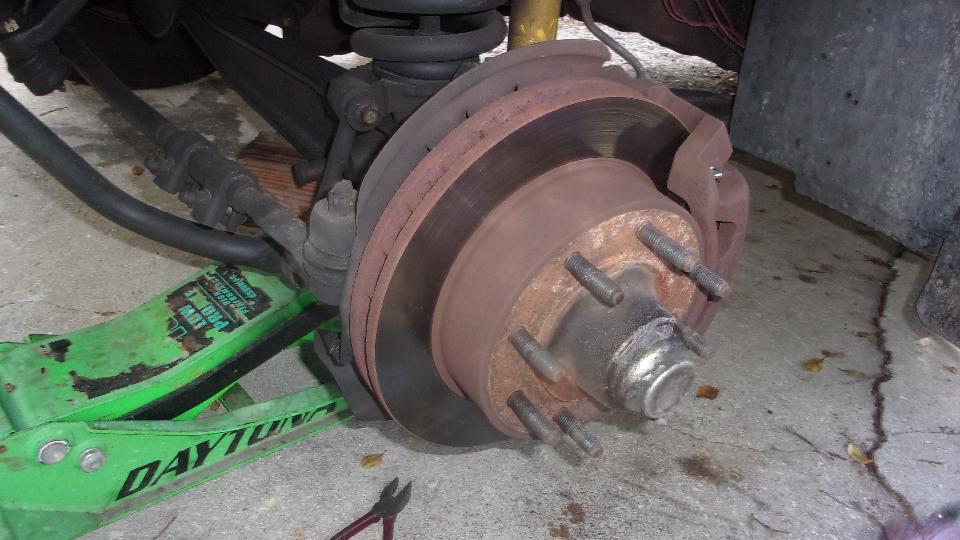
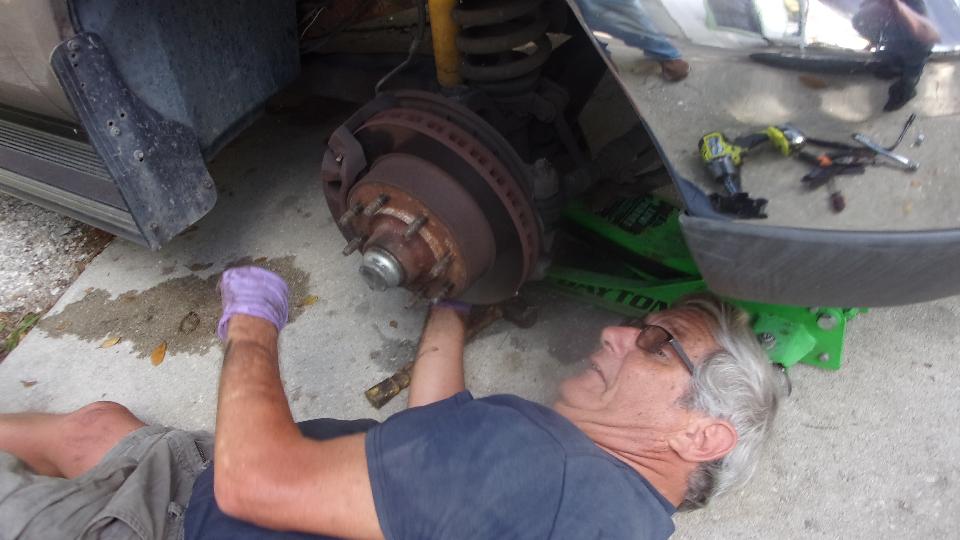
No thoughts of working on my own car today, because it's Friday at Tech Central when everybody comes to tinker. The first project was a Ford F250 Super Duty truck in for replacement brake pads. Aside from bing muscles job just because it ws heavy, I think it was fairly straight forward and finished in due time.


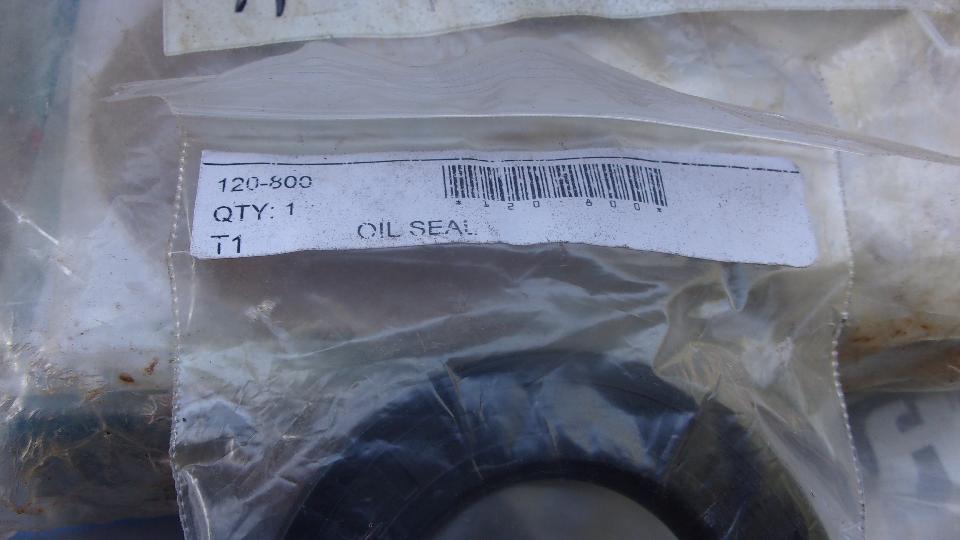
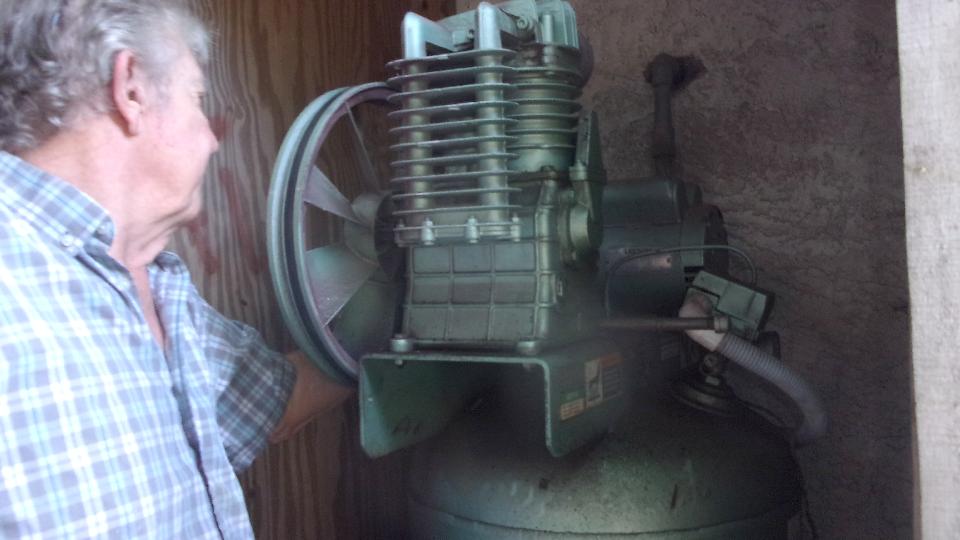
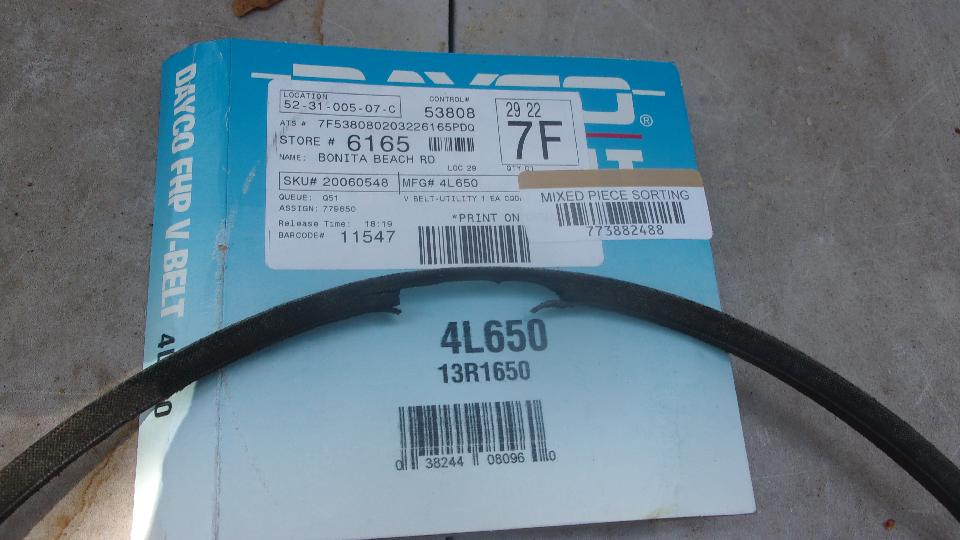
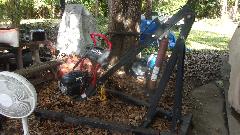
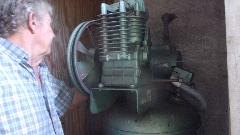
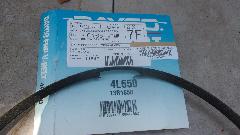
I pulled a differential pinion seal out of the Magic Trailer for the ZB Magnette, just so that didn't require a separate parts order. Another bit of unfinished business from last Monday's visit was for the 5-HP 60-gallon air compressor to get a new drive belt, which had run considerably past its prime, accounting for all the noise we thought was internal but wasn't.
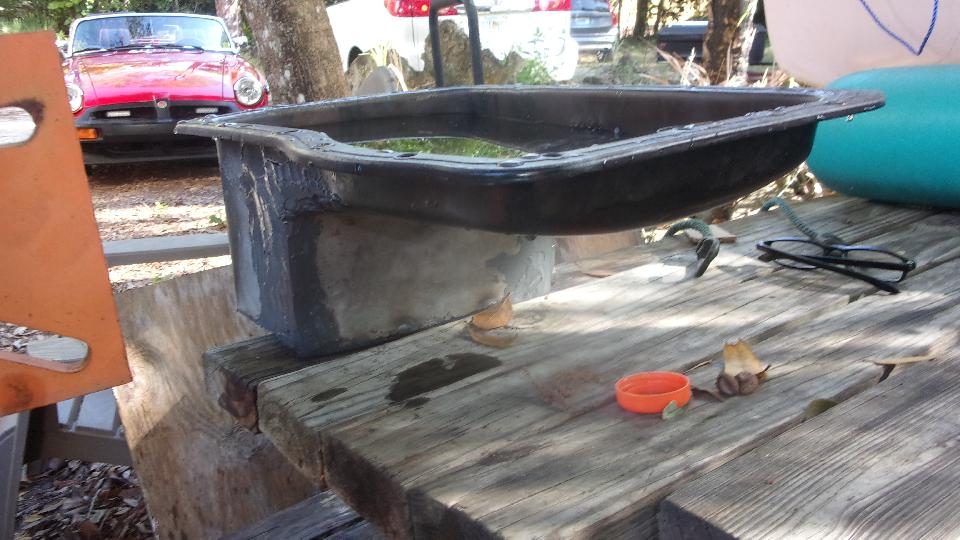
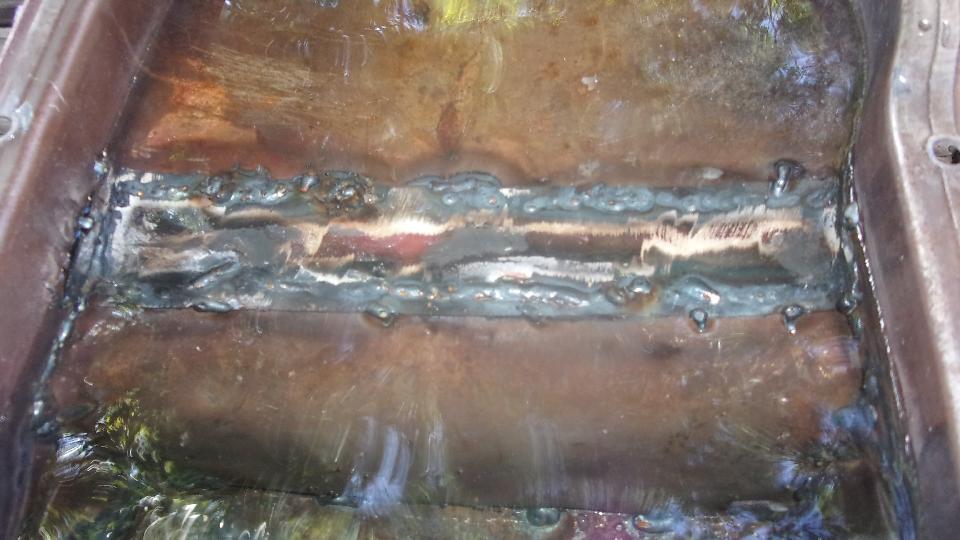
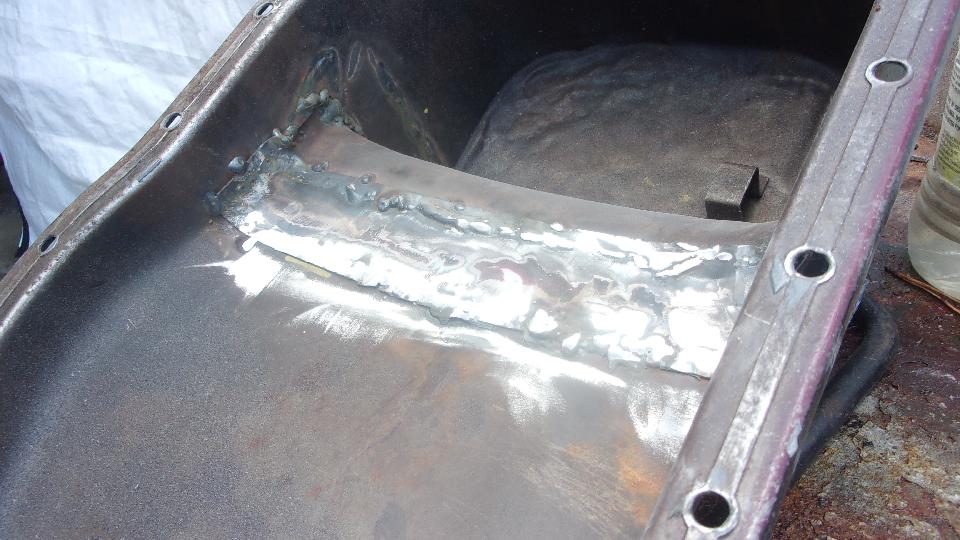
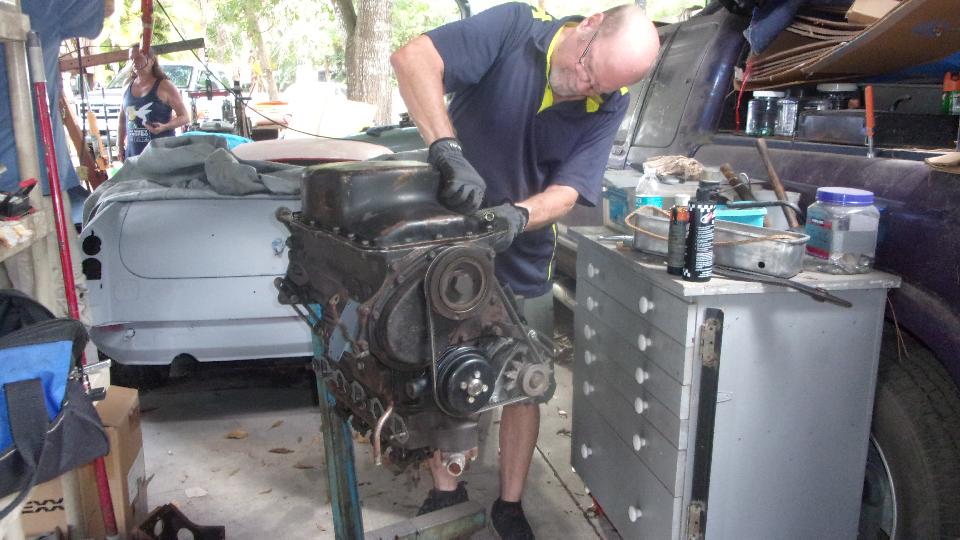
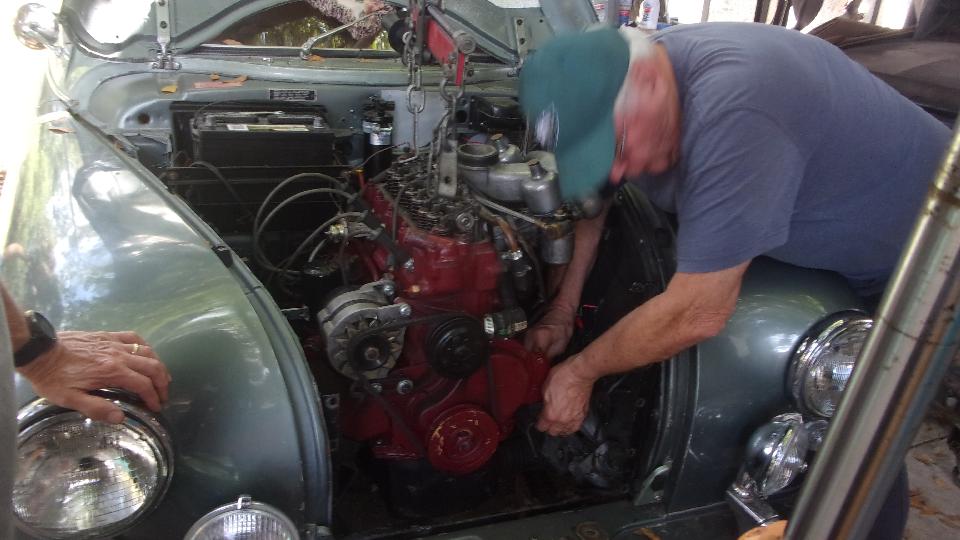
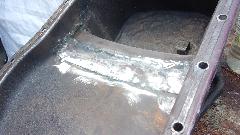
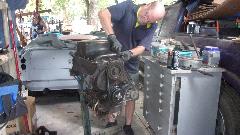
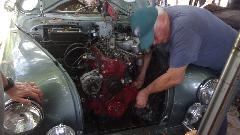
John was still working on the Magnette 1800 5-main bearing engine, here fitting threaded studs into the oil pump adapter plate. To accommodate moving the engine back 2-inches in the chassis, they had cut and weld the oil pan some more to clear the steering rack, and also move the oil pump forward in the sump and take a slice off the front edge of the pick-up screen. Thinking this may end up with significantly reduced sump capacity and may need an oil cooler.
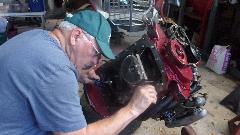

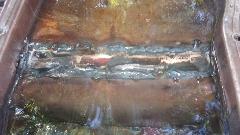
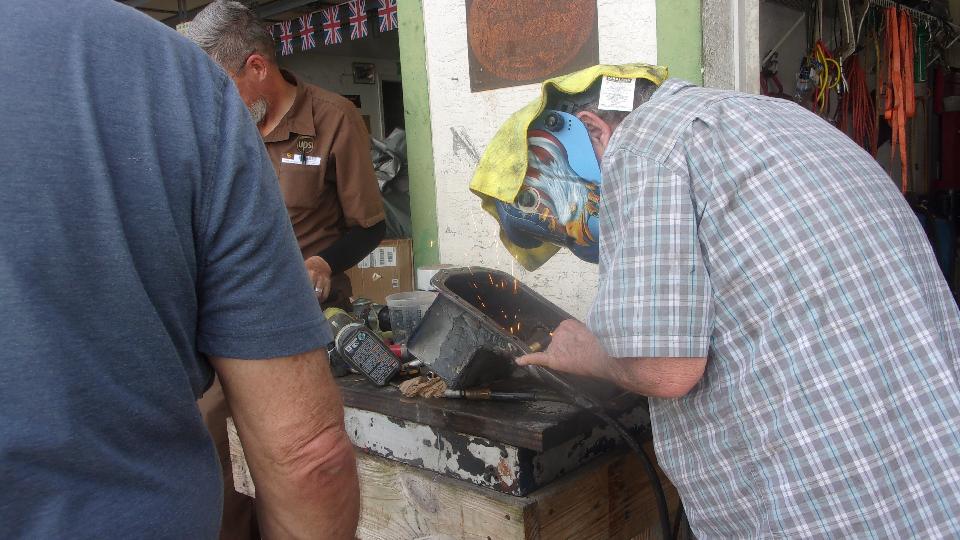
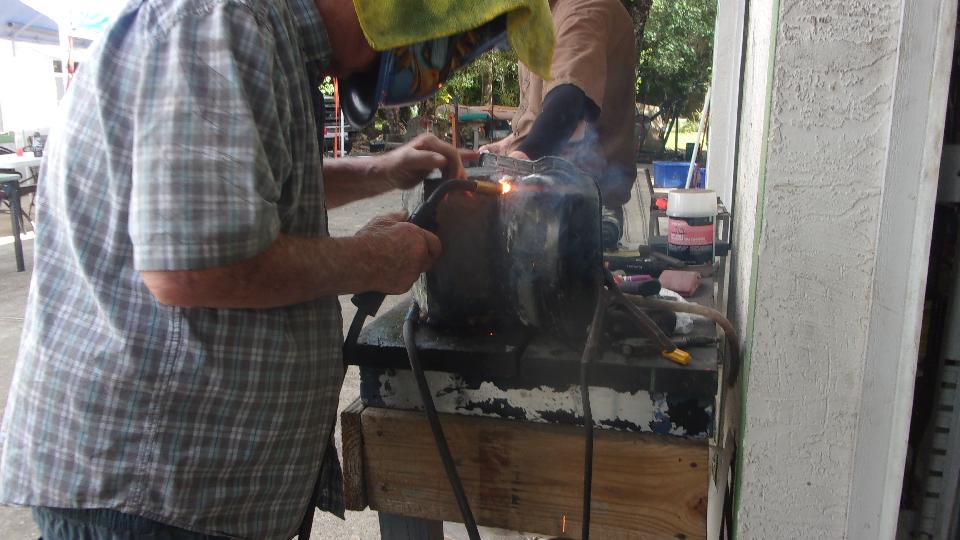
The oil pan welds still leak, so hammer and grind to smooth out the inside for better oil flow (and better visibility), followed by forever ongoing weld touch-ups. Hoping to stop all the leaks, it will ultimately be sanded smooth, skim coated with J-B Weld, and sanded again before painting, just to make look nice.

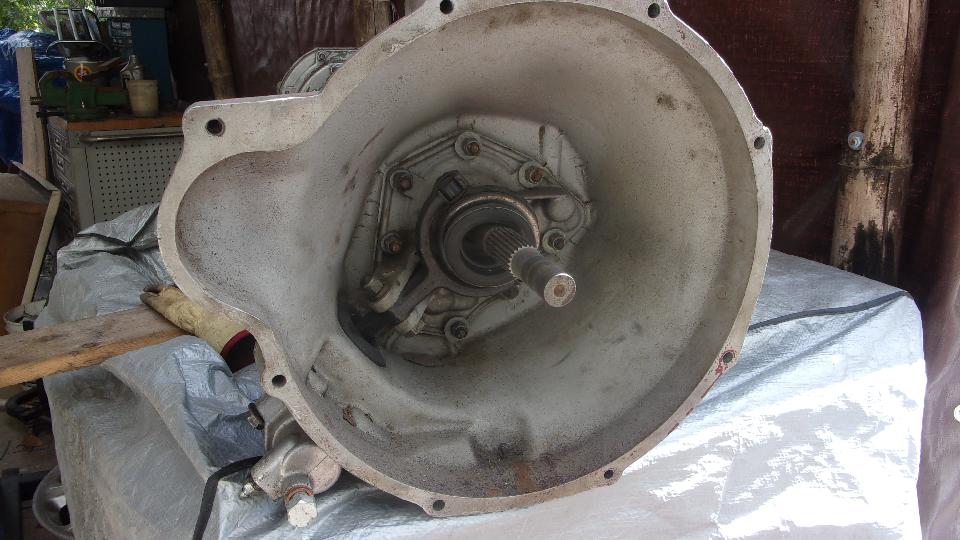
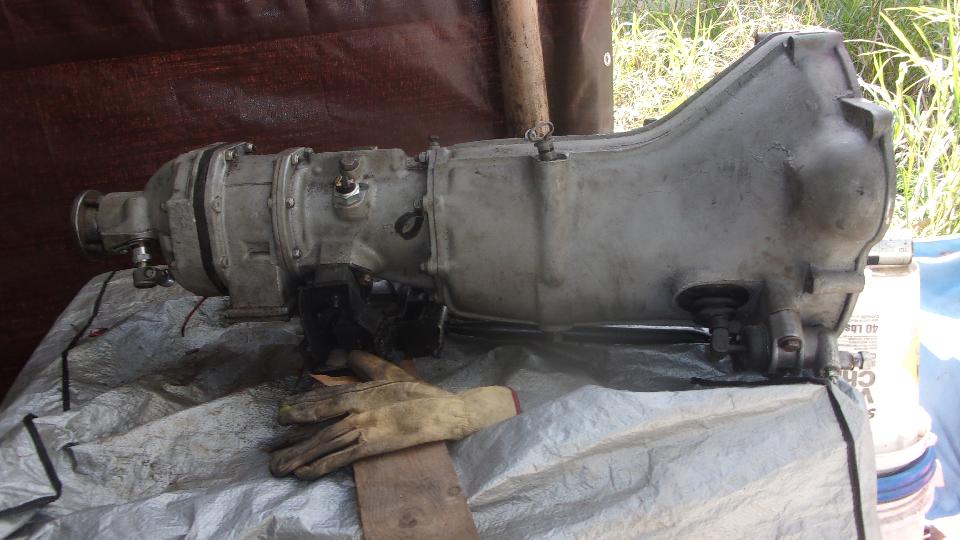
Another piece for the Magnette is the late model MGB 4-synchro overdrive gearbox. Oil was leaking from the bellhousing when it was last in the car, but not known if it was leaking from rear of engine or front of gearbox.
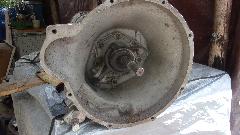
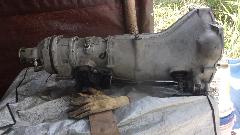 Before removing the front cover to change the seal (again), suggest install a quart of oil and stand the gearbox on its nose for while to see of the front seal leaks. If not, then suspect the engine rear seal. Easy diagnostic technique.
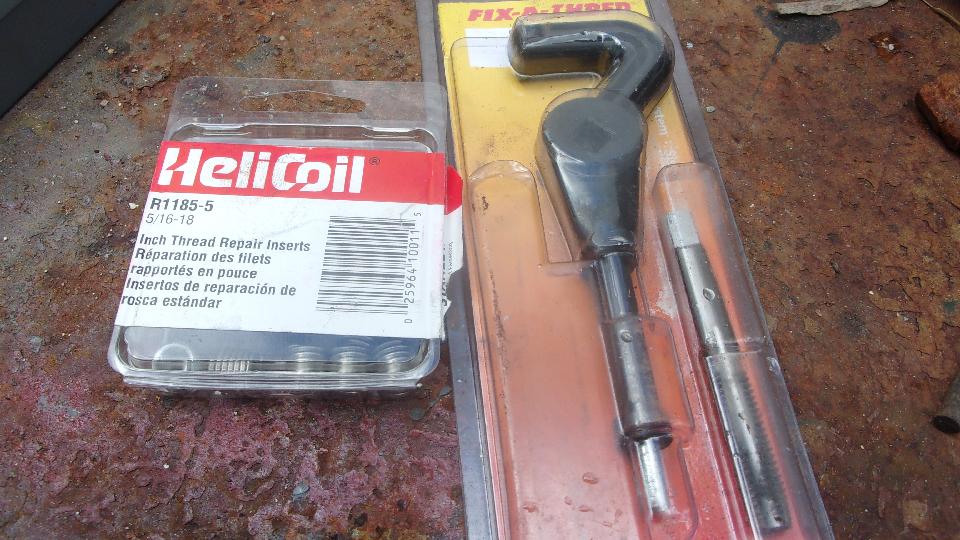
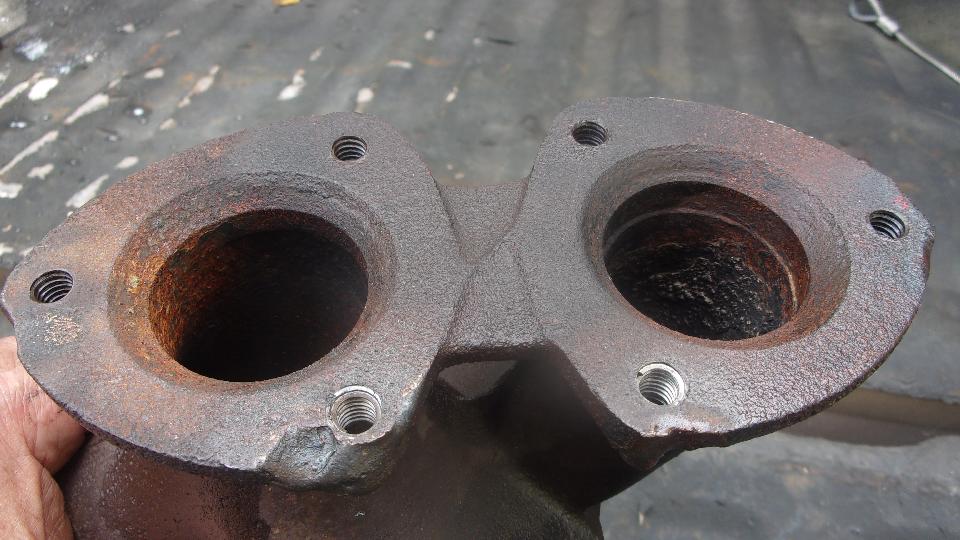
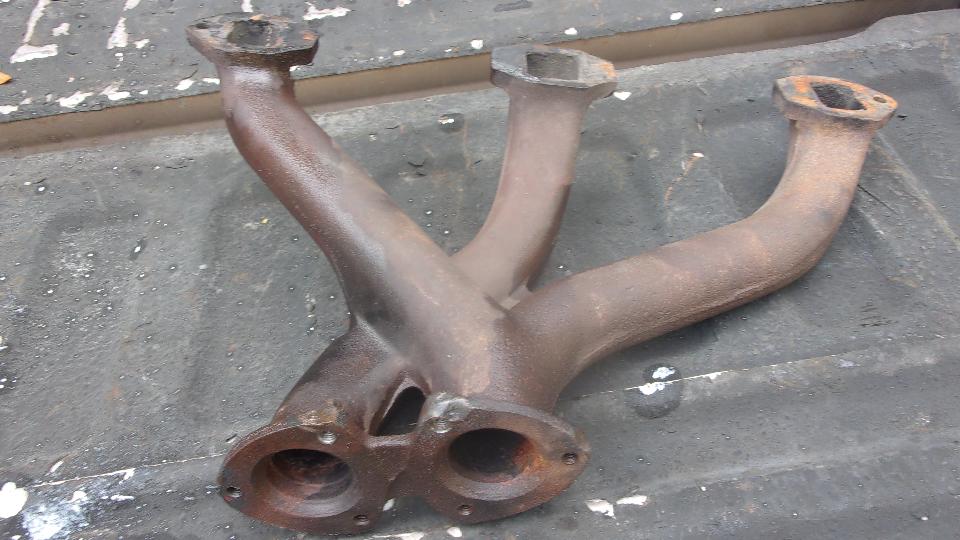
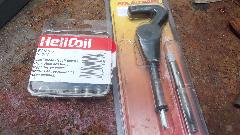
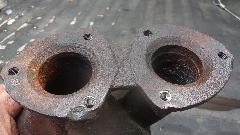
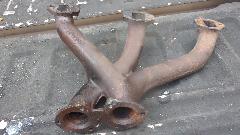
Another day, another MGB exhaust manifold, two more Heli-Coils, tap out four slightly rusty threads, and good to go. They do a lot of these, I ran out of Heli-Coils, but someone just dropped off another dozen pack of 5/16-18-UNC coils to re-stock my installation kit.
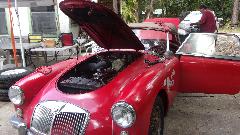
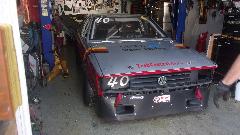
The MGB engine getting final button up is to go in the wanna-be race car "Tina" (named after the car donor).
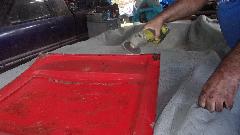
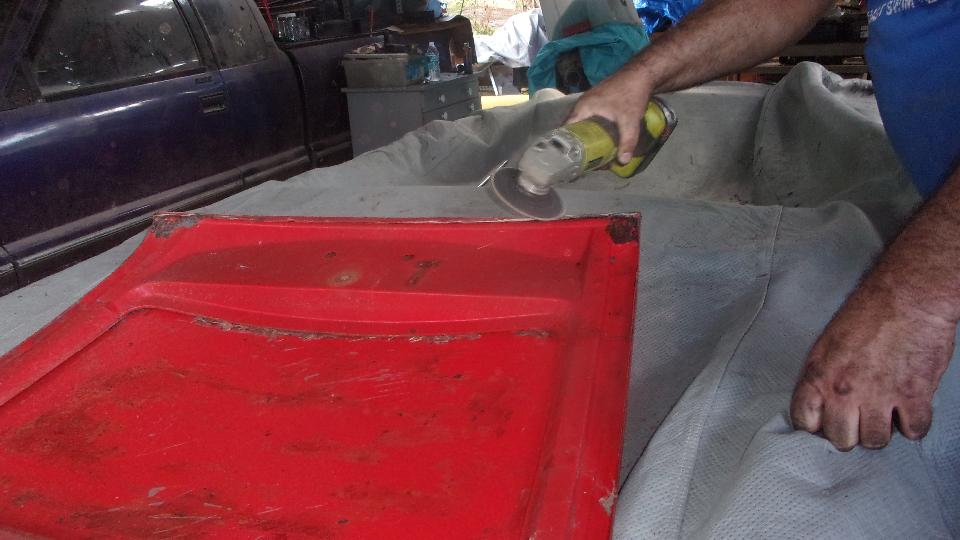
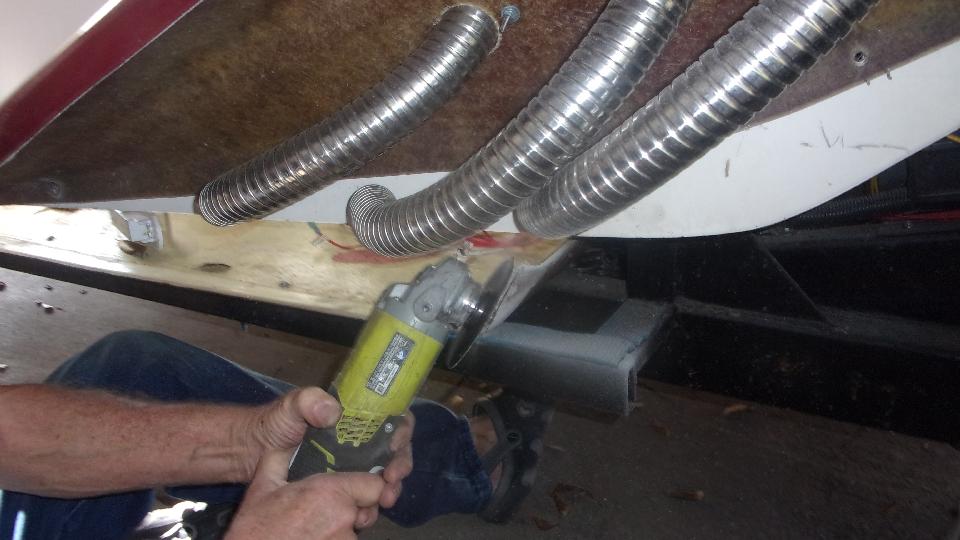
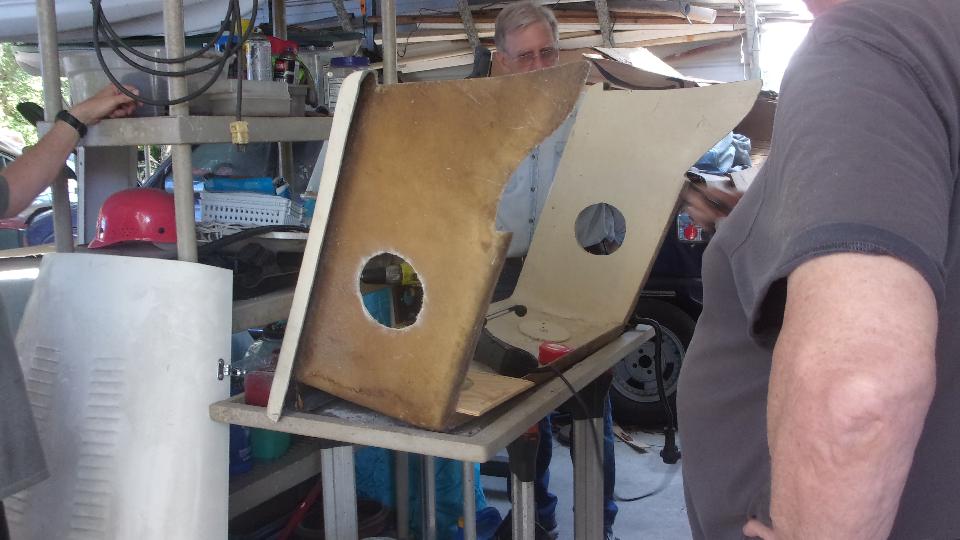
 This one is just to make it driveable. The real race engine is currently a bare block undergoing machining for rebuild and race prep. The bonnet is getting some grinding to remove some rust before patching and painting.
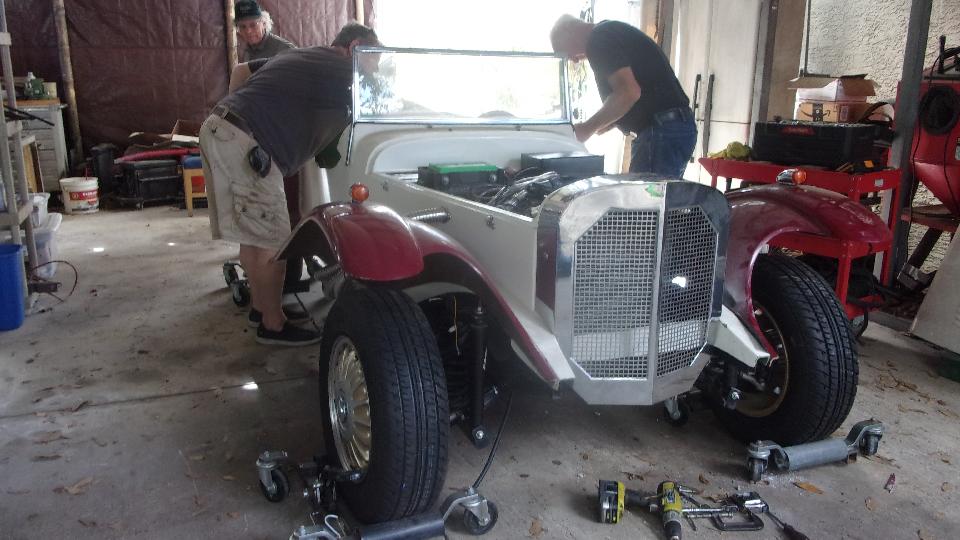
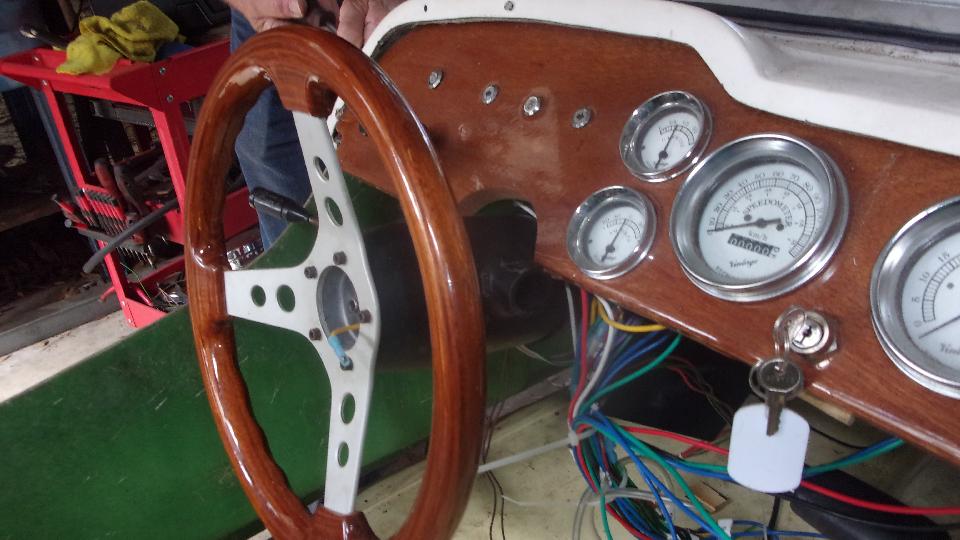
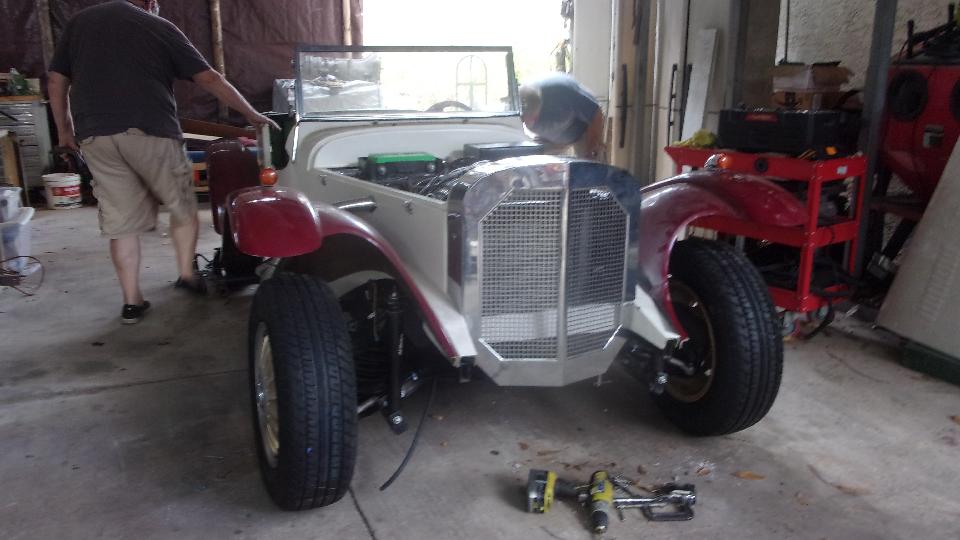
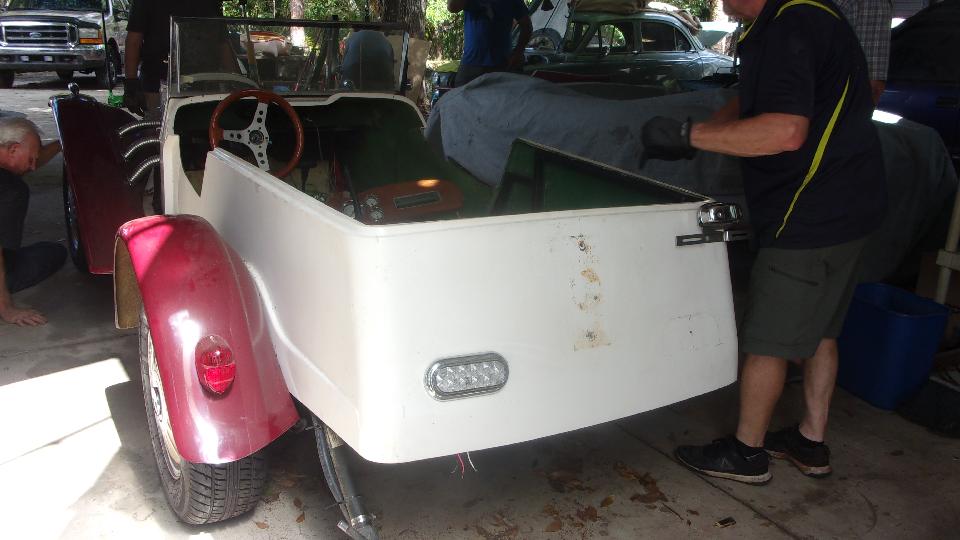
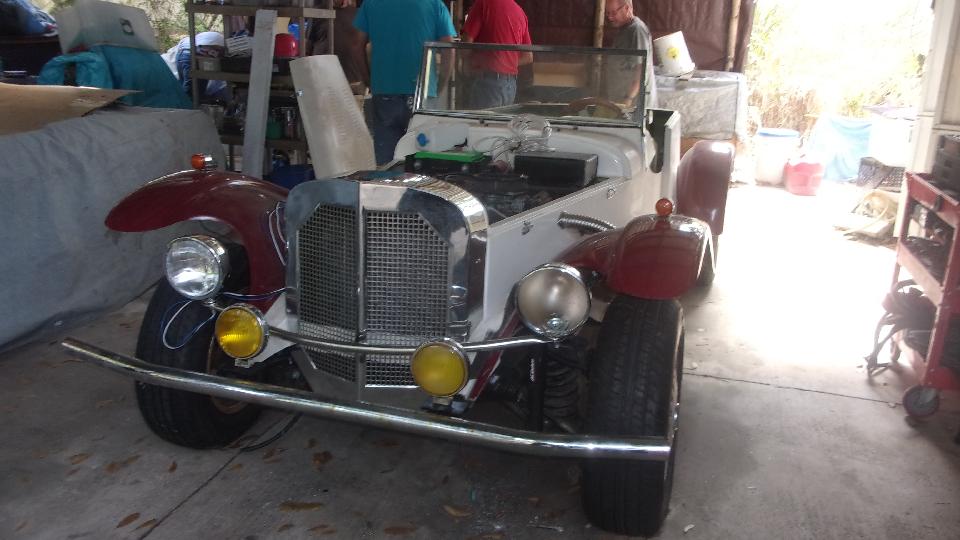
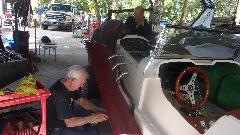
By far the star of the show today was the Chevy Chevette Excalibur kit car. Finally having the body set on the chassis today, every minute getting an inch closer to looking like a real car. Oops, that nice wood dash landed on the ignition switch cowling on the adjustable steering column. Lift up long enough to remove the dash panel. No problem, since the ignition switch was relocated to the dash, no guts in that side of the steering column, so they will just grind away the part of the old switch cowling that got in the way.
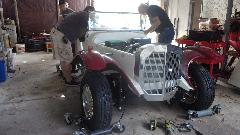
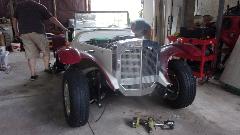
Then underneath trimming back bits of fiberglass and plywood here and there until the body would drop completely down to rest on the chassis. Looking good, guys!


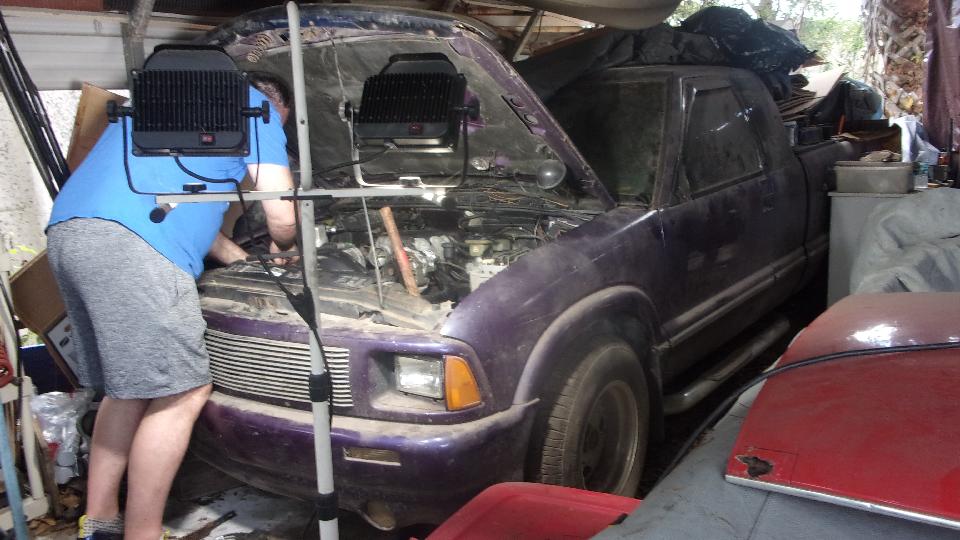
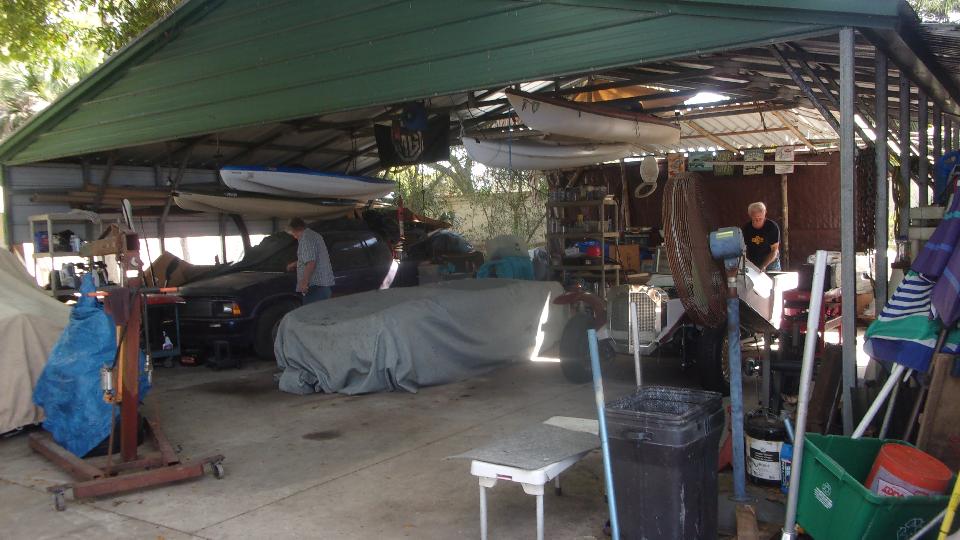
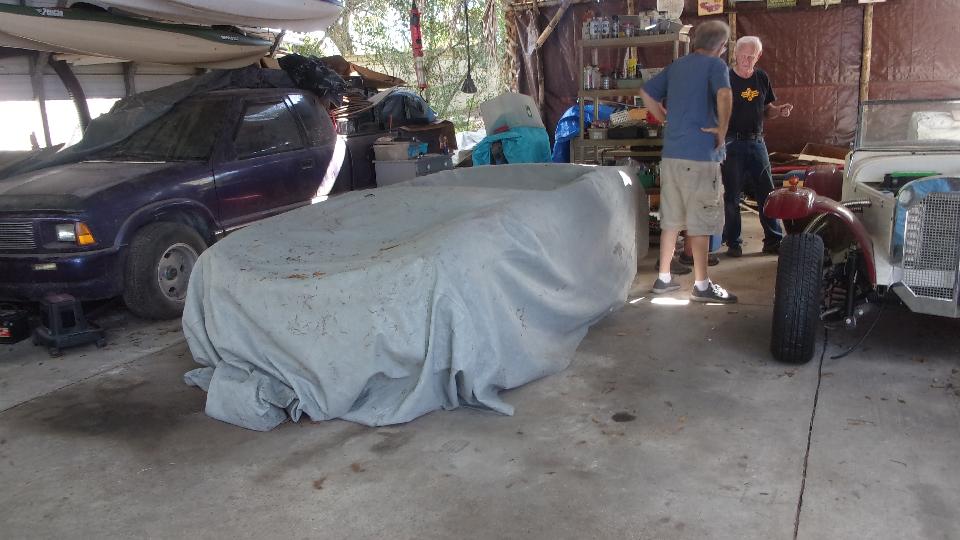
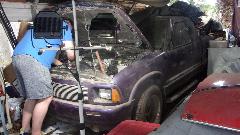
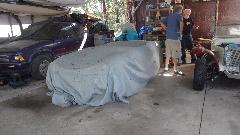
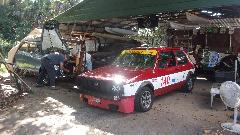
Twenty feet away there is a Chevy S10 truck, next on the project list. Thus has been sitting here about 15 years, never moving, mostly buried under parts of other cars. They built this new canopy over the truck five years ago without moving the truck. It was 15 years old when parked, now a 30-year old vehicle, but body-wise in good condition, so we think well worth saving. Already ordered up a new fuel tank and sender unit and fuel pump and replacement lines for all the pipes that are rusted out. Fingers crossed this one will not take too long to be running and back on the road (now that we have some room to work on it). Speaking of space, notice the big improvement by evicting the rusty Midget, moving "Tina" to a more useful center spot, and getting the kit car body out of the back and onto the chassis. Woo-hoo, gotta love the new found working space.

Saturday, February 5, 2022:
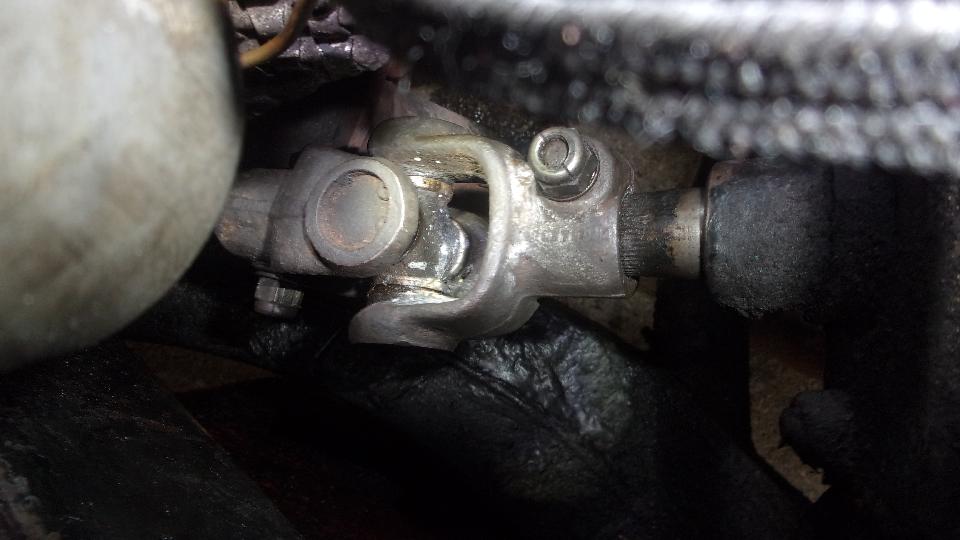
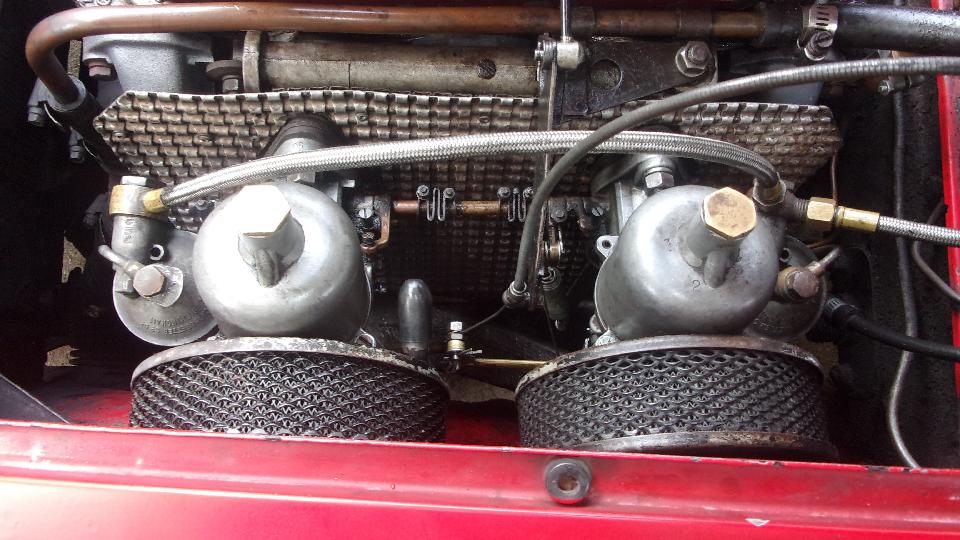
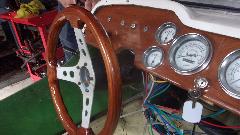
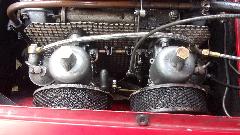
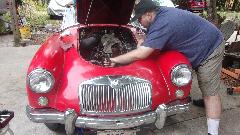
Extra trip to Tech Central on a day when almost no one would be there, so I could work on my own car. Top priority today was to replace the U-joint in the steering column, which has been giving us problems with a loose spline coupling. No matter how tight the pinch bolt, the spline is still loose, so the steering column uncomfortably moves in/out about 1/4-inch, and it chatters when there is a little wobble in a front wheel at expressway speed. The carburetors have to come out for better access to the U-joint. Some time ago I picked up a decent used U-joint, so now I get to use it. Clean, measure, test, inspect, and assure the bearing spider is good. Also that the splines are clean (and clear), and it will slide fully onto both splined shafts. Install a pinch bolt and assure it will tighten down on the splines, one end at a time. It may sound a bit cautious, but I have had problems with these splines more than once.
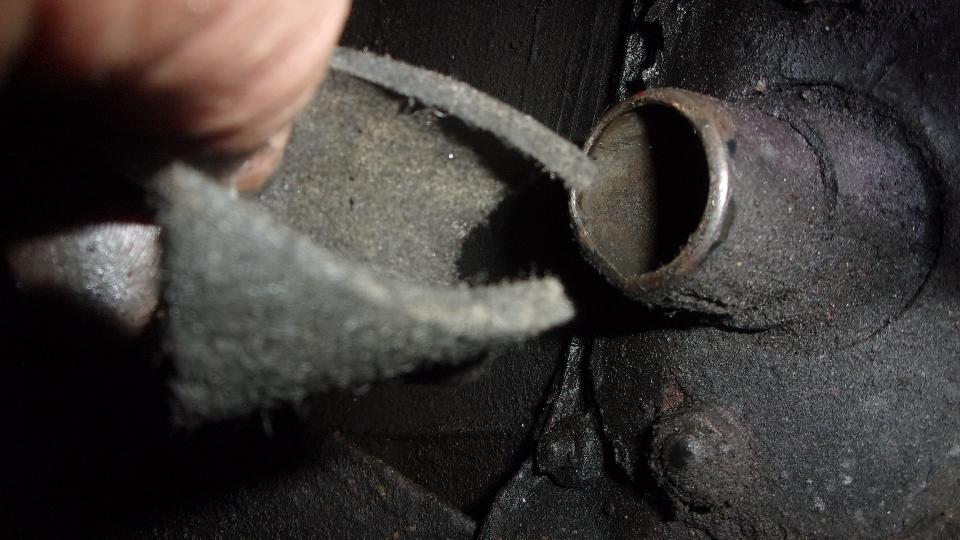
 While this is apart, it is a golden opportunity to replace the lower steering column felt bushing. Just pull the steering shaft up into the tube housing to extract the old felt strip. And then the next problem.
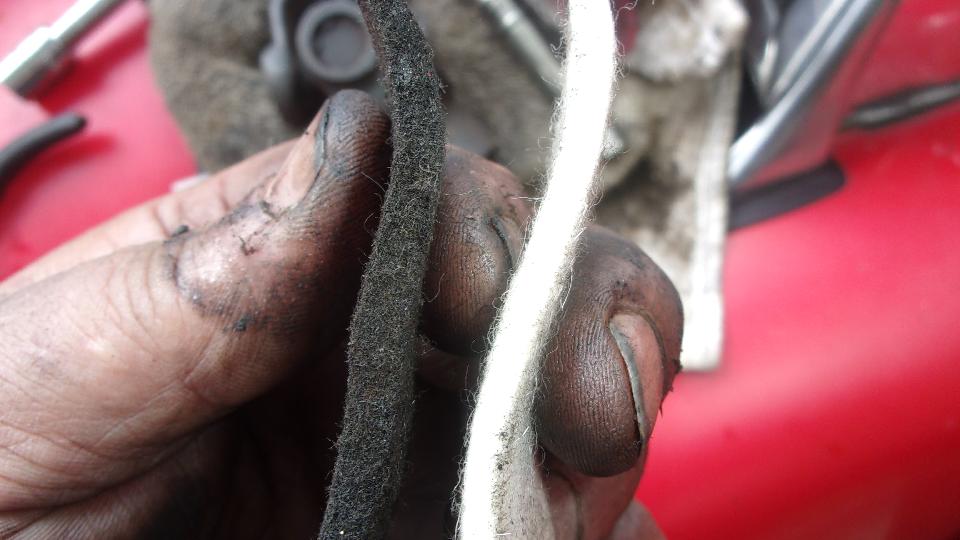
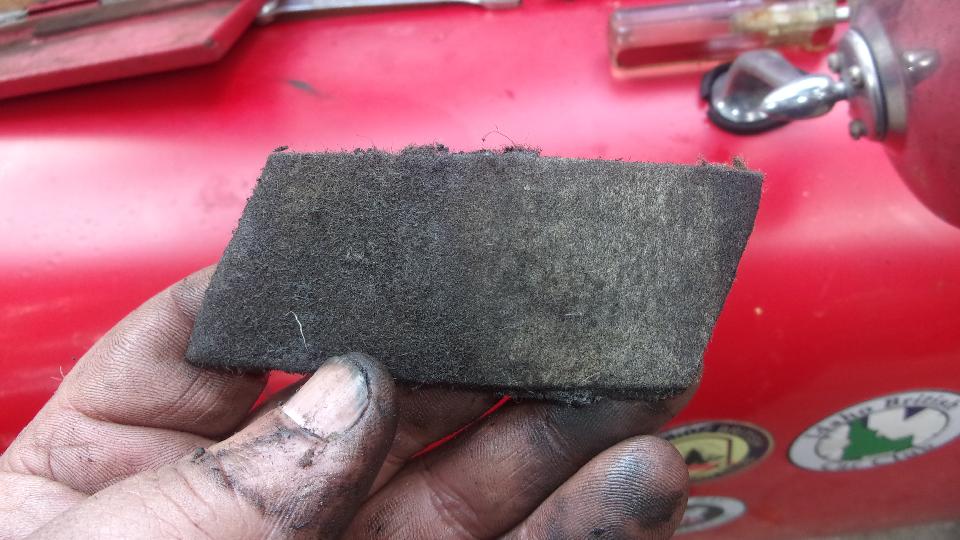
 The new replacement felt strip from Moss Motors is too narrow and too thin. This really gets my goat, because in 2004, on special request from Moss, I did the research and measuring and reverse engineering to determine correct dimensions for these felt bushings (3 different part numbers), and I posted the web page with all the correct information. Ultimately Moss did make these parts right, but now they have screwed it up again. The bottom end bushing should be 1-5/16" wide and 0.170" thick. The new part is only 7/8" wide and 0.120" thick, so no go in either dimension (but it is correct length). Fortunately my old lower end bushing is still in pretty good condition (and doesn't take much load), so I reinstalled it.
For a quick check, I also measured the new replacement top end bushing (for adjustable steering column), and that one is now too thick (again). Should be 0.110" thick, now 0.125" thick, and that 0.015" excess on the radius is enough to make the steering column near impossible to jam together and very stiff to turn with two hands on the wheel, impossible to drive on the road. Note to self, contact Moss to see if we can get these faulty replacement parts fixed (again).
Checking my purchase and maintenance records, I replaced a top end bushing in my car in December 2019, which I had held in inventory for some time, and it fit fine. I bought new ones for inventory a month later in January 2020, and these are the ones I hold now that are the wrong size. Unfortunately I don't have purchase records for the one I installed in late 2019, so I don't know how much earlier was the transition date from good parts to bad parts. I only know it was at least two years ago.

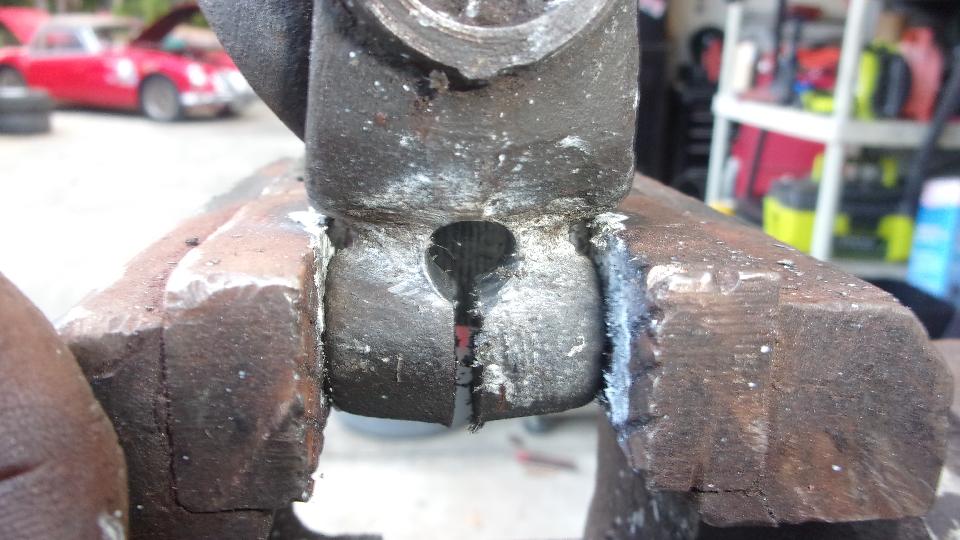
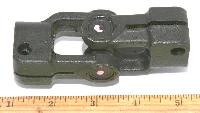
Back to the U-joint please. There is a Confidential Service Memorandum on this part date 13 Feb 1958 titled Slackness In The Steering Column Universal Joint (this exact issue with loose splines. The prescribed fix was to drill a 5/16-inch hole through at the neck if the U-joint, and cut the slot longer to intersect the new hole, making a longer keyhole slot. That should make the U-joint clamping end(s) a bit more flexible so the bolt can get it tight enough when assembled. Many years ago I had to modify the one in my car. The factory actually made this design change in production, but there was no change of part number, so no record of the transition date. The used part I recently picked up did have the holes, looking like it was factory issue. Having had some bad experience with this issue, I wanted bigger holes, so I drilled them out to 3/8". Not sure if it makes much difference, but it sure enough bolted up nice and tight this time


So there it is installed, and the carburetors are back in place. Then I decided to adjust the fast idle link by moving it to a lower hole in the fast idle cam. Not enough forethought here, so had to remove the front carb again to make that change, but all is well that ends well, and enough scrapped knuckles for one day..
Sunday, February 6, 2022:
Most of the day spent finishing transcribing the CMGC Publisher file to HTML web pages and uploading to the club web site. I remember we were sitting in a truck stop all day for the WiFi.
Oh yeah. Since my Saturday steering U-joint repair, some buzz has been going aroiund on the net about
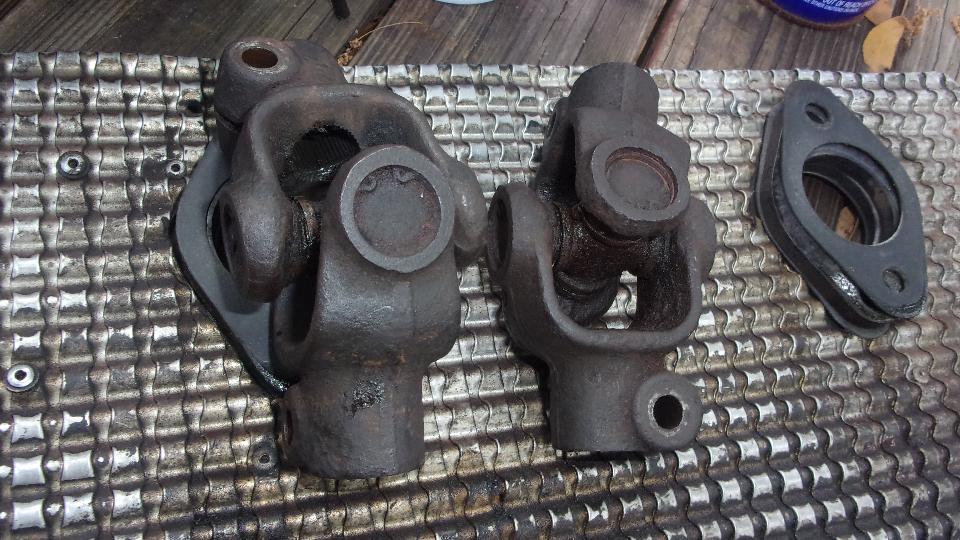
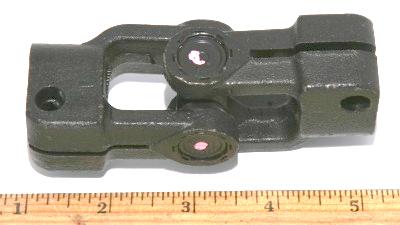
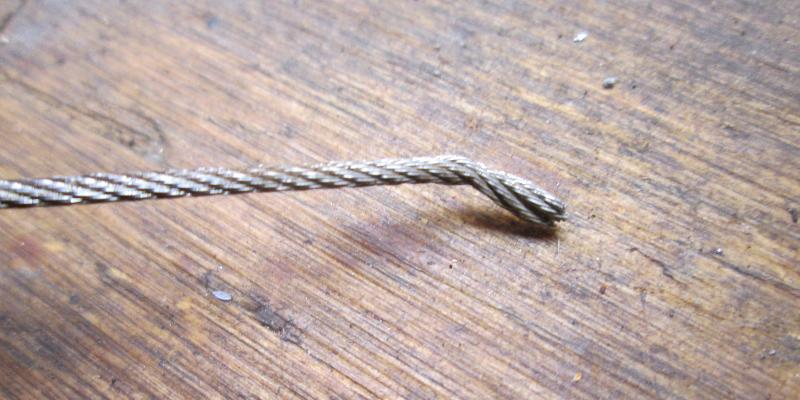
 incorrect new replacement steering U-joints. I first ran into this problem in June 2017 when trying to buy a new one for what I thought at the time was pretty big money. This tiny little U-joint assembly showed up with my parts order on the customer counter at Moss Motors in Goleta, CA, and I had to refuse it and put it back on the counter for return to stock. I had some choice words to go with it, hoping the vendor would get the idea and stop sales of the wholy inadequte part. but apparently not. By now this sub-standard part seems to have worked its way through the distribution chain world wide, and there is no longer any original type steering U-joint available. So I finally posted a new tech page SR-116 for this part probem,.
Monday, February 7, 2022:
Primary task today was to change oil and filter and give the MGA a lube job. Standard fare, easy enough. That went so quick and smooth that I didn't have time to tale pictures, just as well, as it was just a LOF and done.
Then spent some time doing a 3-tire rotation (leaving the RR in place). This ended up with two tires
 previously from the front with slightly odd wear pattern on the back, and two tires previously from the back with healthy even tread on the front. This was not to even out tread wear, but was an effort to diagnose a shimmy in the steering at 70-75 MPH. Now that we banished all free play in the RF rack ball end and the steering U-joint, the remaining jiggle in the steering was still bugging me. Placing a fixed object near the tire tread while spinning the tires didn't reveal any significant irregularity in any of the tires. So moving the prior front tires to the rear and putting the two best looking tires on the front seemed like the next best move.
While fiddling with this we turned the right track rod out a half turn and the left track rod in a half turn to adjust the steering wheel from slight right tilt to being level. That worked like a charm, finally getting it right.
Then we ended up removing the RR wheel anyway, wanting to track down a slow leak (losing 10-psi about three weeks). We spent half hour being persistent with soapy water looking for bubbles, but found nothing. No leak at the tread, or at the rim beads, or at the tire valve base or tip. No leak the center joint between the 2-piece rim of the modular wheel either. Totally flummoxed, nothing left to do except put it back on the car and drive it some more.
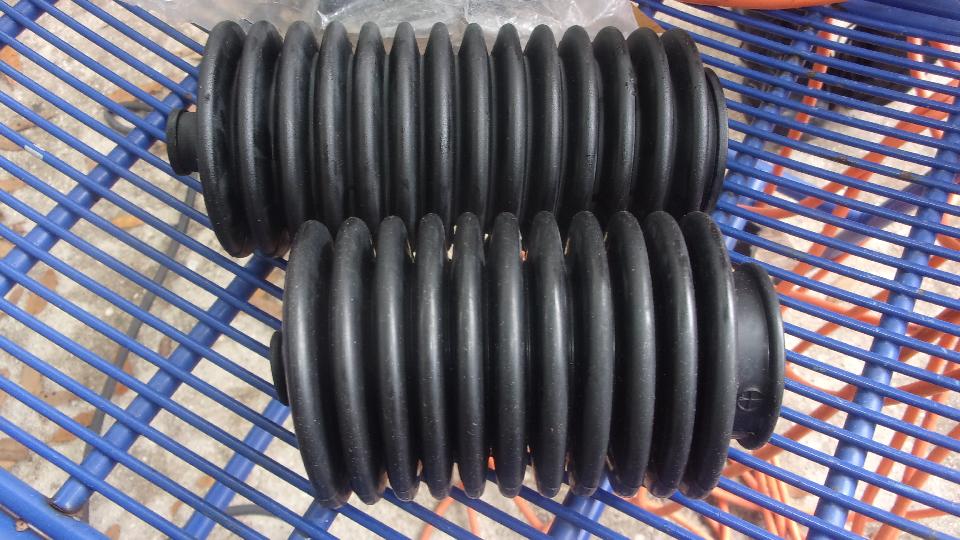
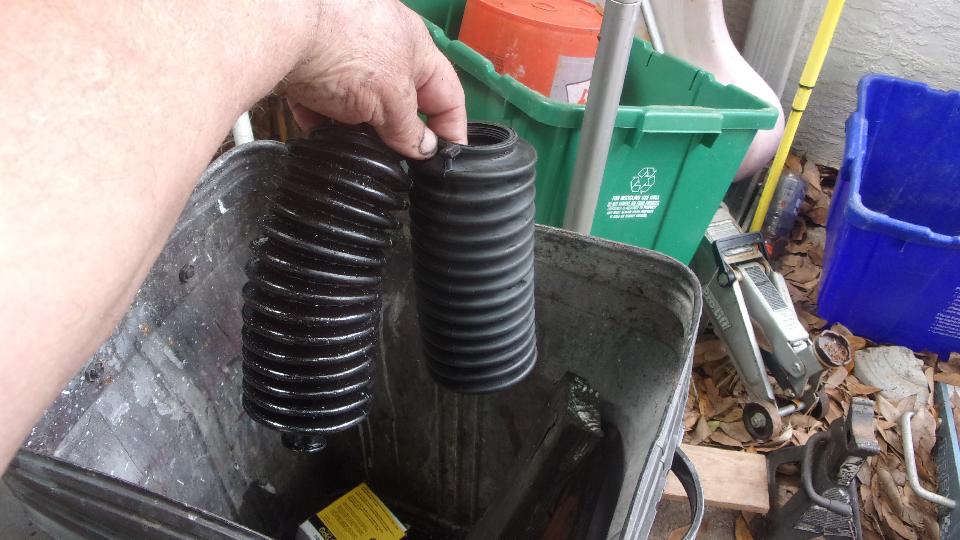
While we had the right side of the car jacked up there appeared a seriously large puddle of oil inboard of the left front tire. Bummer, another failed cheap Moss Motors supplied thin vinyl rack boot. This time I installed a good quality original style neoprene rubber boot, thick wall, 7-convolutions, with correct end bands to accept original steel clamping rings.
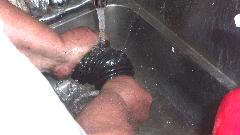
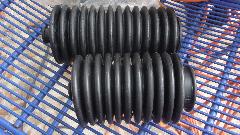
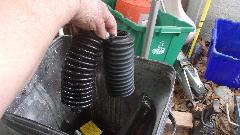 I had one more of the Moss 11-convolutions garbage vinyl parts in stock, so we held a proper ceremony to throw that new part into the dust bin along with the failed one. The right side rack boot is still the Moss cheap aftermarket type, so I get to look forward to doing this job at least one more time very soon. Just doubled the amount of work for the day, still finished before daylight failed. Using the hand pump to put gear oil in the rack boot again, just did that three days earlier on the other side.
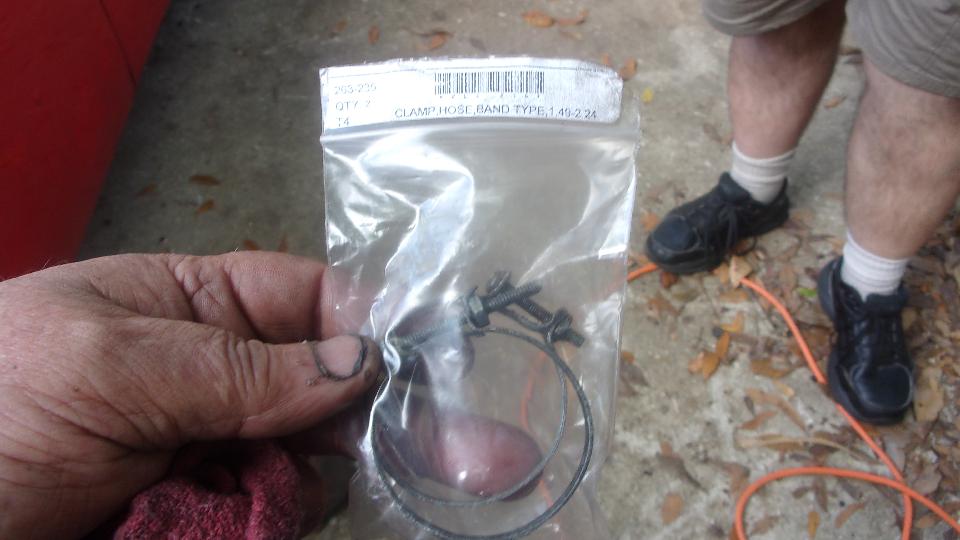
 Now this looks pretty with the proper OEM style rack boot and steel clamp rings. In the past three day we have installed two of the current issue Moss Motors large end metal clamp bands. Those are worm drive, not original but okay, except that they have a funny recessed hex head that should work with a nut driver, except that is has a 6-mm hex head that will not work with a 1/4" nut driver, and no one here has a 6-mm nut driver. The straight screwdriver slot is extremely shallow most of the way across, so narrow driver cannot get a grip. Final solution was to use a wider driver that would catch the slot on the taller outer edges of the hex head, after which we finally gut the thing installed. Not going to buy another one of those either.
 While stowing away parts and tools we found the two original big end steel band clamps that were removed some time ago when we first had to install the garbage Moss boots using plastic tie wraps (which are guaranteed to leak). For sure save the OEM clamps back into the Magic Trailer for future re-installation.
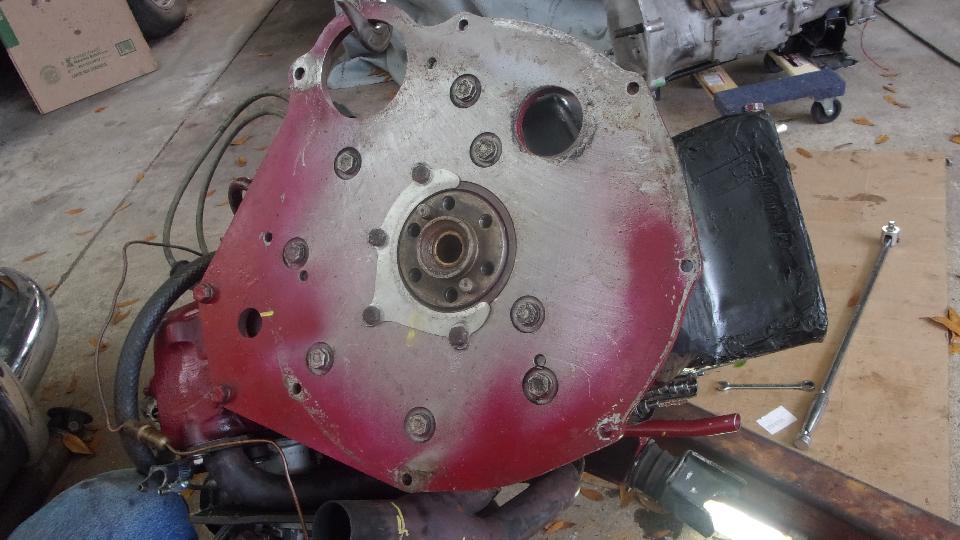
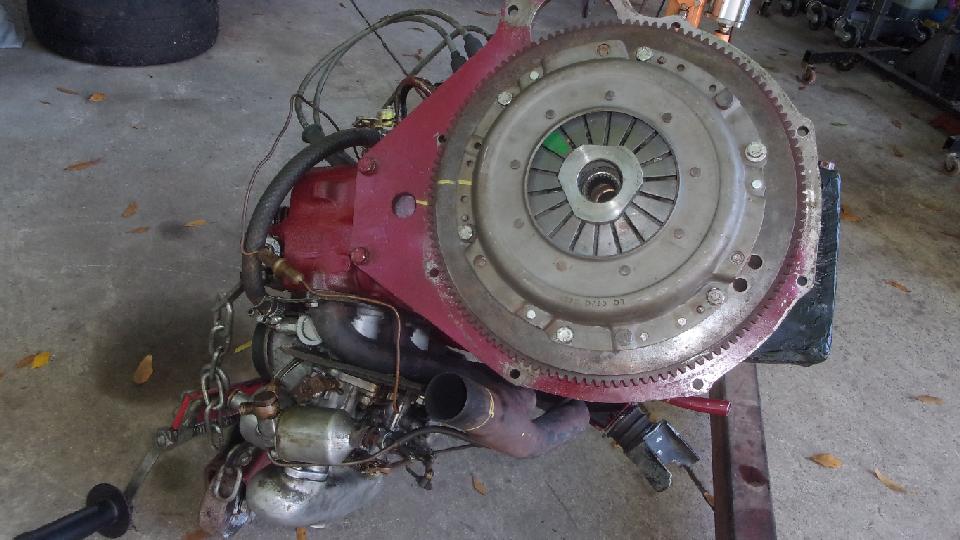
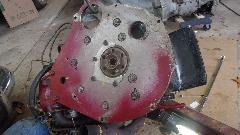
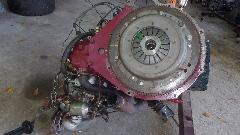
While we were doing all this, John Schroder was working his ZB Magnette 1800 with overdrive conversion. Last Friday we suggested to put a quart of oil in the gearbox and stand it on its nose to see if it leaked at the front seal, and it didn't. So today he was installing a new rear seal in the engine, and getting the flywheel and clutch re-installed. Shadows getting longer, so time to clean up and head for WiFi.
Tuesday, February 8, 2022:
Happy to report that the Monday tire rotation after LOF service.worked a treat. We got to run a few miles down the interstate and back at express speed, and no more jiggling in the steering. One tire we moved from front back looks okay when you spin it, but jiggles when driven like being out of balance. It doesn't bother us on the rear, so I guess we can ignore it until we need new tires again.
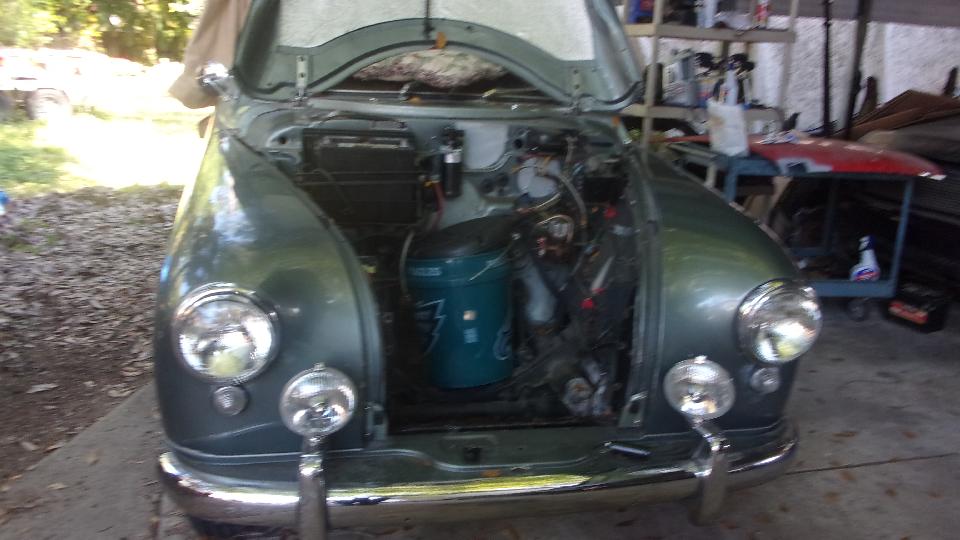
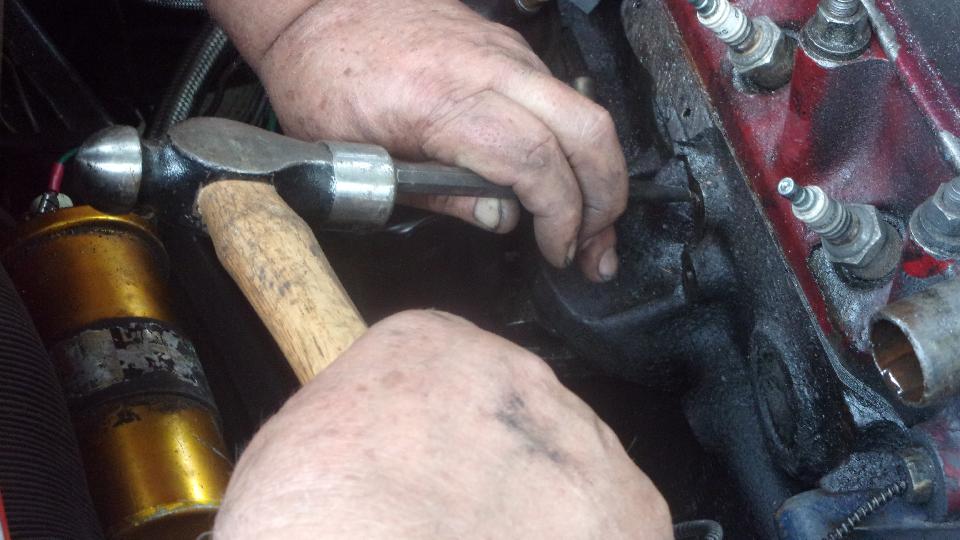
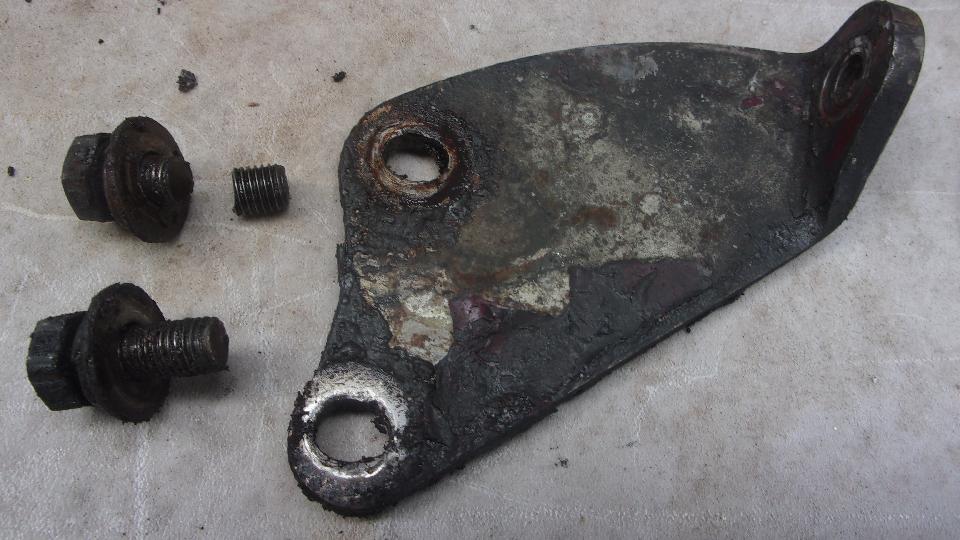
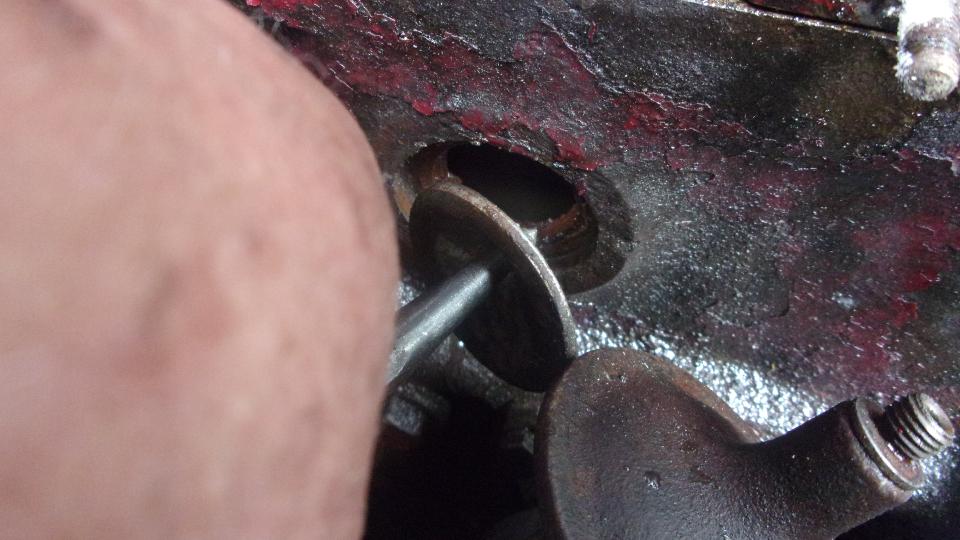
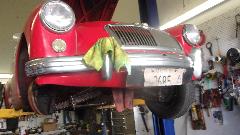
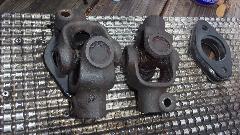
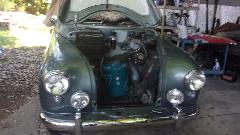
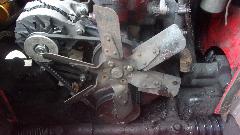
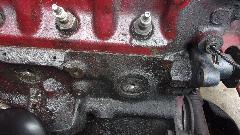
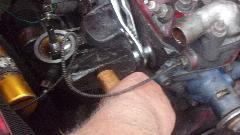
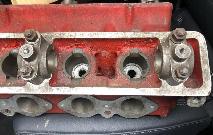
Another bit of deferred maintenance to take care of today. We have had a slightly leaky core plug since summer of 2017, had to top up coolant once a month, but never got any worse. More recently another core plug began to leak, maybe a little faster, now adding coolant every two weeks, time to fix it. So drain the coolant, and out with the radiator, because we intend to make the steel cooling fan and steel fan shroud go away as well. But first, another odd unforeseen problem. While removing the alternator rear mounting bracket one of the bolts broke off in the engine block. That was a downer for a while.
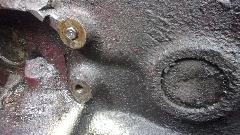
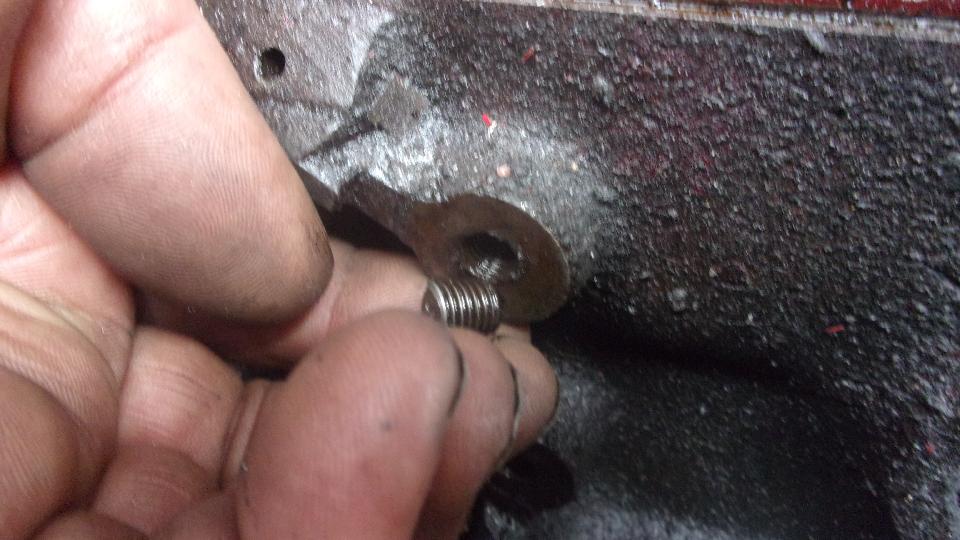
But I'm fond of saying this is not an old car. It gets driven and serviced so much that effectively gets restored about every 10 years, just not all at once. Being the epitome of a rolling restoration, it is more like a 10 year old used car, nothing rusted up, so things come apart pretty easy. In this case a few taps with a sharp center punch got the stud turning, and then it screwed right out with fingers only.
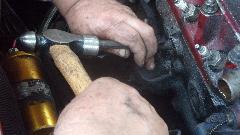

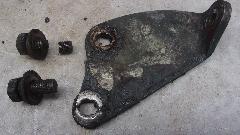
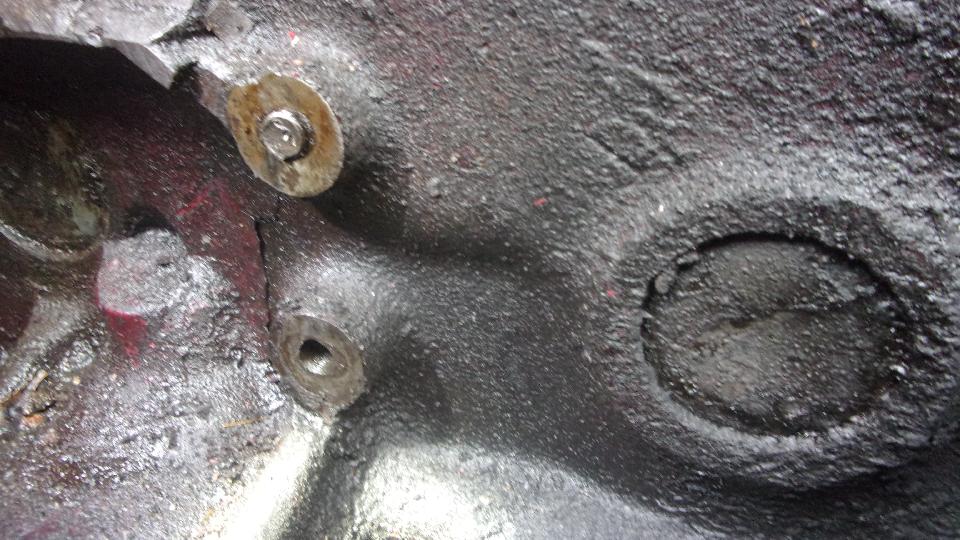
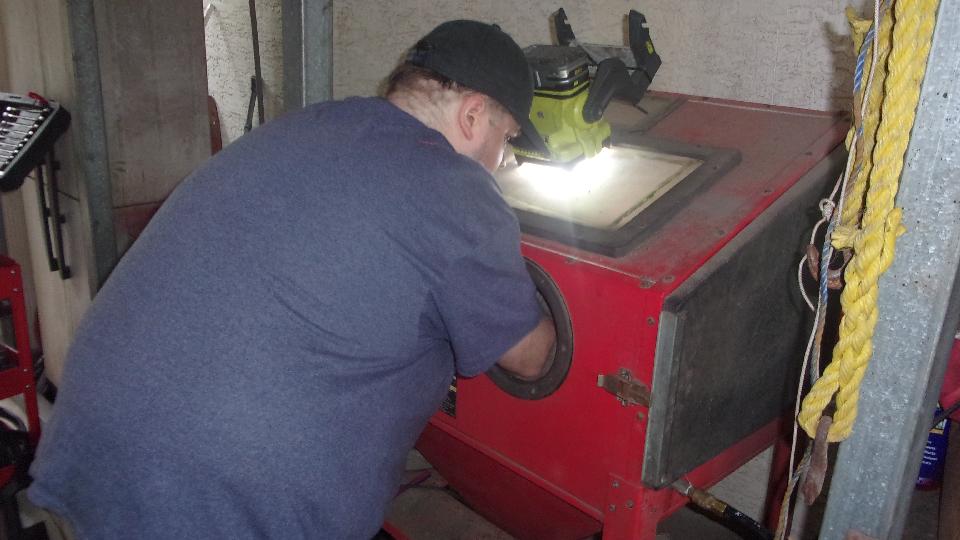
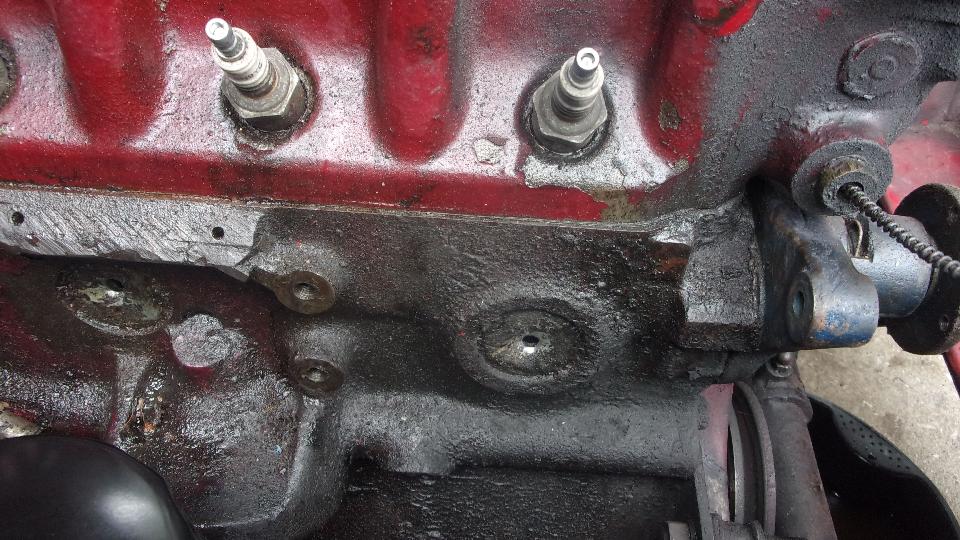
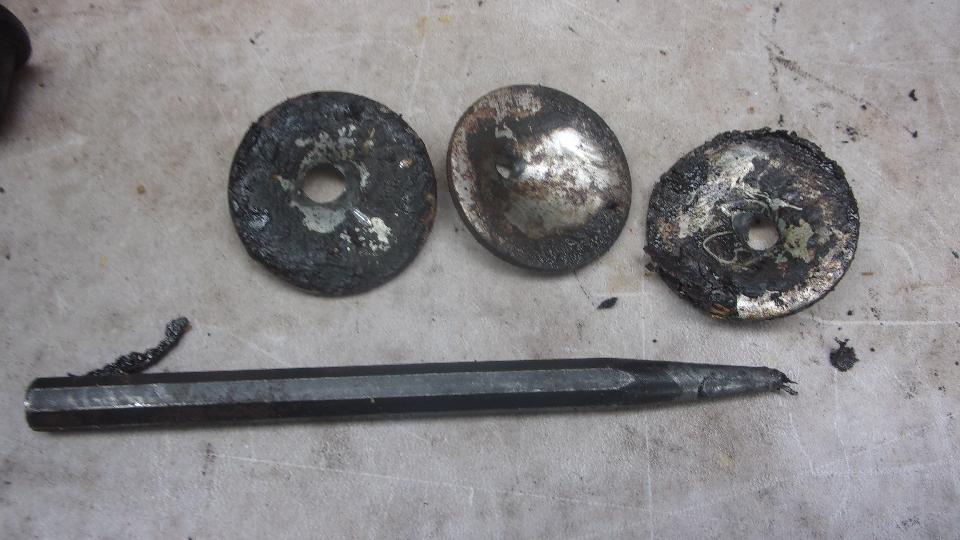
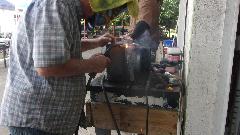
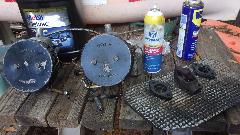
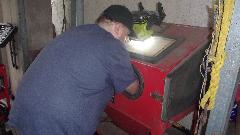 Time for navigator to take the crash course in cabinet sand blasting to clean up the alternator adapter bracket that was never properly painted. That came out nice, rinse with lacquer thinner, flash dry, spray with etching primer, and a half hour later some satin black appliance enamel. Meantime i sharpened up a center punch to have at the leaky core plugs, Tap away with a 2-pound hammer until it goes right through, then knock it sideways a but to pry out the plug. The two that were leaking came out easy. The one in front that wasn't leaking turned out very stubborn, I recon I should have left well enough alone there, if it ain't broke don't fix it. But all is well that ends well,

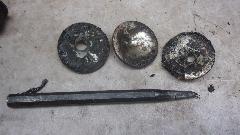
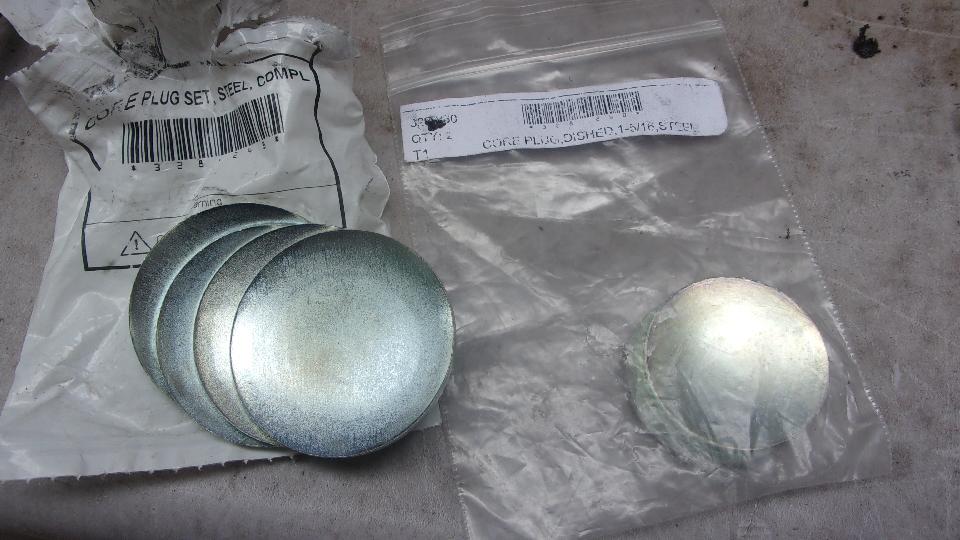
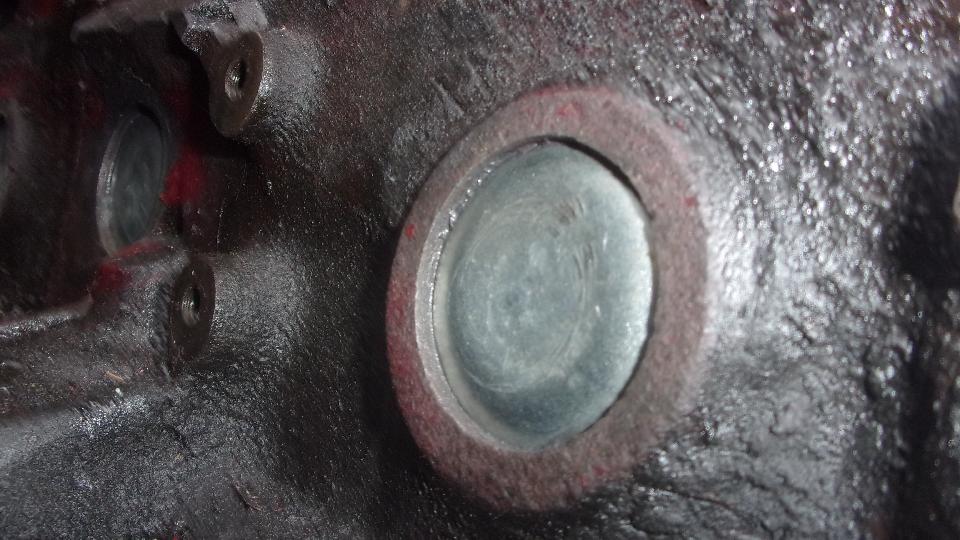
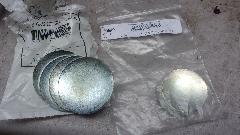
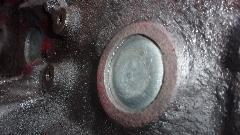
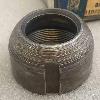
After all the grunt work, installing the new core plugs can be fun, just don't screw it up. Clean out the sockets on the block removing any rust or debris left from prior adhesives. Be sure it's all dry around the sockets, give it a little smear of plumber's putty or blue stuff (RTV gasket sealer, in this case black), and stick in the new dome plug. Bang it down in the center to make it expand tightly. The trick here is not to just put a ball peen hammer dimple in the center (which does almost nothing). You need to crush in a spot half the diameter of the disc, and tap it down about half of the original dome height. You need a wide diameter punch, like a wrench socket, short helps when you also need a heavy hammer.and find enough space to swing int in confined quarters.
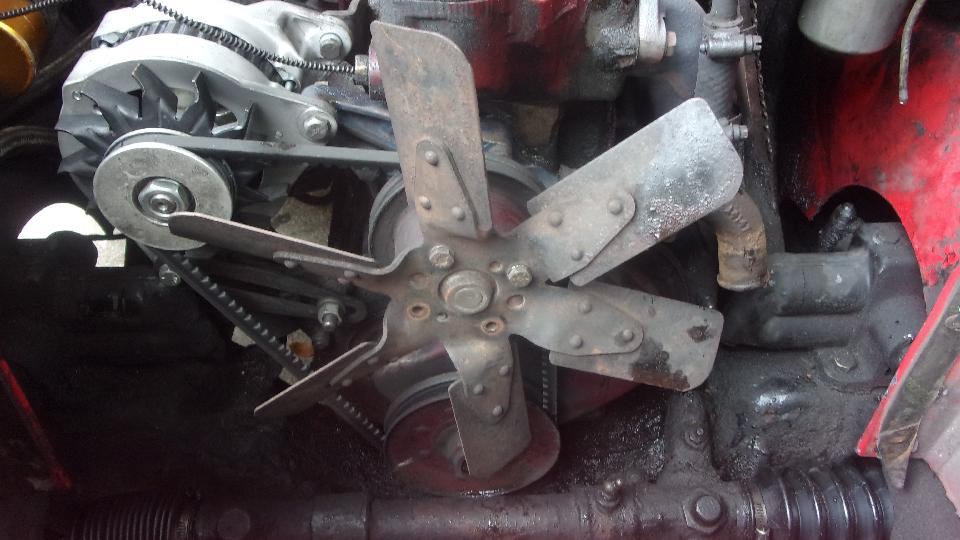
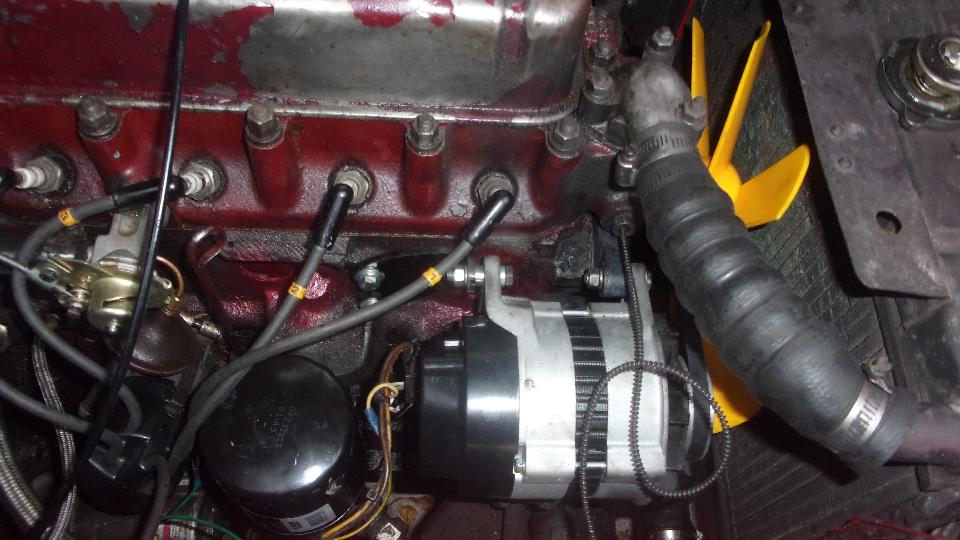
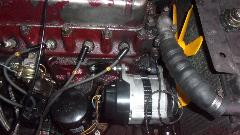
There they are, nicely painted, trying to hide under camouflage. Heater valve, oil filter and alternator back in place (with a new fan belt). There's a view we don't see very often, easy installation of the new fan, and alternator when the radiator is not in the way. And then all tucked in behind the radiator, this time leaving out the steel fan shroud. I'm serious enough about that to toss the fan shroud into the recycle bin, hoping I never have to crush my knuckles on it again. 25 years of that masochism is more than enough.

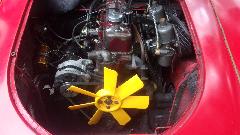
From some prior experience, I expect the new asymmetrical 7-blade nylon fan to move plenty of air so the fan shroud has no useful purpose, while still running fairly quiet. Yes I did tie-wrap the temperature sensor pipe up to the top hose for strain relief. Fresh coolant as well, although I don't expect it to last forever with those crappy soft hoses with very little reinforcement that Moss is selling these days.
Wednesday, February 9, 2022:
Been working on cars 5 of the past 6 days (4 of those days working on my car). This was supposed to be a day off, but no spare time here. Took little time to catch up spare parts inventory list adjustments and future parts order list.
Then I killed 7 hours trying to deal with problems with my Verizon cell phone, mostly killing hours on line enduring slow response through tech "chat", getting disconnected three times, spending an hour doing test calling (still not fixed), more delay contacting voice tech to find they can't handle the tough issues, and will have to find Verizon phone store tomorrow.
Updated a tech page for the misfit felt bushings for the MGA steering column. Took time out to call Moss Motors (USA) tech with a "heads up" notice on the steering column felt bushings that are wrong size (again). They get these parts from Moss UK, so now contacting them to deal with their supplier.
Spent an hour late night measuring a couple dozen copper and fiber
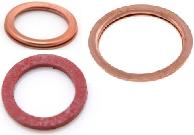 sealing washers to make a spread sheet with part numbers and sizes for various applications. I hope this list will include every seal washer used in the MGA, and list the multiple places where they are used. This will ultimately make a new tech page for Seal Washers in the Care And Feeding tech section (along with bearing and seal cross reference lists). This will help identify loose parts without part numbers, and also aid in local sourcing. Going to require a lot of time.
Thursday, February 10, 2022:
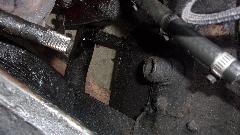
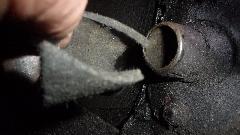
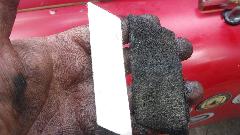
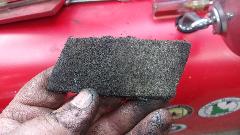
Someone sent a nice picture along with a question, so start the day by posting a new tech page for failed carbon clutch release bearing.
Short trip to a local Verizon phone store, trying to get my phone fixed by replacing the SIM chip, no cost, on recommentation of the on-line tech rep. Wasted an hour, and it didn't help. Now I finally find out there are two different kinds of Verison phone stores, corporate stores, and "Authorized Retailer". Apparently I have always been dealing with one or another of the Authorized Retailers who may not know how to fix your existing problem, and primarily want to sell you a new phone. And just a minor reminder that they also refuse to sell replacement batteries (even if you would pay them to install it).
I've already purchased FIVE cell phones with the Verizon service name on them in the past eight years, only one because it got wet, the other four all due to functional failures. The last two failures were at 9-month intervals, and I'm not going to buy another Verizon phone. Good that these things are relatively inexpensive flip phones. It verifies my original judgement not to buy an expensive smart phone from the beginning. It didn't take too long to figure out which places are Verizon corporate stores. It's a difference in the way the store name is formatted in the internet search results. Maybe I get to have one more whack at it tomorrow.
 Another friend of the mark sent another tech tip for cleaning out a clogged pick-up tube in the fuel tank, and sent pictures with it, so that makes nice update to an existing tech page .FU-100P.
More time on the Seal Washers list this evening. I have the Moss part numbers and dimensions and application list for all of them. Now wanting to attach all of the BMC factory part numbers as found in the Service Parts List(s). Back to the grunt work.
Friday, February 11, 2022:
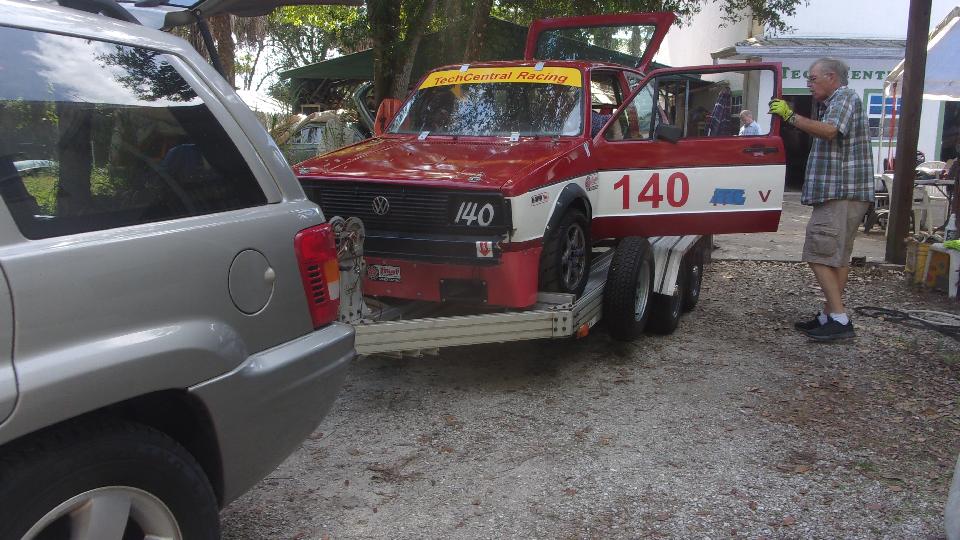
Hey, hey! Top priority at Tech Central racing today is to get two race cars on the trailers and head out for a racing weekend. We must not forget what this place is really all about.

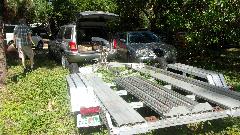


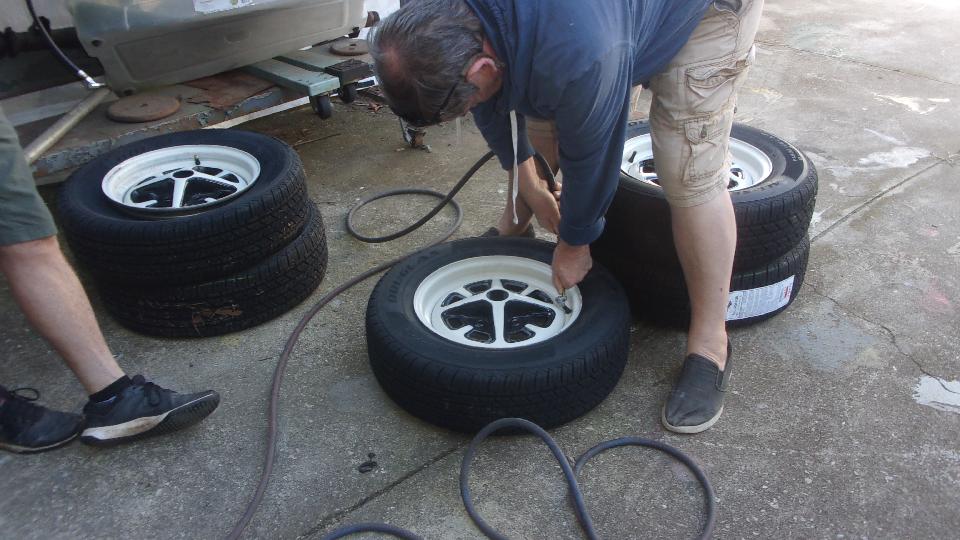
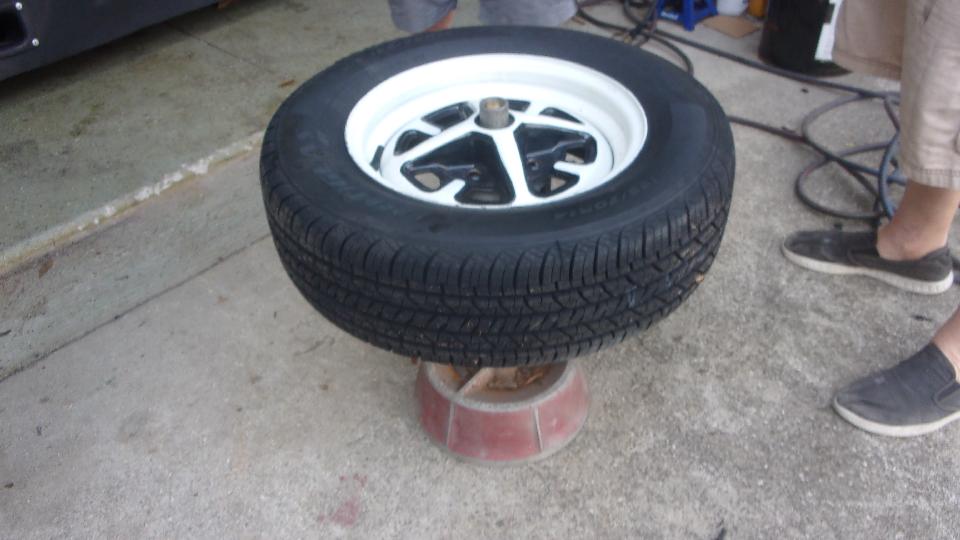
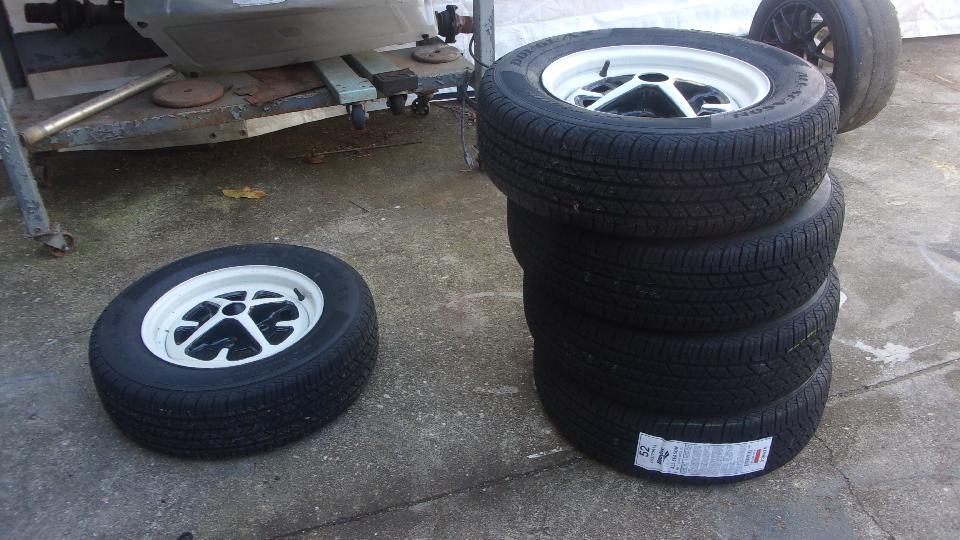
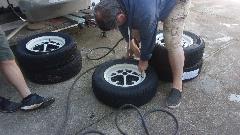
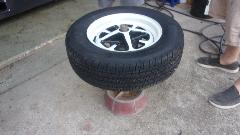
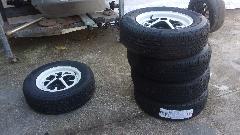
Across the forecourt, five new tires mounted, aired up, balanced, and ready to go on another streetable MGB.
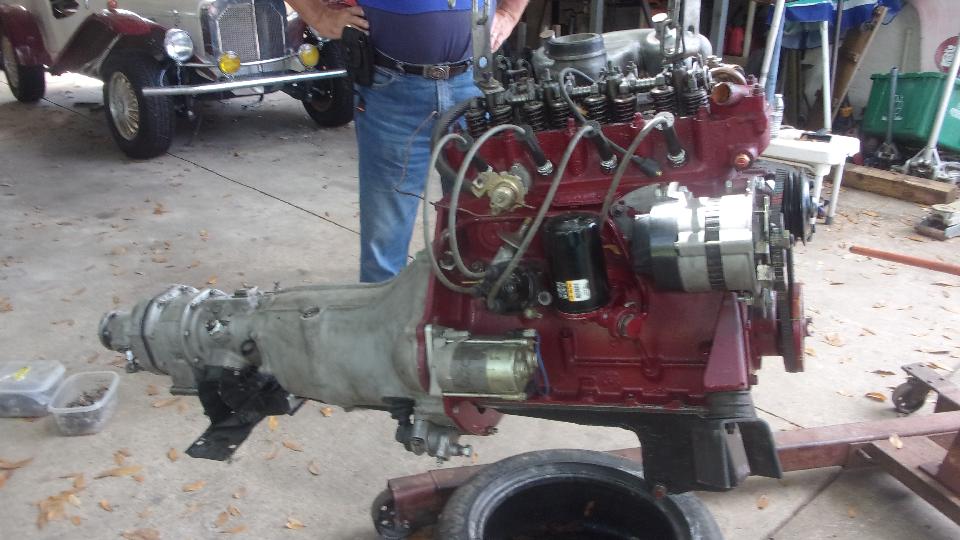
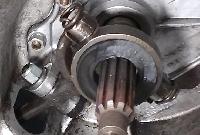
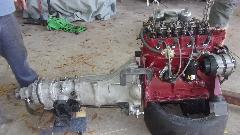
The Magnette is getting the engine re-fitted, a couple inches farther back in the chassis, working up new engine mount pedestals, engine in, engine out, mating up to the gearbox, and ready to go back in again to re-align the rear mount (job for another day).

The Excalibur is trying to look more like a real car, having radio speakers fitted to the rear cockpit walls.


By mid afternoon we were heading out to find a Corporate owned Verizon store with last failing hopes of getting my cell phone to work again. One hour wait for the service que, half hour negotiating to be told they didn't have a clue how to fix it, and we should buy a new phone. Then on the store phone with "level 2" tech support for another two hours making three 40-minute rounds with different tech agents repeating the same things getting nothing resolved.
During the latest long pause on hold, poking round the phone in hand, we finally got a Cloud connection to back up the Contacts information, then hit the factory Reset function, followed by reloading the Contacts information, and we had it working again. Really. Then we received a couple of text messages from Verizon wanting us to rate the helpfulness of the tech assist phone calls. Yeah, sure, zeros all around for wasting three days of our time. Heading for a late lunch just about sun down.
Saturday-Sunday, February 12-13, 2022:
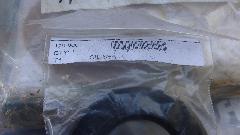
With some spare time available, I sat and fiddled with a dial caliper making a CAD drawing (reverse engineering) for the MGA steering inboard ball joint. Not sure what the drawing will be good for, other than identifying the threads, but may use parts of it to illustrate items in the Part Numbers index. This was the slightly worn part I replaced on Feb 3 (see above). Thought it might be of some good use before I throw it out.
Monday, February 14, 2022:
Posted five more pages to the Part Numbers index for MGA steering inboard ball joint parts ACA5246, ACA5301, ACA5302, ACA5304, ACA6031, AHH6019. Well, I had the parts in hand, so why not? Just a few thousand more parts to go.
Got a call from a friend in NE California, working on another friend's MG TF. Engine rebuilt a few years back, sleeved back to standard bore size, driven several hundred miles, reported to be using a lot of oil. Disassembly disclosed very tight fitting pistons, implying undersize bore diameter. Cylinders honed out to provide the desired clearance, new rings installed, now running again. On to discussion of some reasonable break-in procedure. Driving in the mountains seems like ideal break-in conditions, variable speeds and variable loads, just go at it and have some fun.
Another call in the evening from a friend near Oklahoma City, Oklahoma. A car guy who has restored a car before, has previously driven MGA and MGB, now interested in getting an MGA project car for future entertainment. Nice two hour chat, a lot about how to find such a car in Oklahoma. Not just desert in the environment, but rather scarce of MG cars too.
Tuesday, February 15, 2022:
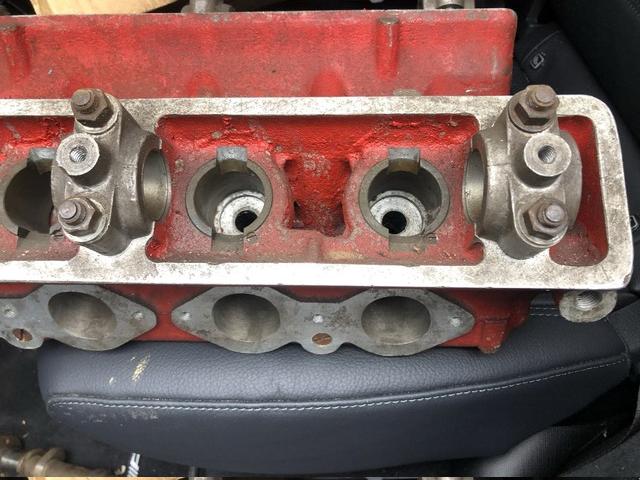
By popular request, it was time to post a new tech page on Paint Color of MGA Twin Cam engines. Somewhat controversial, not fully resolved, but pushing investigation in the right direction.
|