The MGA With An Attitude
MGA Guru Is GOING MOBILE - (January 16 - January 31, 2022)
Sunday, January 16, 2022:

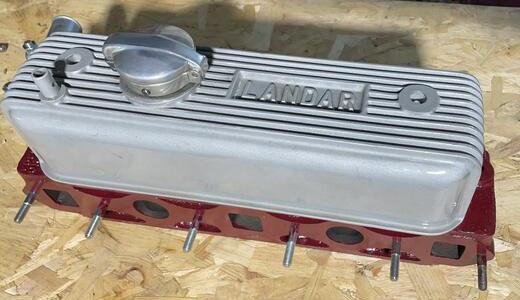
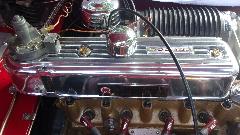
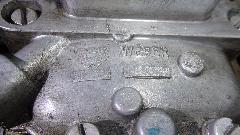
Someone found a neat vintage accessory alloy valve cover made by Landar from the late 1960's (not quite period correct for MGA). had to post this on one of my Accessories tech pages.
Monday, January 17, 2022:
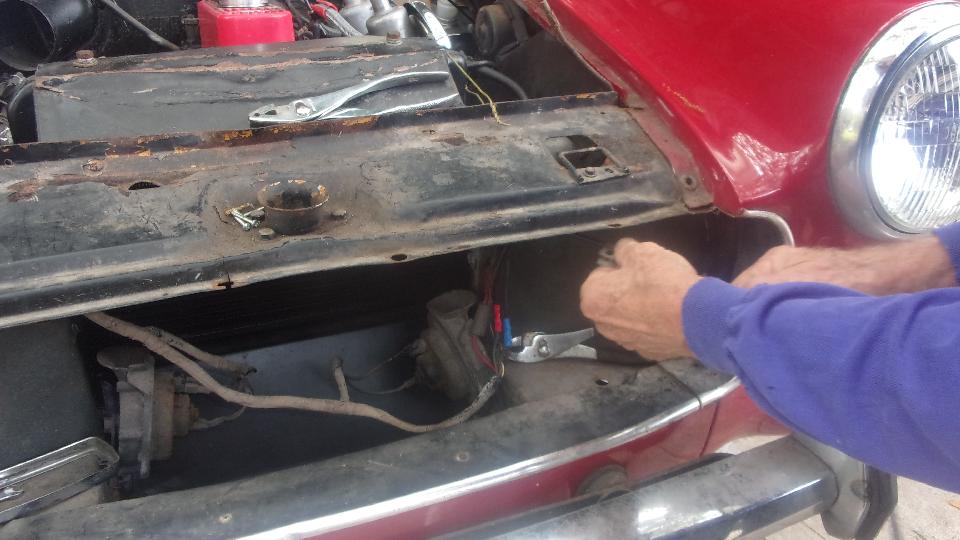
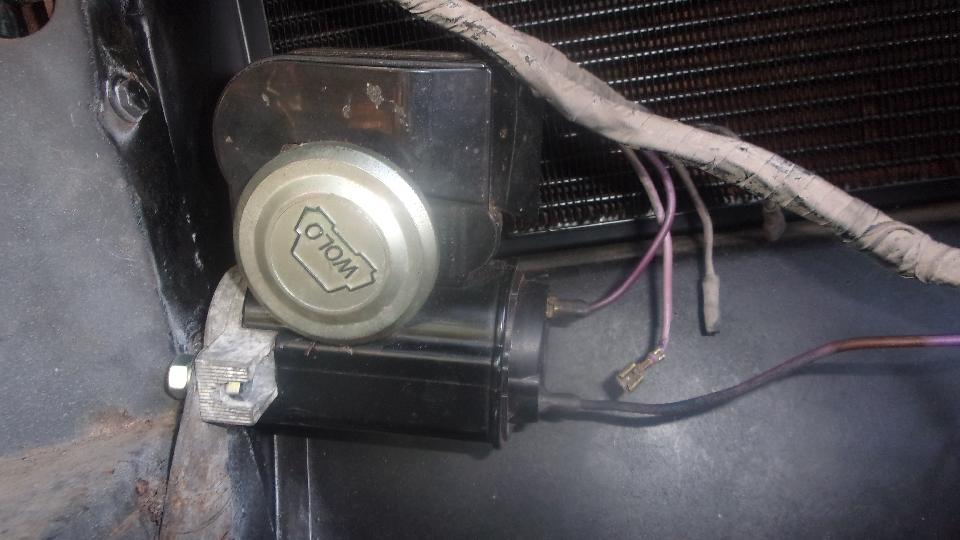
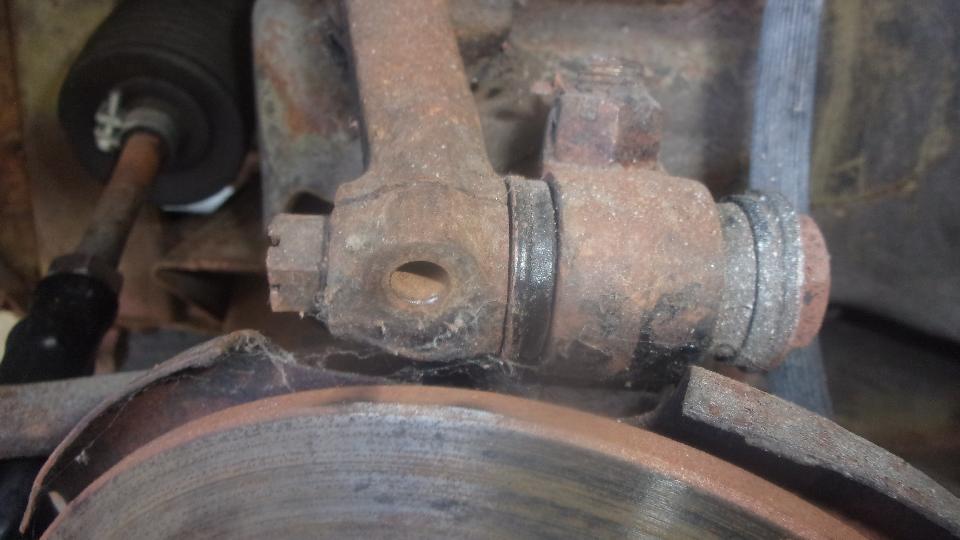
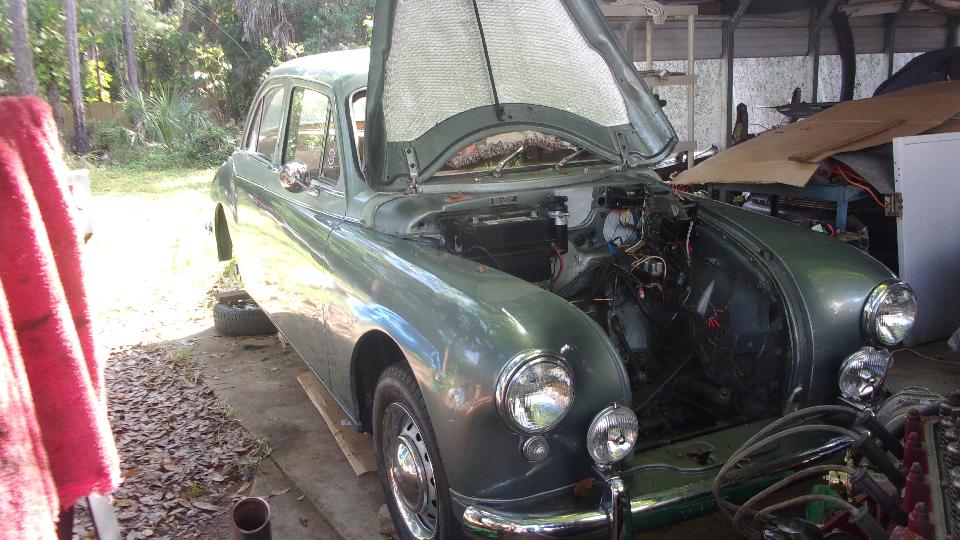
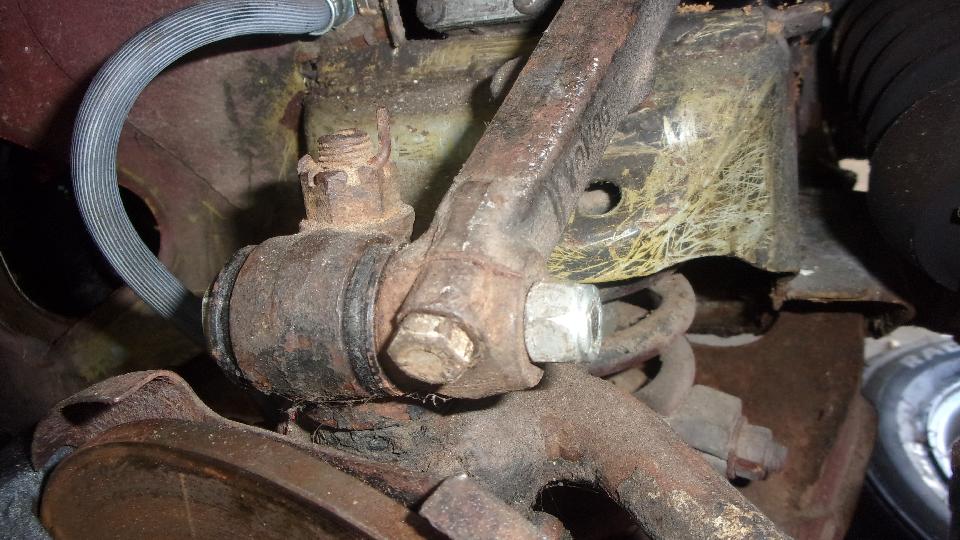
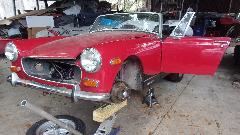
Back to Tech central again, because we want to get the rusty Midget finished, because we won't get much done on our MGA until the Midget is done and gone. Today's definite task was to remove the dead twin horns, and install the little dual output air horn, and we did (after a fashion). In the process I noticed another problem, a missing pinch bolt in the upper suspension arm, on both sides. Also the castle nut in front was loose, no way to hit the road. So we raised the suspension a little to improve the angle for access, and began "trying" to run a tap into the hole to clean out the threads. Not much progress trying to turn the tap with a small open end wrench, so it looks like the suspension will have to be partially disassembled, a chore for a different day.
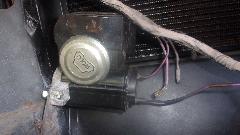
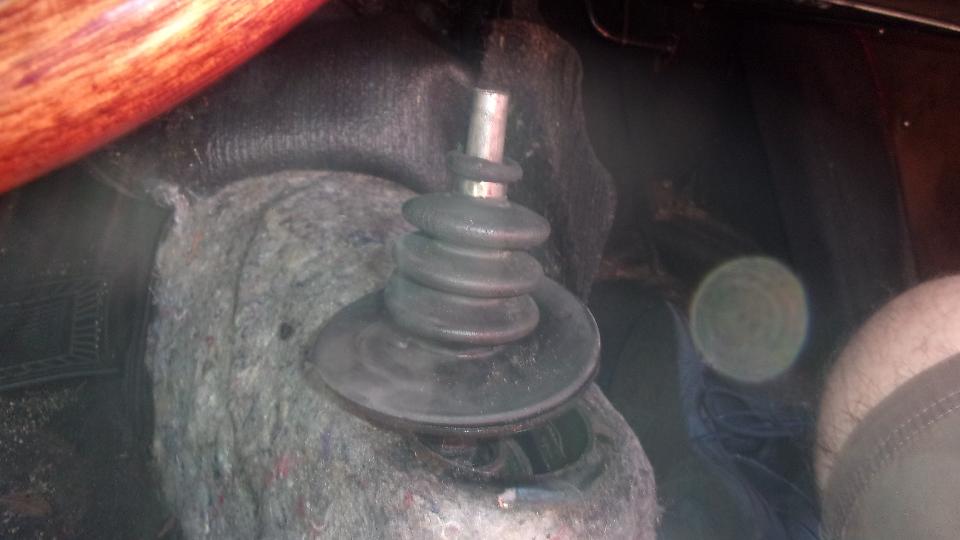
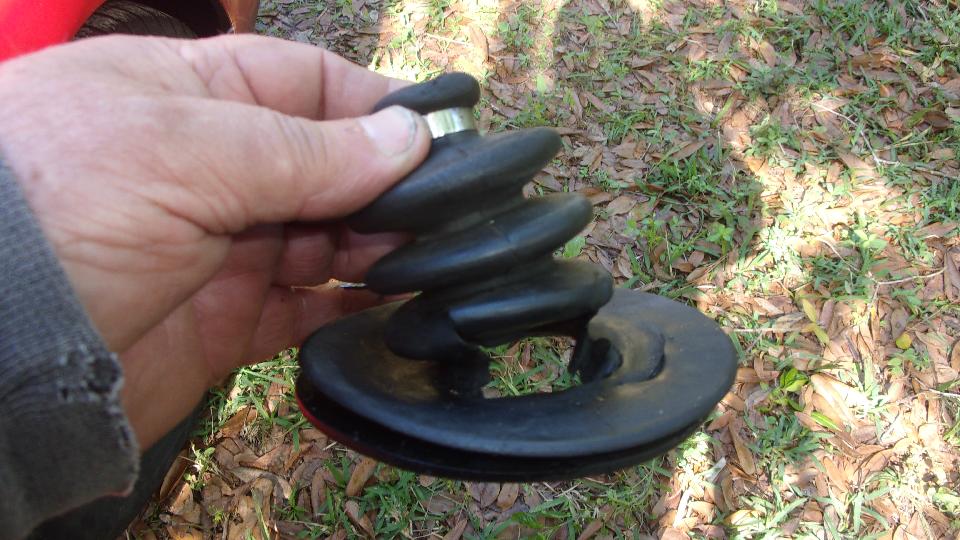
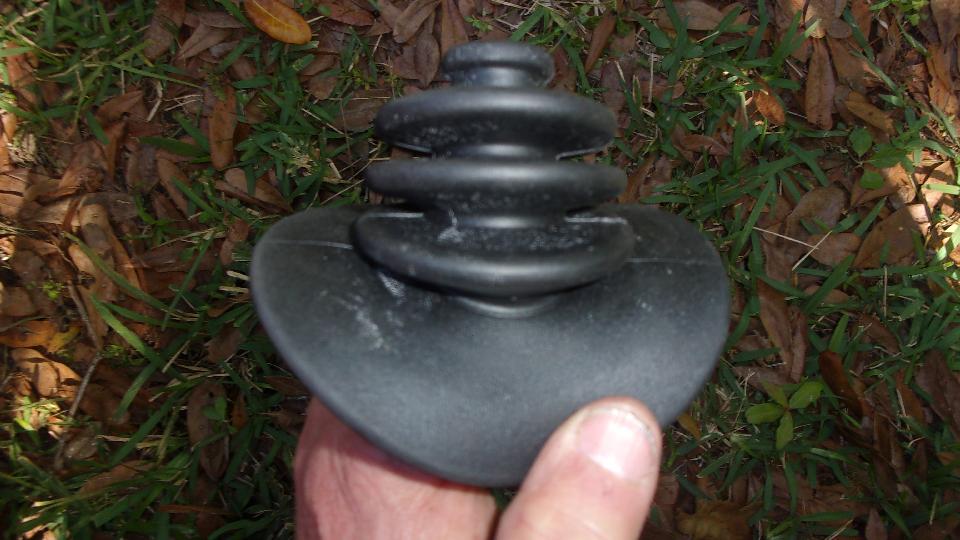
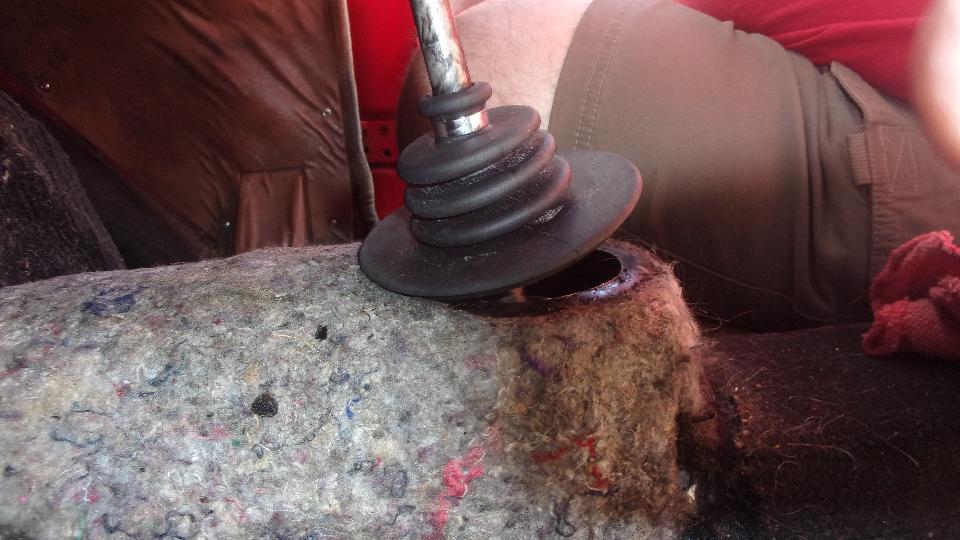
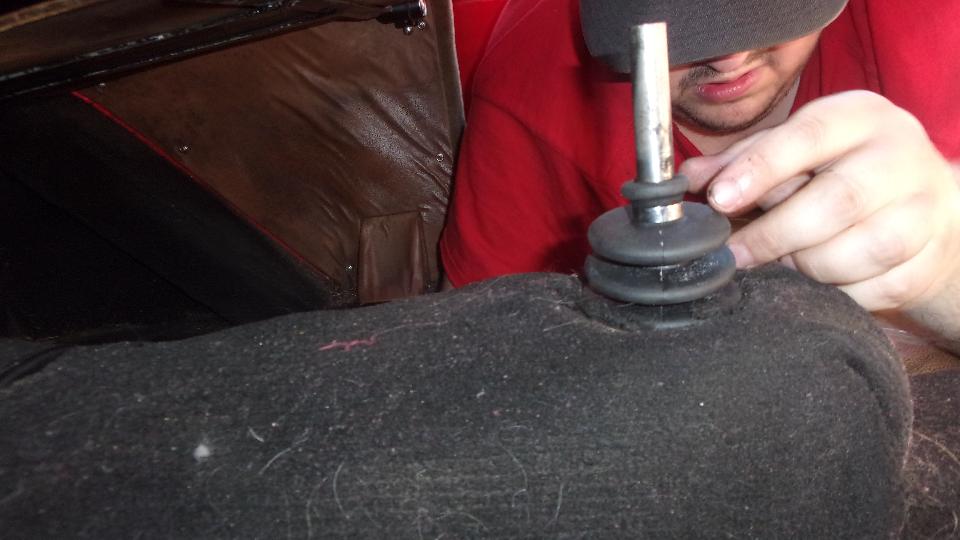
Meanwhile navigator Elliot was tinkering with the MGA, changing the rubber draft excluder on the shift lever. Rather crummy rubber ion current replacement parts, so this happens every year or two.

Remove shift knob, remove tunnel center carpet, pull the rubber boot out of top of tunnel and off the shifter, transfer the chrome retainer ring from old boot to new boot, and reassembly is the reverse of disassembly. The final challenge here is tucking the center tunnel carpet piece back under the front tunnel carpet, then drop the floor carpet back on top of the tunnel carpet flanges.
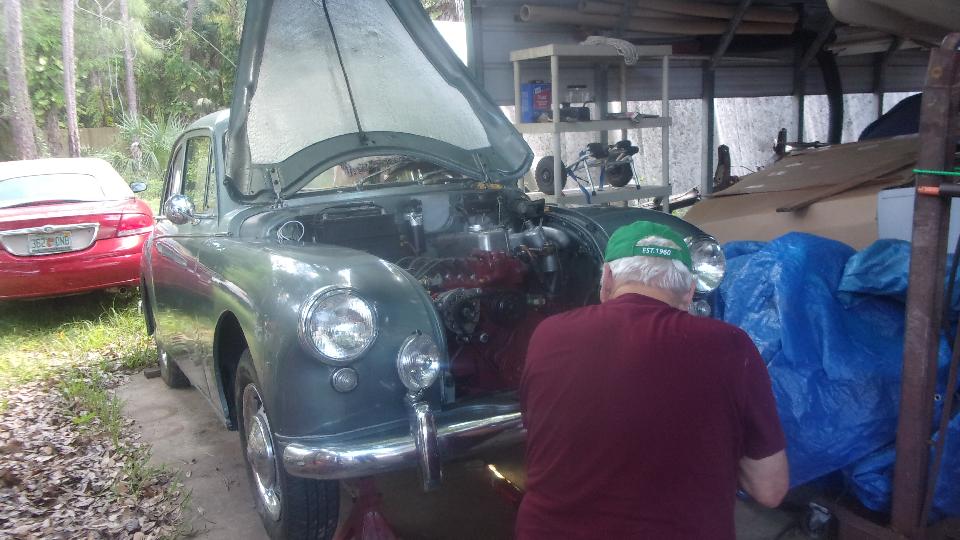
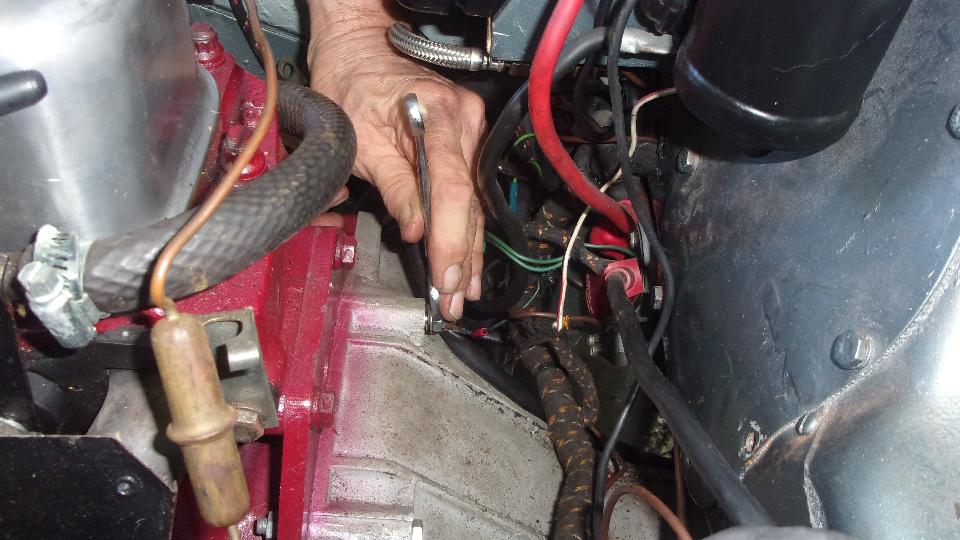
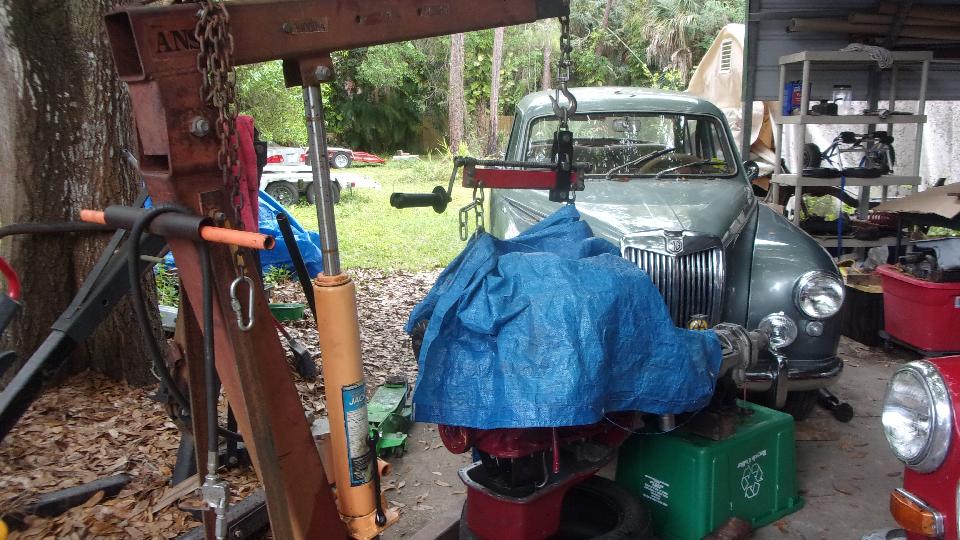
Only one more guy left, as this was supposed to be an off day (not Friday), but John Shoemaker is here working on his ZB Magnette. Remember this one from last year? All the work to install an 1800 5-main engine with 4-synchro gearbox and overdrive? Well, it's too far forward, interfering with installation of the radiator and cooling fan, so now they want to move the engine and gearbox back two inches. Really. That means relocating the engine mounts, remodeling the gearbox rear mount (again), shortening the propshaft (again), relocating position of the shifter hole in the tunnel (again), modifying the oil pan to clear the steering rack, remodeling the radiator mounting. Ya gotta do what ya gotta do, so let's get cracking. Radiator already out, undo top of engine mounts, disconnect P-clip for wiring harness from bellhousing bolt.
Underneath, disconnect exhaust pipe from manifold down pipe, Loosen bolts in the gearbox rear mount and remove two of them, disconnect speedometer cable and front flange of propshaft.

Inside, remove tunnel top cover and gear shift extension assembly, disconnect overdrive wiring and back up light wires, pulling the harness out the front and out of the way. Mid afternoon, enough work for a couple old guys, time to knock it off for the day, and go find a WiFi spot and late lunch.

In the evening attend two overlapping Zoom meetings, one hour with John Twist tech chat, 1-1/4 hours with Chicagoland MG Club monthly membership meeting, then back to John Twist for another 20 minutes. Finish posting these photos and notes by 11-pm, long day but productive.
Tuesday, January 18, 2022:
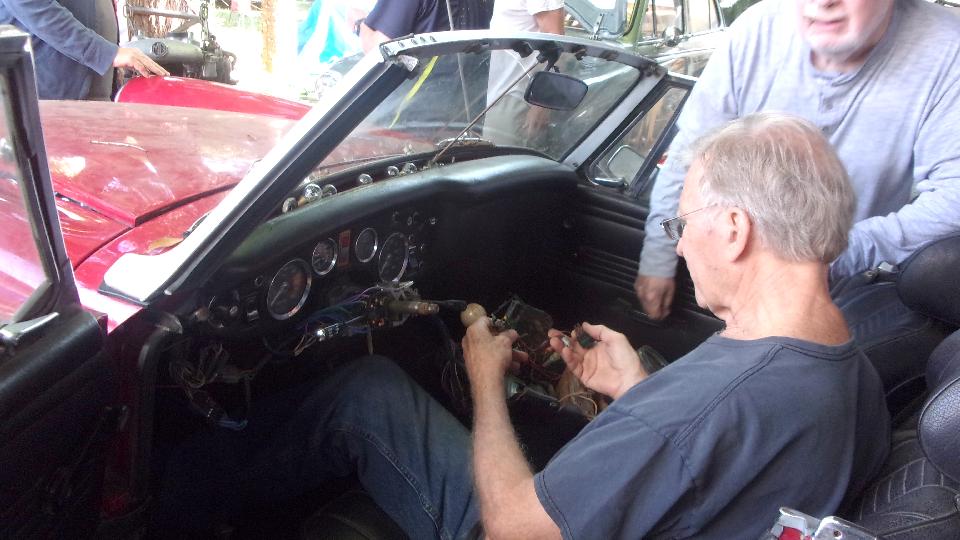
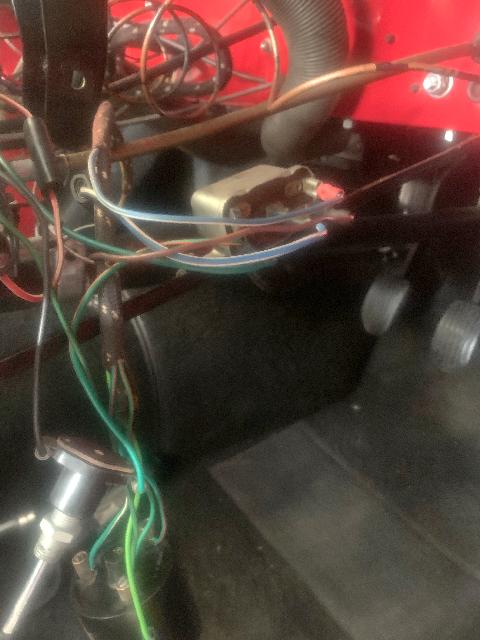
Debugging wiring issues on a 1958 MGA for Robert Kuhn in Boise, Idaho vie email. The car has ben in the family a long time, but out of service for a while, about to get back on the road.
 Intended Friday parts order that didn't get placed until Saturday, didn't get shipped until late Tuesday, expect delivery Thursday. Intended Friday parts order that didn't get placed until Saturday, didn't get shipped until late Tuesday, expect delivery Thursday.
Wednesday, January 19, 2022:
Update for Chicagoland MG Club's All British Swap Meet and Autojumble in Wheaton, IL, looking more like reality this year, reservations have been made for the buildings on Sunday March 27, 2022, and vendors now solicited are beginning to sign up. CMGC web site updated, mark your calendars.
 Added a new Part Numbers page for the "feather key" for MGA adjustable steering column, 47330 or AAA193. This includes dimensions so you can make your own or find a local source.
Thursday, January 20, 2022:
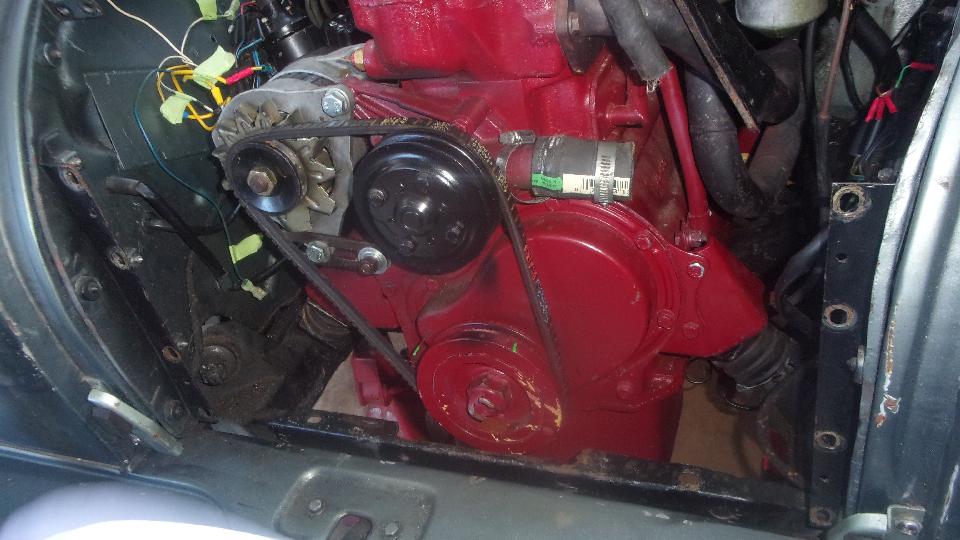
Extra day at Tech Central again. I see sometime in the past two days the engine was pulled out of the MG ZB Magnette (to be moved rearward), and the propshaft is also out on the ground (to be shortened). And the rear halfshafts were pulled out a couple inches, so I guess the differential is going to be changed (most likely for a different final drive ratio once overdrive is working).

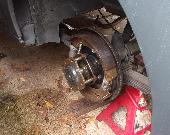
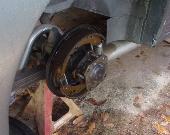
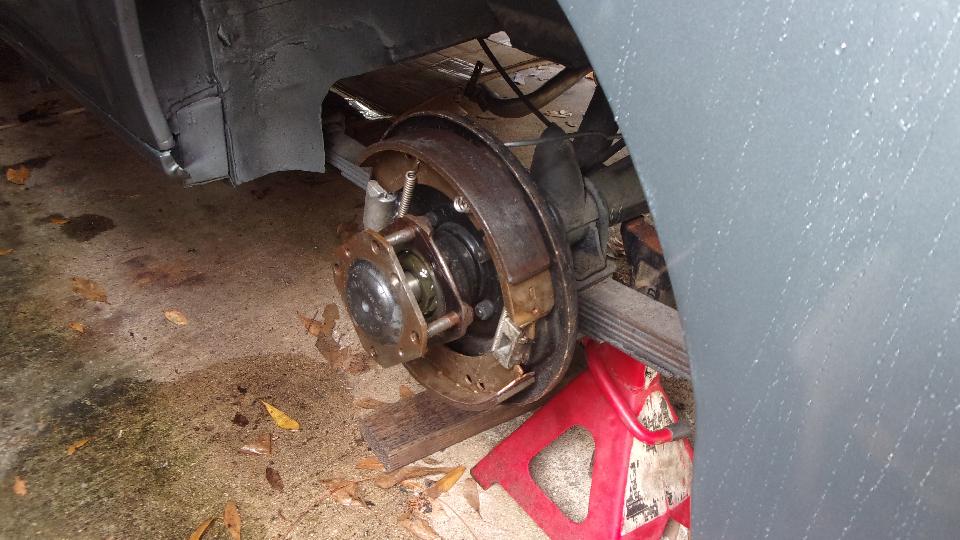
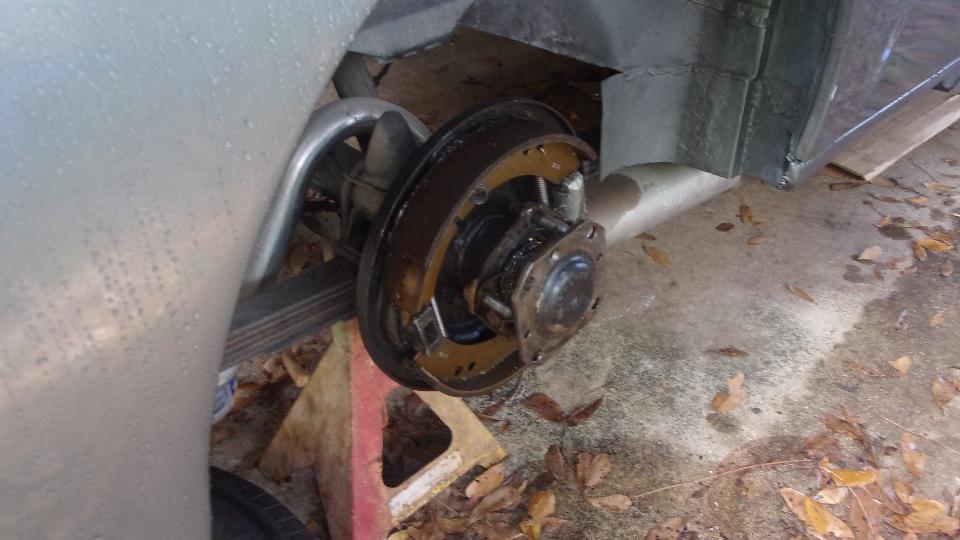
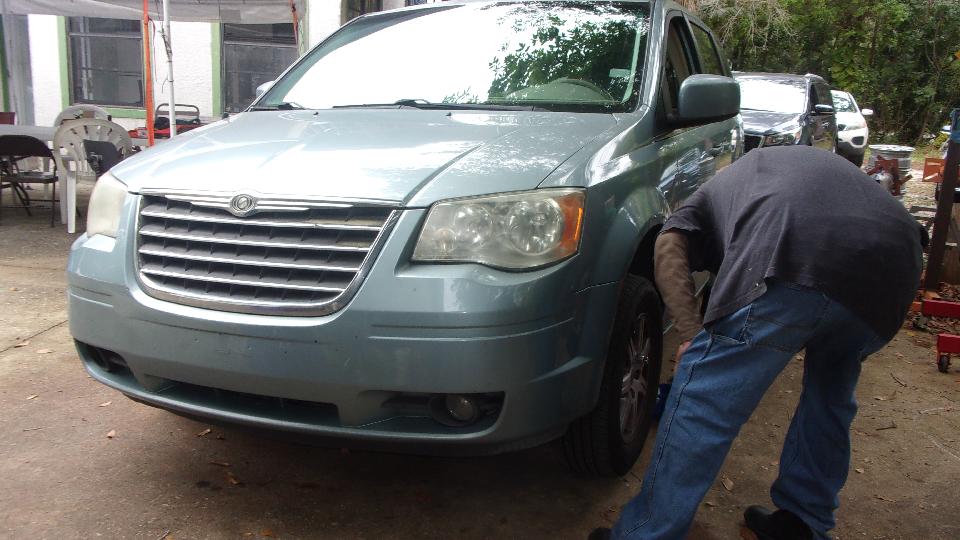
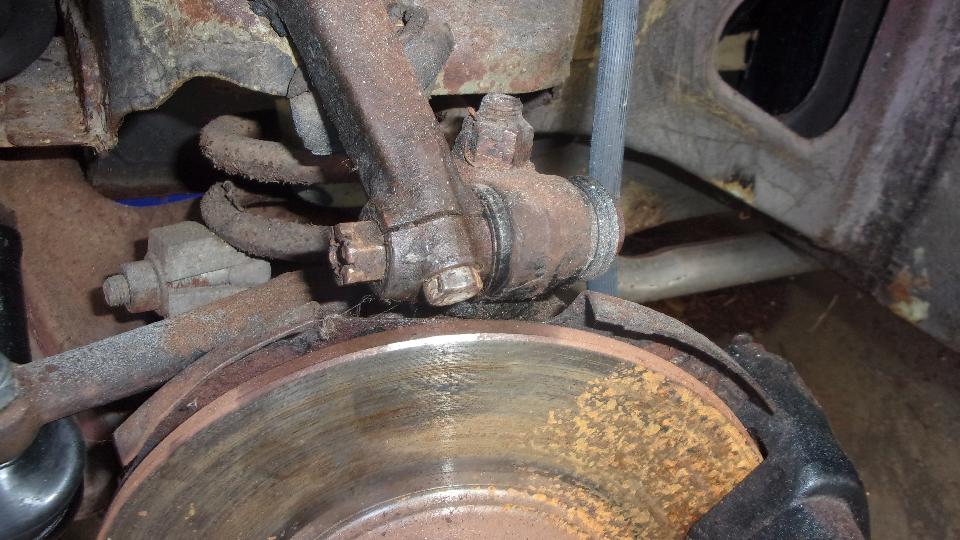
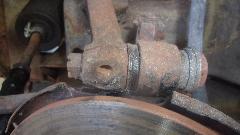
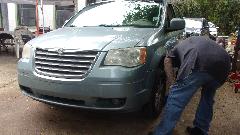 There was a Chrysler mini van in to investigate some grinding noise in the front brakes. Lots of cursing when the lug nuts were too tight, requiring extra strong impact wrench. And one of the lug nuts had different hex size (damn). Nothing obviously wrong with the brakes, so sand the pads a bit in case they may have been glazed, and put it back together. Also wanting an oil change, but the drain plug must have been installed by the same ham fisted mechanic, because it wouldn't come loose either. Not enough space underneath to deal with a breaker bar, so put that off for another day.
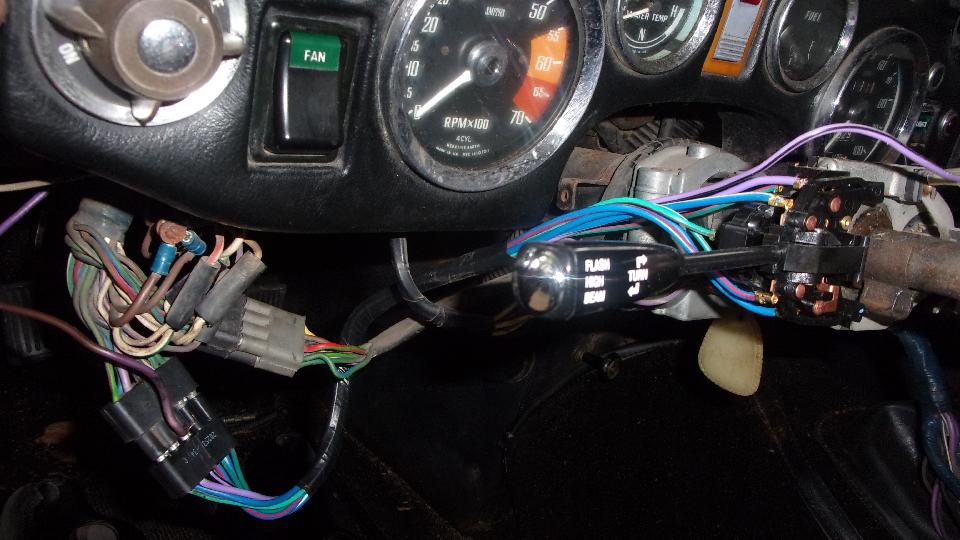
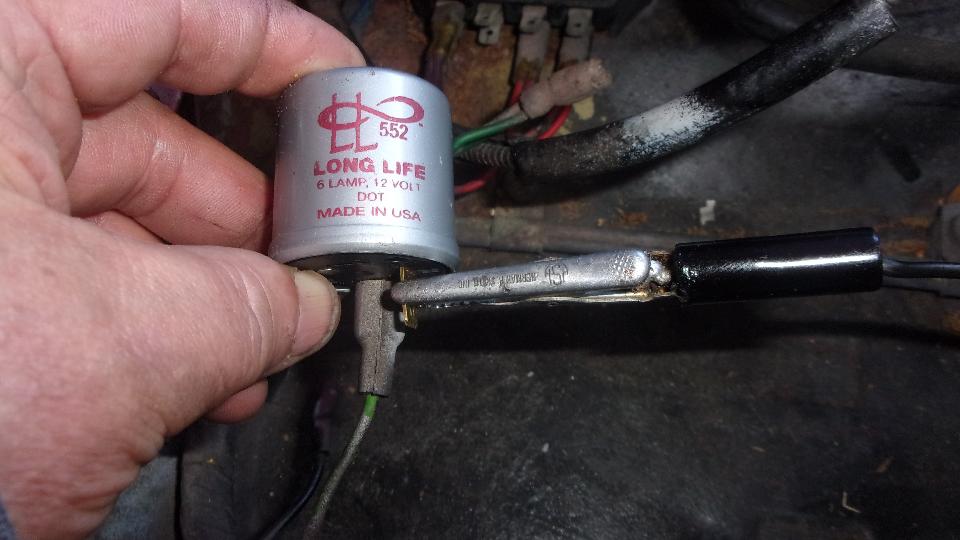
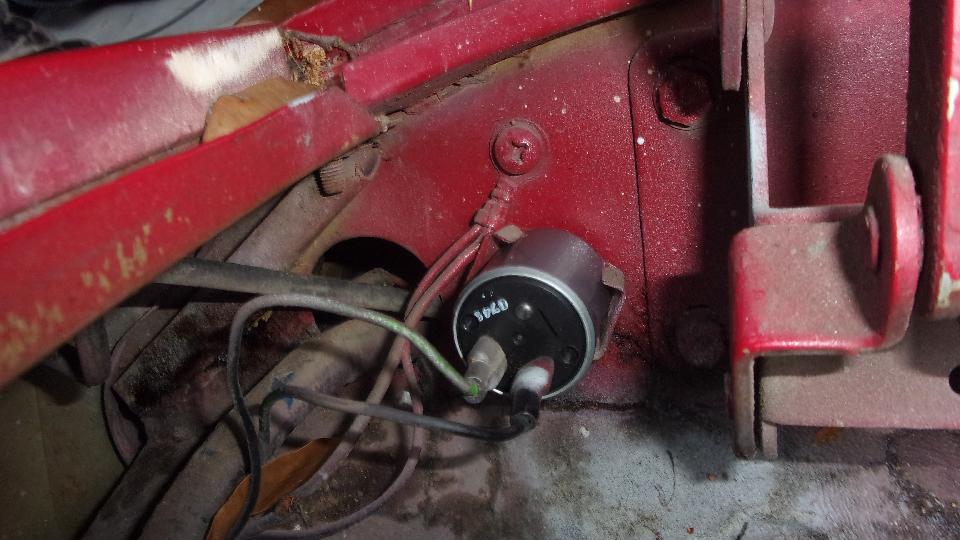
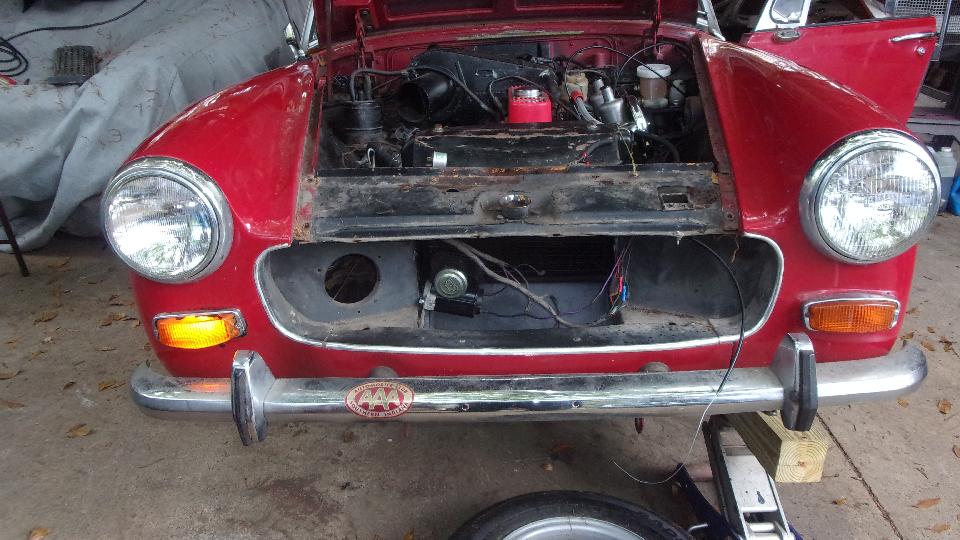
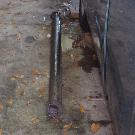
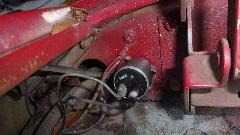
The real reason we were here today was to attack the rusty midget again, because we won't get any work done on our MGA until the Midget is out of here. The front suspension is still missing a couple of bolts, but that will wait because we're short handed today. More anxious to get the turn signals working. Power jumper to the side outputs verified the wiring and corner light are good. Power jumper to the switch input verified the switch works. But there was no power from the flasher unit to switch.
Hazard flasher in the center console works. What looked like a flasher behind passenger side dash turned out to be the instrument voltage stabilizer. Worked in a lunch break here. Finally found the turn signal flasher in the corner of the engine bay, not far from the fuse block. Tried a new flasher, no go. Jumper power to new flasher input, and it works, just no power on the green wire in the harness. That traced back to a disconnected wire and dirty connectors at the fuse block.

Finally new flasher unit back in place, all connected, and the turn signals work. Only eight work sessions (okay, maybe more) with two or three people at a time to get ll the electrical stuff working, but persistence pays off.

Then it was raining, and everyone else left, and the nose of the Midget was out in the rain, so throw the cover over it and set it aside for another day.
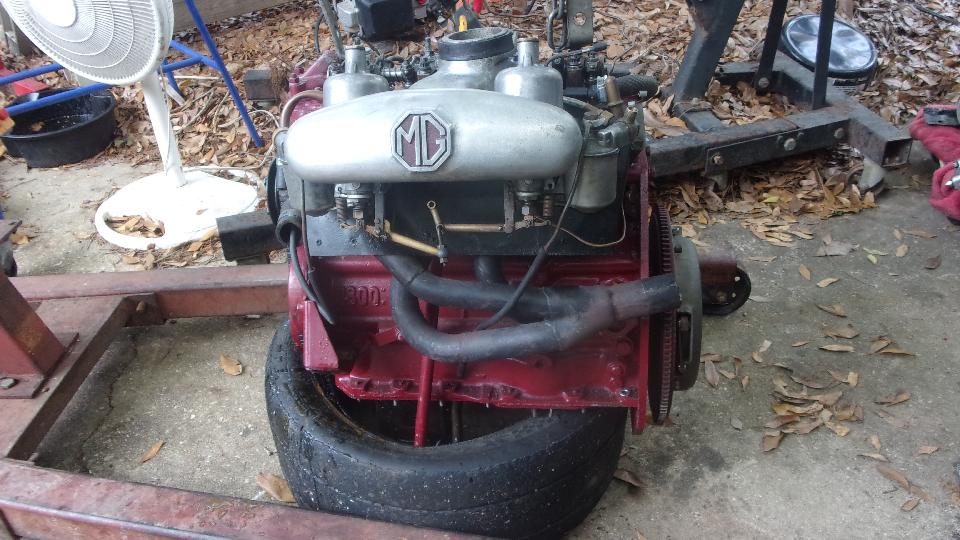
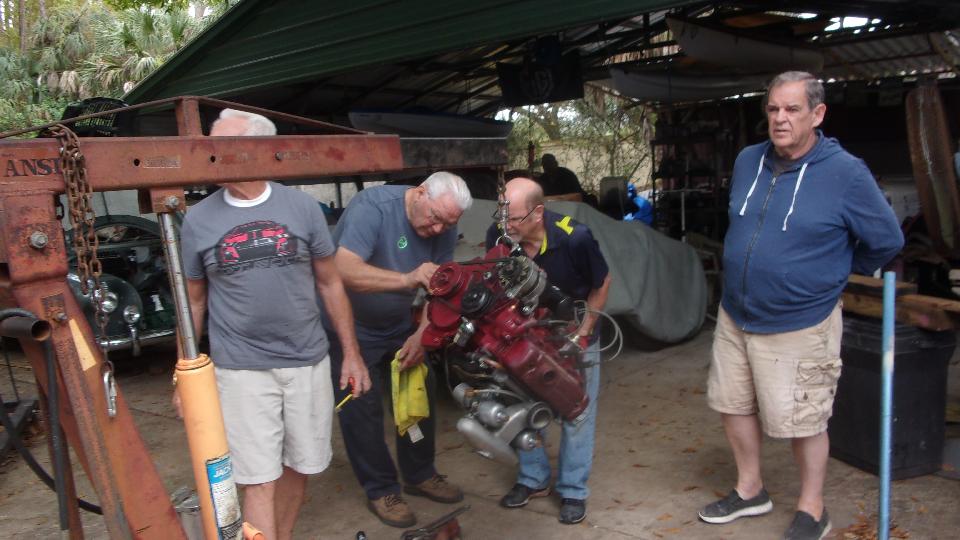
 In the evening I received a message from Jim Holody in Canada about his spare Twin Cam engine. This is a Gold Seal engine (factory rebuilt) purchased years ago separate from any car. Oddly, it was not painted gold. No other history known. I have posted pictures of this engine on the Twin Cam Gold Seal Engine information tech page.
Friday, January 21, 2022:
The normal Friday work day at Tech Central, we had a new car today.
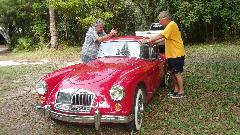
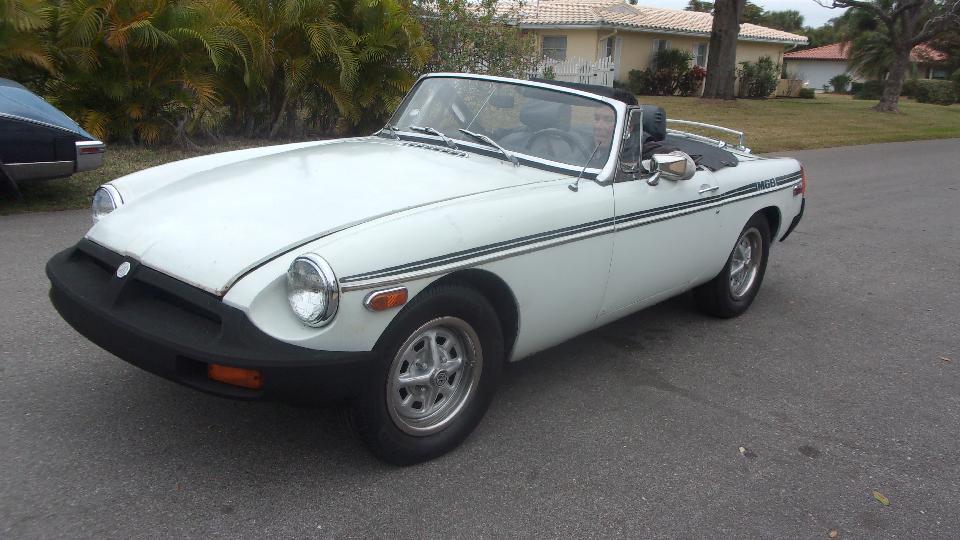
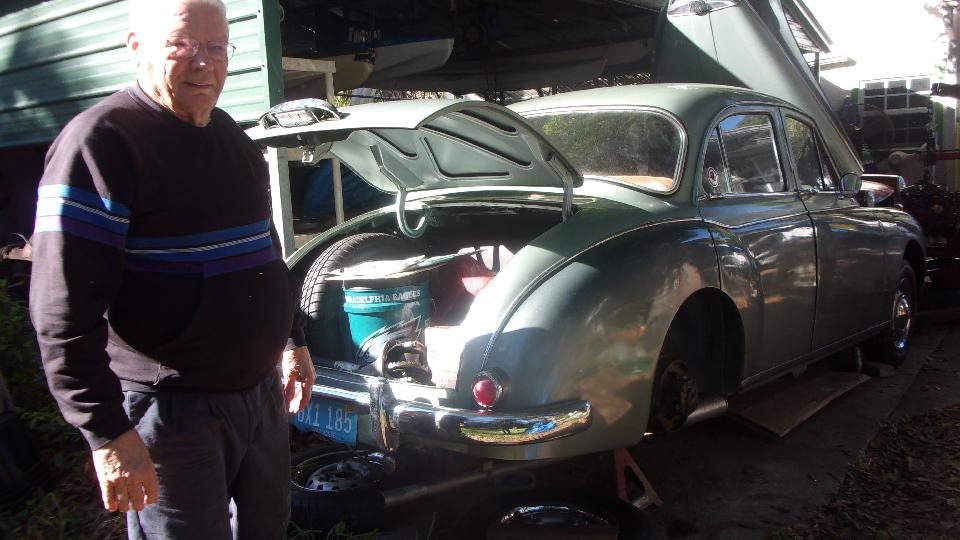
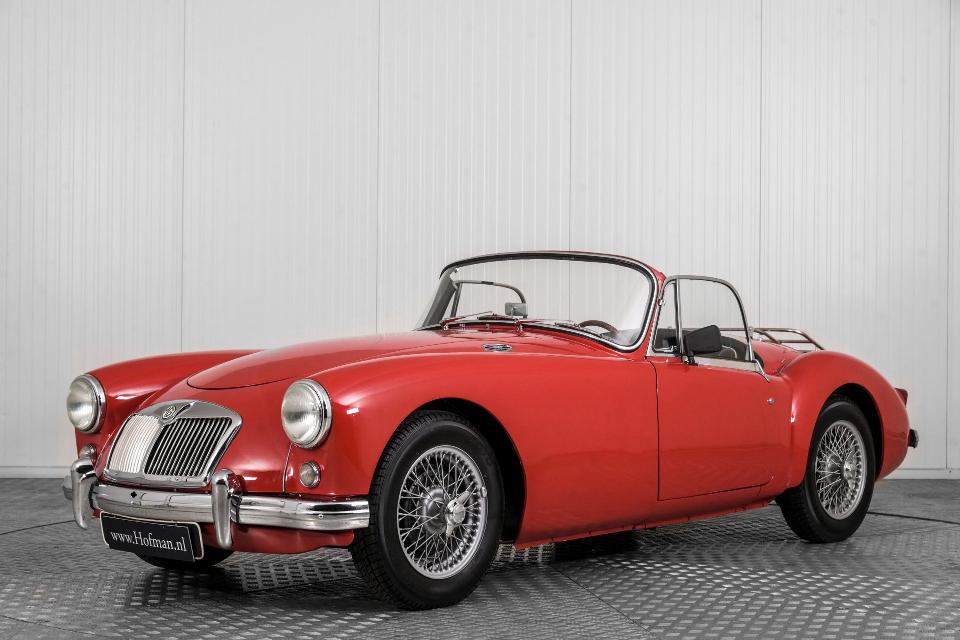
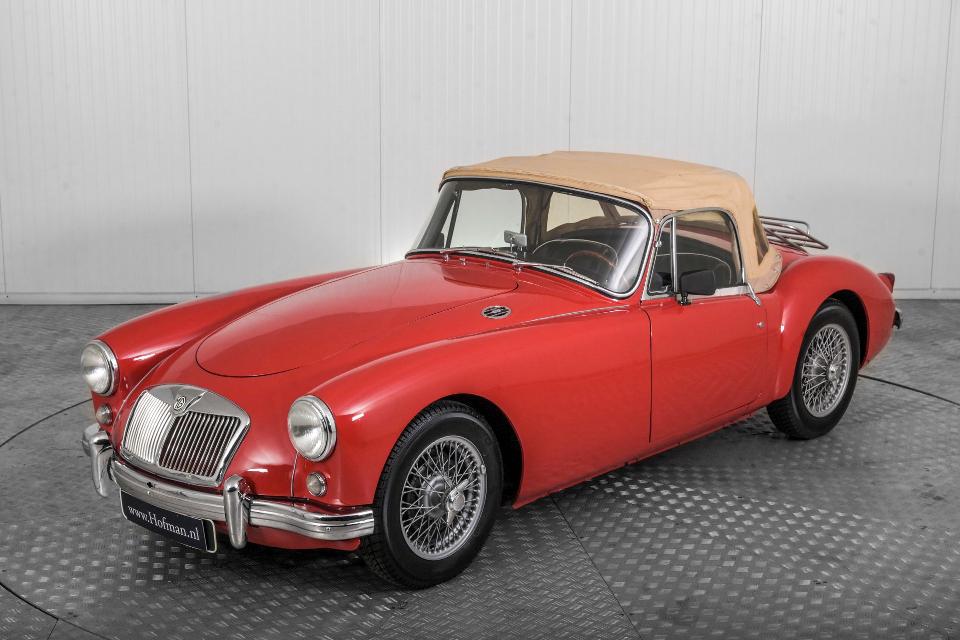
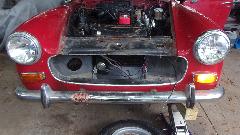
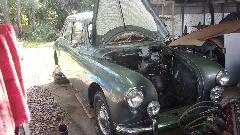
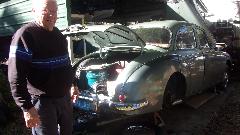
 This MGA 1600-MK-II belongs to new club member Gary Kistner from North Fort Myers, FL. He had flown to Texas to check this one out, and ended up bringing back two more cars along with it, just a few months ago.
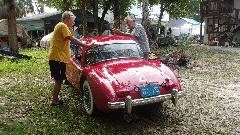
It wanted a little attention to a door latch where the door didn't close completely flush. Not long to adjust the striker plate a little inboard, after which it works like a charm, nice and flush fit.
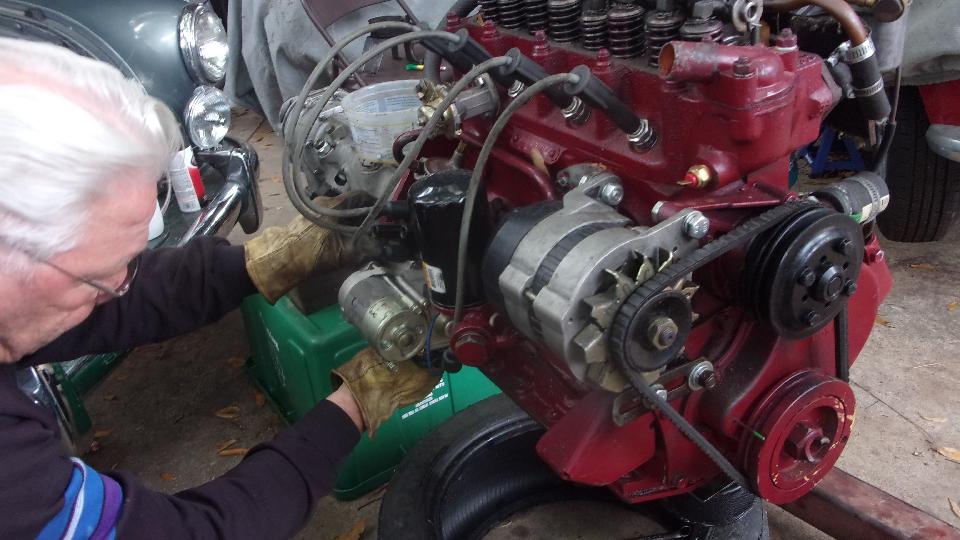
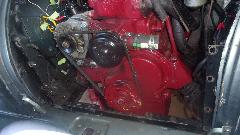
Then on to the real puzzler, which would soak up more time. This car has a Judson supercharger, and I think a
 Holley carburetor. While it does produce a few PSI positive boost pressure, it doesn't seem to have the expected amount of scoot when the loud pedal is pressed, so we were on to some diagnostic work. Running a bit rich, a slight adjustment of fuel mixture smoothed out the idle, but not much else. Compression test turned up 175 +/-5 PSI for all four cylinders, about right for a 1622 engine with flat top pistons.
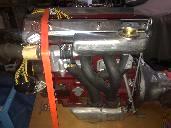
Time for check of cam timing, so remove the valve cover, rotate crankshaft until two rocker arms up
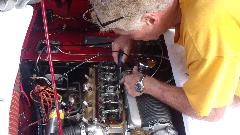 front were rocking, one up one down and equal height. Timing mark came up 9 to 10 degrees before Top Dead Center, indicating the cam was timed with 5 degrees advance, which is very common (normal) for an upgraded camshaft (like a fast street cam), so the timing chain and sprockets are good. Finally a check of ignition timing showed 22d BTDC at idle, which is a bit much, so we turned that back to about 17d. Then a check for maximum advance at road speed (4000 rpm) cam up at 27d BTDC, about 5 degrees less than expected. That's only 10d at the crankshaft, or 5d at the distributor, not enough mechanical advance. And it looks like the mechanical advance it also slow to come up, so lay plans to get the distributor rebuilt to proper spec's. Meanwhile, a little low on torque, but it runs okay, so go ahead and drive it until a fresh distributor is commissioned.
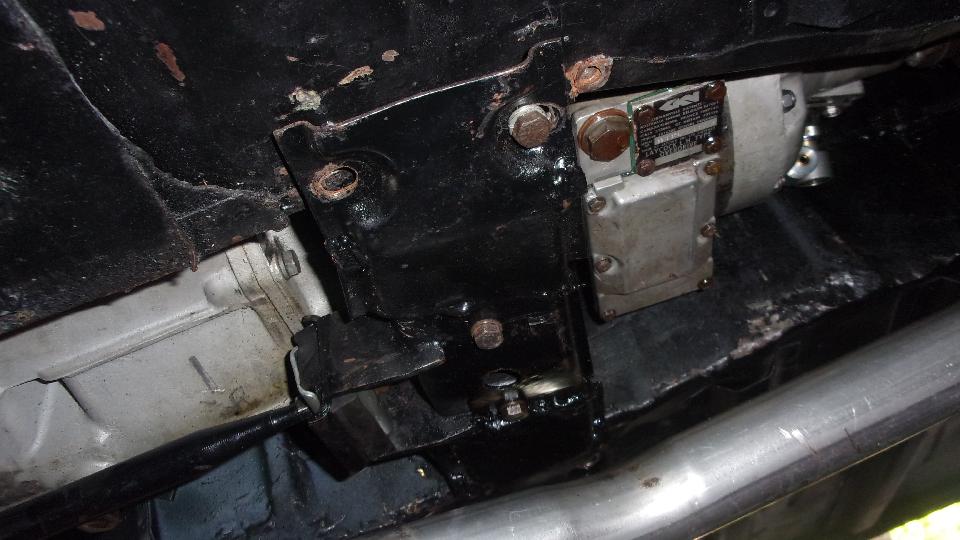
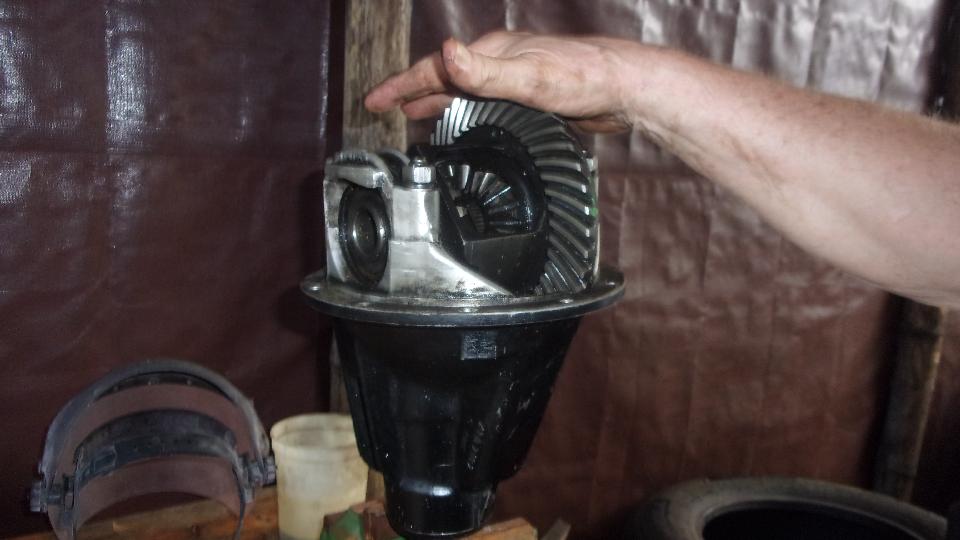
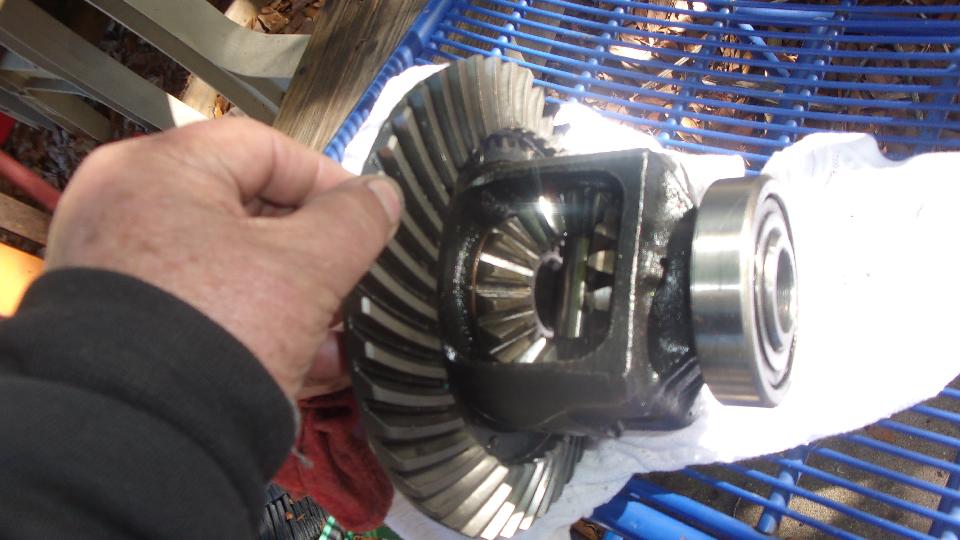
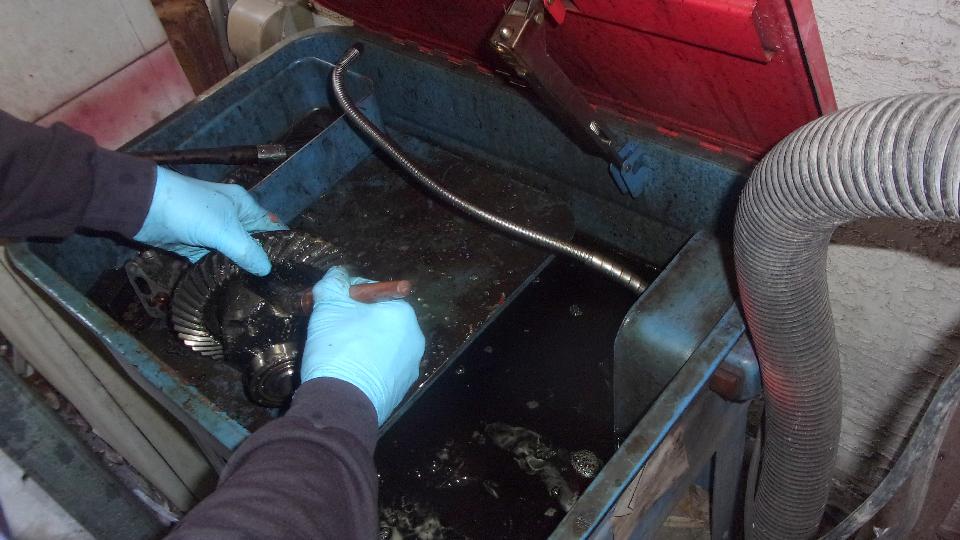
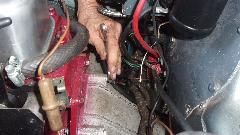
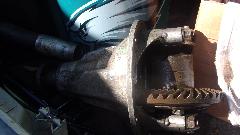
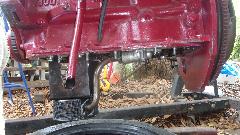
Then a look a the ZB Magnette with rear axle partly disassembled. Original final drive ratio was 4.55:1, previously changed to 4.30:1 (MGA ratio), now intending to change it to 3.91:1 (MGB ratio). That might be a little overkill for a car this heavy, but it will have an MGB 1800 engine and overdrive gearbox. He wants to try the long legs for highway cruising, and roads are pretty flat in Florida, so it may work out okay. With overdrive, maybe it doesn't need legs that long, so it could be changed back to 4.30:1 later.

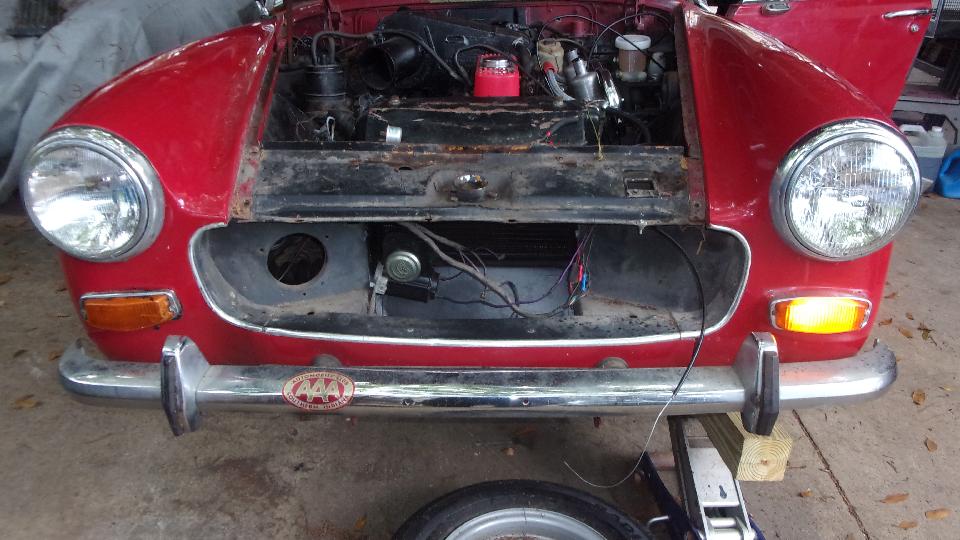
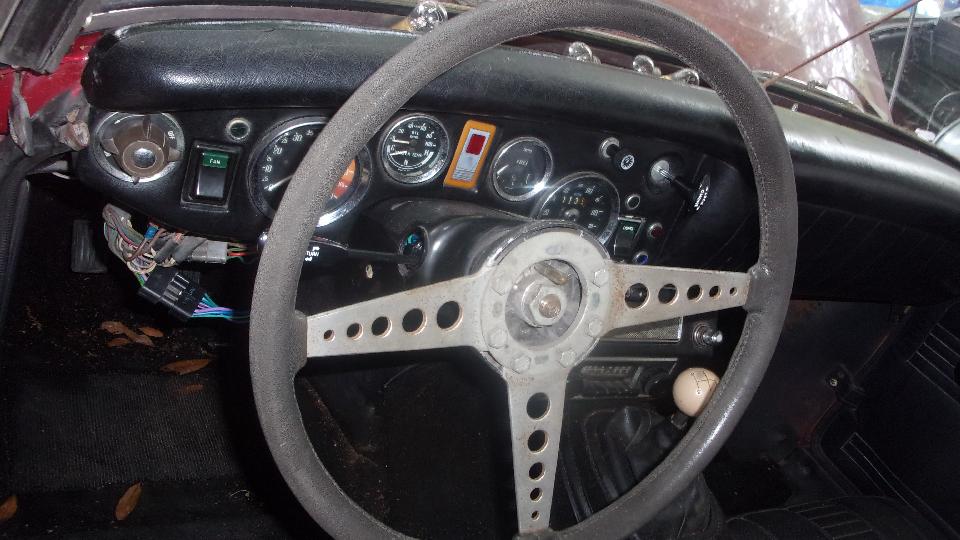
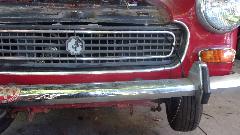
The rusty Midget plastic covers are back on the steering column. Yet to install the center console and steering wheel. Proper pinch bolts have been installed in the front suspension upper arms, only needed to rotate the trunnion bolts for a notch to align with the bolt holes. Still need to install one tail light lens and the grille, and a pull handle for the bonnet release cable up front. Finally getting real close to drive away.


Longer working day this time, and I missed the lunch break. Late afternoon, off to a WiFi spot and late lunch. Will be heading north tomorrow.
Saturday, January 22, 2022:
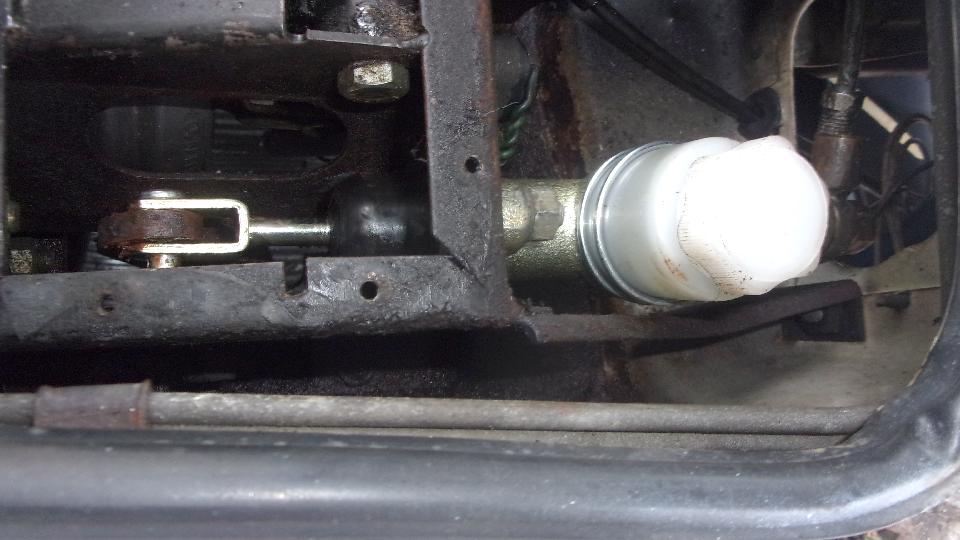
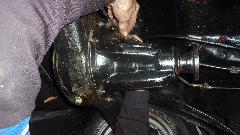
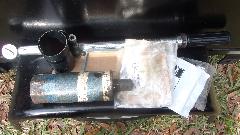
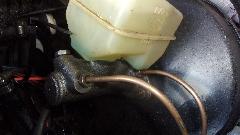
Break in the action down south, and some parts came in, so back up to Venice, FL to install a clutch master cylinder in Tito's MGB. Transfer the output banjo fitting from old cylinder to new cylinder, and bench bleed it
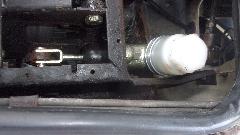 before installation. Two bolts, a clevis pin, and the pipe flare nut (requiring some knuckle scraping wrenching in a tight space). Then we did some reverse bleeding, maybe easier than it sounds. Use two feet (or a bit more) 3/16-inch hose connected to the right front brake bleed nipple. Open nipple 1/4 turn, finger gently on end of hose, hold high, pump brake pedal once or twice slowly to get air out and bring fluid to end of hose. Connect hose to clutch bleed nipple, open nipple 1/4 turn, and pump brake slowly to inject fluid into the clutch circuit, pushing any entrapped air upward to the clutch master cylinder reservoir. Remove fluid from clutch master reservoir as necessary, and repeat a couple times. Close two bleed nipples, remove and drain the hose. Open clutch bleed nipple and do one pump of the pedal to remove last air from the slave cylinder, and close the bleeder. Top up the brake and clutch reservoirs, and its good to go.
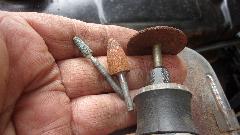
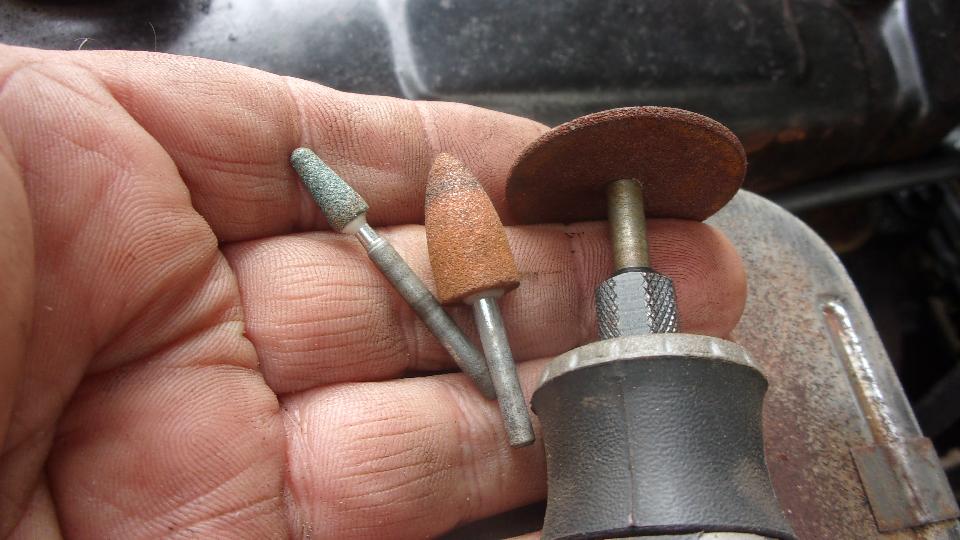
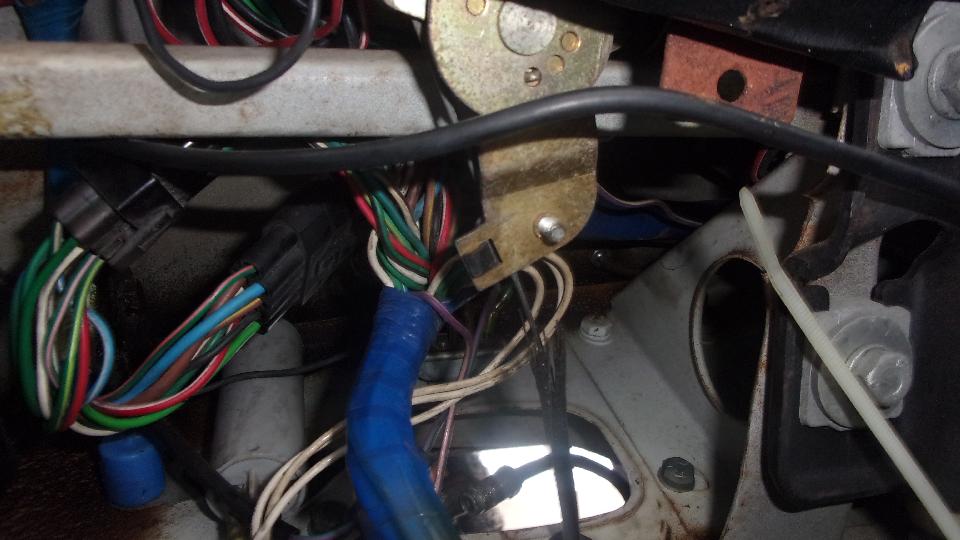
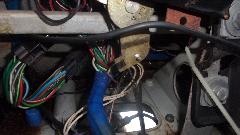 A bit of Dremeling to slightly enlarge holes in throttle linkage to fit a new cable stop to properly attach throttle cable to carburetor. A touch on a harness connector under the dash to restore power connection to fuel pump, and fire it up. --- We knew the clutch disc was stuck to the flywheel, so roll it out into the street, shut down, shift into 1st gear, clutch down, and start it up. As it chugs off down the street, get on and off the throttle a few times. If clutch does not release, shut it off, full stop, and try it again in reverse. Good luck here, as it broke loose with first try in reverse, and the clutch was working perfectly. Yee-ha! One trip around the block for good measure.


Then back to tinker with the Weber downdraft carburetor. Adjusting the fuel mixture screw did nothing notable at all, in or out. It would only idle decently if the choke plate was held mostly closed. Bummer. Wild guess that maybe the idle fuel circuit was clogged up, and no fixing it after dark. This Weber has no identifying numbers on top, but it is an electric choke 2-stage version. Some discussion about trying to disassemble the carb for cleaning, or send it out for rebuild, or buy a new Weber carb, or maybe convert it to dual SU's (wishful thinking for another day).
Sunday, January 23, 2022:
 Catching up email and BBS today, and answering a question about a front camshaft seal for the MGA Twin Cam engine. New to me, and a little confusing at first, so after a few questions and clarifying answers I posted a new Part Numbers web page to clarify the configuration and use of this seal.
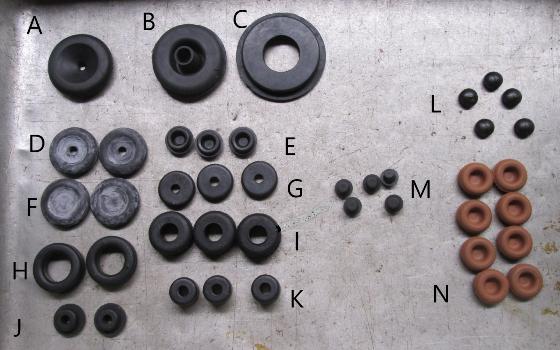
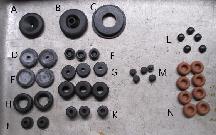
Spending some time reviewing lots of rubber grommets, likely to lead to a new tech page (or a few) defining dimensions for most or all rubber grommets used in the MGA, how many and where they are to be installed (and maybe new Parts Numbers pages for the lot).
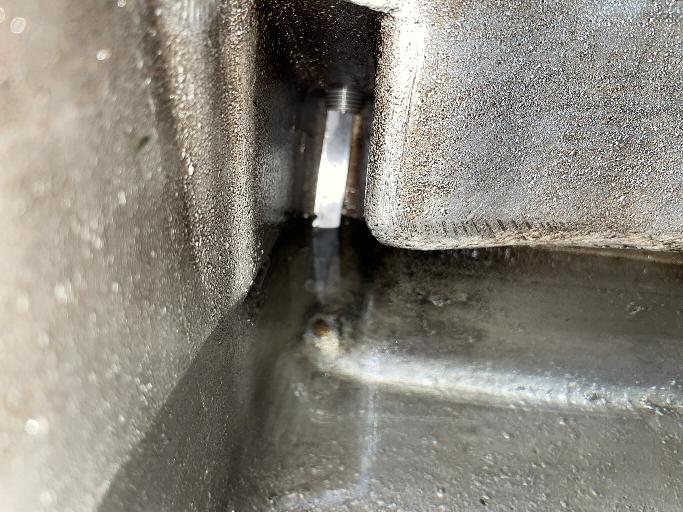
Next request is for dimensions for the fuel pump bracket welded to the frame, sometimes required for frame repairs. Anyonw want to measure it?
Monday, January 24, 2022:
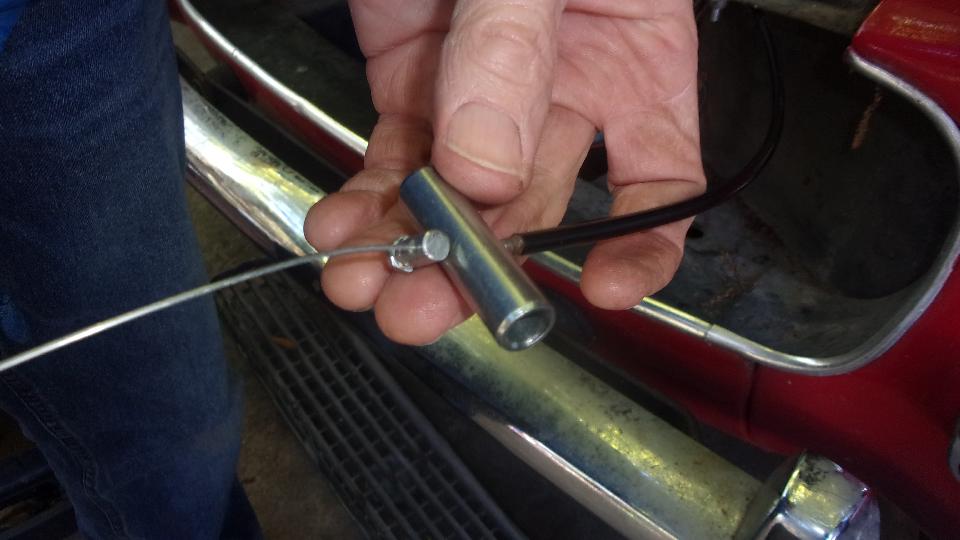
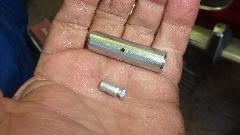
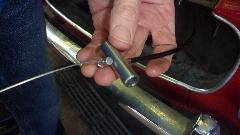
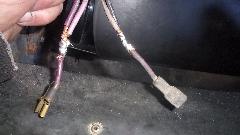
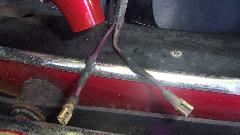
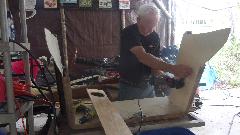
Back to Tech Central for an extra work day, still determined to get the rusty Midget finished. In lieu of replacing the virtually inaccessible bonnet release cable, they had attached a throttle cable to the bonnet latch and ran it out the front. Today, drill a cross hole through a piece fo steel tubing, and attach it with a cable stop fitting from the heater controls (last one from the Magic Trailer, put more on the next order list), a shortcut to a cable pull handle,
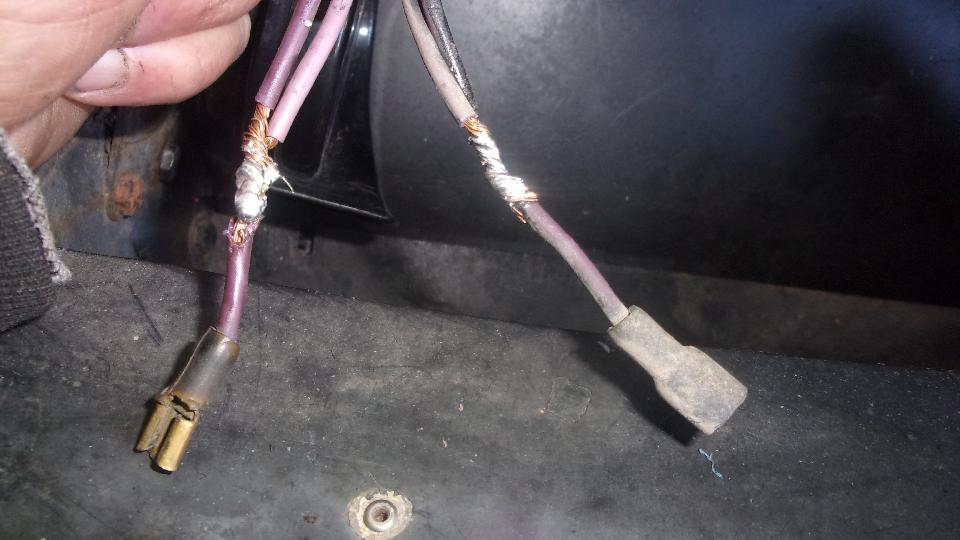
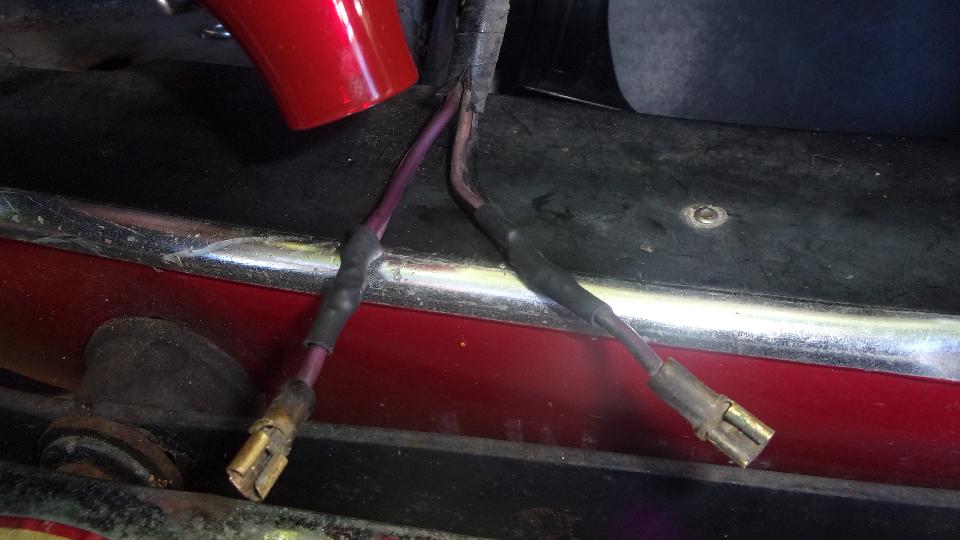
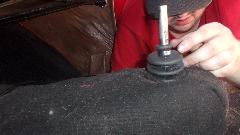
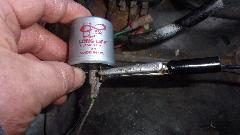
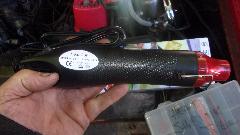
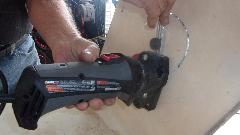
Then someone thought it was a good idea to remove the working motorcycle air horn we just installed last week and install a pair of cheap plastic electric horns. The new horns have single spade electrical connectors, so cut and splice pairs of wires together to have single female Lucar wire connectors (for twin horns). I soldered the wires for good reliability, and was installing shrink tubing for insulation. This was a golden opportunity to try our a new tool. I think under $10, Face Future MF300 heat gun, 300 watts, way less than a hair dryer, but small only a few ounces and custom tailored for the job. Gotta plug it in, but it works like a charm for heat shrink tubing. Electrical wiring perfect, but one of the horns is open circuit, no hooting, so someone says send it out with one.
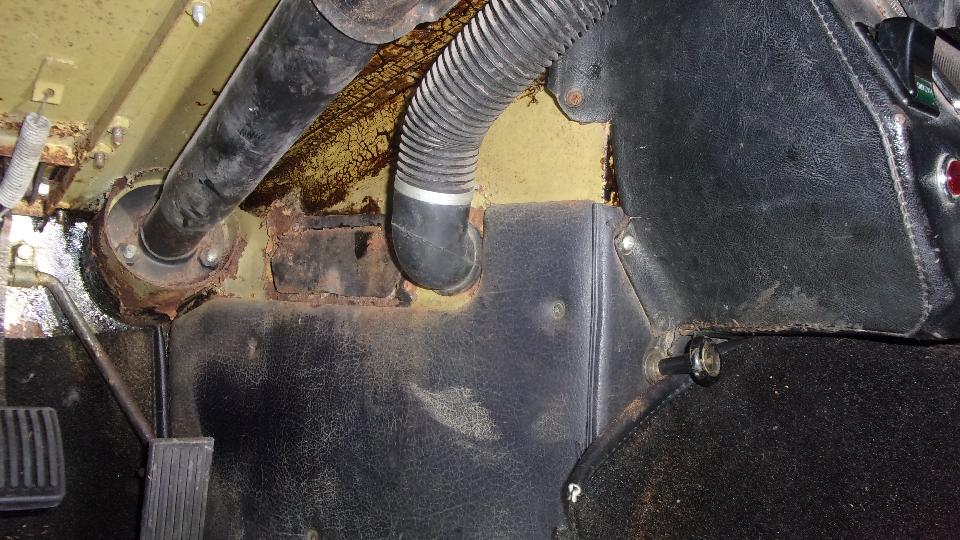
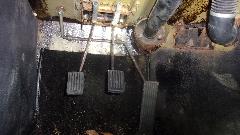
Meanwhile the center console is back in, but the hazard switch is upside dawn, too bad, leave it that way. Got the pesky demister hose plugged back into the heater air chamber. I found it odd that the brake pedal was significantly higher than the clutch pedal, but someone assures me this is normal (or at least common) for Midgets.

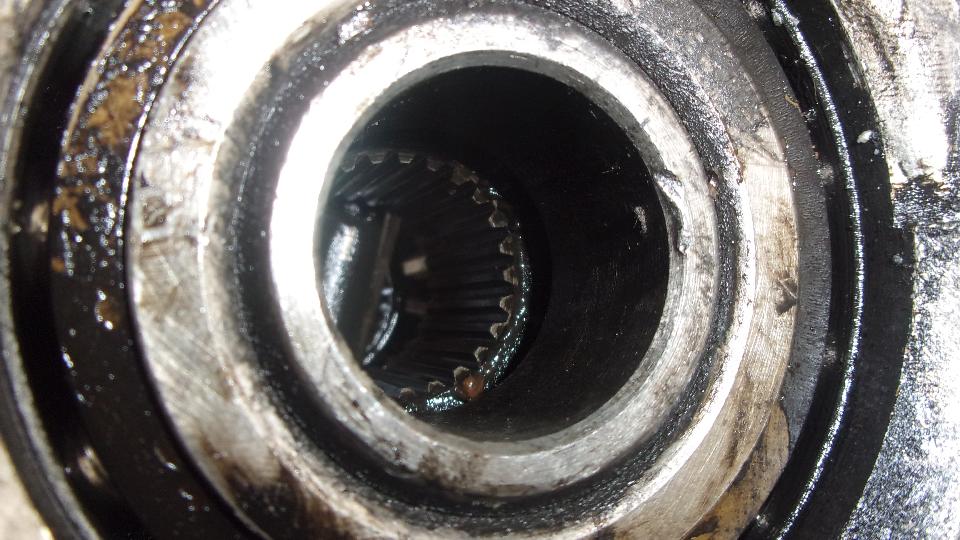
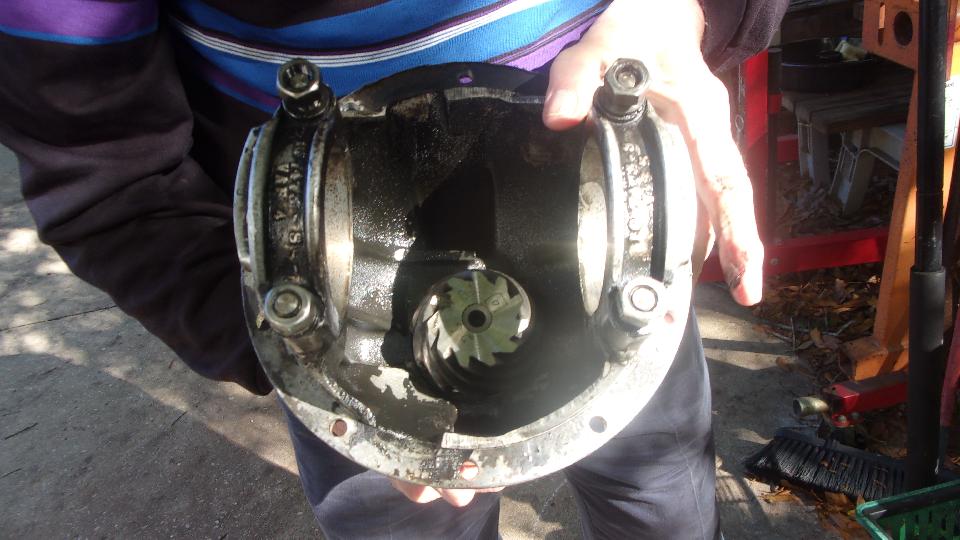
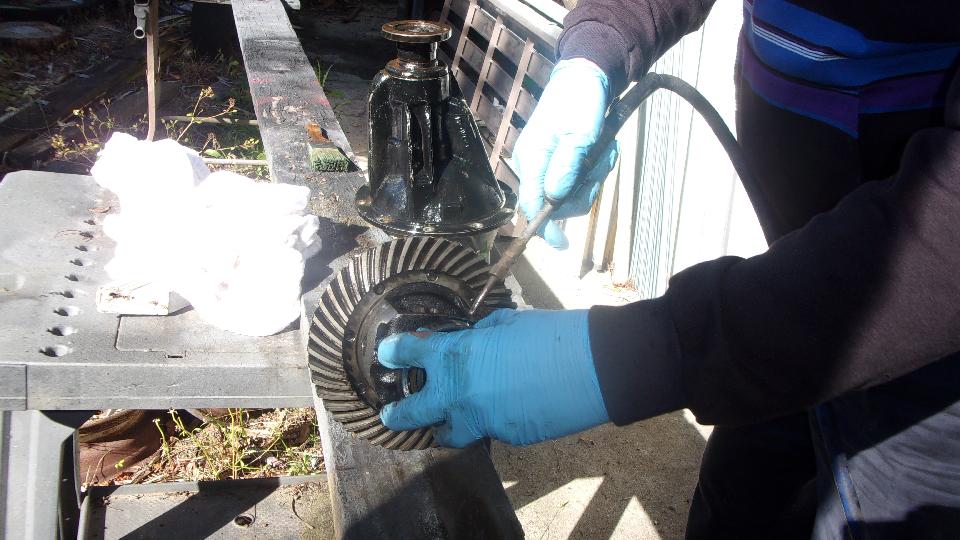
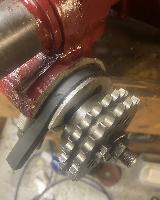
Then on to the ZB Magnette, changing from 4.30 to 3.91 differential. Got a spare MGB differential, but need to swap in new sun gears to match 10-spline half shafts.

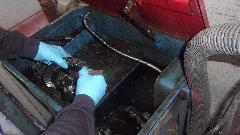
I let John play in the parts cleaner (his car). After a quick blow dry it was easy to swap in the new gears.

Quick to pull a new paper gasket out of the Magic Trailer, and ten tight nuts later it was installed.
Tuesday, January 25, 2022:
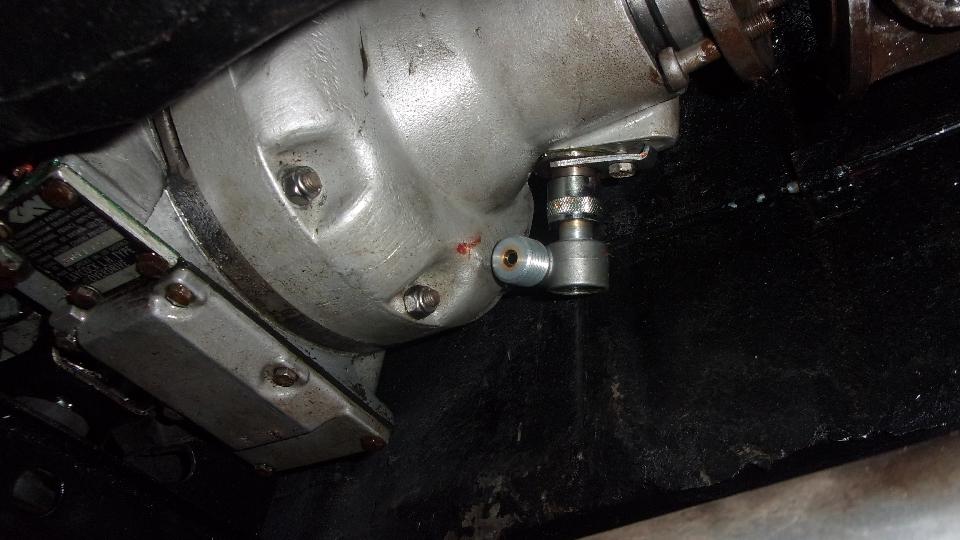
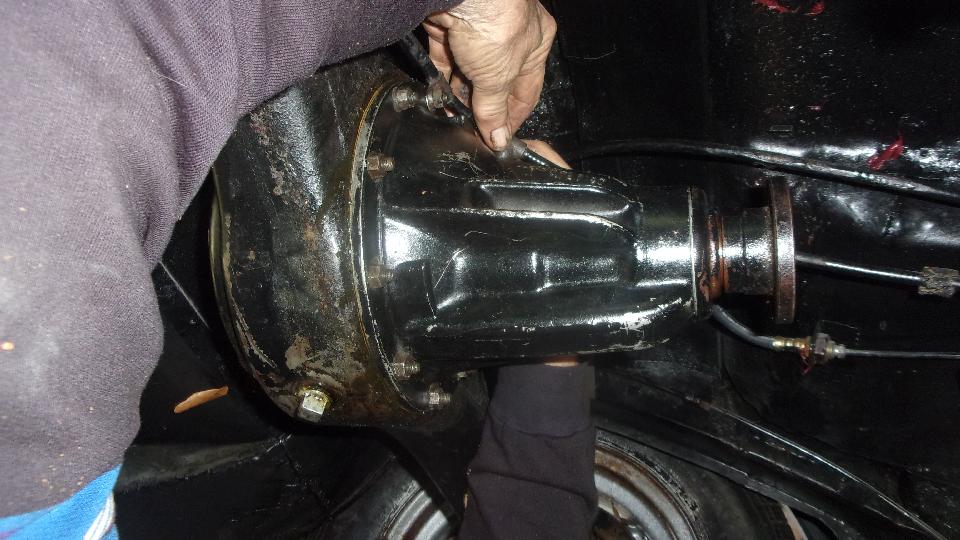
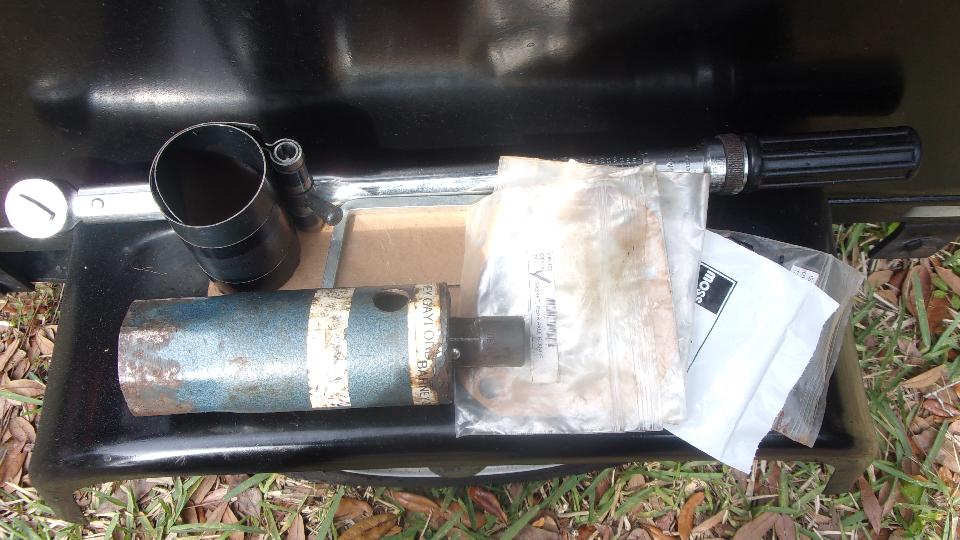
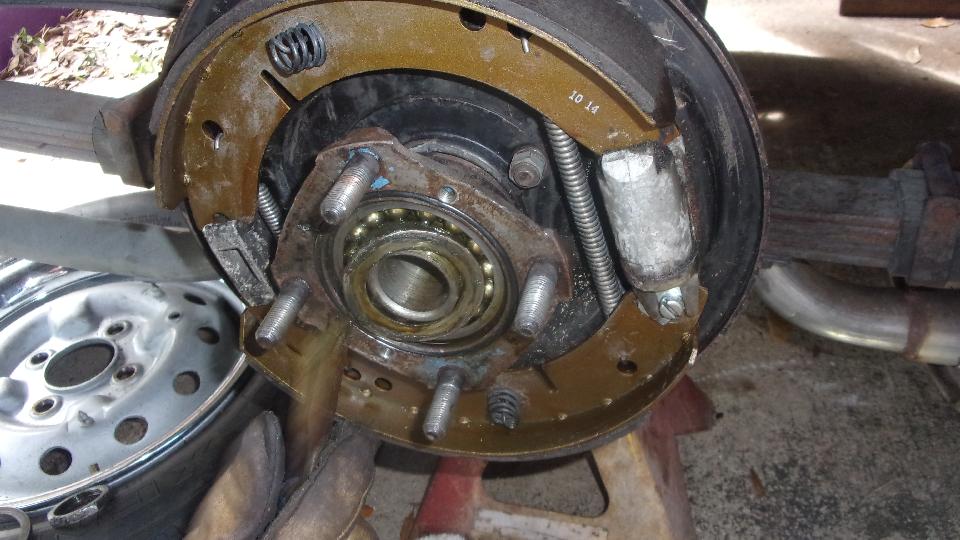
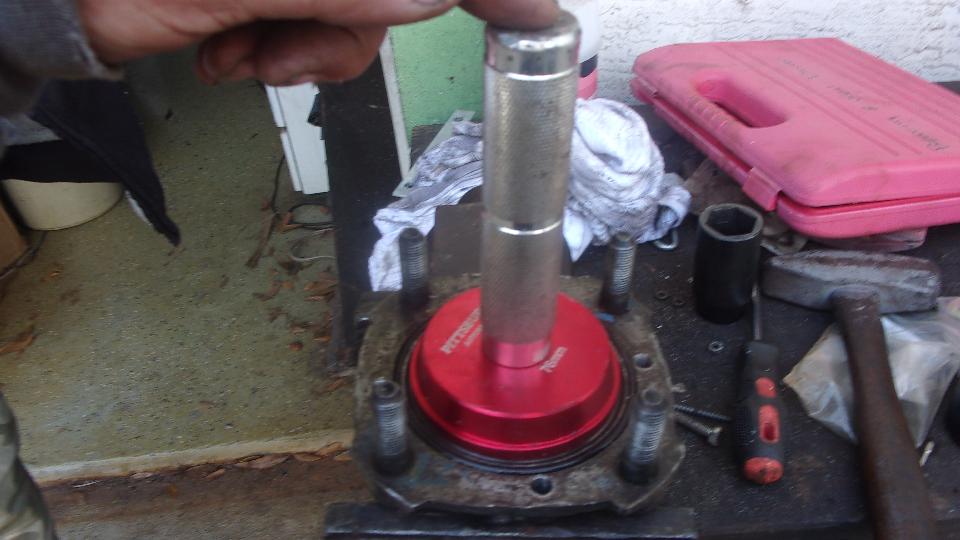
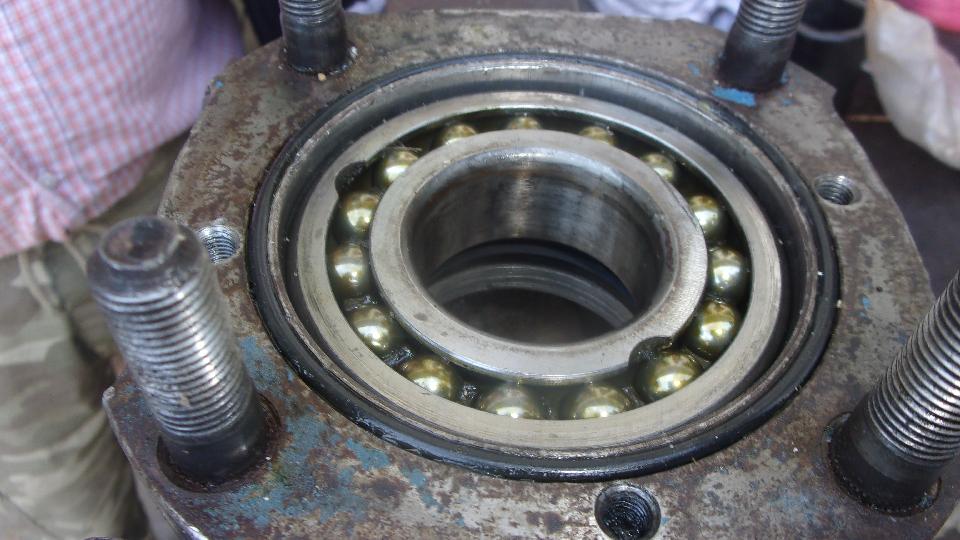
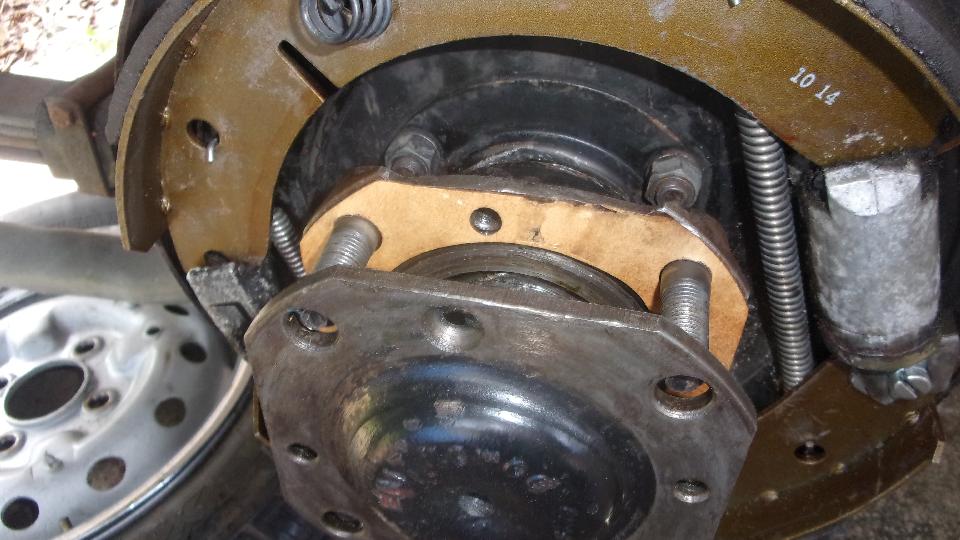
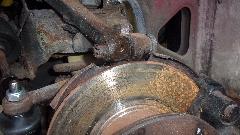
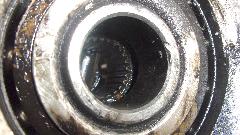
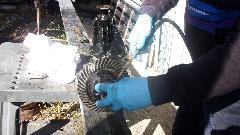
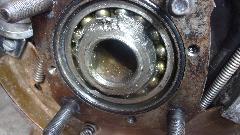
Today's chore was to change rear wheel hub seals on the Magnette, as the right side brakes were full of gear oil. Start by collecting required seals and tools from the Magic Trailer, including the big octagonal socket, high torque wrench, and a 5-pound slide hammer. Hardly any torque required to remove the right side bearing retainer nut, pretty much just twist the socket by hand and remove the lock tab washer, but it did need the slide hammer to pull off the hub with the big bearing. Using a large wrench socket to pound the bearing out of the hub for access to change the inboard seal. Jerry brought out his nifty bearing driver kit, making short work of reinstalling the big bearing in the hub.

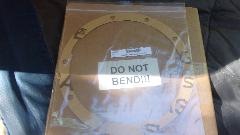
After that smooth sailing to reinstall the hub and bearing assembly back onto the axle housing, and torque it up to 175 lb-ft. Yeah, try that without the right tools. Install the thin rubber O-ring, paper gasket, and the halfshaft with one flat head screw. And install the brake drum with two more flat head screws.


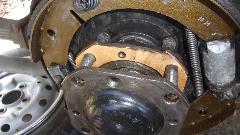
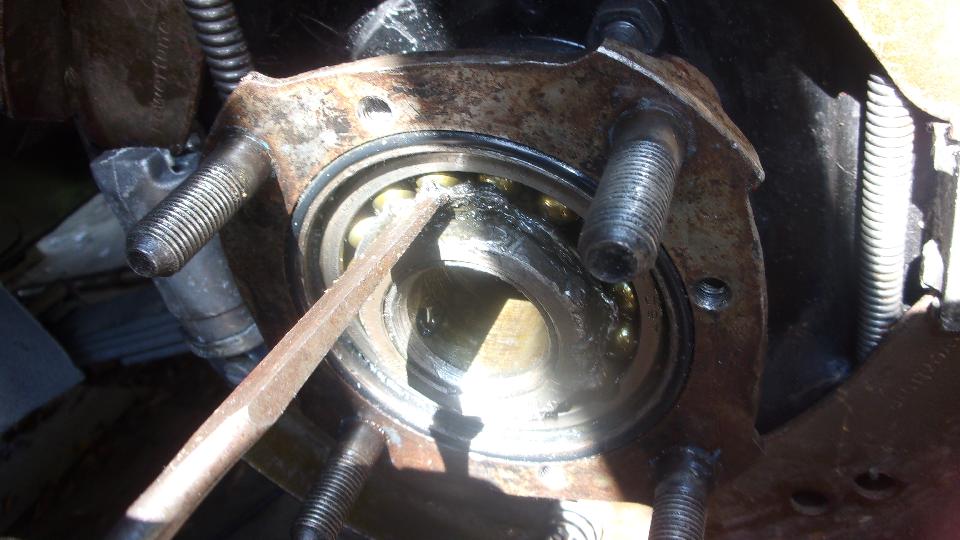
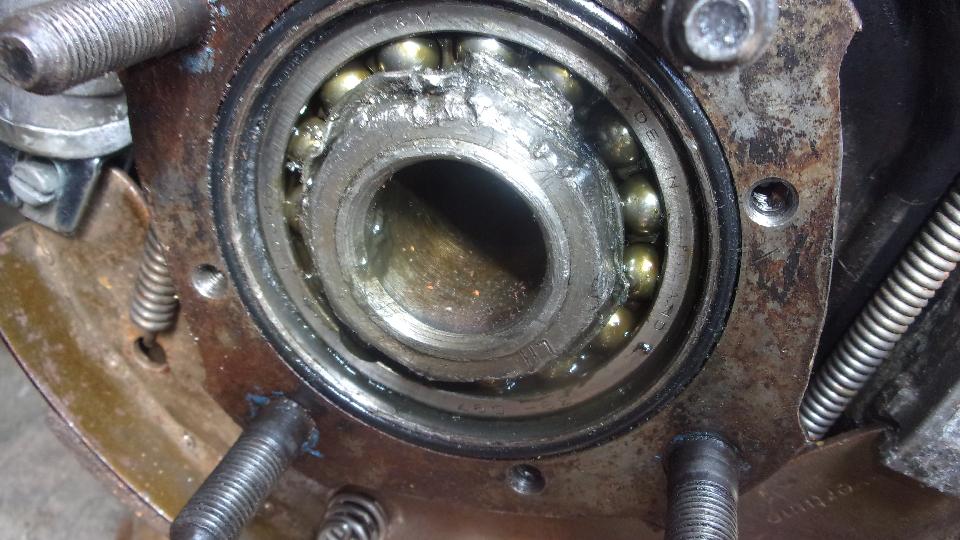
The left side wasn't leaking, but I convinces John to check it anyway. Good thing too, because as soon as we touched it was obvious that the big octagonal nut was about two turns loose when the locktab washer would wiggle around. Some DPM had abused the crap out of this nut with hammer and chisel to the point where two flats of the nut were not even recognizable as flat, and of course it was less than finger tight. We were a bit skeptical about applying the required 175 LB-FT torque, but somehow did it without having to change the nut. Good thing too, as those special octagonal nuts, one with left handed thread, are $26 apiece. We did install new O-ring and gasket, and it was soon back together with wheels on and once again earth bound.

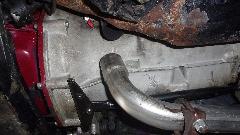
Break for a light lunch, then back at it. There had been oil leaking from the bellhousing drain point, so the next small task was to separate engine from gearbox so he could change the engine rear seal and the gearbox front seal. I have the gearbox seal, but not the rear seal for a MGB 5-main bearing engine (not used for MGA). Enough for one day, as he is waiting for delivery of the seals (already ordered).


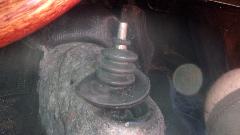
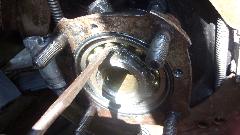
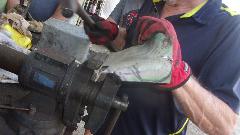
Time for a head scratching discussion about how the oil pump screen is supported in the Magnette engine
 with deep part of the sump at the front end of the pan, and how it is adapted when needing to install a 3-main sump onto a 5-main engine with different bolt pattern. Looking closely you can see a 1/4-inch thick ring plate on the bottom of the engine block secured with a few flat head screws and with long threaded studs either screwed into the block (when appropriate locations) or welded to the adapter plate (when in different locations). Then the sump is secured with nuts rather than bolts. It is a challenge to find the bottom end for the 5-main engine oil pump with the funny horizontal threaded port to connect the Magnette oil pick up pipe. John is still trying to find a second one to build up a spare engine.
In the evening, while catching up web site grunt work, I got some good news, and a whole bunch of new pictures to post. The custom modified
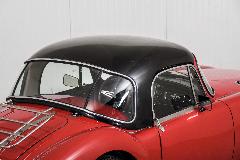
MGA Drop Head Coupe with rag top and a removable hard top that I found languishing a few years ago has just finished restoration, and is now up for sale. Very good to see that someone has saved this creative work of art, the only one like it.


Wednesday, January 26, 2022:
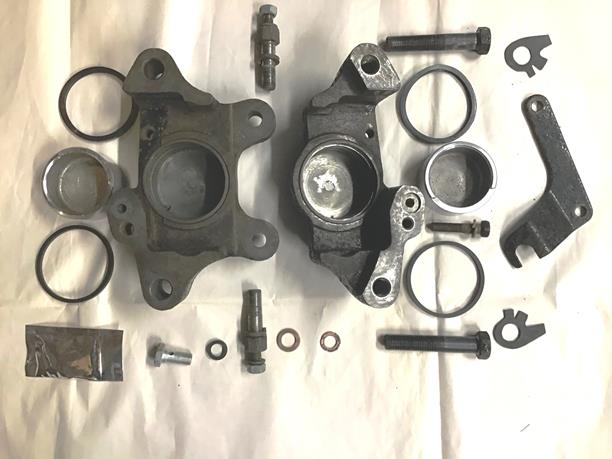
As a submission from a friend, I spent a few hours posting a new tech page for Rebuilding MGA Disc Brake Calipers
I also spent some time with email messages trying to describe processes of relative humidity, condensation, and rain inside the engine at running temperature, and why crankcase ventilation with fresh air is important to keep the engine clean inside. I suppose that should ultimately make another tech page.
Thursday, January 27, 2022:
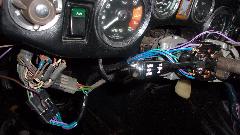
Received and posted a couple of pictures of an alternate location to install a Flash To Pass relay behind the dash in the MGA.
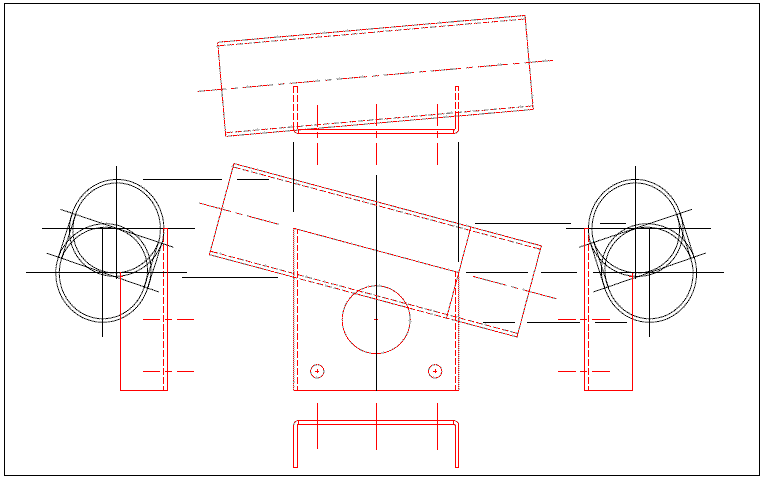
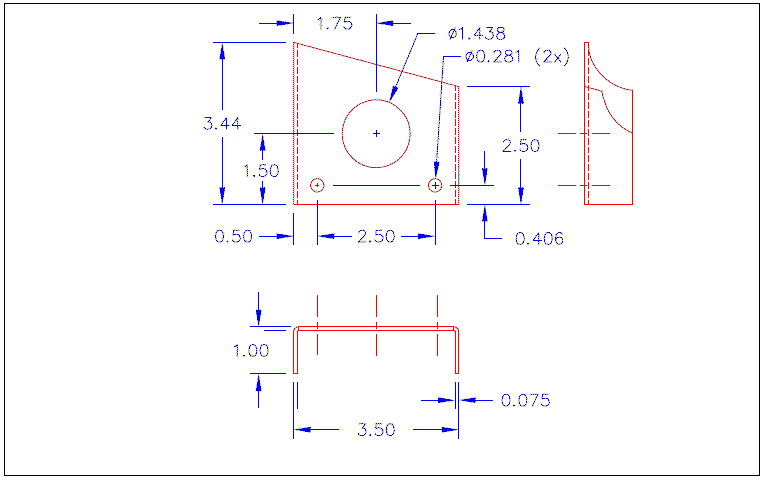
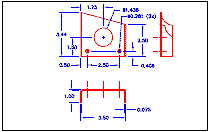
Been spending a lot of time (too much time) trying to make a drawing of the fuel pump bracket that is welded on the chassis frame for MGA. Simple part, but a crazy eliptical interface to the round tube at a compound angle, and I don't have enough information yet.
Friday, January 28, 2022:
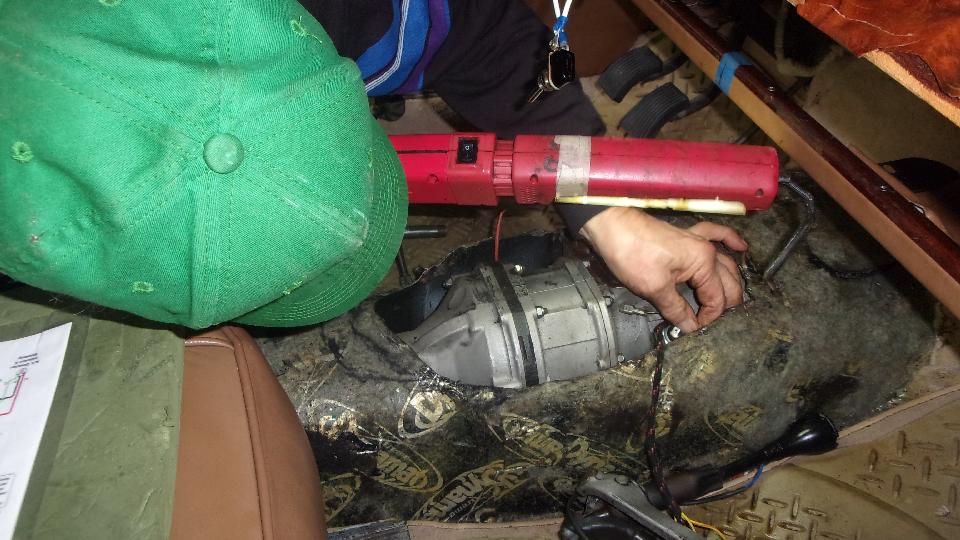
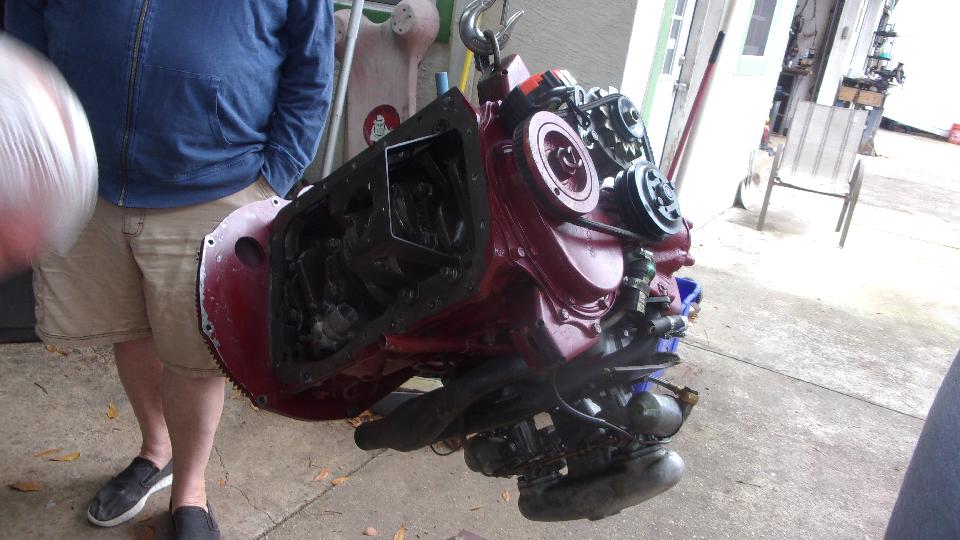
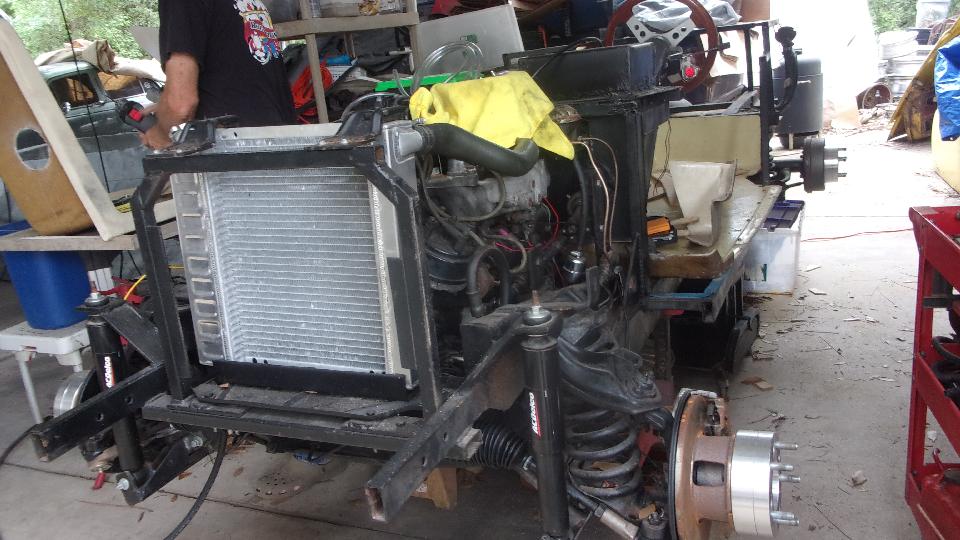
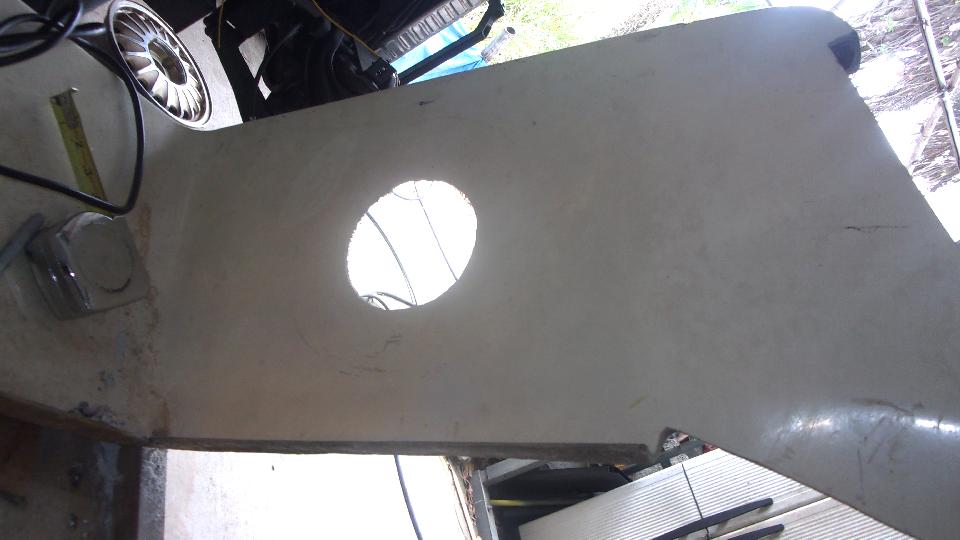
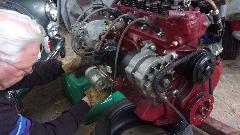
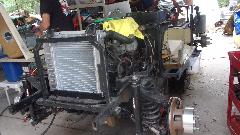
Tech Central Friday, lots of peope, lots of projects. First up was the MG ZB Magnette transplant 5-main bearing MGB engine needing modification of the oil pan and moving the oil pump slightly forward so the engine can mount more rearward in the chassis. Going to be an all day job, so will get maback to this later.
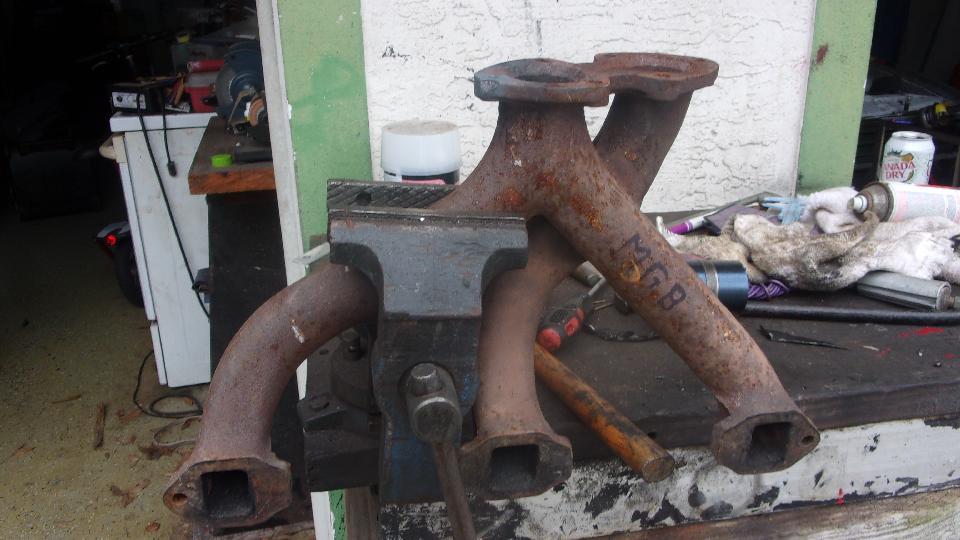
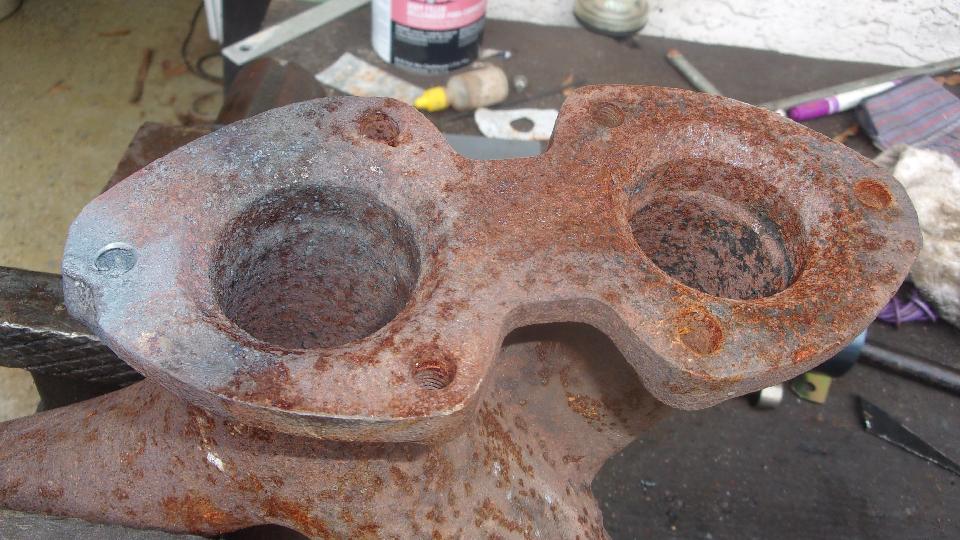
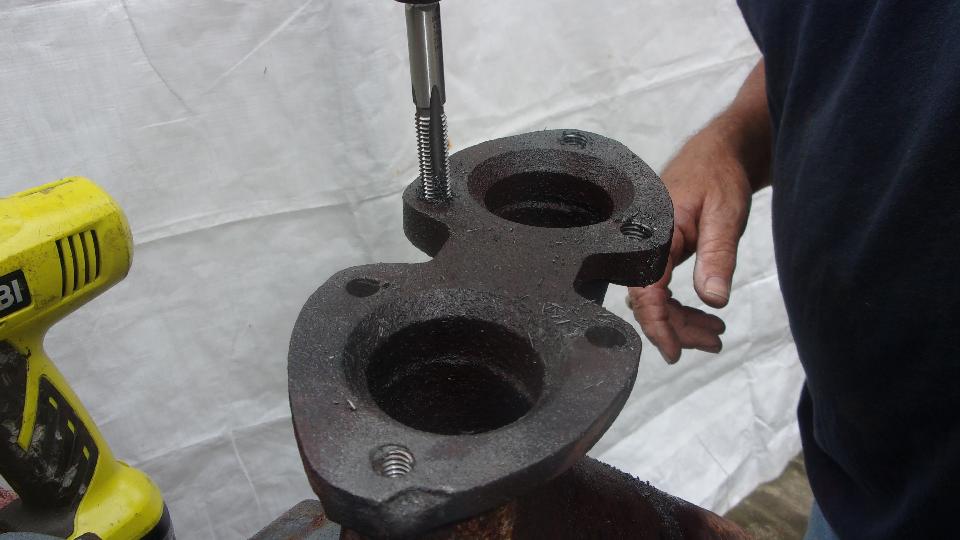
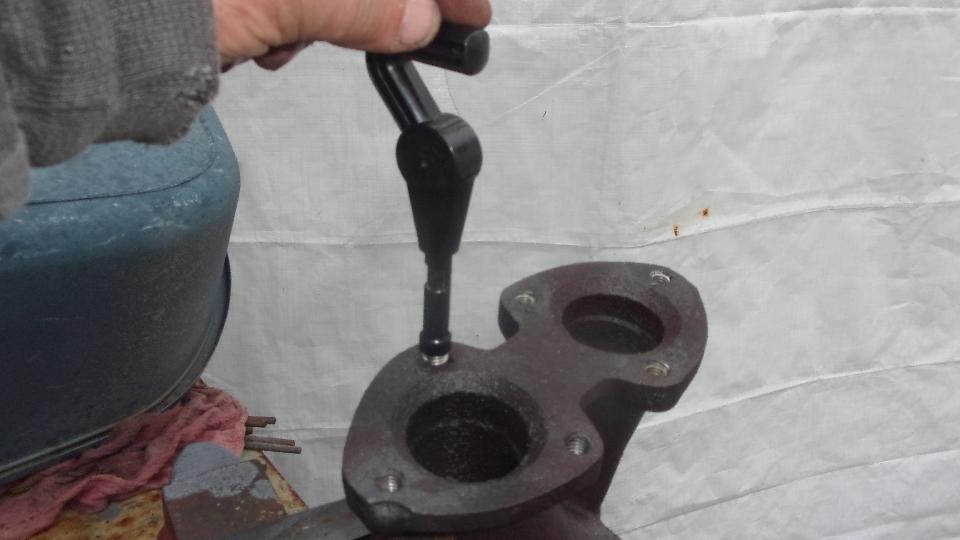
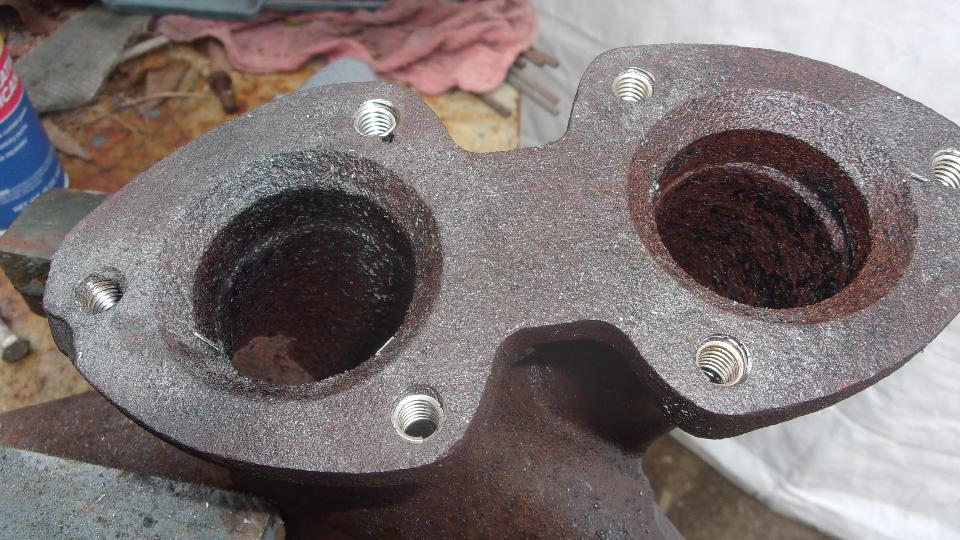
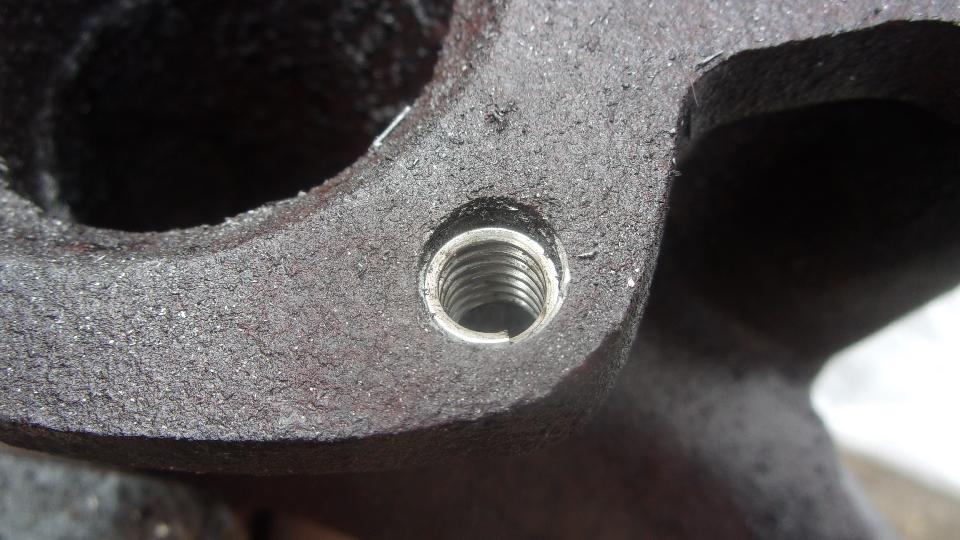
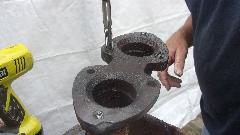
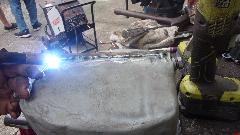
And they do a few of these every year, removing damaged studs from an exhaust manifold. drilling out some of the damaged holes, and tapping oversize threads to accept Heli-Coil inserts for thread repair.
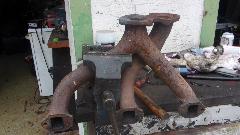
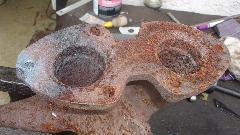
Following the special Heli-Coil tap, use the special Heli-Coil tool to screw in the insert. Be sure it goes in slightly below flush, then break off the little tang at the bottom end.
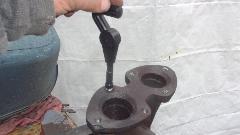
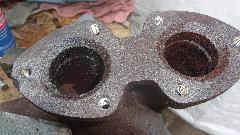
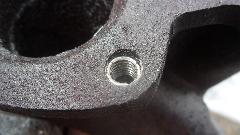
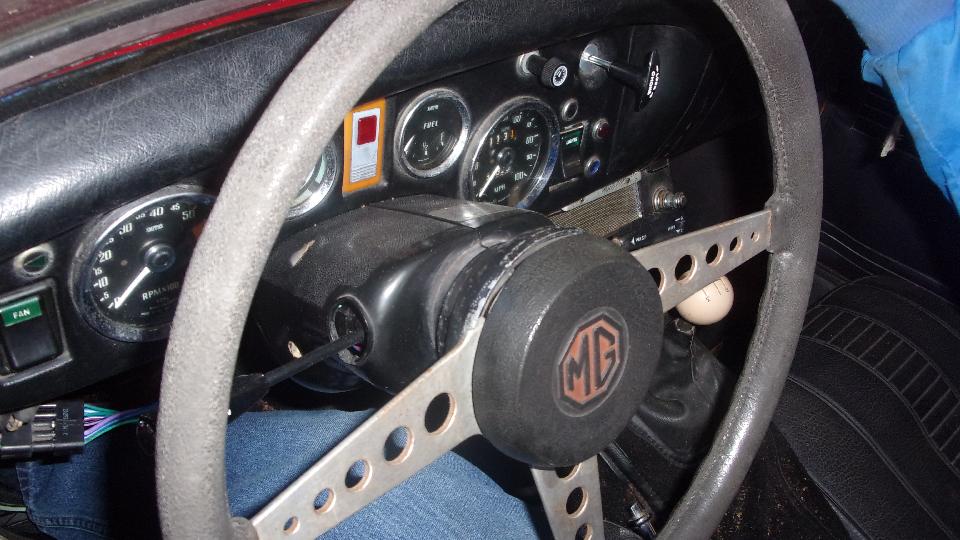
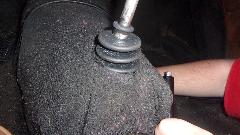
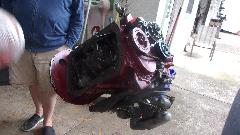
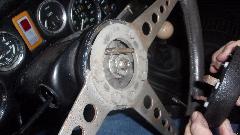
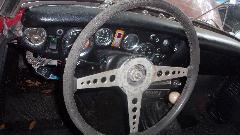 Photo at right is folow-up work to the rusty Midget, getting the steering wheel and horn push back on after instalation of the new horns. Follow that with installation of the grill, and trim the new external bonnet pull cable to appropriate length. At day's end they put the cover back over the car, and no one seems to know why they didn't drive it off the lot.
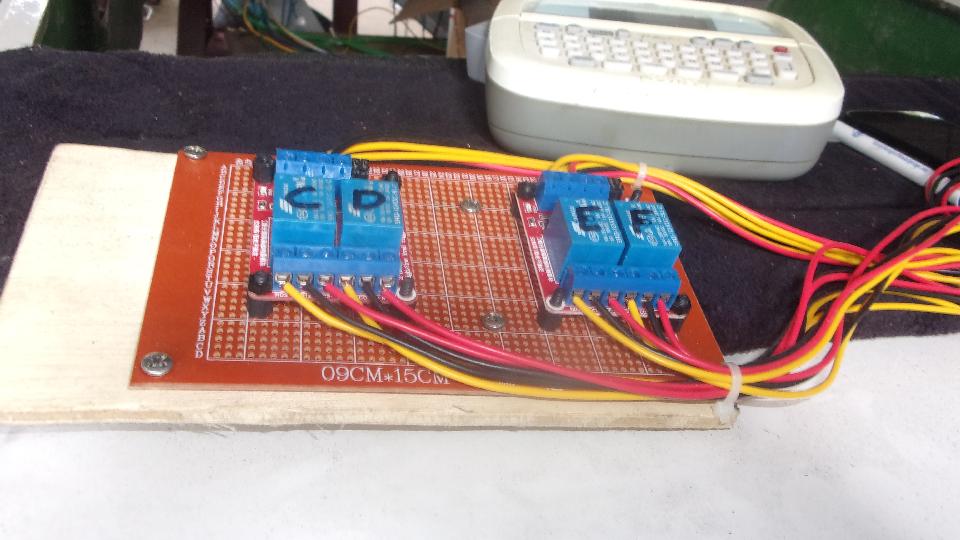
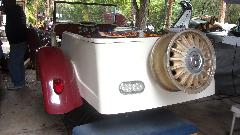
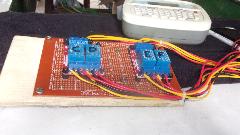
There was more progress on the Excalibur kit car. The owner likes to call it a 1928 Mercedes-Benz SSK replica, but more like a cousin three times removed with Chevy Chevette chassis parts. Dig the thick wheel spacers? There is a hand made circuit board with relays to operate the brake lights a turn signals (similar to my MGA 1500).
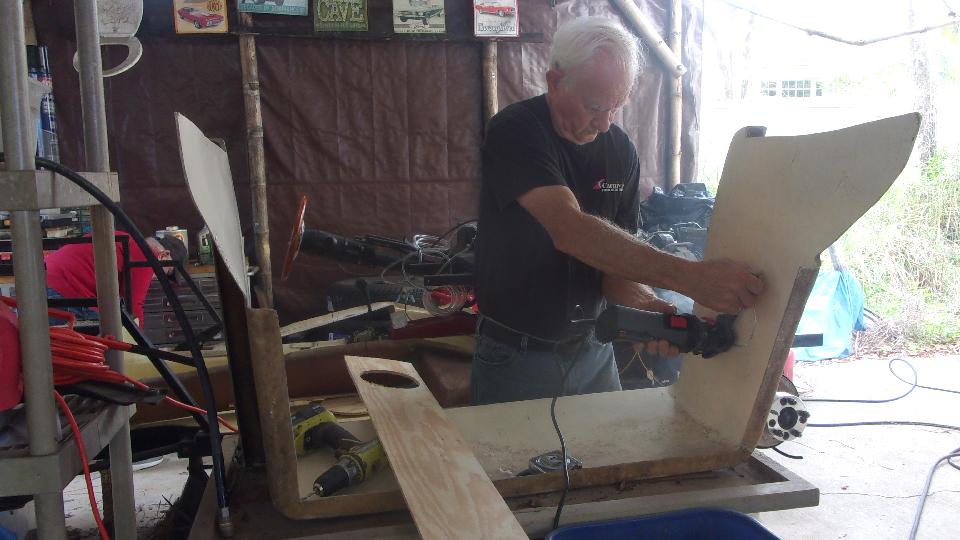
The owner was cutting holes in the interior body tub for radio speakers, nice trick with router circle attachment.

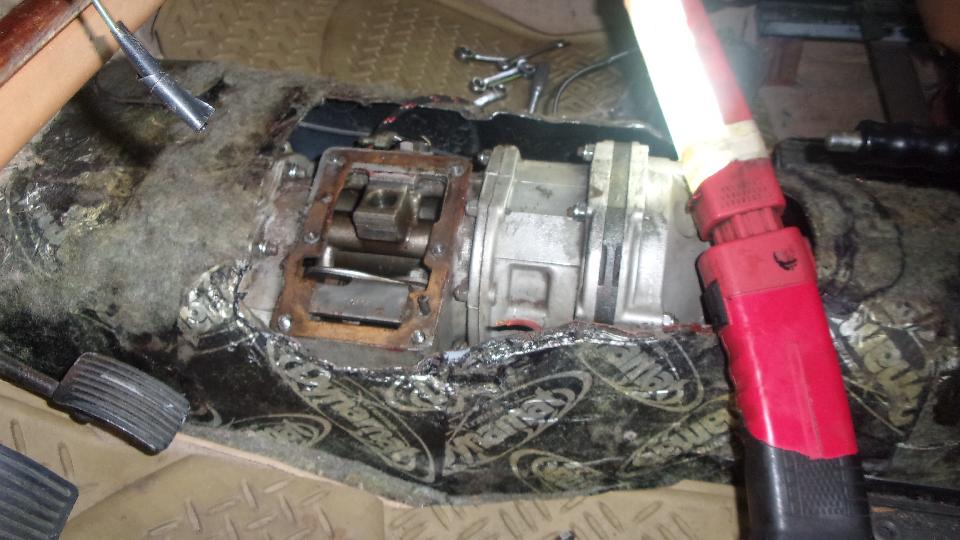
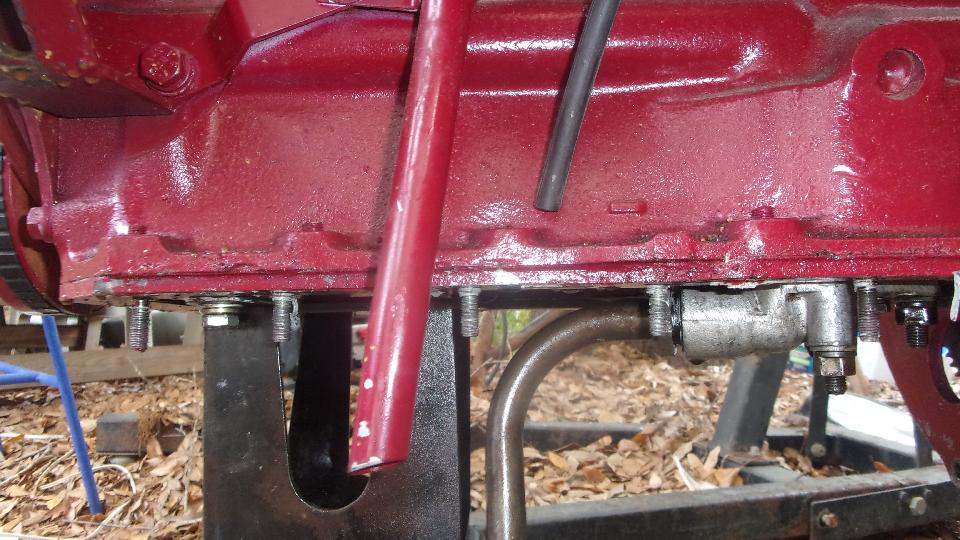
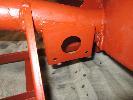
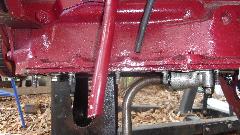
We finally got back to the Magnette oil pan modification. The deep end goes in front of the steering rack, and the
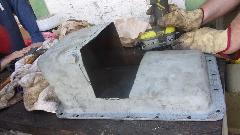 engine is moving back a couple inches, so the rear side of the deep end is being cut out and moved forward. Limited space to share, so the wall is going as close to the drain plug as possible and straight up.
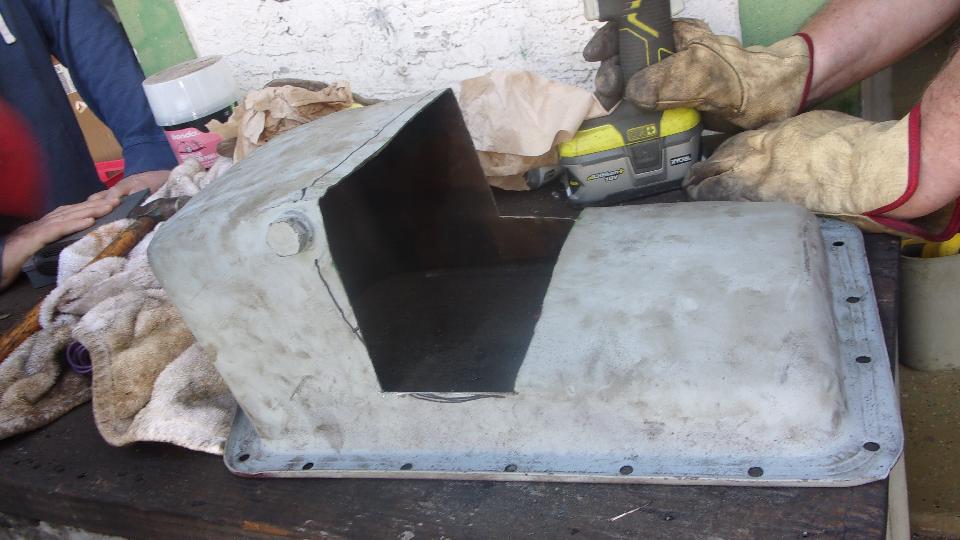
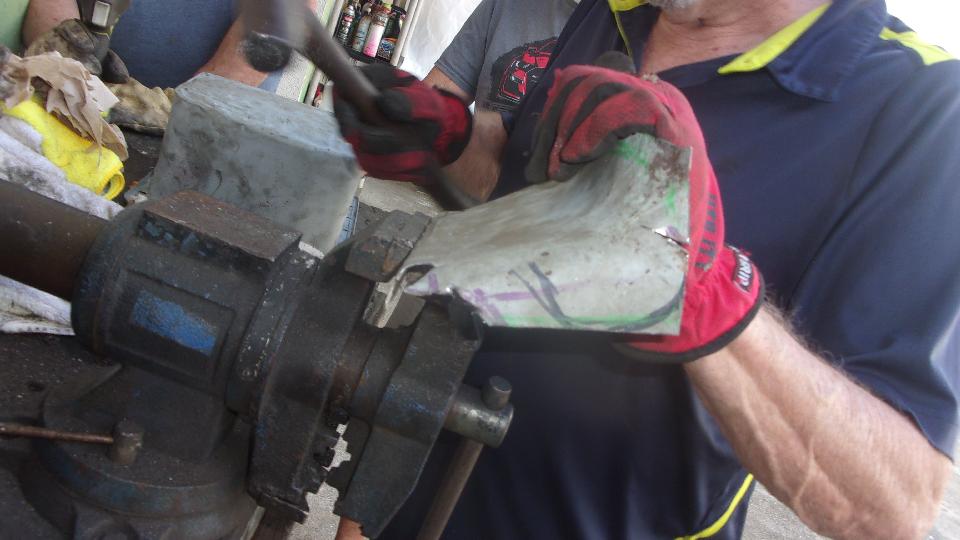
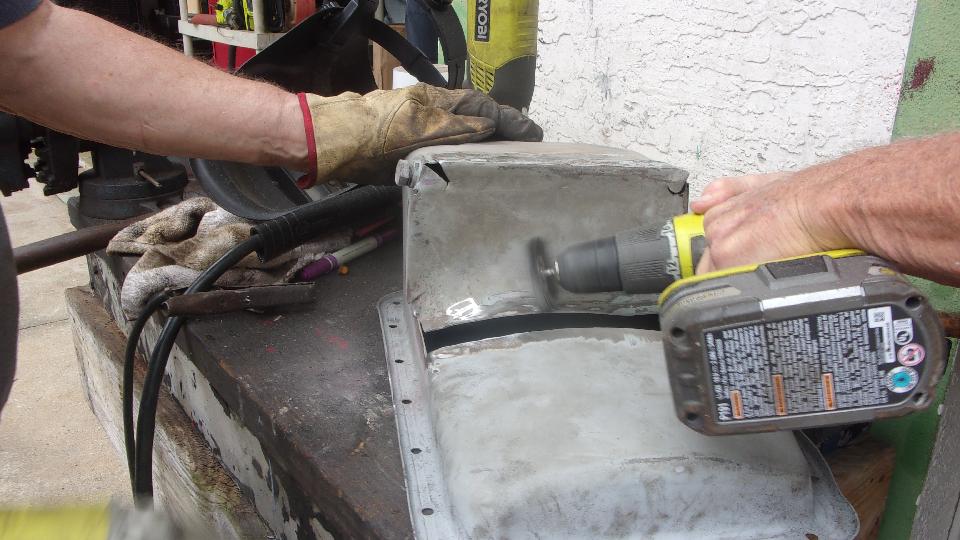
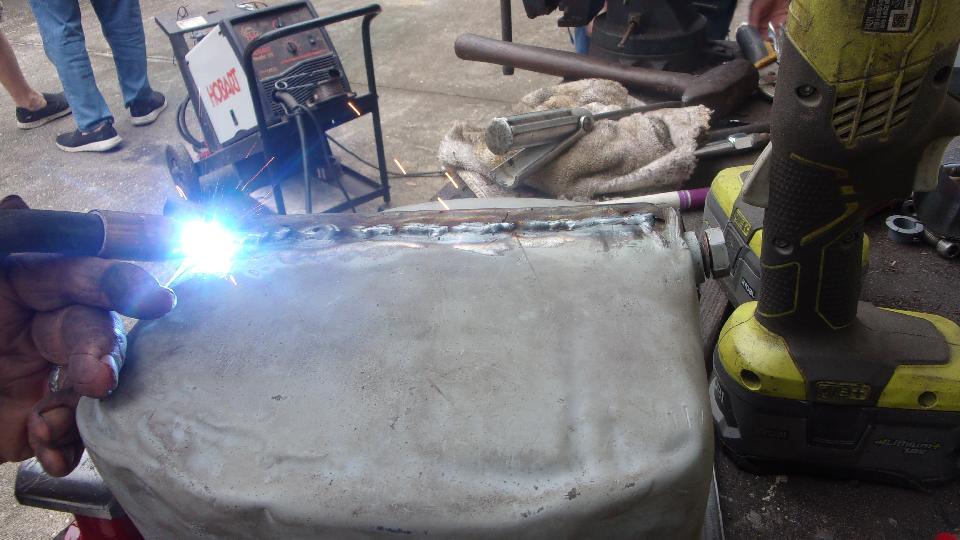
The cut piece is trimmed and hammer formed to fit in the new position with new piece of metal added to fill the wide gap aft of the moved panel. The parts are tack welded in place, then hammered to make the edges a near flush lap joint before welding it all back together. By day's end it was 99% welded and ground down, but still a few pin holes that will be fixed in the next work session.

Then off to a WiFi spot where I finally finished the CAD drawing of the welded fuel pump bracket and cutting template. That ran into midnight, so these photos and notes had to be finished next day.

Saturday, January 29, 2022:
A friend sent nice photos and notes on MGA Twin Cam oil sump and dipstick to answer some questions on oil volume and oil level for the Twin Cam engine. This is now posted on a new tech page TC-329B.
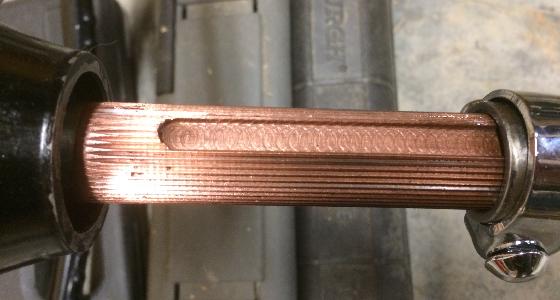
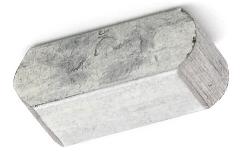
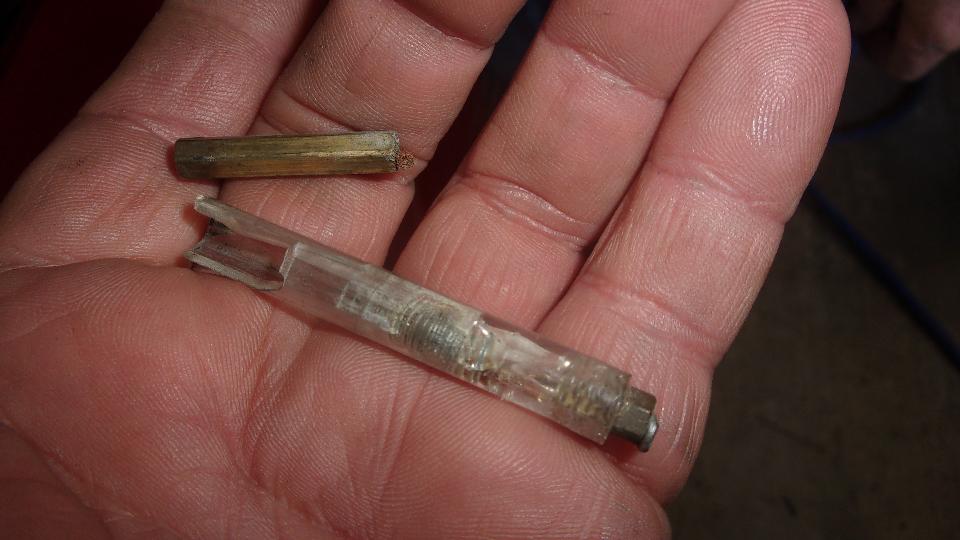
Another friend sent a picture of an MGA Twin Cam "Camshaft Seal", which is a flat rubber strip the seals between front of the T.C. cylinder head and top of the engine front plate. Picture at far right shows the head upside down with one of the seals installed. For more information see new tech page TC-338.htm
Sunday, January 30, 2022:
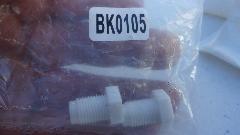
Took a week to collect enough information to post a new tech page on rubber grommets and plugs for the firewall and heater shelf in the MGA. See new tech article BD-105G
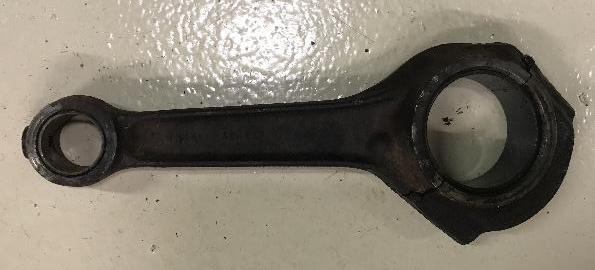
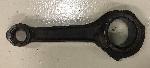 Also posted a new Part Numbers page for AEH642 and AEH644 Twin Cam connecting rods, right and left handed parts replacing a wide range of previously weight matched part numbers.
Monday, January 31, 2022:
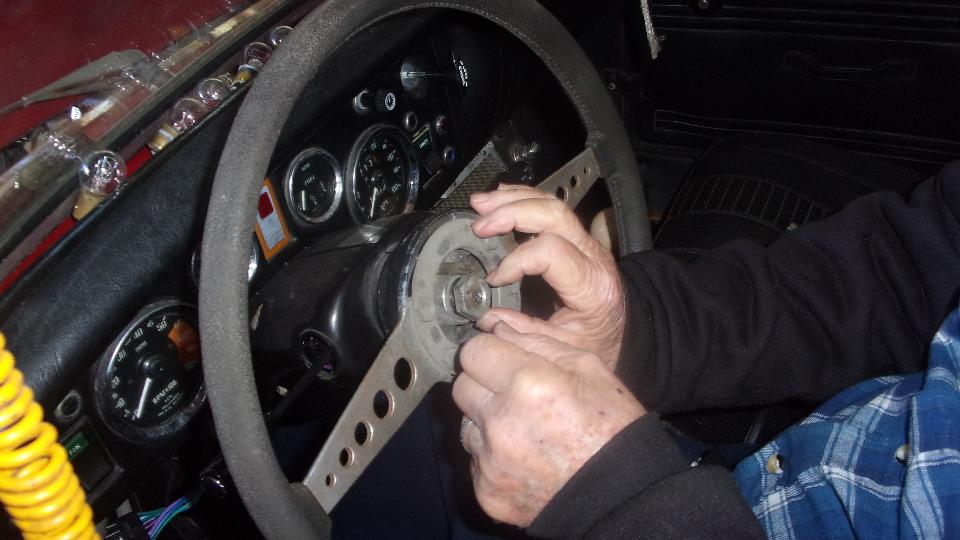
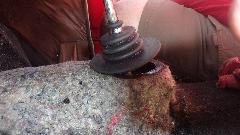
We hope this will be our last chores for the Rusty Midget. Steering wheel was on, but the horn didn't work, so pull the wheel off again. After a few of these cycles, we fell back on the old hunch that every electrical contact in this car was bad, so we pulled the wheel off again to polish the ring commutator underneath. The we got power to the commutator, but still no horn, so pull the wheel again and remove the commutator for access to the top side, and polish the tab contact there, but still no horn.
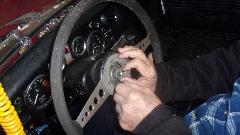

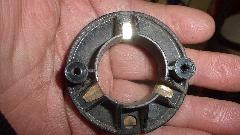
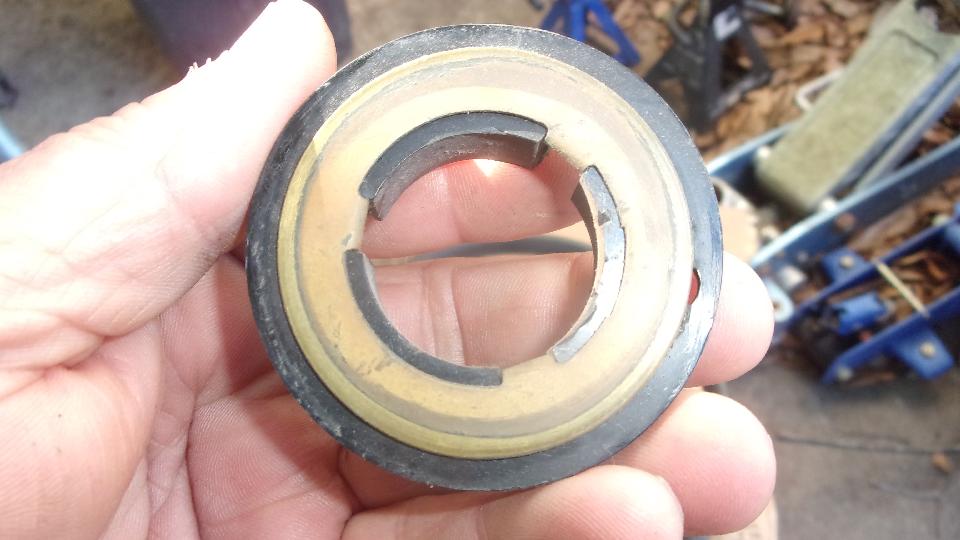
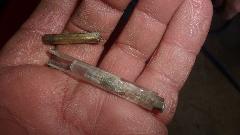
Next item in the electrical path was the electrical compression pin in a plastic shell with contacts on both ends and a spring and flex wire inside. Polish both ends of that piece, and then we had intermittent horn. Test light the compression pin was internally intermittent, so pull that out to east it like a fuse, and it finally came apart with broken wire inside. This one was too beat up all over, to grouse around the attic to find a better one, put it all back together, and the horn works. I recon that only killed two hours.
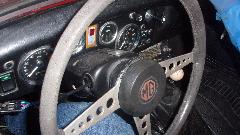
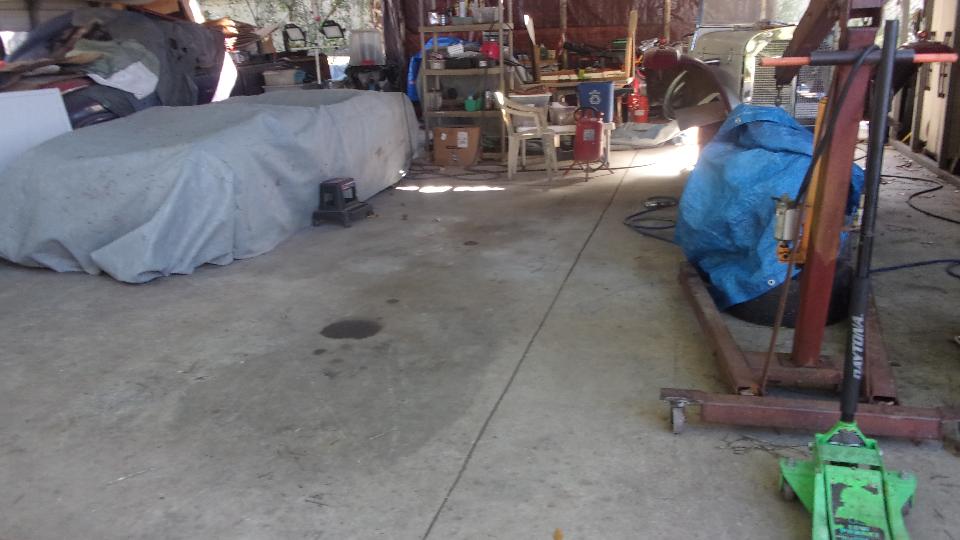
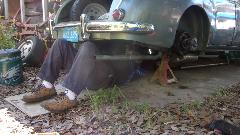
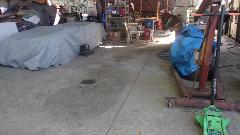
They finally buttoned up the rag top and took it for a test drive, made it around the block okay, but the clutch with all new hydraulic parts was a bit hokey. Looks like tha new clutch master cylinder doesn't return all the way to rest position, so it has short stroke requiring the clutch pedal to be hard into the carpet for shifting. Well, it made a trip around the block, and maybe the master piston will loosen up with further use, so call it good, throw a cover over it, and call the owner to come get it. This time the final victory picture is the open work space.


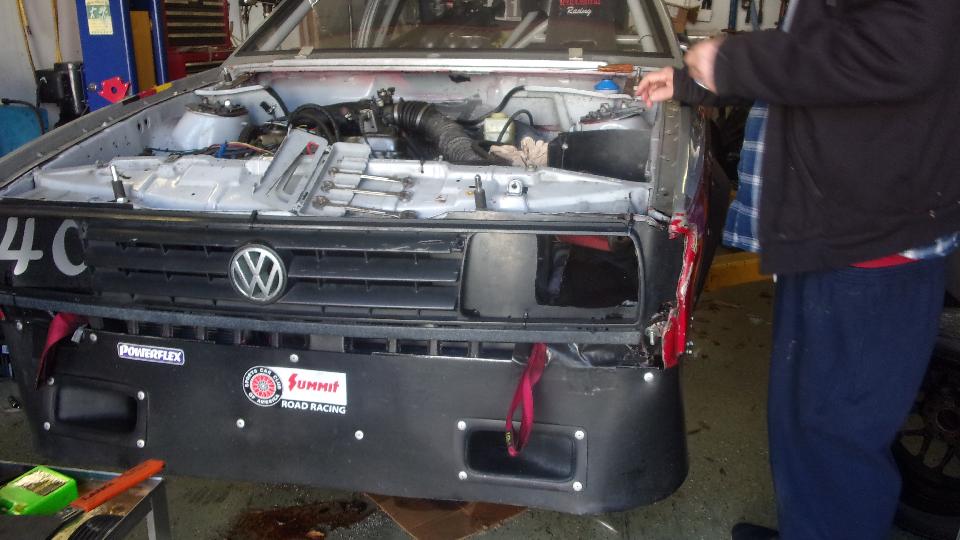
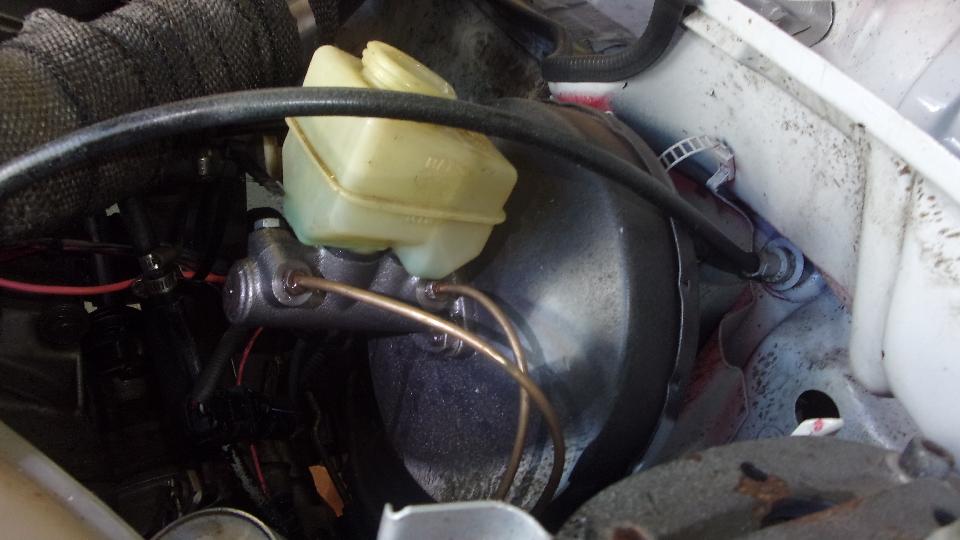
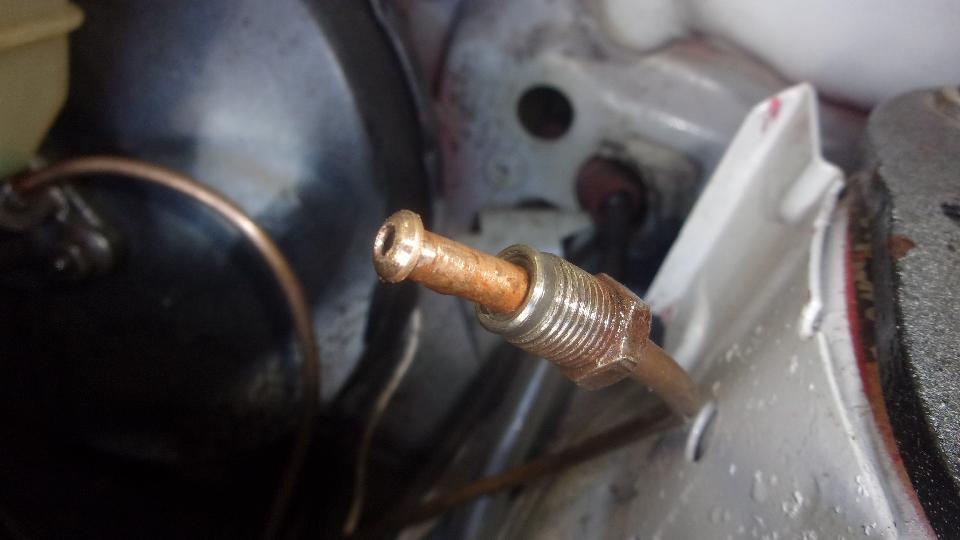
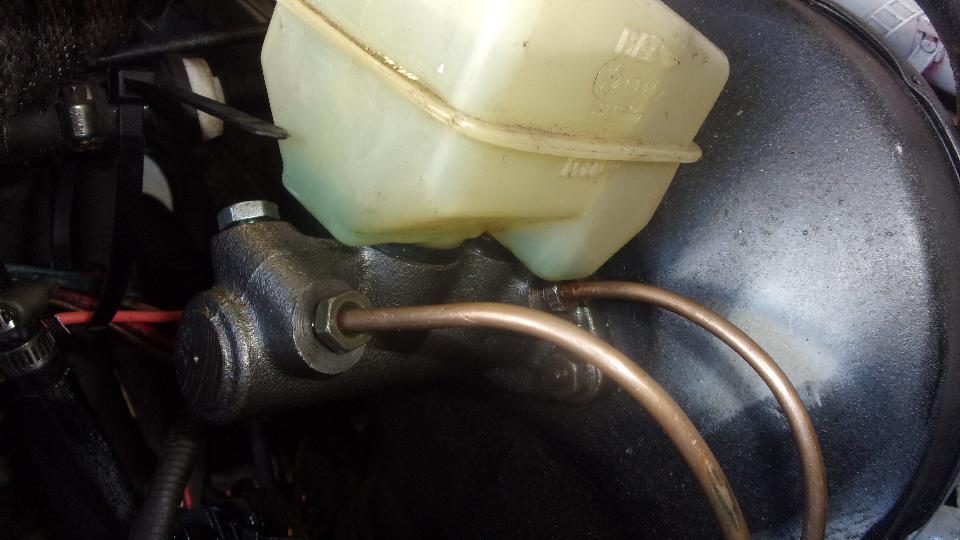
The other significant project today was to finish installing a new brake master cylinder on the VW race car. We wanted to get this done to free up the lift for some work on our MGA. The VW originally had X-crossed dual braking system with LF & RR wheels on one line, and RF & LR wheels on the second line. For racing they un-cross the lines, use the rear two ports for front brake lines, and one of the front ports for the rear brakes (plugging the other front port). The remaining issue today was, that single rear line had a gushing leak.

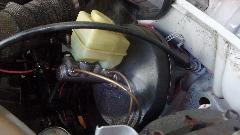
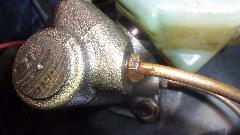
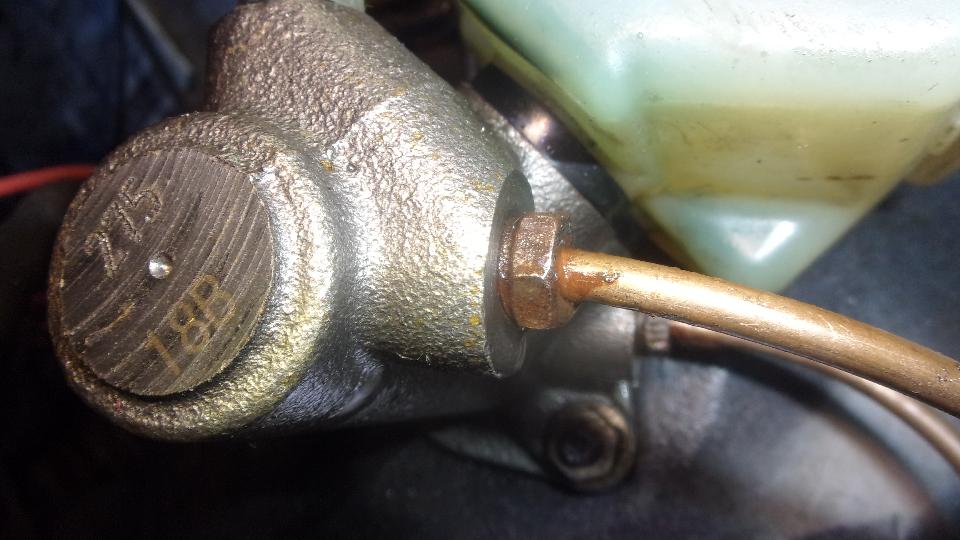
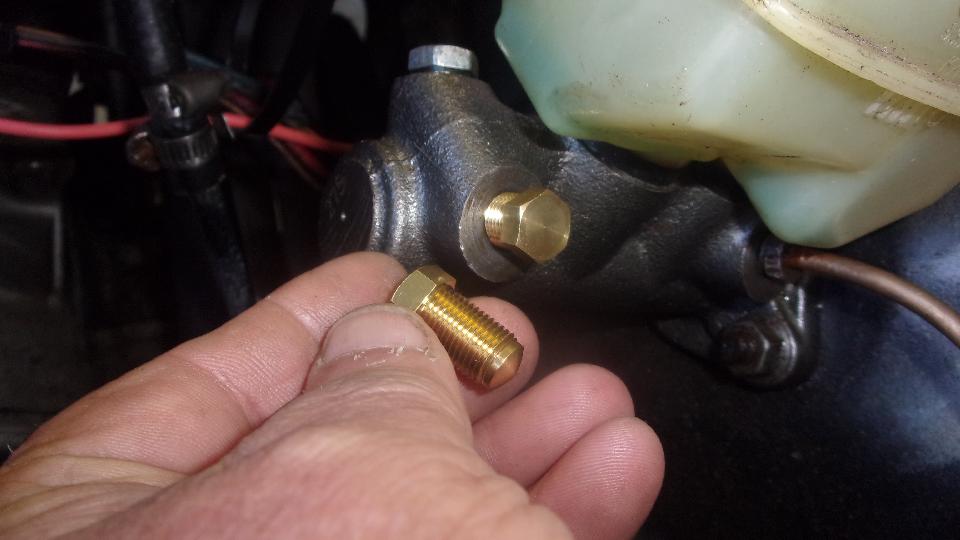
Disconnecting the pipe connection, there was nothing offensive about those parts. Apparently the threaded port in the new master cylinder was deeper than the old one, and the flare nut ran out of thread. Grrrrr. Jerry had a brass plug ($17 per pair) that was a little longer, wanting to check depth of the threaded port. I bet the plastic plugs that came with the cheap new master cylinder weren't that expensive.
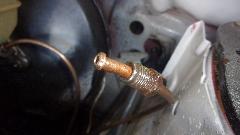
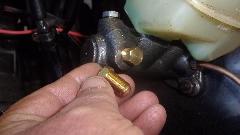
 Jerry found another flare nut that was one thread longer. Not too long to grab the cheap Harbor Freight tools, cut the tube end off, swap flare nuts, re-flare the pipe, and get it back together. No more leak, bleed the brakes, and good to go.
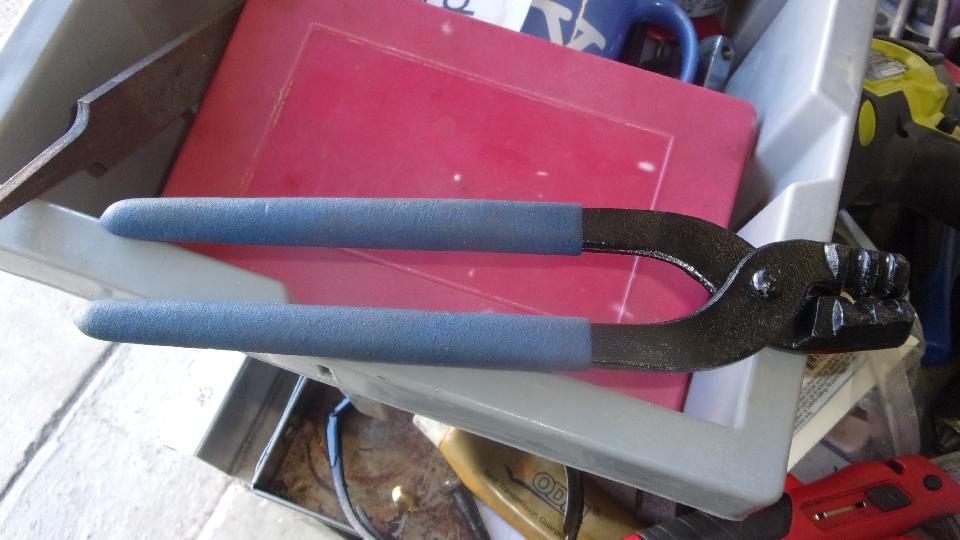
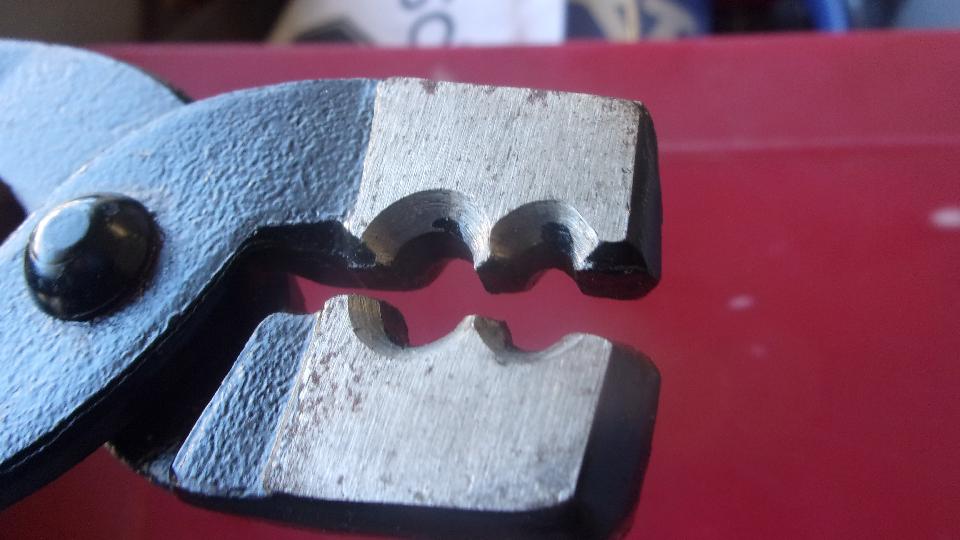
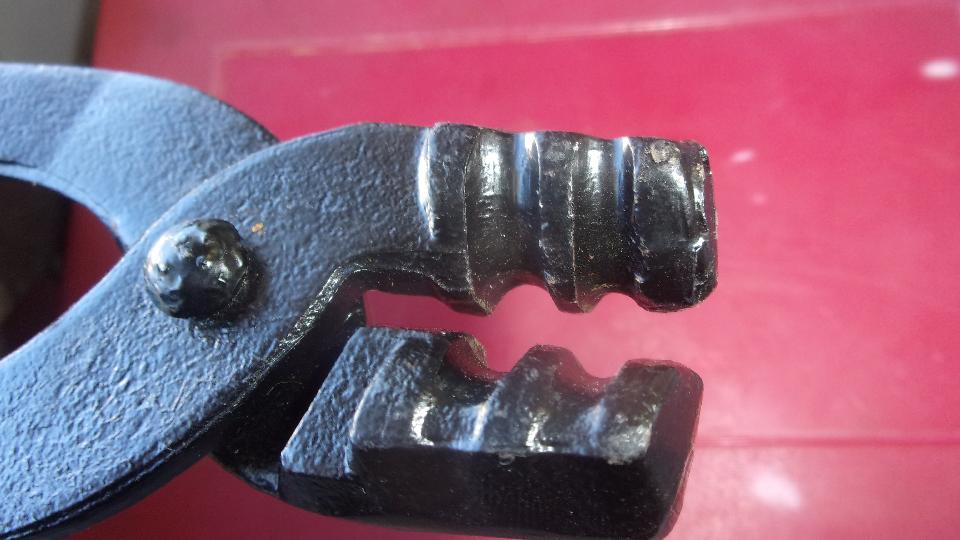
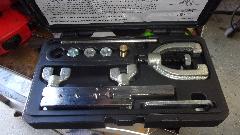
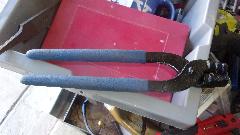
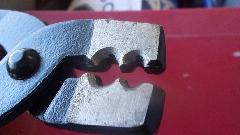
I have to report a nifty new tool here. These pliers have clamp jaws to match brake pipe diameters 3/16" and 1/4". You can clamp this tool on a brake tube, give it a twist with your wrist, and put a close radius bend up to 90 degrees in the line without a kink. Way cool!

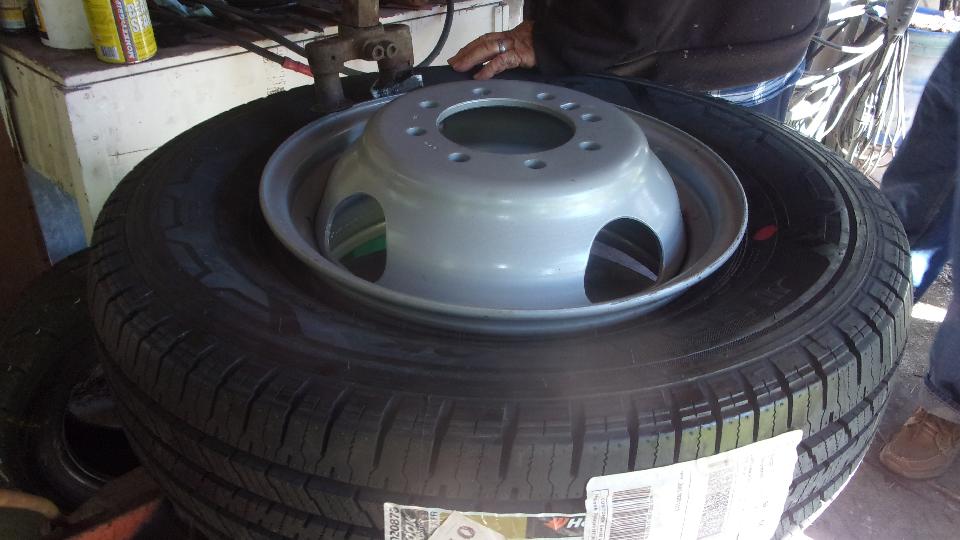
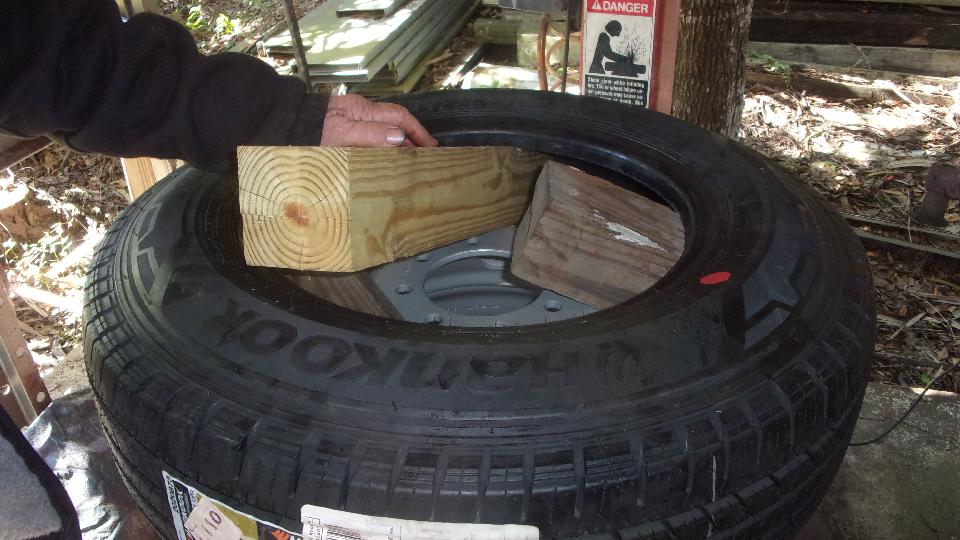
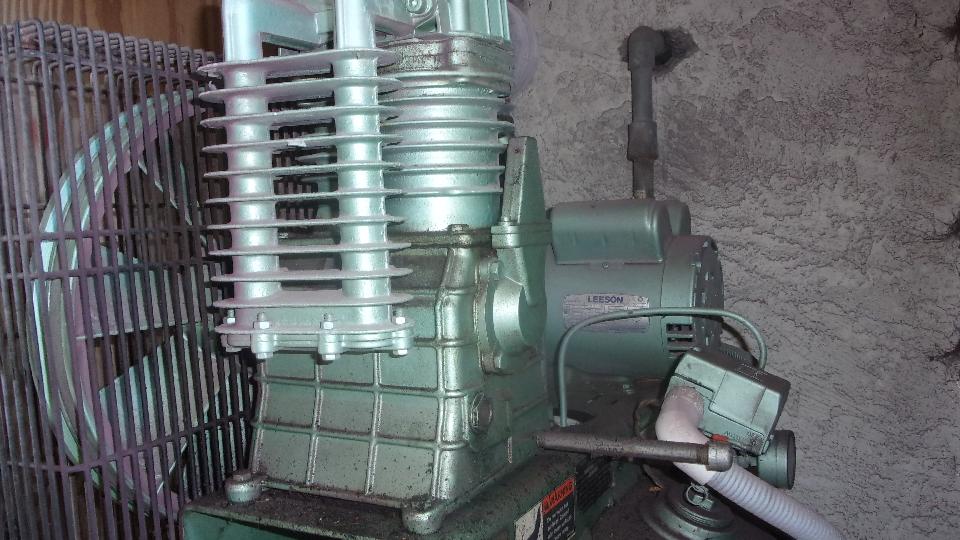
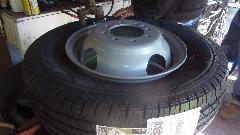
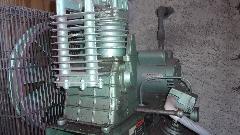
One last bit of grunt work before leaving. Jerry was putting a new heavy duty truck tire on a new wheel as a spare tire for his motor home. As shipped, the tire beads were too close together and would not seat to seal on the wheel, and the tire was very stiff. We gave up after a short fight, released one side of the tire from the wheel, pulled up the sidewall and blocked it in that position. Leave it to sit there a few days to see if it will settle up and cooperate. The big air compressor was a bit noisy, so top up the oil in that before heading out.

|