The MGA With An Attitude
MGA Guru Is GOING MOBILE - (May 1 - May 15, 2018)
Tuesday May 1, 2018:
Finished configuring and uploading the CMGC May newsletter to the club web site. Discovered my back-up hard drive not working, might be a smashed data cable, have to leave the data backup for later. Just a little time to spare, headed back south in early afternoon. Re-tensioning of the new convertible top seems to have worked well. Whipping down the interstate at 75-mph has it fairly quiet, no more nasty drumming noise, so score one for the good guys.
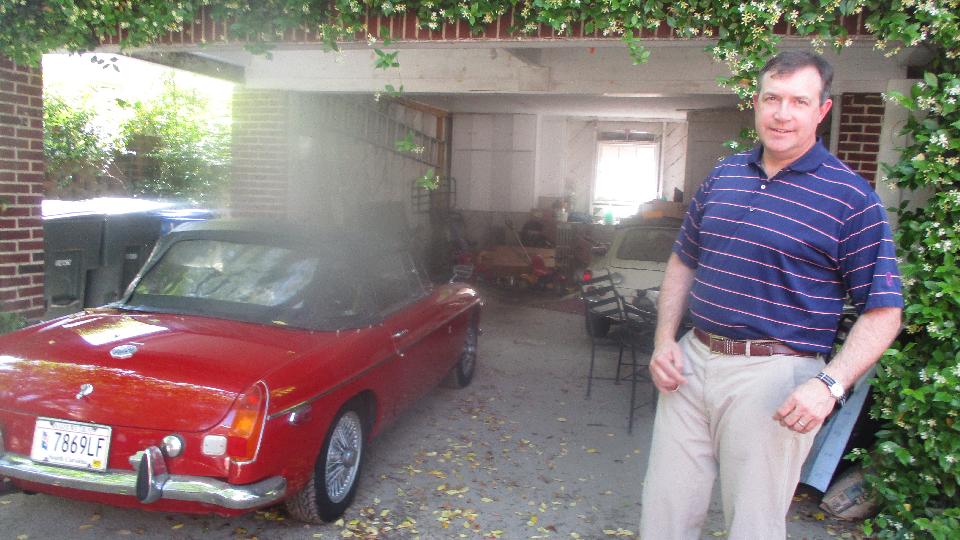
We had a mid afternoon appointment with Thomas Peacock in Columbia, SC to do a little electrical debugging on
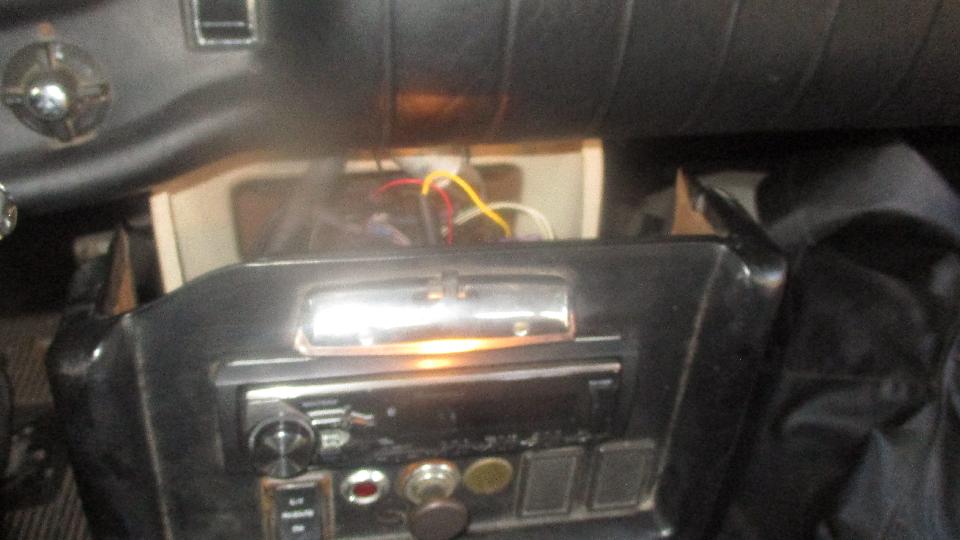
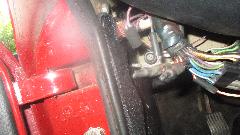
 his 1972 MGB. The primary complaint was battery discharge while parked overnight, implying current drain of a few amps. We began by checking courtesy lights in the boot and passenger compartment (map light). Not much wrong there, but we did find and fix an intermittent power connection to the map light and radio. Also noticed the horn was not working, which was a surprise to Tom, but it works when locally grounded. That traced back to loss of connection between the horn button and the connector under the steering column, so must be the spring loaded contact pin behind the steering wheel hub.
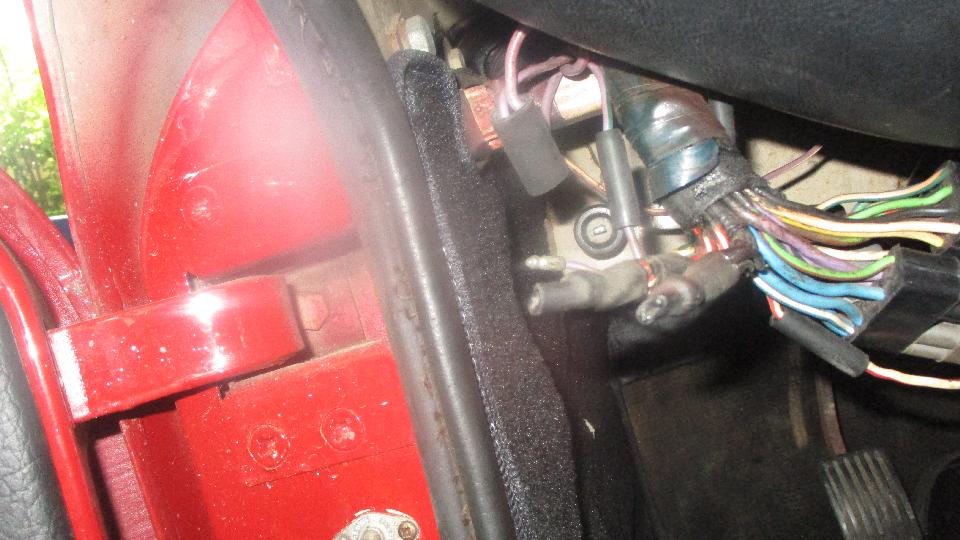
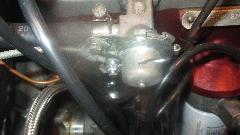
I noticed the ignition lamp was not working, and spent some time there. The bulb was okay, and the bulb socket
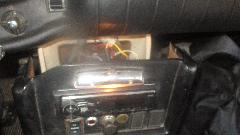 had power from ignition switch, and grounding the socket made the lamp work. The other end of the wire on the lamp housing is supposed to connect to the alternator, but grounding that wire did not make the lamp work. Very odd, so must look for a disconnect between the ignition lamp socket and the alternator, possibly another connector in the harness, but will look for that later. For now, run a long jumper wire from lamp socket housing to the connection on the alternator, but that didn't work either. Say what? Something wrong with the lamp connection inside the alternator? But that still doesn't explain the rouge current draw that is draining the battery when parked.
Still chasing purple wires, and a second door jamb switch on the driver side door post. That was a switch point
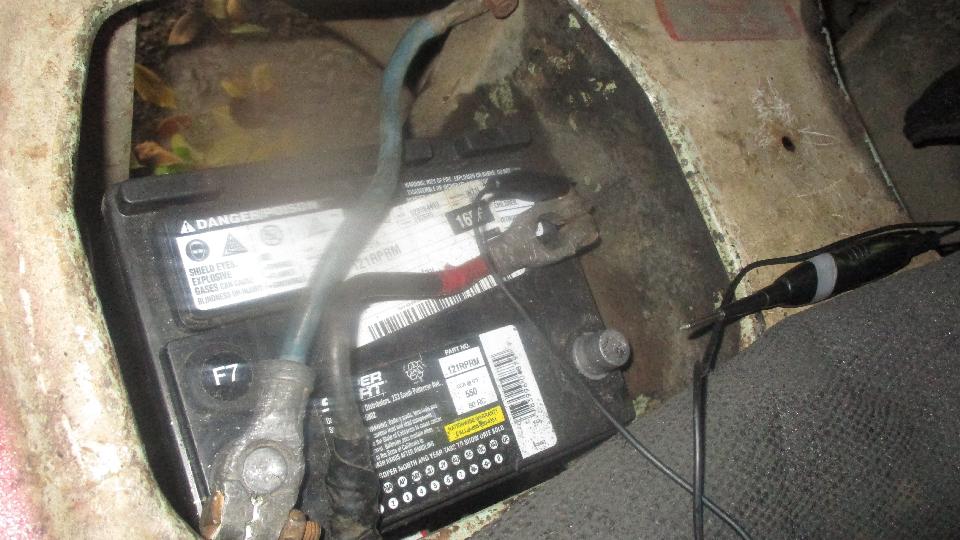
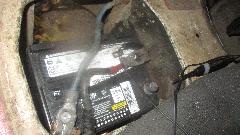
 for the "key left in ignition" alarm I think, but it would always buzz (verified again), so it was long ago disconnected (and will remain disconnected). Disconnect one of the battery cables, connect a test light in series between the cable connector and the battery post, and it lit up (power drain). Switch off everything in the car, close doors and boot lid, but the test light is still lit (power drain). Use an ammeter to check current, and find 2.4 amps power drain. That's a lot, about enough for all the parking lamps, but they were not on.
Reconnect battery cable. Find the wire bringing power to the fuse block and disconnect it. Verify power there with test light. Connect test light between power wire and fuse block, and no light. Oh? Nothing in the cabin drawing any power. Looking at the primary wiring between battery and fuse block we have starter motor and alternator. Disconnect battery cable, and connect test light in series with battery cable, and it still lit up.
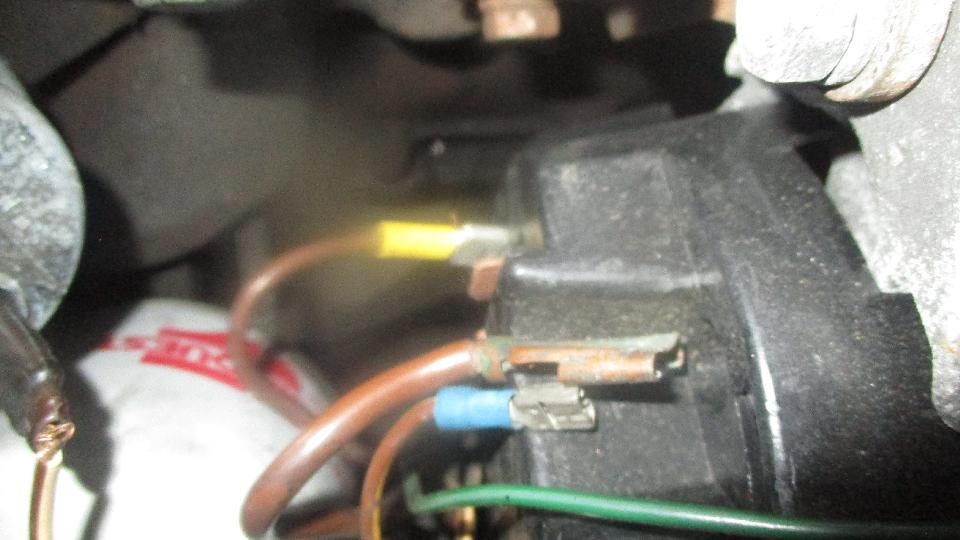
Disconnect all three wires from alternator, and the light was out. Getting close. Connect one wire at a time on the
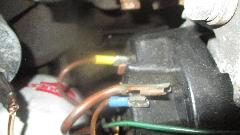
 alternator, and the test light came on with the sensor wire connection (the smaller brown wire). Ah-ha! Duff alternator, draining battery power through the alternator when parked. This may be related to no ground connection for ignition lamp. Fairly recent purchase, even found the package still containing the last failed alternator. This was a rebuilt unit from O'Reilly Auto Parts, likely still under warranty. Late in the day with some other commitments, so the return for testing will wait for another day.
Wednesday May 2, 2018:
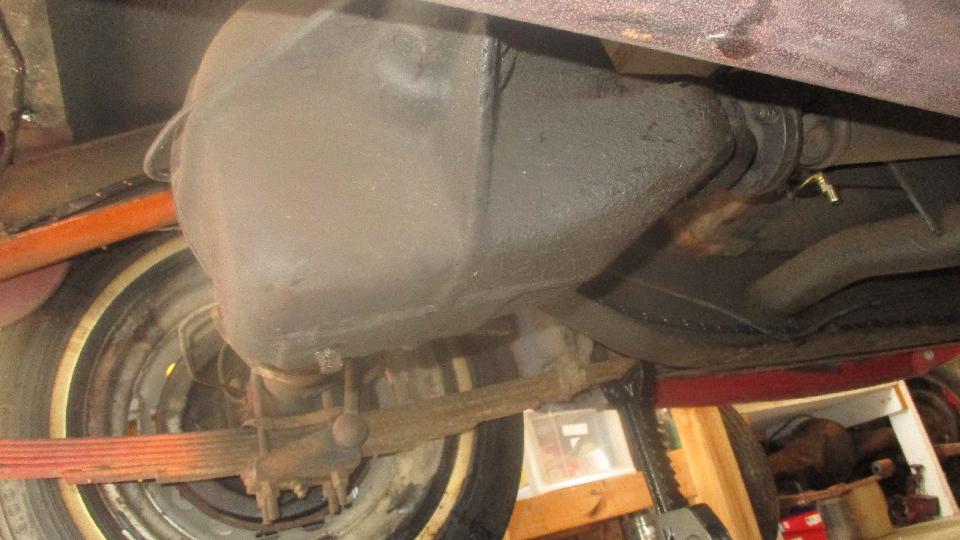
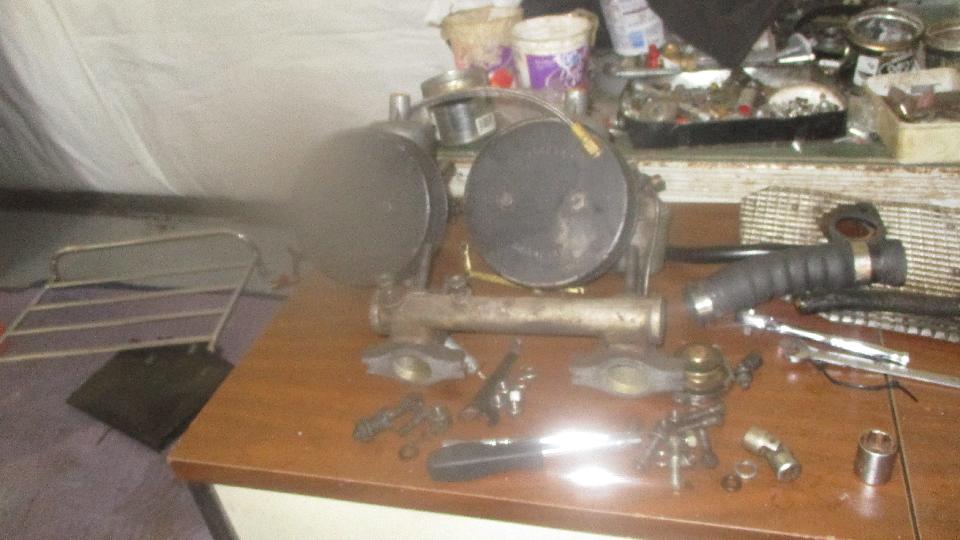
Back to George Lawson's place in Lexington. His MGA is running okay (except the batteries were low after sitting for 30 days). Prime objective today was to do three oil changes in Dave Daniel's MG TF, differential, gearbox and engine. The differential was easy enough, small drain plug on bottom and large fill plug on top. 2.7-pints of gear oil seemed about right.


Gearbox also not too bad, large drain plug on bottom, and smaller fill plug and dipstick on top. Only dropped the fill plug once. I was surprised it only took 1.7 pints of gear oil (yes, less than a quart) when the MGA takes three quarts in the gearbox. Don't know if the metal cover is original, looks good, missing a wing nut I suppose.
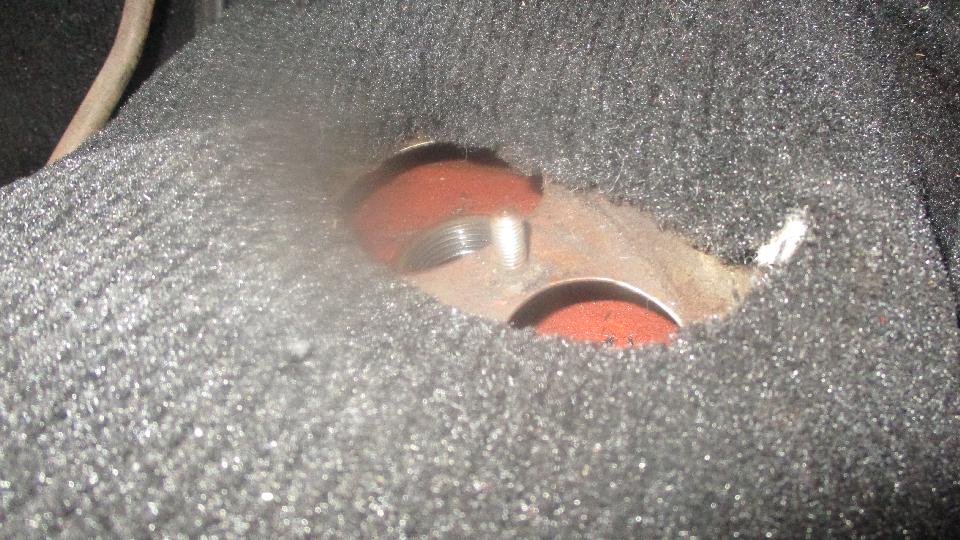
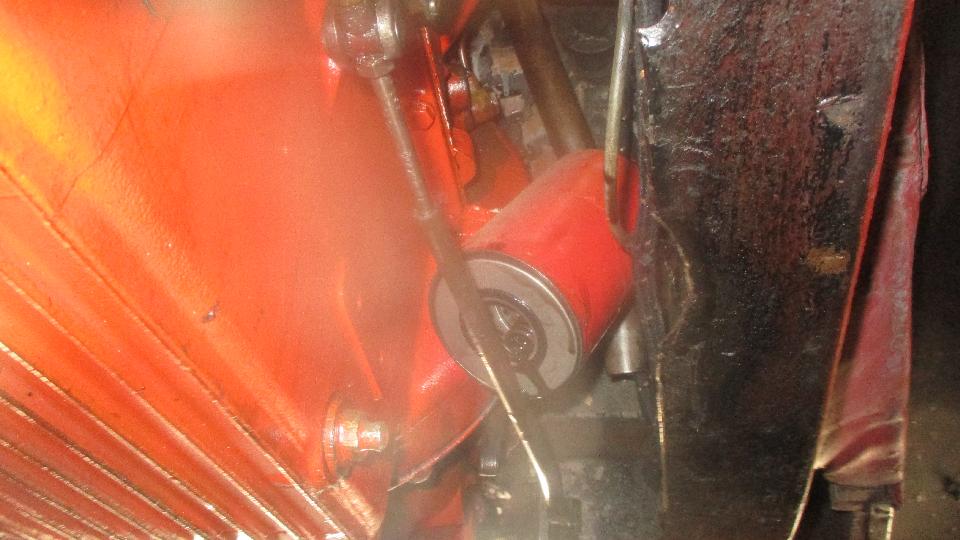
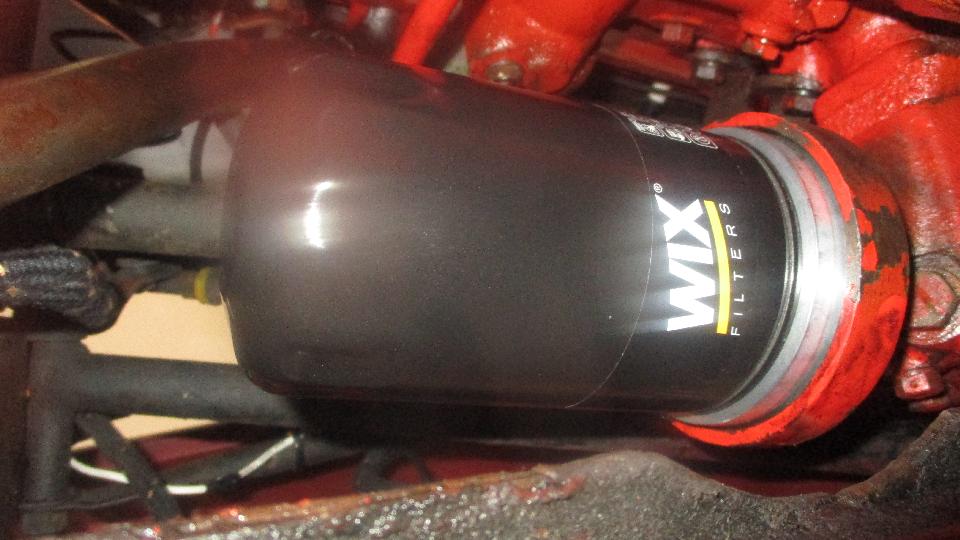
Then we only needed to change the engine oil and filter, supposed to be the easier job. Can't get to the filter from above, so work at it from underneath. After more than an hour trying to get wrench access, removing a clutch
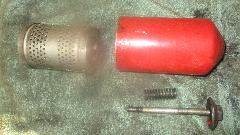
 pushrod, finally getting the filter unbolted and drained, it still wouldn't come out the bottom. About that time Dave suggested removing the inner fender louvered access panel. Doh! I coulda punched him. When the filter was out it was obviously missing a few internal pieces, like the filter retainer plate and flat washer, seal washer and retainer clip. With those parts missing the filter element would just lay in the bottom of the canister, and oil would bypass the filter without being filtered. This had not been apart since Dave bought the car, so the no-filter problem has been there for a long time.
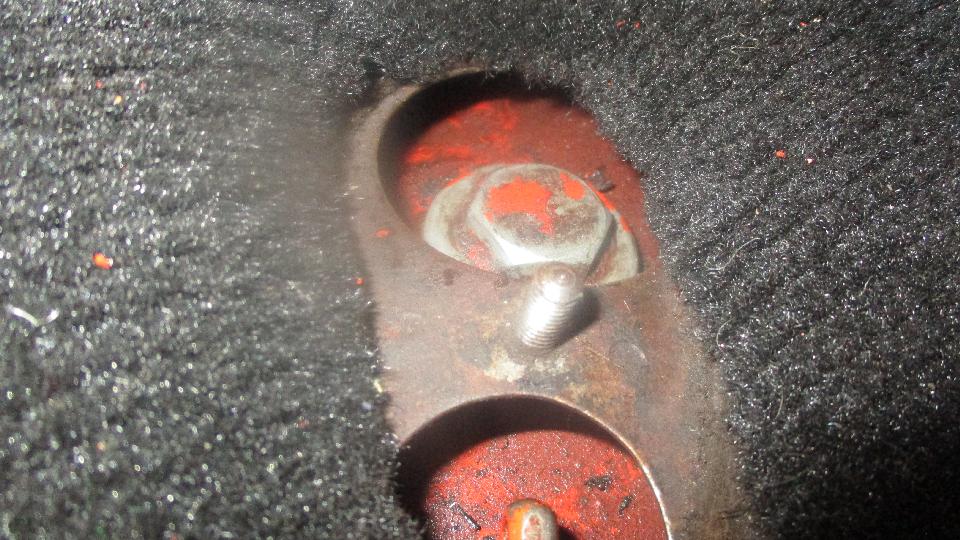
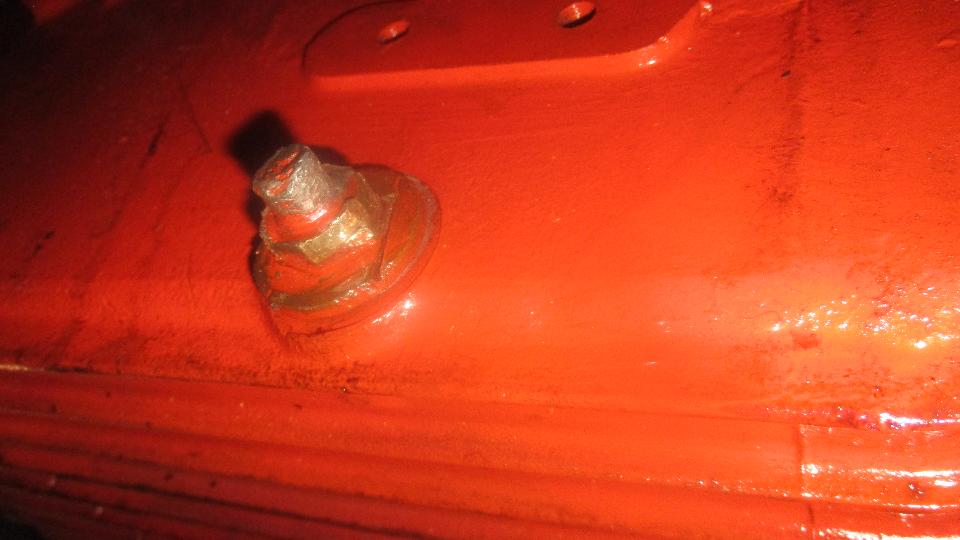
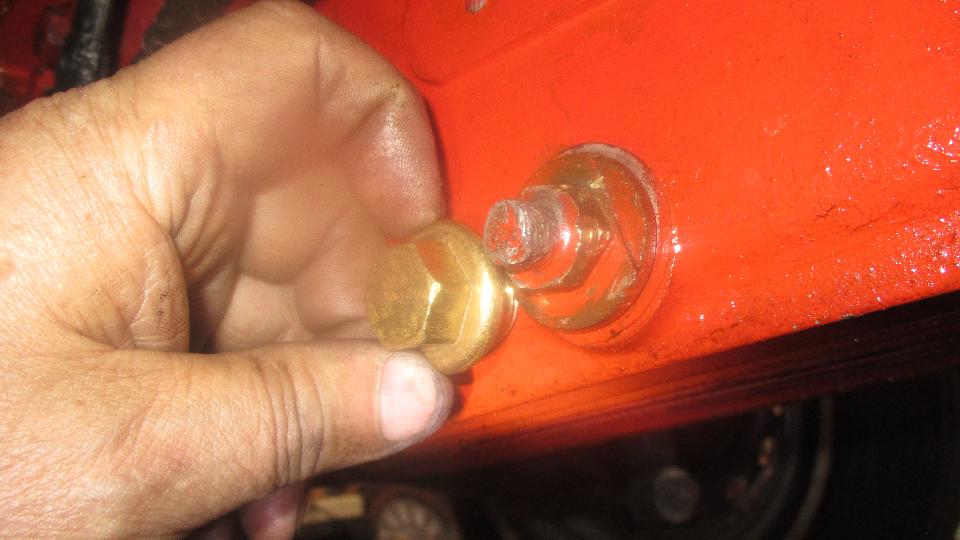
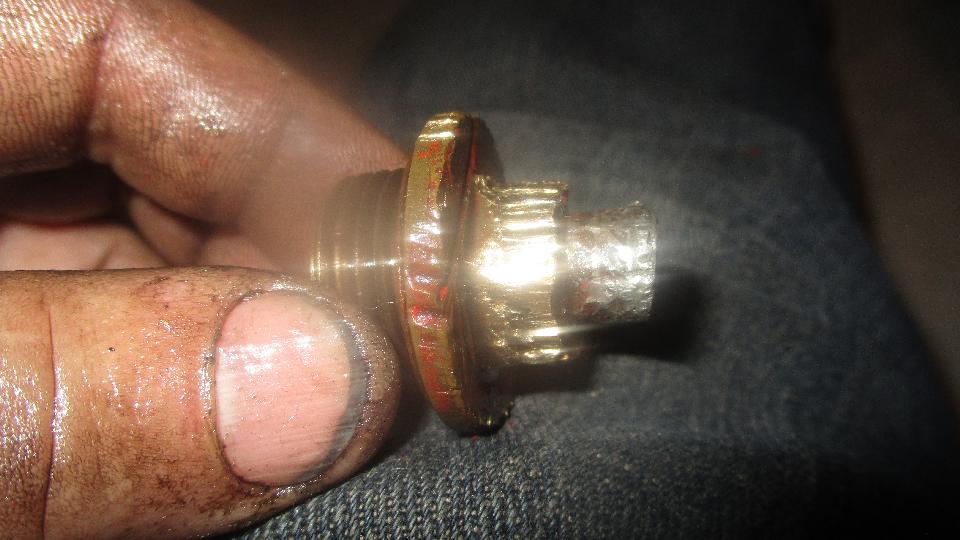
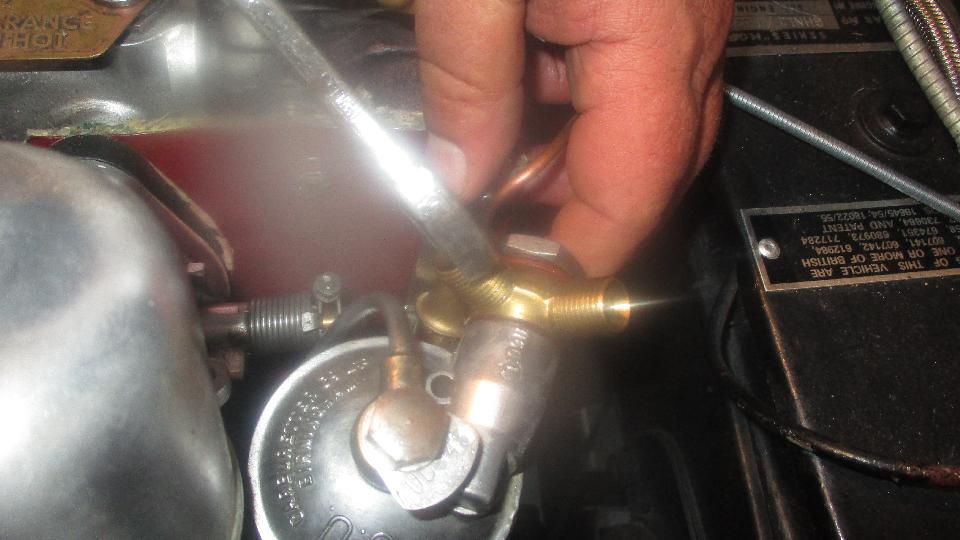
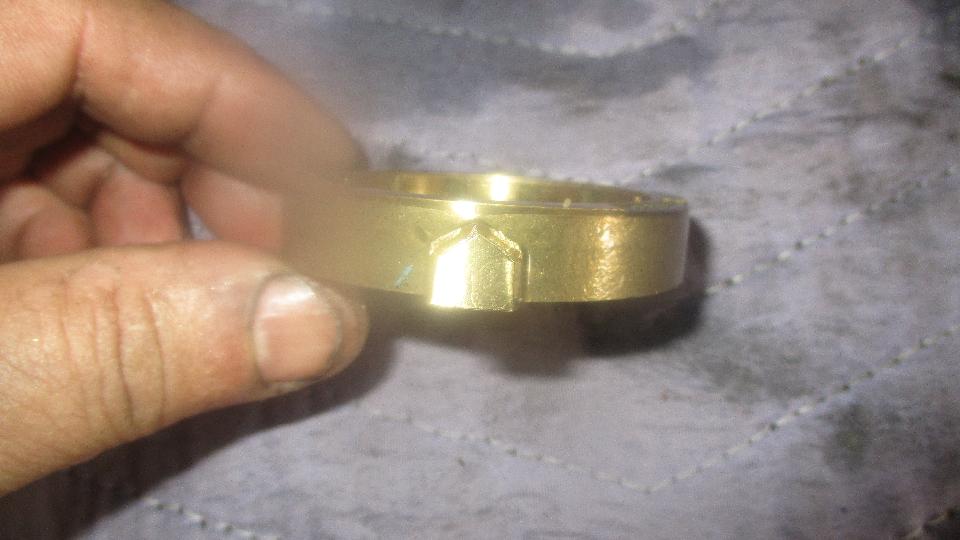
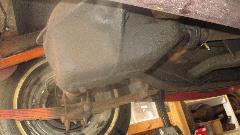
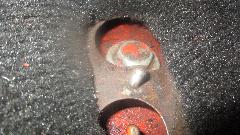
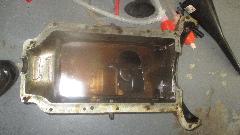
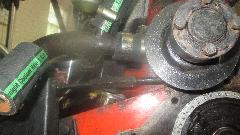
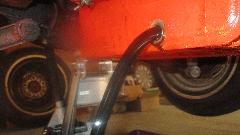
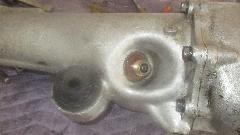
 Then another almost insurmountable problem. See what you might make if this drain plug bodge. This is supposed to be a fairly large hex head plug with a sealing washer. Looks to me like a hex head bolt installed from Then another almost insurmountable problem. See what you might make if this drain plug bodge. This is supposed to be a fairly large hex head plug with a sealing washer. Looks to me like a hex head bolt installed from
 inside the sump with a flat washer and (brass) hex nut on the outside. The only way that could be done is for the bolt to be installed before the sump was installed on the engine. The brass nut has all the corners rounded off, while the end of the bolt appears to have all the threads mashed down (possibly Vice-Grip damage). This may have been from some attempt to remove the parts once upon a time, most likely total failure. Knowing something about the history of the car, the engine was supposed to have been "overhauled" by some shade tree mechanic in Tennessee about 25 years ago. We can only speculate that the oil has not been changed since then (although it has also not been driven much). Okay, order up some parts, and set this one aside for another day.
Thursday May 3, 2018:
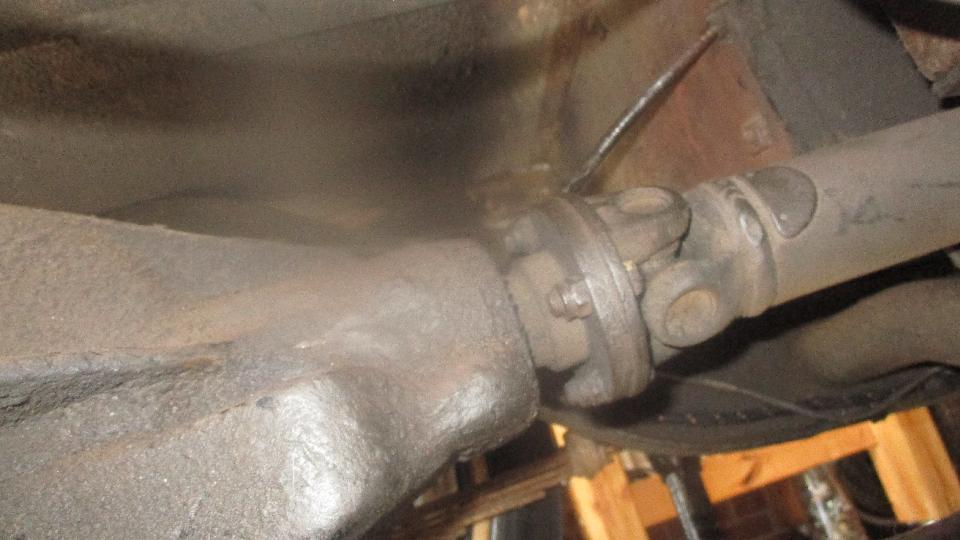
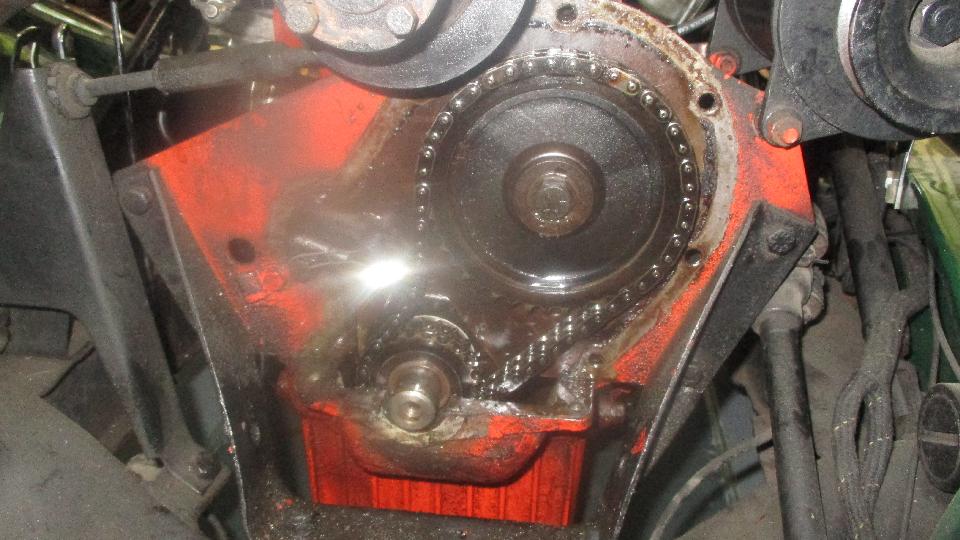
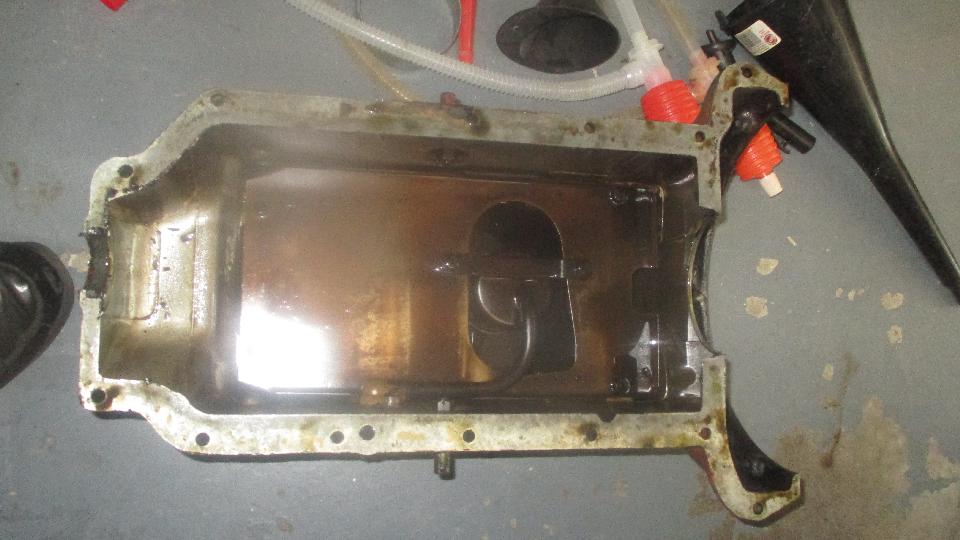
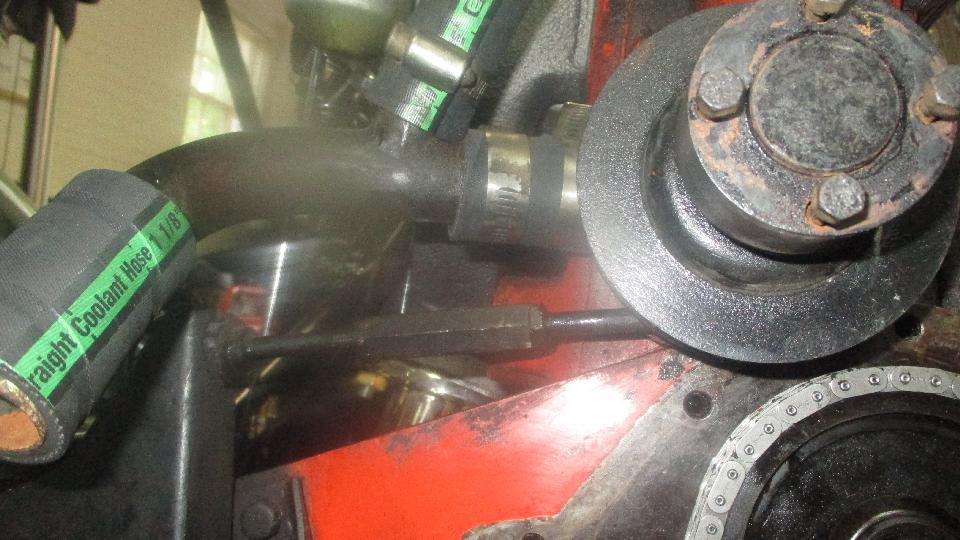
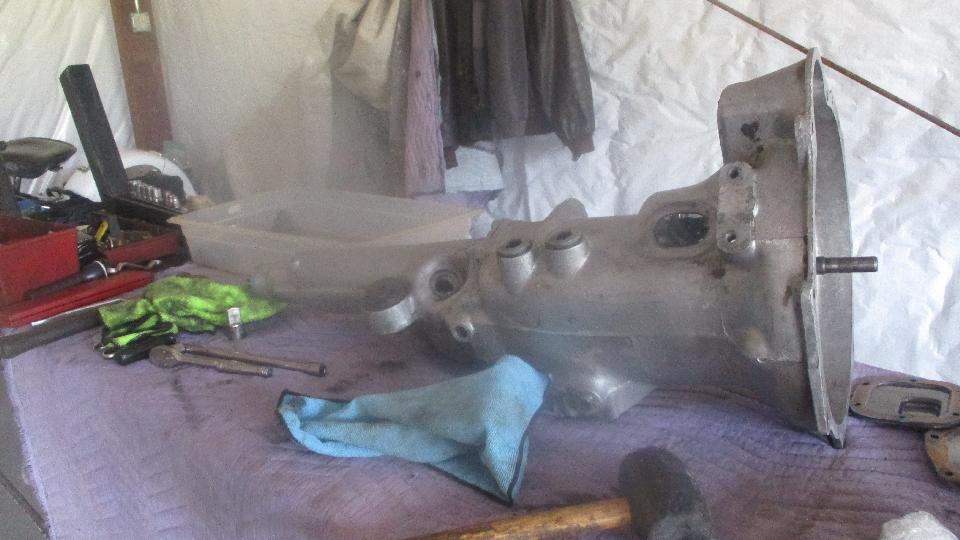
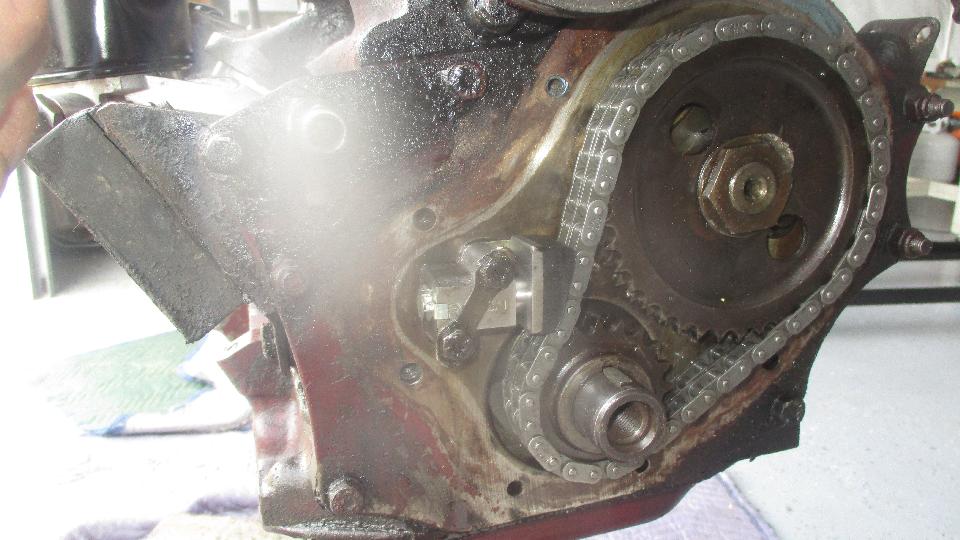
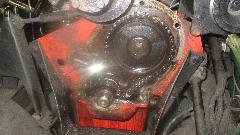
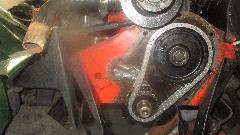
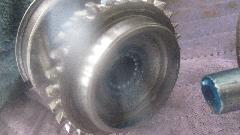
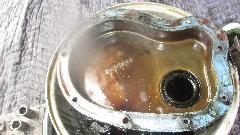
Back up to Newberry, SC for another go at Less Hipp's MG TD. The initial plan was to remove the timing cover to R&R the timing chain. Less got an early start removing the radiator. Once the timing cover was removed it was obvious the crankshaft sprocket could not be moved without removing the oil sump. Bummer, but such is life. One sump bolt was in a tight spot, and we had to remove the clutch relay arm from side of the sump, but otherwise just grunt work, and eventually the sump was off. The old timing chain had lots of slack, tensioner fully extended, and we found a wear mark inside the timing cover near the long run of the chain, definitely end of service life for that chain.

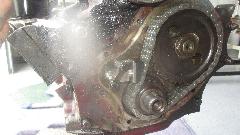
Turning the crankshaft with hand crank while observing valve action, the sprocket and chain alignment was not immediately obvious. Book instructions seemed a bit odd until we counted sprocket teeth and chain links. 21 teeth on crankshaft sprocket, 42 teeth on camshaft sprocket, and 30 double links (60 single links) in the chain. Instructions reference two "white" links in the chain with 13 links and 15 links respectively in between, and setup putting the white links on "T" marks on the sprockets. That seemed to make sense, until you realize that three turns of the crankshaft will advance the chain 63 links, which is 3 links out of position from where it started, and you would have to rotate the crankshaft 60 turns before the chain gets back to original position relative to the sprockets.

Then we found the new timing chain does not have any white links, just as well. Rotate until cam sprocket is near TDC, and crank sprocket is near TDC, then pull crank sprocket forward as the cam sprocket is removed. Install the new chain with the prescribed 14 links from crank to cam and 16 links from cam to crank on the other side. Then spend more time cranking it around while verifying valve timing several times over just to be sure (because it's a lot of work to do over if you get it wrong).
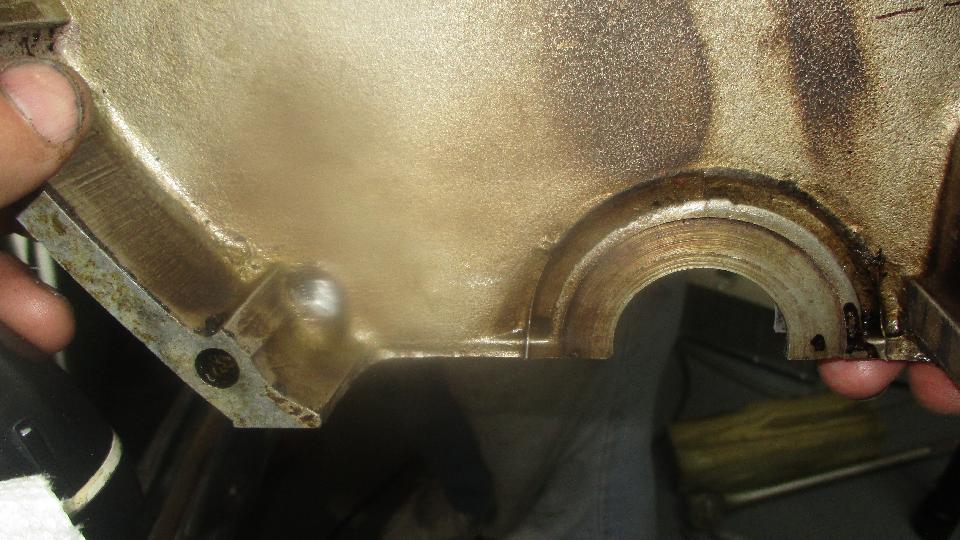
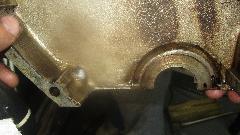
It sort of went down hill from there. Someone at Moss had talked Less into buying a rubber seal to replace the two-piece rope seal up front. We got the sump reinstalled, having verified the new rubber seal could be slipped into place in the process, before we discovered the timing cover cold not be installed over the rubber seal because the water pump pulley was in the way. May be easier to remove the water pump than removing the pulley (maybe), but that requires removal of the engine stabilizer link, but that was a good opportunity to replace the rubber grommets on the stabilizer. Beginning to sound like a case of the "might-as-well's".
Having removed the stabilizer and the water pump, it became obvious the timing cover could still not be installed over the rubber seal, because the chain tensioner was in the way. That means the sump would have to be removed (again) to install the timing cover first. Grrrr. We considered installing the original style rope seal, but that seems to require having the crank pulley in place before either the sump or timing cover is installed, which means the sump still had to be removed again anyway. Bummer. Call it a day, and we would take this up again tomorrow.
Friday May 4, 2018:
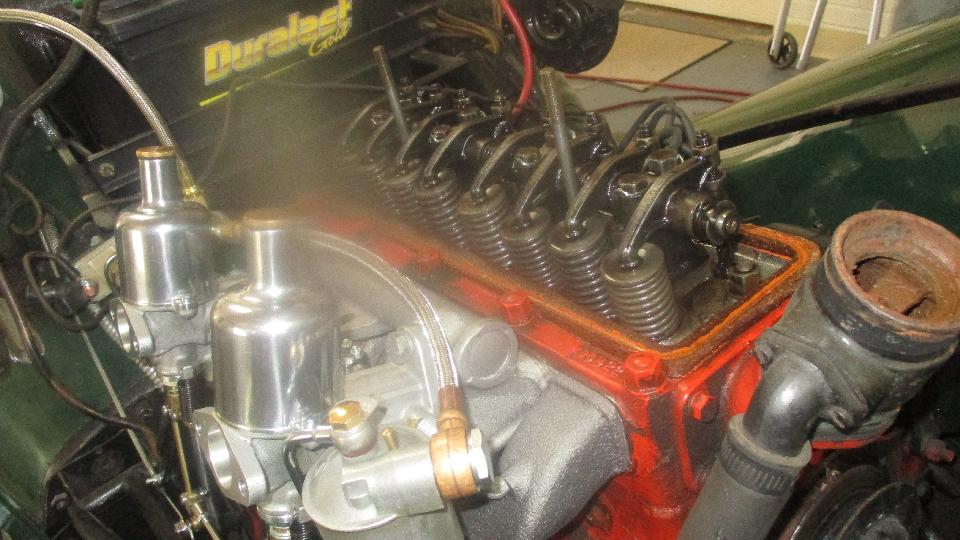
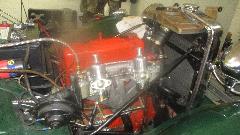
Back to grunt work today, not so many pictures required. Remove the sump, install the timing cover with rubber seal in place, and reinstall the sump. Reinstall the water pump and engine stabilizer (with new rubber grommets), and bust knuckles for more than an hour getting the radiator reinstalled. Add coolant and oil, crank it with spark plugs out, resulting in no oil pressure. Check the book, remove priming plug from oil pump, tip in a little oil, crank a bit, tip in a little more oil, replace the plug, and crank some more to get oil pressure. Yahoo! Put the plugs in, and fire it up idling quite well. Hit the throttle, cough-sputter, no-go, right back were we started two days earlier. Bummer. As I was double checking everything on the carburetors, Less said I looked totally befuddled, and I was. But they tell me the darkest hour is right before the dawn.


I spent considerable time with the timing light trying slightly different timing settings, dealing with a slightly intermittent timing light, trying the inductive pick-up on different HT wires, before it dawned on me that the timing light would glitch out in harmony with the misfire. If you pulled the throttle hard for acceleration the light would go out all together as the engine would die. So this was an ignition problem, likely weak spark that would only work with low compression. Less said it had a new condenser installed a year ago long with the new carburetors, and it hasn't run more than an hour total since then.
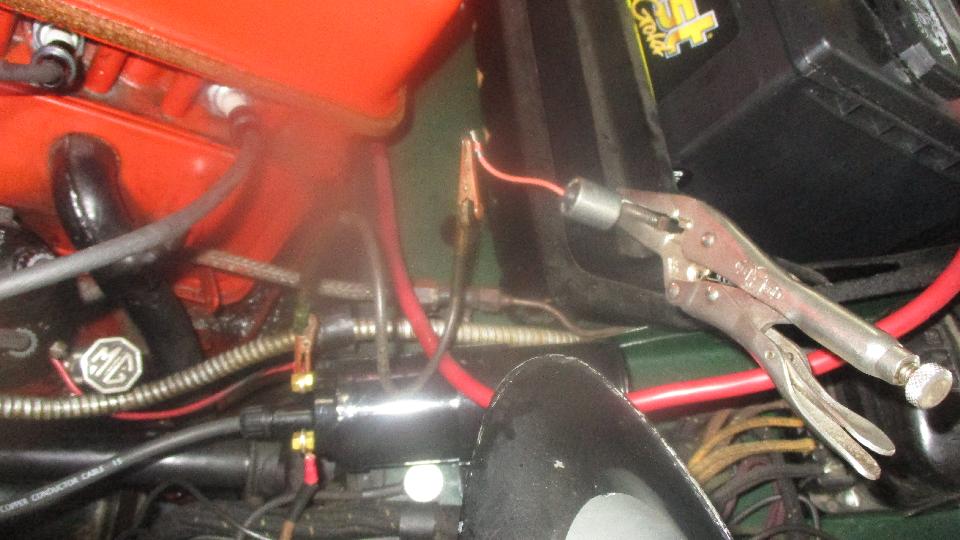
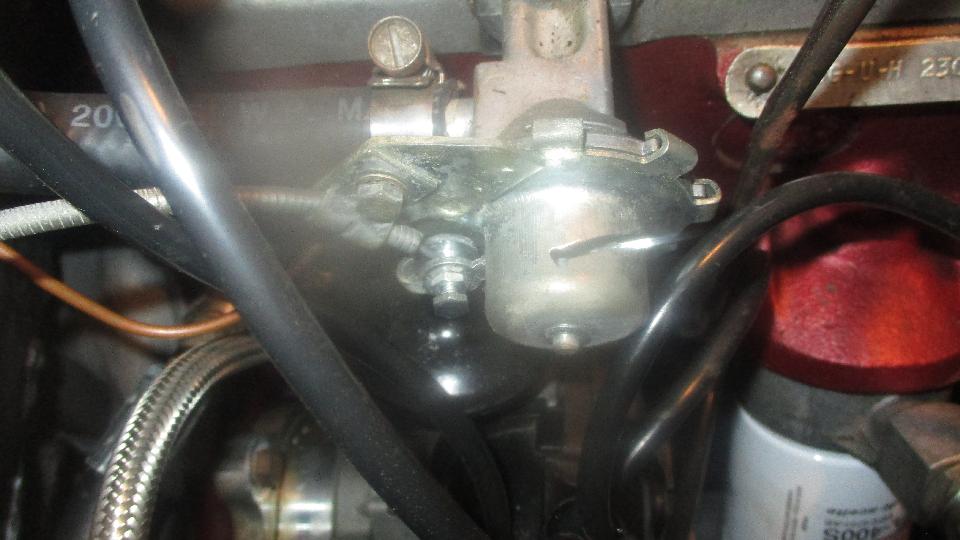
So we would check the ignition coil first. Easy enough, just a few minutes to borrow the known good coil from my MGA, hook it up to the TD with a couple of jumper wires, fire it up, and it still ran like crap. So put the borrowed coil back in my car, and grab a spare condenser. Ground the condenser by clamping it onto the chassis, connect it with a jumper wire to the coil-to-distributor terminal, fire it up, and it ran smooth and happy. Not a word spoken, just rev the engine a few times, runs great, disconnect the condenser and it dies, reconnect the condenser and it runs well again. Looks of amazement all around. After all the mucking about it turned out to be another bad condenser right out of the box from new. I may have to put the spare condenser in my pocket, as is seems to be needed almost as often as the car keys.

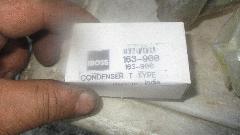
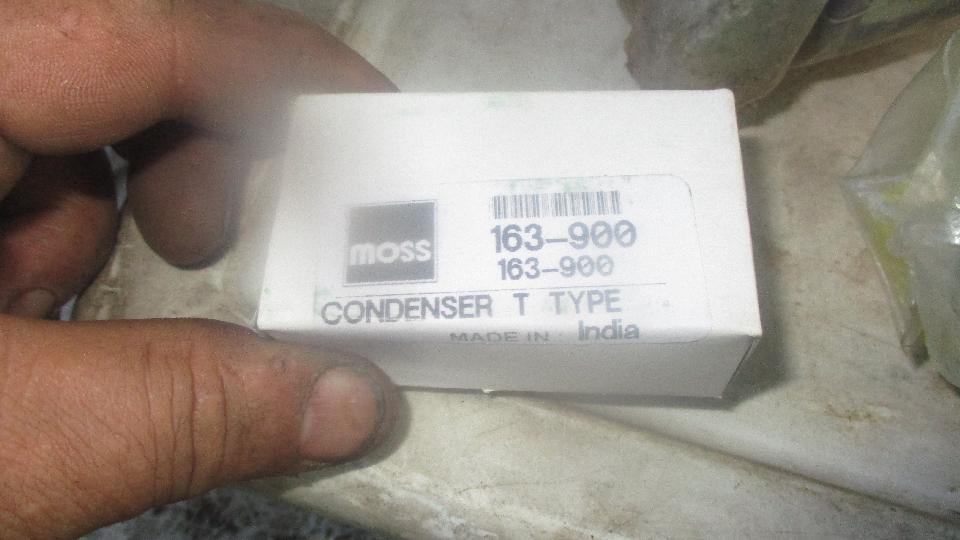
We tested the condenser that was removed a year earlier, and it worked, but it had a broken bracket. Off to the magic trailer to retrieve the correct condenser for a T-type, clamp that one on and connect the jumper wire for a verification test, get it installed in the distributor, fire it up, do final spark timing and fine tuning of the carburetors, and once again all is well with the world. Regardless of how wicked the situation is, once you figure out the problem it always turns out to be something simple. This one just happened to be more wicked than most, and the final solution was insidiously simple. We will be wandering around shaking heads for days. Meanwhile after 20 minutes running time coolant temperature had stabilized at 80dC (with no thermostat), oil pressure was still good, and best of all, no significant oil drips on the floor. Clean up time, pack the tools away, time for an ale.
Saturday May 5, 2018:
A well deserved day off, time to catch up a few days photos and notes, email and tech questions.
Sunday May 6, 2018:
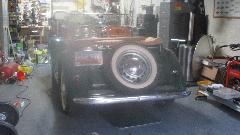
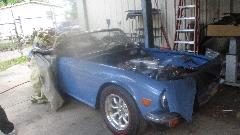
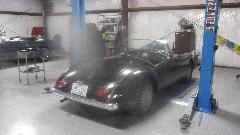
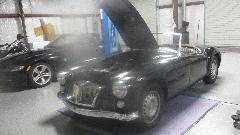
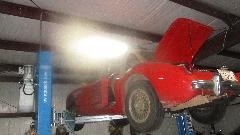
A quick visit today with Bruce Banbury in Fort Mill, SC. He has recently acquired an MGA 1600-MK-II that
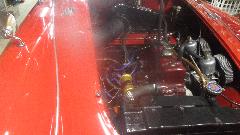
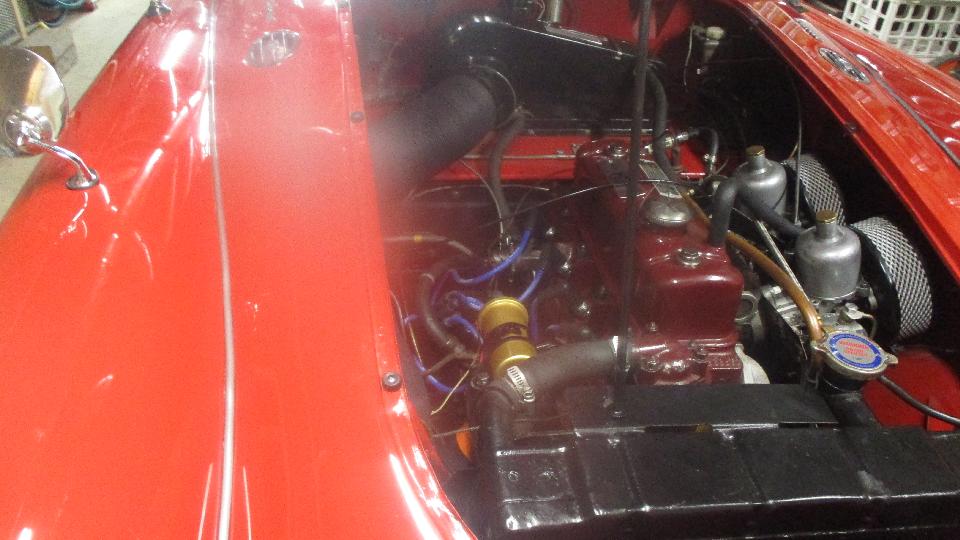
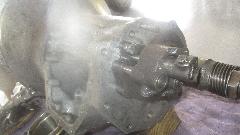
 is very nice but has a nasty oil leak from front of the gearbox. Not such a big deal, as he will soon take delivery of a Ford T9 5-speed. The radiator is original cell core type, which does a very nice job of cooling, but is badly beat up on the bottom tank and badly repaired. He has purchased a new tube-type radiator for replacement, for which I hope he will not be too disappointed after installation. Once all that is finished he intends to install a front sway bar (having been an avid autocrosser in his MGB for some years).
Monday May 7, 2018:
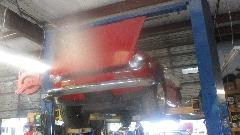
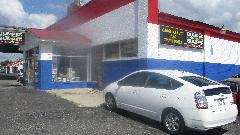
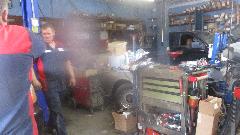
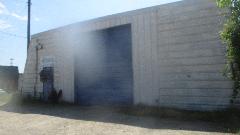
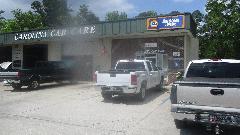 Ah, a week day with no appointments, so time for a little shop hopping. We took a 3-1/2 hour side trip east to the Myrtle Beach area to visit a couple of shops we had to skip out on two months earlier for lack of time. The first was Carolina Car Care in Murrells Inlet, SC. It makes more sense if you ignore the NAPA sign. These folks work on a lot of classic cars, including a specialty in vintage British stuff. Many of the local British car club folks bring their cars here for service.
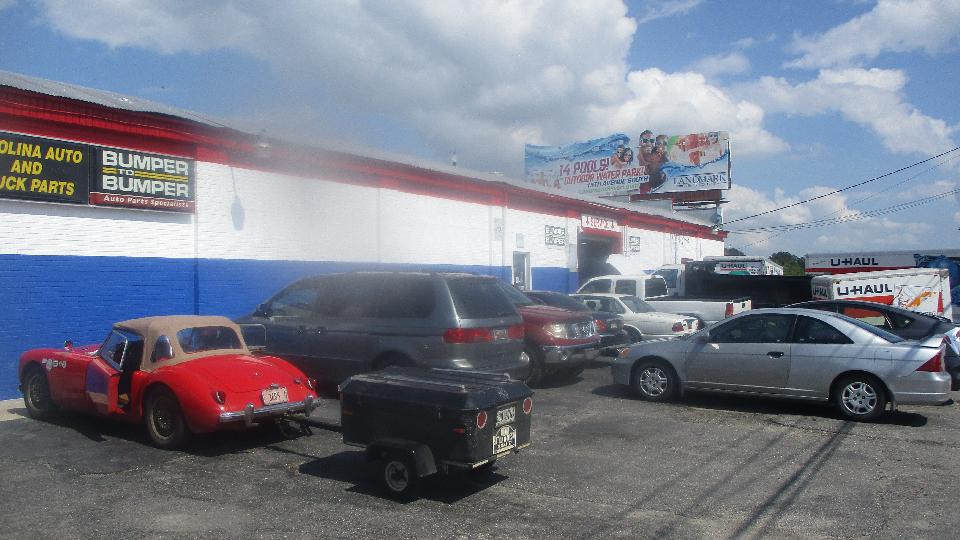
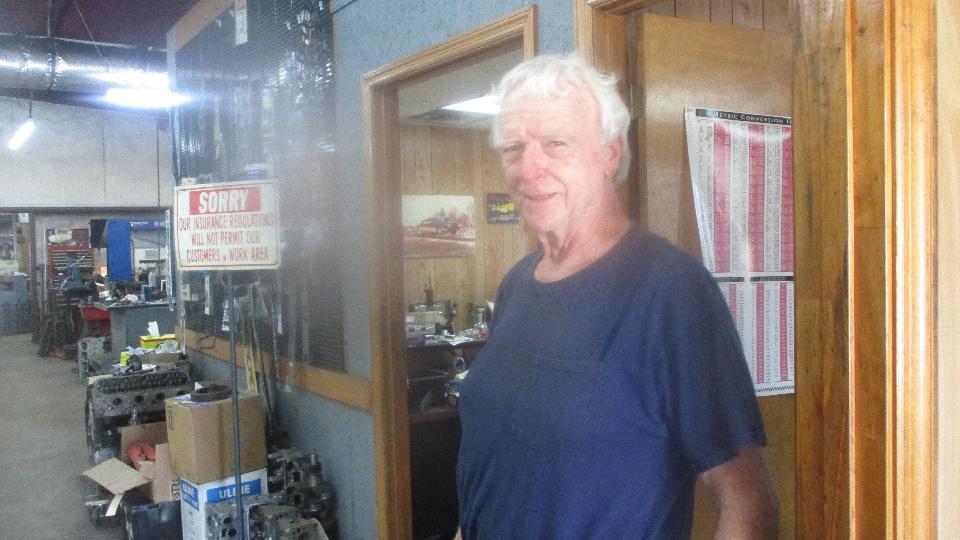
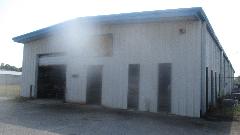
Next stop was Carolina Auto & Truck Parts - a Bumper to Bumper shop in Conway, SC. Not just a parts store, the place has s large service shop in the back. Say hello to the owner Dale Lewis.


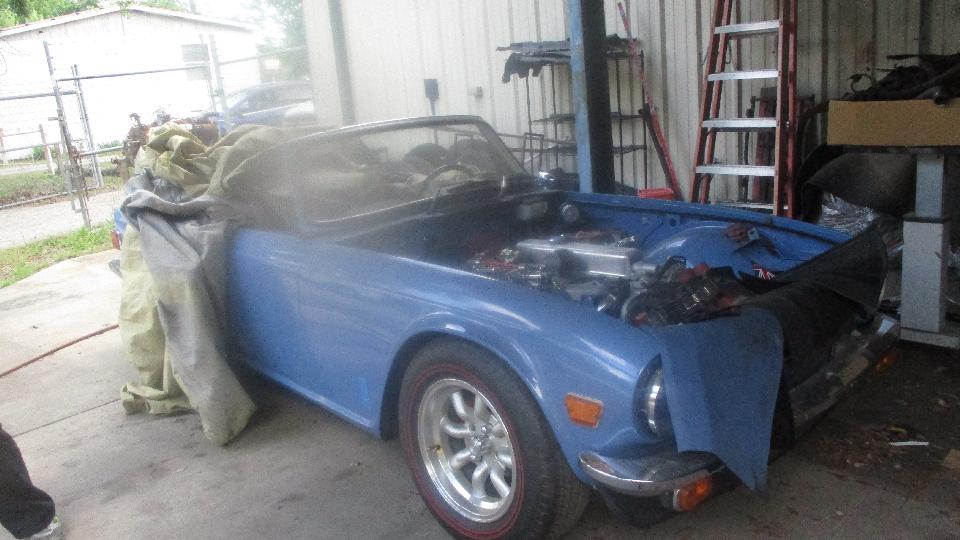
There are a number of certified technicians here. That would be a TR6 languishing under some boxes (apparently a low priority at the moment). The MGB out back belongs to Dale. The Fiat 2000 may be a "don't know why it's here" car, deteriorating as it searches for a purpose in life.
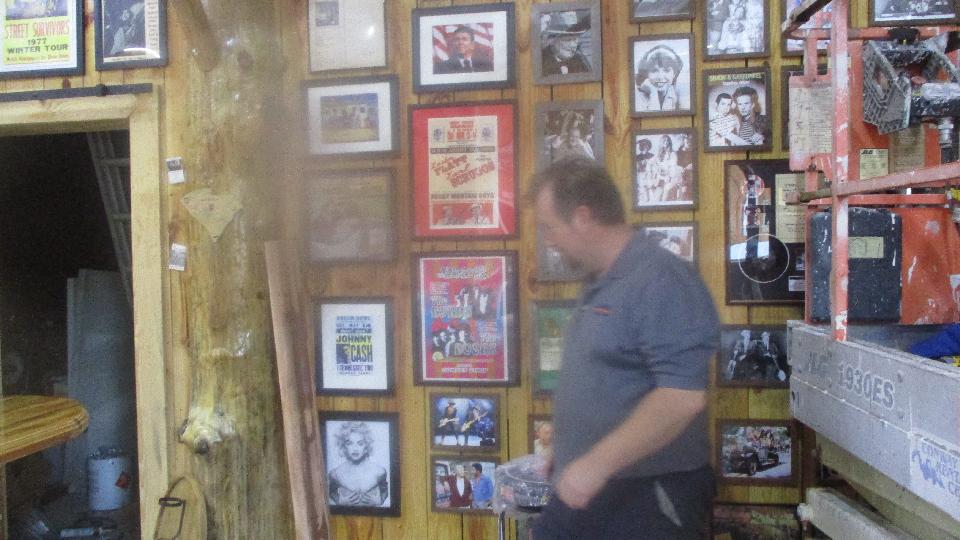
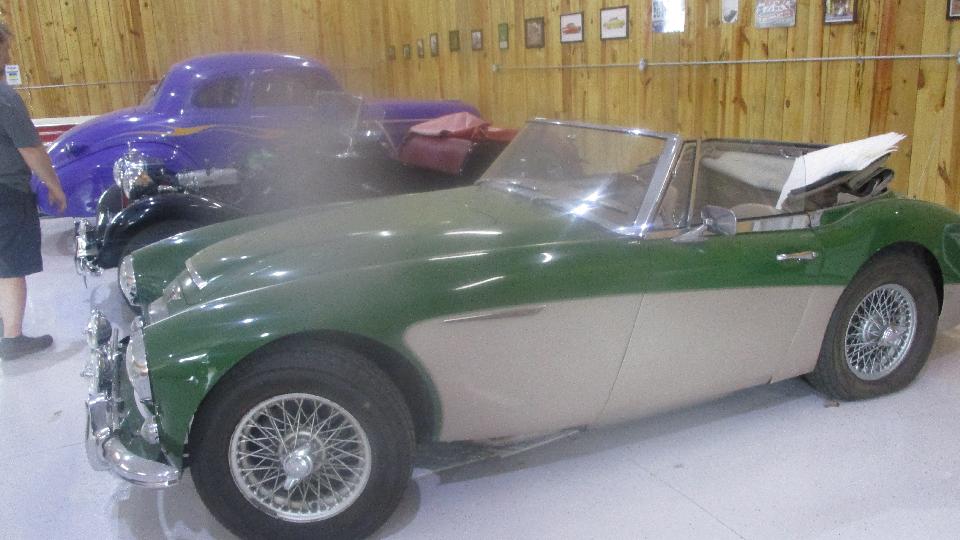
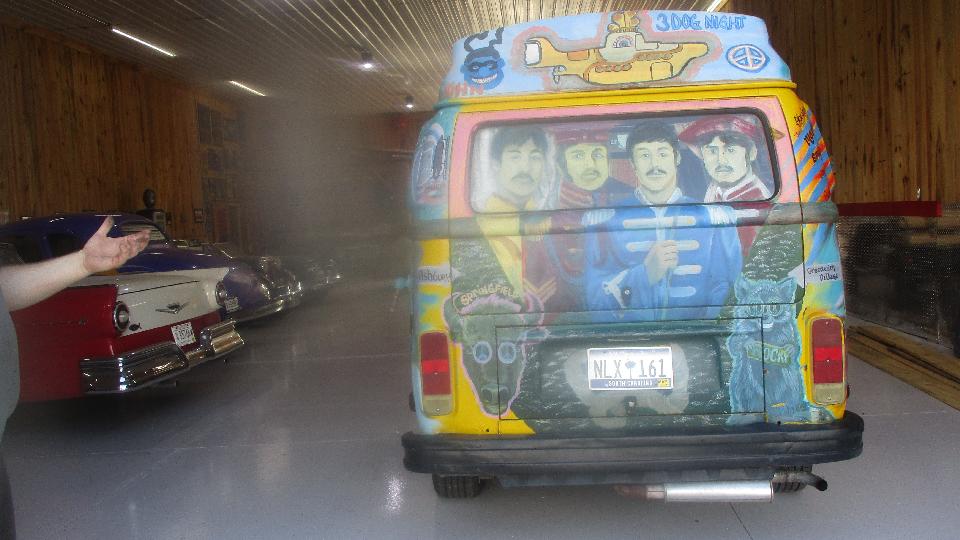
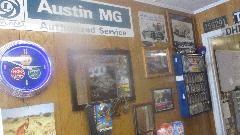
But we weren't finished yet. Right on closing time, so we followed Dale home to visit his personal toy shop. It all sits on 190 acres with lots of trees, no shortage of wood for construction of the large shop. The interior is still being finished but includes a club room area with lots of collectibles on the walls, and several restored cars.

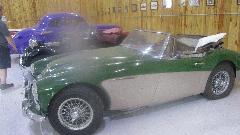
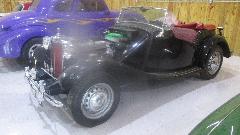
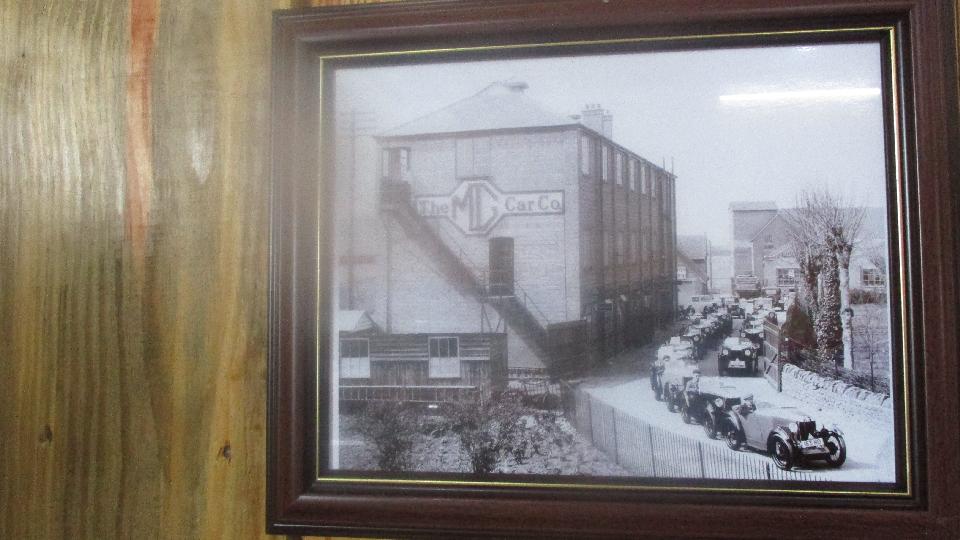
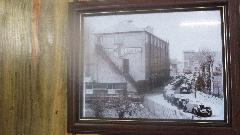
Seems like he married a model who likes to pose with cars. Woohoo. We have seen this picture before of the vintage MG factory buildings.


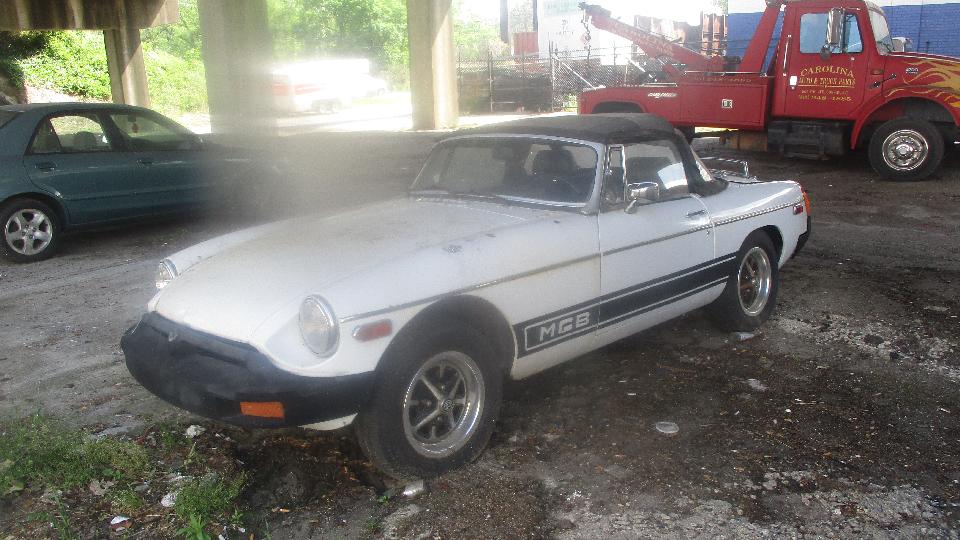
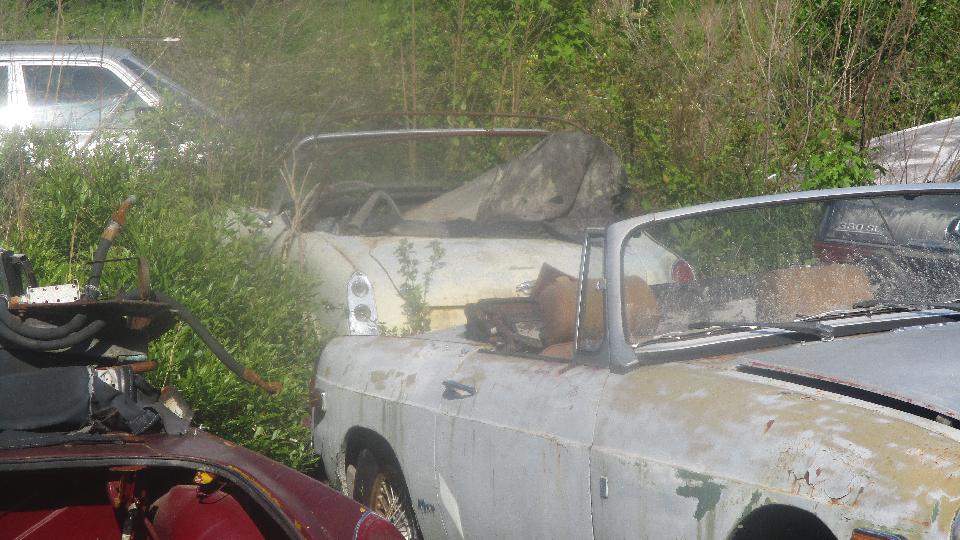
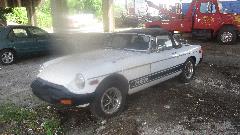
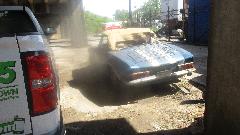
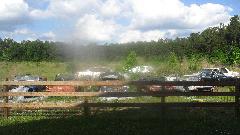
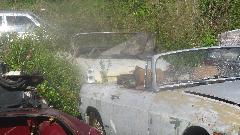
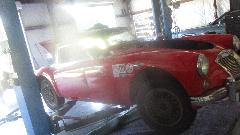
Out back there was a collection of wannabees, mostly restoration candidates waiting their turn. There is another larger building under construction to get these cars under cover for preservation. Priorities likely put the more valuable cars near front of the line, so a couple of MGA may be done soon, to be followed by a few MGB.
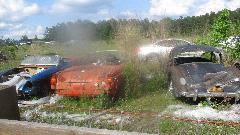
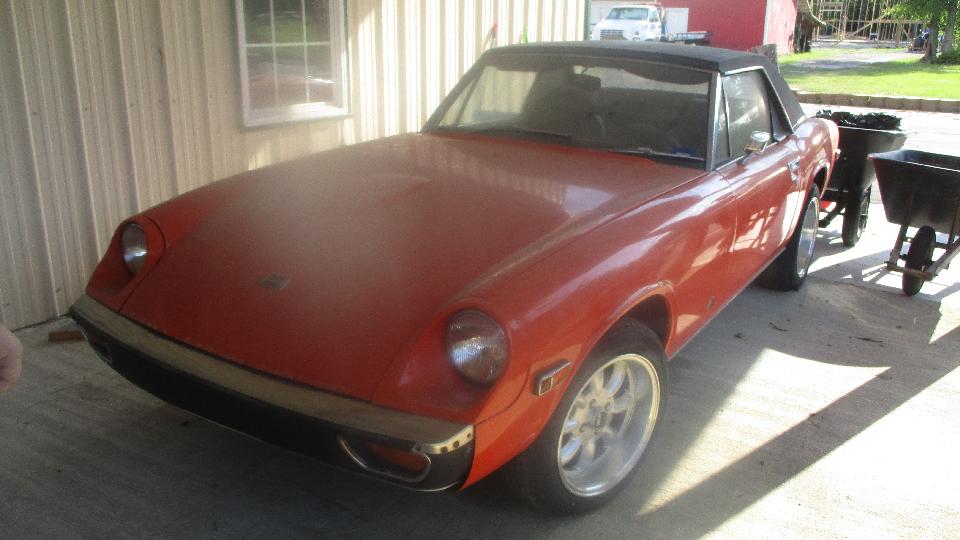
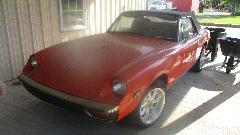
Some unfortunate Midgets may be so far back in line that they may get superseded and/or may never get done. The VW camper bus is a well preserved example untouched since the 70's, still running and serviceable. The 1957 Ford Fairlane is a Skyliner (roof retracts into the trunk). The Jenson Healey is a regular driver, and Dale claims it is a fairly reliable car.

Time enough to look for a data cable for the back-up hard drive. No luck there, so just bought a new hard drive (with data cable included). By late night we were headed back toward Columbia for a little unfinished business.
Tuesday May 8, 2018:
Sitting on WiFI much of the day, giving the new hard drive a work out. Turned out the old data cable was okay, but the old hard drive had failed, so I didn't feel so bad about buying the new hard drive. By early afternoon we had a complete system backup, and had caught up with email and tech questions while it was happening (but still days behind on photos and notes).
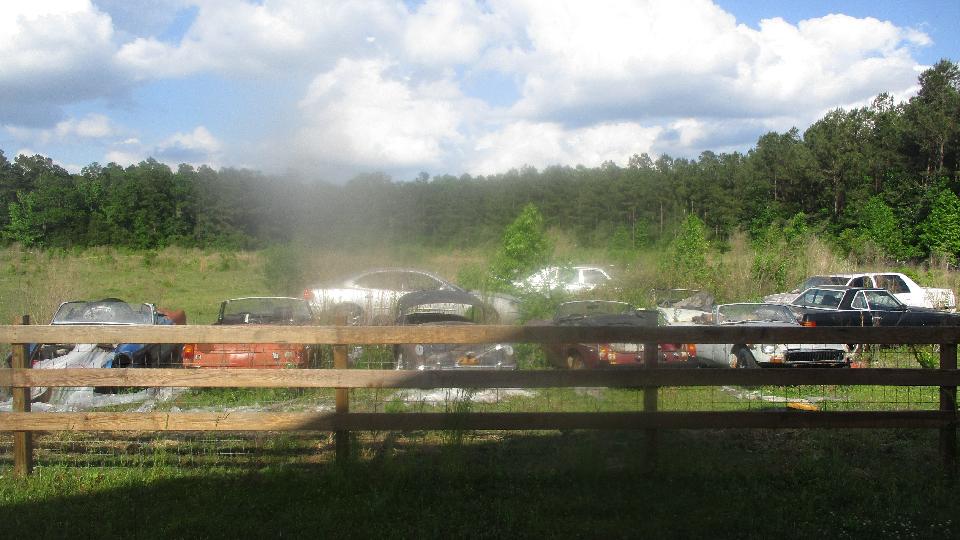
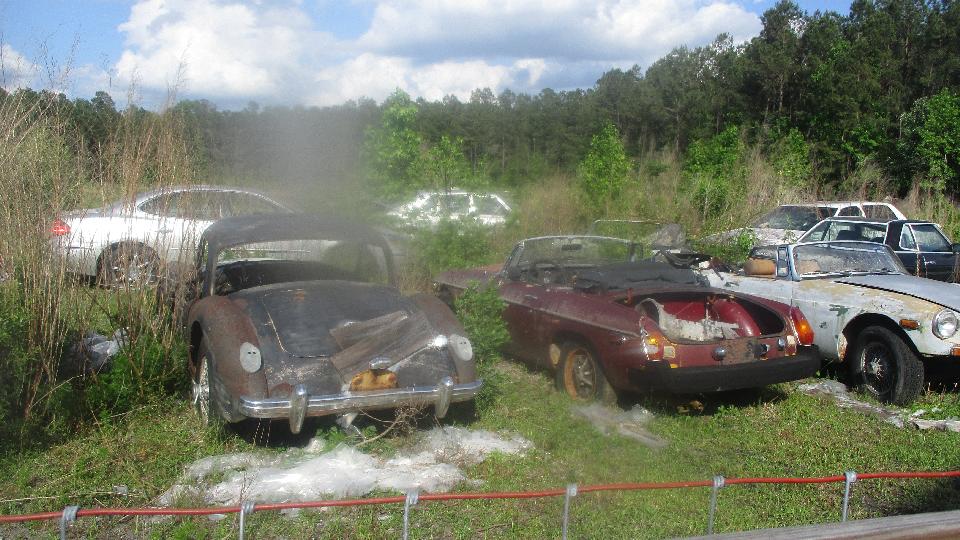
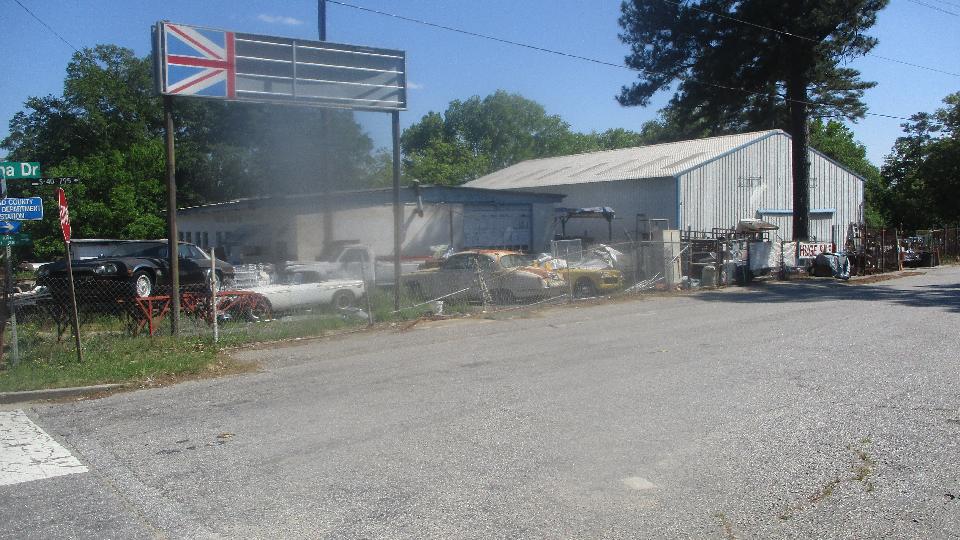
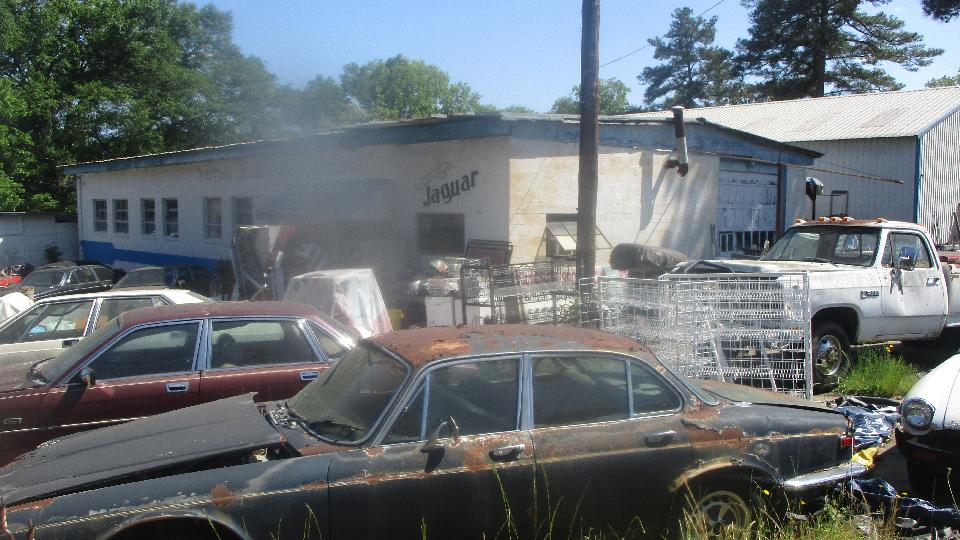
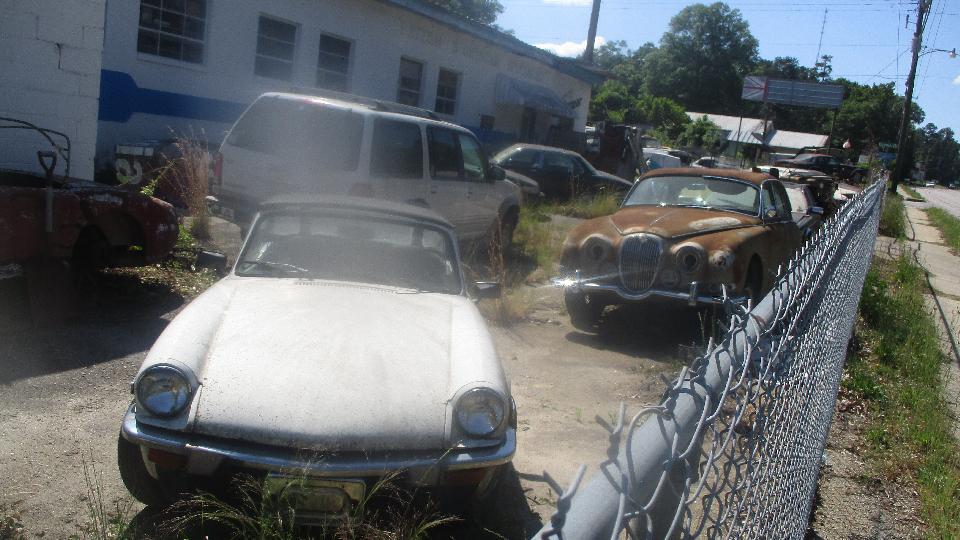
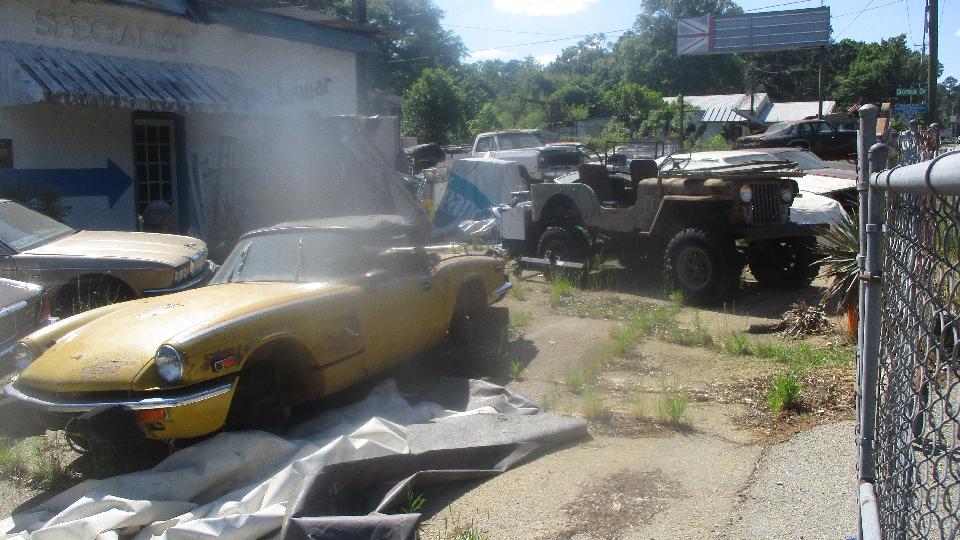
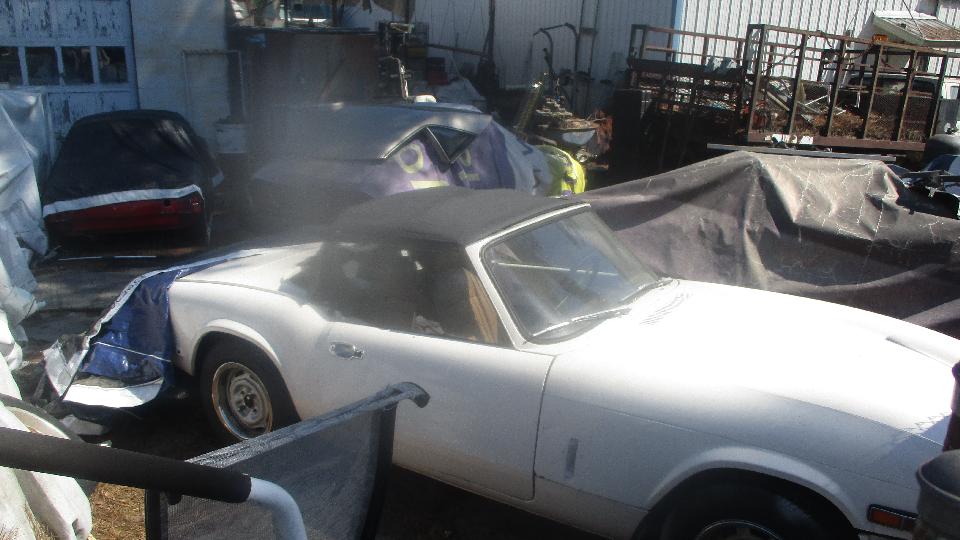
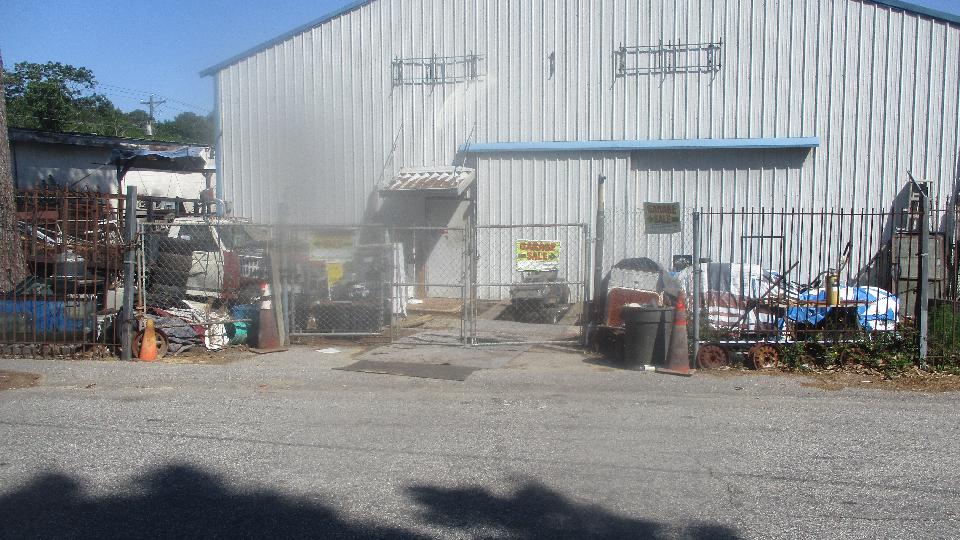
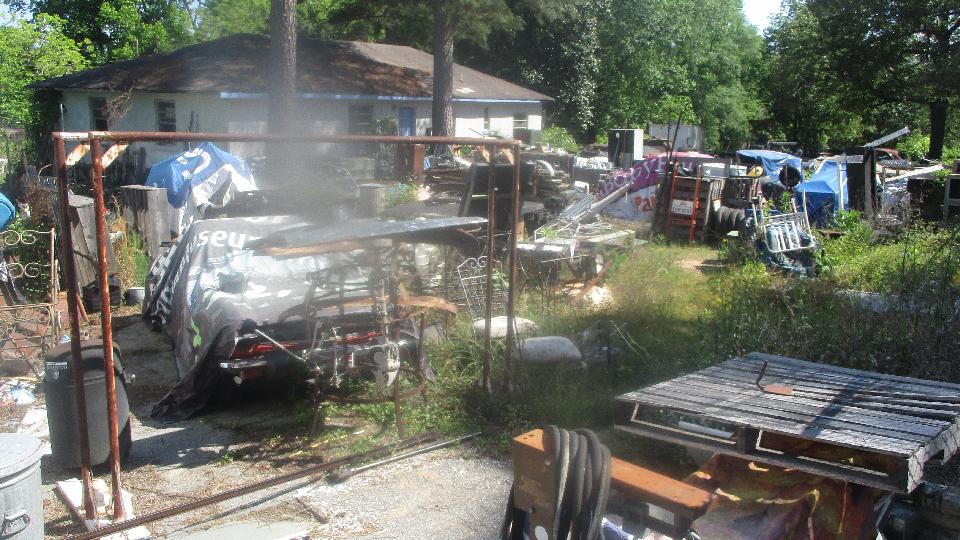
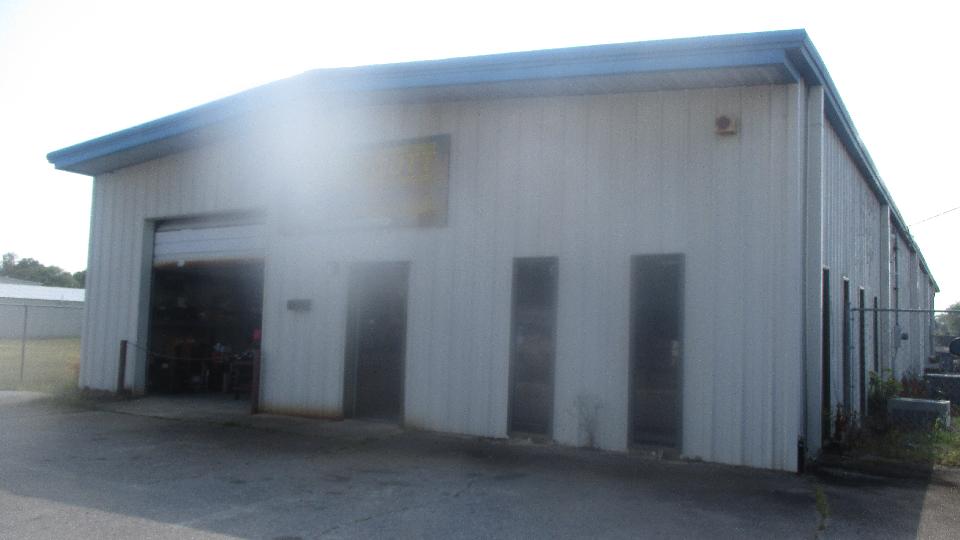
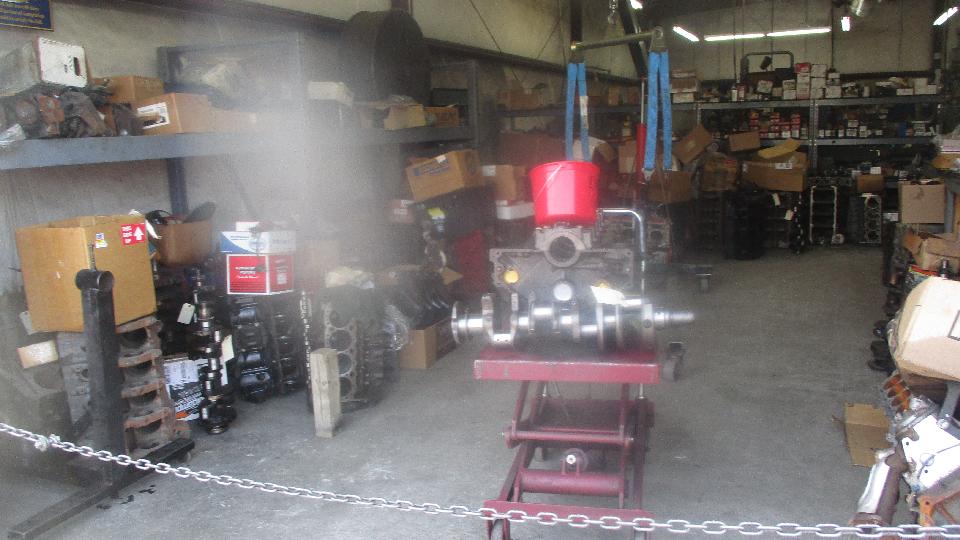
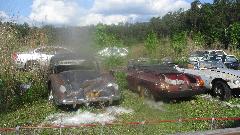
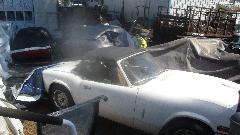
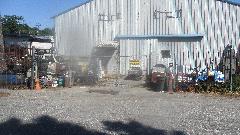
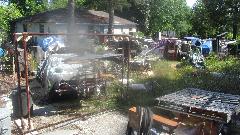
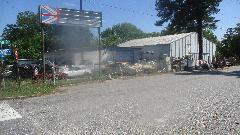 Nearing end of our available time in South Carolina, a long languishing wish list item was upgraded to higher priority. After some serious inquiry and a bit of searching we finally found Classic & Sports Car Parts on the north side of Columbia, SC. This is a vintage car "bone yard" (junk yard, auto recycling center) with lots of British cars. It sits on nine acres of space with nine warehouse buildings. Previously a popular going concern, now apparently closed (most of the time) with entry by appointment only.

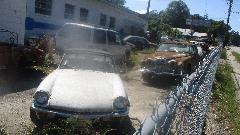
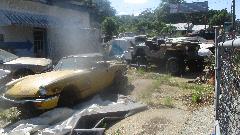
The owner has been failing in health, and we are not sure if he is still alive or not. The business has a viable web site, but contact information is sketchy. The phone number is no-answer and reports "mailbox full", so no direct means of contact. There is a bi-directional cross reference link to a parts locator service. I haven't contacted them yet, speculating that the locator service may be working to liquidate inventory, but it may be slow going and low priority. A sign says the property is for sale, and I suspect you could buy the whole thing with all cars included. That might make this the world's largest "barn find".
 Then we shot over to George Lawson's place in Lexington, SC. Not here to work on his car, but got the news that he has the tags on his MGA and had it out on the expressway doing 80 the day before. Yeehaa!
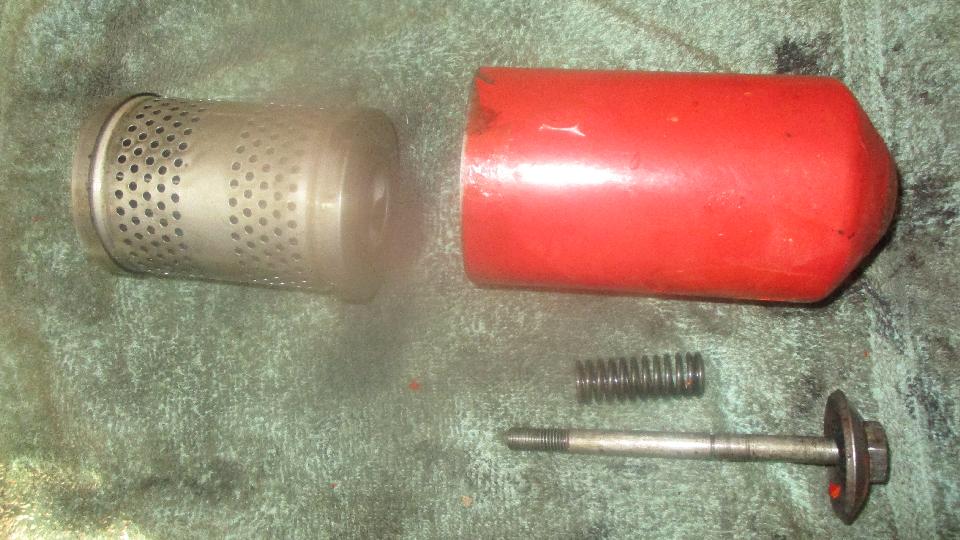
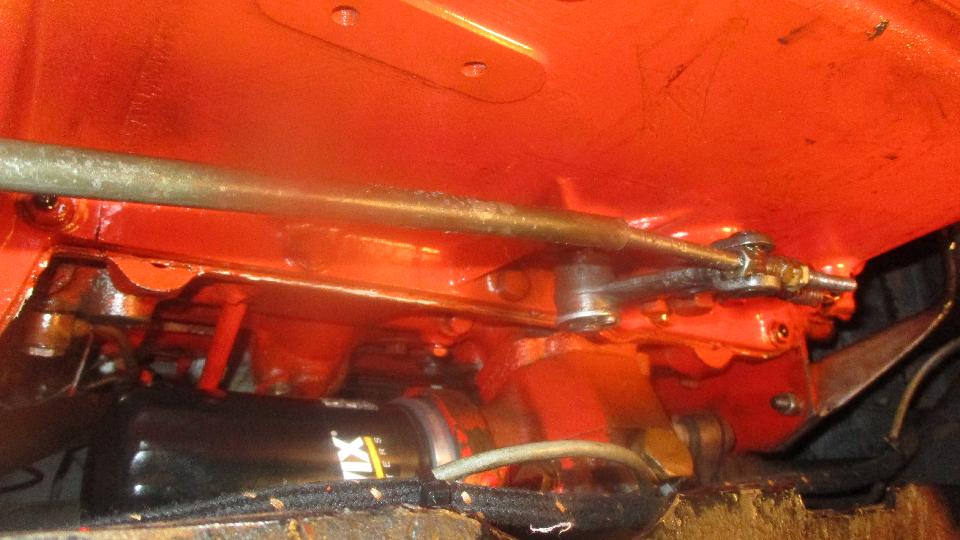
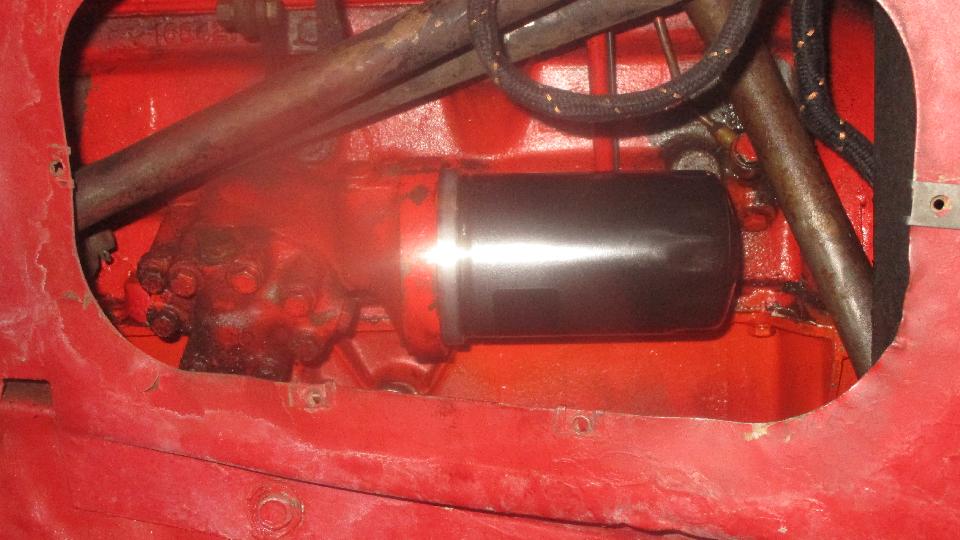
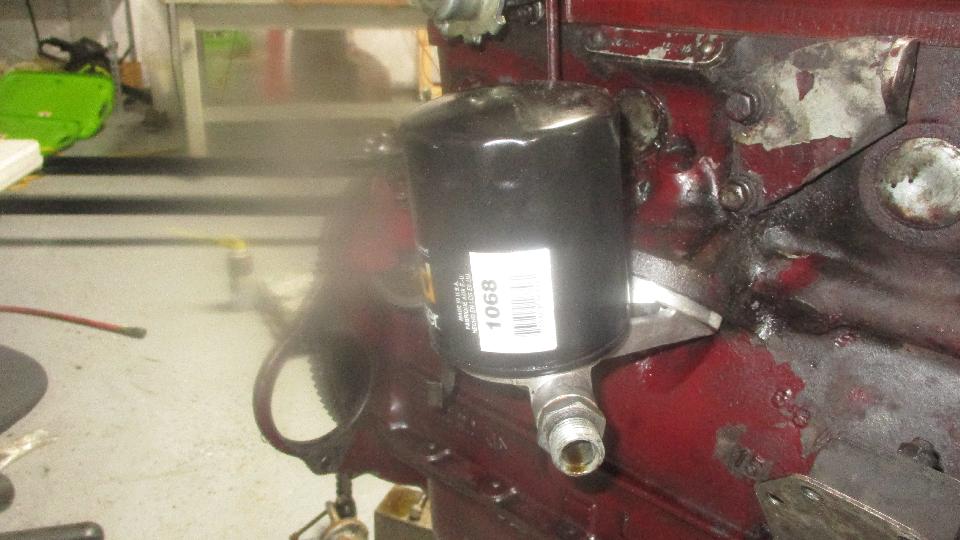
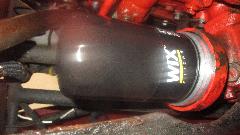
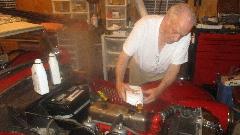
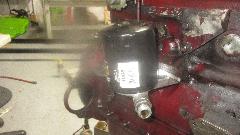
We had a couple hours of grunt work in the evening tending to Dave Daniel's MG TF engine oil change (at which we had previously failed). With new parts in hand, we ditched the original oil filter canister (with missing parts) and installed a nice spin-on filter adapter. I had to dig out TWO old rubber sealing rings, the second one requiring a needle pointed awl and hammer for penetration and a few skinned knuckles by the time it would reveal a clean gland groove. The new adapter from Moss Motors is a very nice piece of work (a bit expensive), simple, sturdy, effective, and easy to install (using a 5/16 inch diameter screwdriver for a Tommy bar). No locktab for the center bolt, so I cleaned the threads with lacquer thinner and put a dab of Locktite on the base threads to assure it will stay put when the filter is removed. Nice.

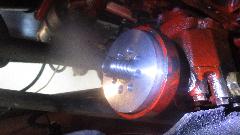
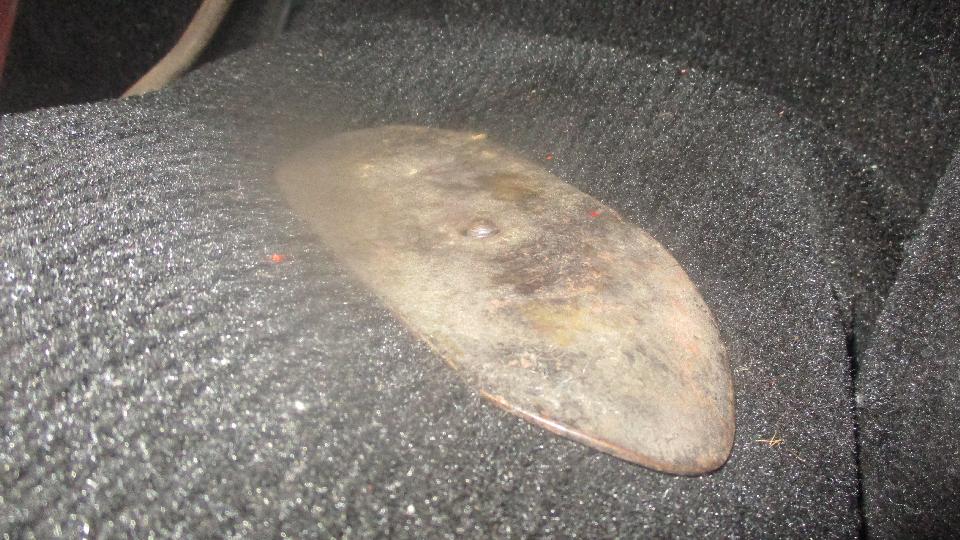
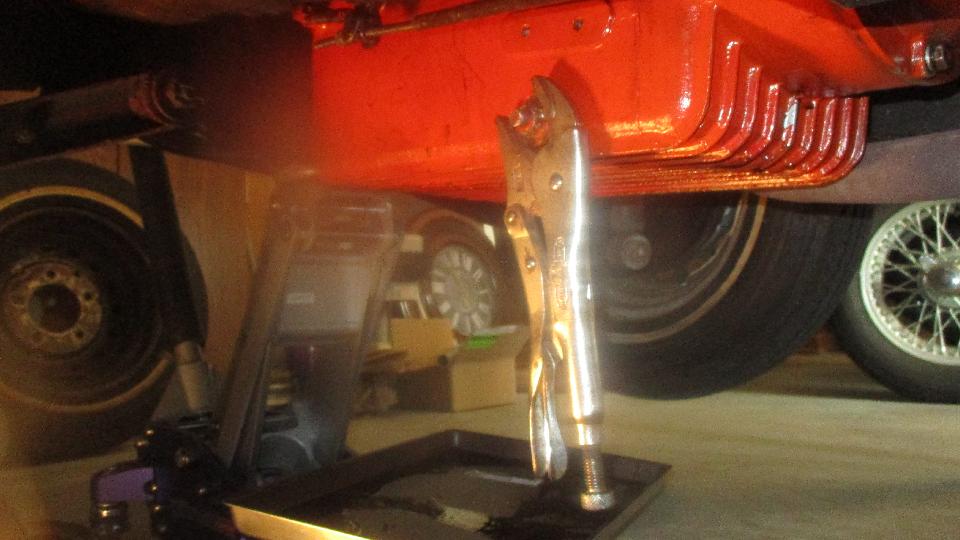
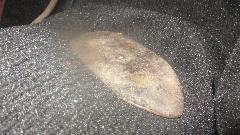
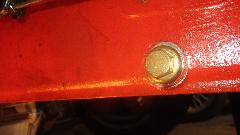
Then on to the sticky bit, and I do mean S-T-I-C-K Y, the stubborn drain plug that could not be removed. On close inspection I finally surmised that it was all one piece in brass, just don't know why it had the small diameter end protrusion. With a new brass plug in hand it was time to destroy the old one if necessary. The primary concern here was not to destroy the cast aluminum sump in the process. No normal wrench would get a good enough grip on the hex with rounded corners. I tried a crisp new pipe wrench, which got a pretty good bite, but would only tear more brass off of the rounded hex head. Before grinding or drilling we thought it might be worth a try with a large Vice-Grip. This also only succeeded in ripping more brass off of the (previous) hex head. The next move didn't seem possible, but the grips had pretty sharp teeth and clean edges, so I tried it on the outside diameter of the thin flange of the drain plug. If it could get a bite here, it may be able to apply twice the torque on the larger diameter. The bite turned out to be good, and after a few progressively tighter clampings it was holding well. Not enough strength to pull hard enough, I finally applied a short pipe to the grips handle for more leverage. After several progressively stronger pulls and some impact style hard yanking, there was a very loud "CRACK" noise when it let loose. Grab the drain pan quick, as I thought the alloy sump may have broken, but the grips were still hanging on, and the plug was finally broken loose and successfully unscrewed. My best estimate was something in excess of 200 lb-ft torque applied, and the pipe extension seems to have bent the screw thread handle on the Vice-Grip.

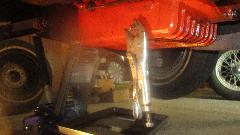
The stuff that came out of the sump looked like molasses. Hard to believe the engine was running on that stuff. No one really knows if it may have been 25 years old with no effective filtering, but at least we think the engine didn't have too many miles on it in that time. What remained of the drain plug was soon into the dust bin, fresh plug an copper sealing washer installed, and I got to re-install the second clutch pushrod (with new clevis pins).


Screw the louvered access cover back onto the inner fender, pour in six quarts of 20W50 oil (big sump on that engine), and be happy that it cranked up oil pressure in only 20 seconds. Fire that puppy up, and catch the big grin on Dave's face. Getting late, get the car off the jacks, pack up the tools, and head for the WiFi spot.


Wednesday May 9, 2018:
Catch up day. Seemed to be an inordinate amount of email with tech questions, resulting in a couple new web pages, and some time updating the CMGC web site for updates on upcoming events. By late evening I had only began to make a dent in the backlog of photos and notes for the past few days. Hold us over for another day.
Thursday May 10, 2018:
First half a day spent catching up travel log photos an notes, and still needing updates to the Shops list, which reminded me of something. In mid afternoon I took a short trip to visit Honeycutt Engines & Machine in Lexington, SC. Nice engine shop, shipping and receiving in front, machining in back, and shop owner with a friendly attitude (and decades of experience with vintage engines).


Friday May 11, 2018:
Late morning visit to Mintz Machine Shop in Columbia, SC. Temporarily out of the shop, laundry service dropped of clean uniforms. We know he's still in business, because this was the place that extracted the rusty studs from Anzel Gantt's exhaust manifold. Engine work done here.
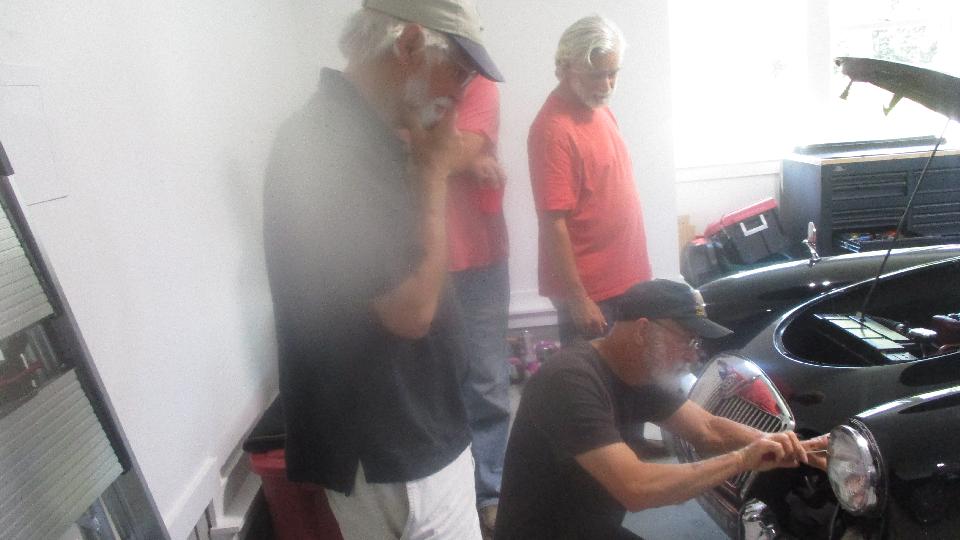
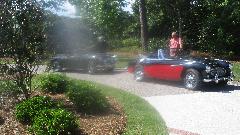
Then another three hours east to visit Steve Weitzner in Wilmington, NC. He has a very nice MGA 1500 with a few carburetor and electrical issues). Then a couple of friends showed up, always nice to see more vintage British cars, but of course friendly chat killed some time.

 We finally got around to chasing electrical gremlins to banish a couple of dim bulbs (bad ground). Just had to install a new snap connector in that infamously tight space in the front corner.
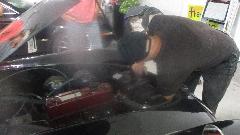
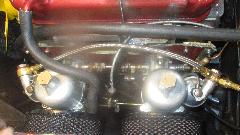
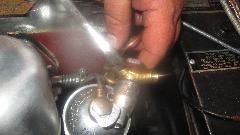
Then we got after the fussy carburetors. Left and right hand throttle return springs were switched, so they were fighting to open the throttles rather than close them. That took a few minutes to swap the springs and wind them up in the right direction. Running so rich that it was spewing out copious amounts of black smoke. Turned both carbs full lean, the rear one nearly spot on, the front one still just a tad rich but pretty close. Must have been running with off-center fuel jets in a past life, having worn the needles down a bit and worn the jets oversize. New jets and needles should fix that, if he wants to make it a little better. We also corrected improperly assembled banjo fittings on the fuel hoses, correct orientation, new fiber washers, and tight bolts stopped some leaks. Still dripping a bit at bottom of the jets, but new jet seals will fix that.
Saturday May 12, 2018:
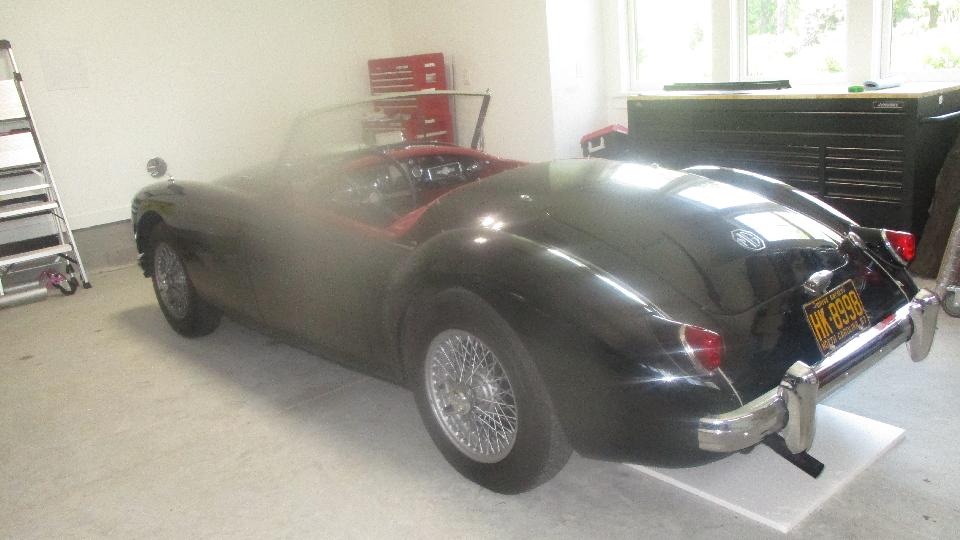
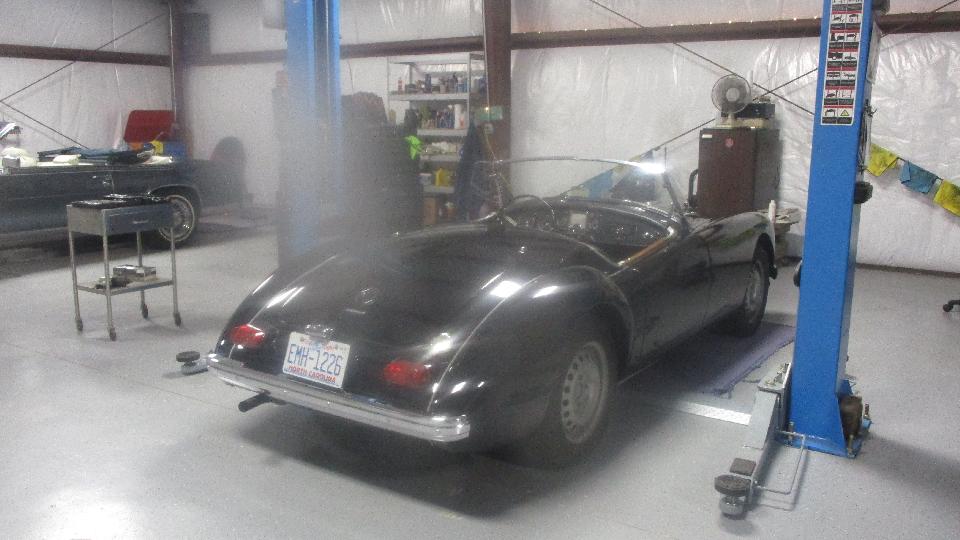
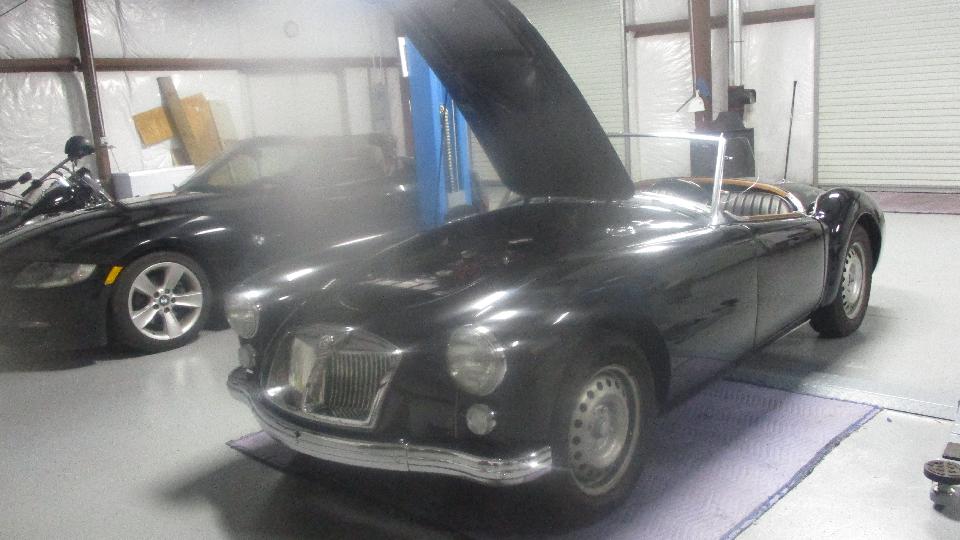
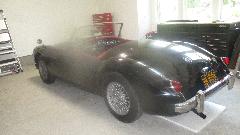
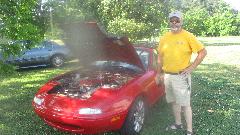
Hauled off a couple hours farther north visit Sam Williams in rural Kenly, NC, arriving late afternoon. He has a nice MGA 1600-MK-II.

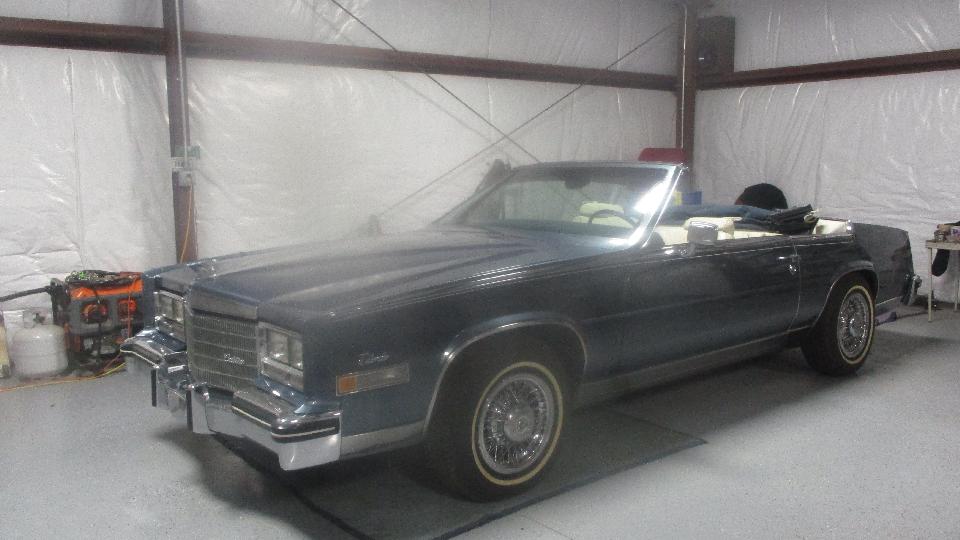
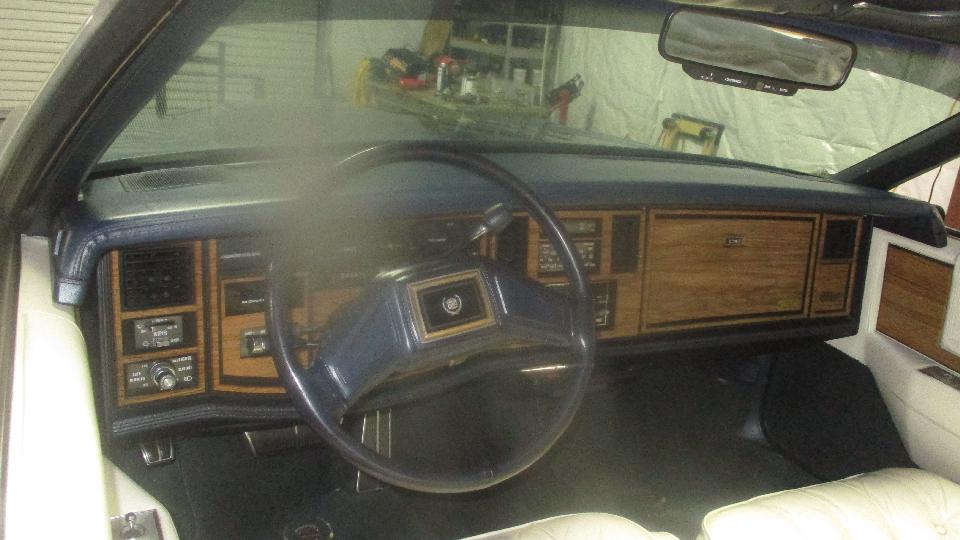
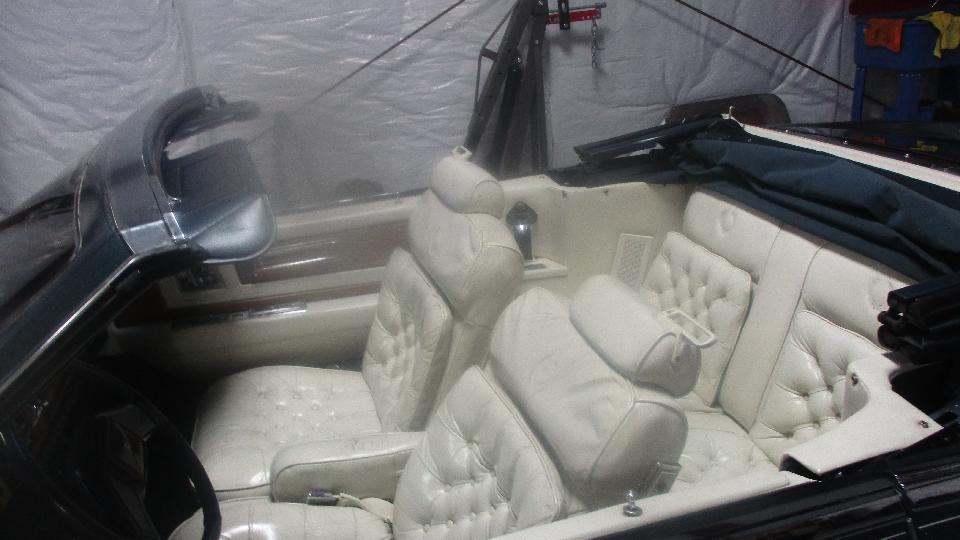
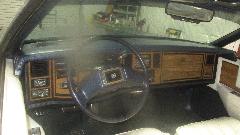
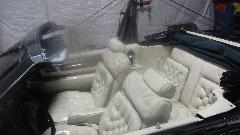
Oh, incidentally, also a very nice Cadillac Eldorado that he bought new, 1982 I think, all original survivor car in immaculate condition. Couldn't resist posting the pictures.

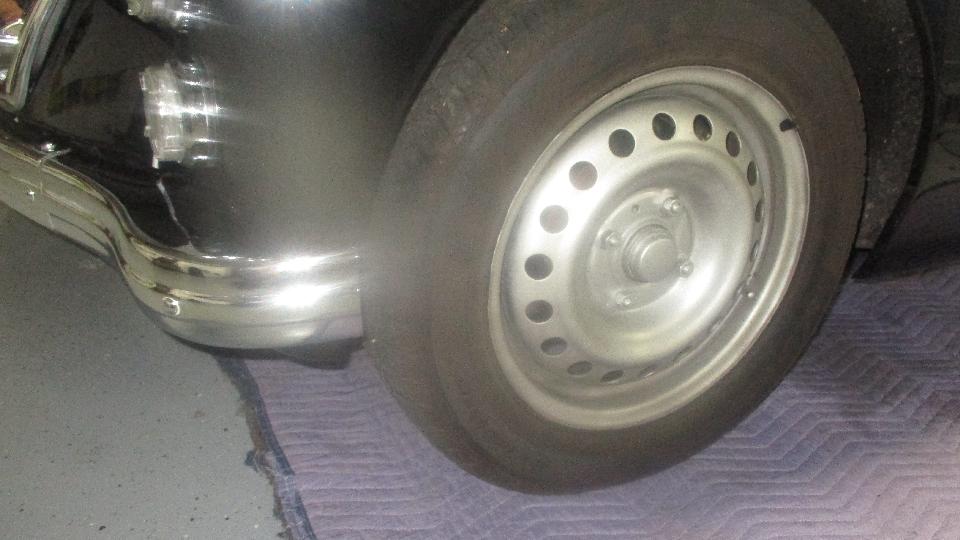
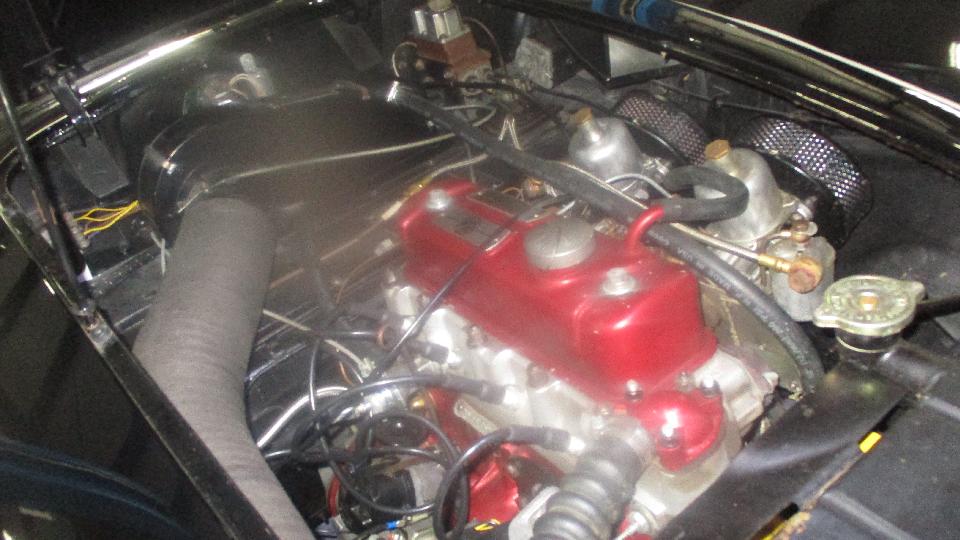
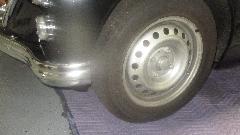
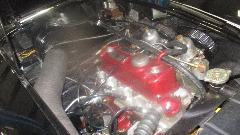
Back to the MG, it has a set of 15x5-1/2 inch steel wheels with 42mm offset which are modern issue but have appearance similar to the original steel wheels. I believe they are made by Dorman, available through Autozone at a reasonable price. The tires are 185-65-15, meaty low profile, about the largest size that is practical for an MGA. Under the bonnet an 1800 engine with an aluminum cylinder head made by PMI (nice piece of work).

It was a warm summer evening, so we sat down for a long chat, and time went away.
Sunday May 13, 2018:
We thought we might put a new convertible top on Sam's MK-II today. Story was a pro shop had messed up installation of the first one, so we intended to start over with a new one. On close inspection and test fitting of the existing vinyl top, we came to the conclusion that the new one was exactly the same model and shape as the one on the car, so we would most likely end up with exactly the same problem of it not fitting. it was a Robbins vinyl top procured through Moss Motors, which should be good. But it is my best judgement that it may be correct shape for earlier cars, but is too small for the MK-II top frame (even though the box has the right part number for a MK-II top). So we carefully put it back in the box for return. Need to find a better fitting top elsewhere.
Meanwhile the carburetors wanted a little fine tuning. First discovery was both carbs running very rich, one main jet sticking (half choke), one throttle return spring wound the wrong way, and mis-oriented banjo bolts leaking. Huh? Didn't we just do this a couple days ago? Pull off the carbs for access to re-center the jet and free up the jet bearings on the rear carb. Soon back together with banjo fittings all sorted out, no leaks, tuned up and running nicely. We also sorted out the heater valve cable adjustment. Ah, time for an ale.
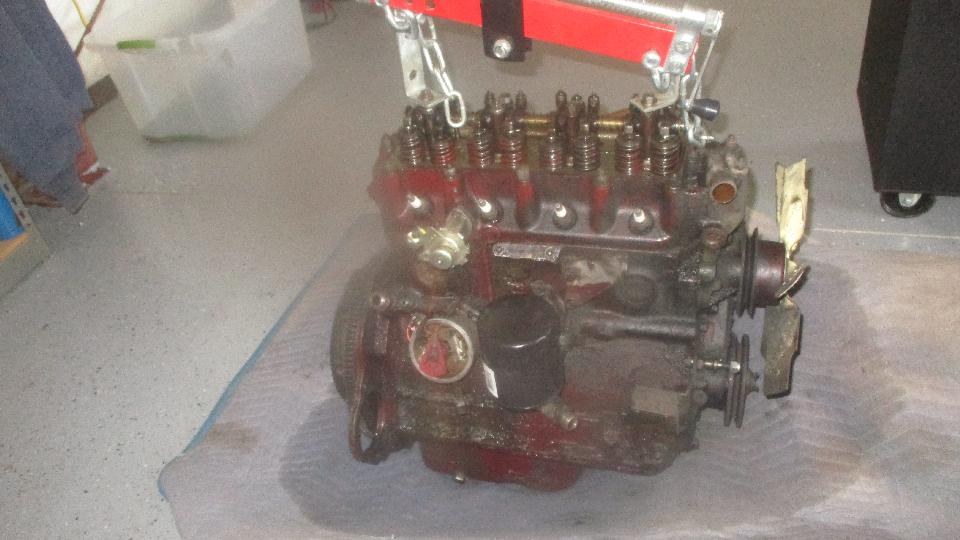
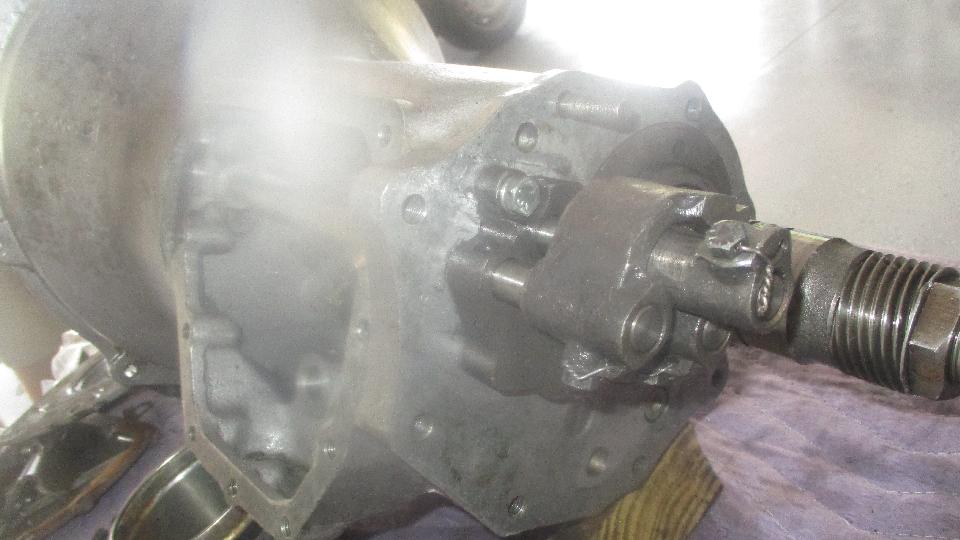
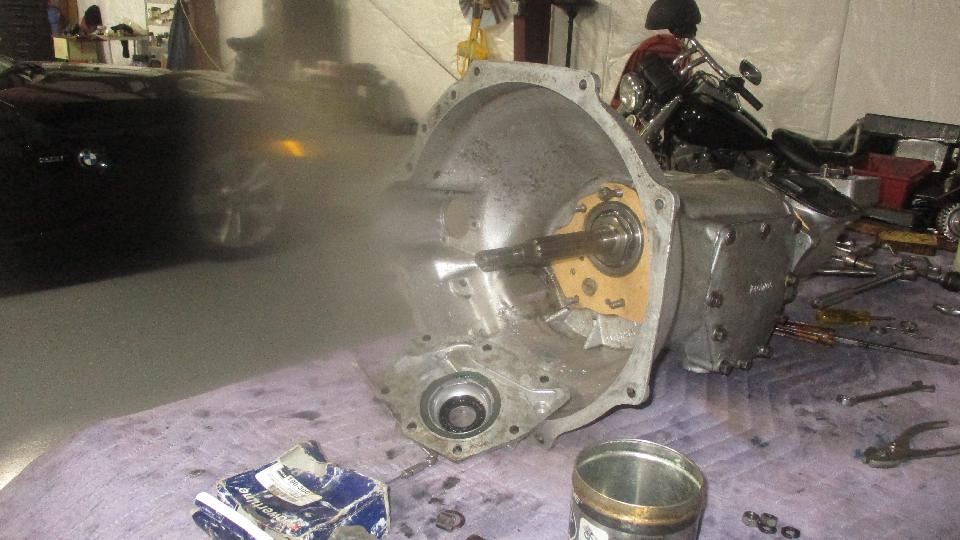
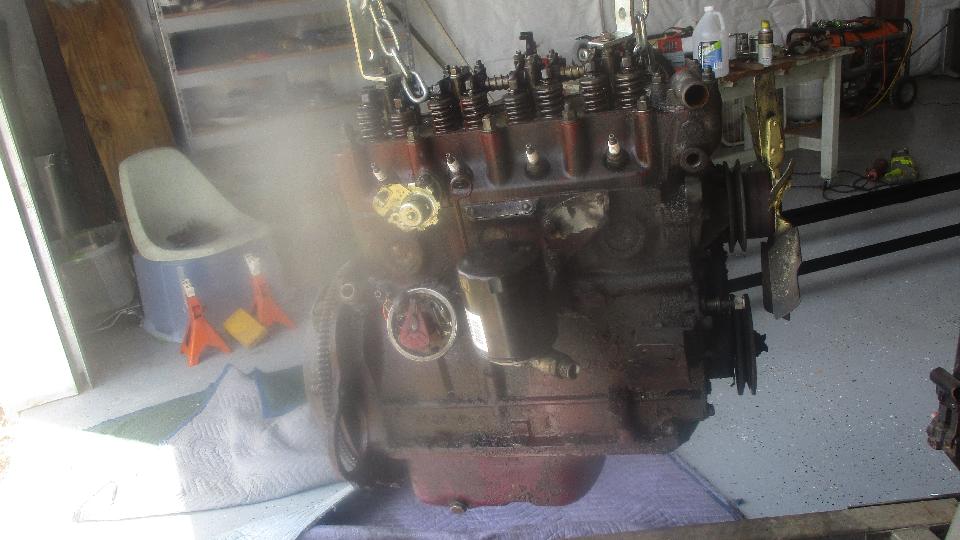
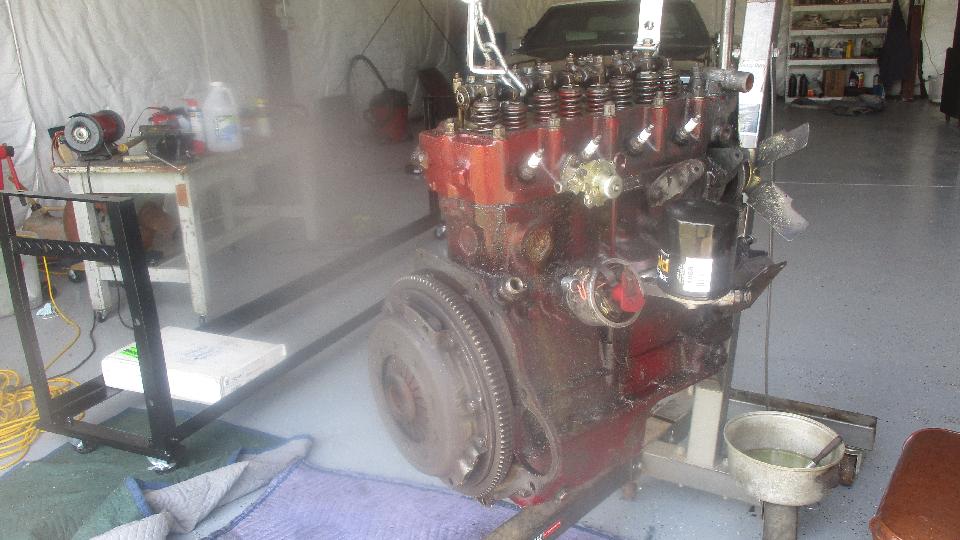
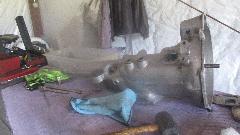
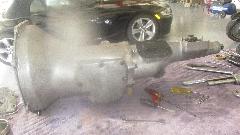
We had a noise in my MGA to attend to, but it was a hot day, so we waited until 8-pm to have at it. By 11-pm the engine was on the floor and the gearbox was on a table. More about this tomorrow.
Monday May 14, 2018:
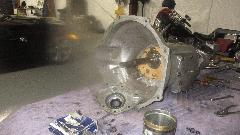
Well, "tomorrow" didn't go so well. The intent was to rebuild the gear box. We got it cleaned up and began disassembly.
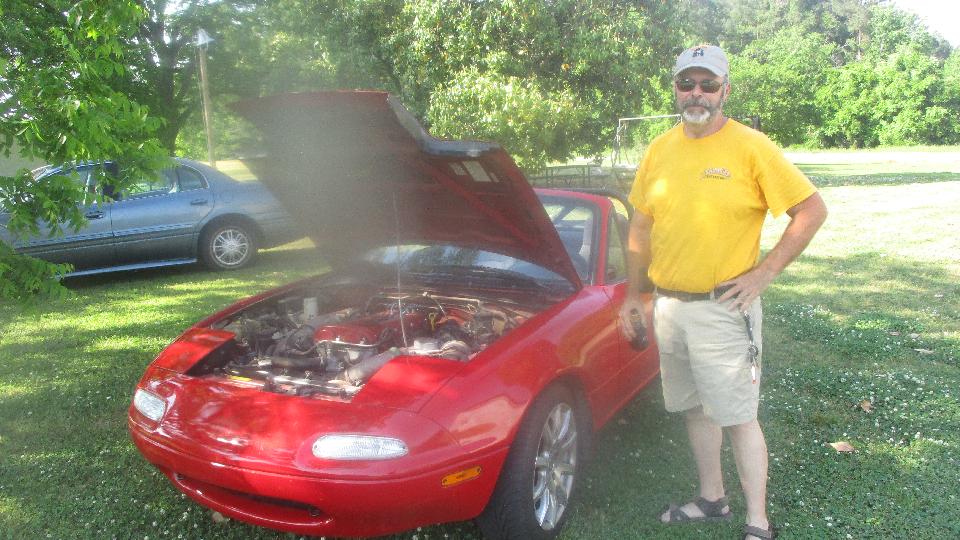
 Then when I was collecting all of the necessary parts from the magic trailer I came up short. We had everything required except the front and rear seals, no where to be found. My records confirmed purchase of the rear seal along with other gearbox parts back in December. No front seal on that order means I already had one in hand at the time. Near as I can figure, I am missing a Ziploc bag containing a number of seals, including the gearbox front and rear seals, and so far I have no idea where that bag went astray. Pursuant phone call to order the required replacement parts for next day air delivery, which put a damper on things for the rest of the day. Meanwhile a couple of friends popped in, and we had a barbecue to kill some time. The guy with the Miata just bought the car from the second bloke, pretty good stories, including some discussion of how some Japanese cars evolved from some British cars.


For the inquiring minds, yes I know the pictures have been blurry for a while now. My camera has some serious scratches on the lens, so far out of focus that a scratch looks like a blur. I will have to buy a new camera soon, but probably not while my car is still disabled.
Tuesday May 15, 2018:
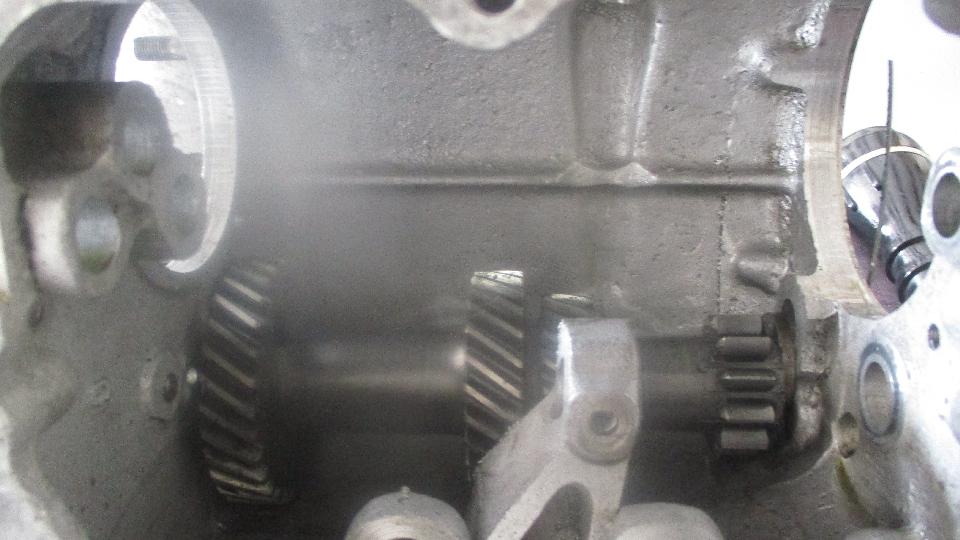
 Fairly early start today, might as well rebuild the gearbox while we were waiting for delivery of front and rear seals. Keep in mind this one has 90,000 miles since it had a rebuild in September 2015 with new laygear, good used 1st gear, new layshaft installed tagged as 60-RC hardness with full compliment needle bearings, and new 2-3-4 synchro rings. It didn't take too long to take it apart enough to replace the 2nd gear synchronizer ring, which it really didn't need. Pretty sure we could have at least doubled the mileage on that ring. Synchro rings 3 & 4 were near perfect (as usual), left those alone.
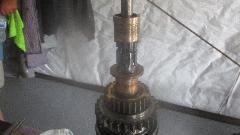

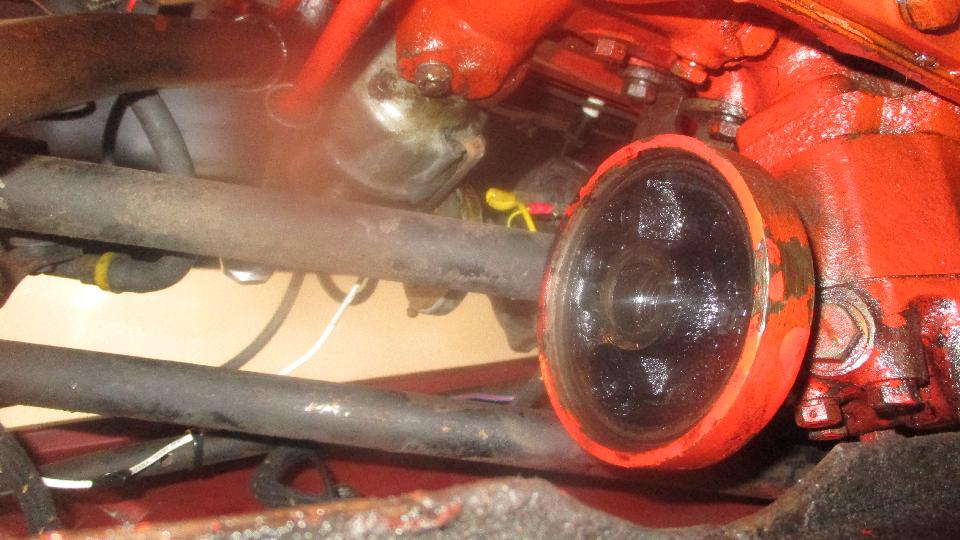
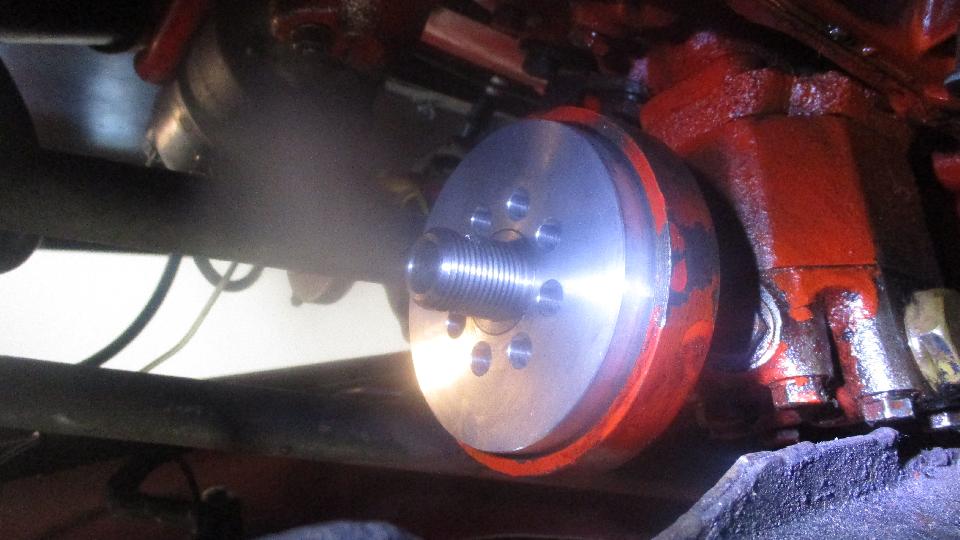
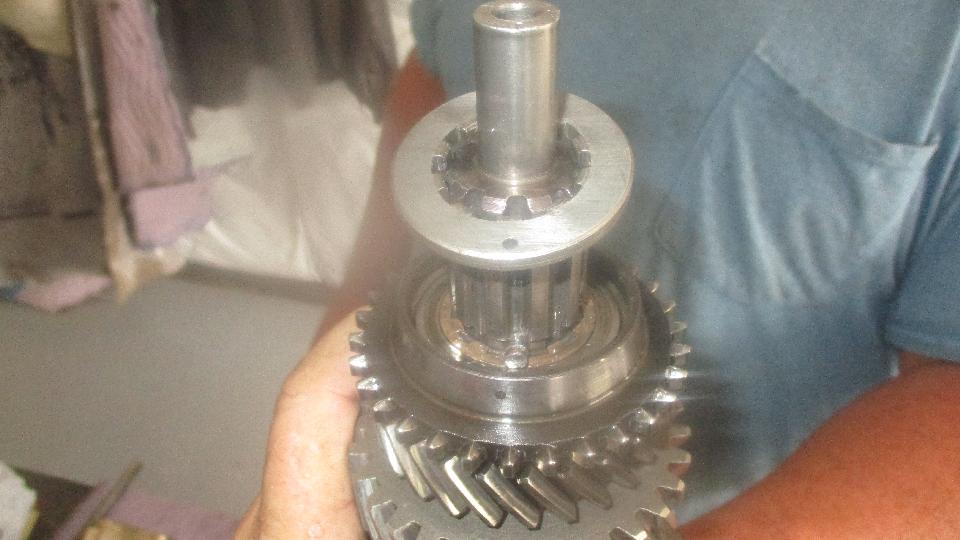
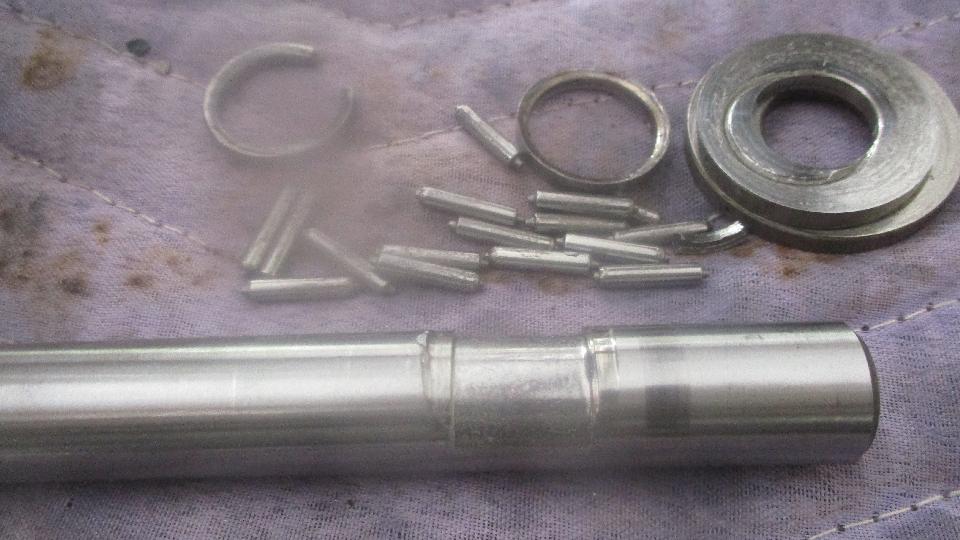
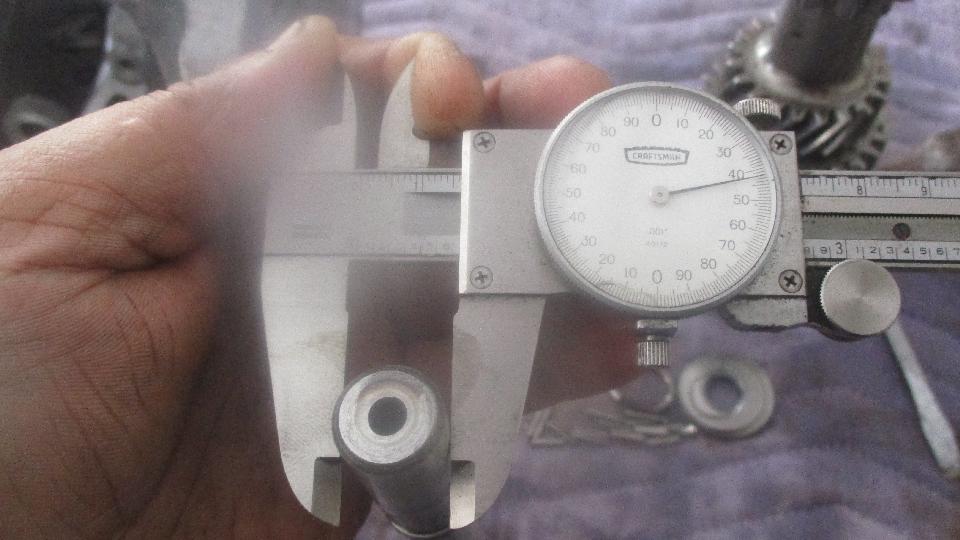
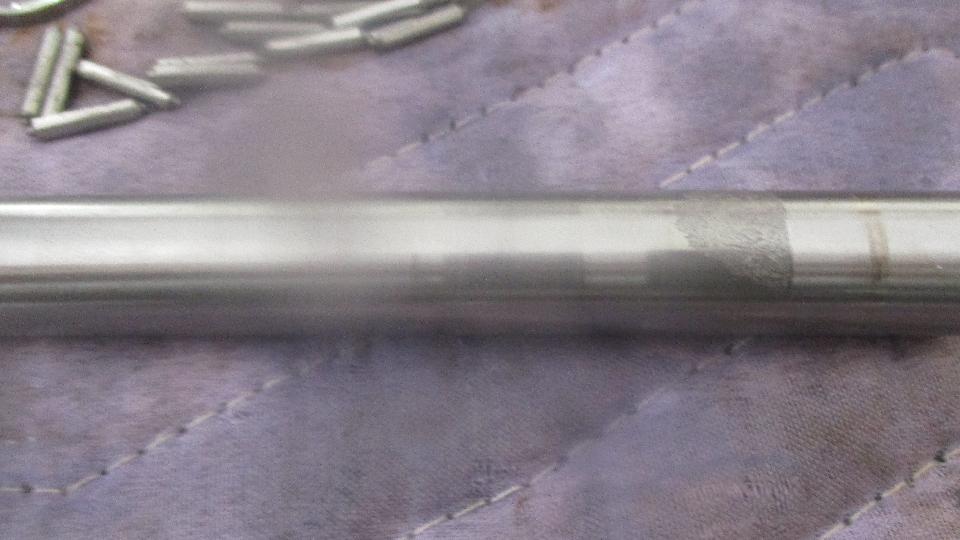
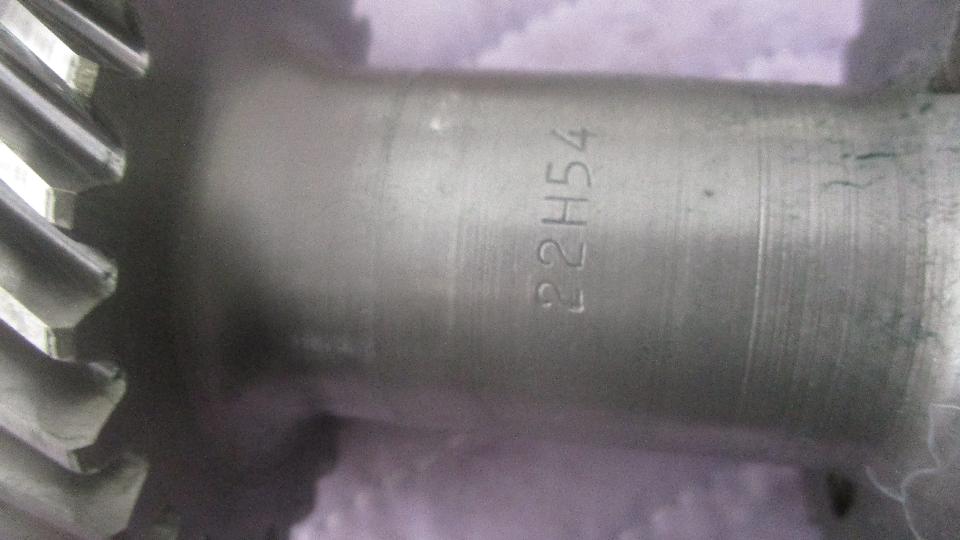
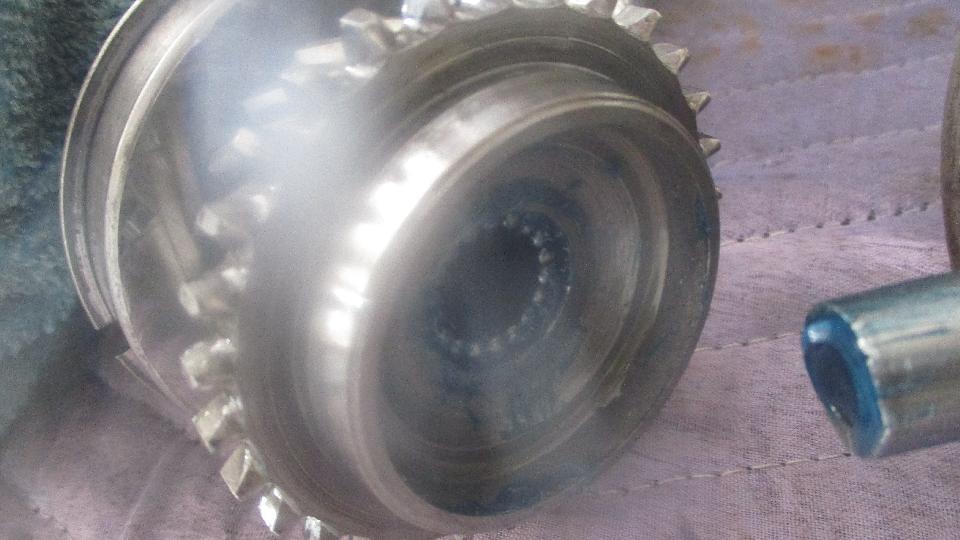
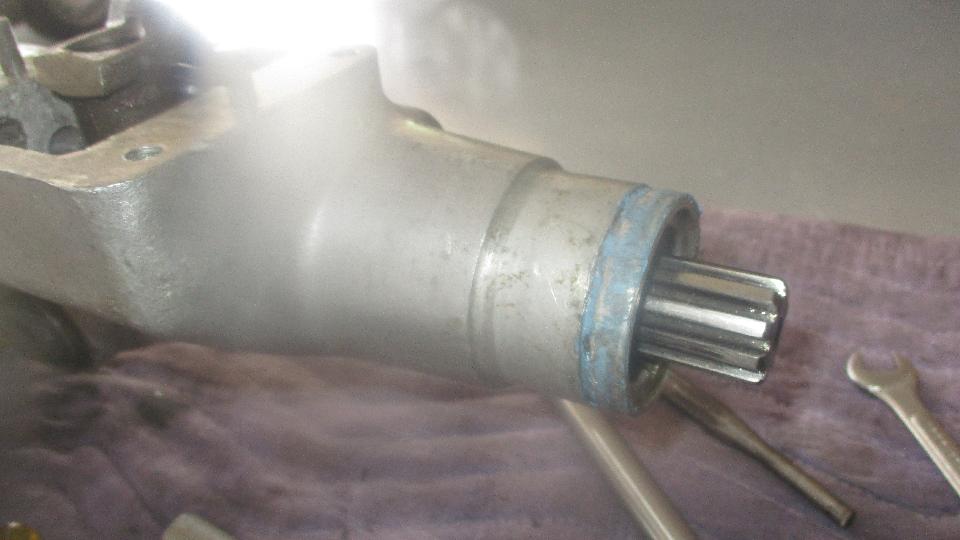
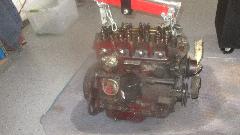
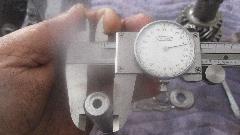
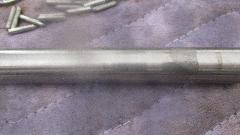
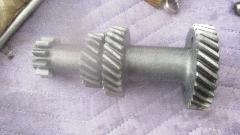
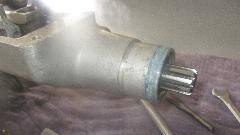
But here is the real reason we had to rip the gearbox apart again (now the third time in the past four years). This is the Moss Motors 461-560 layshaft labeled as 60Rc purchased September 1, 2015. It was assembled with a new set of full compliment needle bearings (new old stock), which have held up admirably (the needles that is). On the rear end of the shaft where the single needle bearing resides, shaft wear is dramatically radical, having worn 0.050 inch into the loaded side (math says 0.0056 in/10000 mi). The previously replaced shaft had worn 0.011 inch in 24,500 miles using 11-roller cage bearings (math says 0.0045 in/10000 mi). Apparently the most recent worn shaft doesn't have any better wear rate than the last one. As a career machine design engineer, I cannot believe that a shaft with 60Rc hardness would wear that fast. I suspect it was another one with 48-Rc hardness (tops).

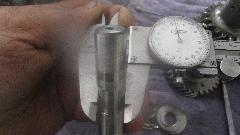
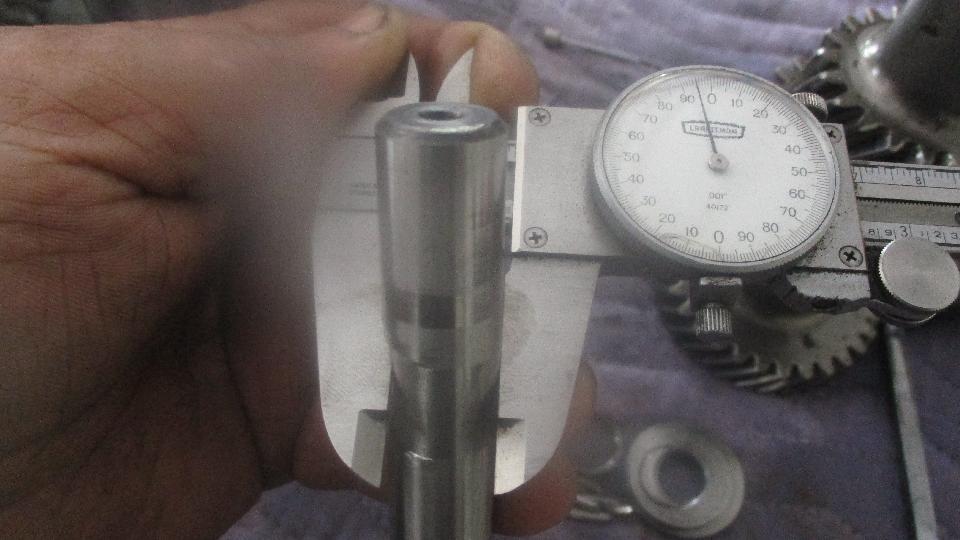
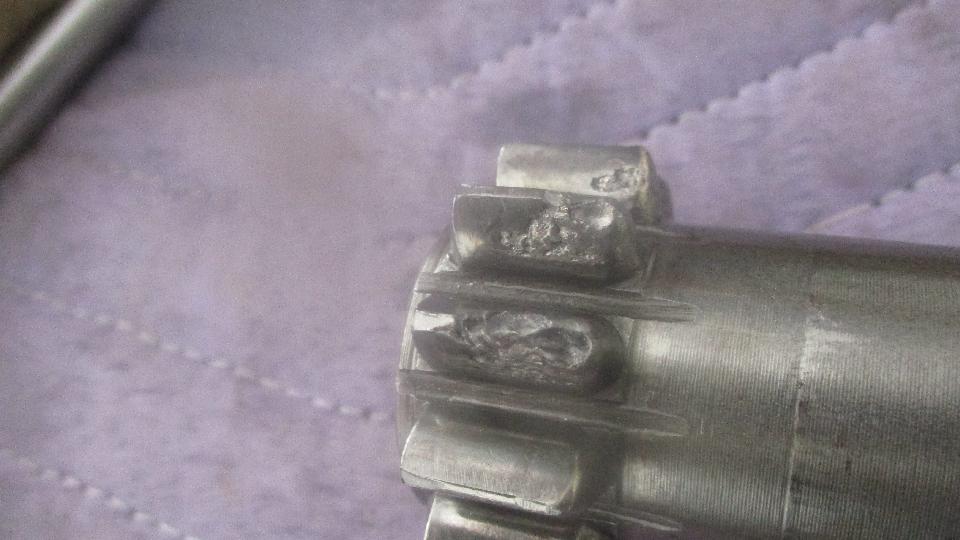
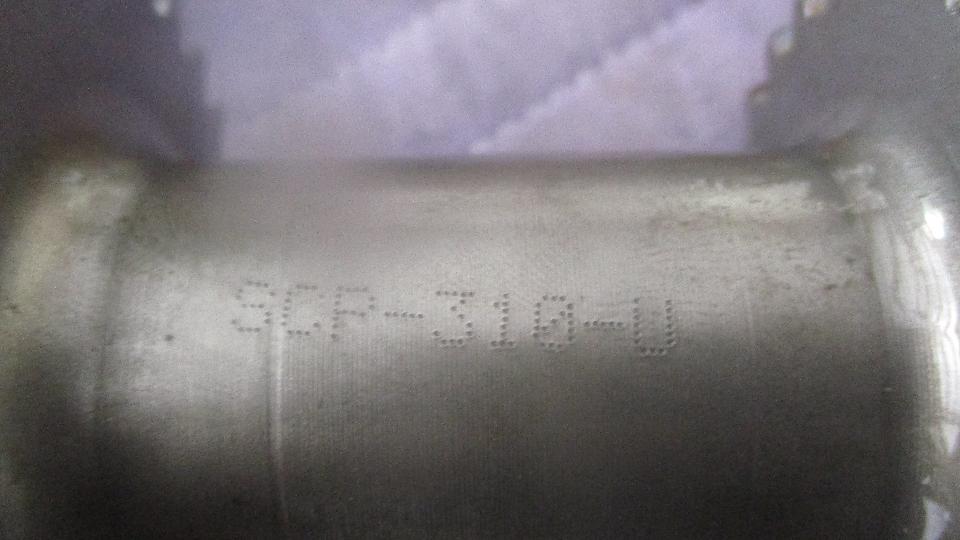
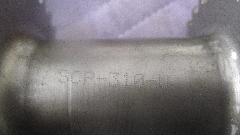
The front end of the shaft (with two bearings) was also worn, but not nearly so bad. However, the radical shaft wear on the rear end also caused catastrophic failure of gear teeth on the small end of the laygear. This was a new laygear with last rebuild. I do not recognize the part number SCP-310-U, but I do know the person who gave it to me, so I will investigate further.
"SCP..."means the part is from SC Parts Group in the UK, whose parent company is Limora in Germany. I have been informed that they are not known for quality. Time will tell.
|

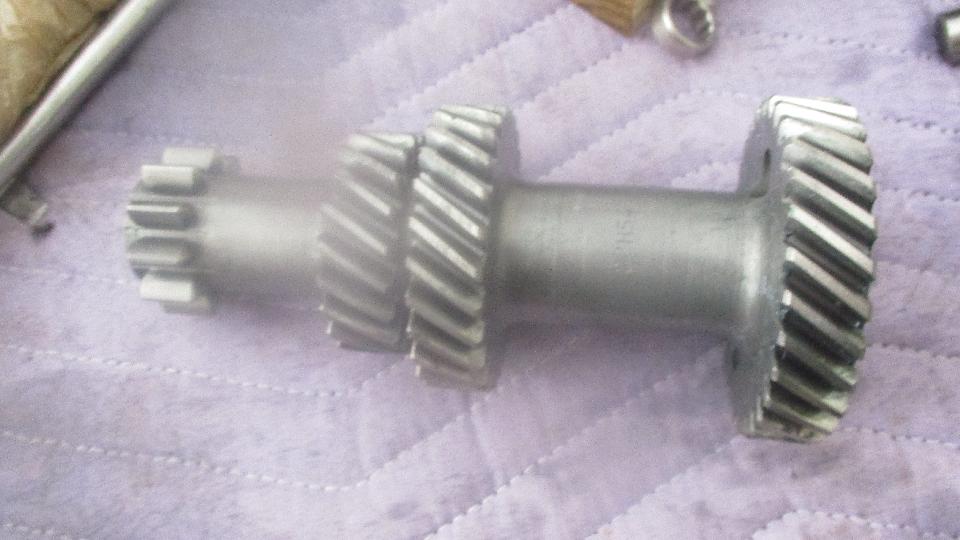
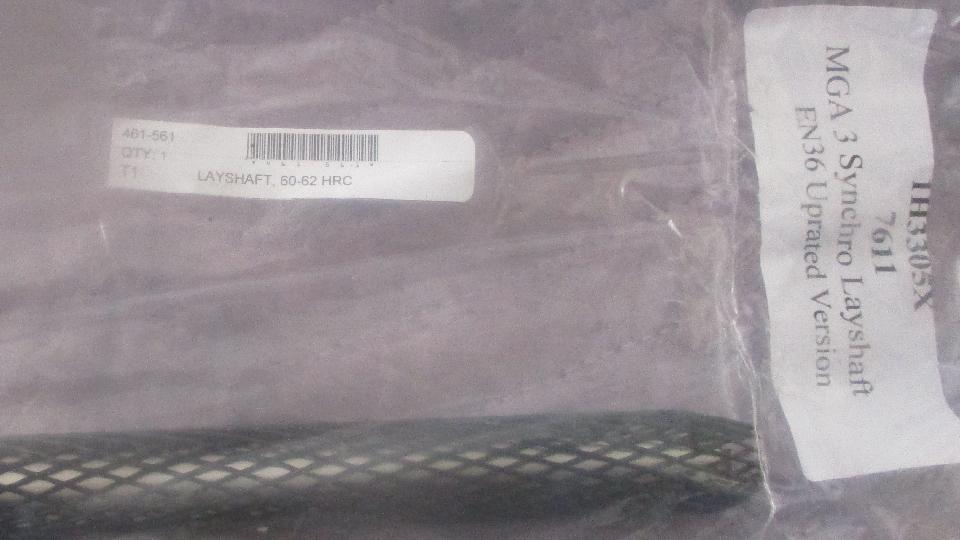
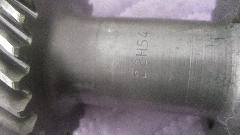
I now have another new laygear, new old stock BMC original part number 22H54 (alternate to the original factory part number 11G3024). Sam Williams just pulled this one out of spare parts (wow, what a find). This is going to be mated with a new 461-561 layshaft from Moss Motors, tagged with a new made up part number 1H3305X (replacing factory part number 1H3305), certified (claimed) to be 60-62 Rc hardness.
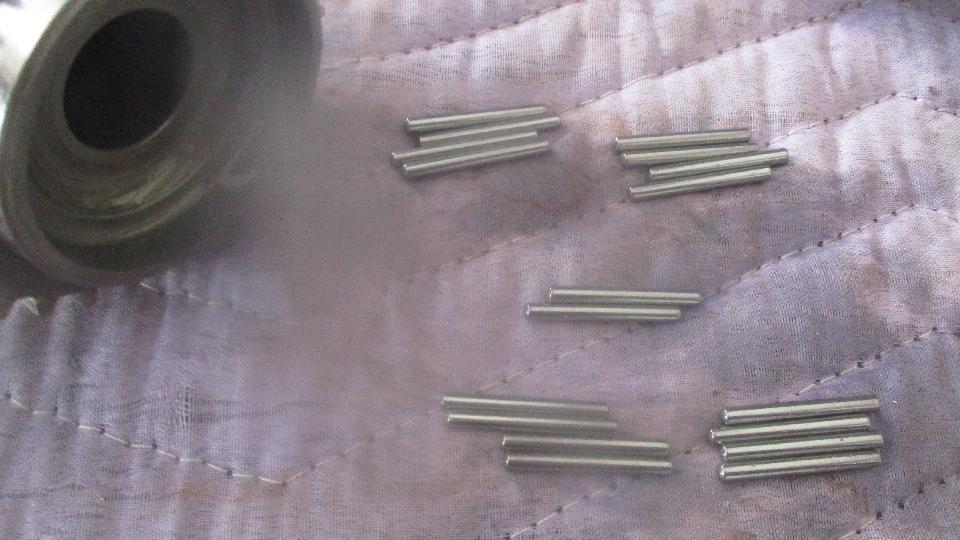
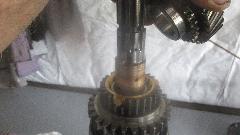
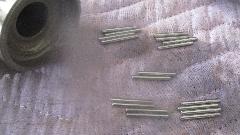
Eighteen needle rollers get assembled into the input gear. The laygear with thrust washers gets loaded first into the bottom of the housing.
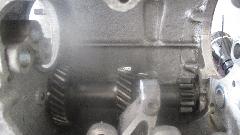
Not too long to reassemble the rest of the gearbox, input shaft, third motion shaft assembly, then raise the laygear and insert the layshaft. Follow with reverse gear, three shift forks and the three shift rods assembly, tail housing, interlock lever, top cover, side cover, and speedometer drive.
Waiting for delivery of the front and rear seals, so set this aside for now.
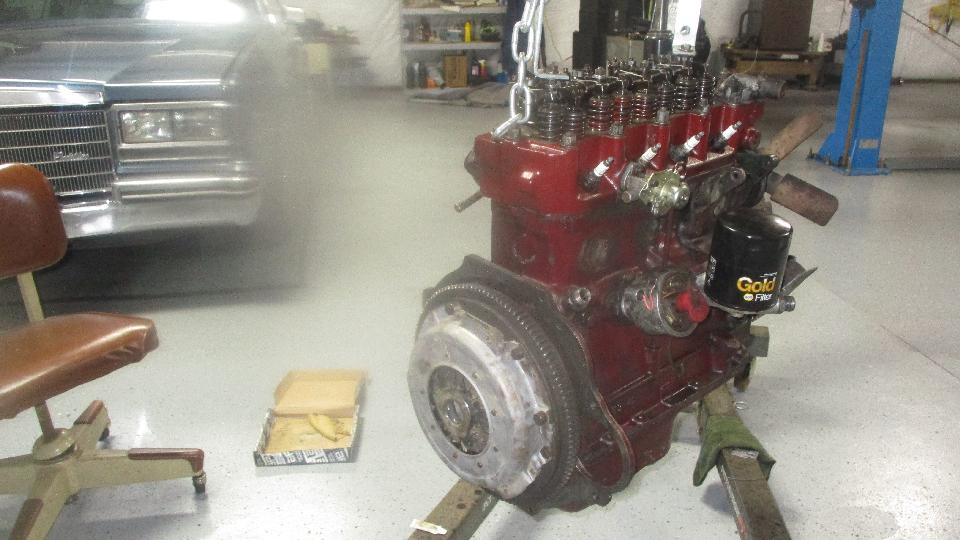
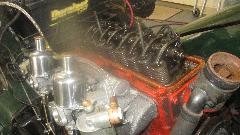
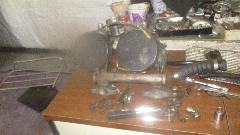
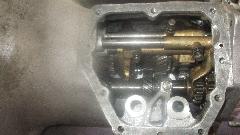
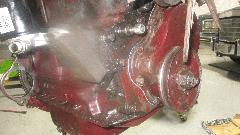
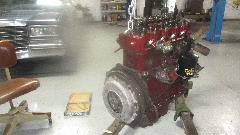
We had a few more things to do to fill some time. Simple stuff first, drain and refill EP75W90 gear lube in the differential (which we hope may last at least a quarter million miles with proper treatment). Then way too much time with a tub of petrol and parts cleaning brushes to clean the engine up enough to work on it without getting things too grubby (other than myself).


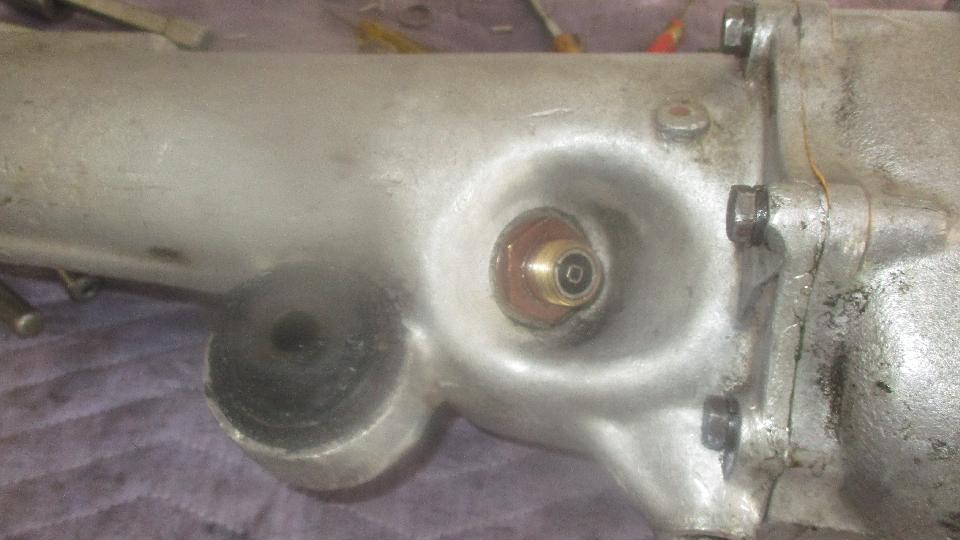
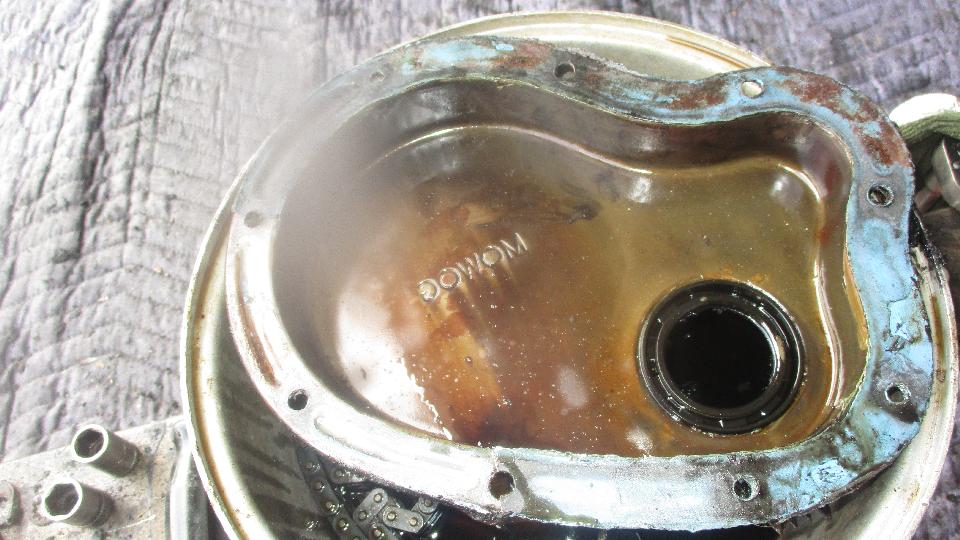
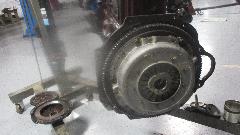
Wanting to replace the 135,000 mile timing cover seal that was leaking, it was a good opportunity to also replace the 242,000 mile timing chain and tensioner. While we're here, also replace the inverted spin-on oil filter adapter, which had bad threads subject to cross threading after only 30 years and 395,000 miles in service.
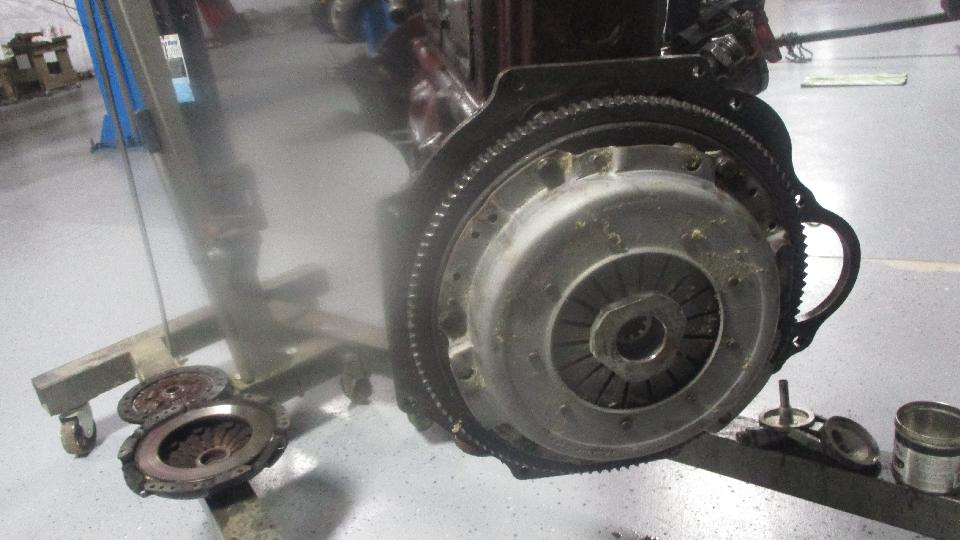
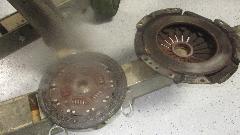
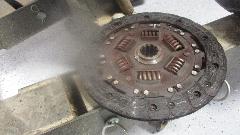
Condition of the clutch was hard to believe after 6 years and 155,000 miles in service. The friction disk and pressure plate were hardly worn at all, very tempted to return those to service. The carbon release bearing with same time and mileage was about 60% worn, implying that it could have lasted up to a quarter million miles. However, a year after after the last gearbox rebuild the clutch had developed a light chattering sound with a little vibration in the pedal. Guessing this must be a clutch release parts problem, we bought all new clutch parts and have been carrying them around for 1-1/2 years in case they might be needed. They may or may not be needed now, but this was a good opportunity to get them out of the magic trailer to free up some space, so we installed them (along with a new spigot bearing) and intend to toss out the older parts. If we could get the layshaft to last more than 100,000 miles, the new clutch might delete one engine pull a few years from now (call it preventative maintenance).
All back together and buttoned up, ready to go back in the car (as soon as we get the gearbox seals). No package today. Tracking information says a late flight has caused a delay (missed the plane last night). 24 hours later there was a departure scan this evening, cross fingers.
|