The MGA With An Attitude
MGA Guru Is GOING MOBILE - (April 16 - April 30, 2018)
Monday April 16, 2018:
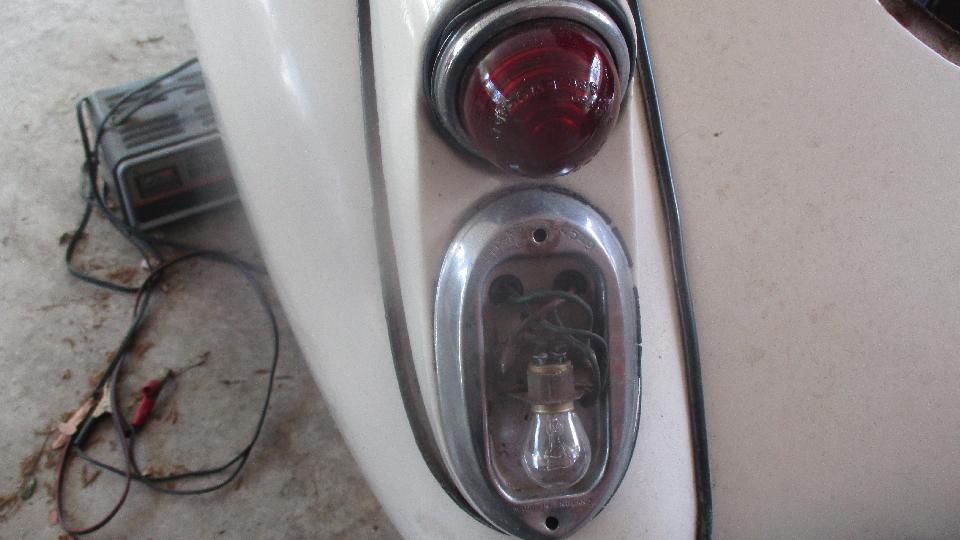
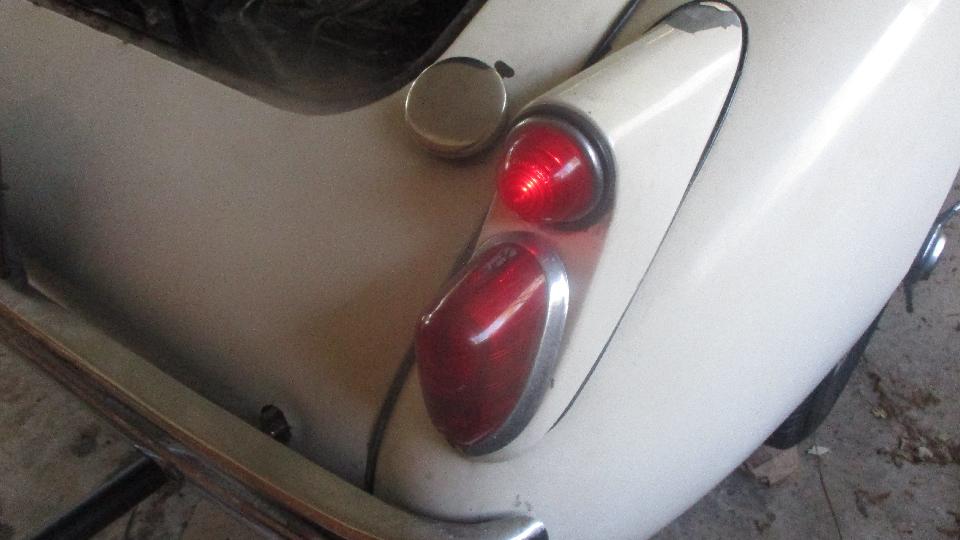
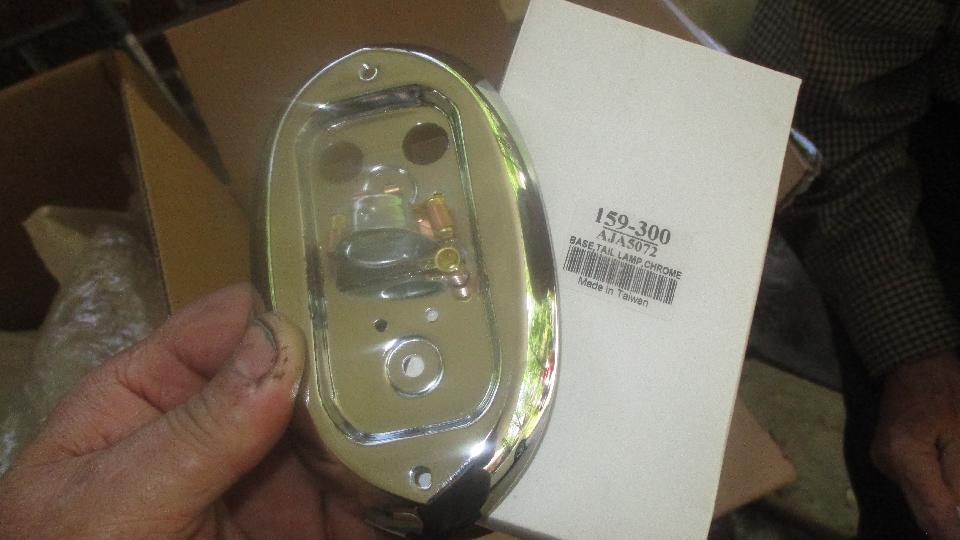
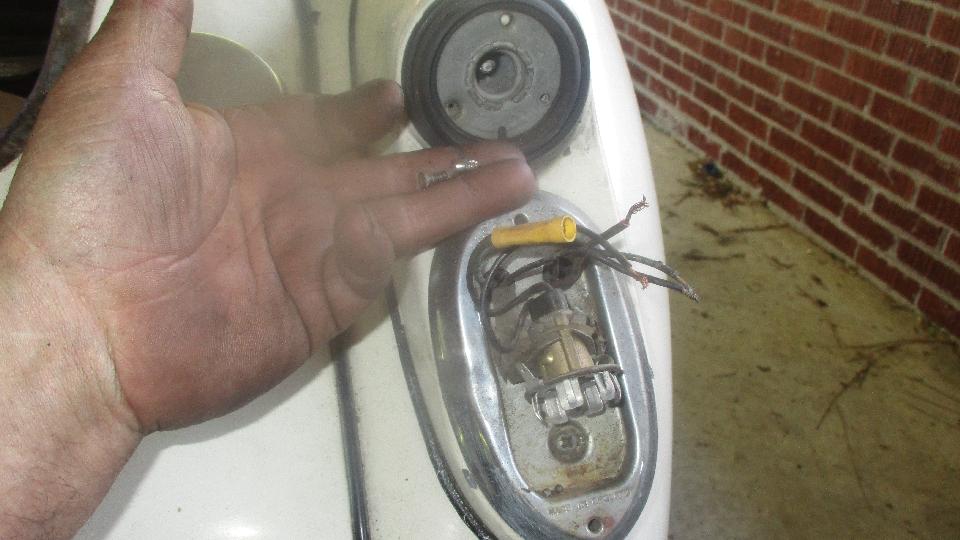
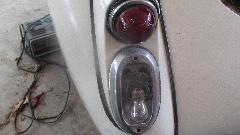
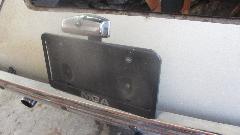
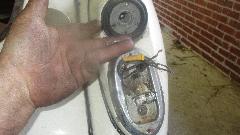
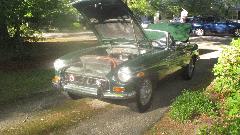
Late start noonish again on on a cool day, this would be electrical day. LR tail light contacts broken loose from a deteriorated insulator, and the license plate lamp socket was severely corroded (and a prior epoxy repair falling apart). Nothing easy here, but we will persist. Put two new tail light base assemblies on the shopping list (cheap enough). Sticker shock on the tag lamp, so continue with wiring but look for a generic lamp later.
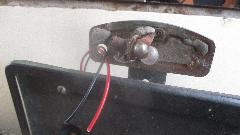
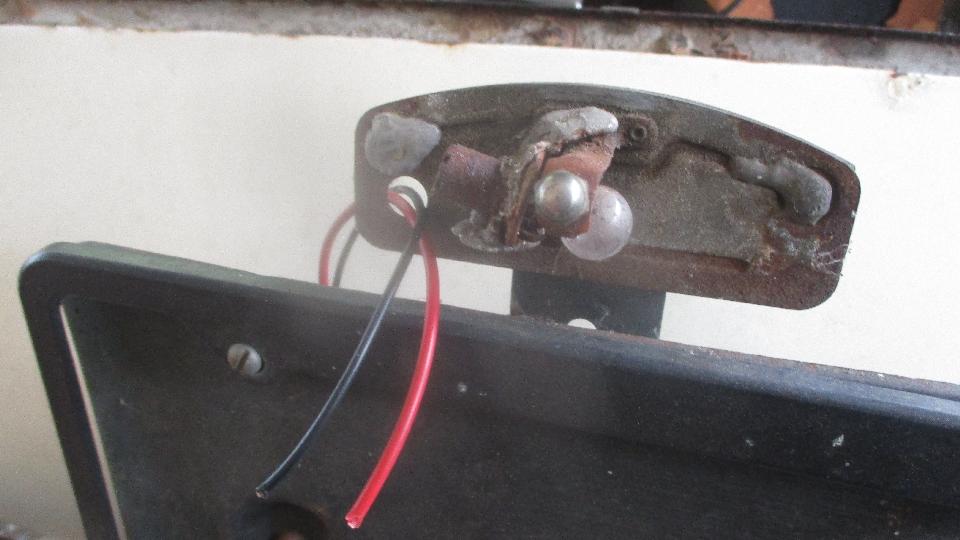
Removed a couple of molested multi-spliced wires, ran new red and black wires for the license lamp, and did a decent job of wrapping the small harness branch and installing a grommet. A $5 tag lamp from local store, uses a bayonet base bulb, maybe 4 watts, somewhat brighter than I expected. Couple more tie-wraps for clean harness routing.


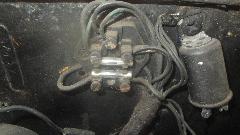
Then after the turn signals, original flasher unit long since defunct and disconnected. A slight distraction took time to fix a loose power wire on back of fuel gauge. Nut with wrong thread could not be tightened, didn't have correct nut, so improvised with a slightly modified #8-32-UNC nut and a thicker #10-32 nut spacer, but got the power connection tight. Replacement flasher unit was working but no pilot output, so installed a new flasher unit. !@#$%&* flasher unit from Moss has no tapped threads, but given tiny (#4-40) screws and nuts for connections. Not again. Carefully tap the connection blades with #6-32-UNC threads, and make the connections in original manner. One front lamp exhibiting signs of bad ground, two wires only, no ground wire, two different screws, neither one tight, simply tightened the screws, and it worked. Add parking lamp gasket sets to the shopping list. Rear T/S lamps made to work after cleaning bulb contacts. Blower switch will not switch off, so disconnect the wire. Haven't checked the wiper motor yet, but figure everything else original electrical is working.


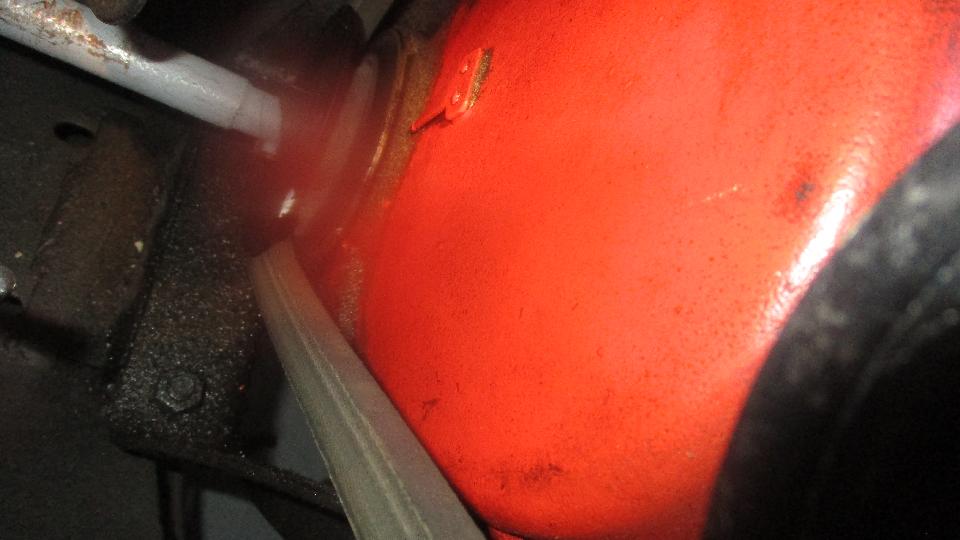
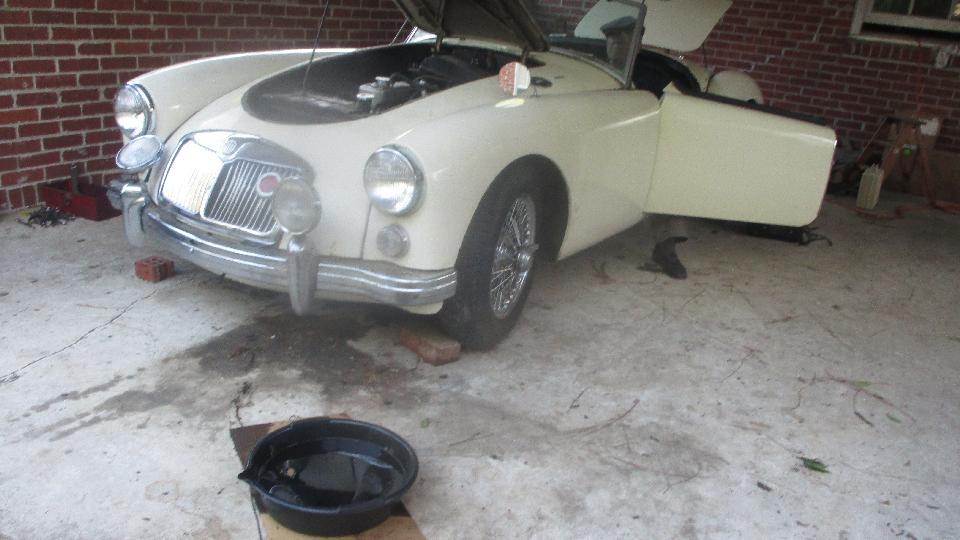
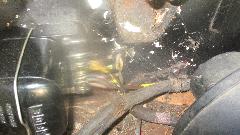
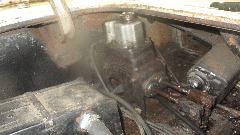
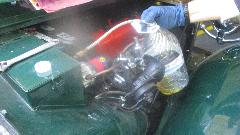
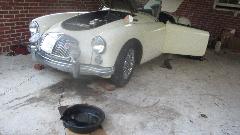 Time for an oil and filter change, fresh 20W50 oil, fire it up and get a nice smile. Well, at least until we noticed a puddle of oil under left side of engine. Jack up, get under with a flashlight, and find oil dribbling from bottom of the front tappet cover. Rats. First job for tomorrow will be to install new tappet cover gaskets.
Tuesday April 17, 2018:
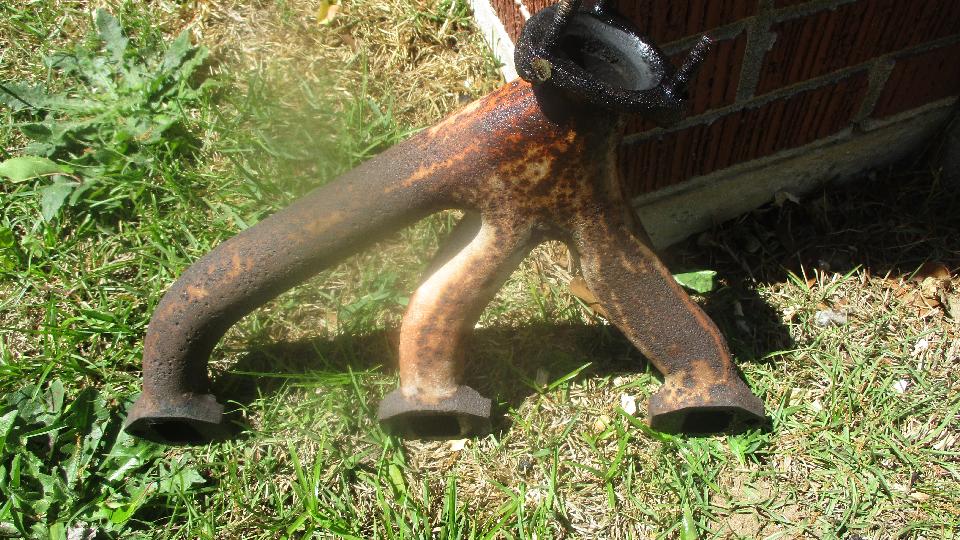
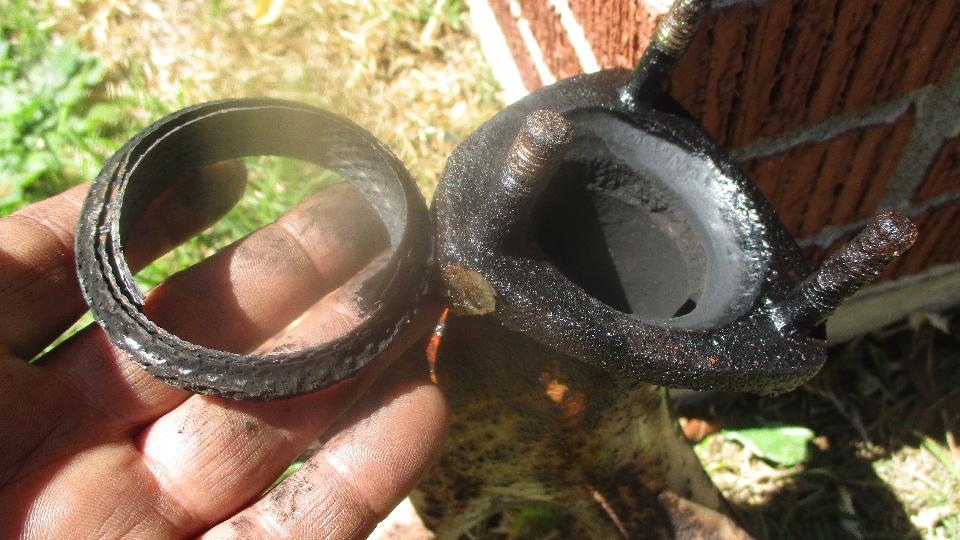
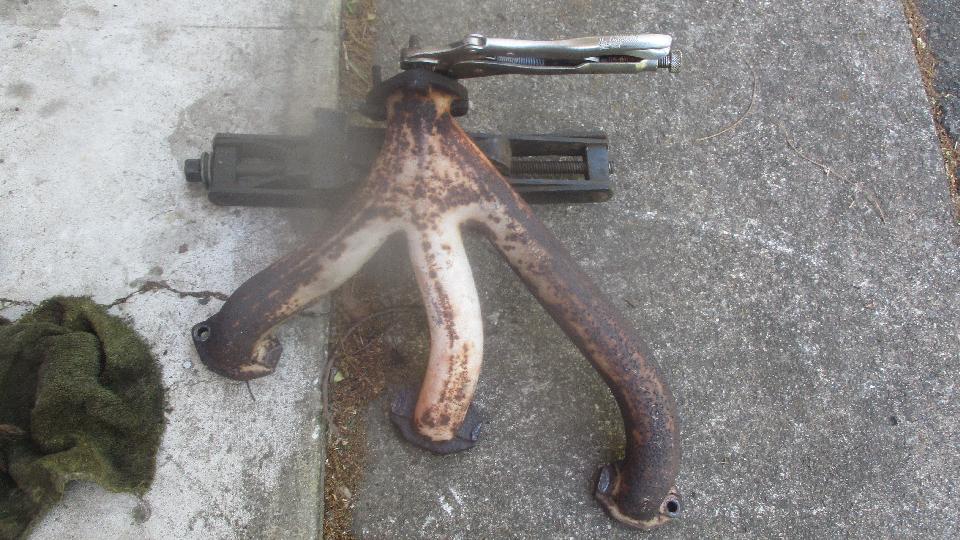
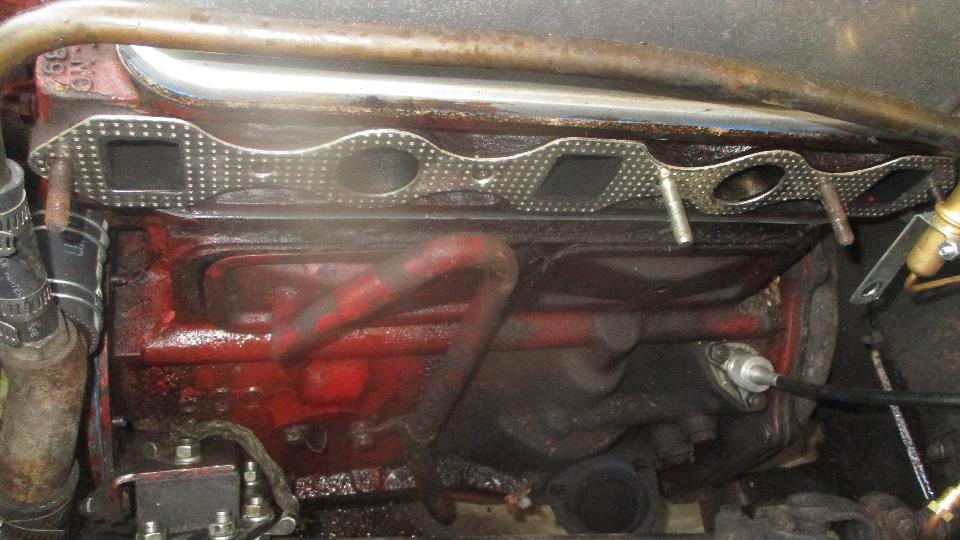
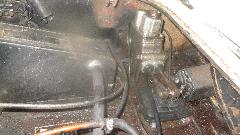
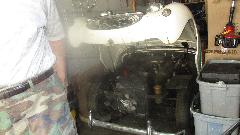
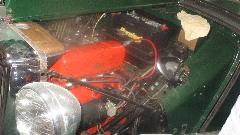
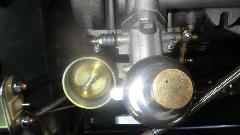
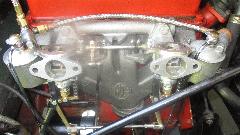
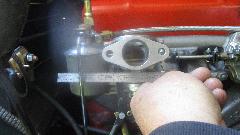
Going to dig out the leaky tappet cover today. Start by removing the carburetors (again) and intake and exhaust manifolds. Taking advantage of the opportunity to replace the exhaust seal between manifold and pipe, I found one missing nut and two badly jammed brass nuts. Removing those revealed horribly corroded threaded studs (with no usable threads), badly rusted in place (quite common). Fifteen minutes with a rather large propane torch on one ear of the manifold didn't even get it to glow dark red. No way the studs were coming loose without more heat. One phone call for an appointment, and Ansel was off to take the manifold to a local shop to remove the studs with acetylene torch.


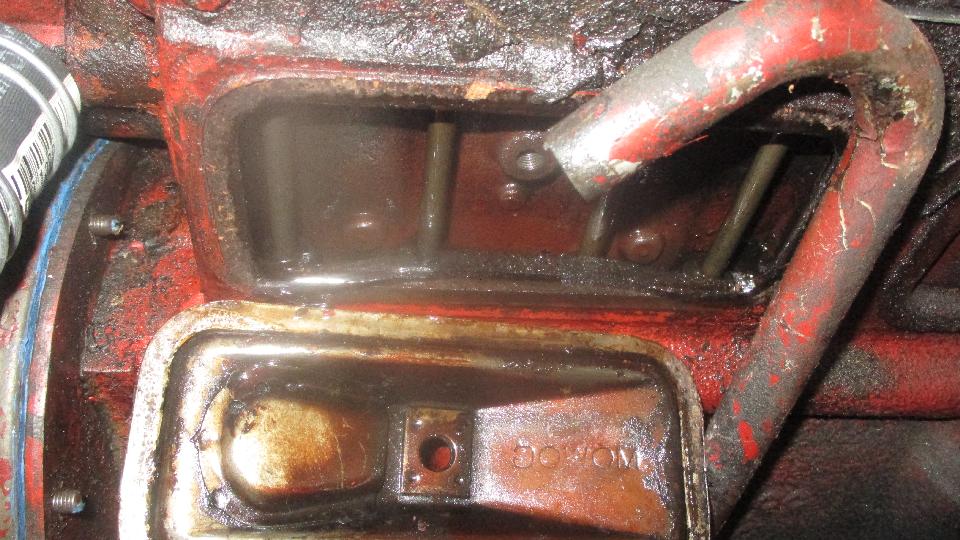
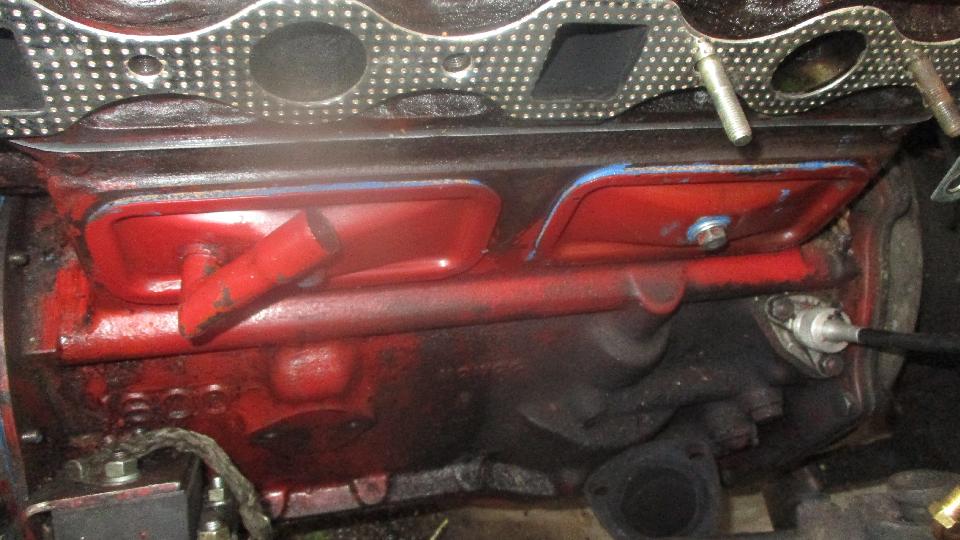
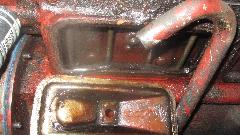
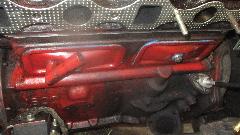
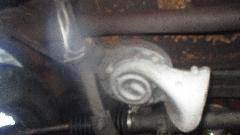
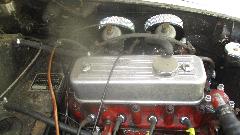
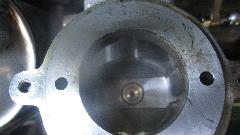
Meanwhile, off with the tappet covers. Well, that problem was obvious, gasket out of place leaving a three inch gap at bottom of the front cover (as well as no sealing around the bolt heads). Easy fix cleaning the mating surfaces, installing new gaskets glued to teh covers, and each bolt gets an internal tooth lock washer, flat washer, fiber washer, and a dab of sealant for good measure.

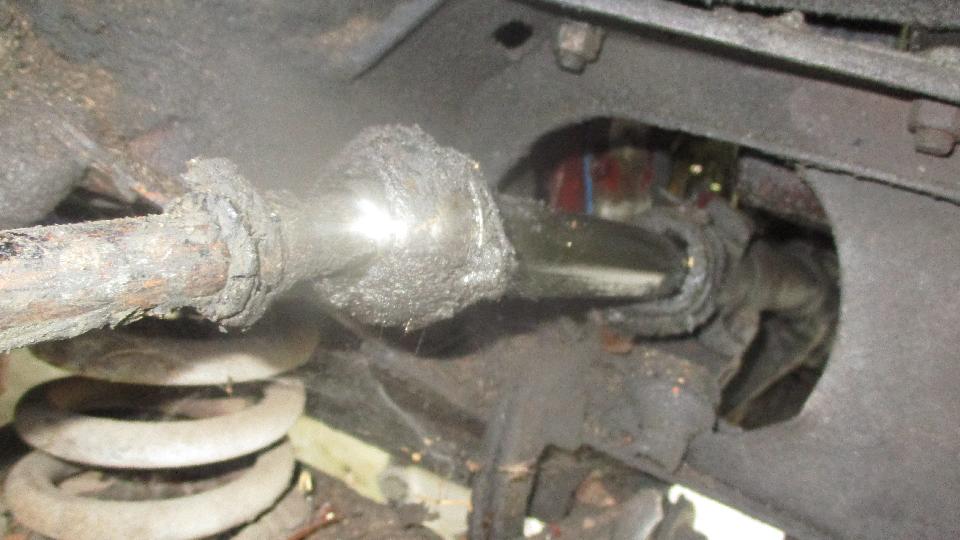
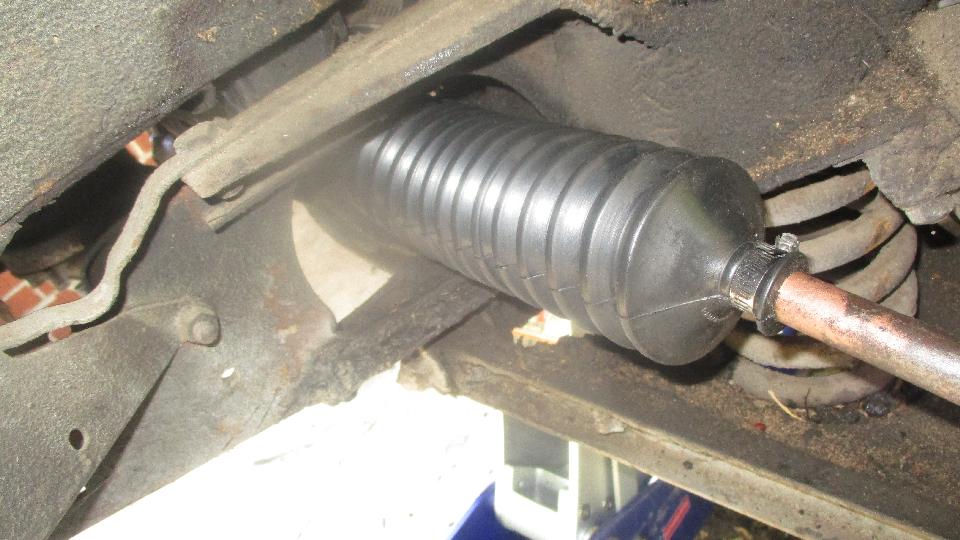
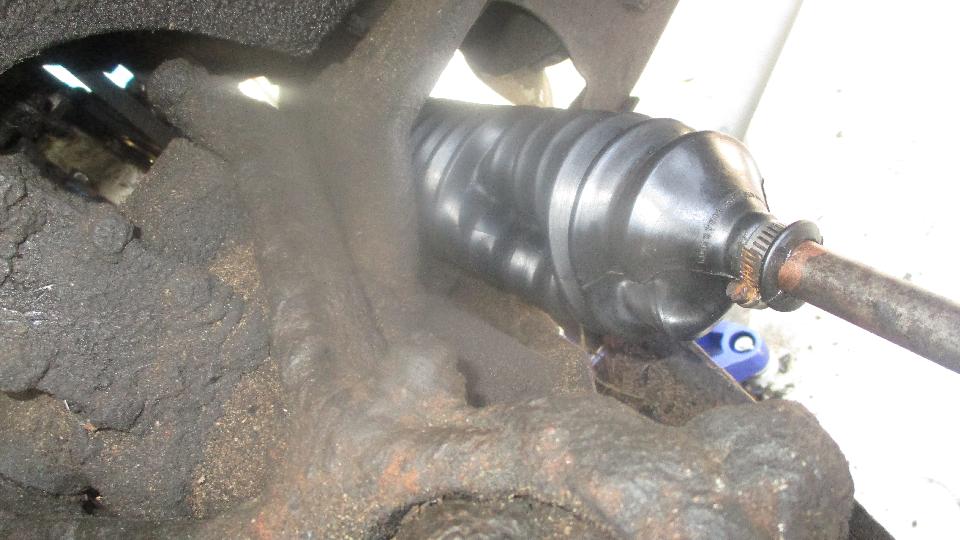
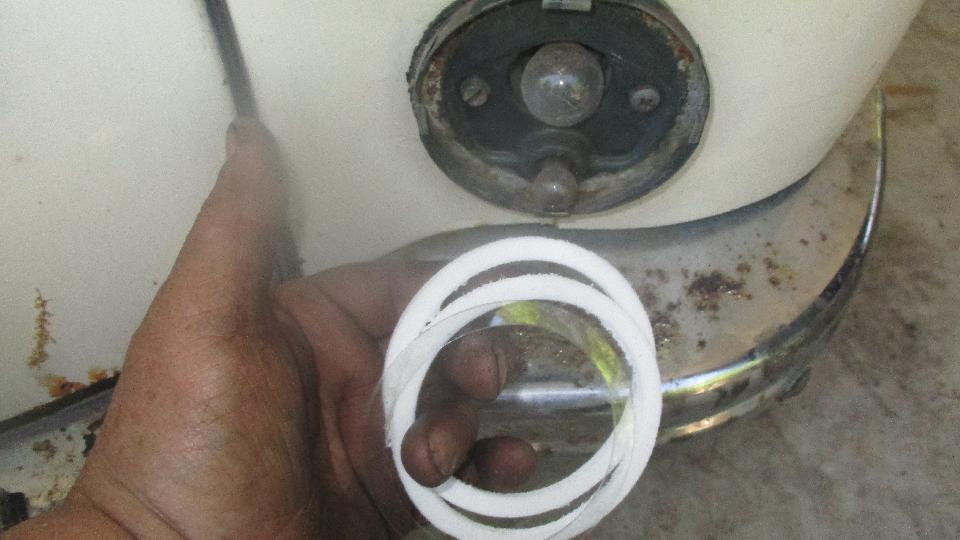
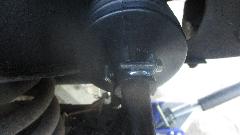
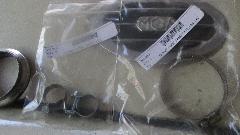
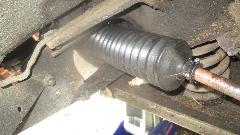
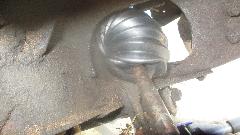
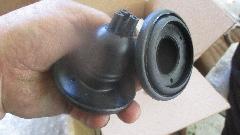
Time to replace the totally vanished steering rack gators (after some clean-up time). Parts in hand are the crappy Moss repro parts made from vinyl rather than synthetic rubber, thin, not very durable, 11 convolutions rather than the original seven. On the small end the hole is maybe too small, requiring a lot of stretch for installation, and once installed the material is too thick so the OEM type clamp (supplied by Moss) will not work. On the large end the clamp groove is too narrow, so the aftermarket type worm drive clamp (also supplied by Moss) will not fit in the groove. If they are going to supply an aftermarket boot with different end bands, they should at least be able to supply suitable clamps to get it installed.

Loosen the boot small end clamp (if the boot was still intact). Mark the tie rod for orientation reference. A file mark or small hacksaw rub mark right on top works well. Break the jam nut loose, and unscrew the tie rod, counting the turns as you go, until the rod end is separate from the tie rod. Do remember the number of turns. Write it down, maybe. Remove the jam nut. Remove any remnants of the old boot, and clean everything thoroughly. If there was any dirt inside the rack assembly, it should be disassembled for cleaning inside. Install the new boot, doing whatever you need to have clamps that fit well enough to retain the boot and to keep dirt out and oil inside. A tie-wrap is probably not going to be tight enough to retain the oil.
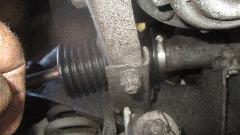
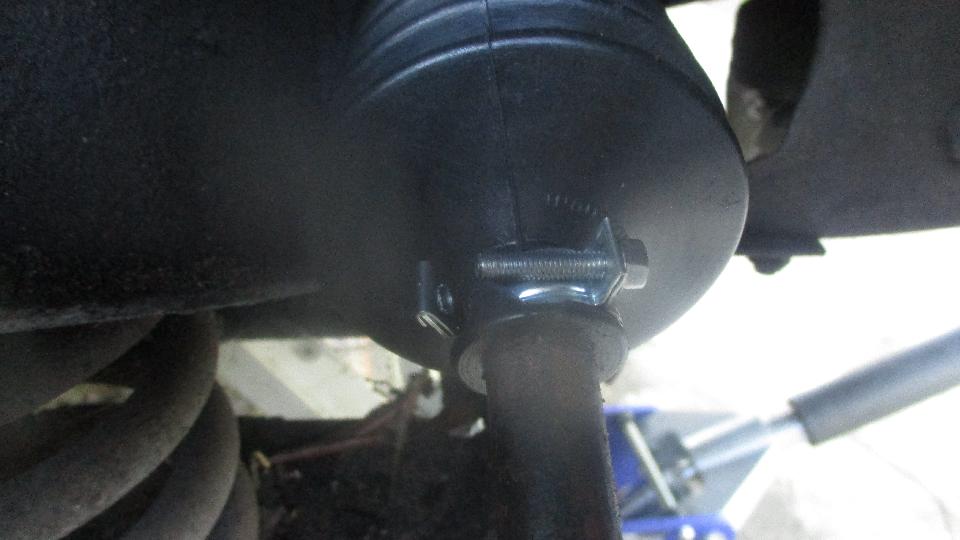
 On the small end I installed a narrow worm drive clamp that happened to be handy. For the large end, with some careful fettling I installed the supplied clamp, managing to tighten it down on top of the end flange (and hope it will stay put in operation). On the small end I installed a narrow worm drive clamp that happened to be handy. For the large end, with some careful fettling I installed the supplied clamp, managing to tighten it down on top of the end flange (and hope it will stay put in operation).
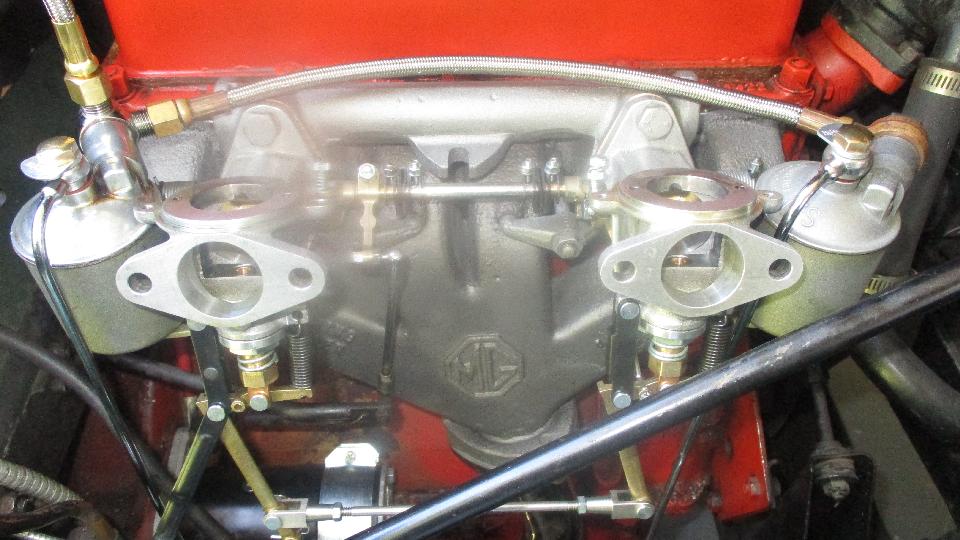
About that time Ansel was back with the exhaust manifold with the damaged studs removed. Run a tap through the holes to clean the threads, install new studs, and in short order it was reinstalled with a new bottom seal and exhaust reconnected. Unfortunately I lost the rest of the pictures for the day, but not much of importance. Mostly just grunt work to reinstall the carburetors and get it running again before we ran out of daylight.
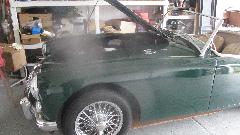
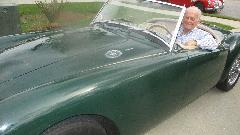
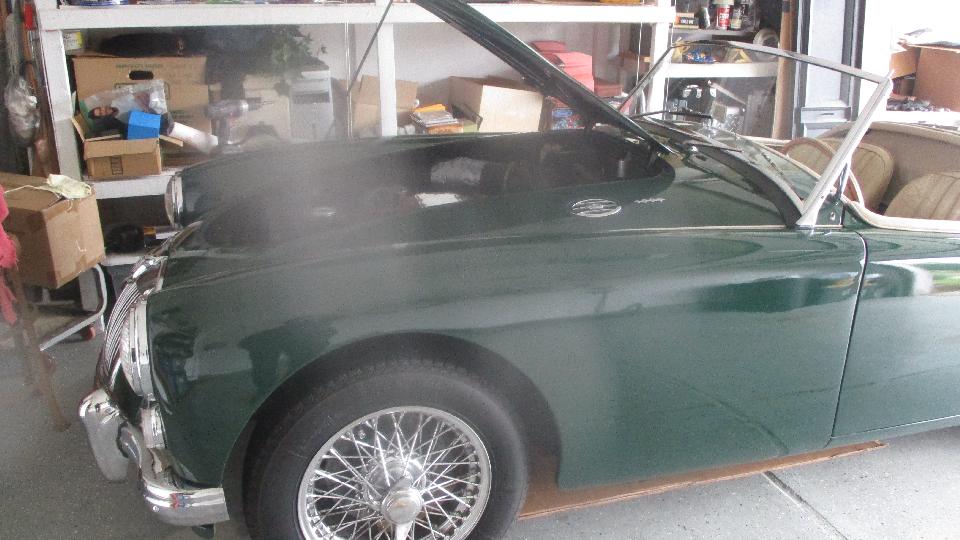
There was one unfortunate incident today. Ansel has been driving a Champagne colored Jaguar he calls Champagne Charlie. On the way back from shop Charlie's engine died in the line of duty, maybe a blown head gasket. He managed to get back, but then the car left on a flatbed truck headed for a repair shop.
Wednesday April 18, 2018:
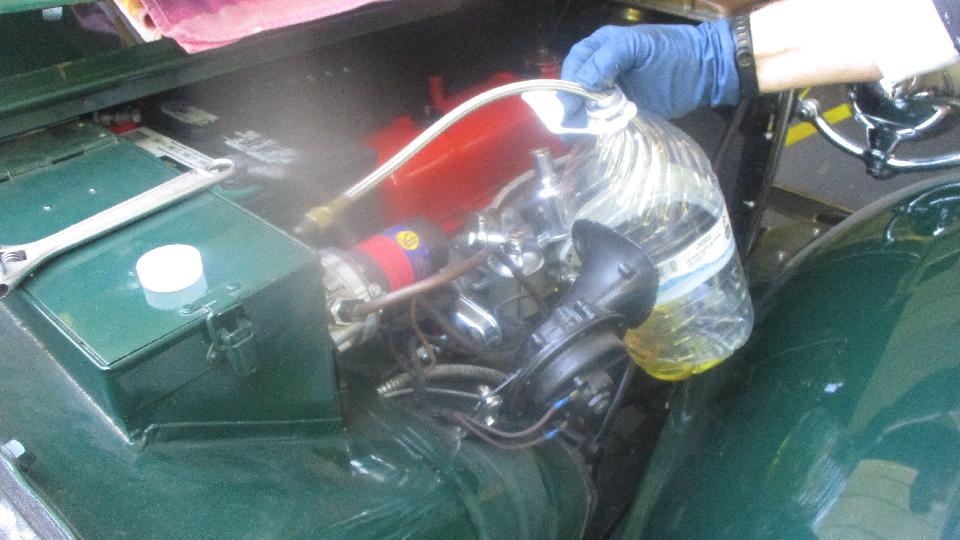
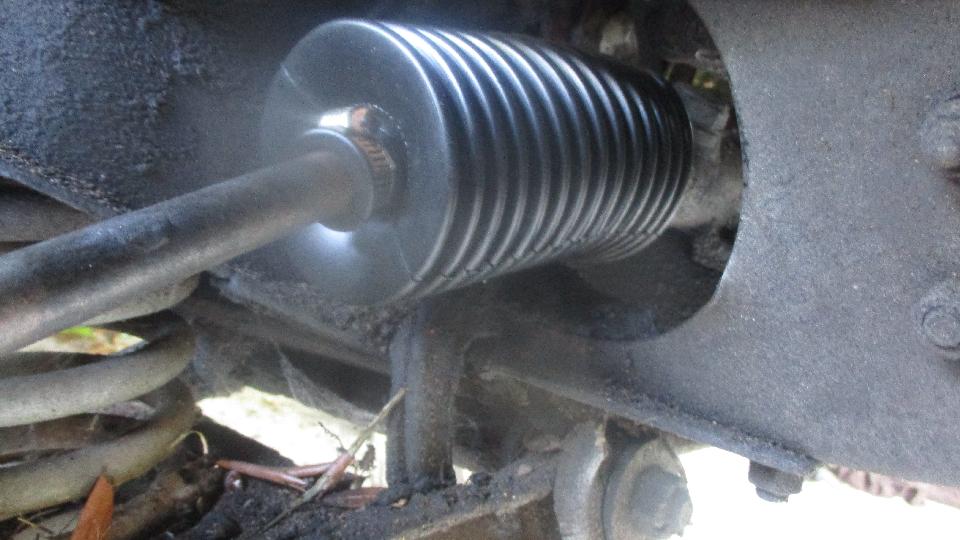
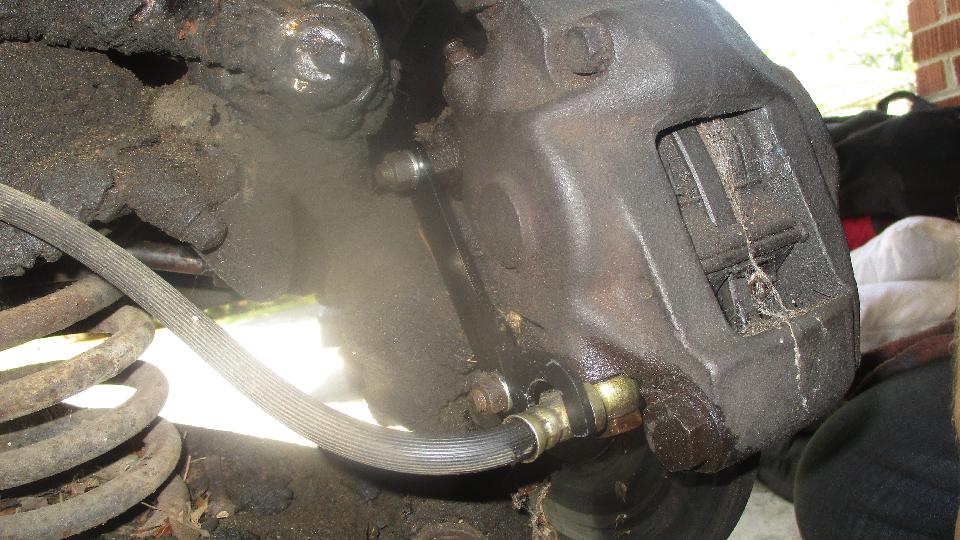
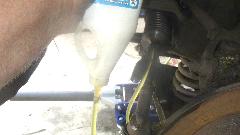
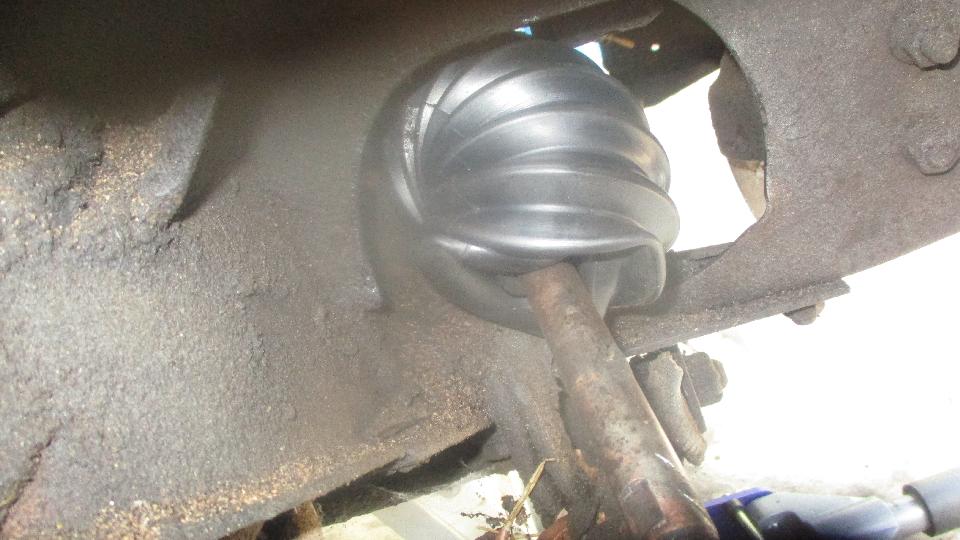
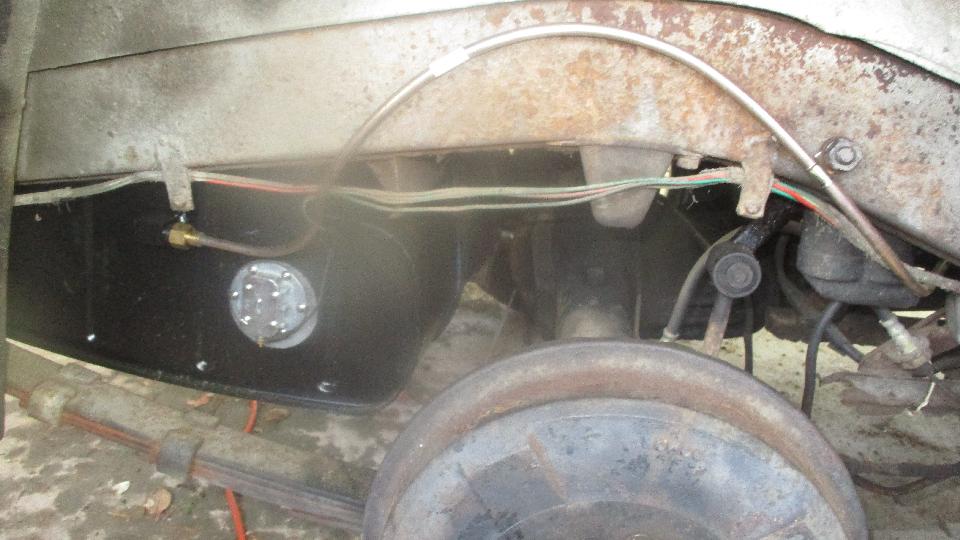
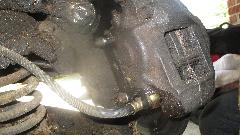
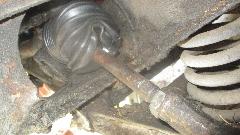
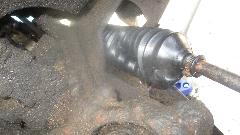
Getting plenty dirty today, working on the undercarriage. First was to install the brake hose banjo brackets,which were simply missing (for maybe the past 20 years). Then putting gear oil into the steering rack. Remove small end clamp from the boot, pry the end open with a screwdriver or two, and insert a 3/16 inch hose. Connect hose to the gear lube bottle nozzle, invert and squeeze. Given a few minutes of patience you can easily squeeze 6 to 8 ounces of oil through the little tube. Reinstall the clamp, then move the rack from lock to lock a couple times to push the oil from the boot into the rack and get it distributed inside. Since this one was empty and nearly dry, I opted to put oil into both ends, and just a little extra, about 5 ounces at each end.

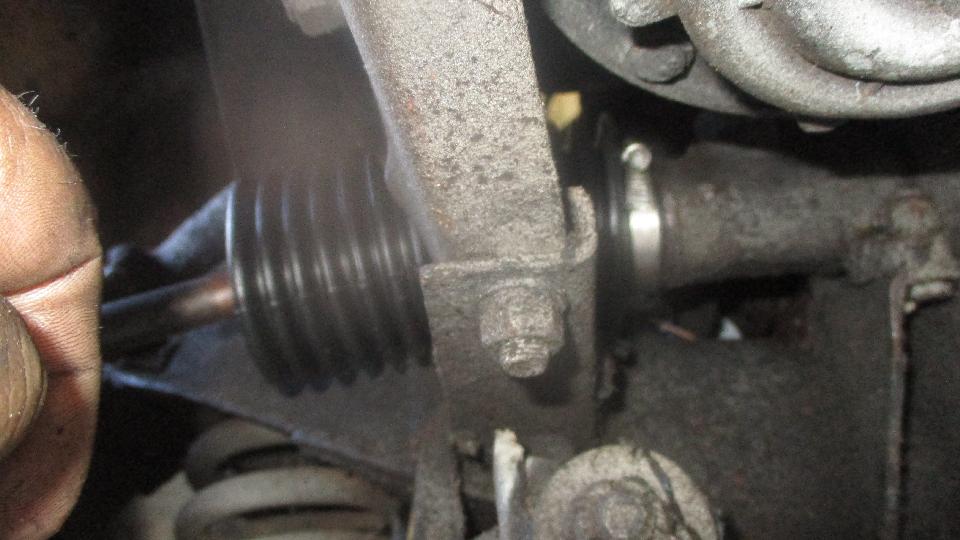
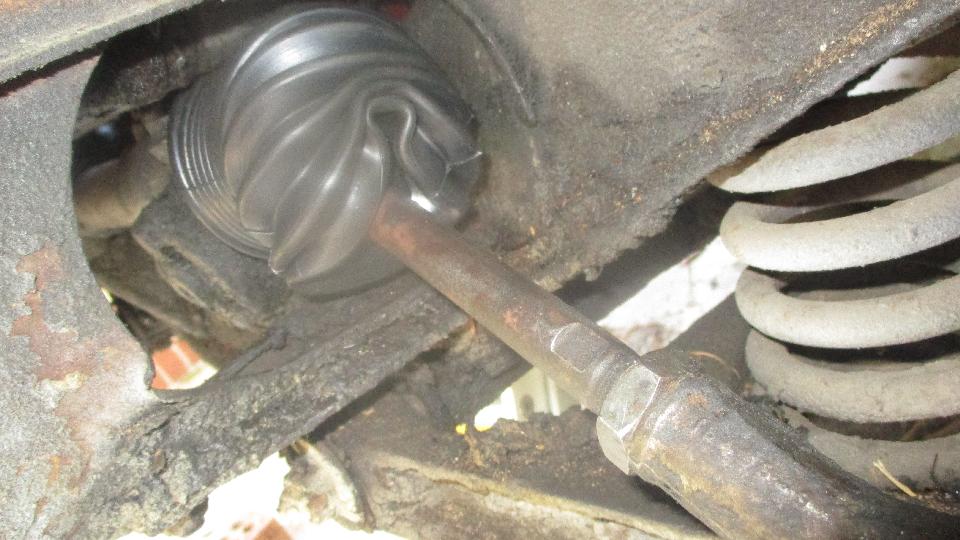
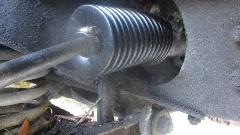
More indication of the crappy quality of the Moss supplied rack seals. When moving from lock to lock the boots crumble and squish in all sorts of odd manner, not doing the accordion motion as intended. Original 7-flute rubber boots were much heavier and more durable. By experience, my expectation for life of these thin vinyl boots is about two years or 50,000 miles, which ever comes first.
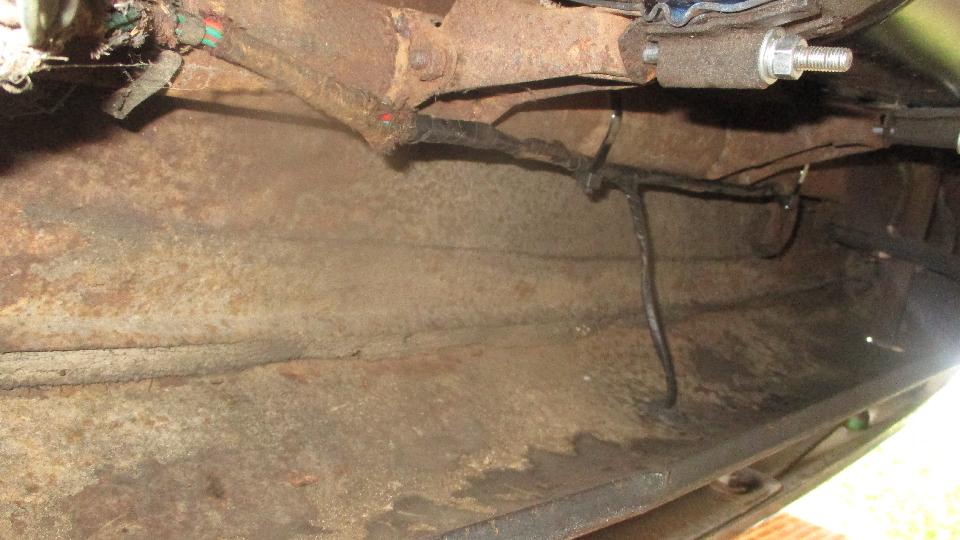
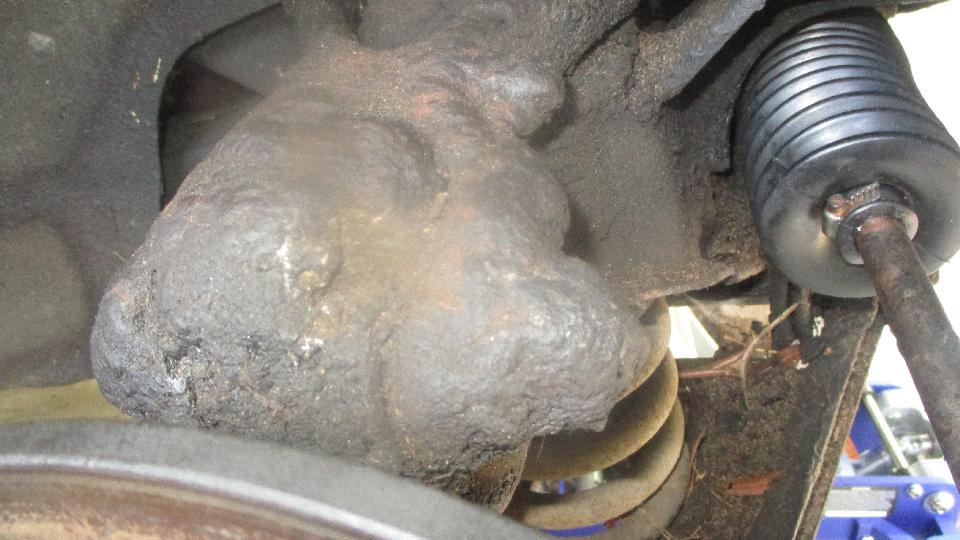
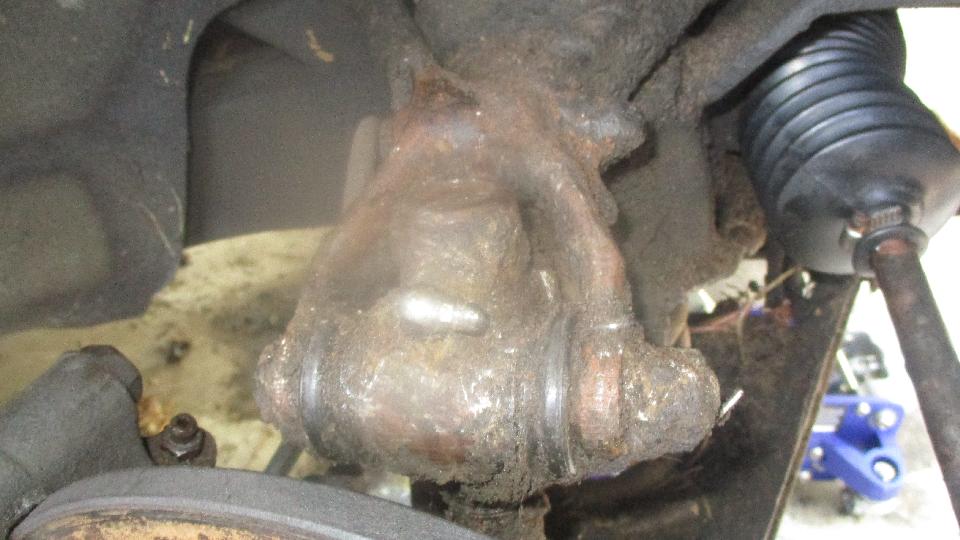
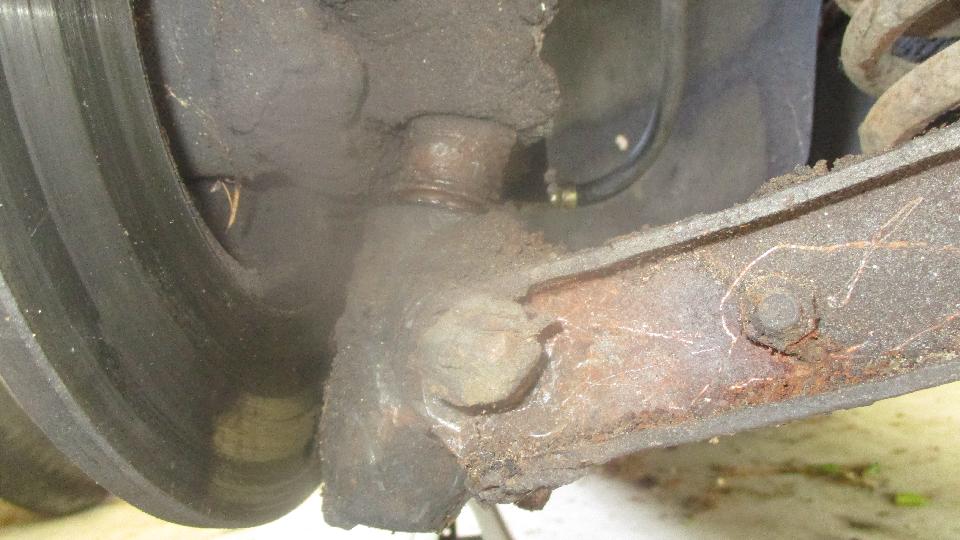
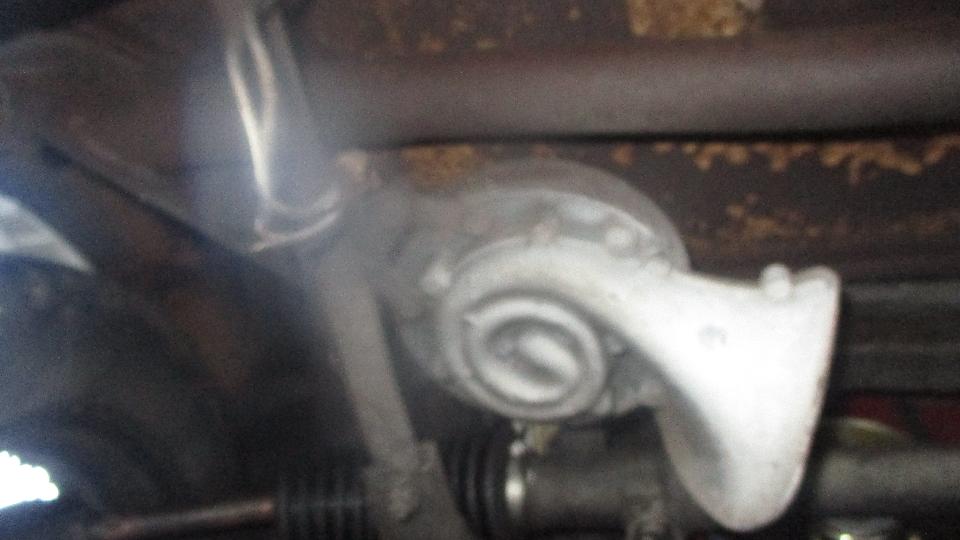
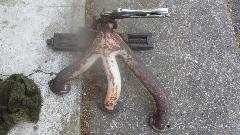
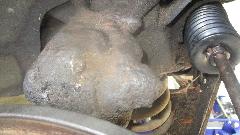
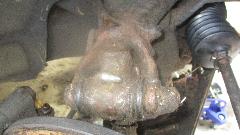
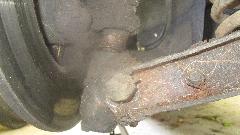
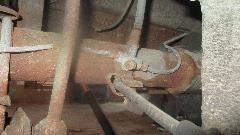
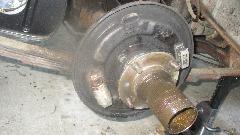
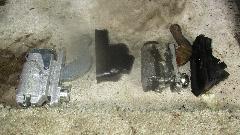
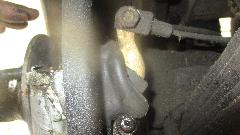
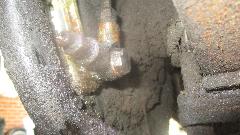
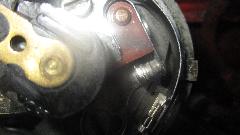
Then inspection of the front suspension. I knew there should be a grease fitting on top, but it required a lot of digging through hard crusted grease and dirt to find it. I was surprised to find trunnion seals still in tact. Story is this was likely not greased in 10 years of service and another 10 years of storage, so these seals might be more than 20 years old (from a time when such parts were still made form decent material). The Zerk fitting on the bottom trunnion was broken, trunnion bushing seized with the bolt turning, holes in the A-arm brackets all egged out, swivel pin seals long gone, and the lower A-arm inner pivot bushings completely perished. Same on both sides, so the front suspension will need a complete rebuild.
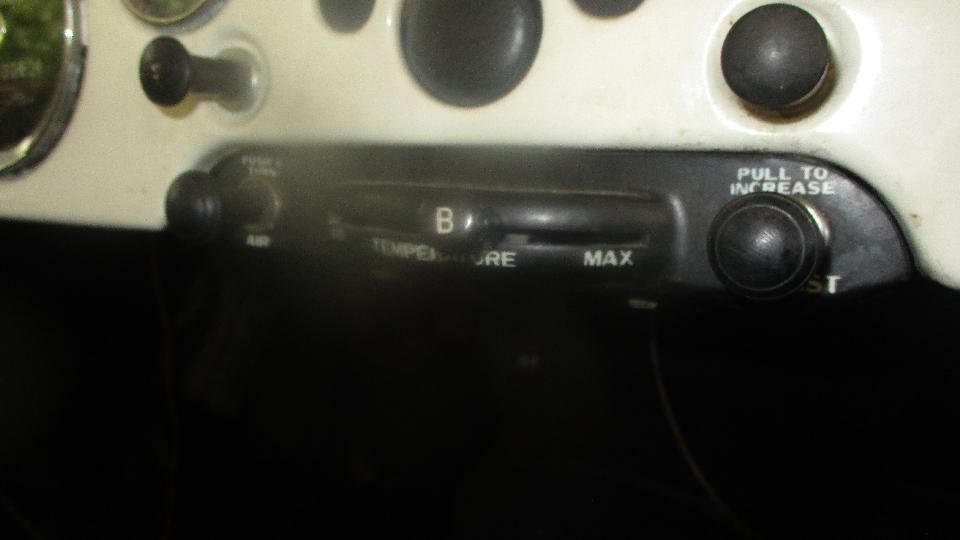
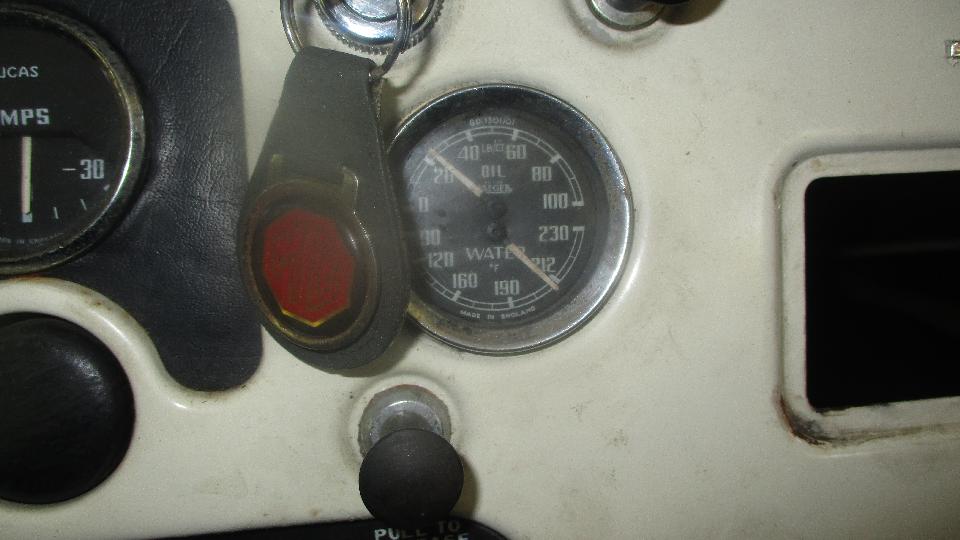
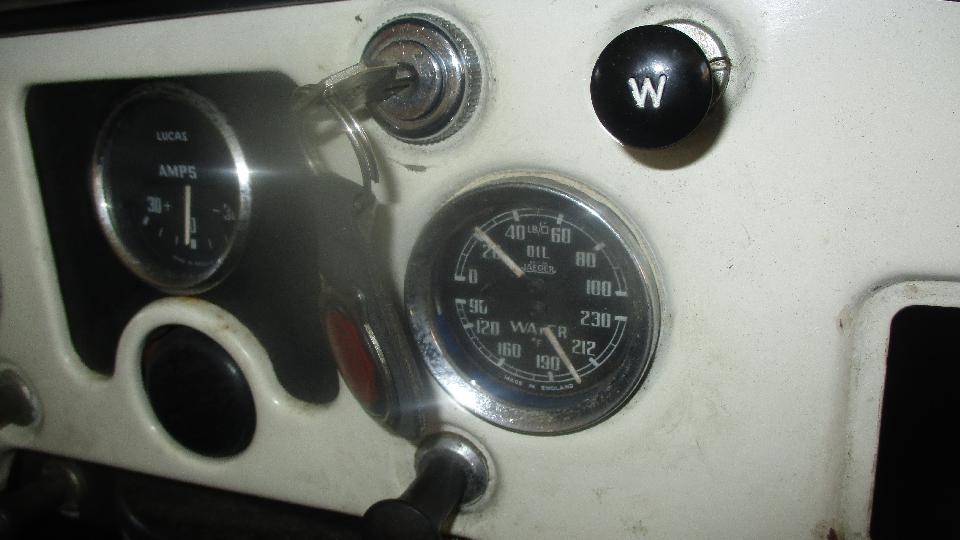
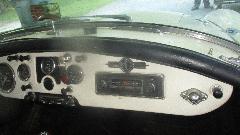
Finishing up some loose ends, investigating why the blower switch would not switch off, I found the fascia panel broken out around one of the mounting screws, misaligned and blocking motion of the switch. I realigned it and lashed it back together with a flat washer and tightened the screw so it works, but a good pull on the demister control knob might dislodge it again, so put a new fascia panel on the wish list. Finally got a serviceable P-clip on the fuel pipe between tank and pump. Moss didn't have a listing for it, so we got the closest part we could find. This is a clip intended to hold the wiring harness with a 3/8" bolt, a bit large in the "P" opening and a bit small in the bolt hole. The Dremel tool quickly opened the bolt hole enough to fit on the 7/16" bolt holding the rear shock absorber, and a bit of pinching with pliers gave the clip a decent fit on the fuel pipe.
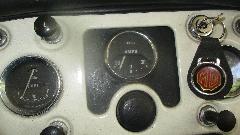
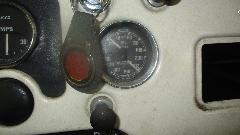
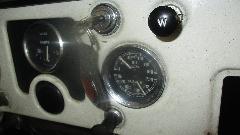
I popped the ammeter back into the dash, ran the heavy wires through a new rubber grommet in the firewall, and connected it in series with the wire running from the battery cable on the starter switch to control box. Easy job, and a working ammeter. Checking out the horn we had good wire connections, but power and ground makes sparks but no sound, so the horn armature and diaphragm would be seized up inside (repair or replacement job for another day).
 As daylight was failing we took a quick look at Ansel's MGB (now his only daily driver car since the Jaguar engine failure). Complaints were a non-functional hand brake and a loud clunking noise from the rear end. The brake cable moved an appreciable amount, but did not lock the brakes. Brake shoes were properly adjusted near the drums, and the levers move, but no brakes. A pry bar on the levers could lock the rear brakes, just barely. Hand brake cable was at end of adjustment, so that was stretched and in need of replacement.

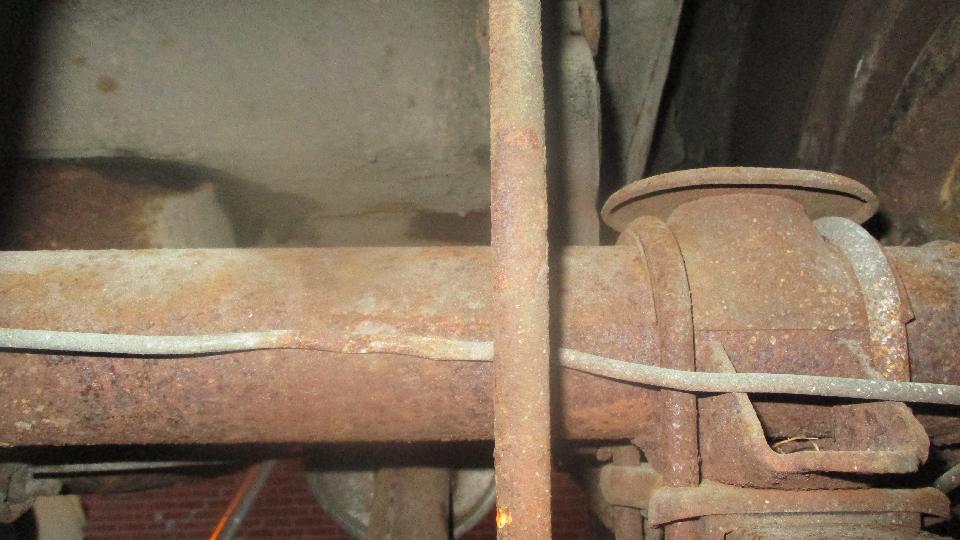
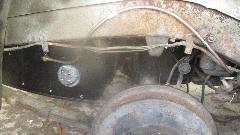
 Then I noticed hydraulic pipes smashed in multiple places along the rear axle, typical of damage from tie-down chains from some prior flat bed towing job. The hydraulic brakes would only work after applying very strong pedal force, and then would not release. This is likely affecting the hand brake action as well, so the pipes will have to be replaced before wasting time on the parking brake issue.
The loud clunking noise is a result of worn thrust washers in the differential causing large backlash at the input shaft. With the change from banjo axle to tube-type rear axle in 1968 (earlier for all MGB GT), the factory changed from bronze to fiber thrust washers for the side gears in the differential. Strictly a cost reduction, and a bad reduction of reliability (rapid wear), this is a common problem for later production MGB with the Salisbury rear axle. Not a difficult fix, a couple hours fiddling via access through the rear cover of the differential and pulling one half shaft to replace the thrust washers. More work to be programmed for some future date.
Thursday April 19, 2018:
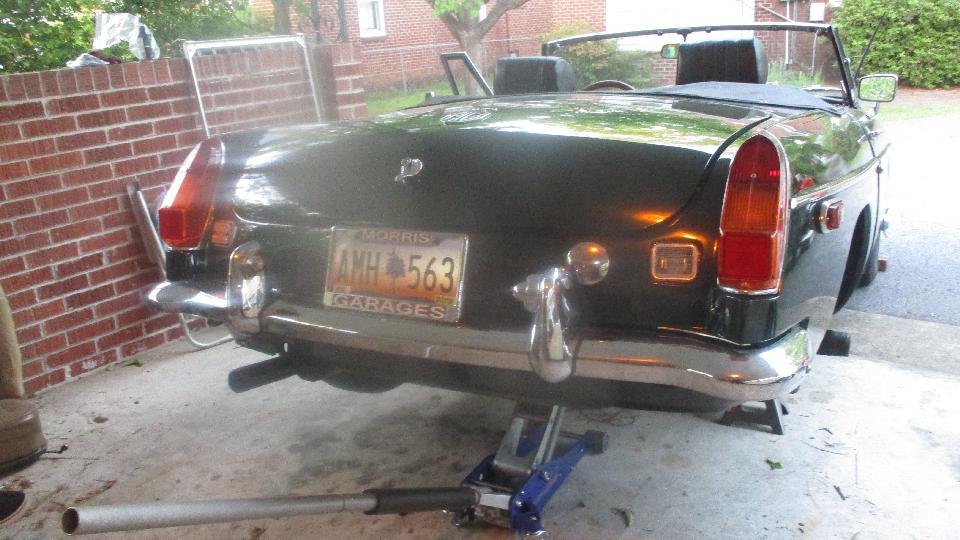
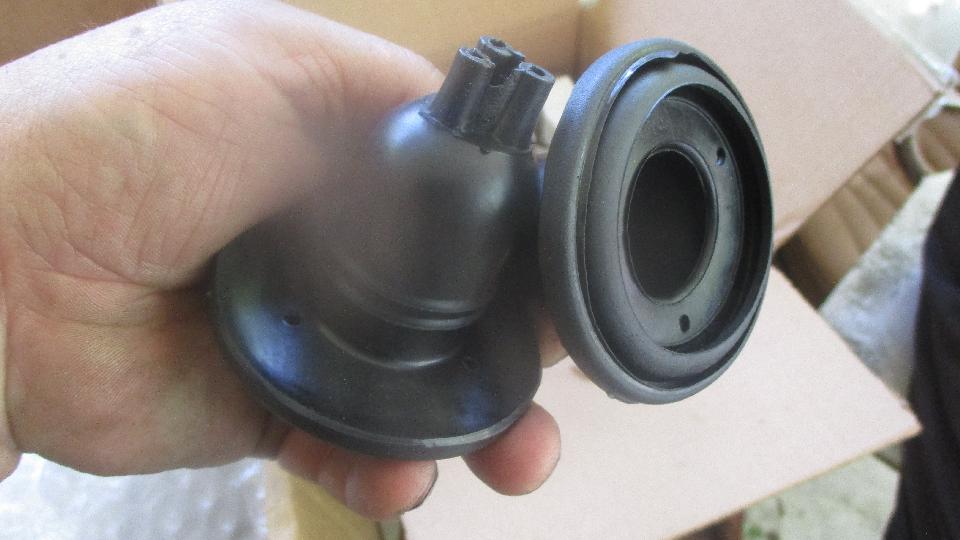
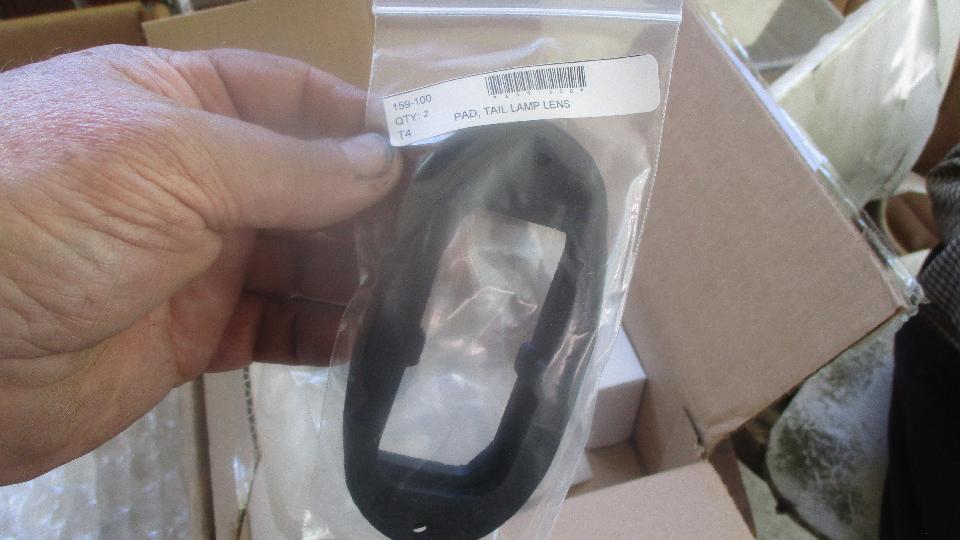
Hard to believe we just killed a long half day just replacing and rewiring tail lights. Started 1-pm with receipt of some new parts, tail light base assemblies and some rubber bits.
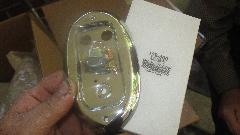
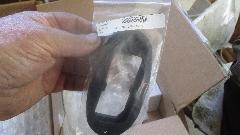
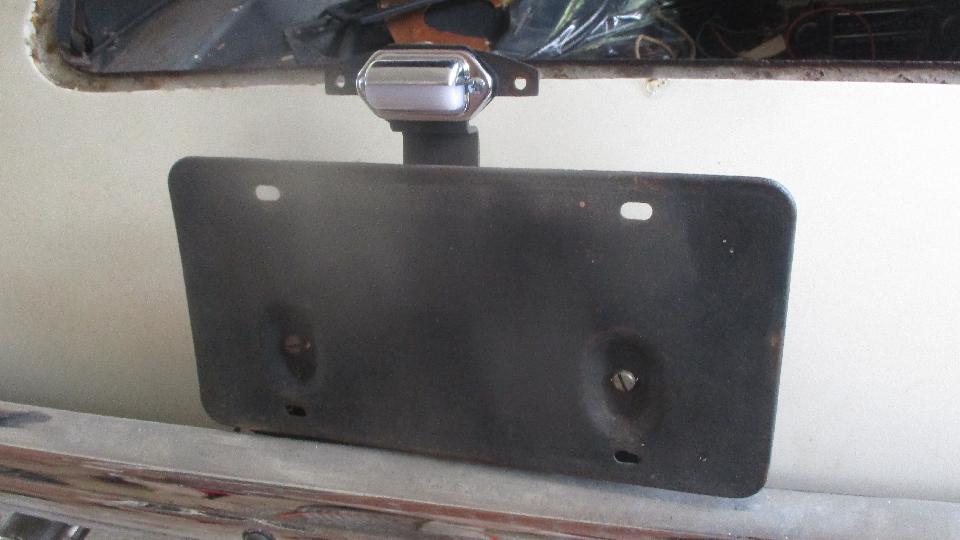
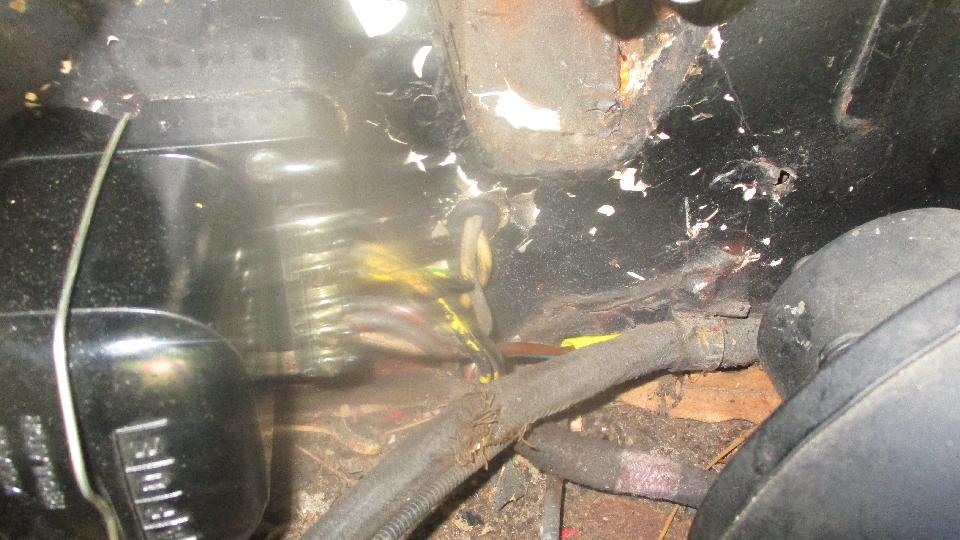
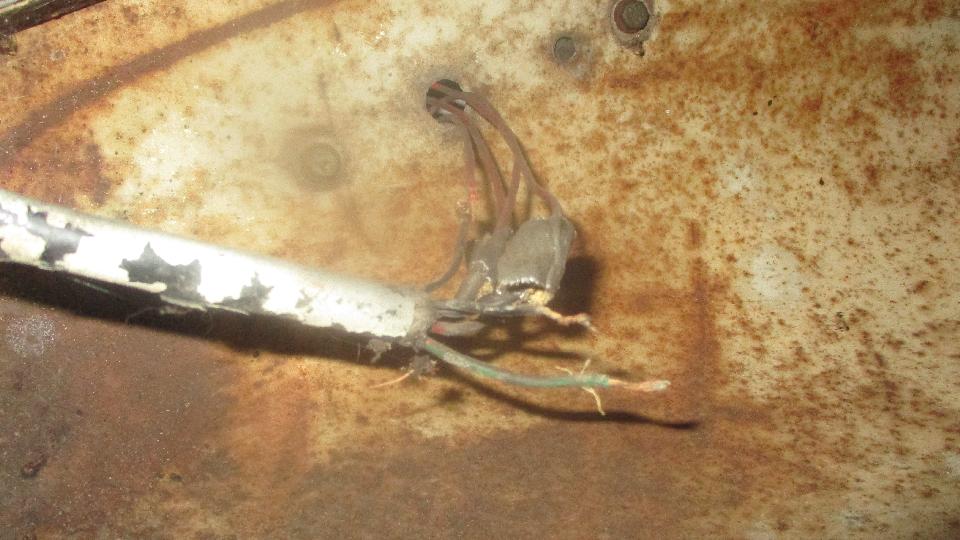
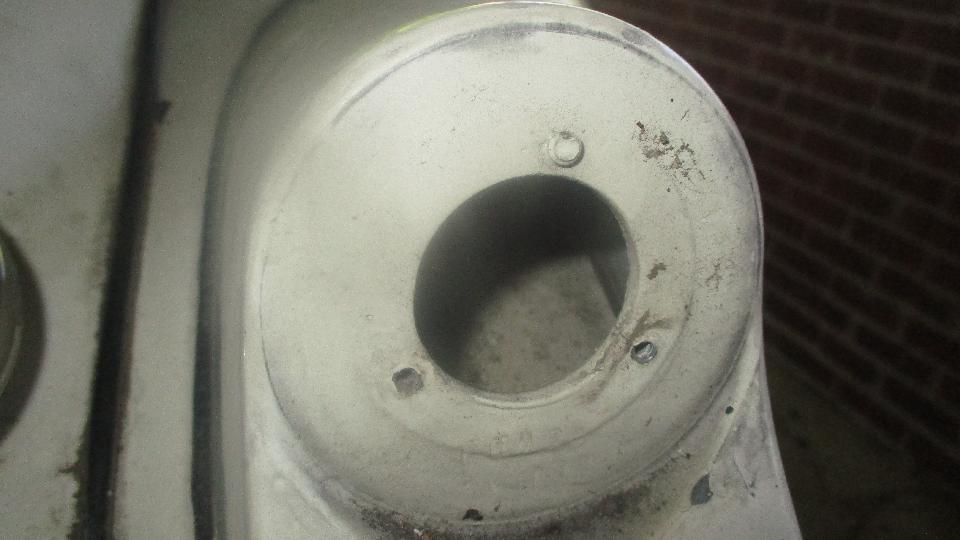
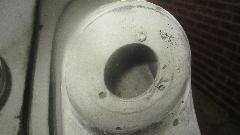
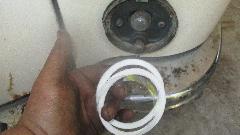
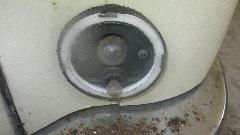
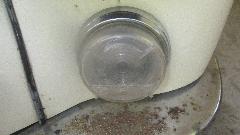
Beginning to rip out the prior bad wiring. Those are twisted wire connections with some kind of very thin (and rotten) cloth tape wrap, and rubber grommets anywhere. This turn signal lamp was held loosely with two short sheet metal screws. The third screw was broken (and painted over). Fortunately there was just enough of the broken screw sticking out to grip with mini vice grip to unscrew it. The other turn signal lamp was held with one sheet metal screw and two empty holes. Tail lamps were each held with one screw and one empty hole. The holes were never cleaned out after the prior repaint (20 years ago), so I spent some time running taps through all the threads. Meanwhile, Ansel was running his MGB all over town searching for rubber grommets and small machine screws. That taillight repair socket appears to be a re-purposed truck license plate plug-in light socket.

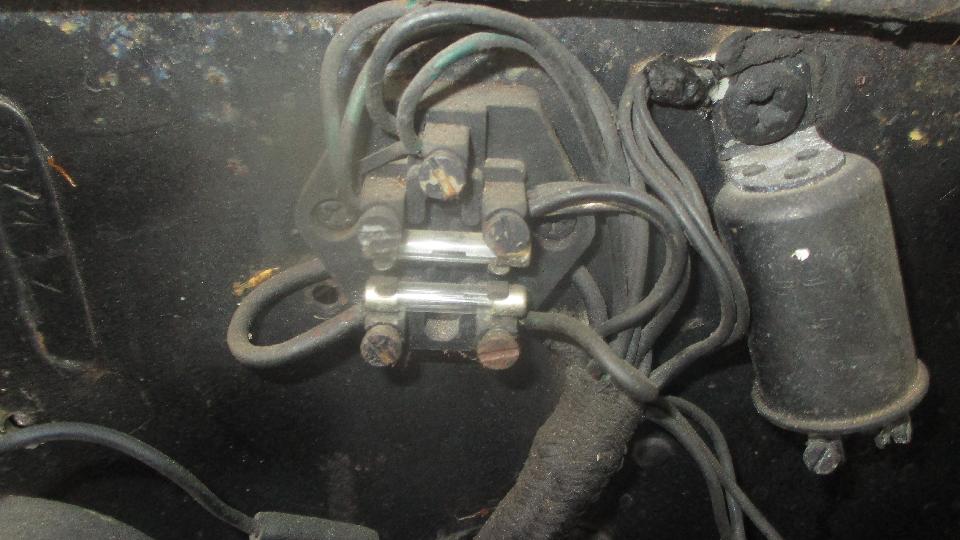
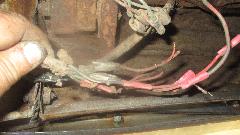
More of the ratty twisted and taped prior wiring. In some cases we found three wire splices within 12 inches of each wire run, and three different colors to go with it. The twisted and taped splices seem older than the butt connector splices. Ansel knows who painted this thing many years ago, but is just learning something about the quality of their restoration work.
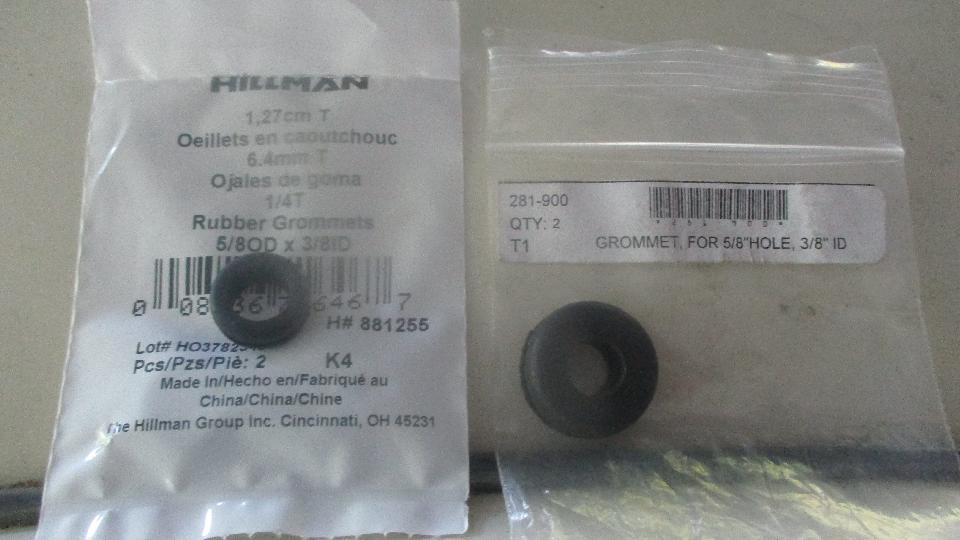
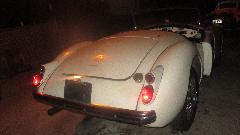
The Moss grommet on the right works, while the Hillman grommet on the left just drops through the hole (too small flanges). Spent a lot of time on my back cutting, splicing and taping wires. In the end we had proper rubber grommets, longer single piece wires with only one good splice each, correct tubular ferrule connectors in the lamps, correct machine screws to secure everything, and nicely working tail lights and turn signals.

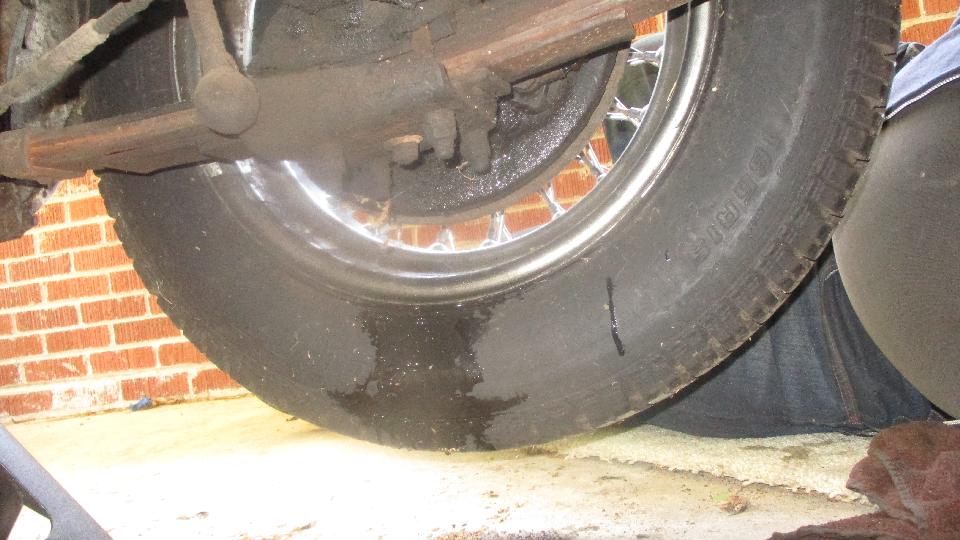
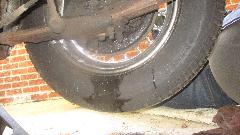
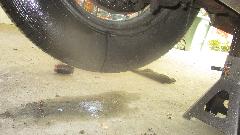
Final brake light test failed when the pedal hit the floor, no fluid in the master cylinder, but a big puddle under the LR tire. Something to start the day tomorrow.
Friday April 20, 2018:
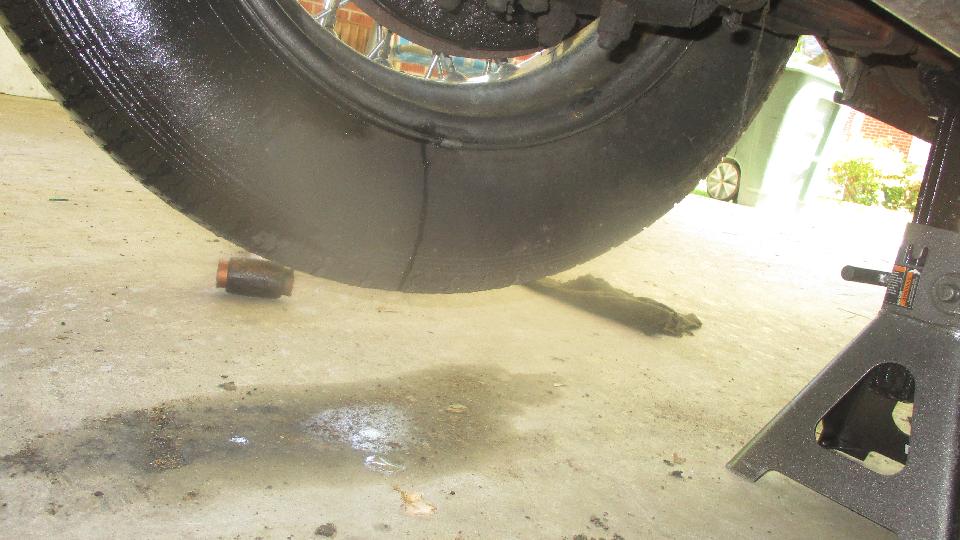
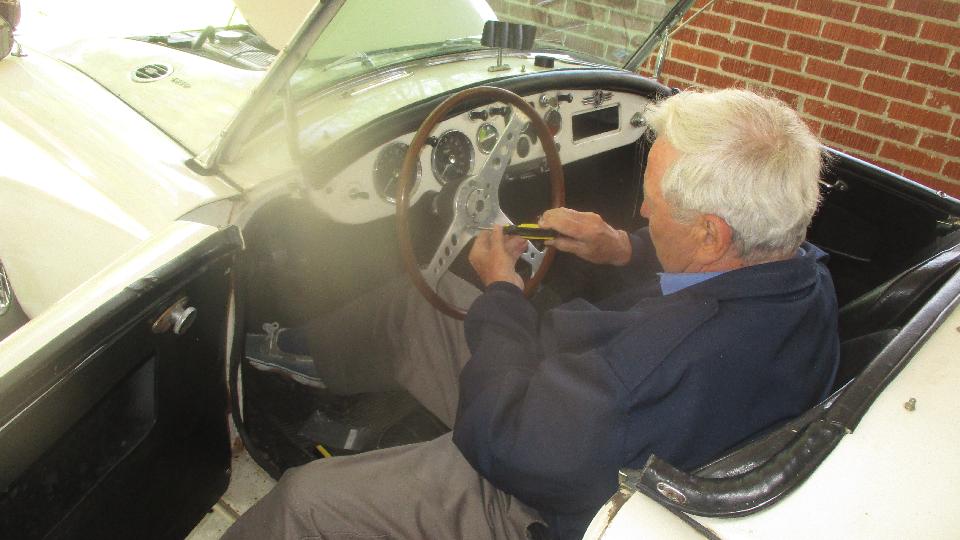
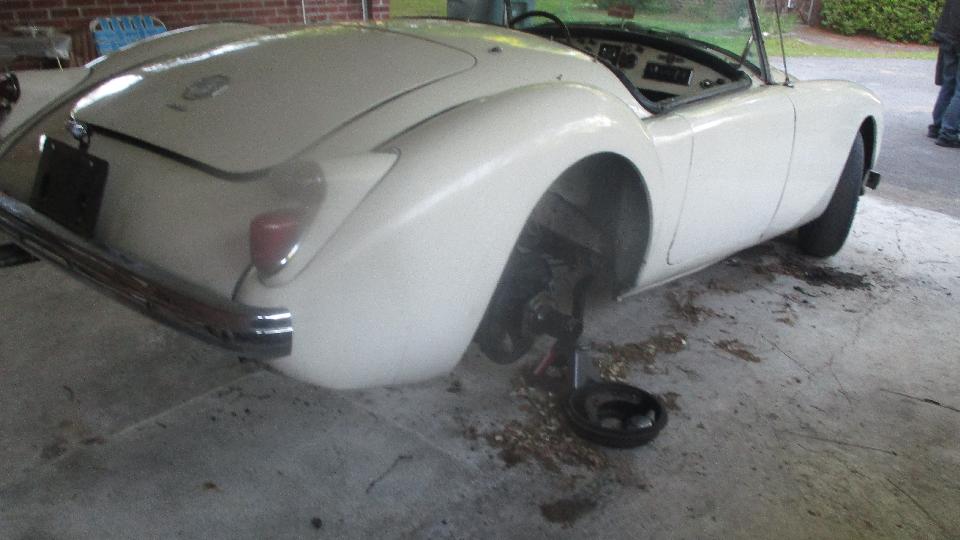
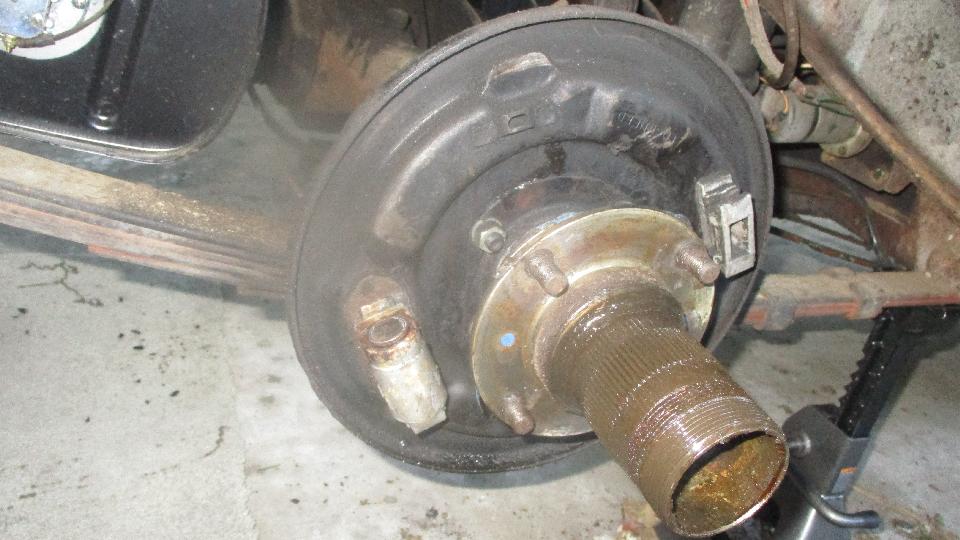
Top of the list today was to see if we could repack the leaky rear wheel cylinders. After all the pumping of the brake pedal while testing rear light wiring, the rear brakes were stuck, dragging on the left side, fixed solid on the right side. Guessing I would not be able to remove the brake drums. So drop it off the stands, install the steering wheel, fire it up and drive it fore and aft on the driveway about 20 cycles to see if the brakes might loosen up. Would hardly move the first time, like the parking brake was full on. But persistence pays, and after a few minutes of forced driving it loosened up a little, after which I managed to pry off the brake drums.

Another sidewalk supervisor delayed us 15 minutes, after which we were back at the brakes with a hammer. Tap the piston down on right side, and the piston would pop up on left side. Tap the piston down on left side, and the piston would pop up on right side. After a couple cycles of Whack-A-Mole it was clear that the flex hose was clogged, and the cylinders would be a lost cause. Back on the phone to order up new slave cylinders and hose and more minor brake parts
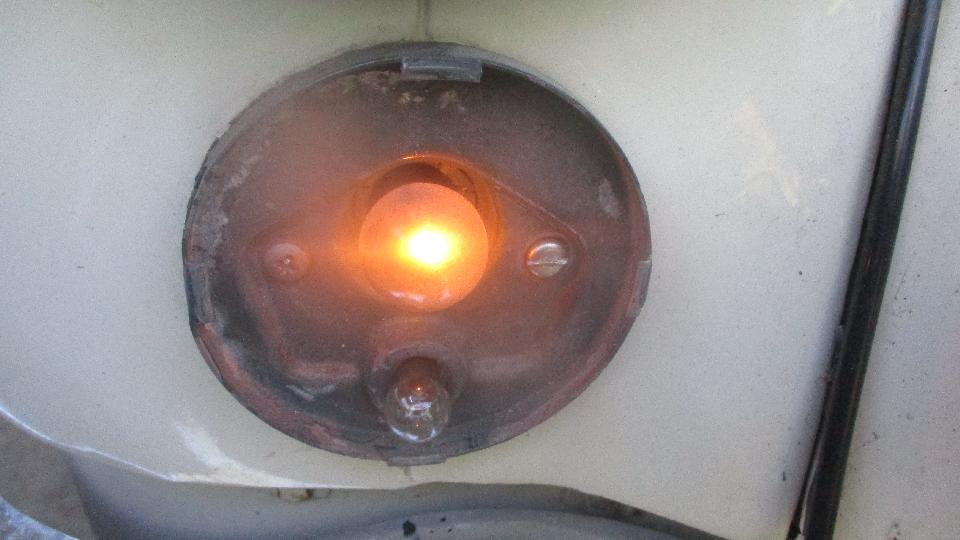
Install packing seal kits in the front lamps, and replace one small dim bulb with correct brighter bulb.
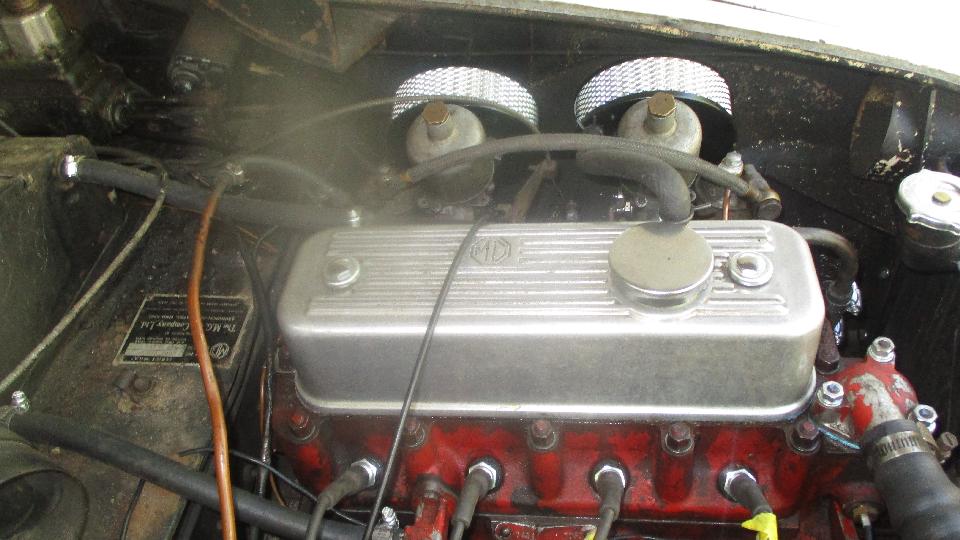
Run engine up to full running temperature, and let it idle to see how high the temperature might go. After a good soak, 200dF with bonnet open. Closing bonnet and continued running got it up to 212dF. Opening bonnet soon dropped it back to 200dF. All reasonable. Shut down, re-torque the cylinder head, and readjust valve clearance while it is full hot. Fire it up for fine tuning of the carburetors. The more this thing runs, the smoother it gets.
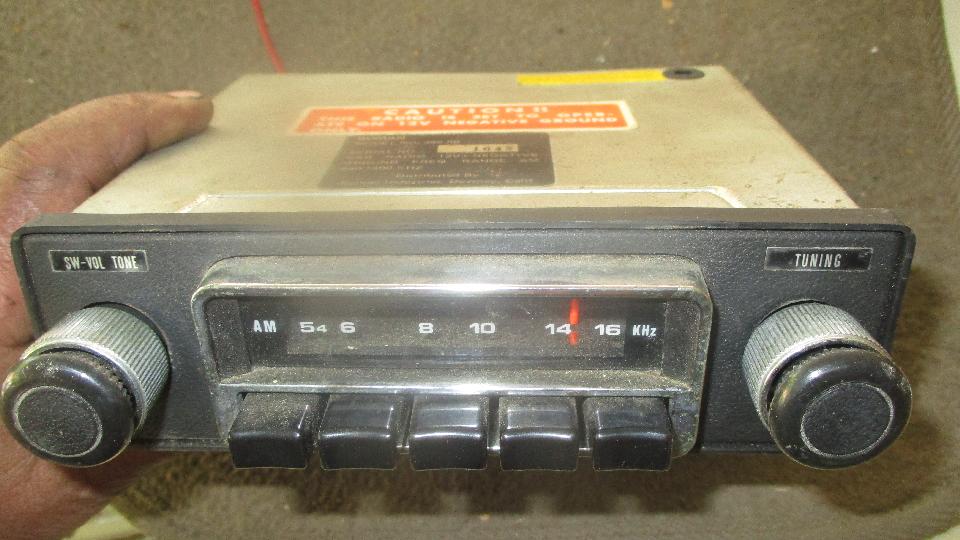
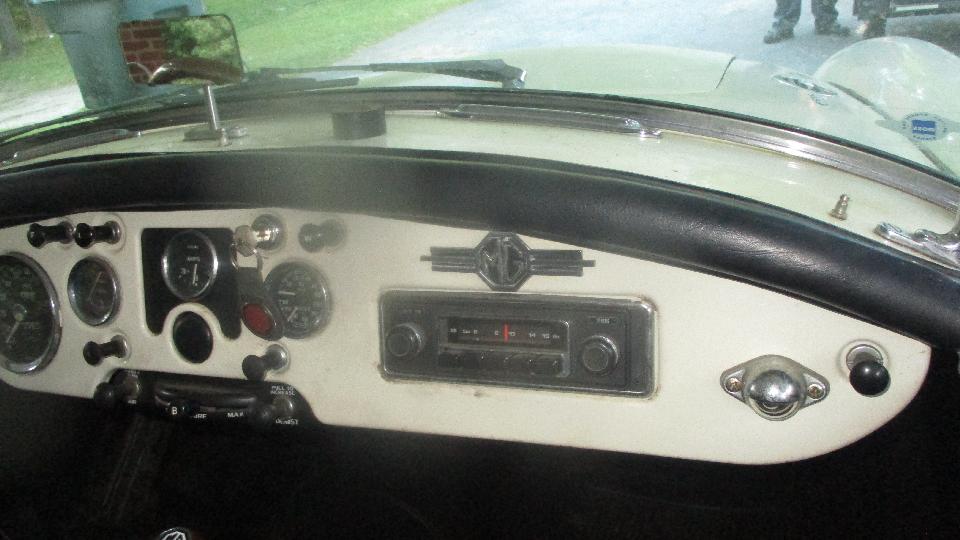
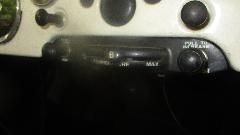
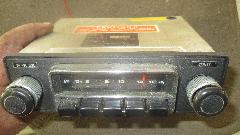
Quick test of the radio, power and ground and it lit up when switched on. Connect speaker wires, at it gave a little scratchy sound. Plug in the antenna lead and it was silent up and down the dial. No go, and I'm not an electronics guy, so for now reinstall it just to plug the hole in the dash. A quick look at Ansel's MGB, lack of crankcase ventilation, and boot lid that wouldn't latch, nothing serious, things to think about later.
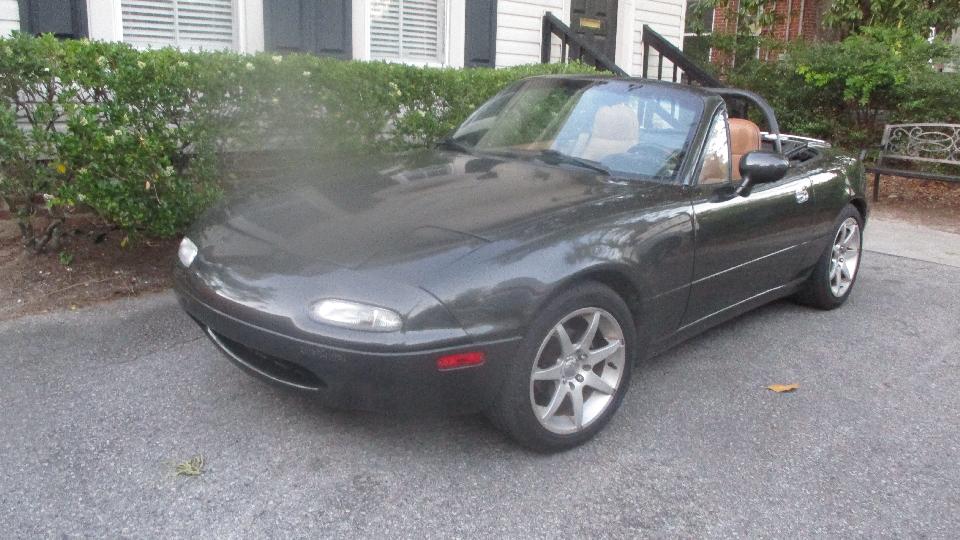
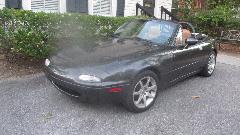 Time for a break, we were off to a little private natter 'n' noggin with a few friends at a local pub. Got drafted for a five minute ride in a Miata to diagnose a resonant vibration at 4300 rpm that had been driving the muffler shop guys nuts. I recon it's a slightly loose heat shield above the center muffler (resonator). Nice social for a couple hours, then off for WiFi again.
Saturday April 21, 2018:
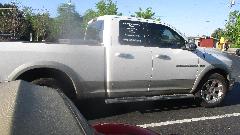
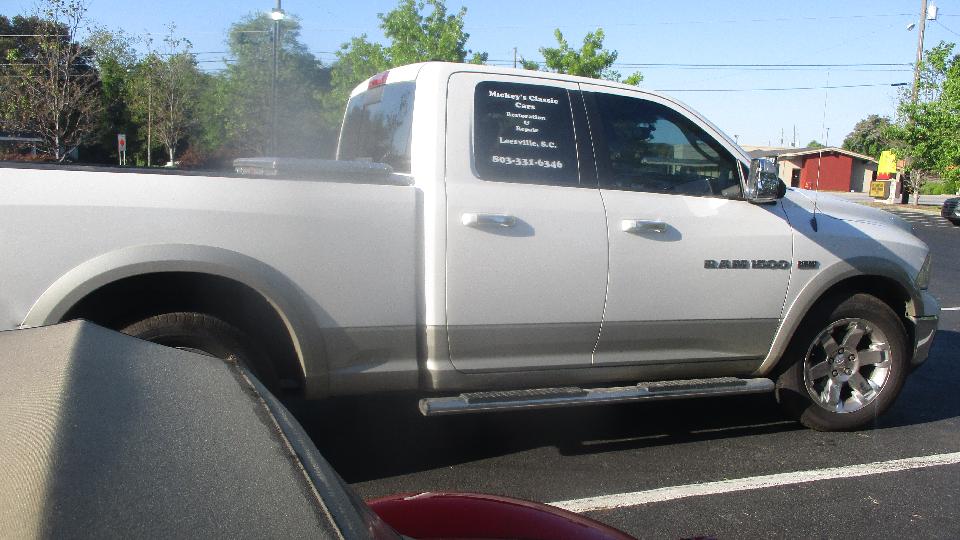
Parked beside this service truck this morning, and had to ask. "Mickey's Classic Cars, Restoration and Repair, Leesville, SC". No luck. He is into Mustangs and American muscle cars, doesn't want to touch the LBC's any more. Spent the day catching up photos and notes, email, and posting a couple new tech pages.
Sunday April 22, 2018:
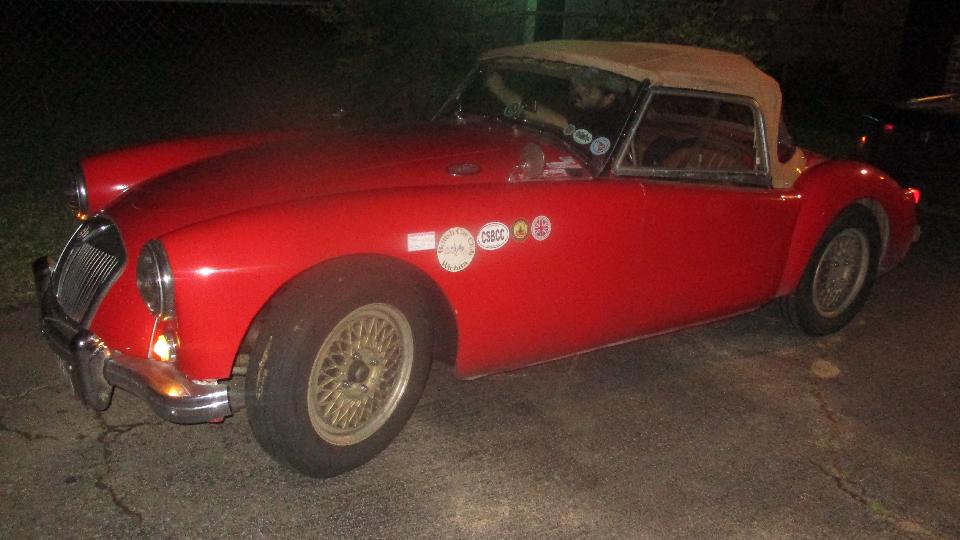
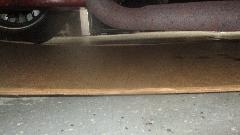
Start the day with a shopping stop to pick up a new power cord for my computer charger (and some other supplies). Looked like a good day to install my new convertible top, until I got sidetracked. Been having trouble with FTP upload connection, not able to upload anything to the web sites for a few days. Think it must be a local WiFi issue (although other WiFi functions do work). Wanted to do a data back-up today, but found my "Passport" hard drive to be dead. Bummer. Looks like we may have smashed the data plug wire under the new car seat (since it is slid farther back than before). When it rains it pours, charger, FTP, and backup drive problems all on one day. This is one of those times when I am reminded that I am not really retired or on vacation. Then it rained in the afternoon (for real), so scratch the new rag top idea. Continued to dribble throughout the night.
Monday April 23, 2018:
Moved to a different WiFi spot today, but FTP upload connection still didn't work. After a bit of consulting with a conspirator, I called my web server hosting company tech assist. To my surprise it really was their problem. Apparently I was locked out of FTP because of too many login attempts (which was never explained). After half hour of investigation they still could not explain why, they did (presumably) reset the FTP account (but 10 hours later it still wasn't working yet), and they created a "test" account that did work, so I could get back to work in the meantime. Precip continued through most of the day, but I had plenty of email and tech questions and a couple more new web pages to post, so away went the day. Oh, yeah, I was also reminded that I needed to get my monthly trip report off to CMGC (including the one I missed last month), so I recon the rest of the night is going away as well.
Tuesday April 24, 2018:
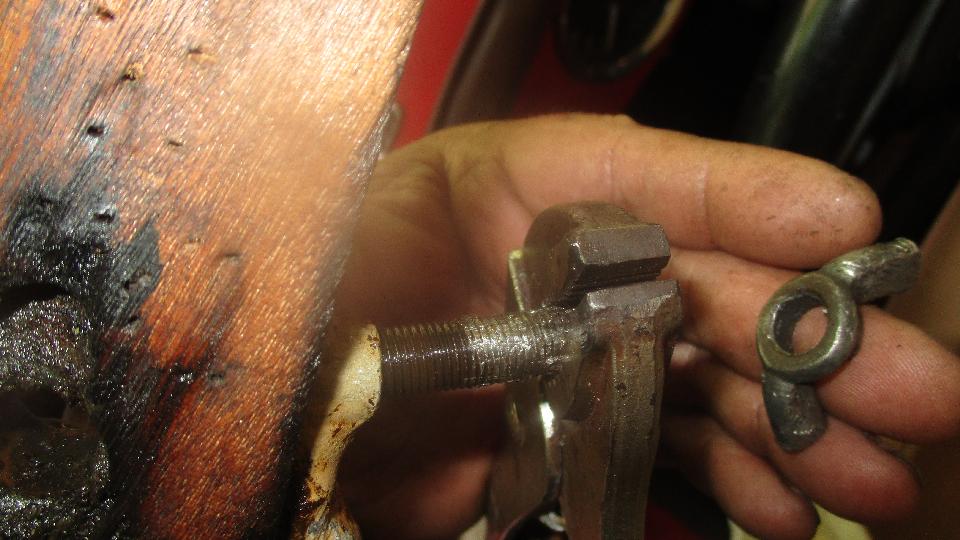
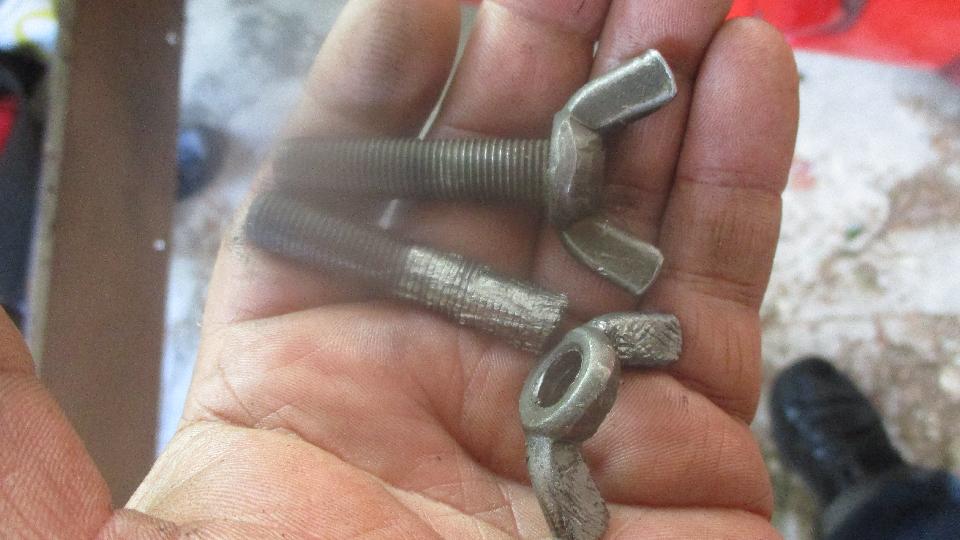
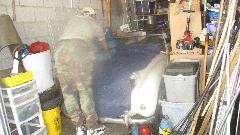
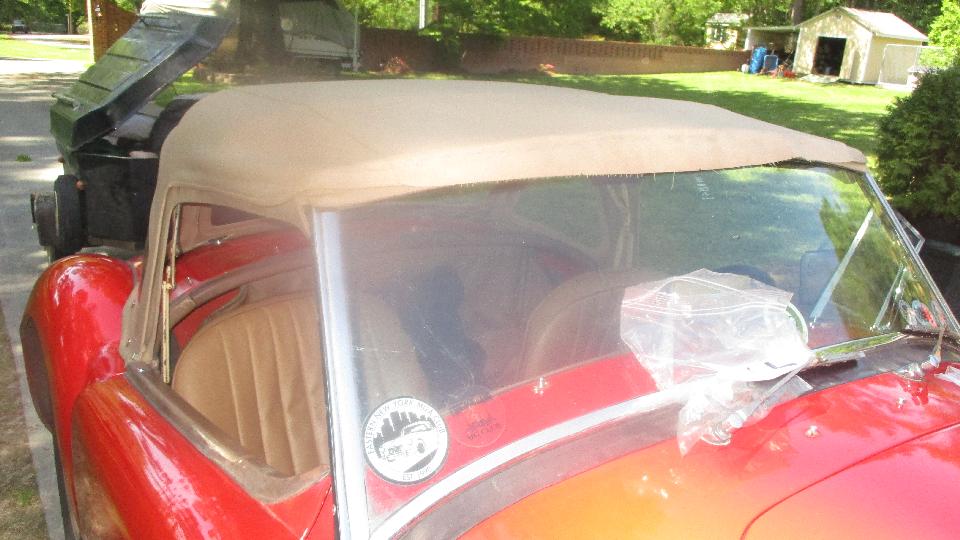
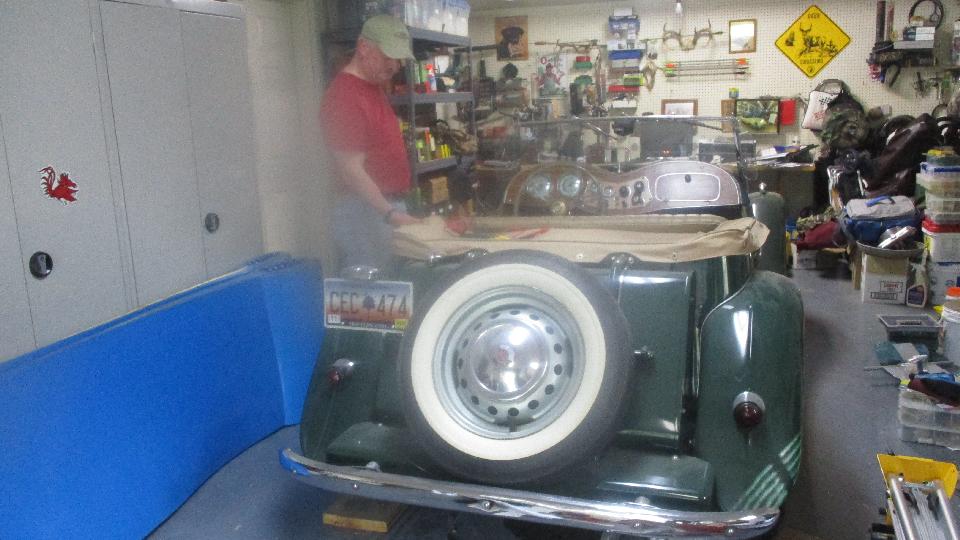
Finally got the trip report out (two months worth of it this time). Nearly three days of rain cleared up by mid day (sort of), so we took advantage of Ansel's MIL's car port to install our new rag top. Demolition was supposed to be the easy part, figuring half an hour might do it. Apparently we hadn't put the top down since last Fall, and the LH wing bolt was badly corroded. This was a home brewed 3/8-24-UNF threaded stud with a wing nut welded on, since the original 5/16 wing bolts had long since stripped their threads. After fussing with pliers for a while, I hauled out the 12-inch Crescent wrench. That seemed to be making some progress, until I twisted the wing nut off of the threaded stud, the one that was supposed to be welded on. I soon graduated to big Vice-Grip, and then two pair at once, tough bolt. Penetrating oil didn't seem to help much. But persistence pays, and it finally came out. Add one hour to the demolition time. This was temporarily replaced with a long hex head bolt with threads run all the way to the head, and we cleaned out the threads in the top frame holes.


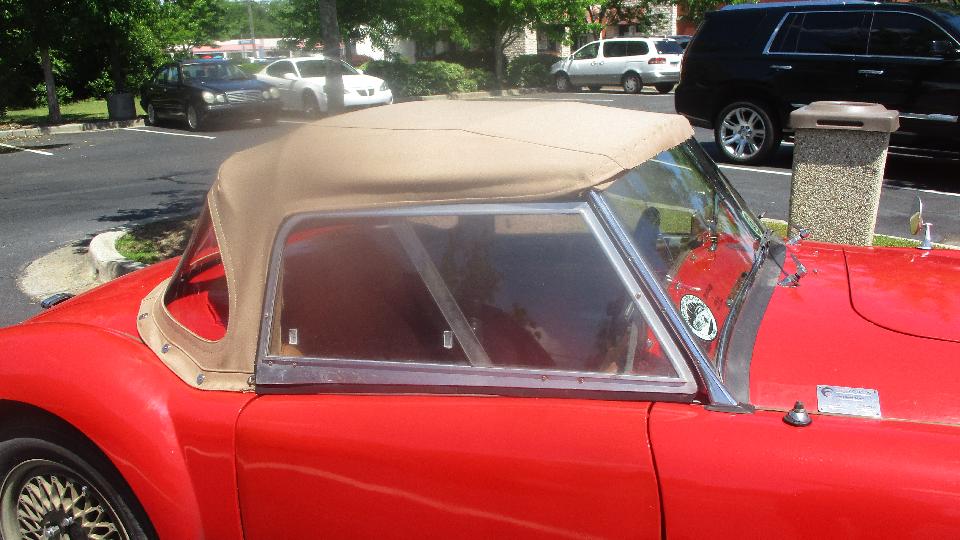
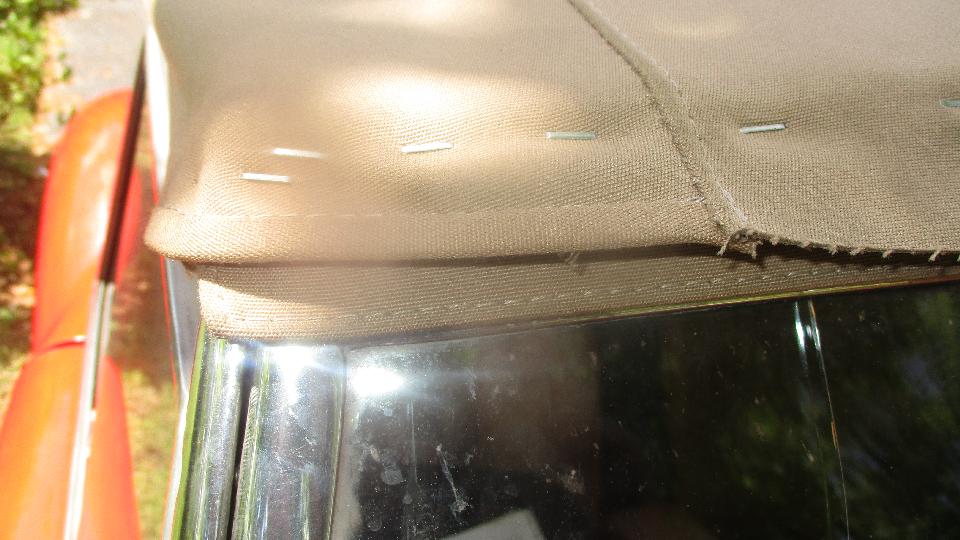
Beyond that the new rag top installation was pretty straightforward, having done it several times previously. Remember to cut the ends off of the type 3 front wood bow to make it into type 2 for the narrower canopy (up to

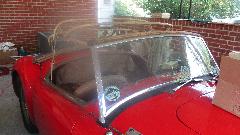 mid-1600 model). As usual, front bow wrapping was more than half the work. Three handed stretching and one handed stapling went pretty well. Installing LDT and twist fasteners was generally slow, because I didn't have my dinking die handy, so ended up cutting eight holes through the fabric by hand. Too many layers of fabric around the twist fasteners was a problem that I didn't remember from prior installations, but that just took some extra poking and prodding before bending the fingers over the backing plates.
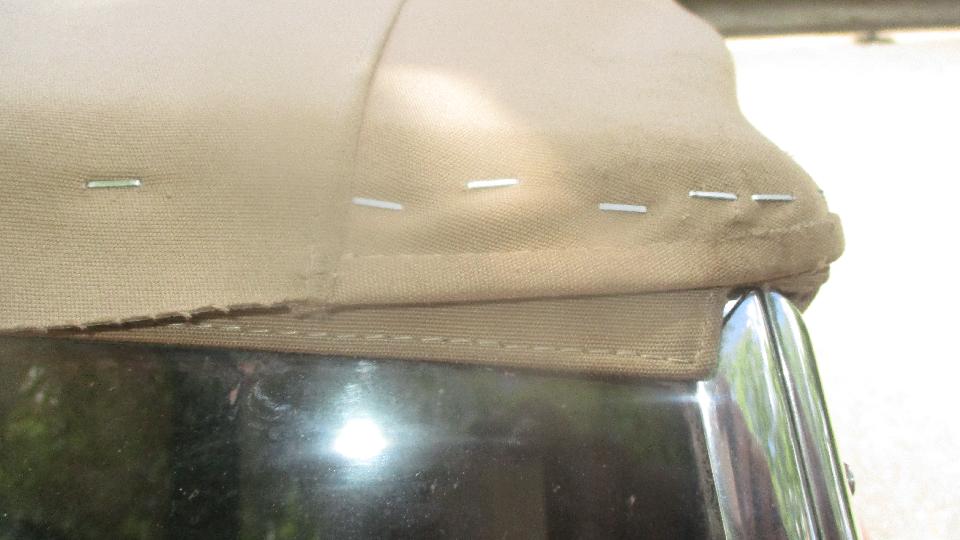
Getting late, so we decided not to trim the front fabric or install the Hidem strip yet (or the center latch for now). Figure to give it some travel time to see if it might stretch or want re-tensioning before finishing. We did notice some increase of drumming noise on the first expressway run, likely due to slightly increased tension on the fabric (pretty sure it is the same fabric we had before).
Wednesday April 25, 2018:

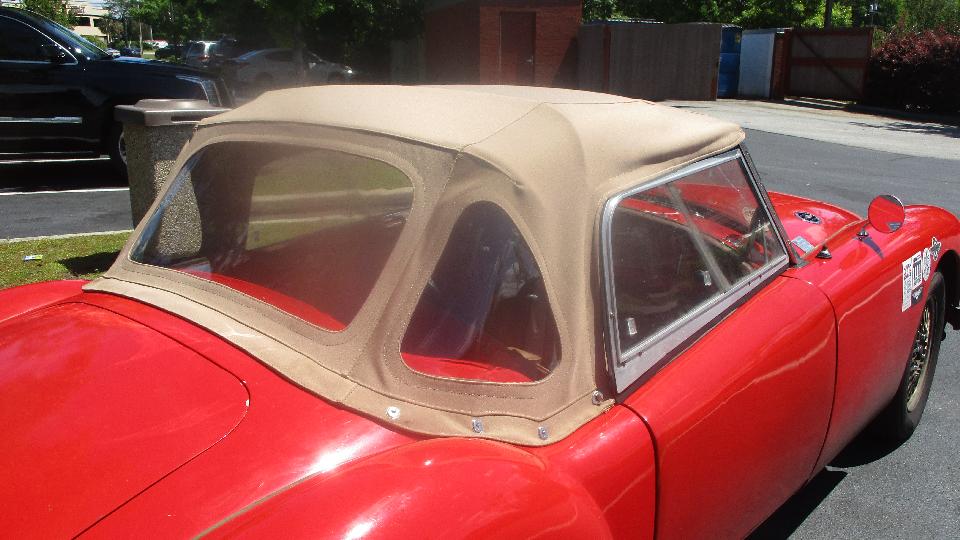
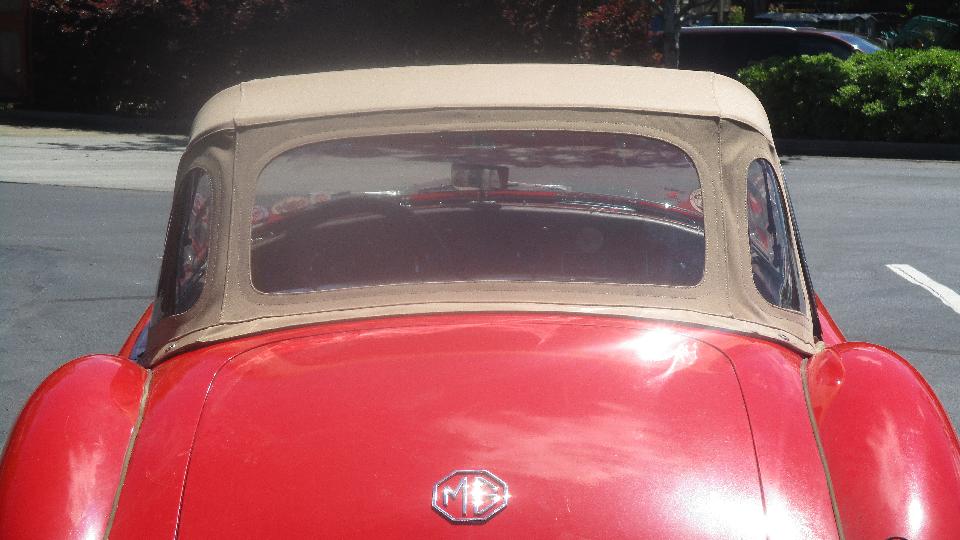
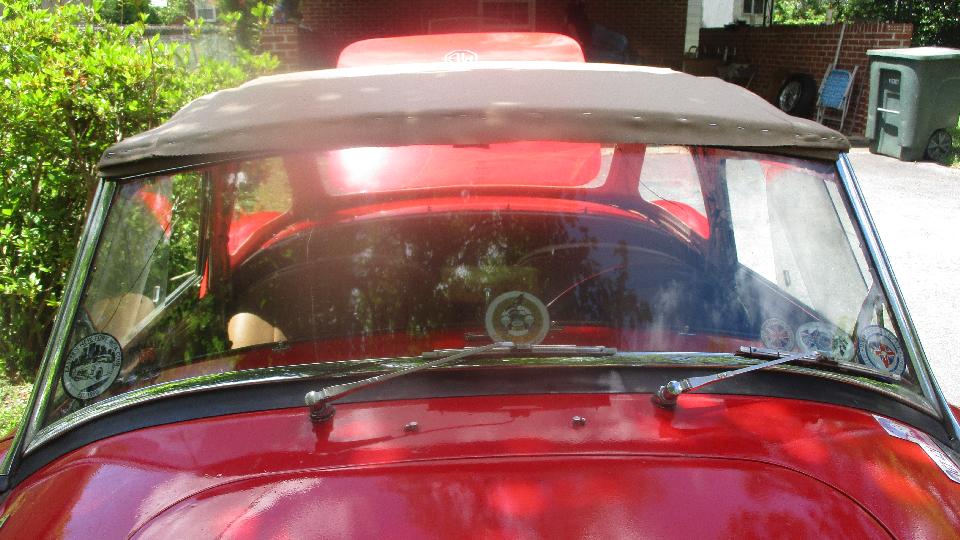
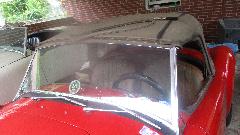
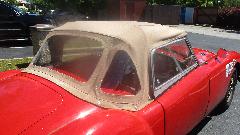
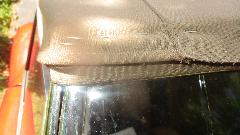
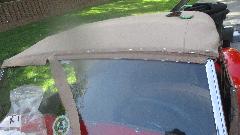
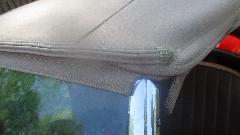
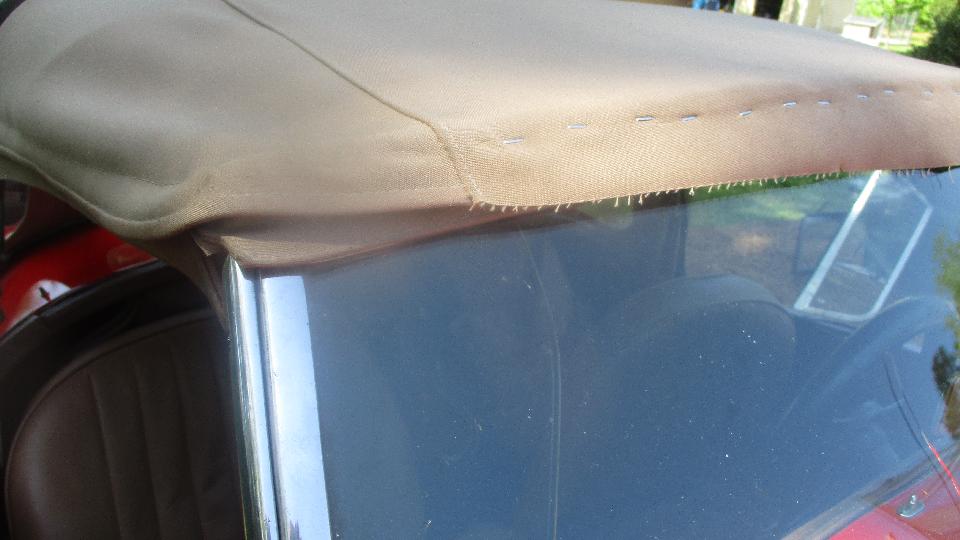
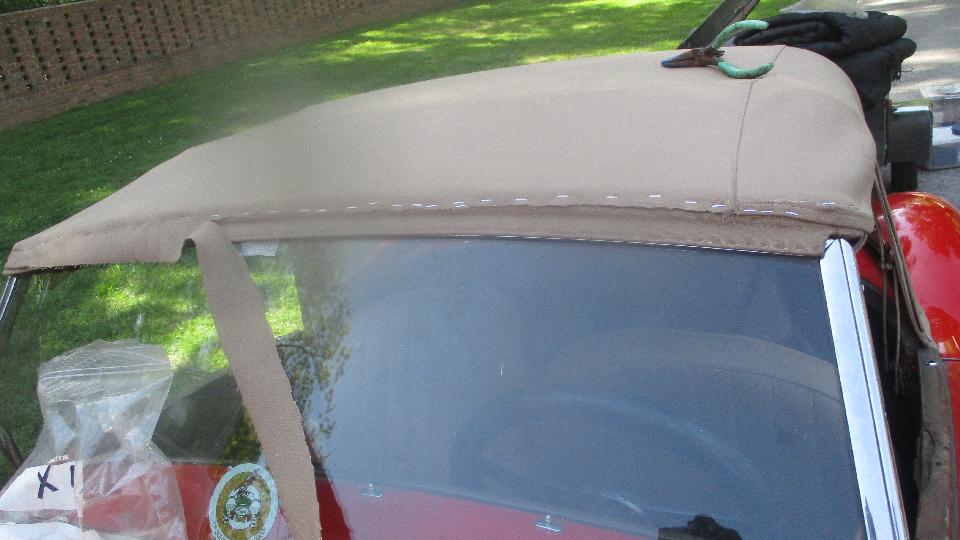
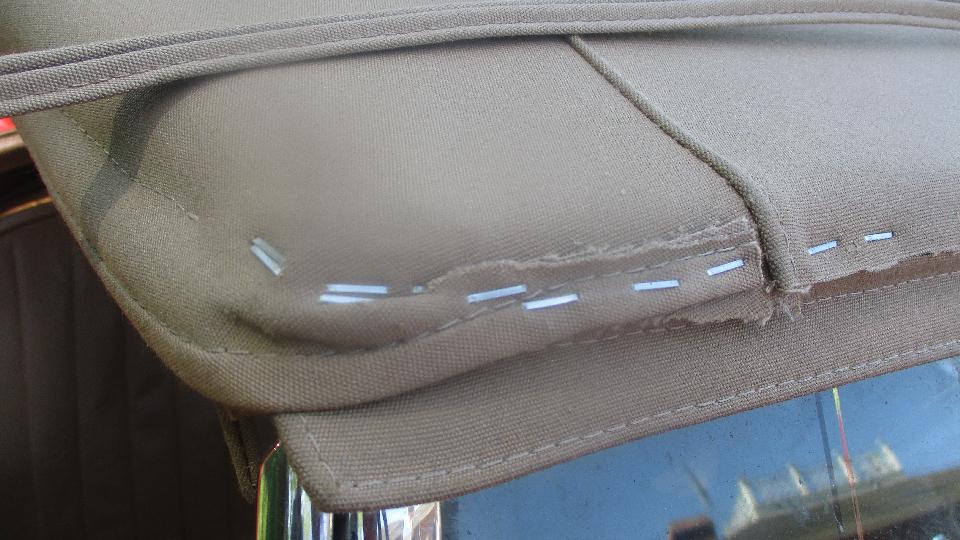
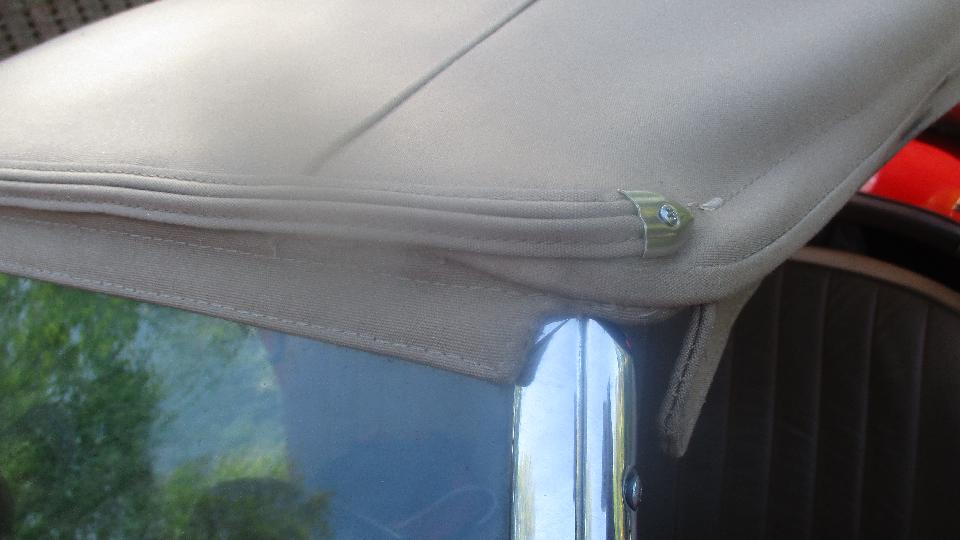
Things look a little clearer in the light of day. First impression is a little odd having clear rear windows, and side flaps that don't flap. All around, it seems okay (considering nothing of this vintage is perfect). I recon I commonly pull it down a bit too tight on the sides, but you don't get a second chance at the LTD and turn button fasteners. There is one small issue that we spotted during installation.
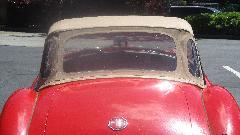
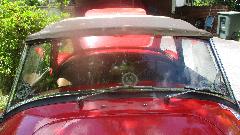
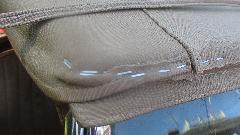
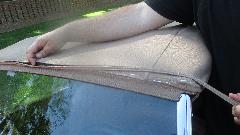
Note that we haven't trimmed the front edge of the canopy yet. Looking directly at the front, there is a small inverted "V" notch in the front edge of the canopy denoting the center line. Never trusting such things, we measured carefully from the sides, and from the fore/aft stitching seams, to be sure we could place the canopy on center with equal overhang on each side. Indeed the "V" notch was on center, and so we installed it that way. But in the end the overhanging front rain flap turned out to be slightly off center, so the ends of the flap are asymmetrical, one end at the very edge of the windscreen assembly (overlapping the side post), and the other end stopping a half inch inboard. We recon that Moss got that about 3/8" off center, but maybe that should be acceptable tolerance. Not great for concours show, but perfectly serviceable otherwise.


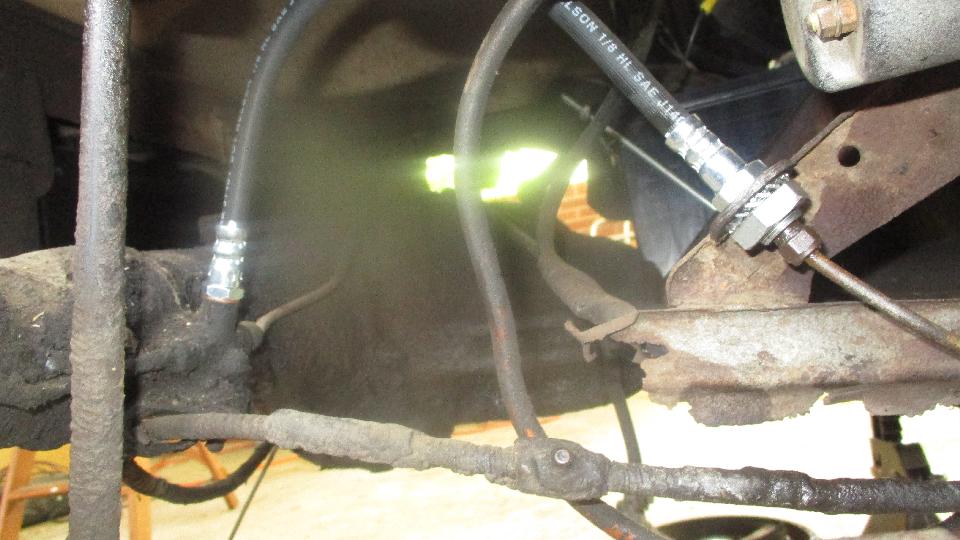
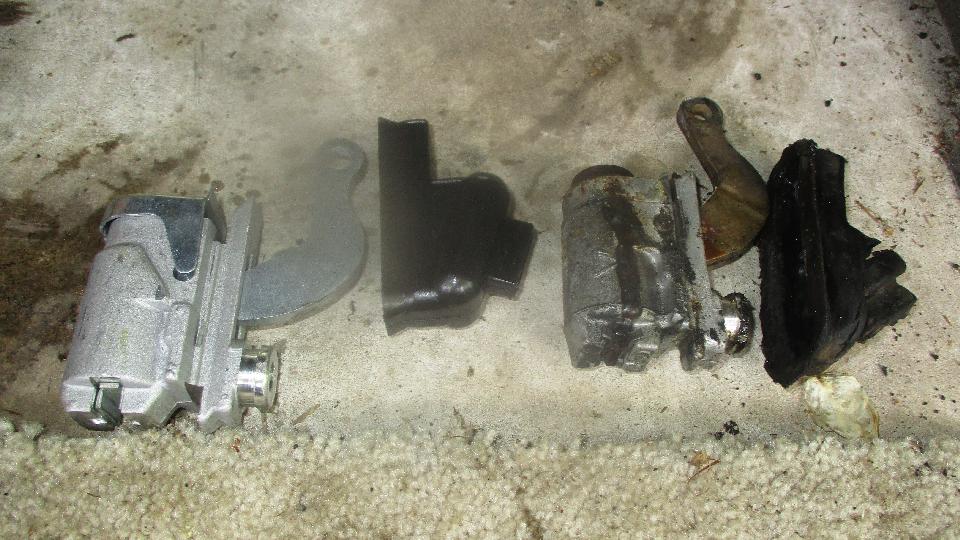
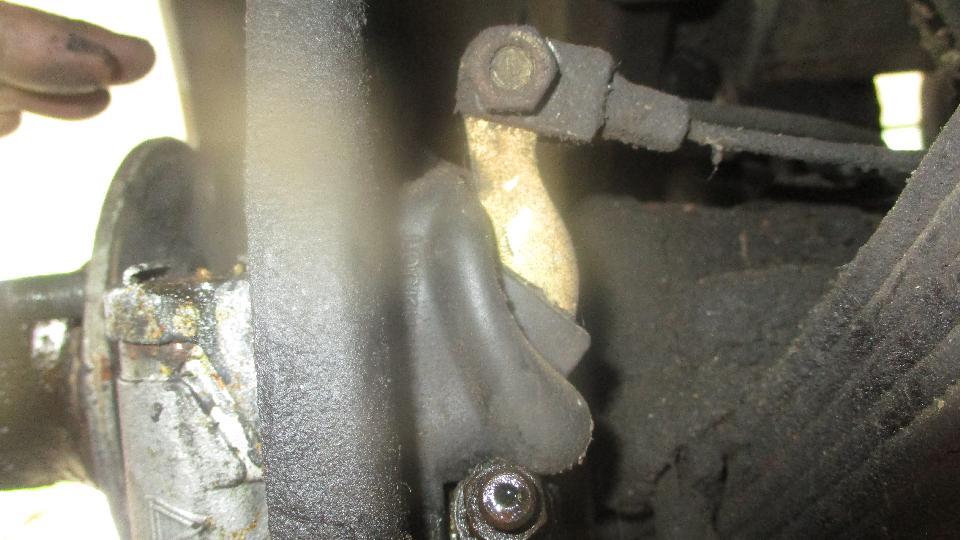
Then we were back to work on Ansel's MGA, replacing a clogged rear brake hose and leaky rear wheel slave cylinders. The hose was an easy swap, and the Moss aftermarket part is a good fit with decent threads this time (aside from the funny metric wrench sizes on the hose). The right side cylinder was a nominally easy swap, and the Moss aftermarket rear cylinders appear to be okay (for a nice cost savings). On the left side we found a bolt in place of a clevis pin, and the nut was tight enough to seize the joint so the clevis would not pivot on the arm (or vice versa). I couldn't tell if it worked or not when the slave cylinders were non-op, but I had another clevis pin in the trailer.

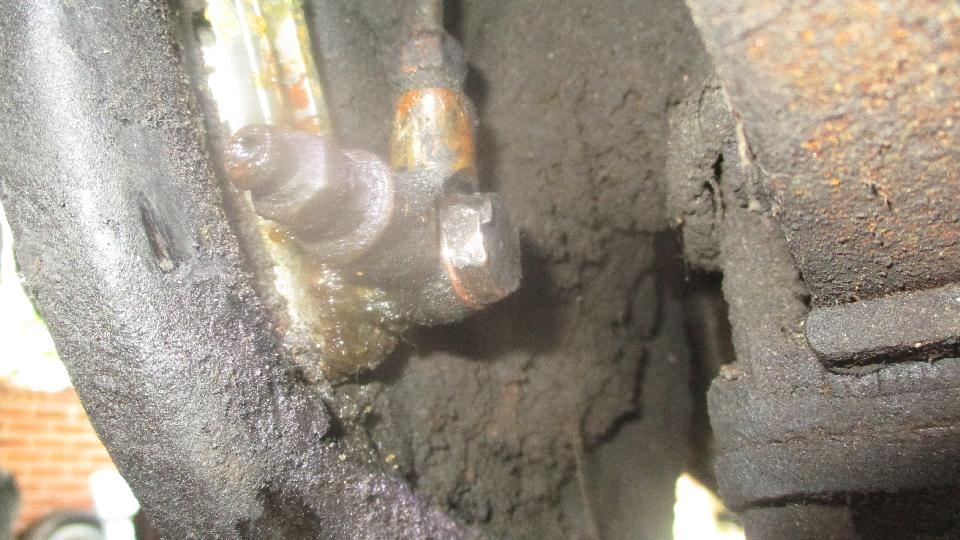
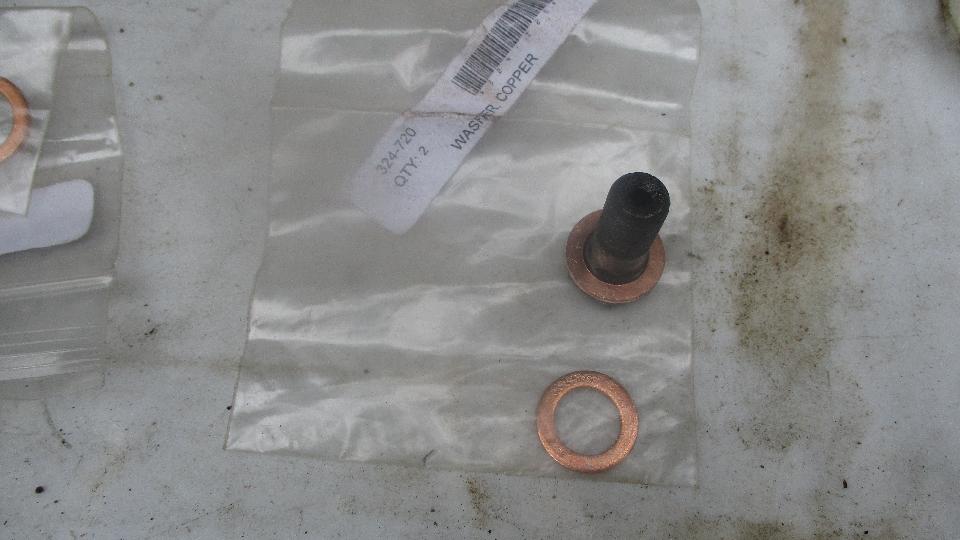
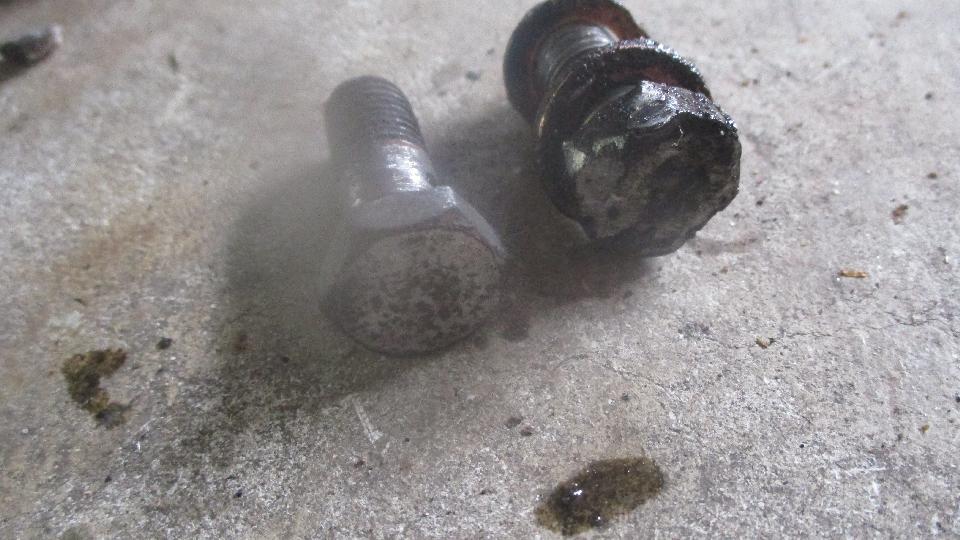
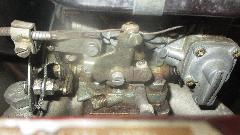
Then the sticky problem for the day (always one of those, isn't there). The left side banjo bolt was very tight. The hex head wants a 15-MM socket, but there is not enough space for the wrench handle with interference from the leaf spring. A 15-MM box end wrench should work, but here the hex head had most of the corners rounded off so no wrench could get a grip. That may have resulted from the DPM trying to use an end wrench or adjustable wrench when the hex head resides in a depression within the banjo fitting. On the verge of cutting off the head, I checked to be sure I had a spare banjo and banjo bolt and new copper washers first. Then maybe a large Vice-Grip was worth a try, and with a little tussle it got the bolt out (thoroughly molested, of course).


|
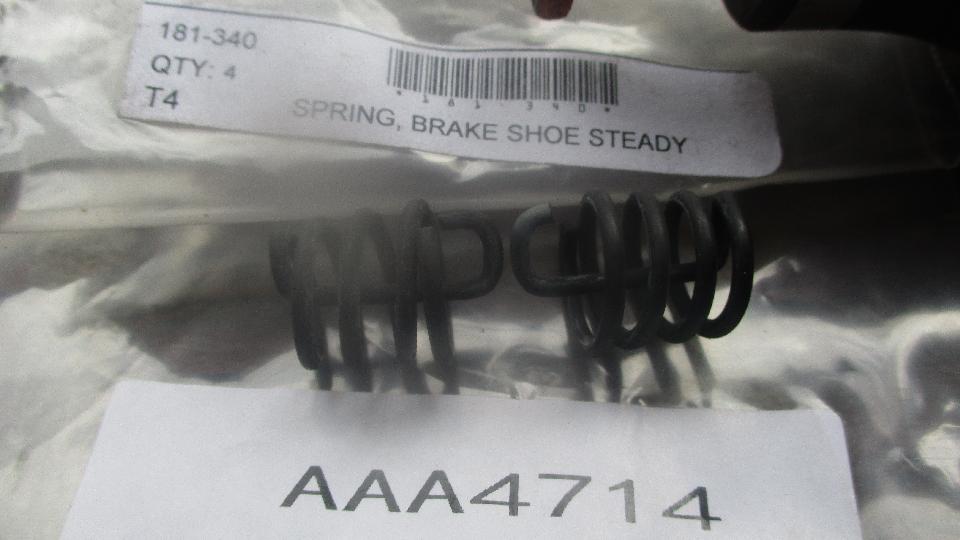
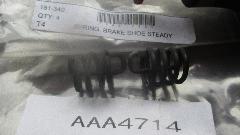
On the Moss supplied brake shoe retention springs the hooked end has too long a hook, making it near impossible to assemble (or disassemble). It is a well known problem part for quite some time. Solution is to cut or grind the tip off of the hook to make it more like the original part (before and after, left and right). Otherwise back together and brakes bled, it was time for a test drive. Much more pleasant trip around the block this time with the engine running well, but the brakes floundering a bit. Master cylinder was dribbling fluid around he pushrods. Bummer.
Getting rather late in the day for ordering parts, but we lucked out on circumstances and timing. Too late to ship today from Moss in Virginia, so that would require next day air shipping to get it by Friday. However, still early enough to ship today from Moss in California, so we got by with second day air shipping for significant saving. We will take this up again mid day Friday.
Thursday April 26, 2018:
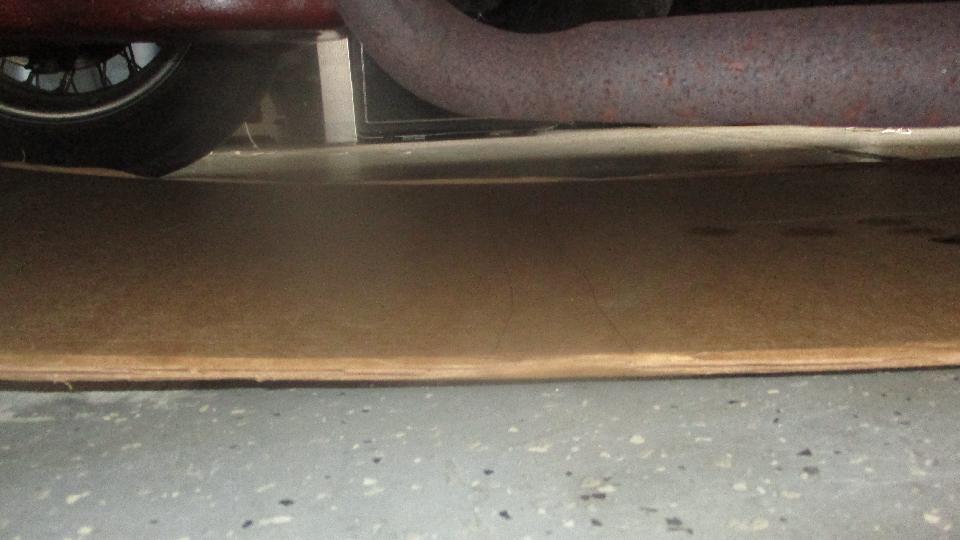
Spare day, sort of. Time to renew my Canadian cell phone account (a month early) to retain the old phone number before we head back to Canada. Also time to renew the registration sticker on the trailer. Then a chance to work in one last fiddle with Dave Daniel's MGA. He thought the master cylinder might be leaking? Well, no, dry as a bone, sigh of relief. But the screen wipers were being a pain, wipe fast, return slow, wipe not so fast, return slower, and after five cycles just stop. Let it rest a few minutes, and it might repeat three cycles. Pretty sure we cleaned and re-lubed the gearbox a couple years ago, so figure it must be worn or sticking brushes this time. Since R&R of the wiper motor is a chore and a half on a LHD MGA, we will leave that one for later. Choke for cold start, then push choke in, but running badly and belching smoke. Choke on the Weber carburetor was not returning to rest, apparently no return spring, so put a small tension spring on the shopping list.
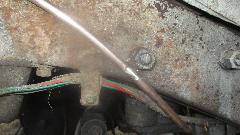
Cardboard under the car for a drip test, couple small drips under the engine rear plate. Nothing serious, but think it may be a leak at the large connector for the external oil pipe at right rear of the engine block. Another maybe later issue.
 For sure we could do something constructive, so we changed oil in the gearbox and differential (first time sine he has owned the car). Happy camper, it run well, not worried about wearing it out. Time for an ale, and call it a day.
Friday April 27, 2018:
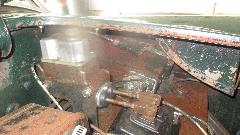
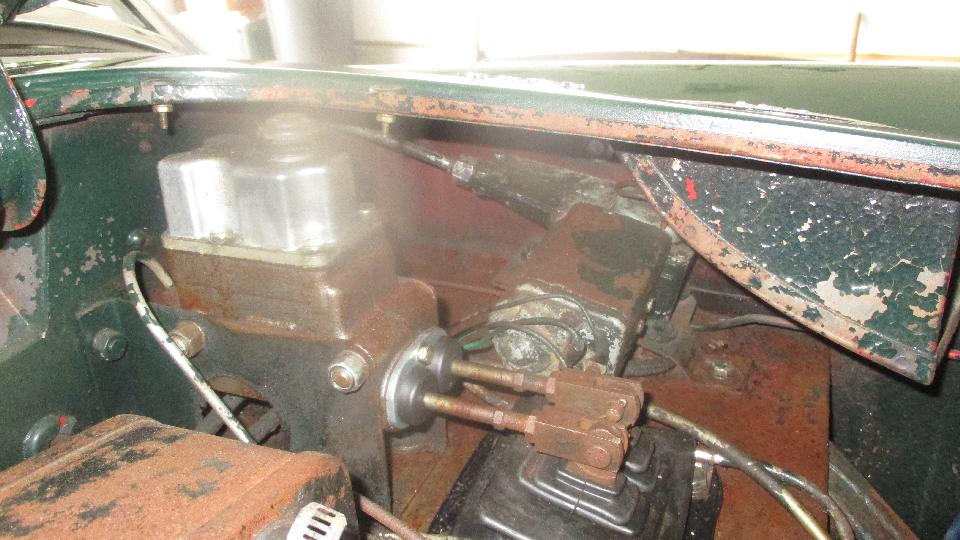
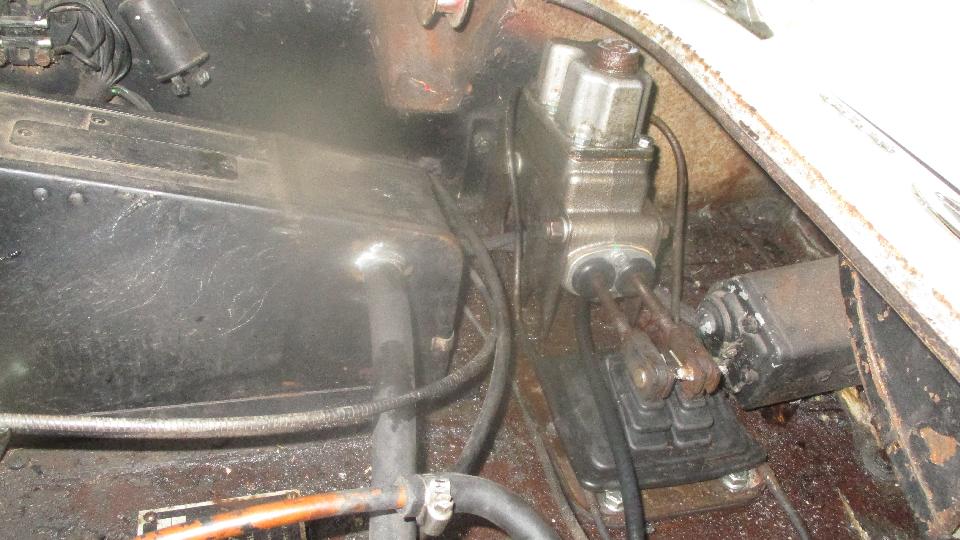
 One last day to work on Ansel's MGA. Today we got to change out the master cylinder and rubber pedal excluder. Original find was two bolts, one lockwasher, and two empty holes for the pedal excluder. Easy enough to restore the original fasteners and put the pipe P-clips back in the correct places. Otherwise pretty muck common grunt work
 to R&R two pushrods, two mounting bolts, two pipe connections (one with a banjo bolt), and transfer the raised reservoir top to the new master cylinder (saving $40 on the purchase price). Bleed the brakes again when finished, and it's good to go.
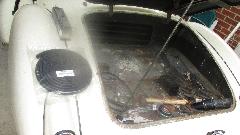
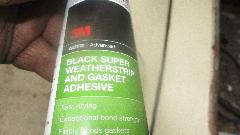
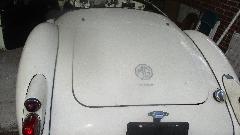
Also clean out the gutter around the boot lid opening and install new rubber weather seal. A bit of dust called up by the Scotch-Brite wheel, some black sticky stuff to deal with, and not long to press the seal into place and trim it to length.
Follow this with another trip around the block, mostly for the feel good moment, and then we were off to Natter 'n' Noggin with a few friends.
Saturday April 28, 2018:
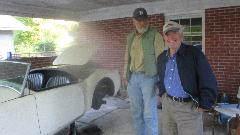
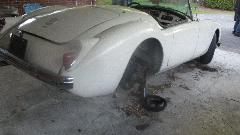
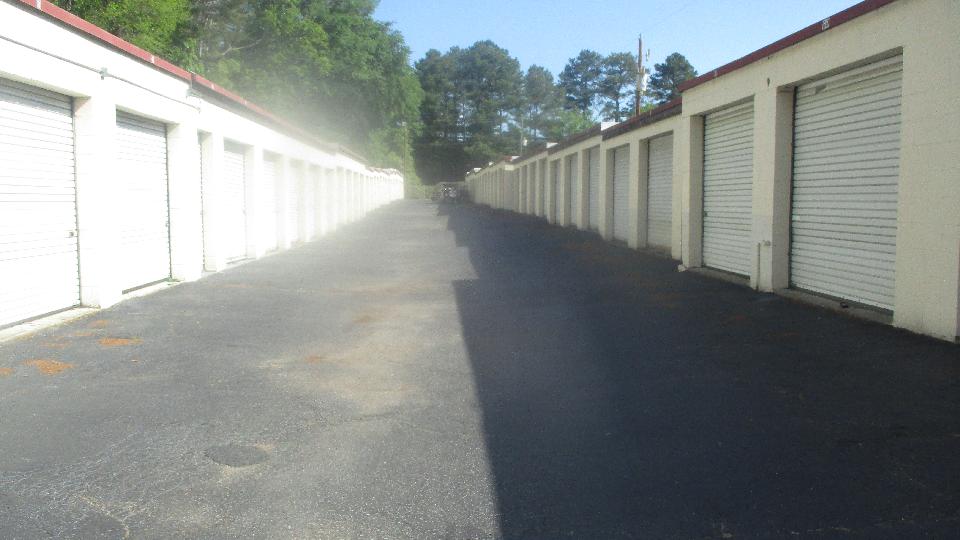
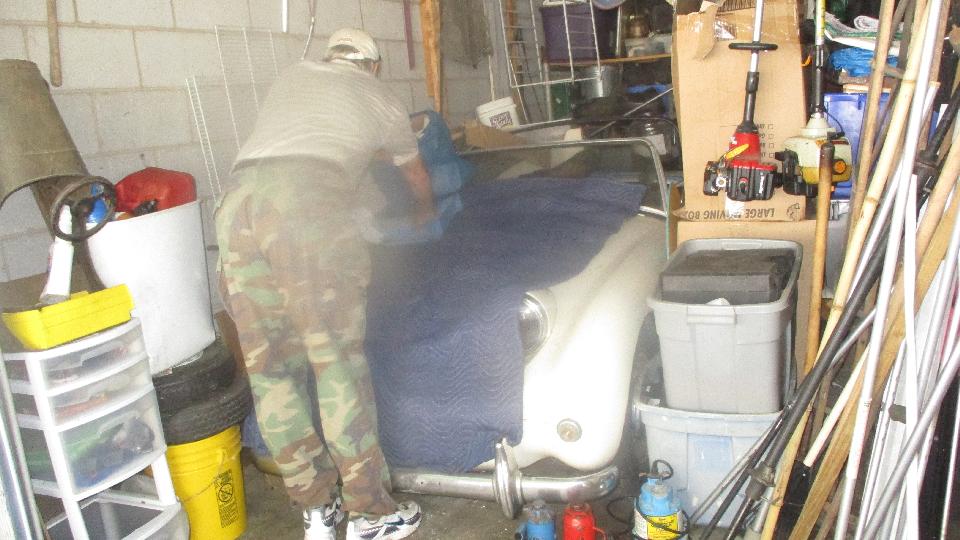
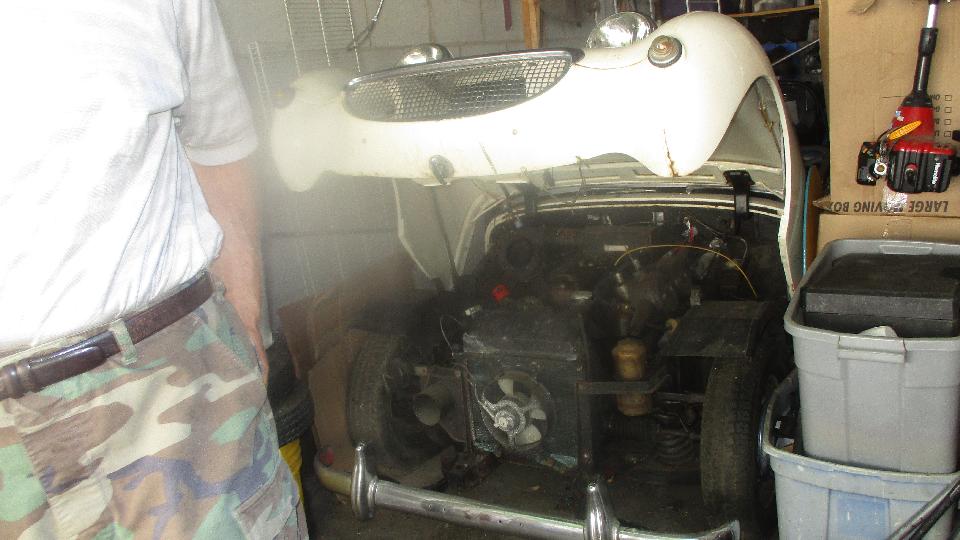
One more stop before we blow out of town today. We dropped onto a storage facility in Columbia, SC to meet Terry McCoy and check out his bug-eye Sprite. It seems to be a complete car, but was not running when he bought it five years ago. The only story from the prior owner was that it was run completely out of gas until it stopped, and was then parked. I don't think we know how long it was parked before Terry bought it. It would be nice to get it running, not necessarily now. We got as far as uncovering it enough to put it in gear and give it a pull to verify that the engine turns. We will put this one on the wish list, possibly to return in the fall to do whatever is needed to get it back on the road.

Then we ran 30 miles north to visit Less Hipp in Newberry, SC. En-route we had significant irritation from the new convertible top resonating with deafening thunder at expressway speed (as well as pulling out few staples). So we temporarily set aside our reason for the visit while we pulled out staples, retensioned the fabric, re-stapled to front, final trimmed the fabric, an did final install of the Hidem strip and end darts (and two screws through fabric seams into the rear bow).


All I can say is, it had better be good enough, because it ain't coming apart again any time soon.
 Then we had a look at Less' MG TD. Nicely restored car with a few issues. Dead starter was replaced with a new original type replacement starter, which died a day or two after it was installed. Another new starter currently in hand. Also a dead starting switch was replaced with a new replacement switch from Moss Motors which died soon after installation, and another one that was dead on arrival, and a third one from Abingdon Spares (obviously from the same manufacturer) that may be somewhat suspect but at least shows continuity when actuated. These new starter switches are absolute crap,
 and the vendors know it. I installed one in my car in May 2015, listing no less than eight significant quality issues at that time. The mounting nut stripped its thread a long time ago making it wobbly, but at least it is still working electrically. Current plan is for Terry to install the (second) new starter motor and the (third) new starter switch in the morning, and we will return around mid day tomorrow to see what we can do about tune-up to make the engine run better with his new carburetors.
Sunday April 29, 2018:
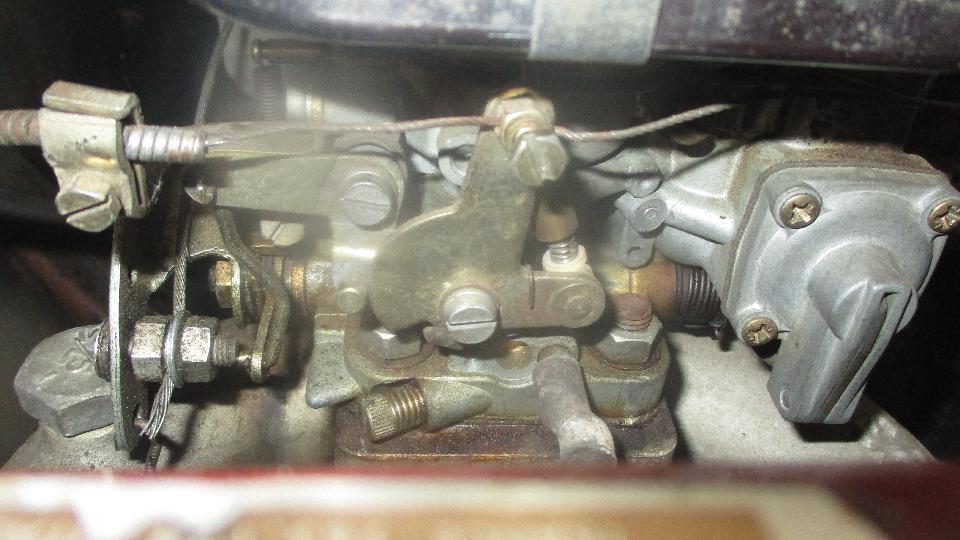
Waiting patiently while Less was replacing the starter motor and starter pull switch, he finally gave us a call, and we wandered over to his place around 11. He was draining stale fuel and putting fresh fuel in the tank, flushing fresh fuel through the lines, cleaning stale fuel out of the carburetors, giving it the best change of starting without causing mysterious problems. We then spent some time making final set-up adjustments on brand new carburetors, setting initial fuel jet height, winding up throttle return springs, synchronizing chokes and air flow, presetting fast idle cam. By all rights the new carbs should work well.

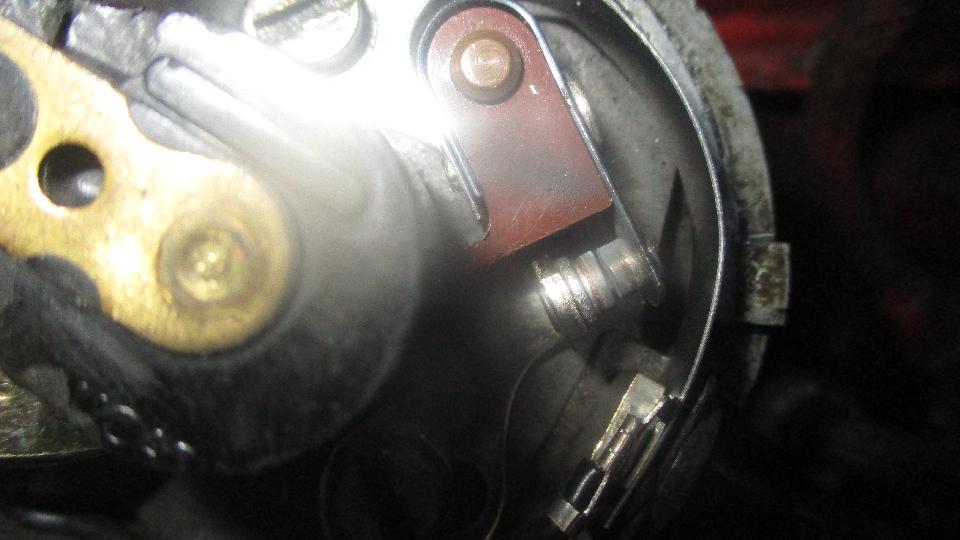
It did start almost immediately, but ran like crap. Idle was reasonably decent, but throttle response was horrible with misfire, no acceleration, considerable backfire, no way it could move off the spot under its own power. Backfire on acceleration may imply lean mixture, so we double checked fuel flow path, jet height, float level, float valves, even raised the fuel level a little, but still no go. On the ignition side of the engine we checked static timing and cleaned the points, but no improvement.
Then I used my set-back timing light to check timing, which verified spark at or near TDC. Then on a lark I tried setting ignition timing by ear while it was running. More advance was better, and still more was much better. By the time I thought I had found the sweet spot it would rev up to a few thousand RPM with only minimal misfire, but the timing checked out around 45d BTDC at idle. REALLY? Okay, I have seen this once before, so it was time to check cam timing. When nothing logical makes sense, the most improbable must be investigated, so we finally checked cam timing. For the TD, exhaust valve closes a few degrees after TDC, while intake valve opens a few degrees before TDC (very little overlap). Turning the engine with hand crank while watching rocker arm action, we concluded that the valve action was almost 20 degrees too late, meaning the timing chain was installed one tooth off.

Lay plans to R&R the timing chain and sprockets, make a parts list, order up some bits from Moss Motors, and make plans to return later for more work.
Monday April 30, 2018:
We had tentative plans to do a little shop hopping today, but scratch that idea when I received a message from Chicago with the electronic copy of the CMGC newsletter to post on the club web site. Erase the whole day, and not quite finished yet.
|

 For sure we could do something constructive, so we changed oil in the gearbox and differential (first time sine he has owned the car). Happy camper, it run well, not worried about wearing it out. Time for an ale, and call it a day.
 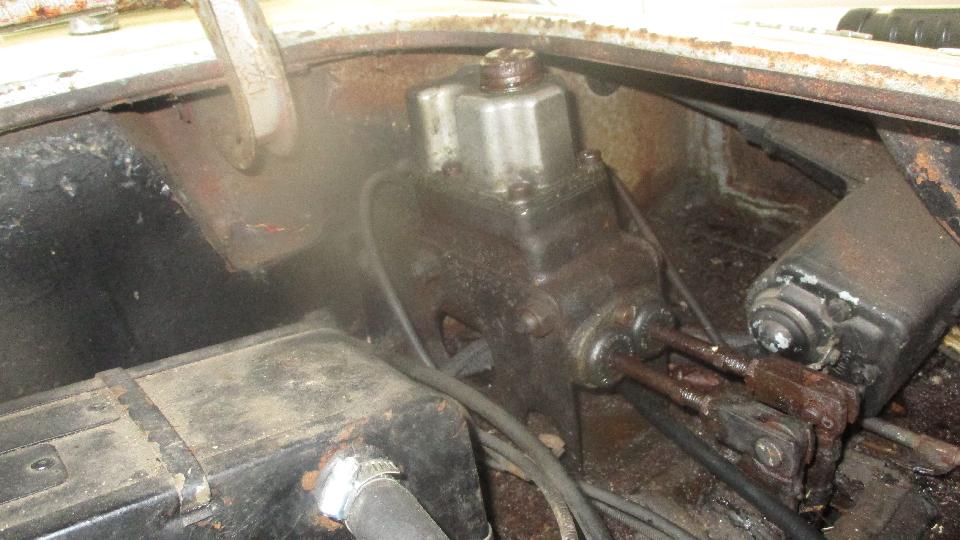 One last day to work on Ansel's MGA. Today we got to change out the master cylinder and rubber pedal excluder. Original find was two bolts, one lockwasher, and two empty holes for the pedal excluder. Easy enough to restore the original fasteners and put the pipe P-clips back in the correct places. Otherwise pretty muck common grunt work
 to R&R two pushrods, two mounting bolts, two pipe connections (one with a banjo bolt), and transfer the raised reservoir top to the new master cylinder (saving $40 on the purchase price). Bleed the brakes again when finished, and it's good to go.
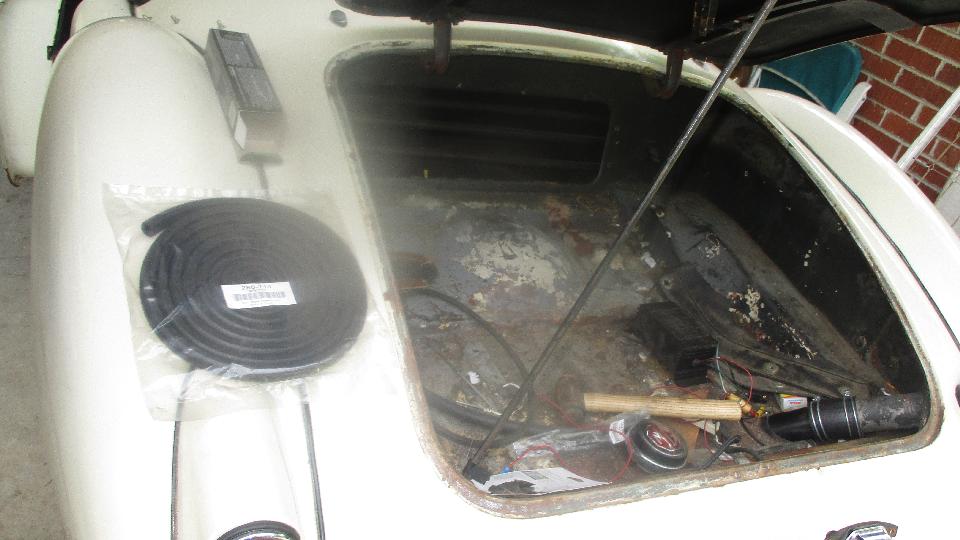


 Then we had a look at Less' MG TD. Nicely restored car with a few issues. Dead starter was replaced with a new original type replacement starter, which died a day or two after it was installed. Another new starter currently in hand. Also a dead starting switch was replaced with a new replacement switch from Moss Motors which died soon after installation, and another one that was dead on arrival, and a third one from Abingdon Spares (obviously from the same manufacturer) that may be somewhat suspect but at least shows continuity when actuated. These new starter switches are absolute crap,
 and the vendors know it. I installed one in my car in May 2015, listing no less than eight significant quality issues at that time. The mounting nut stripped its thread a long time ago making it wobbly, but at least it is still working electrically. Current plan is for Terry to install the (second) new starter motor and the (third) new starter switch in the morning, and we will return around mid day tomorrow to see what we can do about tune-up to make the engine run better with his new carburetors.