The MGA With An Attitude
MGA Guru Is GOING MOBILE - (February 1 - February 15, 2018)
Thursday February 1, 2018:
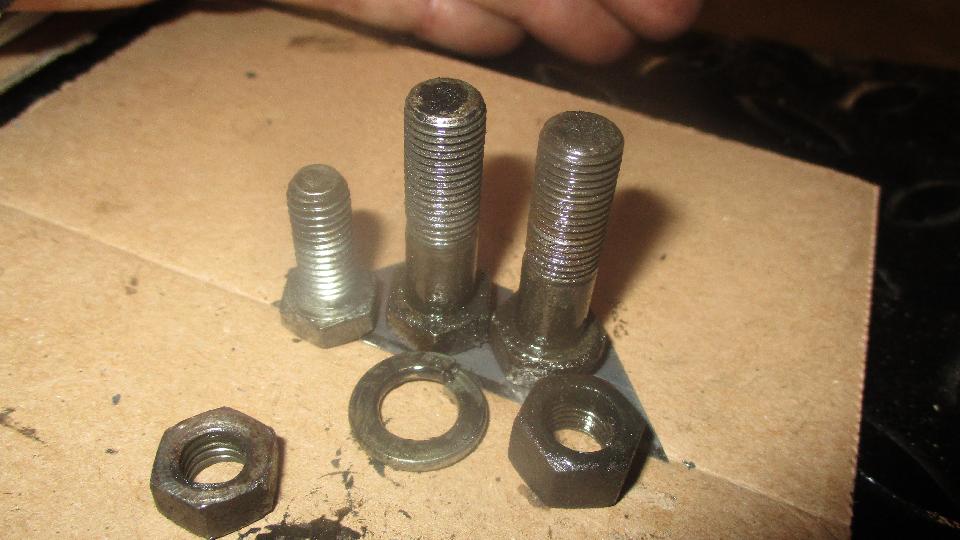
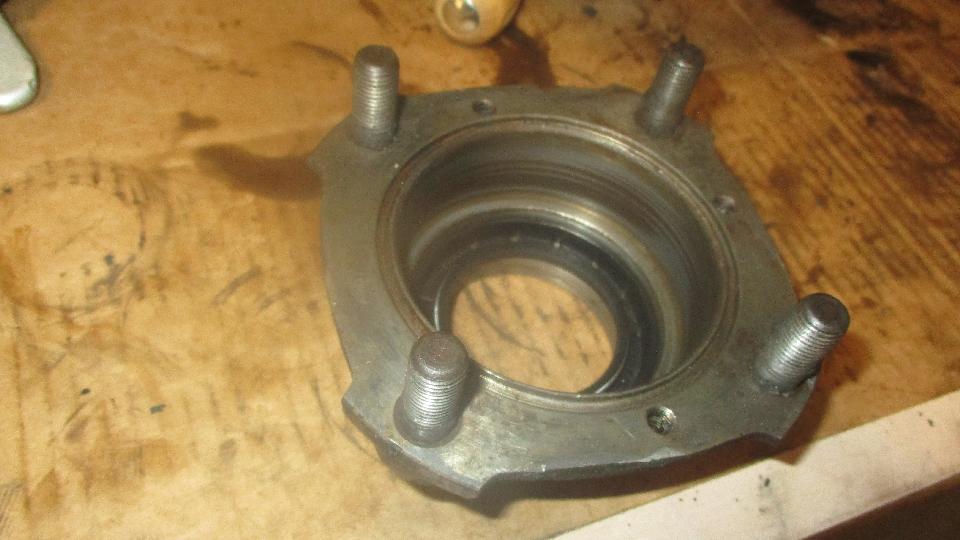
Slept in an extra hour, checked morning email, caught up a tech page revision and downed a quick lunch before mid day start on the rear axle issues. This could have made a comedy cartoon. The halfshafts had been installed with silicone in place of the required paper spacer gaskets. The right rear hub was missing the lock tab washer, and the bearing retainer nut that should have been very tight was unscrewed a few turns with the wheel bearing sliding freely along the axle housing. This action had beaten the threads in a nasty manner. After running a new nut across the male thread a few times for clean up, the old nut was relegated to the house of horrors. (How far can you throw it)?
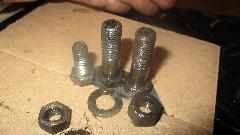
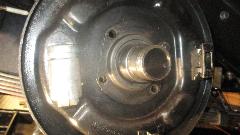
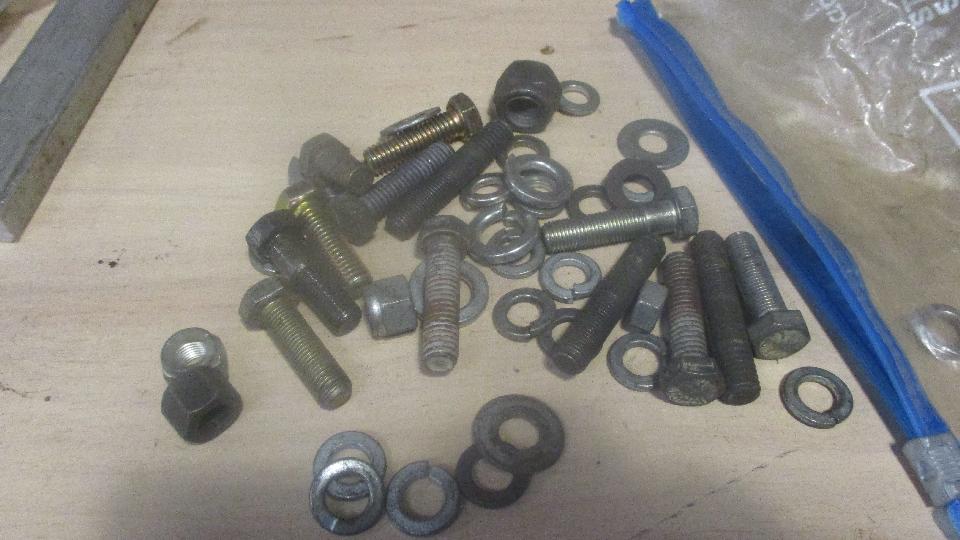
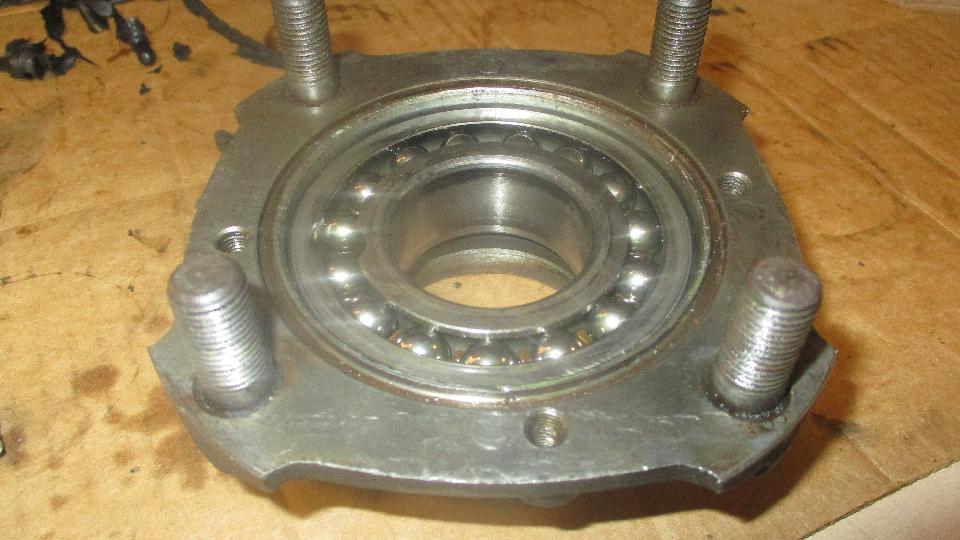
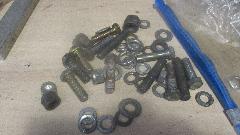
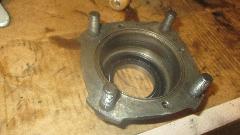
The brake backing plate was secured with one original bolt and three others that were either too long or too small diameter. When I came up short on bolts in the right length, we took a quick trip to a local hardware store to restock fasteners. The RR wheel bearing was just a little bit loose in the rotating hub (where it must be a tight fit), so after cleanup and a new rubber seal we reset teh bearing in the hub with Loctite 620 bearing set adhesive. The alternative would be to replace the worn hub, but this one wasn't all that bad. For the bearing ID, the axle housing was badly worn, so the bearing was reset on the axle using significantly thicker film of Loctite 620. It will be perfectly functional, just means it will need a torch for disassembly next time around.
The left rear hub was in better condition with a moderately tight nut and old lacktab washer (although the locktab was not bent up to retain the nut). It was about this time I discovered I didn't have new locktab washers in the magic trailer. Apparently I used those parts for my own differential install last March, and the replacement part didn't make it into the last Moss parts order in mid December. Bummer. Now we need to order parts tomorrow, and hope for delivery by Monday. Meanwhile we installed the one serviceable locktab on the right side to get that bearing hub reinstalled (with the nut cranked up to 150 lb-ft torque an locked this time). It didn't take long to R&R the left rear hub bearing, install a new seal, and get that all reassembled (sans locktab for now).
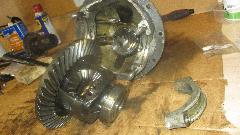
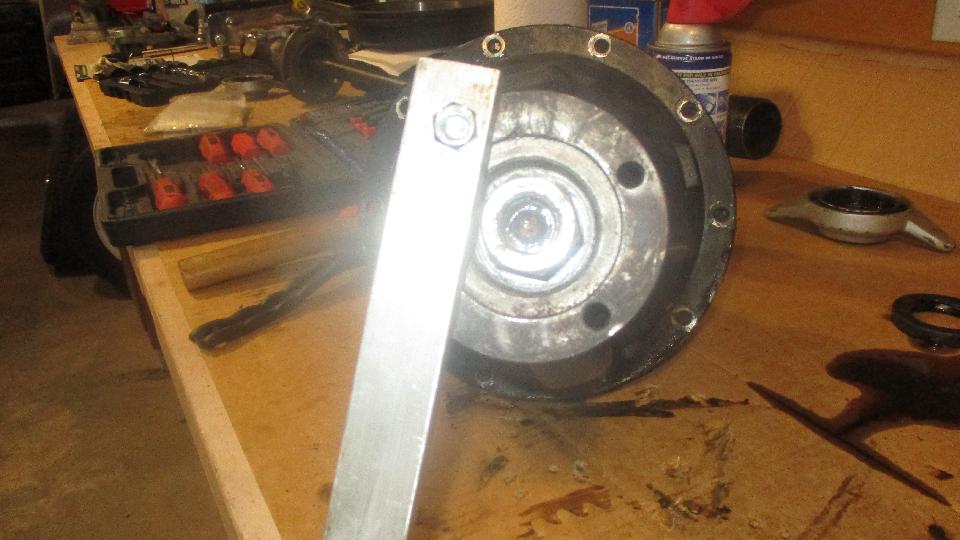
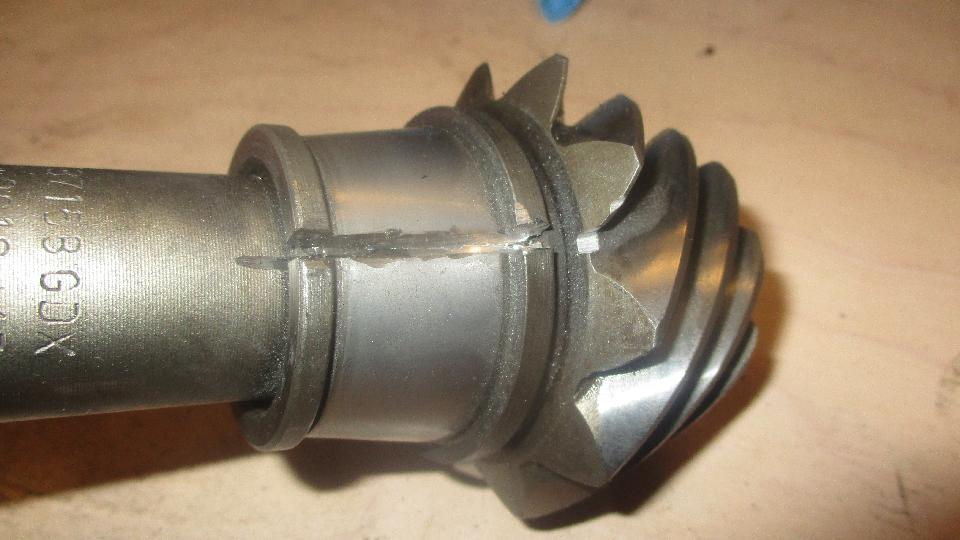
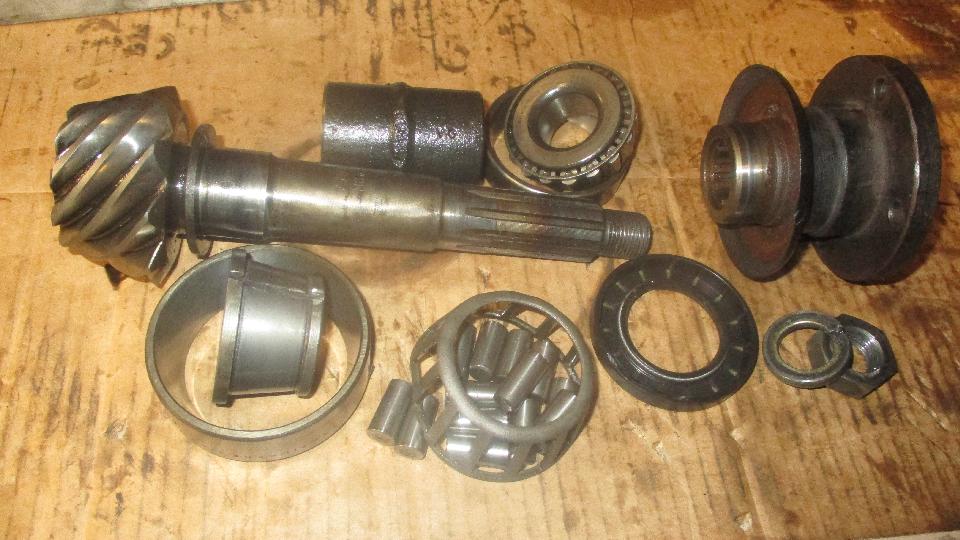
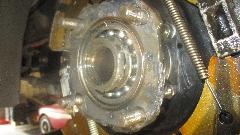
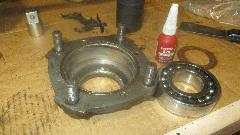
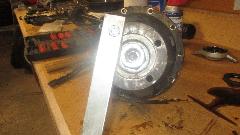
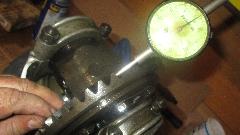
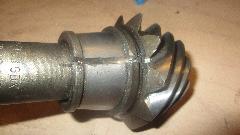
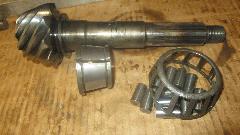
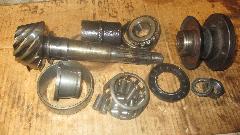
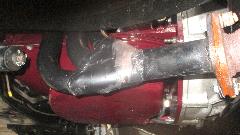
 Then we jumped on service for the differential. The input pinion shaft had more than 1/16-inch of free play, end float and sideways wobble, downright ridiculous. I was worried that the tapered roller bearings were completely shot. Then we jumped on service for the differential. The input pinion shaft had more than 1/16-inch of free play, end float and sideways wobble, downright ridiculous. I was worried that the tapered roller bearings were completely shot.
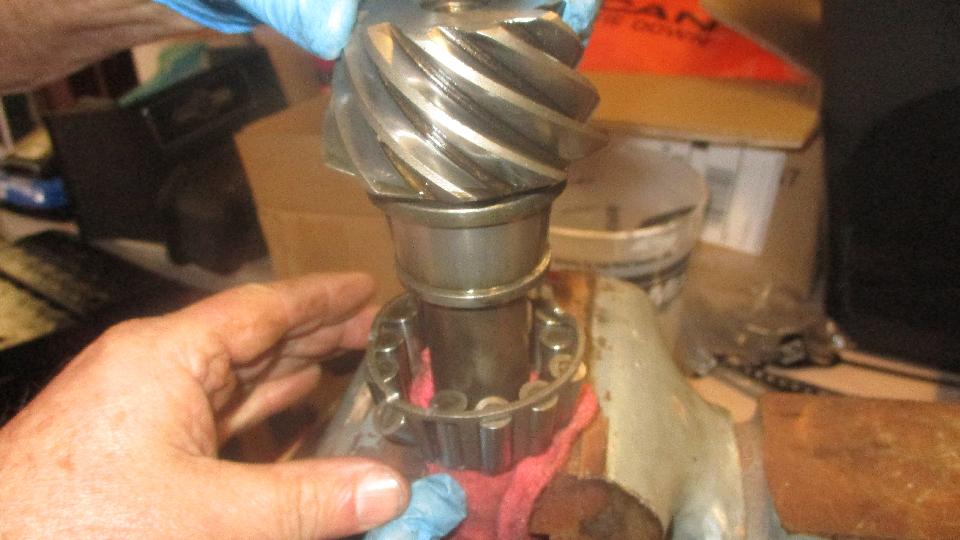
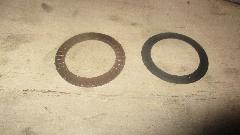 When it came apart we found a 0.060-inch thick valve spring shim being used for a bearing inner race shim, where the shim stack is normally 0.020-in or less (explains a lot). After fiddling with shims for a while we had it down to 0.004" only which is way less than normal, before we had proper input bearing preload (so far so good). After reinstalling the differential and bull gear we found 0.026" backlash where the spec is 0.008"-0.014". That makes it about 0.015" excess backlash, which is almost equal to the "deficiency" in the stack of pinion shims. So I recon this one has pinion bearings that are beyond end of life, and we think it will be time for replacement tapered roller bearings (more parts for tomorrow's order).
Having stretched this work day fairly well it was sundown and time for barbecue. Nice dinner and a little evening chat. When the hosts turned in I got back to work to catch up the day's email and to bring you these photos and notes. Small hours of the morning, and I need some sleep. G-night all. Zzzzzzz.
Friday February 2, 2018:
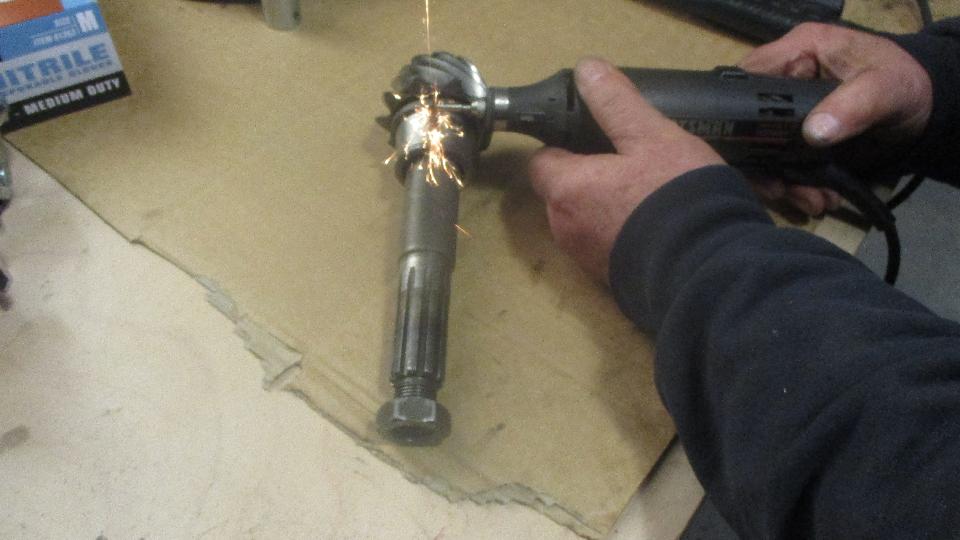
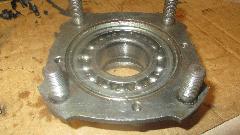
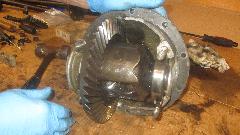
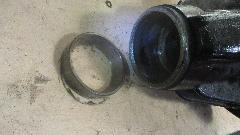
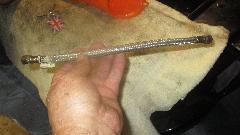
Today we disassembled the differential again to remove the tapered roller bearings form the input shaft. The front bearing was easy, but the rear one was hard tight and more of a challenge. Various big screwdrivers and pry pars wouldn't budge it, so we had to cut it off. Start with the big hammer and punch to dislodge the roller cage. Then have at it with a pair of thin abrasive cut-off wheels. It was working but very slow going on the thick tapered inner race, finally on the verge of overheating my Dremel tool.

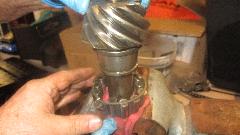

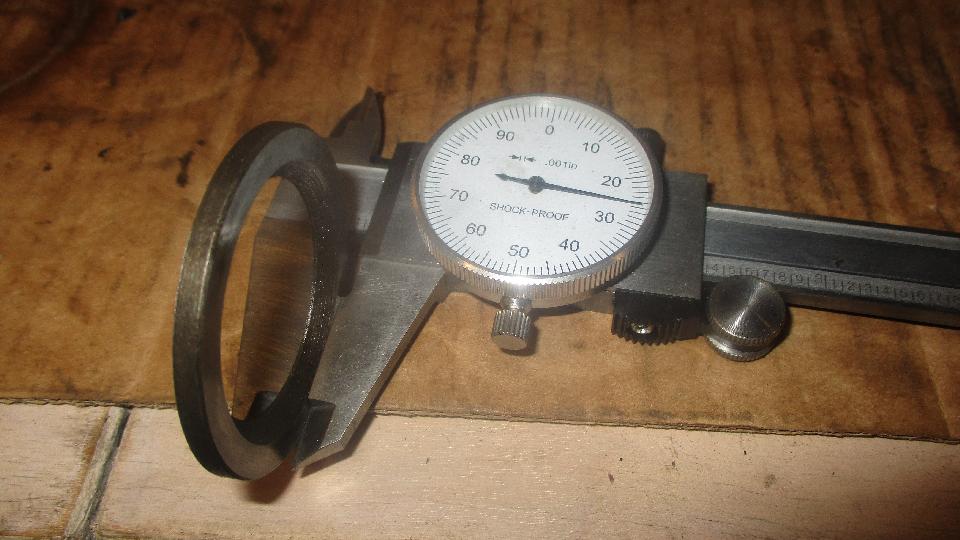
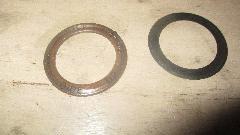
So we switched to a cut-off wheel in an angle grinder, easy peazy. Finish with a cold chisel and heavy hammer to split the race, and it was off in short order. The positioning thrust washer under the large bearing measured exactly 0.125-inch thick, nominal factory dimension aligning the crown wheel and pinion gear mesh, and we will not be changing that one.

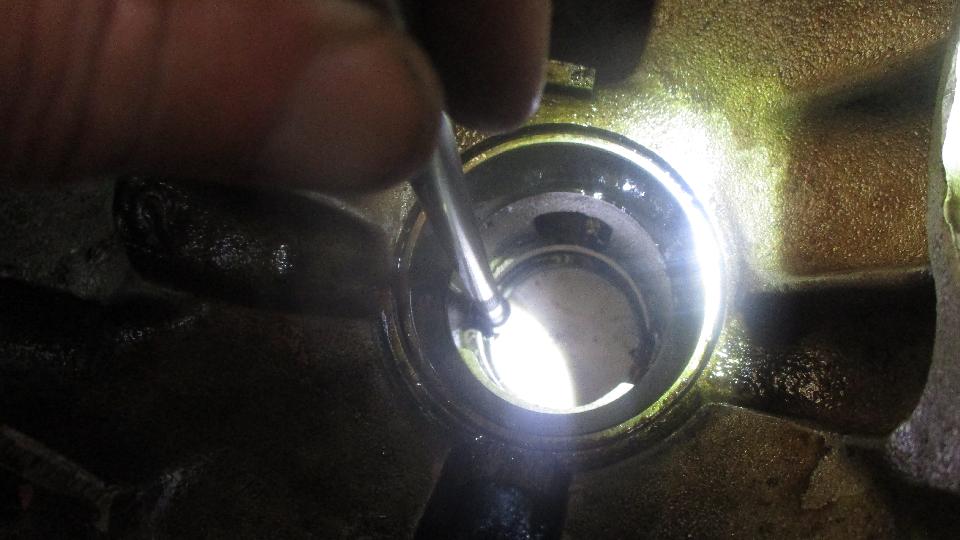
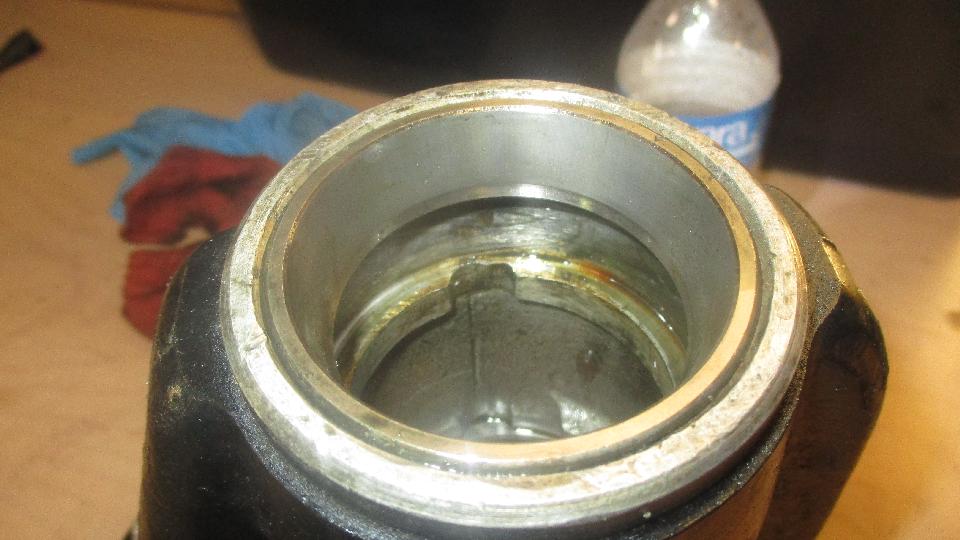
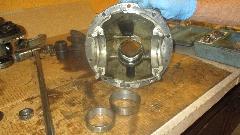
Then grab a long punch and a hammer to knock the outer bearing races out of the housing, and we be stuck waiting for parts to put it back together. Parts on order mid day Friday for delivery next week.


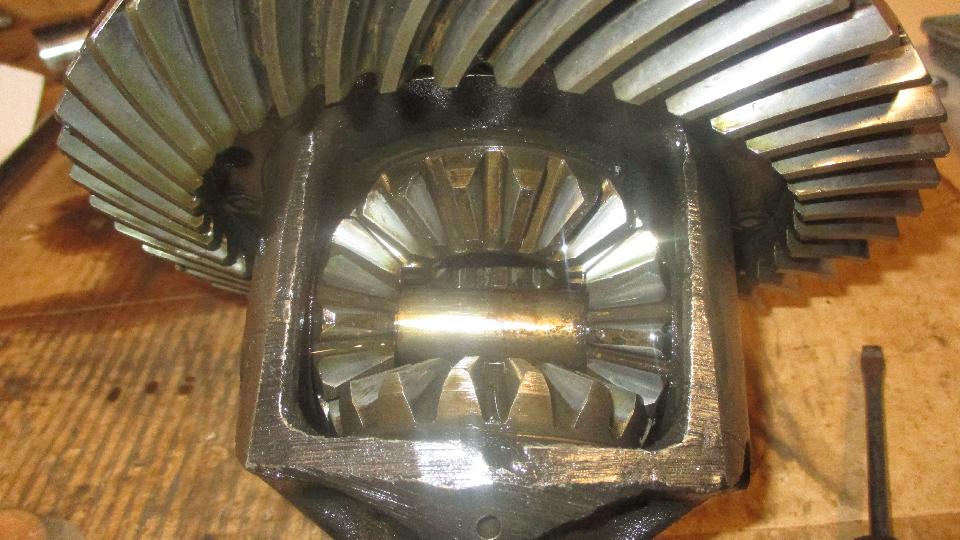
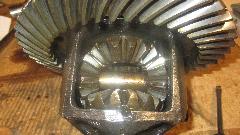
You can hold the empty differential housing on one finger, very little weight in the empty aluminum shell. Quick inspection of the bevel gears and related back-up thrust washers reveals very little backlash and no play on the pinion shaft, so no need to disassemble the differential wheels.
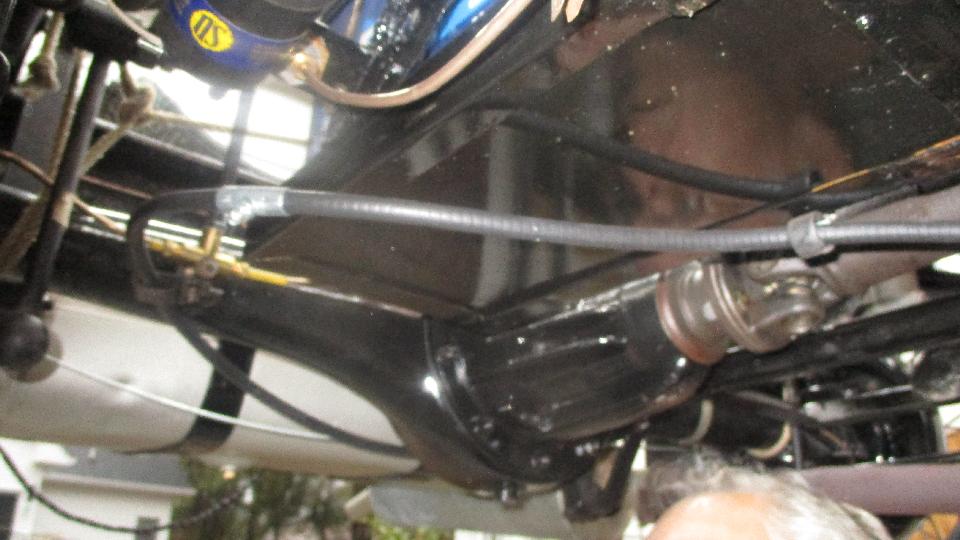
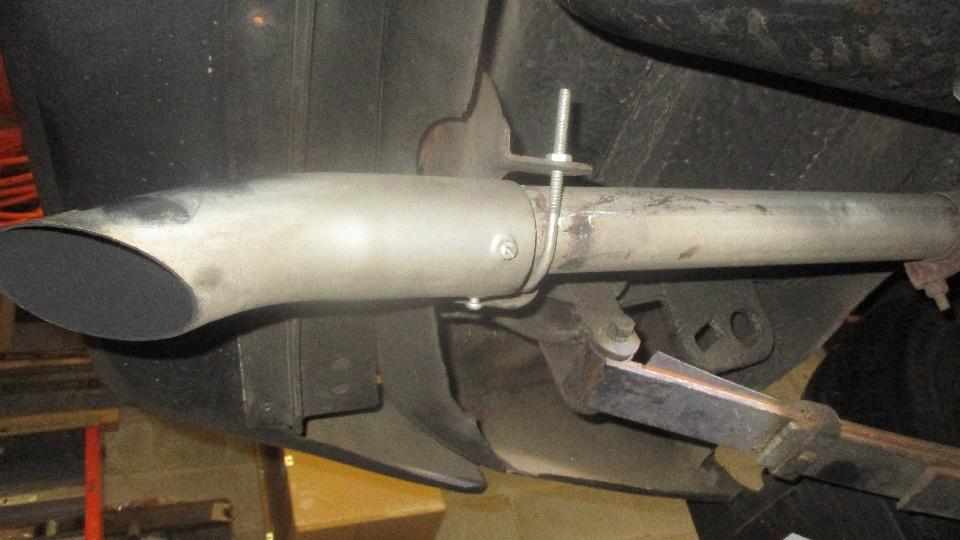
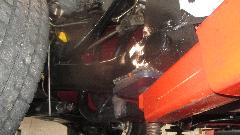
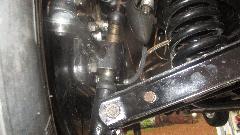
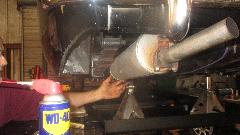 Enough time left for a few other minor details. Loosen a few clamps and rotate the muffler half a turn to correct the orientation, muffler up, pipe down, outlet at 2 o'clock equal space both sides. The makeshift rear hanger was nearly an inch to low, but we recon that can stay until it needs to be replaced. We also removed a pair of defective rebound straps, one broken, one stretched, and very little fiber inside, totally useless. More parts to order, maybe the aftermarket nylon ones this time.
Saturday February 3, 2018:
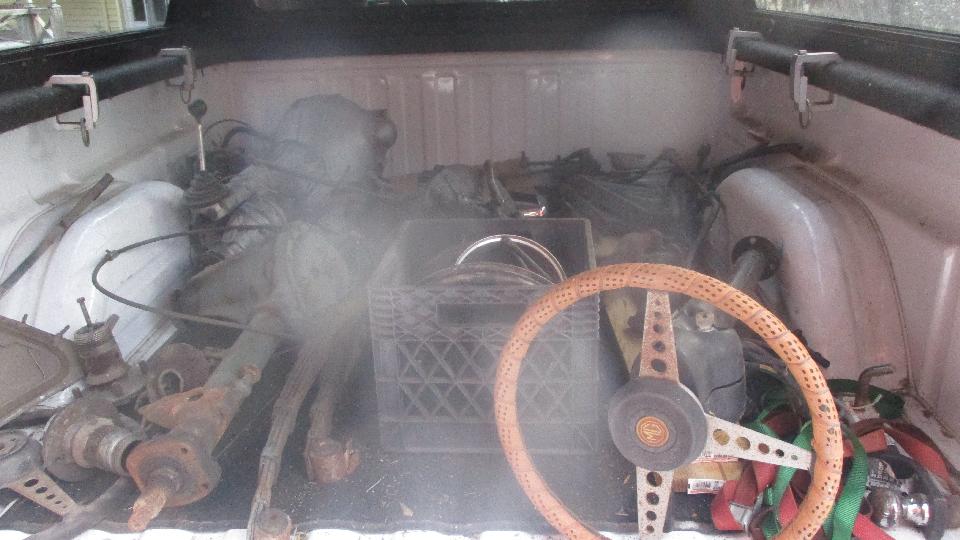
Early morning run to pick up a late model MGB 4-synchro overdrive gearbox (for a paltry $400). The seller was clearing out his shop space, and was happy to donate about one chassis equivalent worth of late model MGB parts, so we also brought back a Salisbury rear axle, pair of leaf springs, steering column, steering rack and all front suspension parts for a wire wheel MGB. We passed on the 1974 MGB engine with "L" head, all machining done (asking $400). Anyone need this stuff?

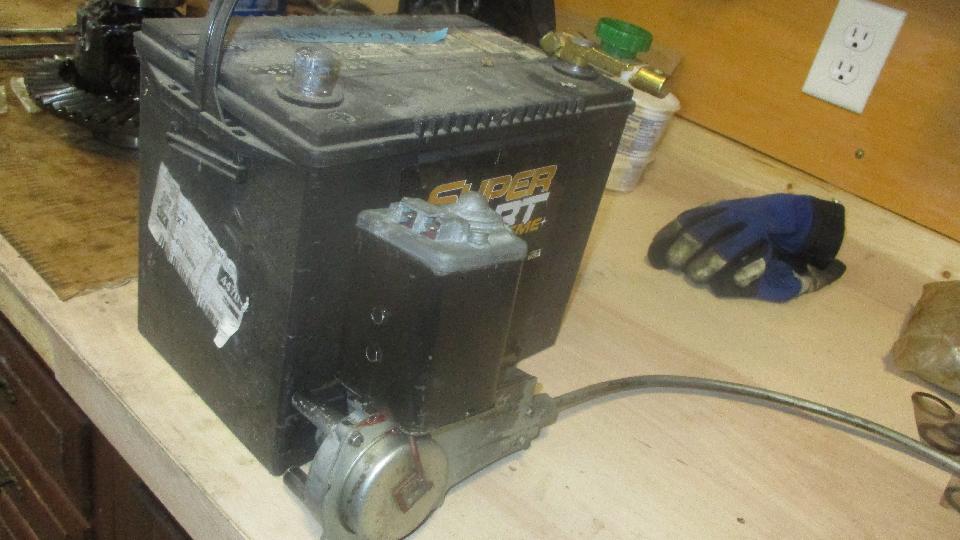
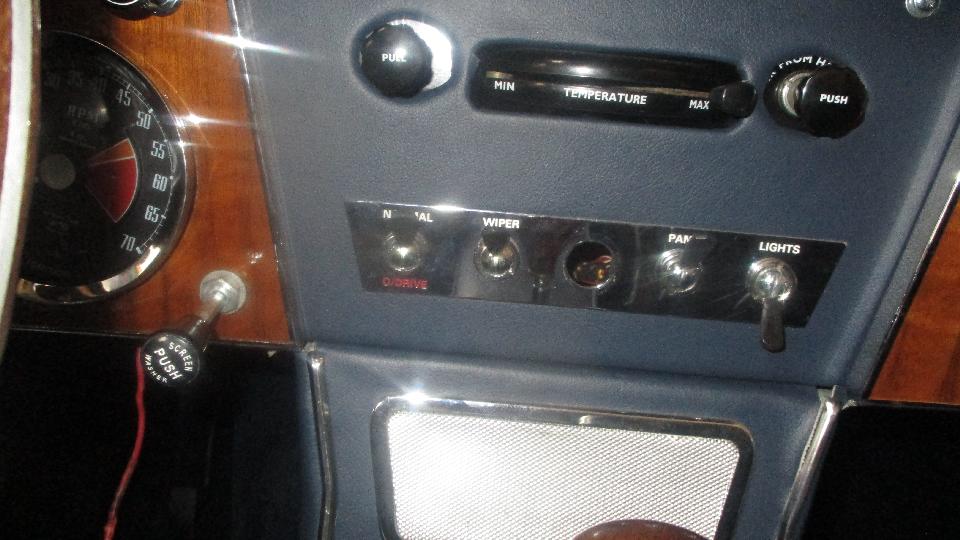
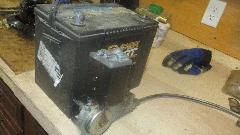 Time to test the screenwiper motor for the MGA. Battery and three jumper wires, ground wire to the motor case, power to one terminal, ground the other terminal to get it started, and it runs. Remove terminal ground connection, and it continues to run to park position. Perfect, ready to install. Wipers should park in front of the driver, so for LHD car the drive cable should stop in the extended position. If not, then rotate the parking commutator cover 1/2 turn (and test it again to be sure.
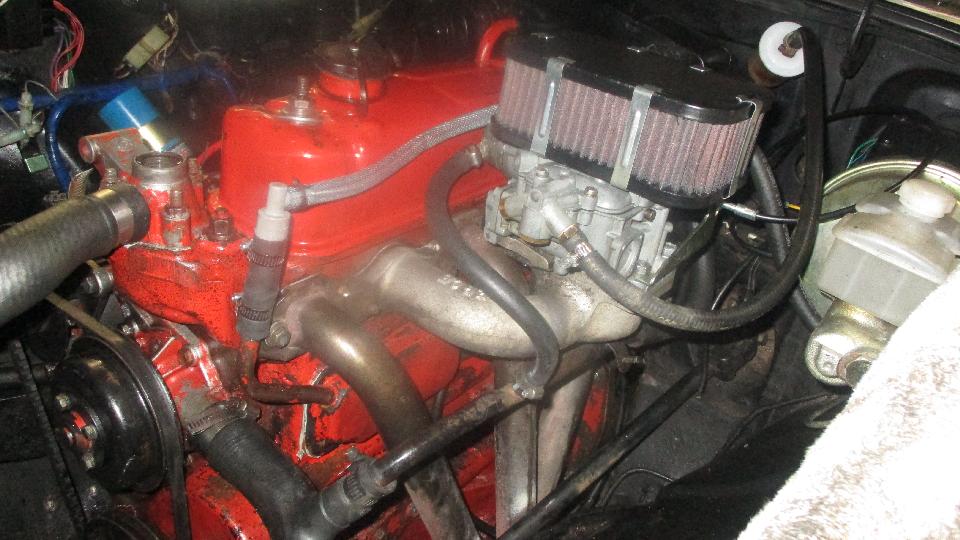
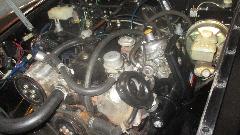
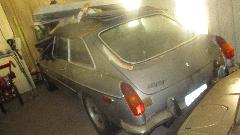
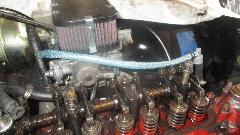
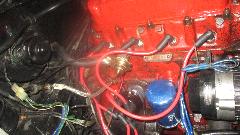
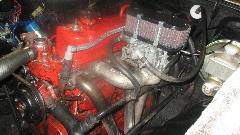
We had time to check out some of the other rolling stock on hand. Late model MGB with a Weber side draft carburetor. I was a bit surprised that the air cleaner fit next to the brake booster, but wonders never cease. Vent pipe from carbon canister to carburetor float chamber is not connected, so no vapor recovery or anti-run-on function, and pretty sure no vacuum for crankcase ventilation either. - Late model MGB with Weber downdraft carburetor, vented float chamber, and tappet cover vented to the air cleaner. No crankcase ventilation, no fuel vapor recovery, and no anti-run-on function (all common for the downdraft, but I do know how to fix that one). - The last one is late model MGB, very low mileage, all original, everything working, n-i-c-e.
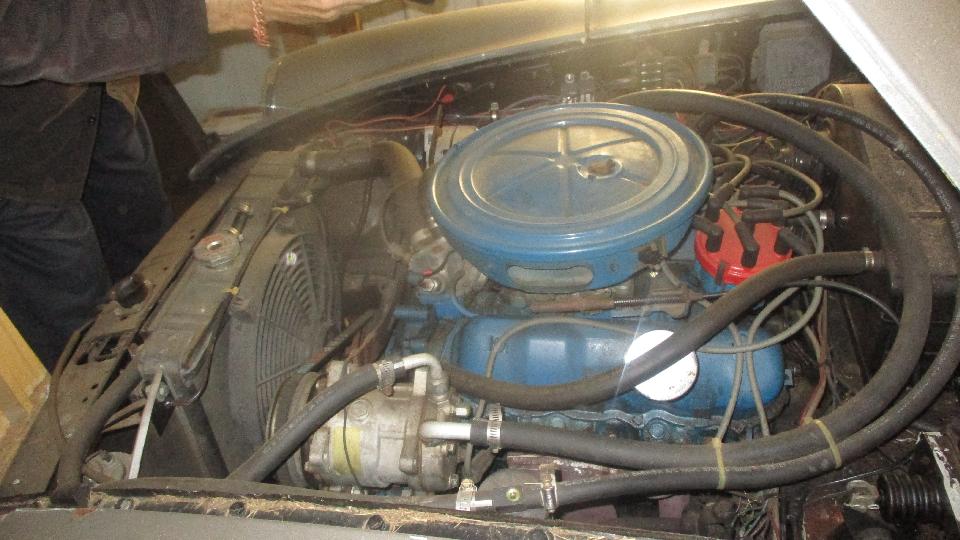
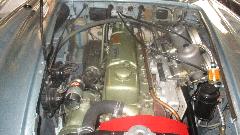
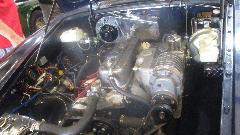
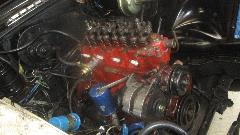
The big Healey engine is pretty original, including the somewhat restrictive pancake air cleaners. -- Then a friend popped in with his very nice MGA 1600- MK-II, so we stopped for a tour and a beer break and some extended chat, which killed most of the rest of the day.

Sunday February 4, 2018:
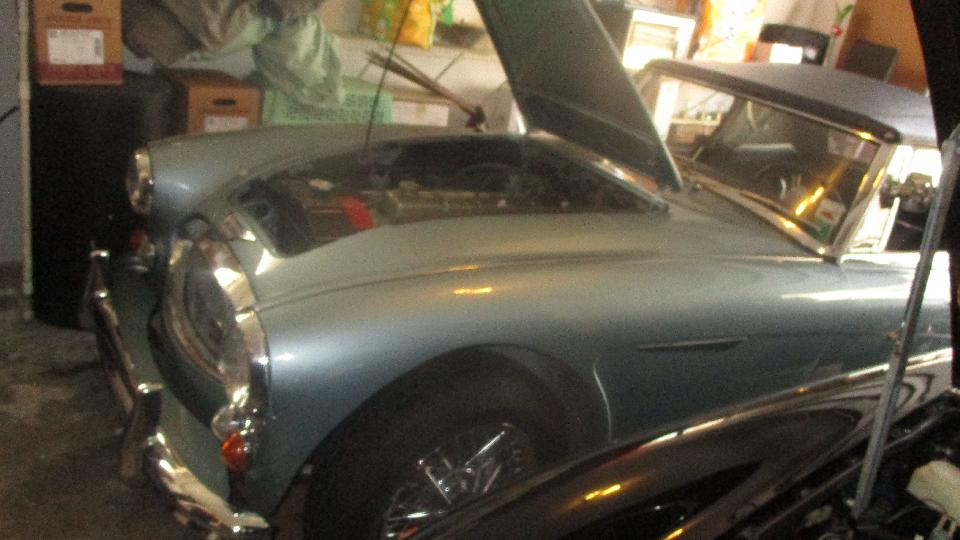
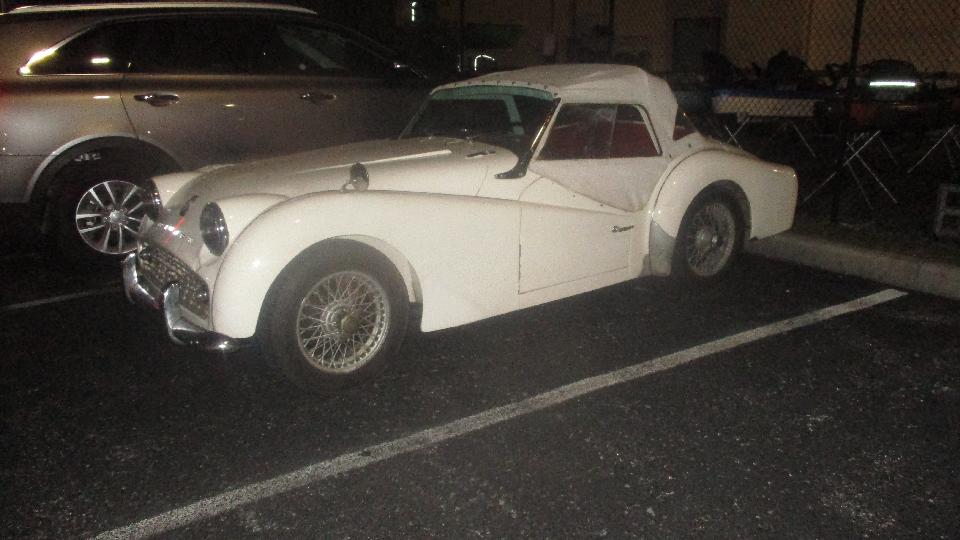
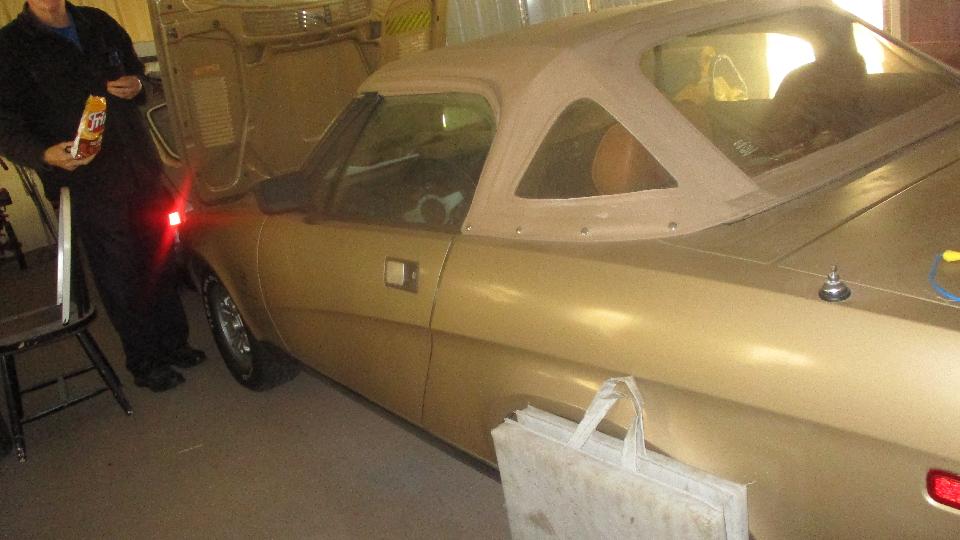
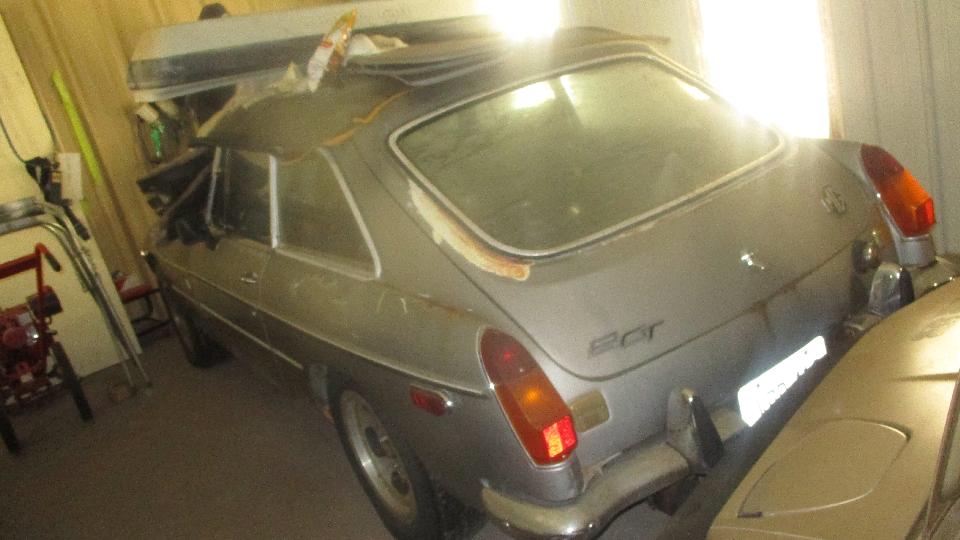
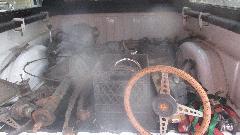
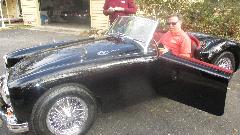
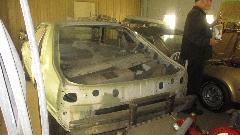
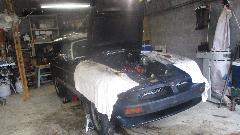
Had another look at Ron's MGA today. Bit of an effort to unpack the badly stowed rag top, get it up/out, and refold it.
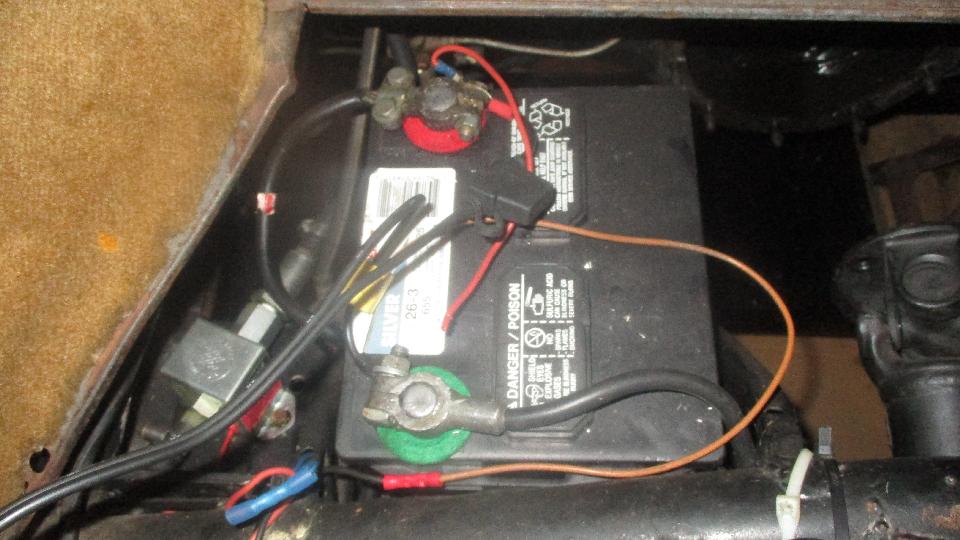
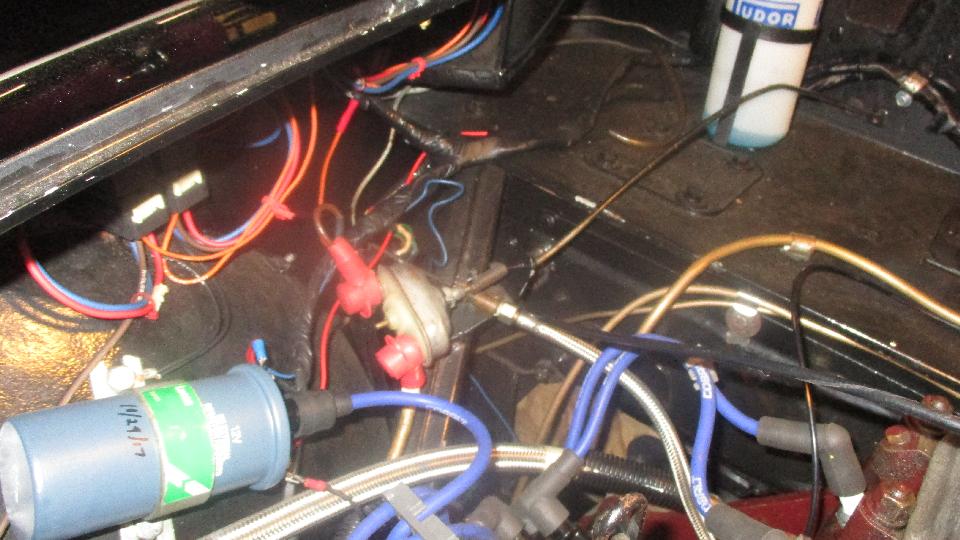
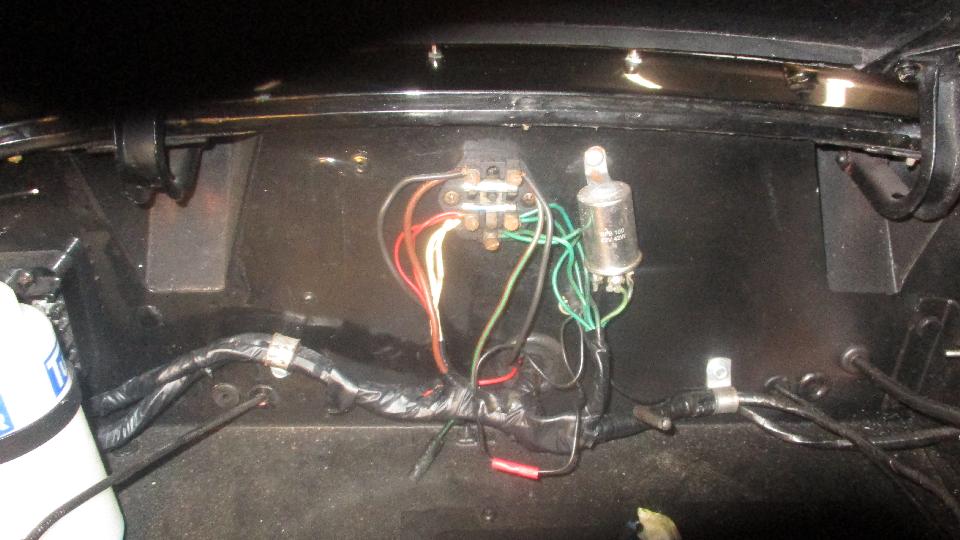
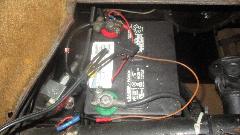
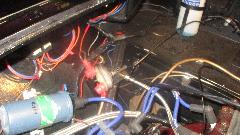
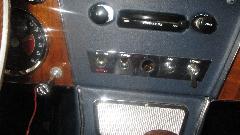
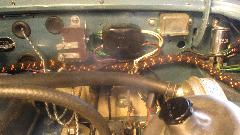
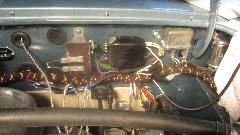
 Couple of missing mounting screws, one slightly deficient bracket, but we finally had access to the battery cover and the bits beneath. Quite a lot of mischief in the wiring, beginning with almost all of the harness having the cloth cover stripped off and then covered with vinyl tape. A few redundant wires, lots of mismatched colors including blue and red in the originally white ignition circuits, black wire in the originally brown battery power circuits, a fuel pump cut-off switch that was disconnected. Ultimately the owner conceeded to buy a new wiring harness (and new battery hold down clamp).

Time spent browsing parts catalogs and service parts lists, picking up stray ends, chatting about replacement parts quality problems, and a variety of other "shop talk". Then it was dinner time, and it was Super Bowl Sunday, and the game was on, and the rest of the day went away.
Monday February 5, 2018:
Travel day, but not too far, about 140 miles on to Tallahassee, FL. Tech questions about master cylinder, engine oil, carburetor dampers, wiper motor.
Tuesday February 6, 2018:
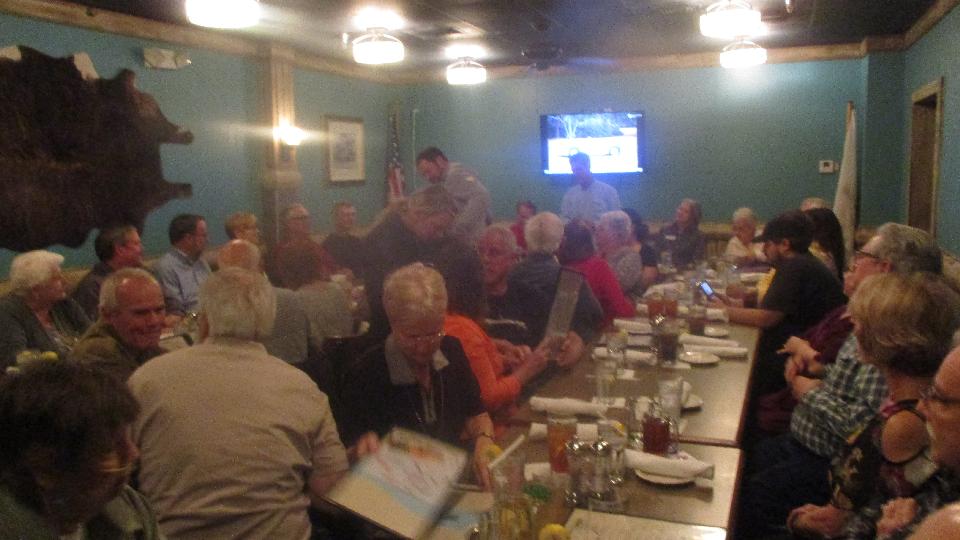
Tech question about head gaskets, leading to the start of a new tech page on head gaskets (not finished yet). By mid afternoon we were hauling tail west again, change of time zone, landing in Panama City Beach, FL for an evening meeting with Bay British Car Club. Tough picture in a stuffed dining room, 46 people, apparently a new record for this club, a few new members, a few visitors, a few regular snow birds. I gave them a five minute catch-up spiel since our last visit, and we have an appointment for a tech session with the club tomorrow. There was a running slide show on a prior car show event. A bit late getting out after the meeting, but at least one LBC left in the car park.

Wednesday February 7, 2018:
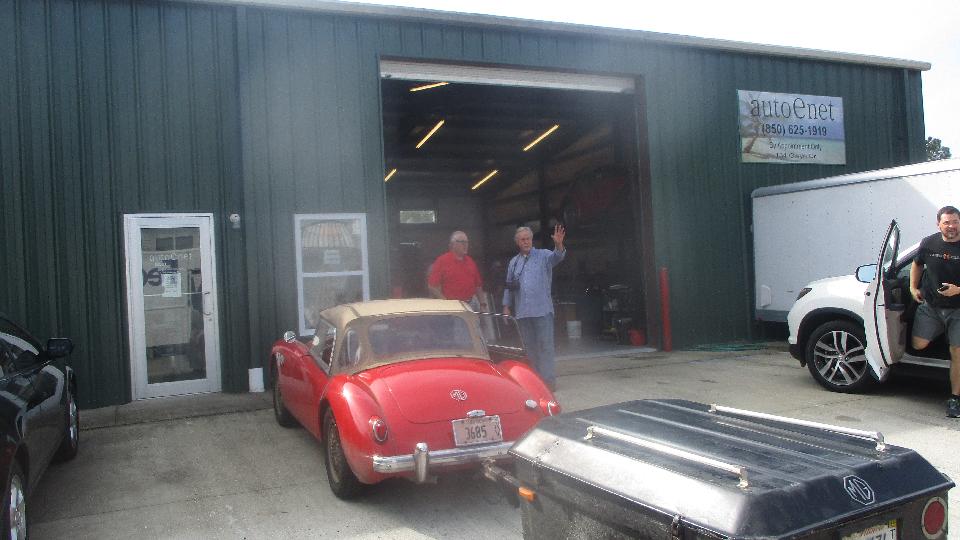
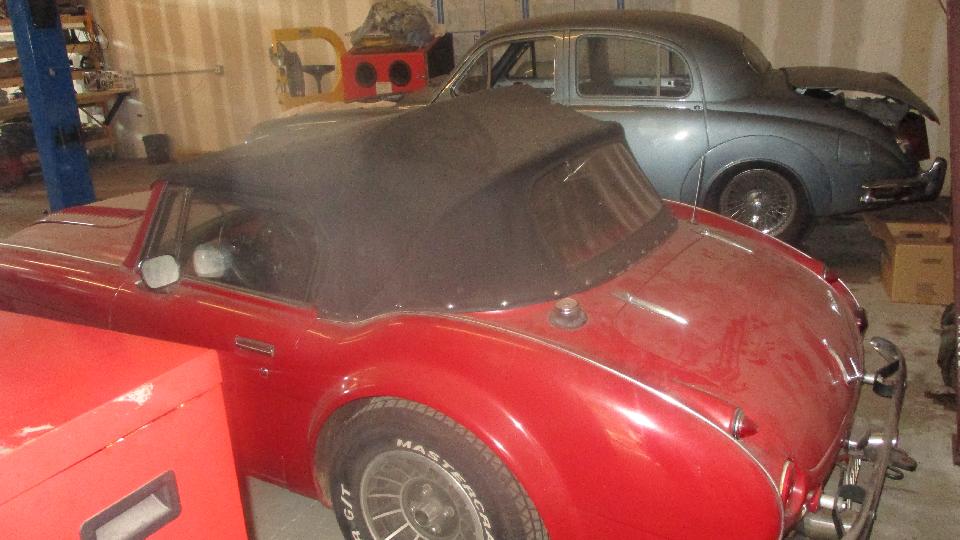
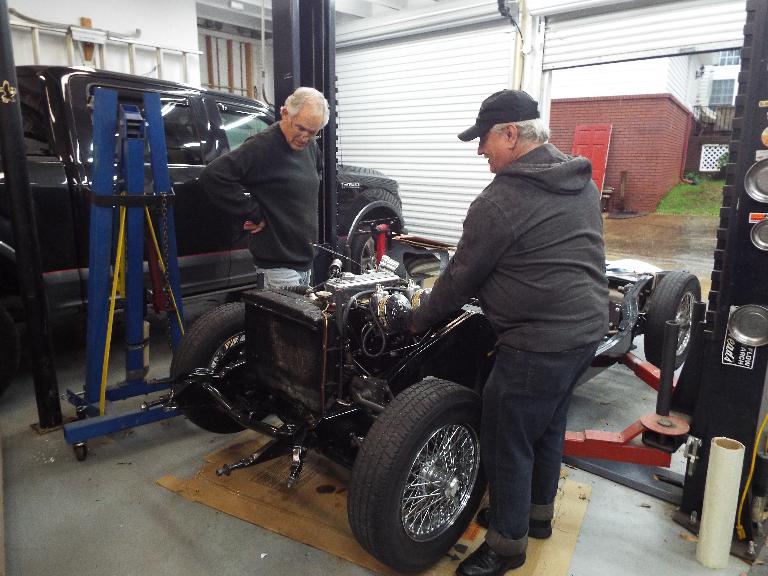
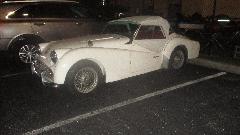
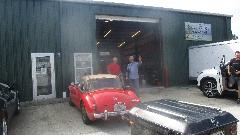
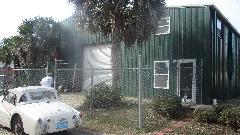
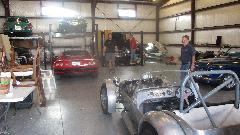
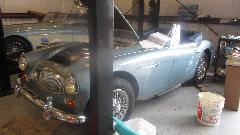
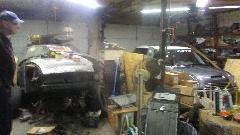
Today we dropped in to visit the "club garage", some leased space that habitually hosts some of the club members cars for service work. Not on our Shops list because it is not a commercial shop, just a hobby home. We have been here before. There is also a "side door" for more shop space around the corner to the left, let's go there first. The red Healey looking car is a fiberglass kit car, likely not worth much, although the large vintage Jaguar is nice.

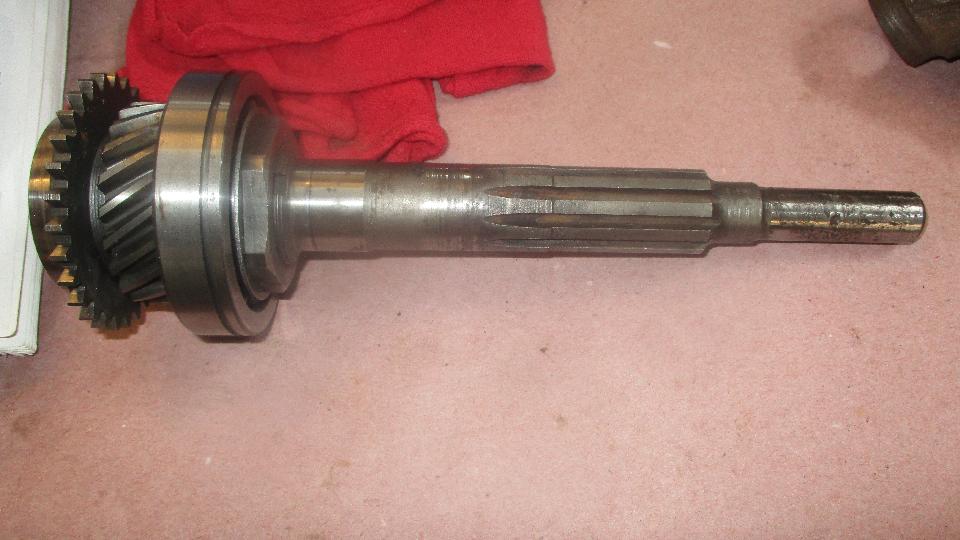
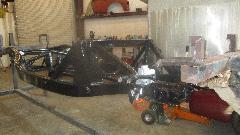
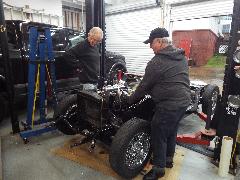
There is an MGA 1600 under restoration, frame done and beginning chassis assembly. One swivel pin both rusty and bent, about to be replaced. A gearbox input shaft rusted and pitted on the spigot nose, also needing to be replaced (prohibitively expensive to repair).


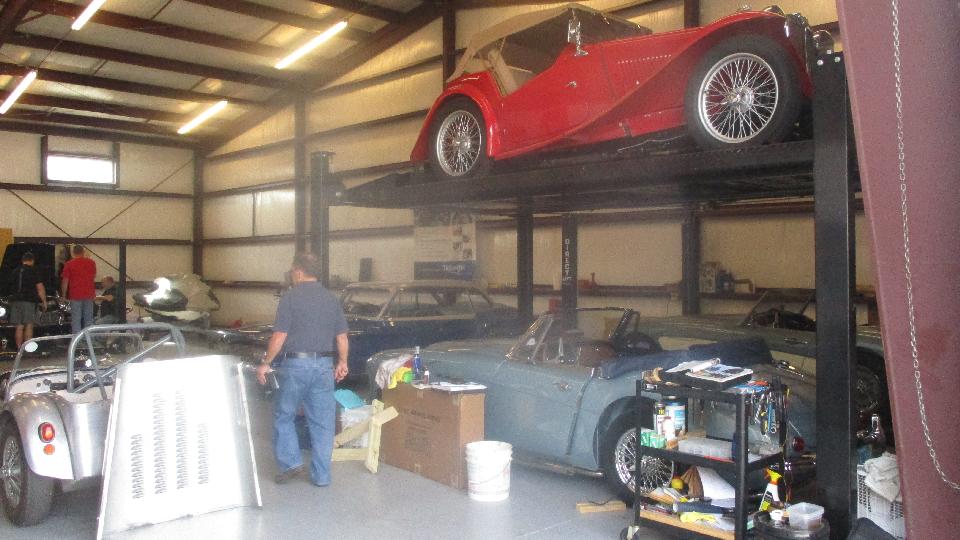
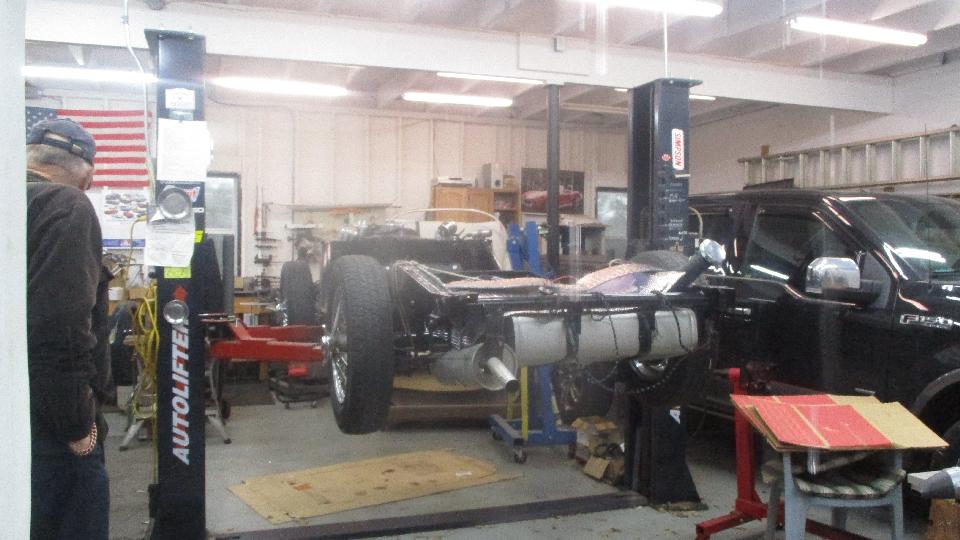
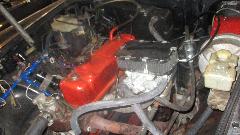
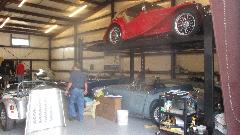
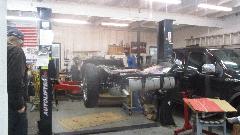
Back to the main bay in front, four drive-on hoists, I'm impressed. The MGB in back we have seen before. Last time was at the car owner's home, impressed by the custom work, coil-over front suspension, independent rear suspension, supercharger, lots of chrome under the bonnet. Less impressed that crankcase ventilation has been disabled, along with fuel vapor recovery and anti-run-on functions. We have intention to get it running, install an oil drain plug, and break-in oil, but stopped when the owner left for the day, may resume tomorrow.
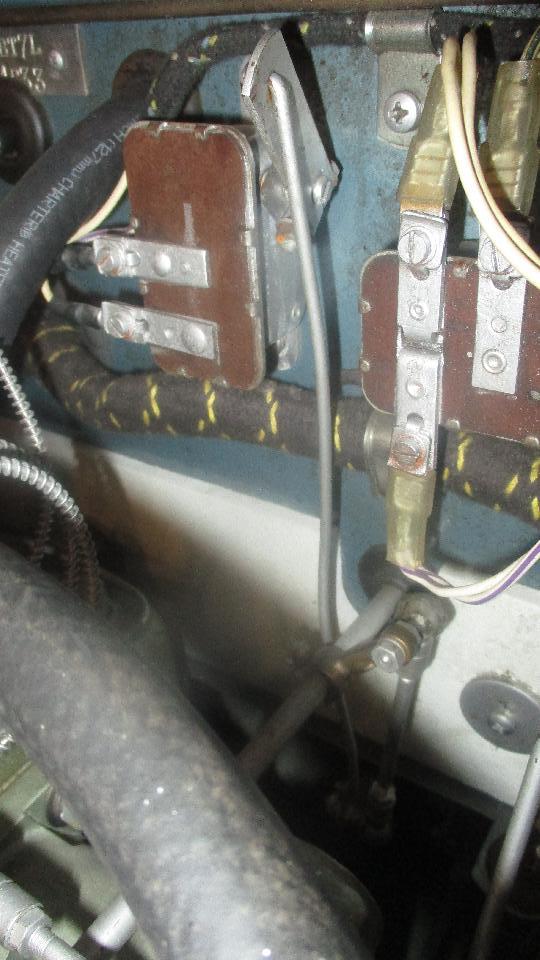
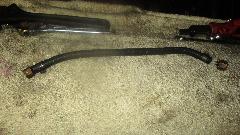
Then there was a big Healey that apparently runs but has non-functional overdrive, which we may be able to fix. A bit of scrounging turned up a neat little wiring harness for the overdrive. Consulting the wiring diagrams, we got power from the fuse block, several wires on the 4-terminal relay, two wires on the acceleration switch, and one more to be connected to the gear selector switch (later). We did a pretty good job of hiding the little harness behind the big harness. Missing link rod for the accelerator switch, we found a like example on a sister car. Looks like 1/8-inch round rod, two bent ends 9-1/4-inches on centers. Should be easy enough to make one if a spare is not available.

Thursday February 8, 2018:
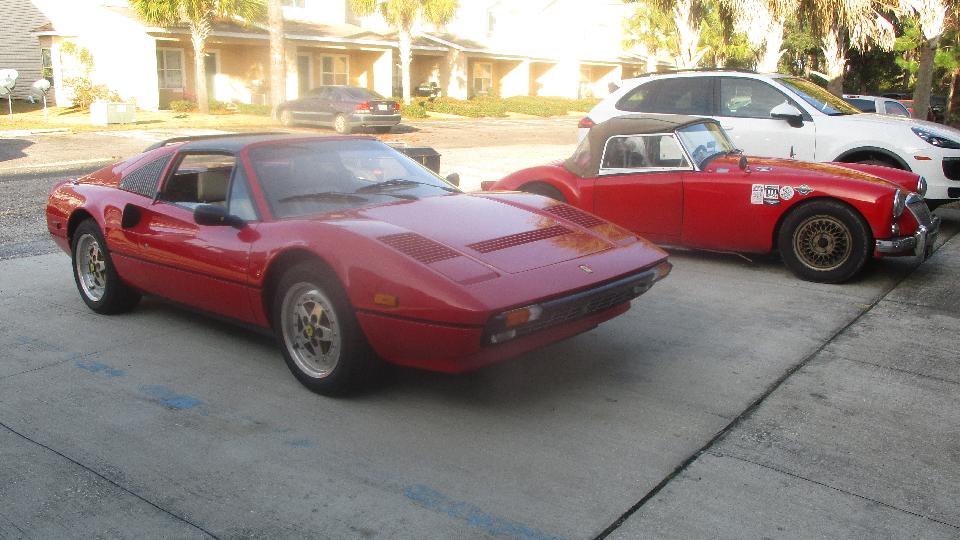
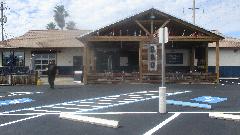
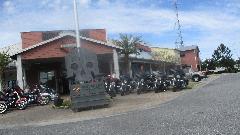
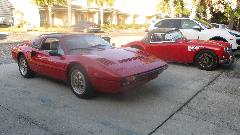
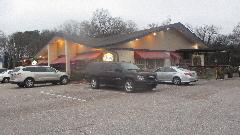
Here's a day that almost didn't happen. We dropped by the club shop at 10-am, and there was no one there. So we were in the process of heading north, just made a fuel stop, and got a phone call. Ah, there is still life in Panama City Beach, Florida. We just happen to be in about the right place at the right time, back track six miles, and meet a few of the guys for an early lunch at Back Beach BBQ (on Back Beach Road). Then a brief stop at the local Harley Davidson dealer to inquire out possibly using their parking lot (motorcycle test lot) for a club funkhana. Then back to the club shop where the Ferrari was heading out for a constitutional.
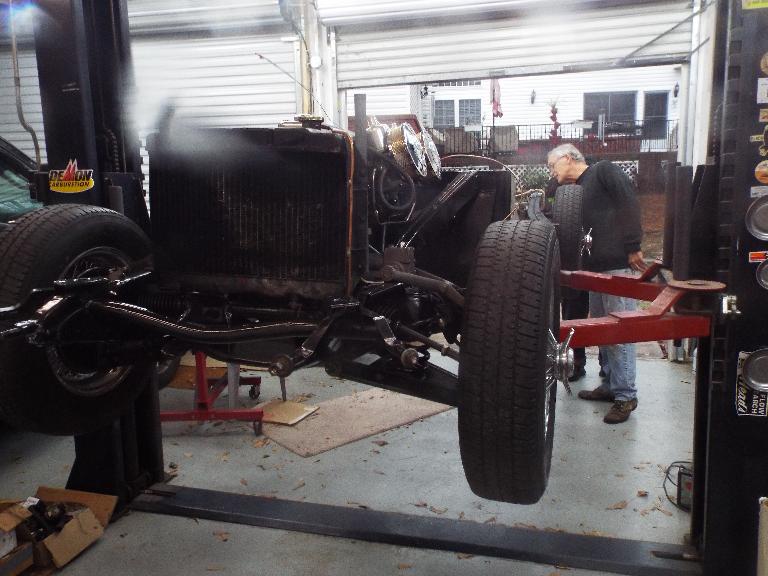
In the left wing shop we had a hand in the restoration of Charlie Schott's Jaguar XK-120, figuring out the arrangement of brake pedal parts, allowing space for fitting a heat shield between exhaust manifold and master cylinder. Had to flip the heat shield other end around (to protect the brake switch and get the bracket in between the shield and the master cylinder.

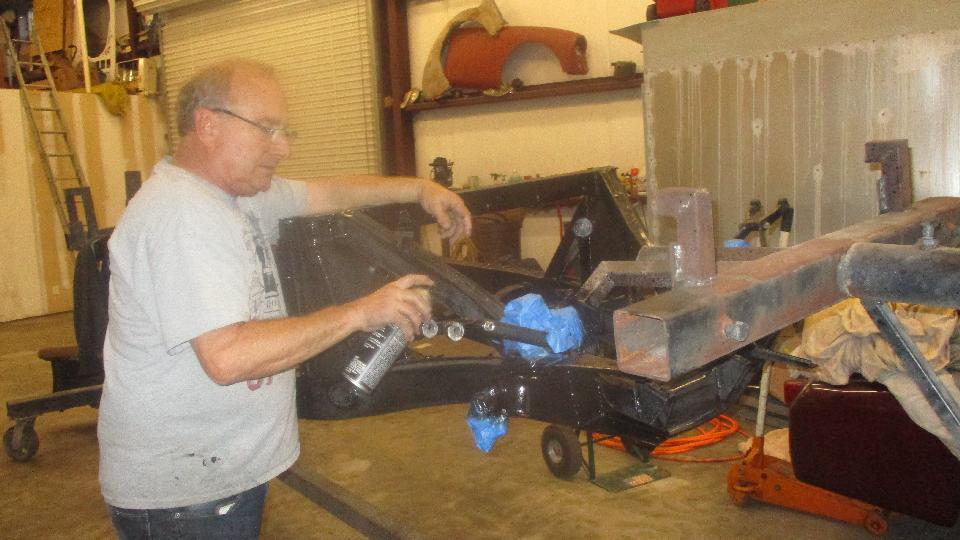
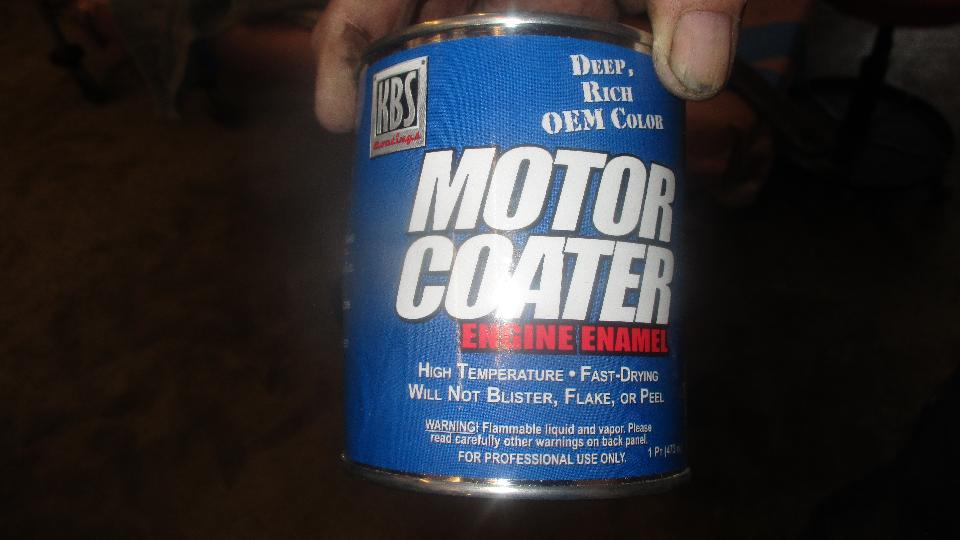
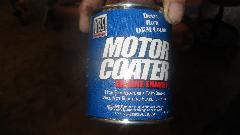
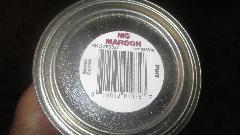
A few feet away an MGA chassis was getting some hand sanding and easy re-spray to change gloss black to satin black (original Chassis Black color�). And there was a quick review and a recommendation for Motor Coater high temperature engine enamel, off the shelf in the correct dark red color for MGA and early MGB engines.
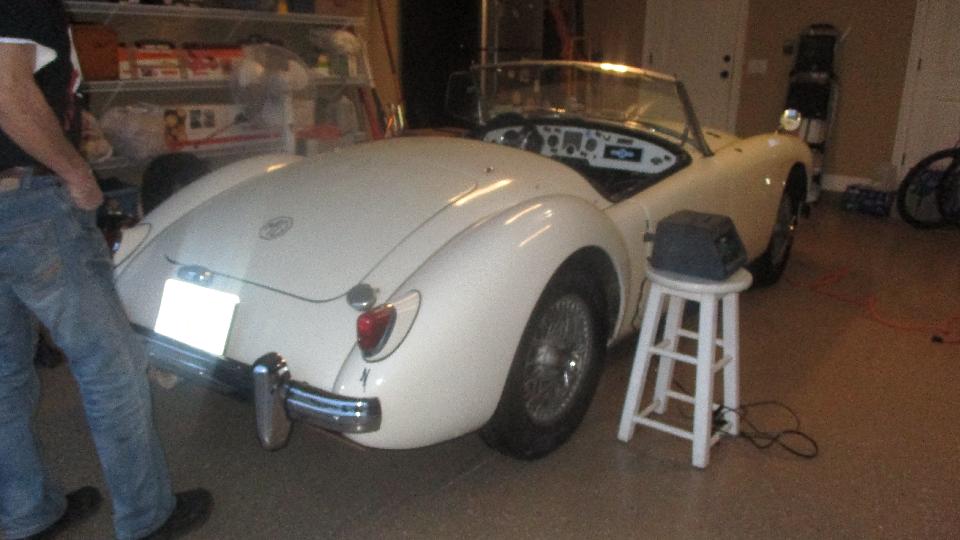
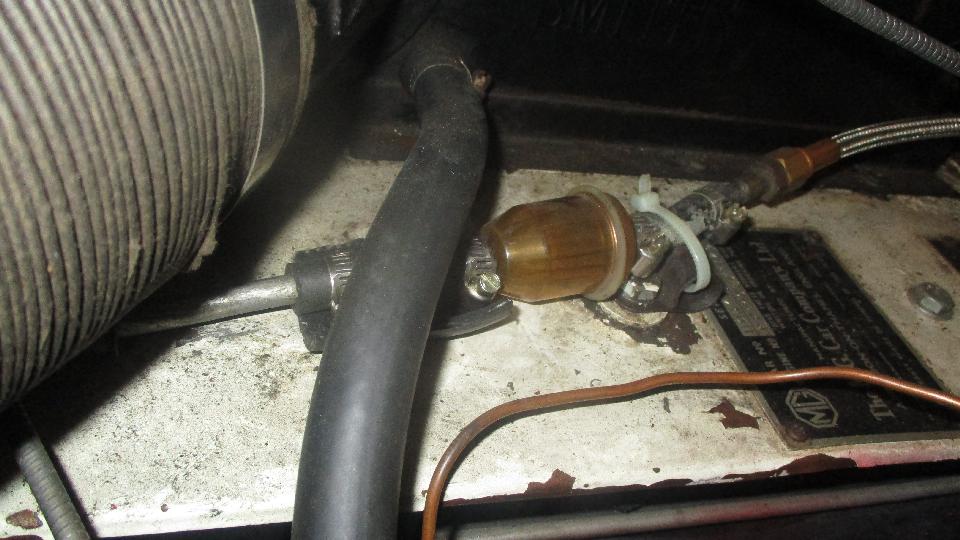
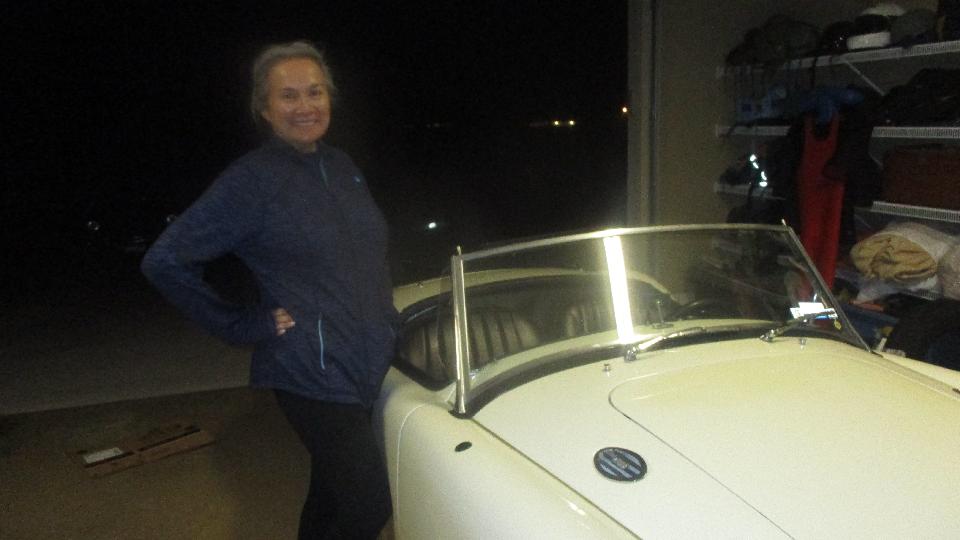
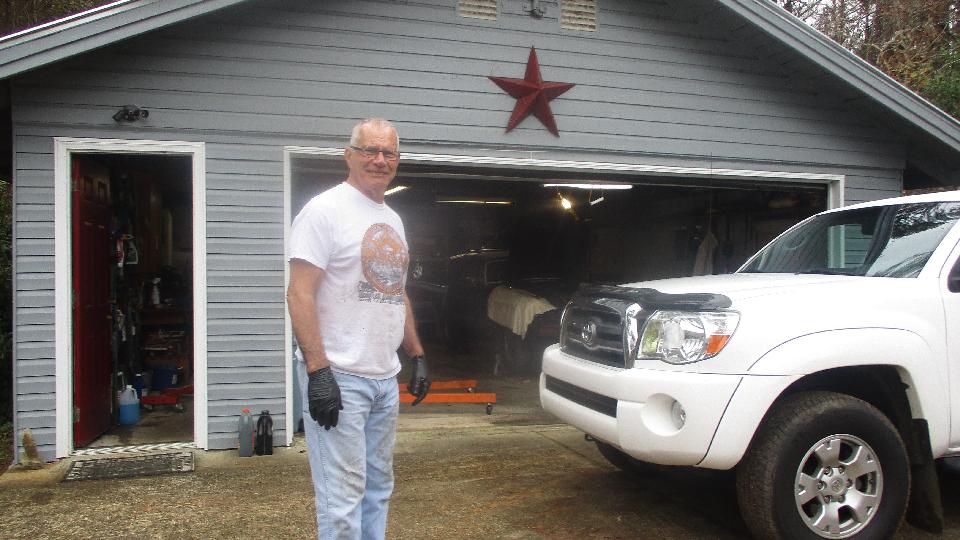
In the early evening Charlie led us over to visit Liz Marr in the Glades of Panama City Beach, which happened to be right around the block from Charlie's home. Apparently they first met while dog walking, but neither one knew that the other had an interest in little British cars. Later on Liz found the local car club on the internet while looking for help with her MGA. Now we end up here to see if we can help. The car had not been running for a while, would crank over but not fire. No ticky, no fuel, dry fuel filter.

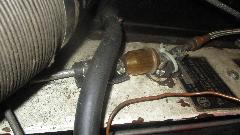
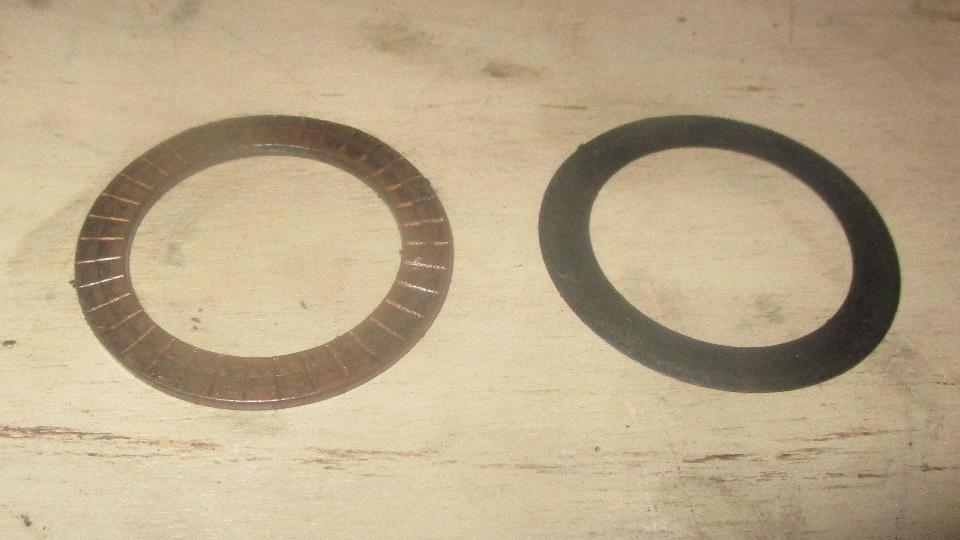
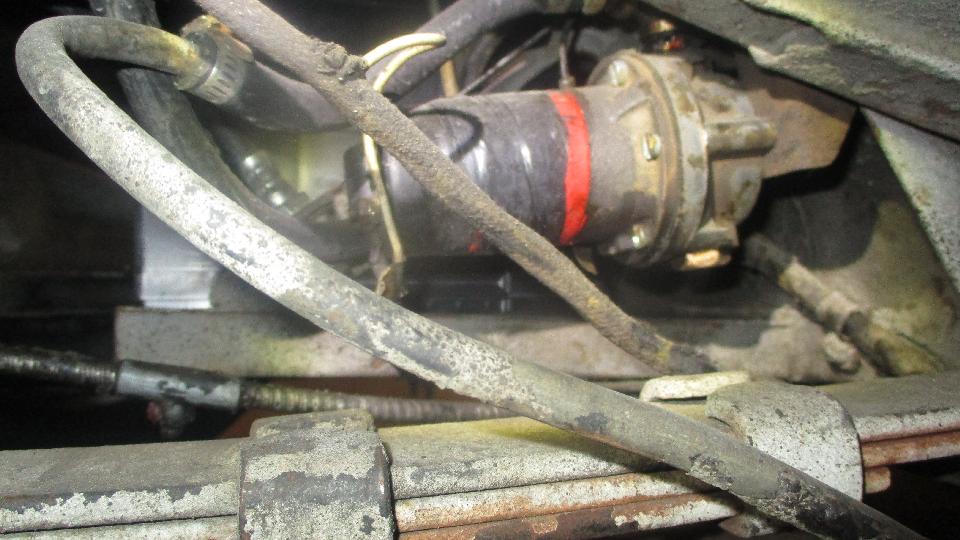
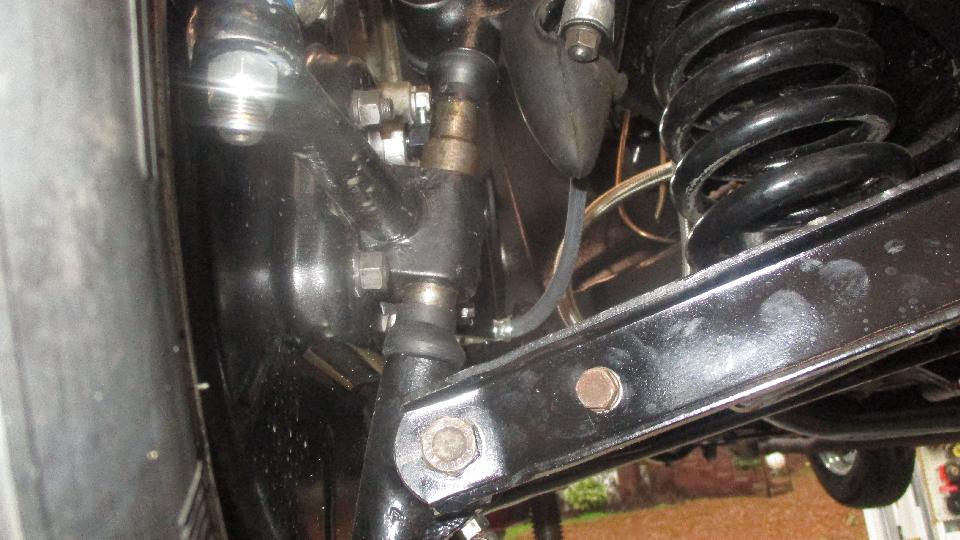
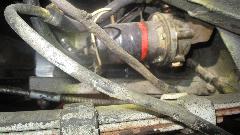
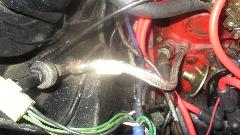
So jack it up, remove RR wheel, remove electrical cover from the fuel pump, clean the contact points to get the fuel pump running. Then it was dribbling fuel from the internal filter/drain plug. Apparently the DPM had cranked it up horrendously tight, but it still leaked. Dig up the correct metric socket and apply enough torque to extract the plug. Inside I found a red fiber washer, didn't look too bad, turned it over and reinstalled the plug, but it still leaked. Getting the doctor's bag from the magic trailer, after a few minutes I had no fiber washer that size, but I did find a copper washer in exactly the same size. Miracles never cease. That did the trick, back together with no fuel leak, reinstall the pump cover, connecting wire, wheel, and drop the jack. In a minute it was running, needing a fuel mixture adjustment, but otherwise peachy. Get the victory picture.
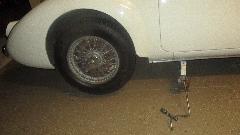

We should check back on this one later when we have more time. Noticed the hub splines were somewhat worn,
 maybe time for replacement, muffler upside down, rear hanger too low, minor fuel leak under the carburetors (could use some Teflon O-rings), and I think the choke linkage needs a proper set-up. Then we were off to Charlie's place where his wife had whipped up a very nice dinner for us. Getting kind of late by the time we high tailed it out and finally headed north (where we began the day). Goodbye to Florida (for now). Half past eleven we landed in Enterprise, Alabama.
Friday February 9, 2018:
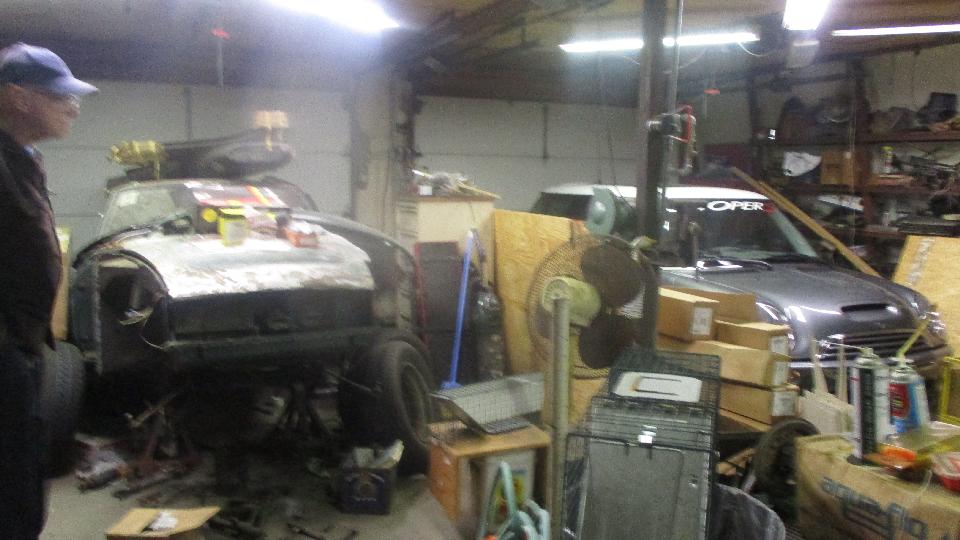
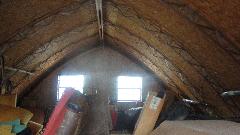
Most of the day spent catching up BBS, email, tech questions, and a few tech page updates. In the evening we shuffled over to meet Lee Oxford & Mary Anne Hanley in Fort Rutker, AL. After some chat time it was getting late, but thought we would check out their back yard workshop. We found an MGC in process of reconstructing the front end, and a modern Mini that looked like it didn't need anything. Too dark in the attic storage, but we can check back in the morning by daylight.

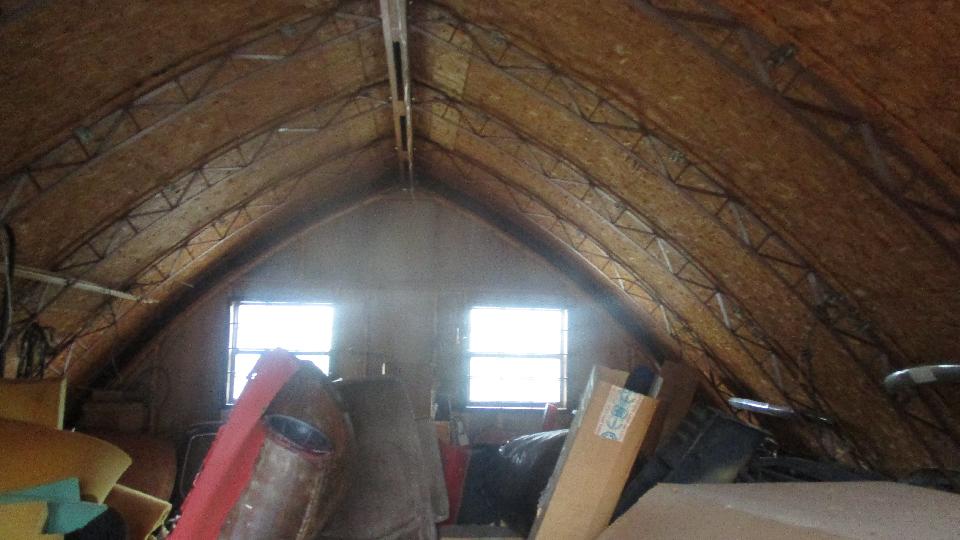
Saturday February 10, 2018:
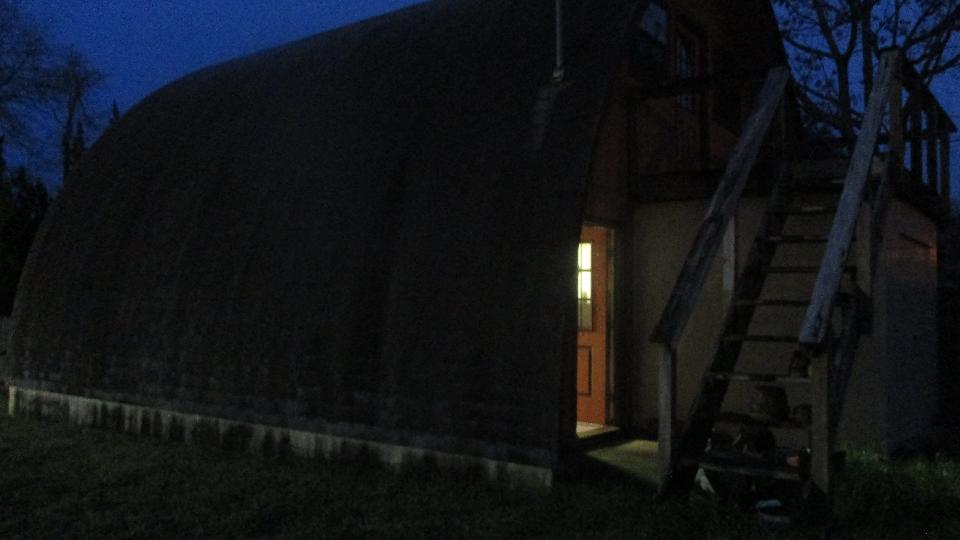
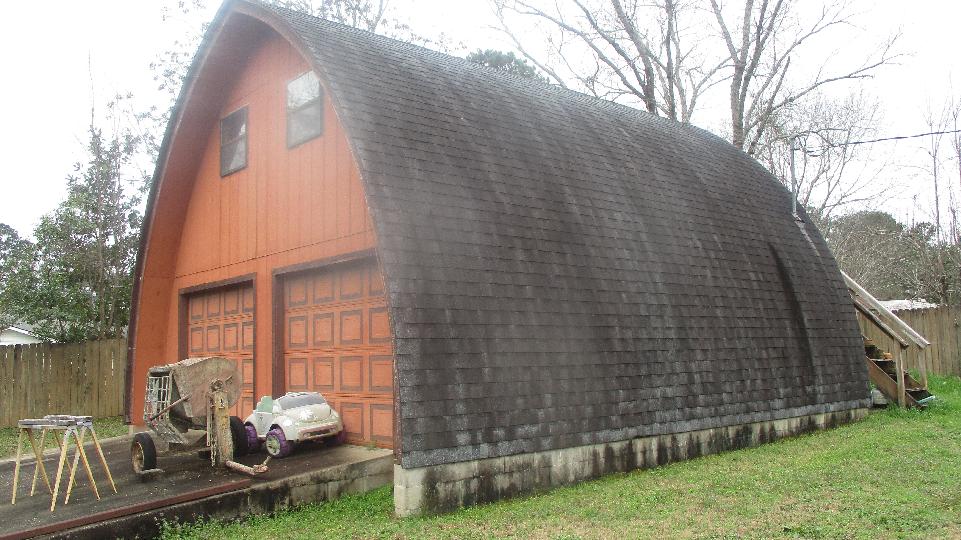
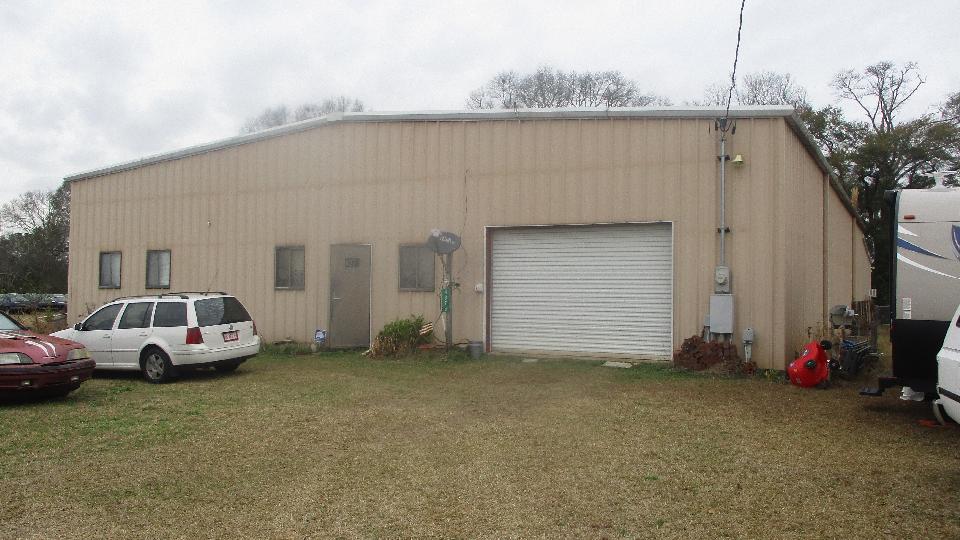
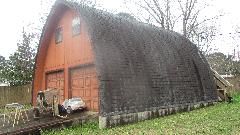
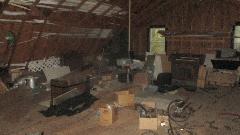
Ah, morning, so let's check out the attic. Plenty of treasure parts up here, but I was more interested in the Gothic arch structure of the building. Then we were off to visit their "new" property a few miles away. Measure this in acres, mostly high and dry, except it has been raining for days. The slightly soggy ground is delaying delivery of a storage cabinet, 8x40 feet. Meanwhile check out the existing building, 60x100 feet with 14 foot side walls. Just inside the front door center and left is an apartment, sufficient for living there while they will be building a new home out front.
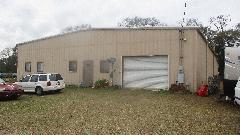
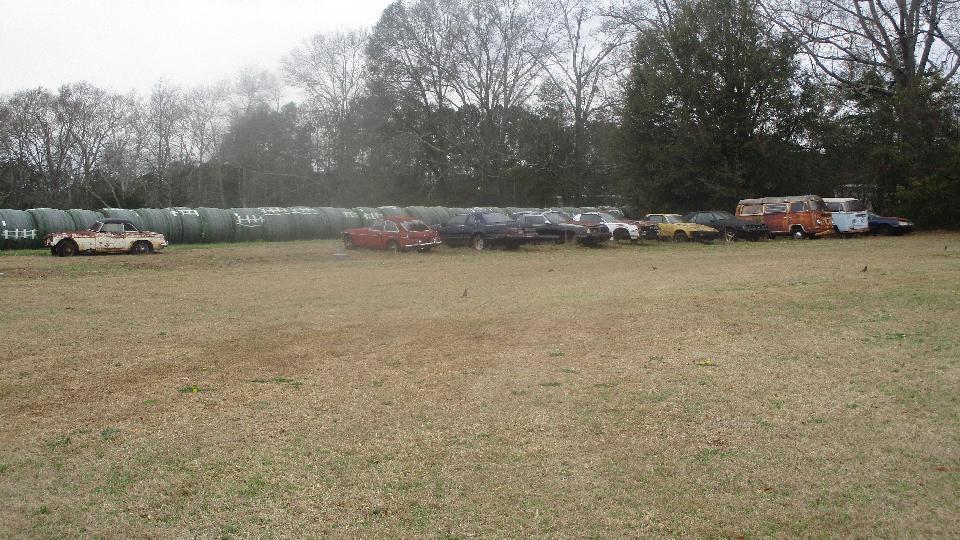
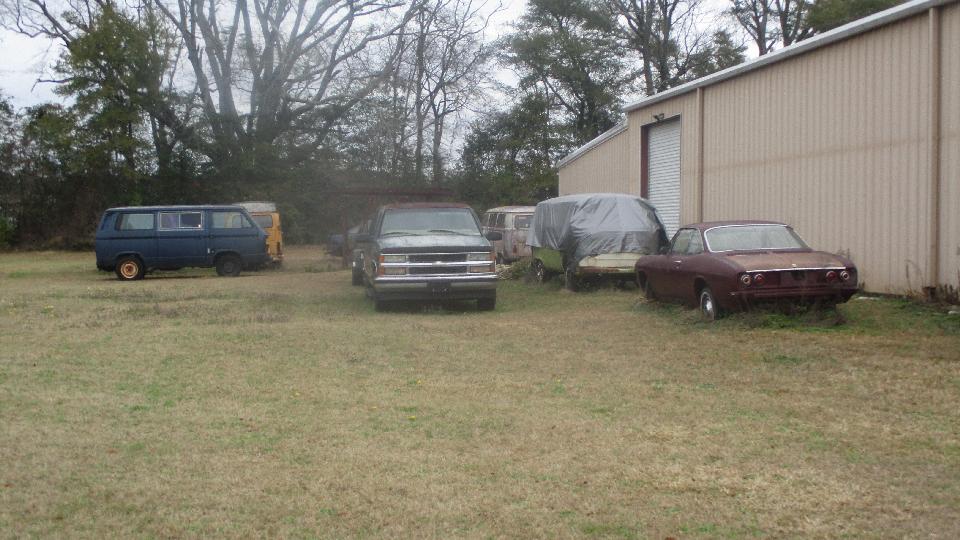
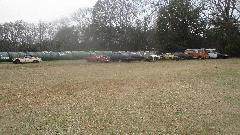
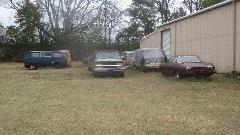
One lap around to check out some of the lesser toys outside. Apparently they like MGB, Mustang, Thunderbird, Camaro, trucks, VW's, and the occasional Corvair. I am assured that the flock has thinned out some recently, as witnessed by a number of bare spots in the grass.

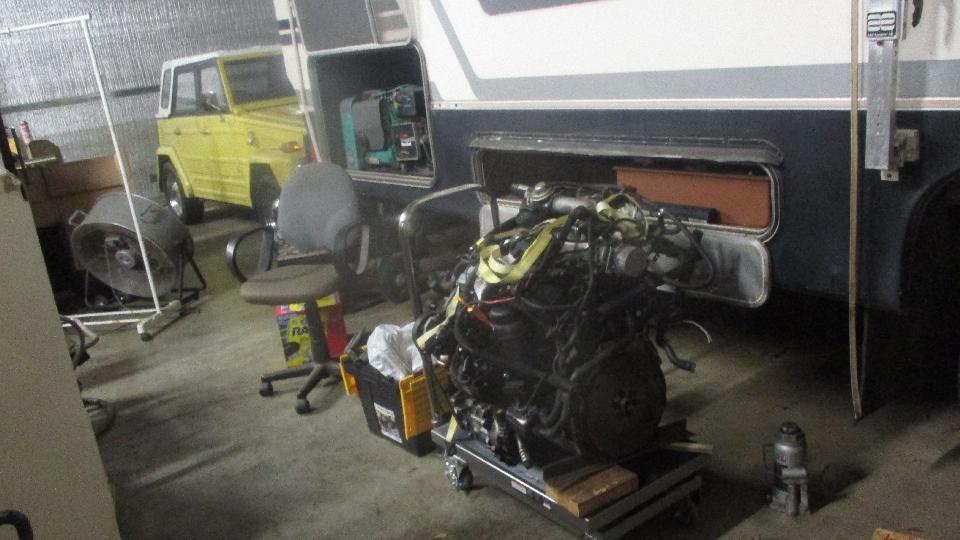
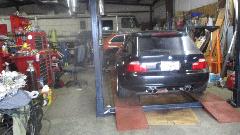
Inside, plenty of work space with a lift. That's BMW M3 soon to be looking for a new home. Just behind it the lady's long standing pet MGB GT. Behind that the little motor home in the back corner (at least 40 feet long). Beside the motor home is a spare VW turbo diesel engine (one of multiples), and behind it sits a VW Thing, low mileage all original and in very good condition. These are some of the 14 vehicles they have licensed and insured (which is why they are parked inside). And there was that TR6 and TR7 tucked in between the lady's MGB GT and the roller home.
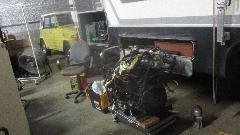
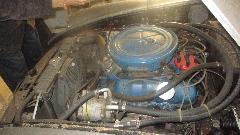
I'm sure I lost track of the number of spare engines sitting around. This one must be a 454 truck engine with automatic trans and parking brake on the tail end. Step through what I thought was the back door, and we were in a paint booth, which was an add-on to the main building. That's a TR8 with the fresh gold paint job and tan rag top (and to my surprise 13-inch wheels which were standard issue).
Close at hand was a Mustang waiting for finish painting, and in the back corner an MGB GT with V6 transplant.
 There were a few more vehicles inside, just got tired of taking pictures. Got a quick tour of the ground level apartment where the bedroom is currently serving as an upholstery shop, and the attic space stores more upholstery materials (next to the air conditioning space). Easy to spend hours here just discovering new treasures. On the way out we passed a travel trailer home and the Diesel truck that commonly tows it. Then back to town for dinner and time to catch up on the web work.
Sunday February 11, 2018:
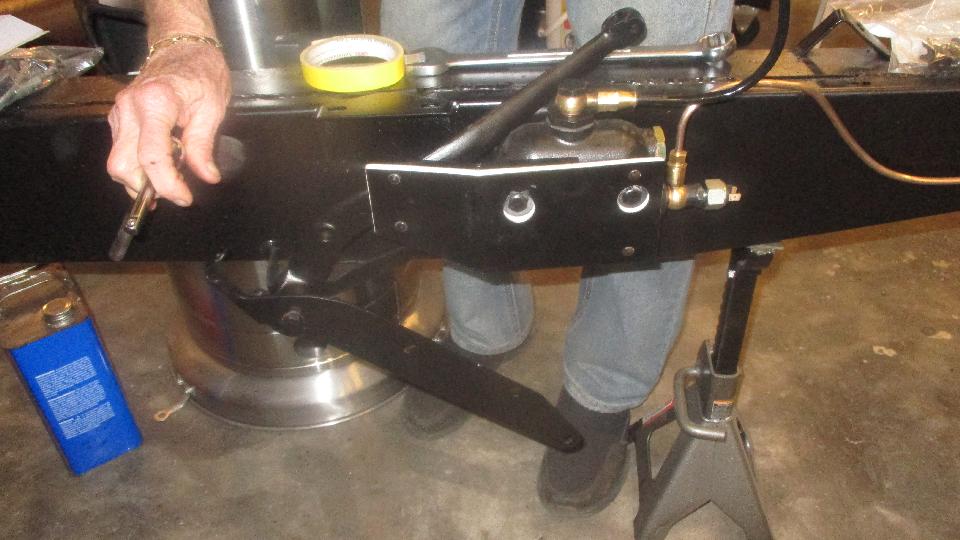
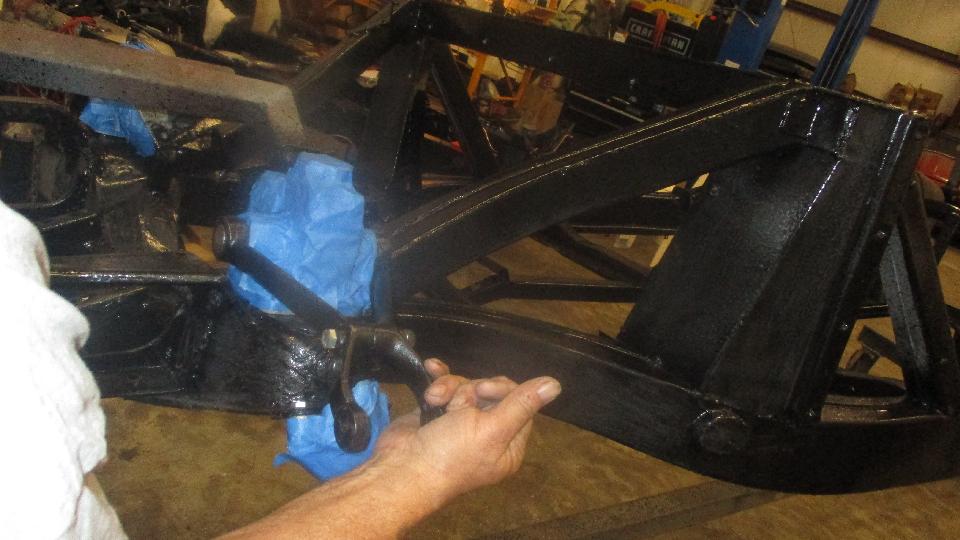
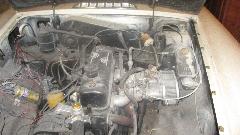
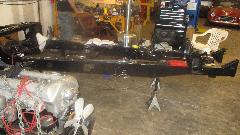
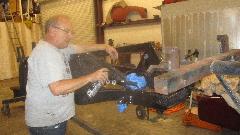
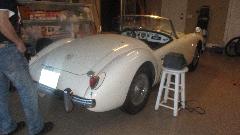
Another adventure today, back into Enterprise, Alabama to visit Jerry LaCross and a few of his toys. Feeling more at home her, there is an MGA chassis nearly finished, hooked up to test run the engine. A bit difficult to start and not wanting to idle, but a little tune up soon set that straight. The body is in the paint shop, about to return any day now.

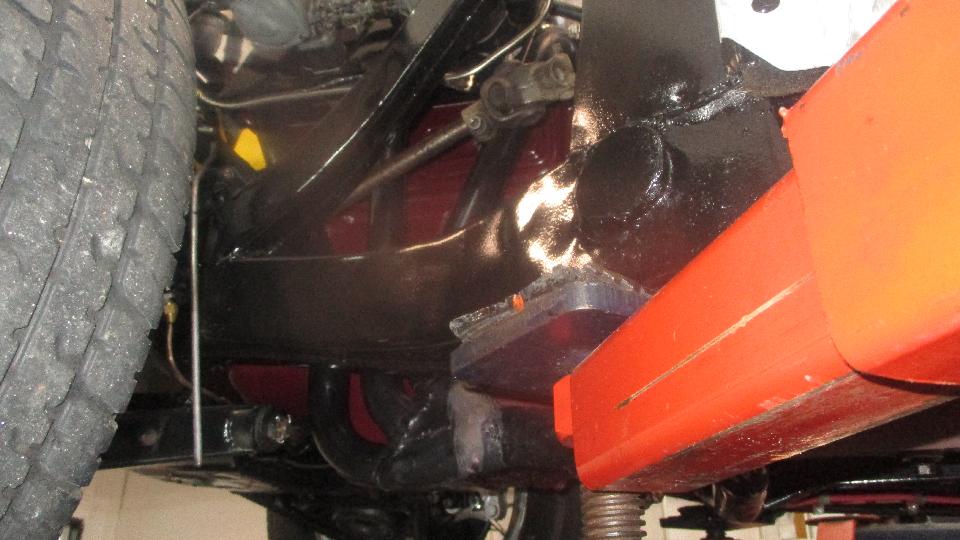
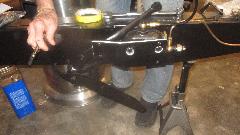
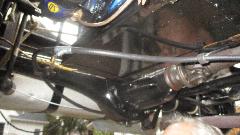
Just checking it out, the fuel tank is silver paint (not galvanized), and yes the muffler is upside down (easy fix). Nice 3-into-1 tubular headers (all in one plane), tucks right in between engine and steering column on the LHD car. I hadn't seen this one before, but supposedly off the shelf commercial product.
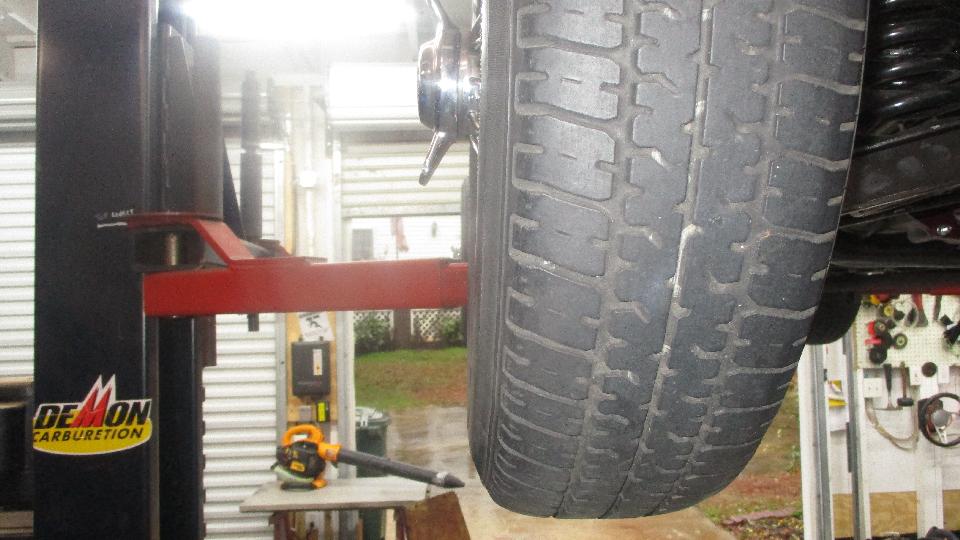
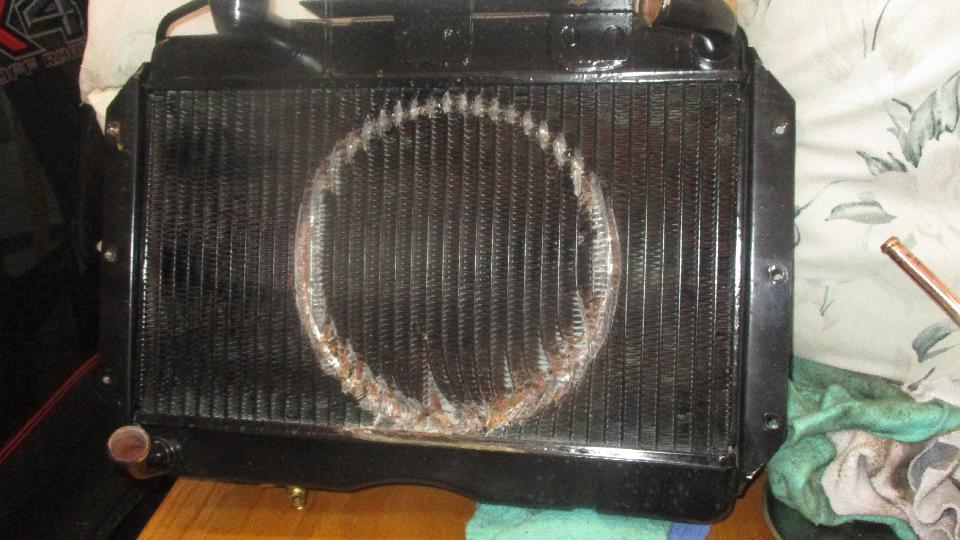
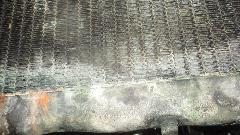
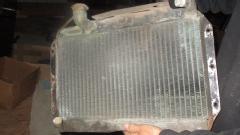
Noticing some odd tread wear on the RF tire, I lined it up straight to site down the sidewalls. Looks like about two degrees negative camber, not intentional. Hard to see, but also looks like a slight banana bend on the swivel pin. Probably not enough to account for all of the camber error, so suspect also a slight twist in the frame. This is the sort of thing you want to catch early and fix before getting too far along in assembly. There was the nicely re-cored tube-type radiator that took a big bite on first start up of the test rig. Ouch. Glad I wasn't in the room when that happened, likely inspiring some interesting new colors of language. Must do better mounting brackets before the next try. Well, maybe it will inspire another re-core with original type cell core.


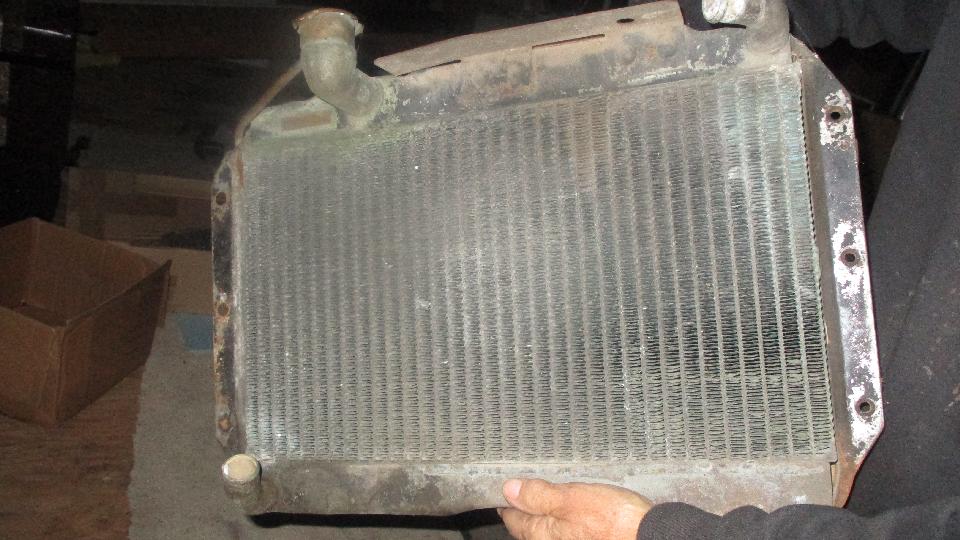
Meanwhile the original cell core radiator was set up for engine testing, but it may have a leak. A trip to the attic found another cell core radiator apparently in better condition. Once the car is finished I'd like to bum one of these cell core radiators for my own car (as I don't have the right one either).
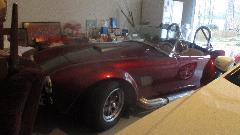
The attic also coughed up a nice original steering column lock ignition switch with "start" position (used with a starter solenoid), original issue for Swedish or German export cars. A quick note about correcting location of P-clips for rear brake pipe and parking brake cable, and don't trip over the Cobra replica on the way out.

 Early evening we retired indoors (to get out of the rain). I'm sure there must have been a little car chat and some photo review. But put three veteran helicopter pilots in the same room (not me), and five hours can disappear right quick. Late night when others get to retire I get to go to work, and I think the sun was coming up before I got to sleep.
Monday February 12, 2018:
Up by mid day to check email, by mid afternoon it was time to point it north and step on it. One fuel stop and two

 hours later we arrived at Jan's Beach House, AL for a dinner meeting with British Motoring Club, Montgomery, Alabama. A little shy on turnout in the dribble, but a friendly group, about 18 people. We were here a year ago (also two years back), but some of tho folks hadn't heard about our follies yet, and others were anxious for a update. Good dinner, good time, and we finally retired to a WiFi spot around nineish.
Tuesday February 13, 2018:
Thought we had an appointment today, but it turned into a postponement for a couple of days due to foot surgery (not mine). Just as well, as we were so far behind on documentation that it took most of the day just to catch up on photos and notes in this trip log for the past four days. And to top it off, I received the electronic copy of the CMGC newsletter which I will be posting on the club web site, so let me hide for a while, and check back later.
Wednesday February 14, 2018:
A few tech questions, and a day in arrears I can't remember what I did the day before, but it was busy enough that I didn't get to the CMGC newsletter. Had some WiFi problems and couldn't post anything to the bulletin boards, so I saved a couple of responses to post later. Got a definite appointment for tomorrow.
Thursday February 15, 2018:
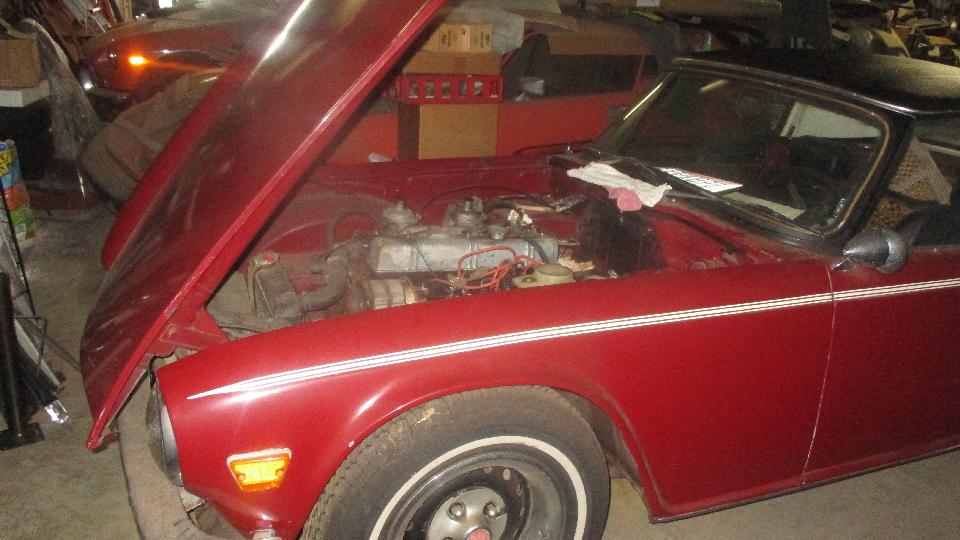
Off to visit Dan Byrne in Prattville, AL today. He has a 1979 MGB LE reported to have starting difficulty and performance issues, electronic ignition and a Weber carburetor, and "runs best without the vacuum connected". Well, 79's are kind of like that, but the change to Weber carburetor does strange things if not properly configured. The cylinder head had been off for inspection, now reinstalled, and the engine and gearbox back in the car, bolted down up front but not yet in the rear. Lots to do, as he wants to drive it for the Saturday tour.

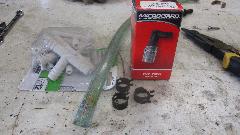
There were a few trips to the magic trailer for miscellaneous fasteners, some discussion about the prior carburetor transplant, anti-run-on and fuel vapor recovery. To avoid the scummy stuff forming in the valve cover, a trip to the parts store to pick up a PCV valve and a few related fittings, and that turned out to be a fairly easy fix. For the curious, that's a MicroGard PCV valve #PCV395 from O'Reilly Auto Parts, replacement for Fram FV395, 1/2-inch on the bottom end and 3/8-inch on the side outlet, plus a 3/8-inch hose Tee.
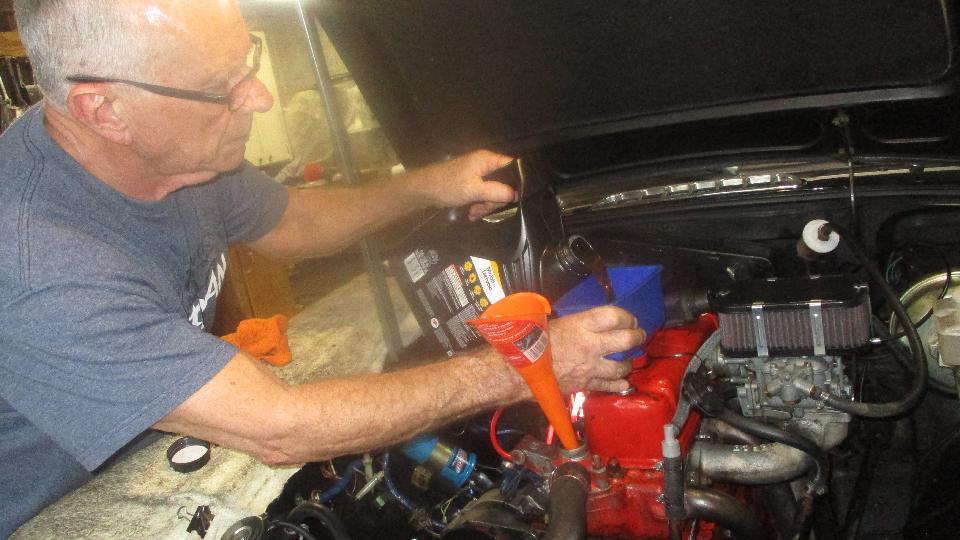
While trying to seat a set screw we discovered the rocker shaft was upside down, which can screw up oil delivery to the rocker arms, so we rolled that over and properly installed the set screw and locking plate, and replaced a few missing fasteners on the rocker pedestals. Fun with final valve adjustment, getting the right fasteners on top of the valve cover, connecting hoses and throttle links, topping up the fluids.

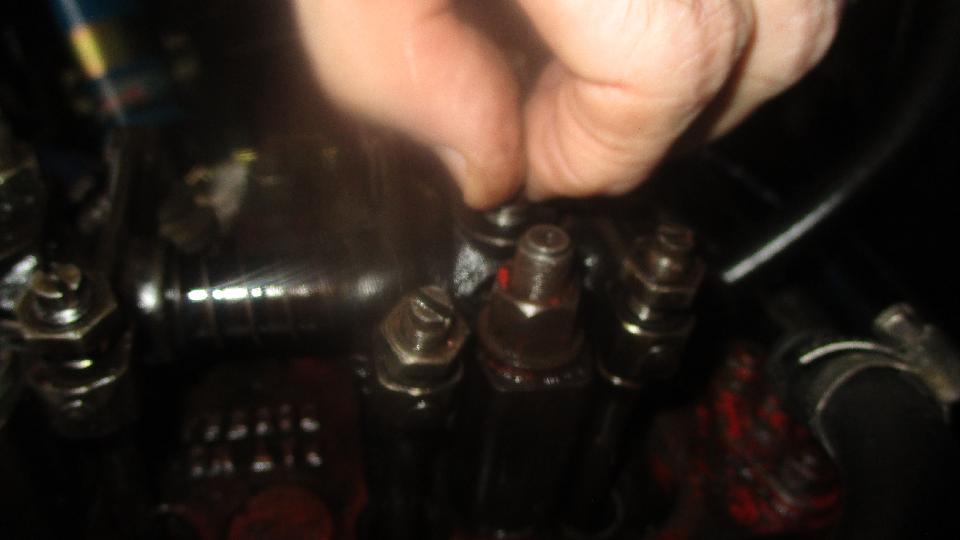
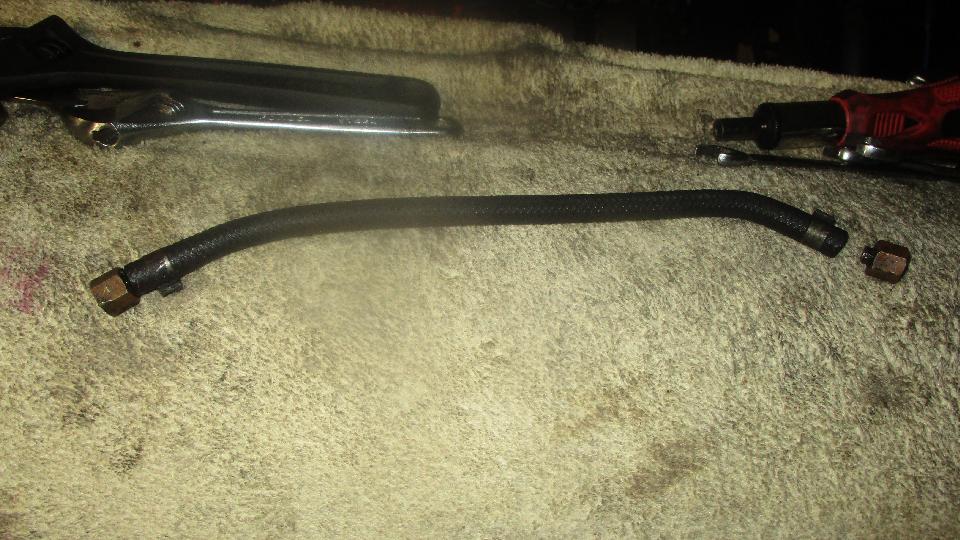
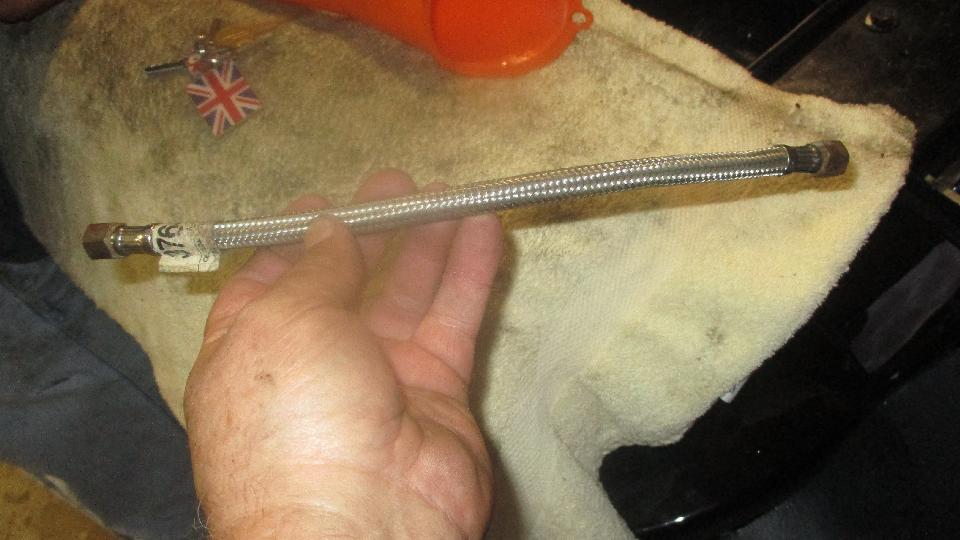
There was a brief panic when we discovered a broken end on the oil pressure gauge flex hose, but the magic trailer coughed up a new one post haste, and we were back in business.
Another issue with the exhaust pipe being two inches short of connecting to the header flange turned out to be a rearward slippage through the rear pipe hanger, easily adjusted. Some fiddle with the heater valve control cable, kind of short and frayed, should be replaced (sometime later). Almost there, getting anxious to see if it would start and run, switch on and power, but no cranking when the key was turned. We recon a couple of wires not yet connected on the starter motor, but getting late and running out of steam, so call it a night and we'll get back to this tomorrow.

|