The MGA With An Attitude
MGA Guru Is GOING MOBILE - (January 16 - January 31, 2018)
Tuesday January 16, 2018:
Got my monthly trip report off to CMGC (which in itself is a large enough effort for one day). A small update on gearbox disassembly in the gearbox rebuild tech pages. And some time for advice on too-high oil pressure and how to fix it. Our little red car with Illinois license plate in the parking lot is a publicity magnet. Had two walk-ins today, both from our home town Naperville in Illinois, or having family there.
Wednesday January 17, 2018:
Spent some time adding some new cylinder head casting numbers to an engine tech page, and a new web page on repairing broken studs on the back of the dash panel. Went overboard (too much time) in a discussion about how the CMGC club newsletter is posted on the club web site. Finally finished the new tech page on cross reference part numbers for MGA Twin Cam timing cover seal.
Thursday January 18, 2018:
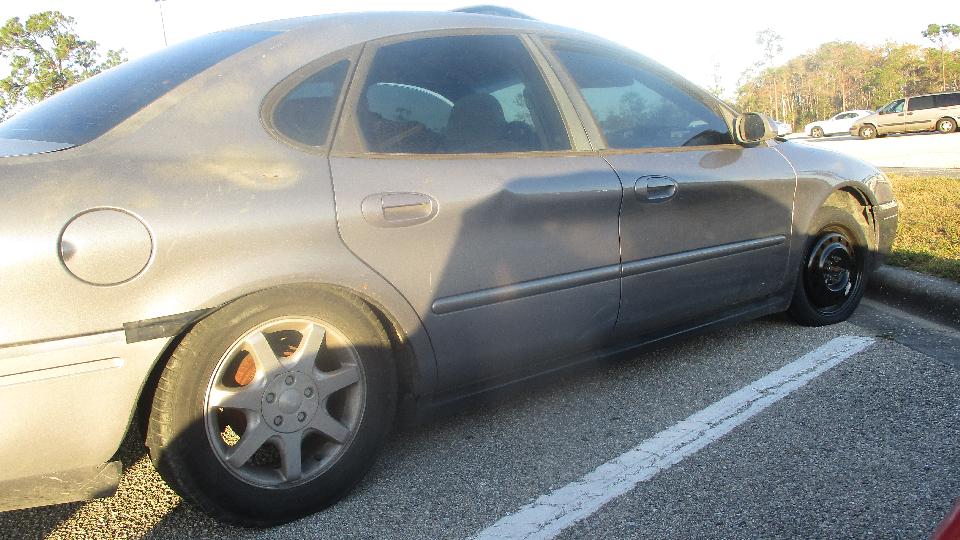
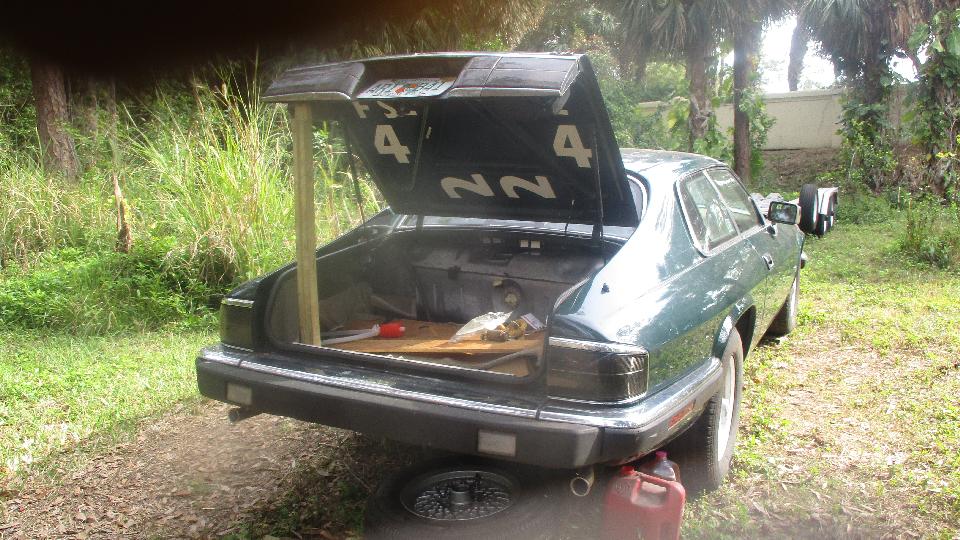
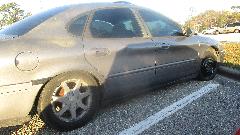 During our breakfast stop today I got a little chuckle out of this situation. Not too unusual to see an emergency-only spare tire on a car, but this on appears to be very low on air. The owner apparently thought that breakfast was more important that getting it fixed. I'm guessing there is the full size tire flat in the trunk. Also from the slightly shabby condition of the car, maybe it has been driven like this for some time, and maybe it won't be attended to until the emergency-only tire might fail (and I hope it doesn't happen at express speed).

 We had a very fortunate walk-in today, Richard MacDonald from Fort Myers, FL. He's the bloke we ran into at the club meeting a week earlier, but didn't get his personal information at the time, but now we do. He has an MG TF, fairly recent acquisition, nice car that runs okay, wanting a badge bar, may need a few minor tweaks. We may get to catch up to this one later. We had a very fortunate walk-in today, Richard MacDonald from Fort Myers, FL. He's the bloke we ran into at the club meeting a week earlier, but didn't get his personal information at the time, but now we do. He has an MG TF, fairly recent acquisition, nice car that runs okay, wanting a badge bar, may need a few minor tweaks. We may get to catch up to this one later.
Took a shot at trying to explain (via email) best way to determine an MGB engine type (for ordering replacement parts) when you don't have the original engine number (missing number tag), and it might be a mismatch of replacement parts already in the car. It ain't easy. Also a little time discussing adjustment of door gaps for MGA restoration work. Renewed my membership on the British Motor Trade Association (hoping this relationship may have some future benefit to the MG community).
Friday January 19, 2018:
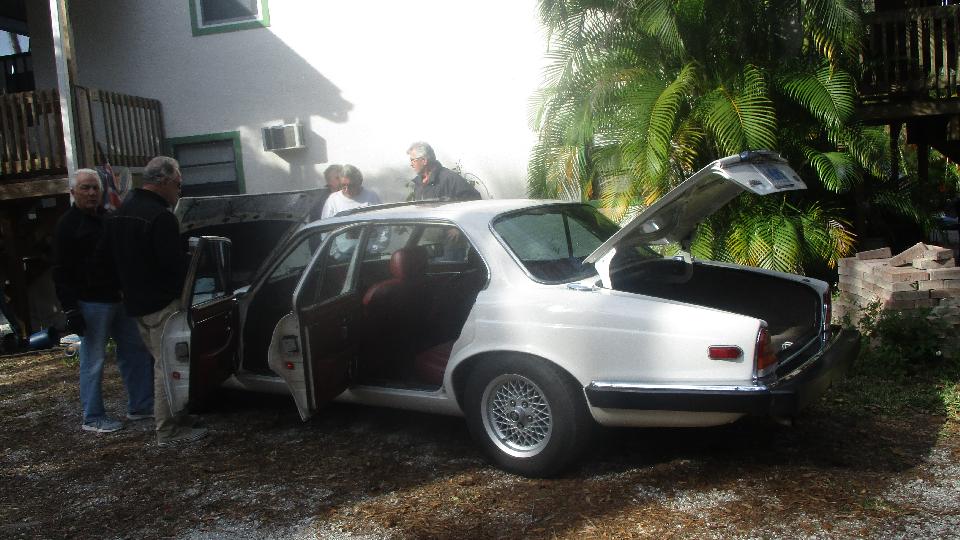
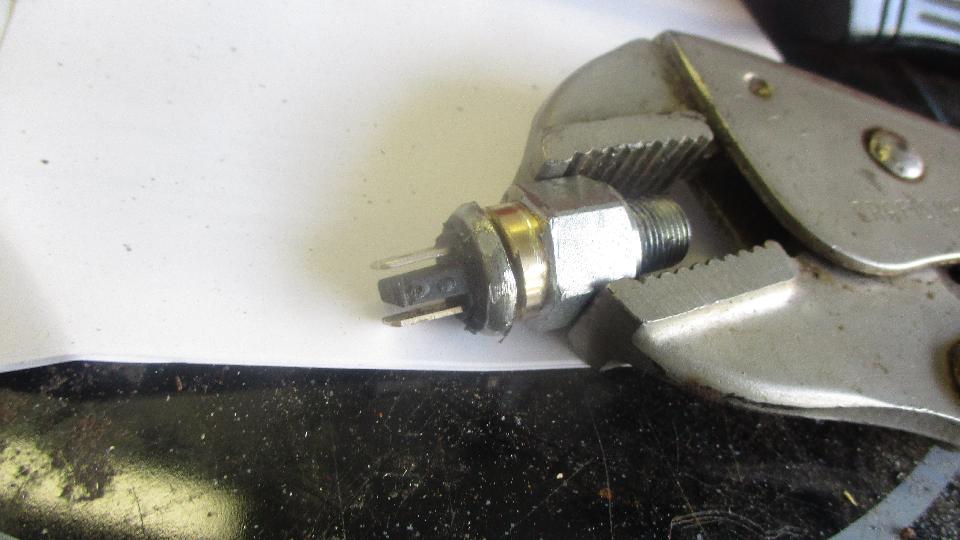
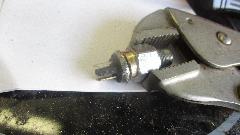
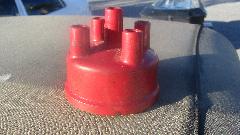
Still hanging around southwest Florida during the unseasonably cool weather, so might as well have another visit to Tech Central in Bonita Springs. Typical opening scene with several people nit picking a few issues on a modern Jaguar. Then there was this nice MGA we have seen before, but having no brake lights today, which seems to be a reoccurring problem. This turned out to be another failed pressure switch, which we quickly replaced with a spare from the magic trailer. The failed switch was Intermotor brand, apparently requiring very high pedal pressure after only 250 miles of use. This reminded me that today could be a good opportunity to cut open some failed switches I have been carrying around for a while.
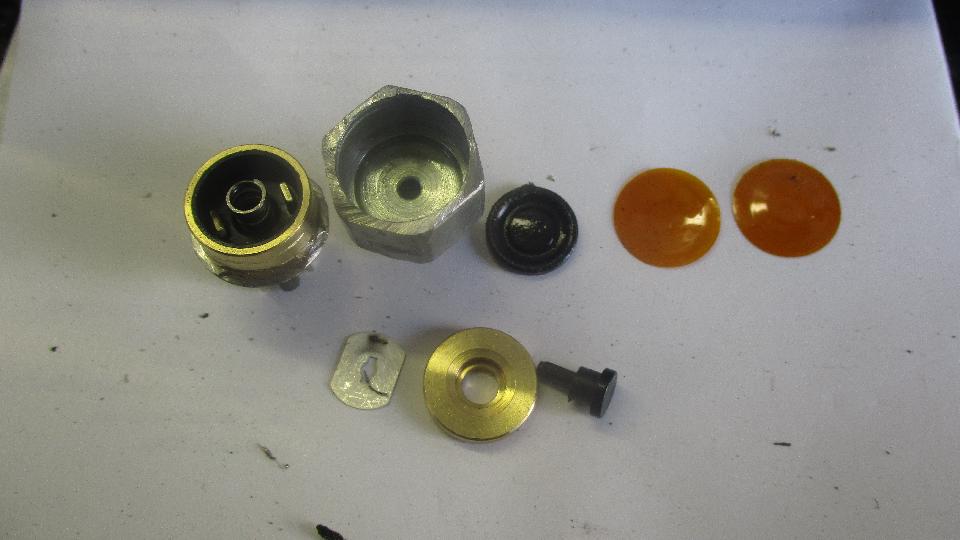
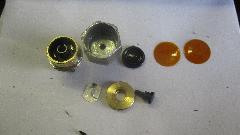
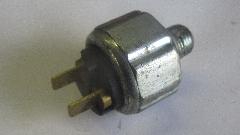
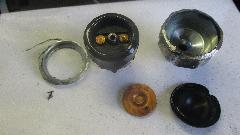
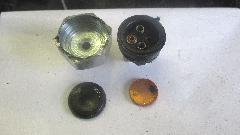
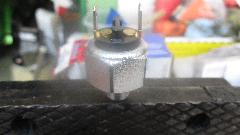
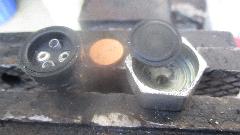
The first one I cut open today was the $23 Harley Davidson switch, made in USA (for all that's worth) purchased November 2014, installed April 1, 2015, failed June 2, 2015 after 8074 miles. Aside from being small, it has the same general (bad) design as other quick failing pressure switches. A rubber diaphragm pushing a spring loaded washer, and slow-make slow-break contacts that will burn with electrical arcing. Here there was an additional thin metal contact plate with some kind of plating, but it didn't help. See the black burn mark on the silver colored contact plate, and the burned mating contact in the cap holding the spring. The two thin orange plastic discs were positioned between the rubber diaphragm and the brass washer. That may be a way to fine tune the pressure requirement for switch actuation.
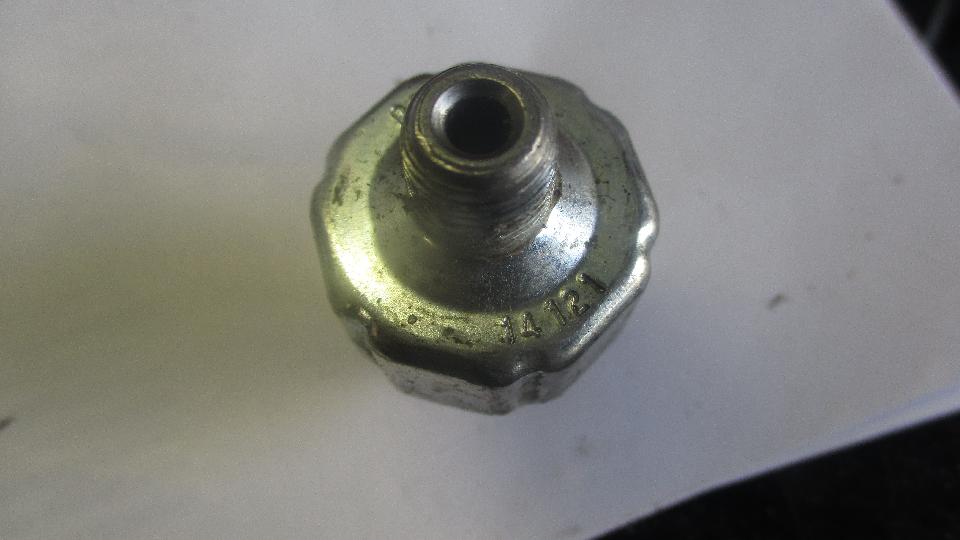
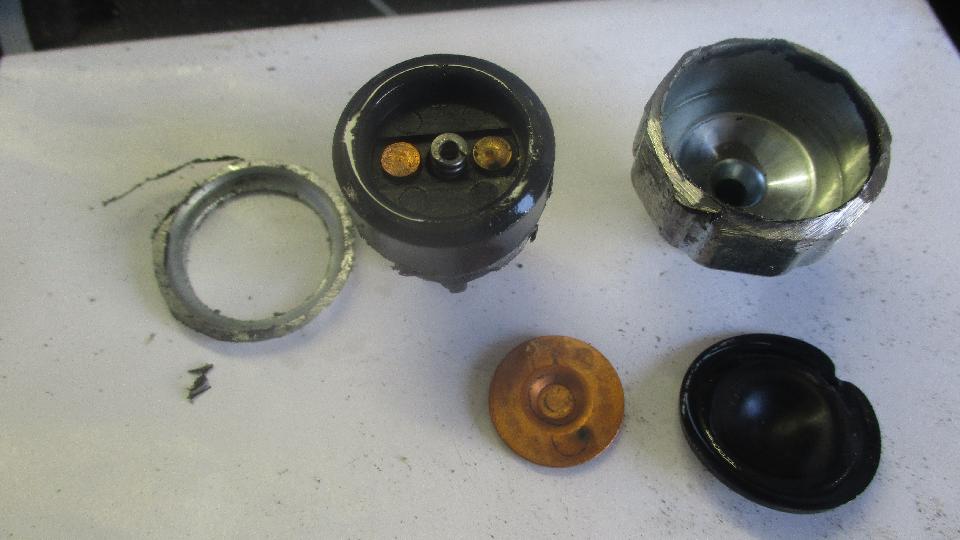
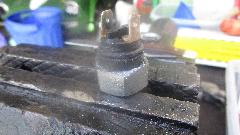
Next up was a NAPA Echlin SL147 switch (made in Mexico as is quite common) installed June 2, 2015, failed July 3, 2015, at 5272 miles. It was inevitable due to the same spring loaded disk and slow-make slow-break arcing contacts. Hard to know how long ago it was when "big business" conscientiously decided to stop making good switches to save a few pennies.
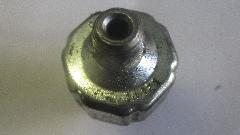
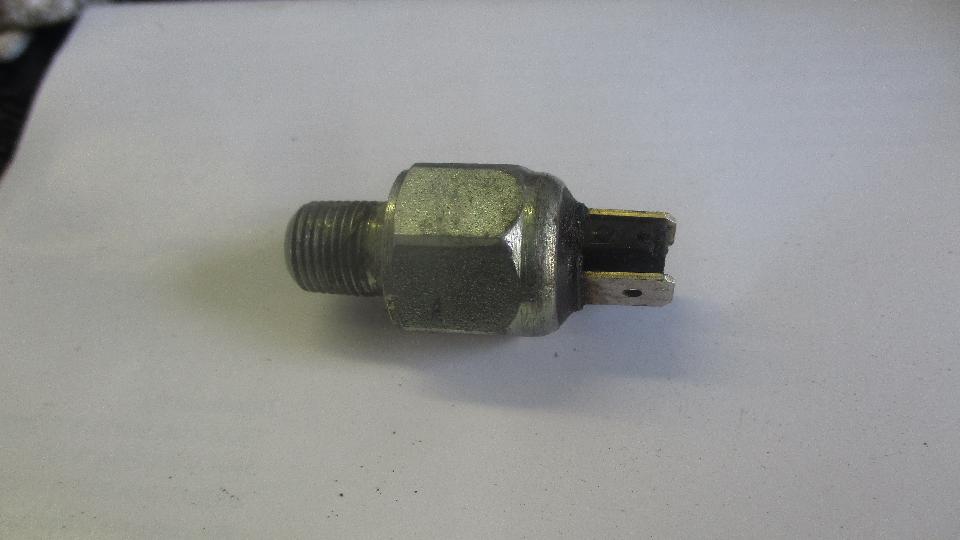
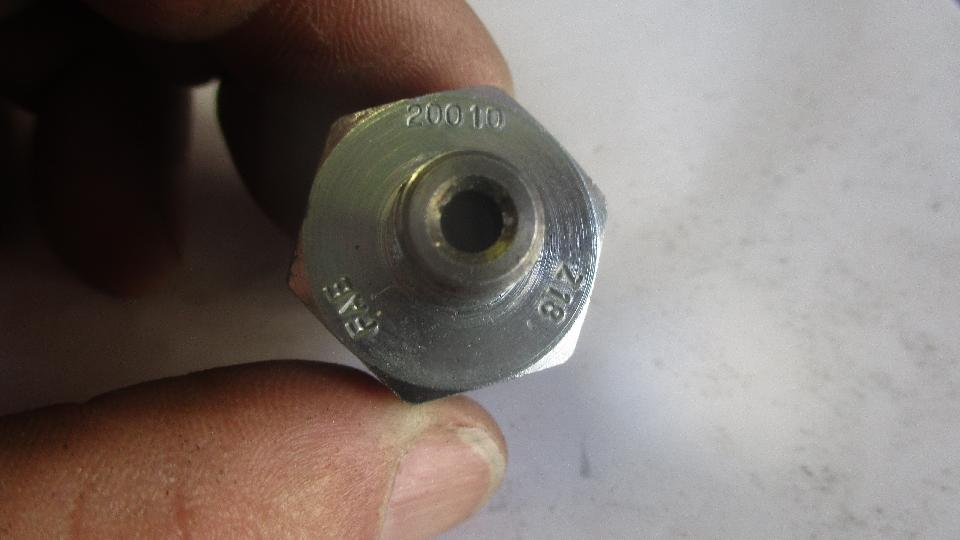
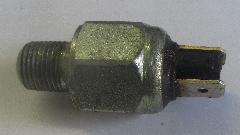
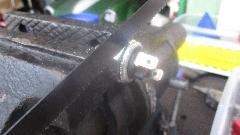
And then the switch we just removed from the black MGA, failed after 250 miles. I was told this came from Moss Motors (not sure), but the manufacturer is FAE, their part number 20010. Same story, slow-make slow-break and burned contacts.
 The Miata is getting closer to cruising. They got the hood latch installed today (after a lot of puzzling over how it works).
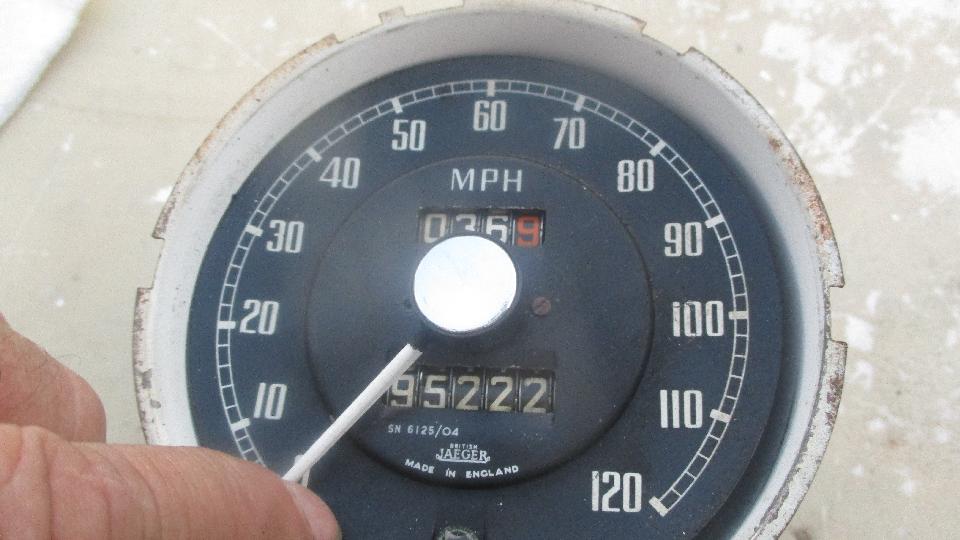
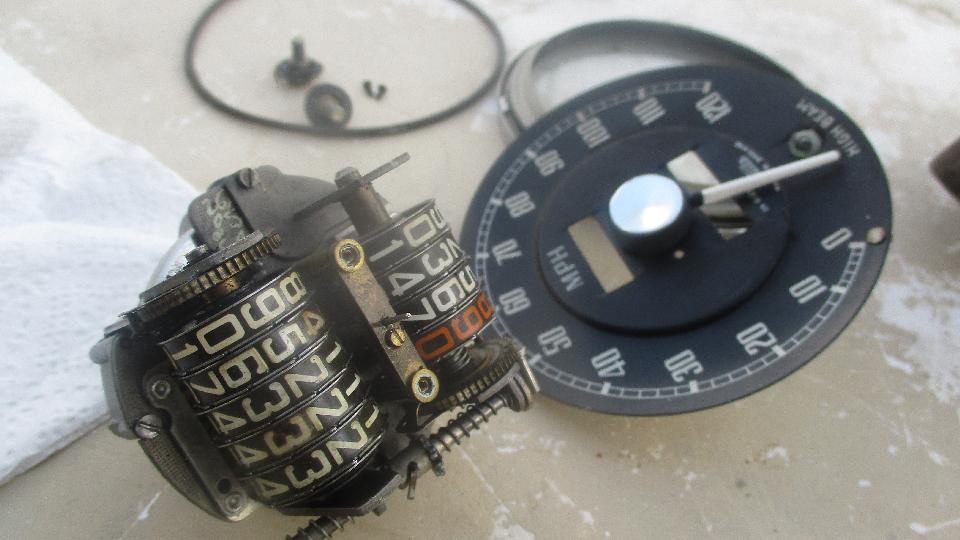
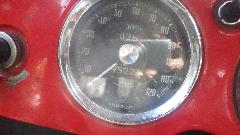
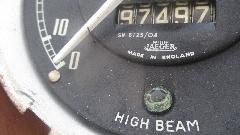
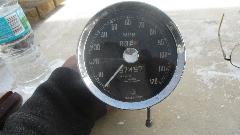
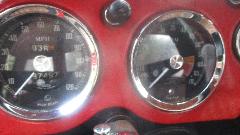
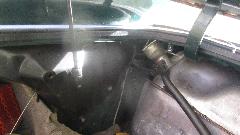
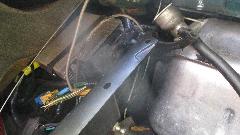
As things were winding down, and we had a little time to spare, I took this as a good time to adjust the miles display on my MGA odometer. I wanted to add on the 2275 miles that was lost when the speedometer drive cable was broken last spring. Reach behind the dash, extract two bulb sockets, disconnect the drive cable, remove two thumb nuts with lockwashers, knock off the ground wire, extract the clamp bracket, and pull the instrument out the front of the dash, all with fingers only, five minutes tops. On a clean table, give the chrome bezel a twist and pull, and pull out the glass along with the light shield ring. It helps that this was apart recently. Note and write down the mileage. Note that there is a little spring wire that the needle rests on. You can depress this wire by pressing on the wire tip, and let the needle swing downward past the wire. Hold the instrument upright as it would be in the car, and note the free hanging position of the needle. You will want to reinstall the needle in the same position with later reassembly.
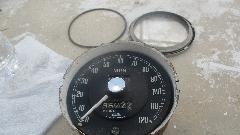
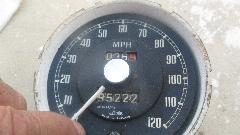
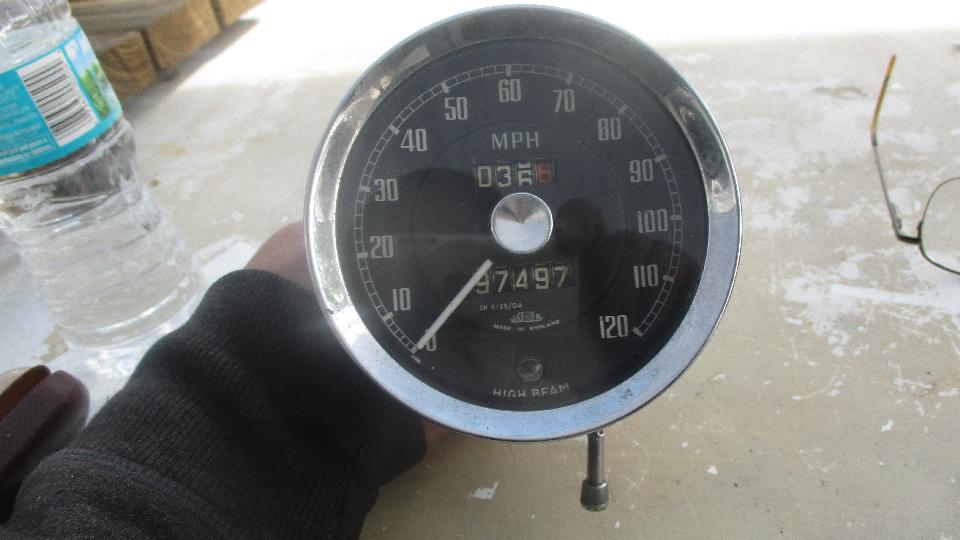
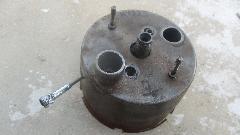
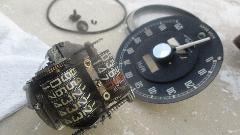
Remove two screws from the back to release the works inside, and then the tricky bit. Because the trip odometer reset shaft restricts motion of the works, one must remove the indicator needle (pry gently under the hub, don't bend or break anything), and remove two small screws to remove the face plate. This would be easier if you could remove the knob from the reset shaft, but otherwise I did a little creative tweaking of the shell around the shaft passage area, and after a bit of pushing and shoving, the works was in hand. For number setting, wind the sprocket on the left a full turn until the ones wheel advances by one. Continue until the ones wheel gets around to advancing from 9 to 0, but stop about half a digit before 0. In the right position this will unlatch the tens wheel, and you can then nudge the tens wheel to advance to similar position, just shy of tripping over to 0. That unlatches the hundreds wheel, which you can turn forward. Keep going until you get to the left most wheel that you want to reset, pushing it up until it clicks into the desired number position. Then move one wheel to the right, and push that one around to the desired number. Continue right in a similar manner until you have the display mileage you want. Easy peasy once you get the hang of it. 95222 + 2275 = 97497. Then put it back in the case, screw it up tight in the back, and reinstall the face plate.
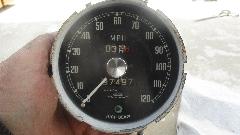
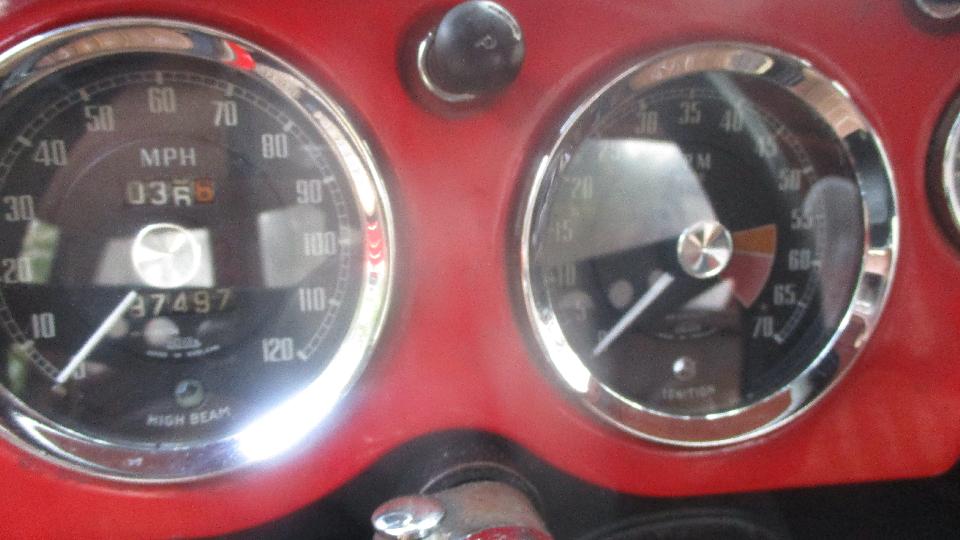
The the fun of putting the needle back on in the original position. Holding the instrument upright, position the needle just below the little spring wire, and press it gently onto the shaft, and let the needle drop. You want it to drop back to the exact position it had before disassembly. If not, then pull the needle off, reposition it slightly, press it back on, and let it drop again. You may have to do this several times before you get the needle position where you want it. When you're happy with the needle position, press the needle hub firmly onto the shaft, then reinstall the light shield ring, glass, and chrome bezel (along with two rubber sealing rings). Everything peachy, reinstall it back in the car. While I was in there I also removed the tachometer to put one drop of oil around the tail end of the input shaft, because it has recently been squeaking when cold. No big deal, it's just maintenance.
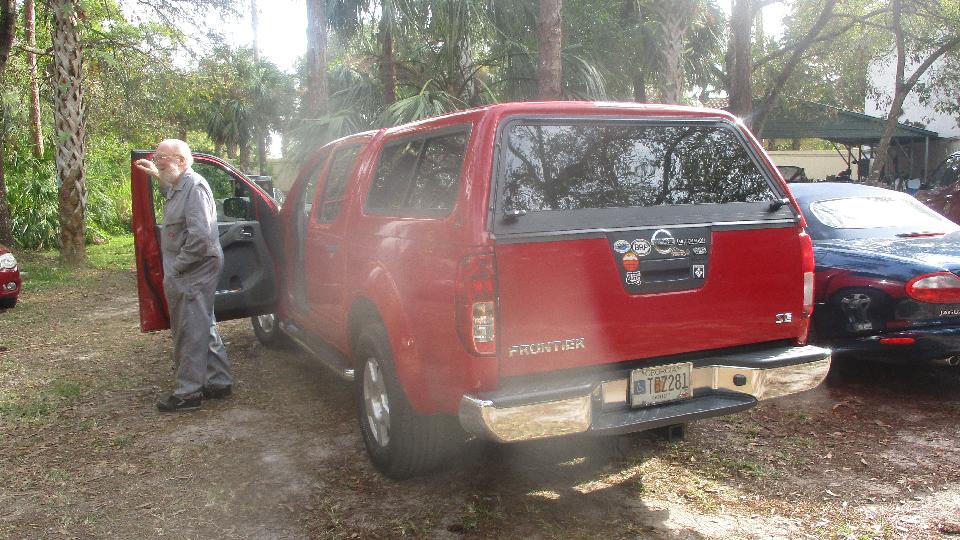
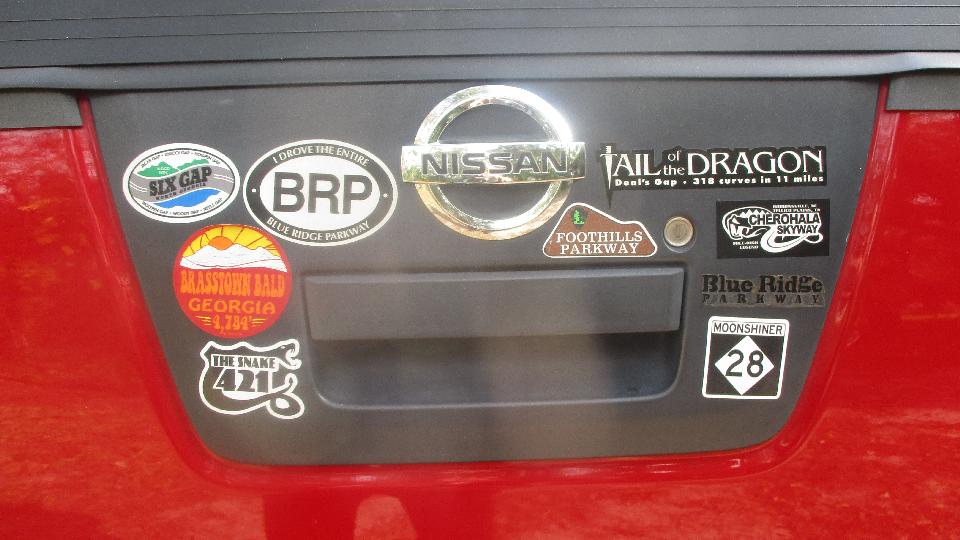
The visiting Jaguar is progressing slowly, more attention to the fuel tank, and some chat about hail dents on top. Also smile for the high mileage well traveled Nissan Frontier.


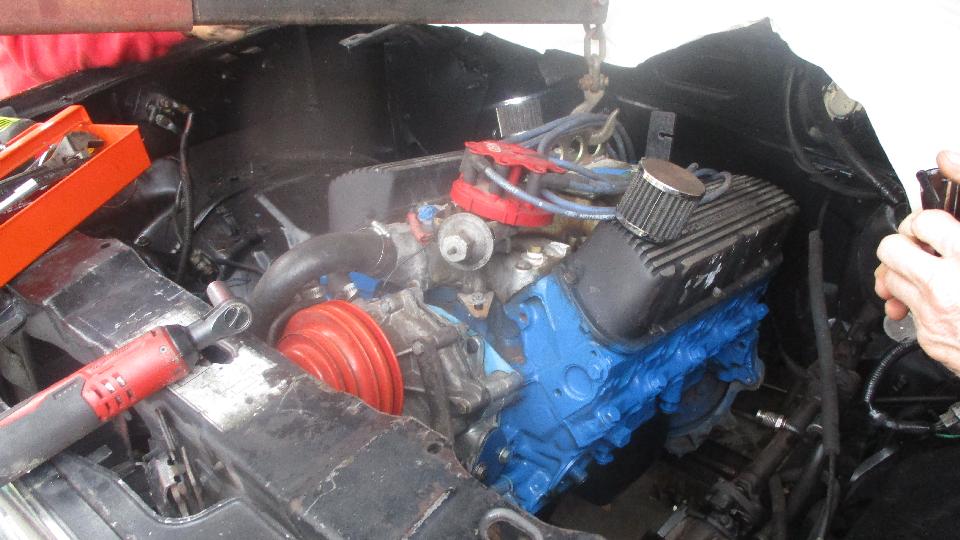
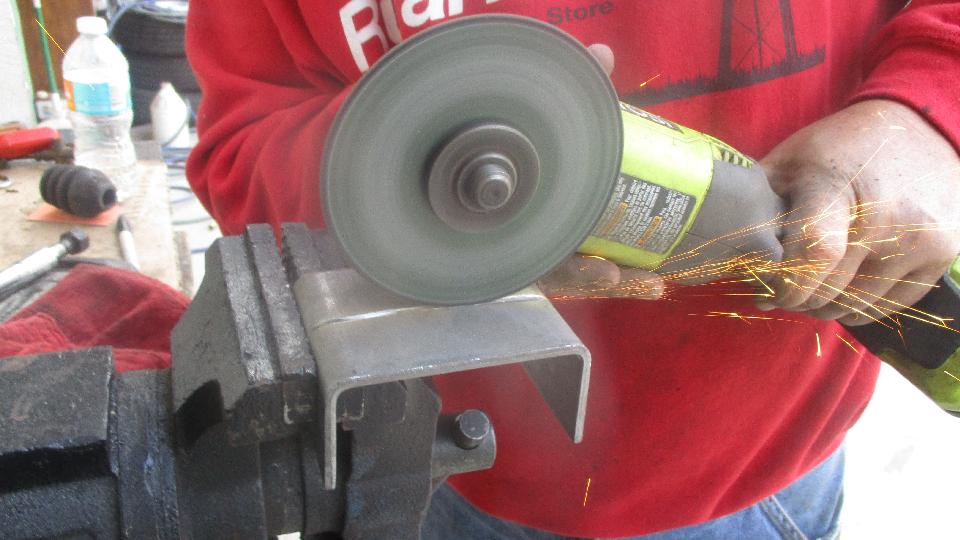
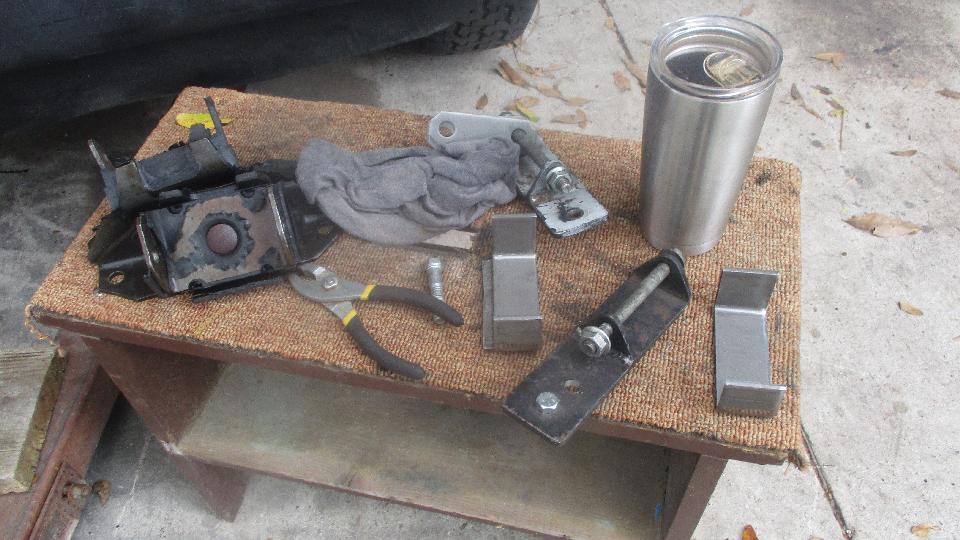
Around the side the Ford Ranger truck is progressing with the V8 engine transplant. Making a couple of custom parts for the engine mounts today.


Later in the evening, a little email discussion on replacement of MGB crown wheel and pinion parts, some of which may be bad when new. Lending advice on repair of a fuel gauge in a 1933 Derby Bentley (surprising myself on what I might know that far beyond my normal field). Then I killed a lot of
 time discussing power converters for installing a negative earth radio in a positive earth car. This led to a new scheme for using a +12V to +24V power converter rather than a -12V to +12V inverter, and a nice update to the tech page.
Saturday January 20, 2018:
This had to be a catch-up day with email and tech questions and bulletin boards until mid day. Then all the photos and notes from Friday, and tech page updates for the dissected failed brake switches. A queston about "variants", non-MG cars built with MG chassis or engine, this time for those built in North America (other than the Nash Metropolitan). Identifying a past life for holes drilled in the MGA door skin.
Sunday January 21, 2018:
An fairly dead day on the internet (no idea why), but there was a discussion on identifying an odd (non-MG) gearbox, and misaligned leaf springs.
Monday January 22, 2018:
Some discussion on style and location of a Flash-to-Pass relay. Questions about LBL304 works racing MGA, and where it raced. A new tech page for wood dash with bright trim on the bottom edge.
Tuesday January 23, 2018:
Posted up more "found" photos of LBL304 works racing MGA from back in the day. Questions on throttle return springs. Fixing some broken off-site web links, where someone else has moved their web pages (which happens fairly often). A question on coolant mix and water pump lubrication. Some discussion about possible future expansion of my web site into additional functions.
Wednesday January 24, 2018:
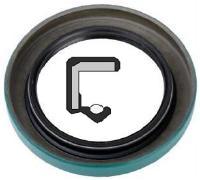
A new web page on MGA Twin Cam rear hub seal and "Dust Cover". A couple of tech page updates for information on the Australian built "1620" engine (which is actually 1622cc). Another brand name for MGA windscreen glass, unfortunately long since out of business. Another picture for original leaf spring ID stamping. Another report of a layshaft with sub-standard hardness (returned to the vendor). Update a web page for oil coolers installed in Australian built CKD cars. Discussion on swapping differentials for Austin A55/A60 cars in Canada (really?).
Thursday January 25, 2018:
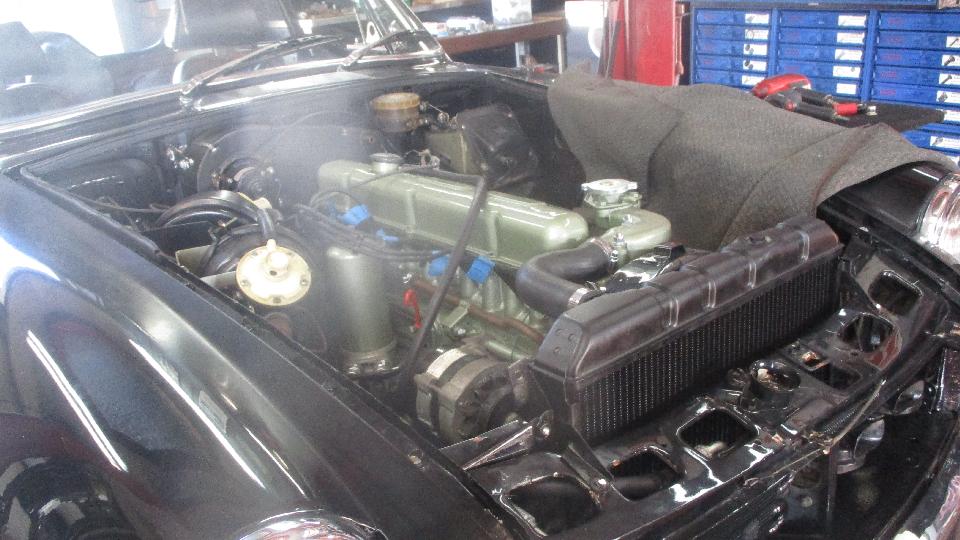
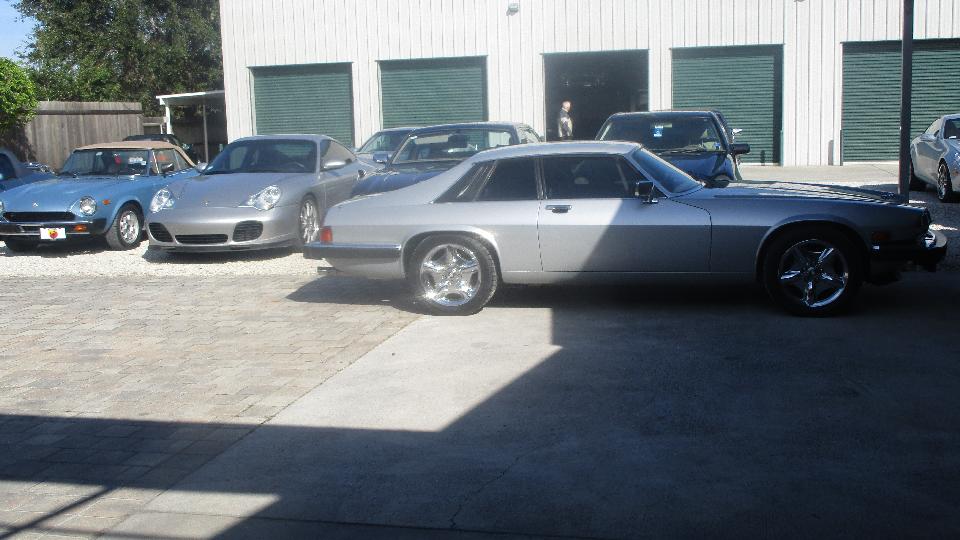
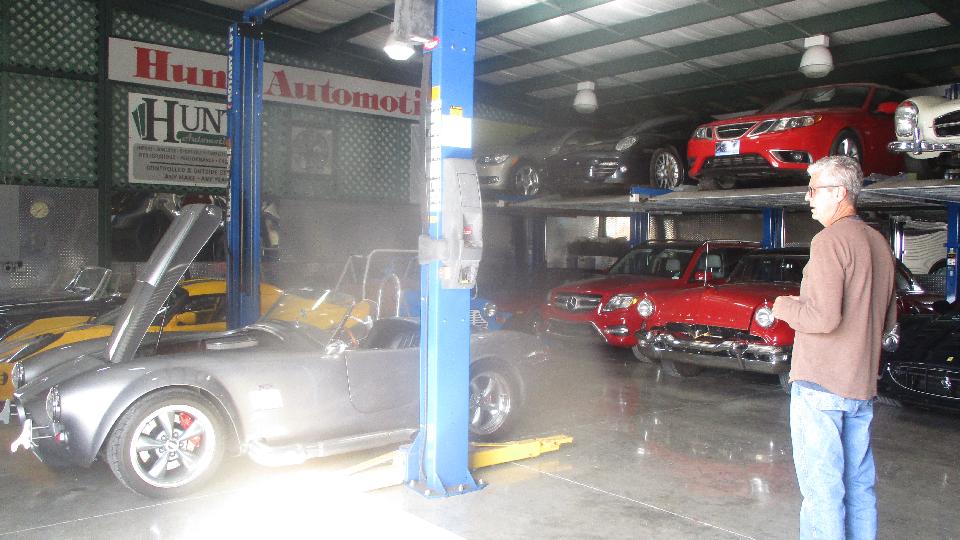
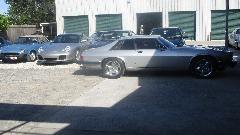
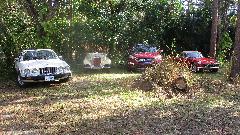
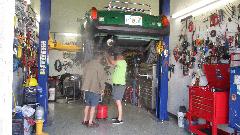
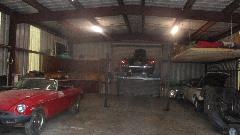
Today we had a visit to Hunt Automotive in Fort Myers, Florida. This place was previously unknown to us, but we were referred here by a friend from a prior club meeting. Say hello to the owner, Rick Hunt. He rather liked vintage British cars, and a few other European models on occasion. We found a few modern Jaguar here, and that's an MGC GT in the service bay.
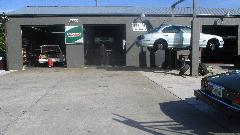

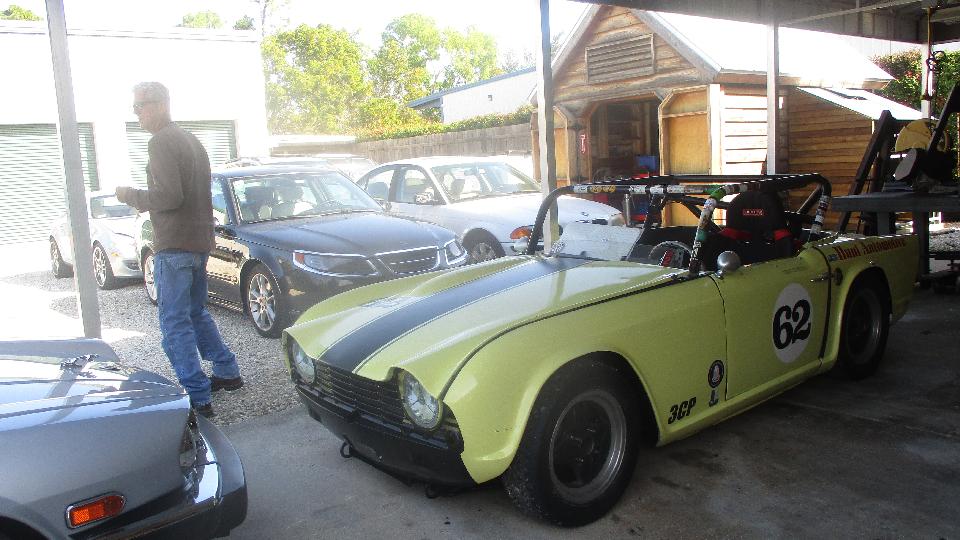
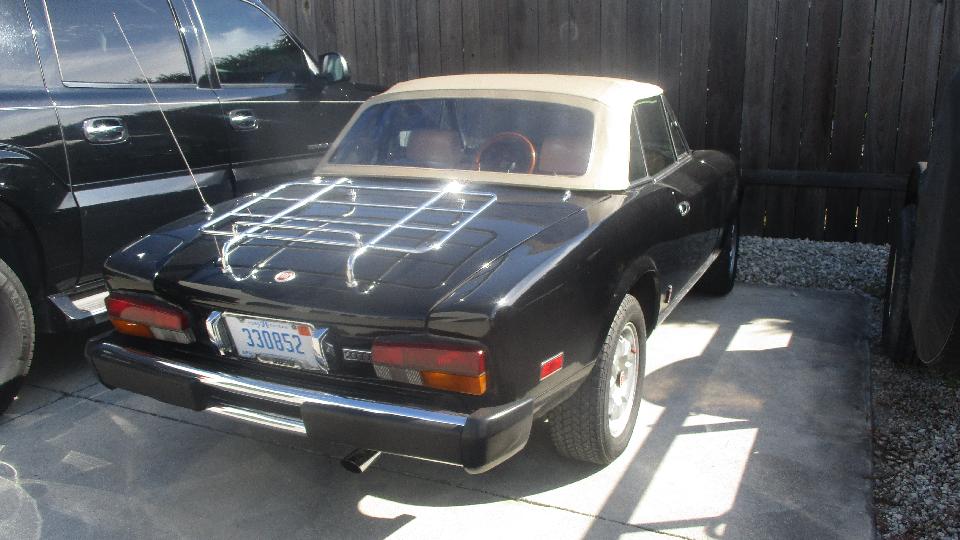
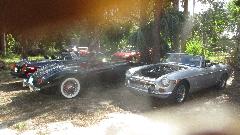
I used to own Fiat 124 Spider, but the ones found here are all Fiat 2000. I tend to ignore German cars (usually). The TR4 is Rick's personal race car.
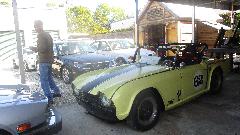
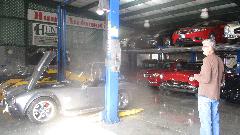
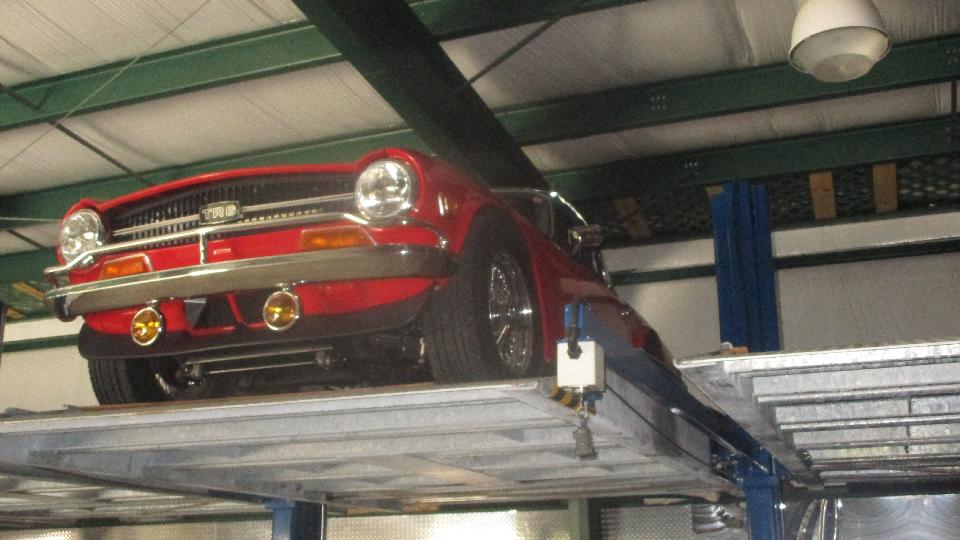
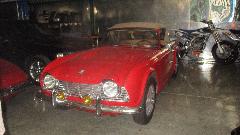
A larger building out back is mostly for storage, and there must be at least two dozen cars stashed in there. We found another TR4, a TR6, a Mini Moke, and a Fiat X19 back in the corner.

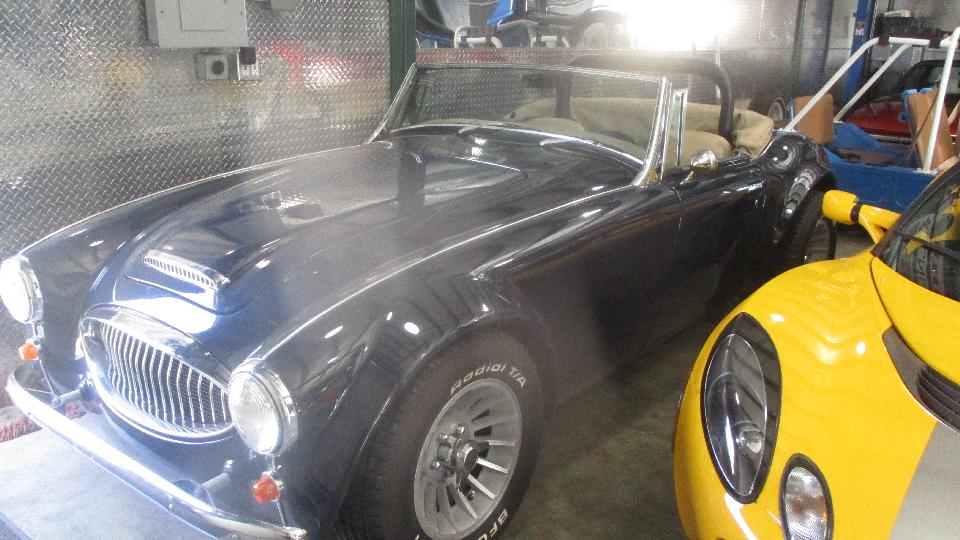
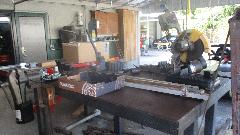
There was a AH 3000 next to a newer Lotus Elite. Then we fond another Fiat 200 outside, and walked through the fabrication shop on the way back in. Body restoration and paint work will be farmed out or referred to some other shop, but these guys can do anything necessary to keep the cars on the road.

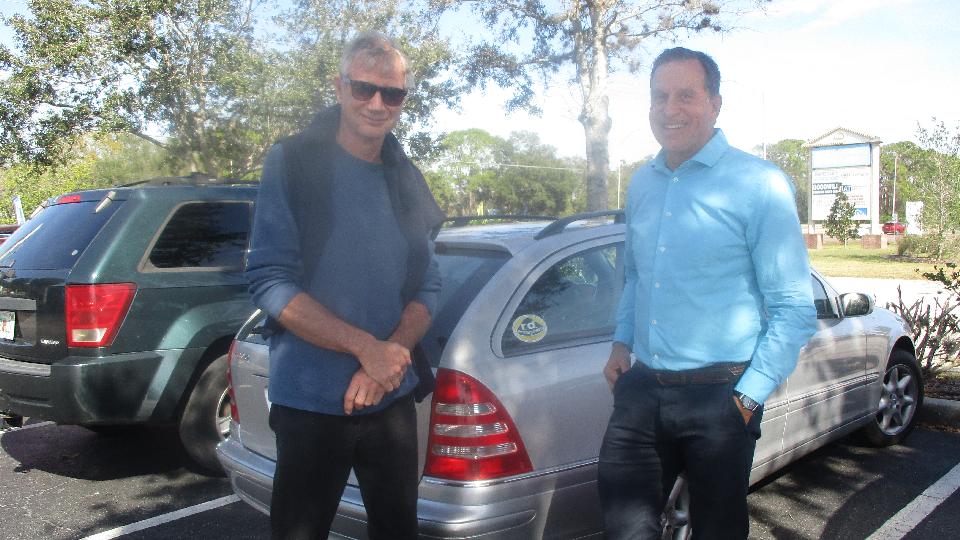
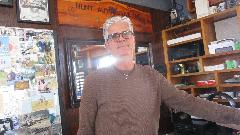
For lunch break we met with Jim Shelly (on left in picture) from Georgica Services Ltd, in East Hampton, New York. We previousy met him at his shop on Long Island in September 2016. He spends part of the winter months in Florida, and happened to notice we were here for a while.
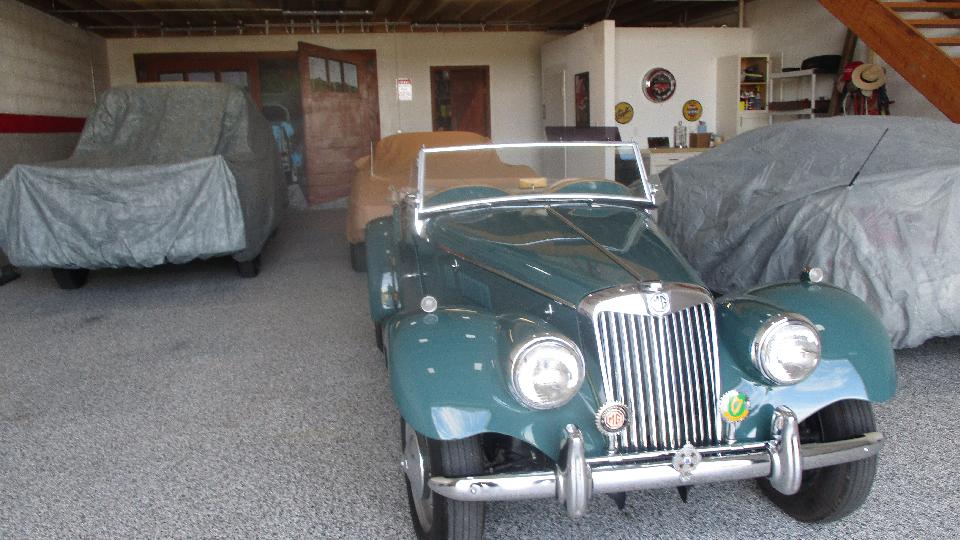
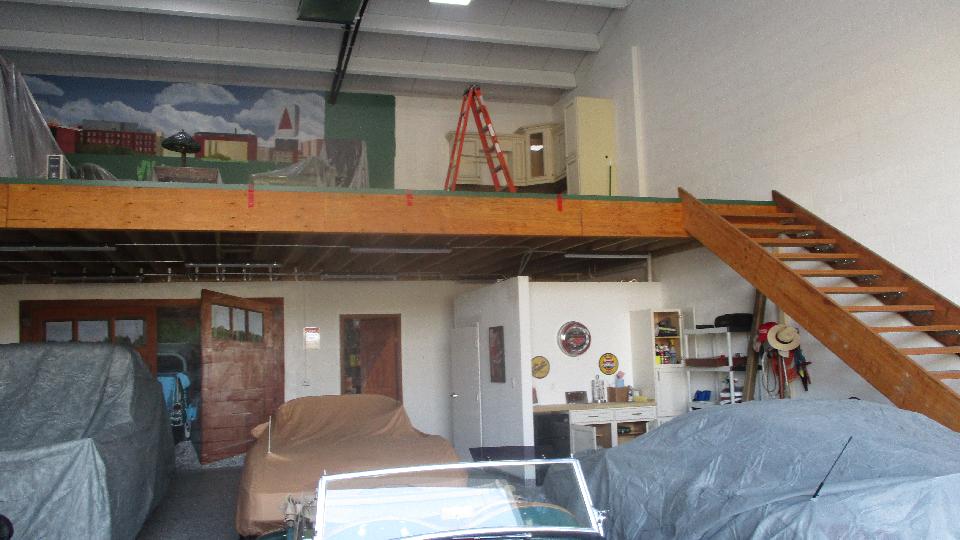
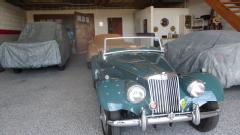
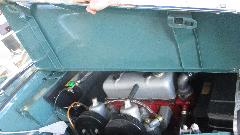
In mid afternoon we were off to visit Richard MacDonald in Fort Myers, FL. He has a recently acquired MG TF with a nifty new badge bar just installed. The car seems to be missing the bonnet prop rods.
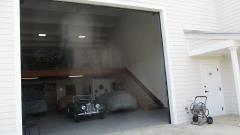
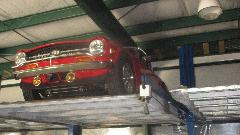
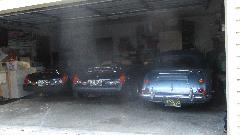
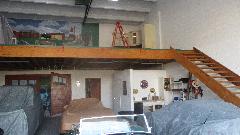 Notice the very nice shop in a gated condo garage community (yup, just these garages behind the gate). That's not really a 1957 Chevy outside the back door, just a rather convincing mural painted on the back wall (next to the (real) work bench and rest room, with the kitchen upstairs). I notice there was 1-hr 40-min between the first and last pictures. I don't recall everything we were doing, but it was a very pleasant chat.
Friday January 26, 2018:
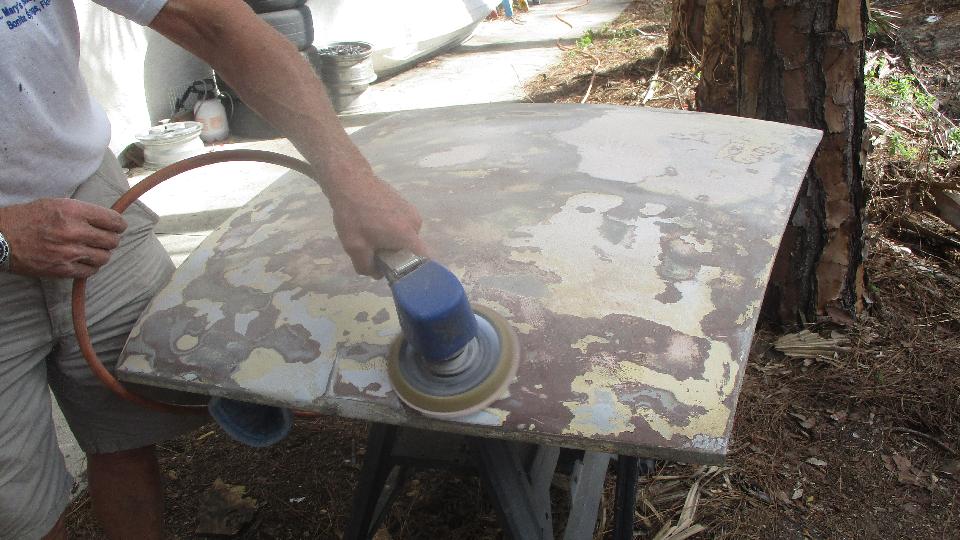
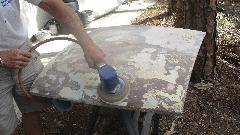
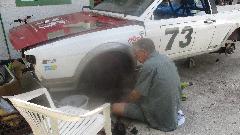
Since we were still in the neighborhood, we toddled back over to Tech Central again. Curious about the MGB missing the bonnet, we found it out back under a power sander. This began with a crack in the paint, proceeding into copious layers of bondo and very rough and somewhat rusty sheet metal underneath. That's going to be a bigger job than anticipated, so at day's end the car was going home without the bonnet.
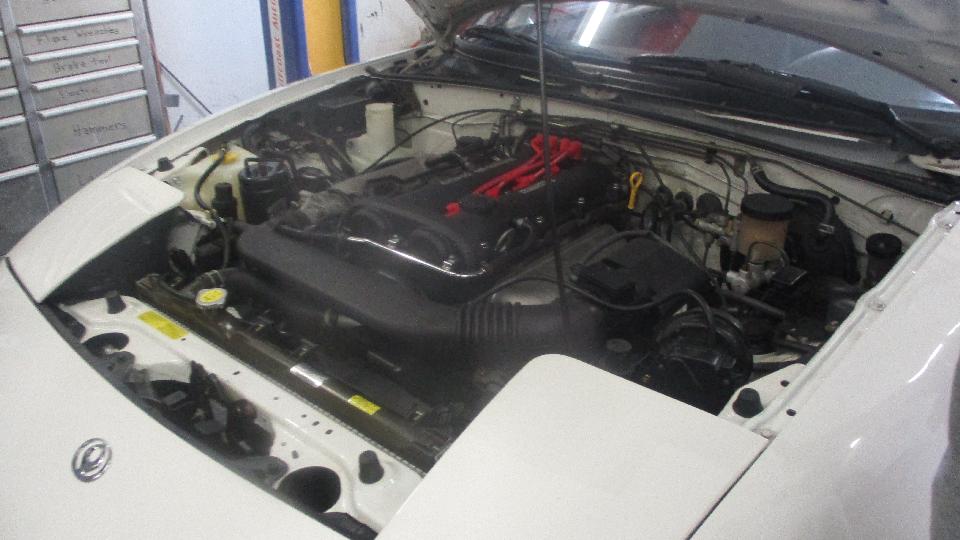
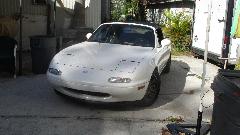
The Midget resto was progressing nicely. By days end most of the new floor was fitted, not yet welded. The 1997 Miata that had been partially disassembled in 2002 with only 60K miles was back on the road. It picked up 60 miles this week and had the thermostat replaced, running well with only a few minor interior bits to finish.
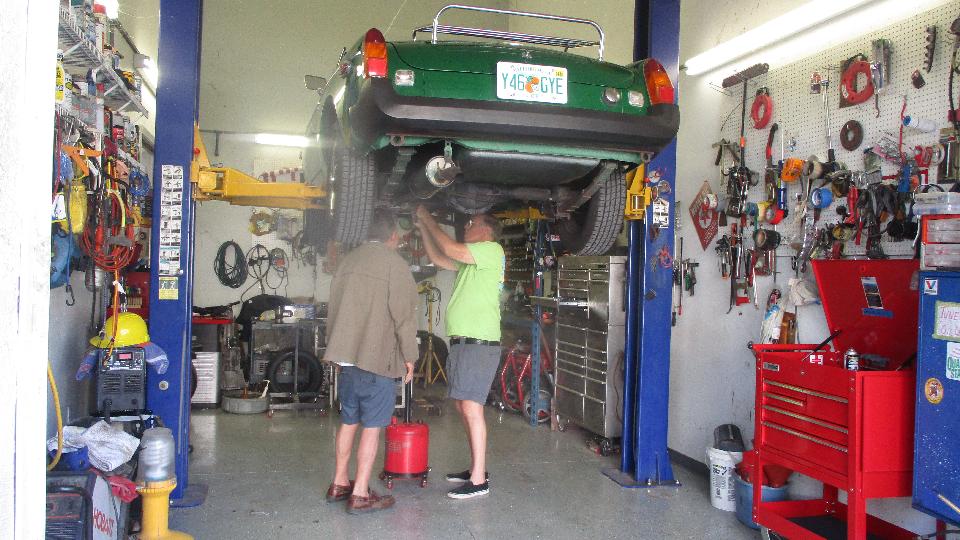
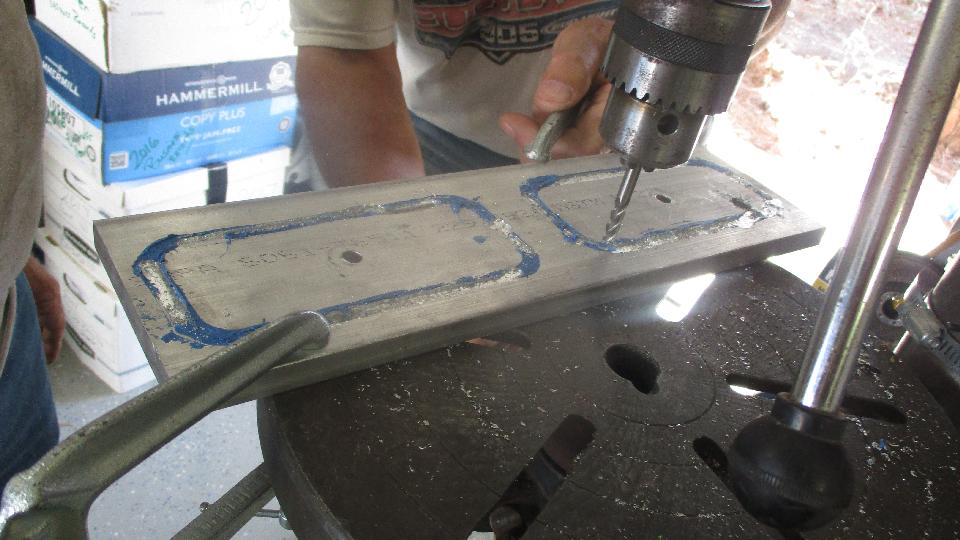
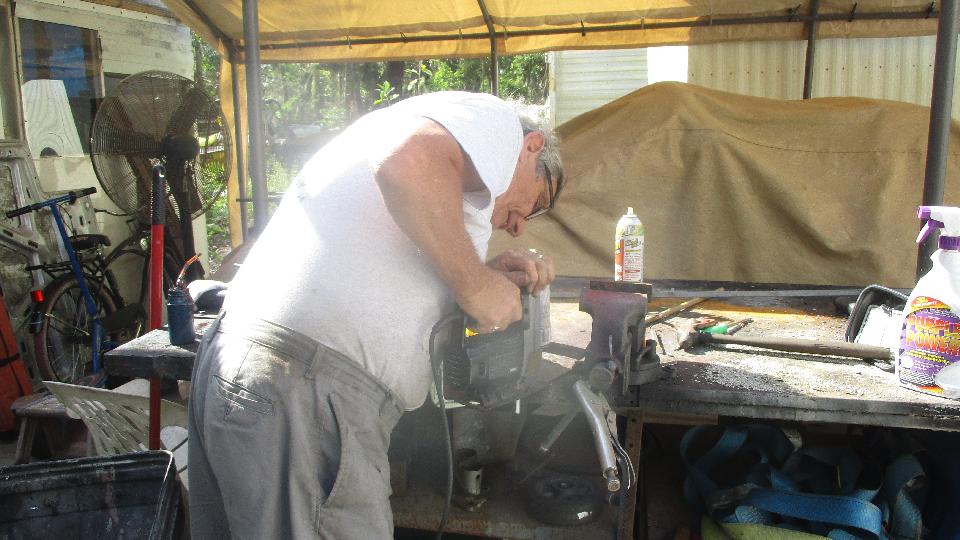
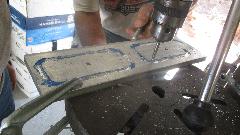
There was a late model MGB on the rack to fix some oil leaks. The overdrive solenoid cover was removed from bottom to replace a gasket. Then the solenoid fell out, and a few of the guys were groveling around under things looking for the tiny ball bearing, moving tool cabinets to sweep up the floor. In the end the little ball wasn't missing but was still hiding up inside the overdrive unit. But it was nice to have the garage cleaned up. In the next bay work was progressing (slowly) on the one-piece tappet cover for MGB. Struggling to use a milling cutter in a drill press with slightly wobbly spindle, but being retired allows plenty of spare time, so they are persistent.
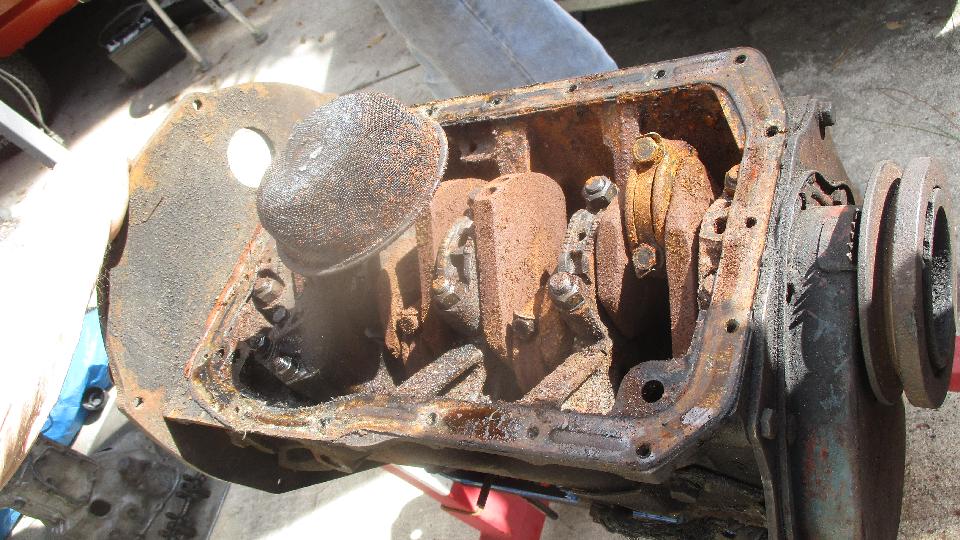
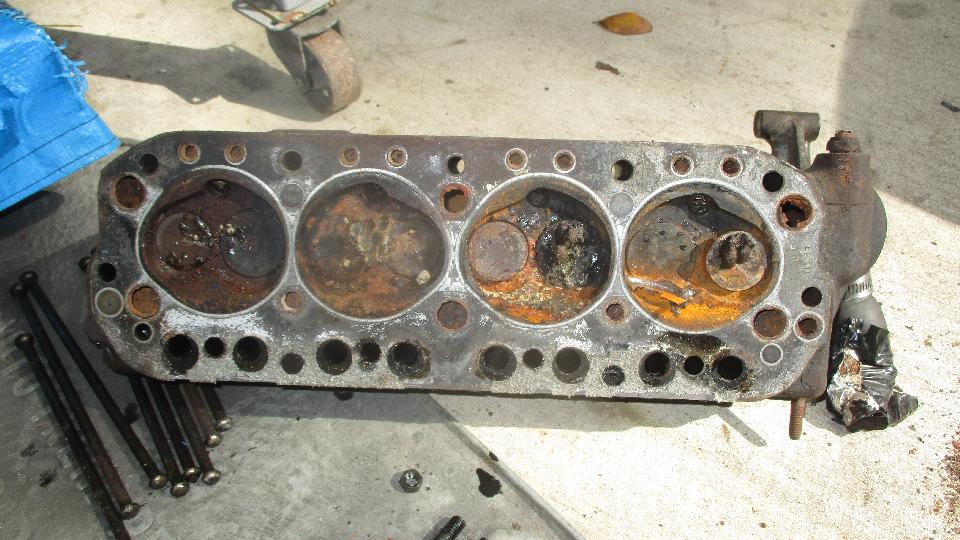
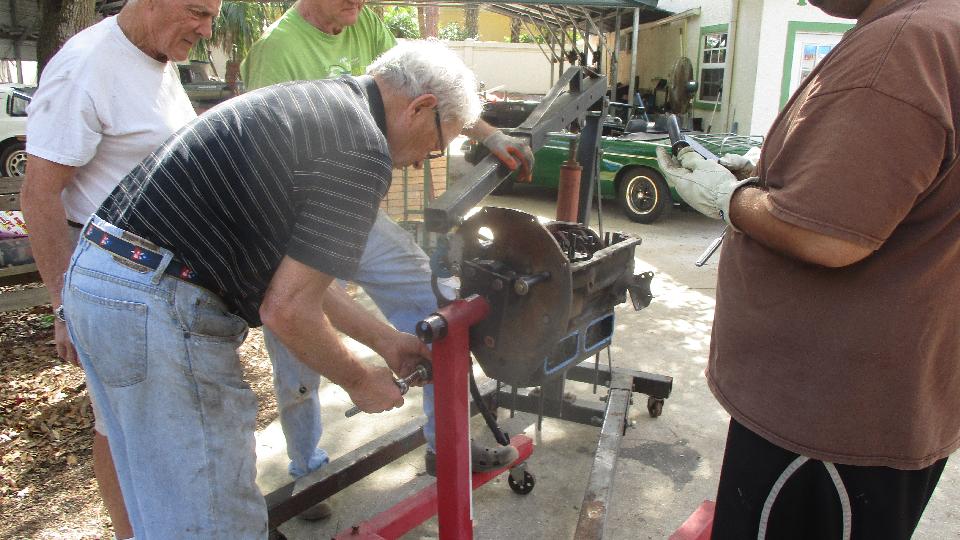
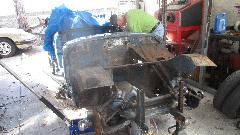
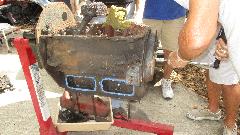
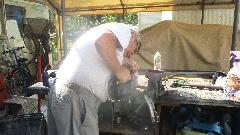
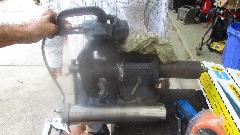
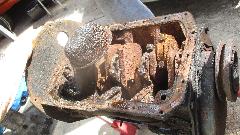 Around the side was a new project, a totally seized MGB 5-main bearing engine being disassembled with intent to rebuild it. Broken bits on the front flange of the balancer were probably not detrimental to function. Found a few wasp nests in three of the combustion chambers. Before day's end the front end was disassembled, all of the bearing caps were off, then taking it off the stand to remove the rear plate so the crankshaft could come out. I missed the process of beating out the stuck pistons.

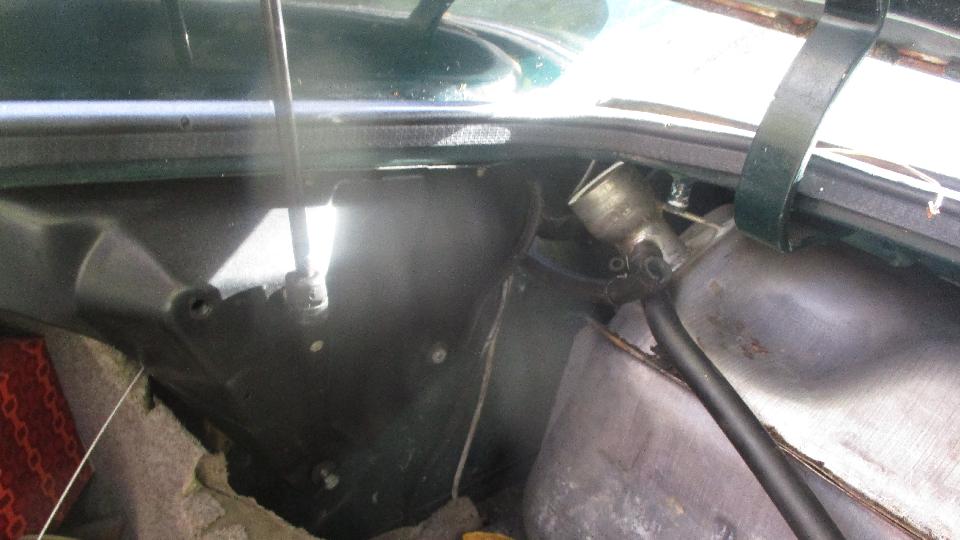
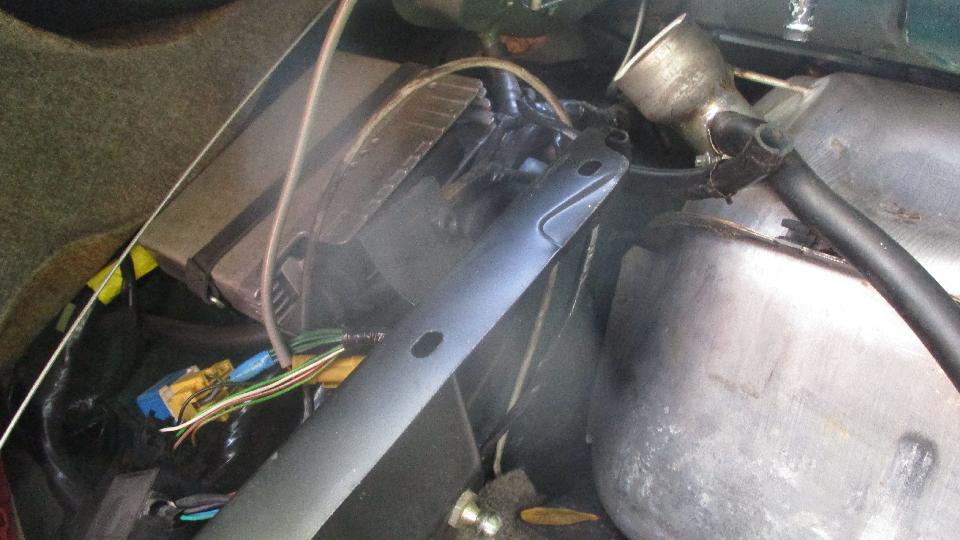
Back to the Jaguar again, still working to remove the fuel tank (four weeks into this project). Finally found disconnects for two hoses underneath. Then had to remove two boot lid gas struts and their supporting brackets, struggling with lots of electrical stuff attached behind the brackets. Missed lunch in the process. But by day's end the fuel tank was finally out, and they were searching for a radiator shop to have it boiled out.

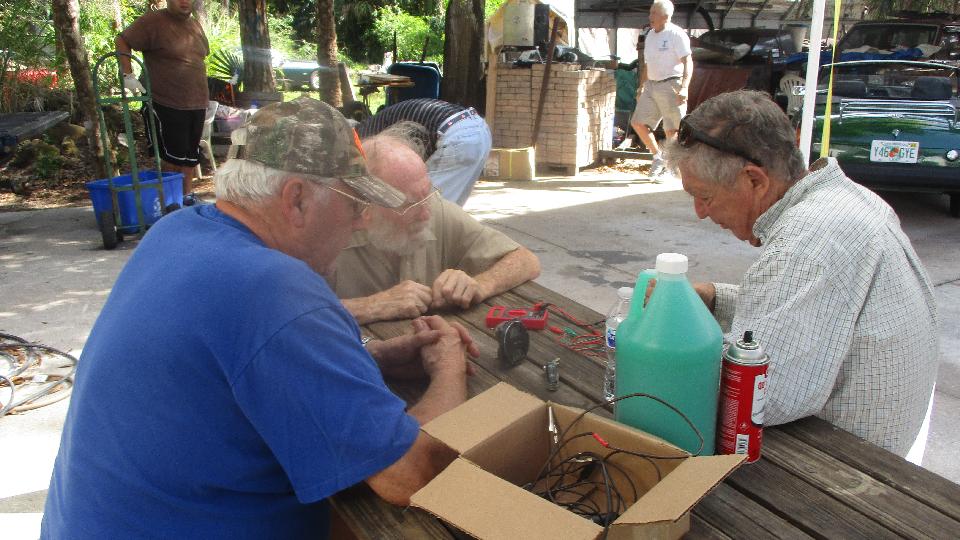
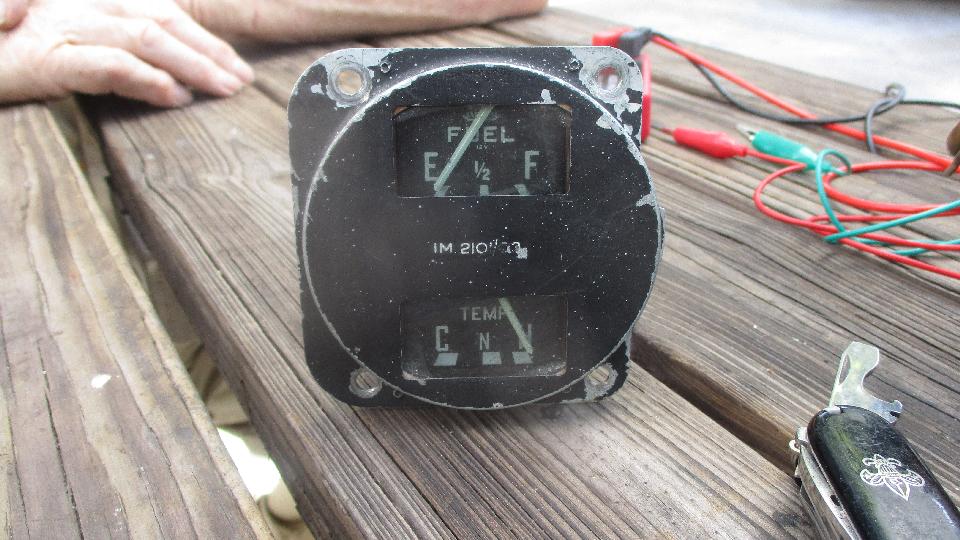
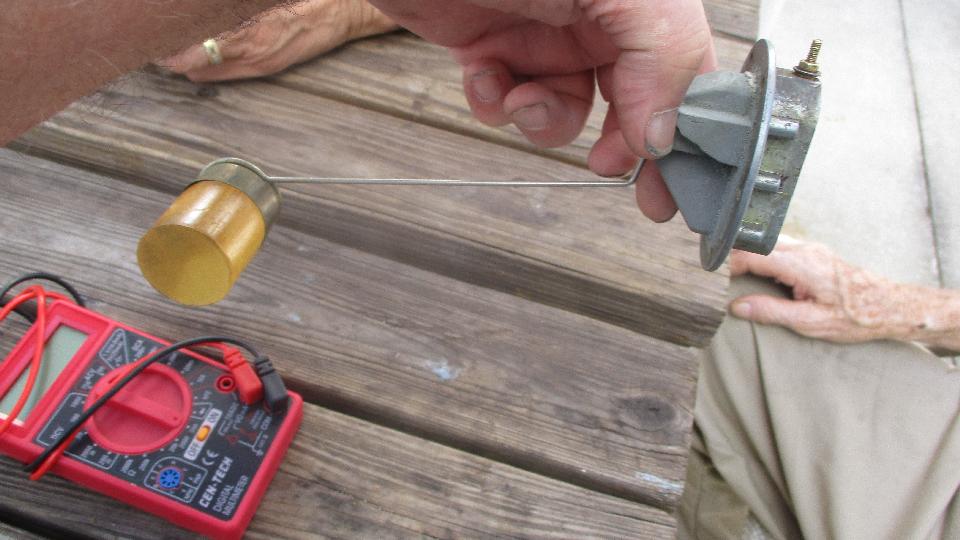
Then we were working on a fuel gauge for a MG Magnette. Found a little resistance with continuity on the gauge itself, probably okay. Open circuit on the sender unit turned out to be a broken wire inside, which should be easy enough to fix. Resistance is continuously variable through full motion of the float arm, so this will soon be good to go back in service.

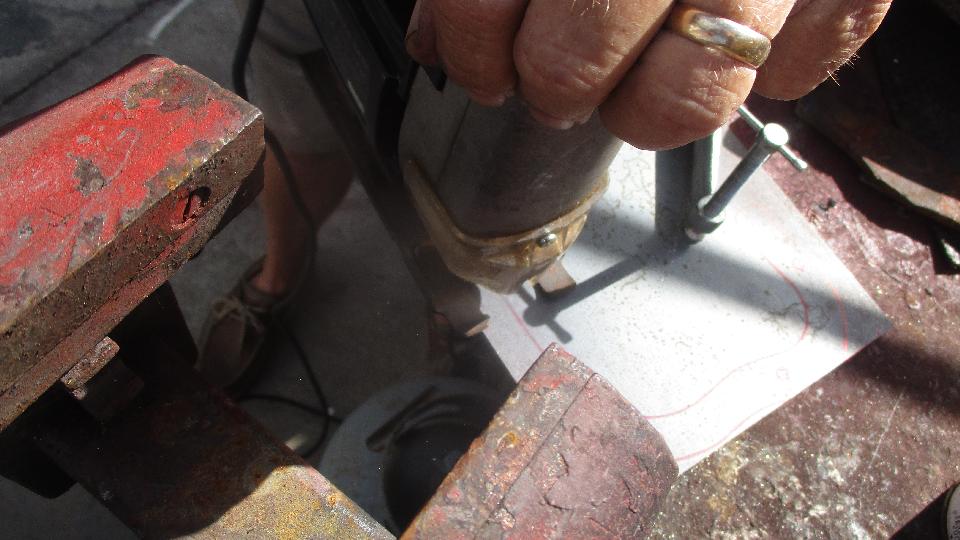
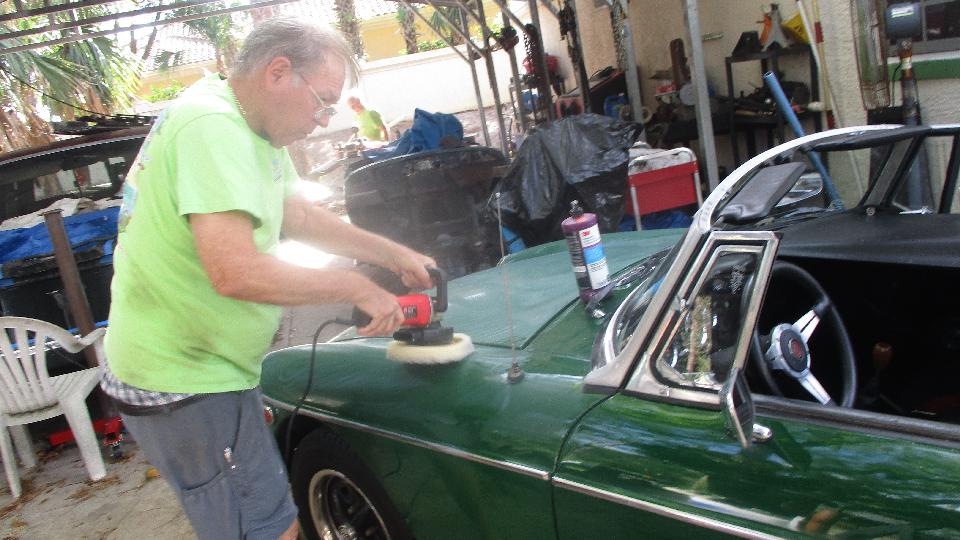
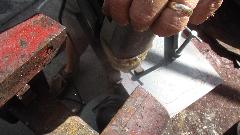
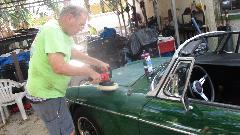
Another project was to cut out a thin metal plate to use as reinforcement around the bottom half of the timing cover on an MG Midget (Austin A-series engine). That may eat a couple of sabre saw blades and a drill bit, but otherwise straight forward. Late in the day the MGB (the one with the drip fixes) was getting a good massage to rub out the paint, not done since it was repainted a few years earlier.
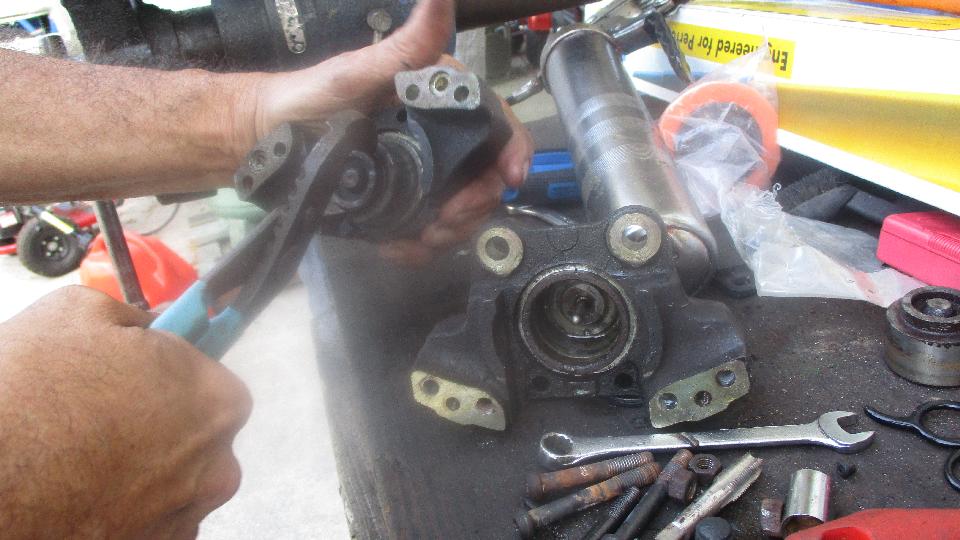
For the ongoing saga of Alfa Romeo, now disassembling firmly stuck rear brake calipers. The trick here is to drill a small axial hole through a bolt, then tap a 1/16-in pipe thread to install a grease fitting. This can be installed in the brake fluid input port to use a grease gun for high pressure to push out the stubborn pistons (never fails). By day's end these were cleaned up and waiting for rebuild kits.
In the evening we went a little out of our way to visit two Autozone stores to pick up two brake lamp switches (they never have more than one). This was overdue, but we kept forgetting to do it (low priority). I was reminded when we gave up one of our spares last week. More about this tomorrow.
Saturday January 27, 2018:
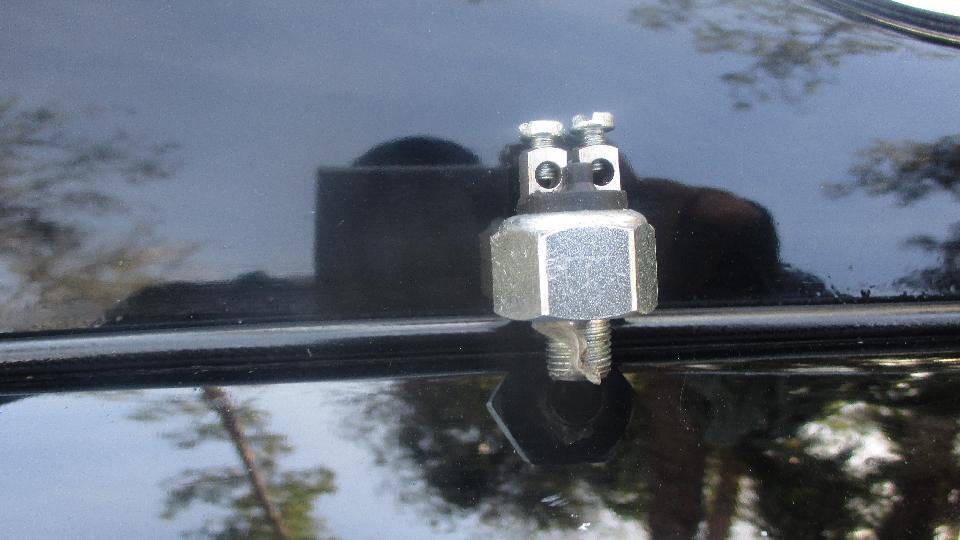
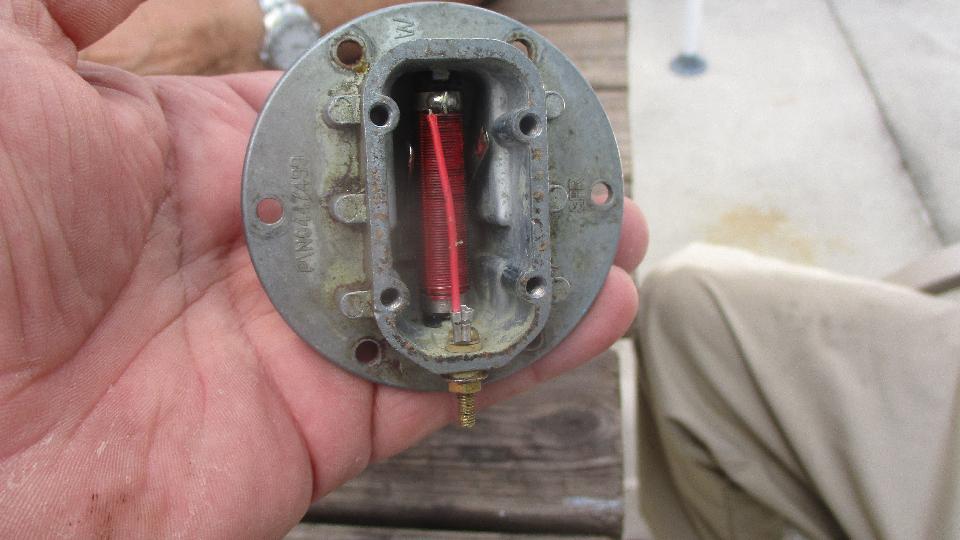
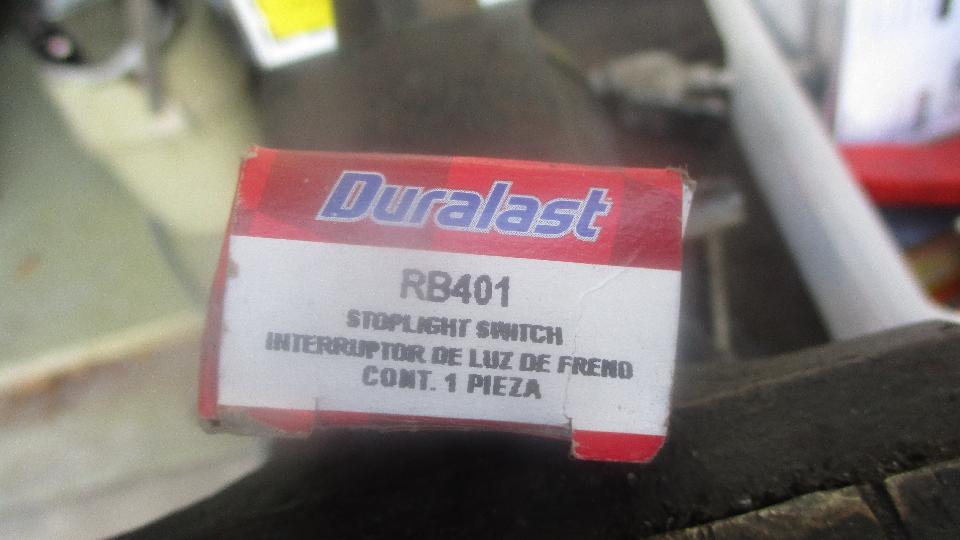
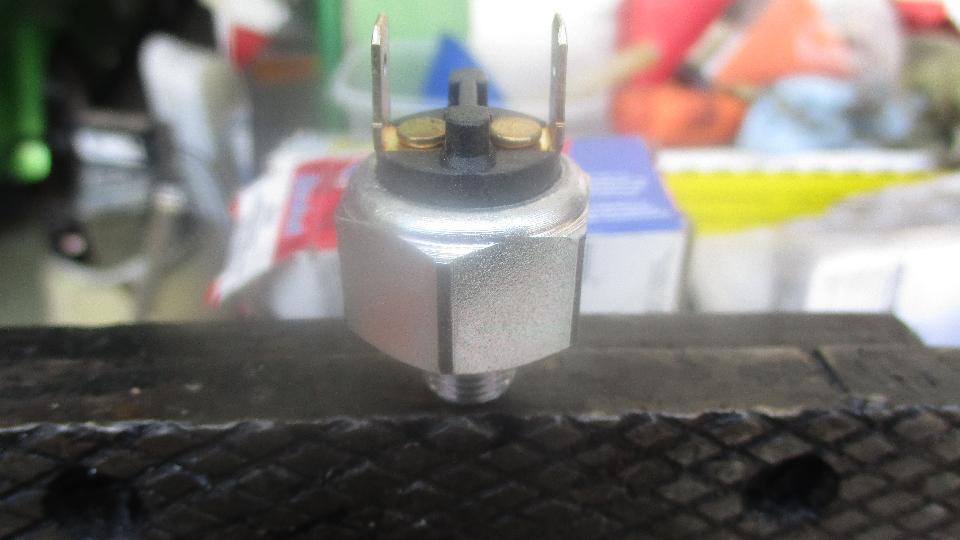
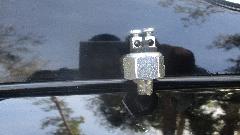
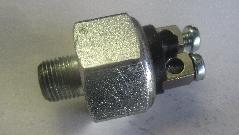
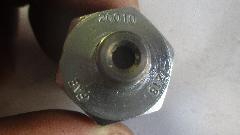
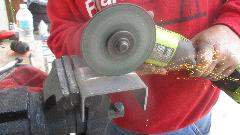
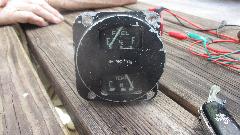
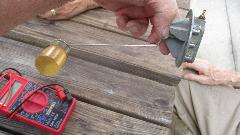
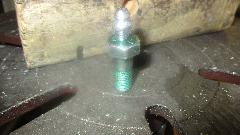
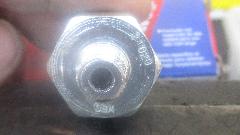
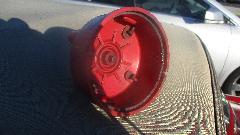
Back to Tech Central, not expecting much to be happening on a Saturday, and we weren't disappointed. About those brake lamp switches I bought last night, these are the same model that has been in operation in my car for 2-1/2 years and 94,000 miles. Today I will cut open a new one too see what the longer lasting switch looks like. The switch from Autozone is Duralast brand, part number RD401, made in Spain. On the switch we find markings "FAE 21020 X36". The company that makes it is Francisco Albero S.A.U. in Barcelona, Spain.

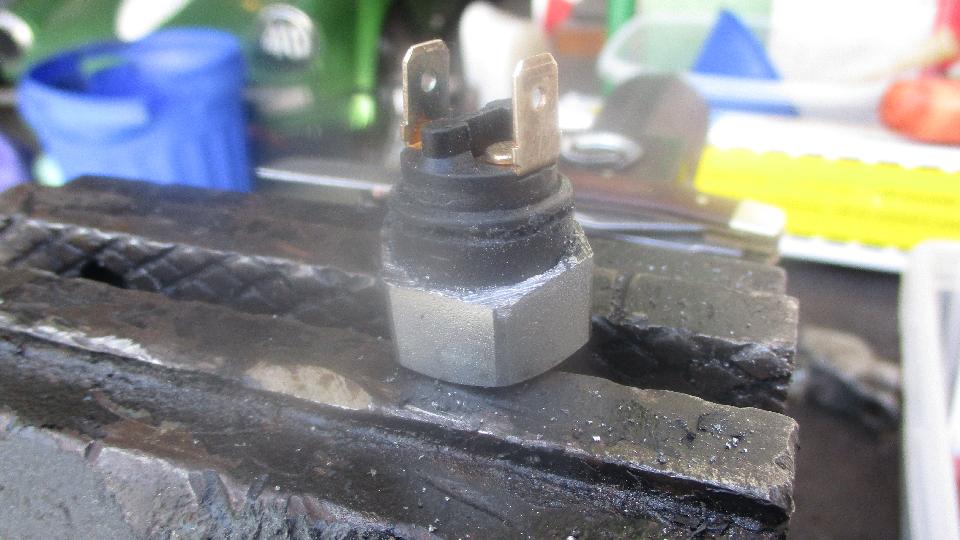
Cutting it open is old hat by now, but what I found inside was shocking. I was expecting to find some nice novel good quality switch arrangement, but what I fould was the same old slow-make slow-break switch type that fails for everyone else. Major bummer. In fact, as it turns out, this is the same manufacturer of the screw post switch we removed from another MGA just one week earlier, and that one failed in just 250 miles.
Now I suspect that Autozone has recently sourced a cheaper (poor quality) switch to put in their package under the same part number as the previously good switch. Navigator is not going to let me cut open the good switch currently in my car, which is why we bought the new one for sacrifice. But now I will have to R&R the one in the car to check the part numbers underneath because they were not recorded when it was installed. If it turns out to be a different part number, then I can look for another source for the good switch. If it turns out to be the same manufacturer and part number, then we can only conclude that the manufacturer has changed from good quality to bad quality manufacturing.
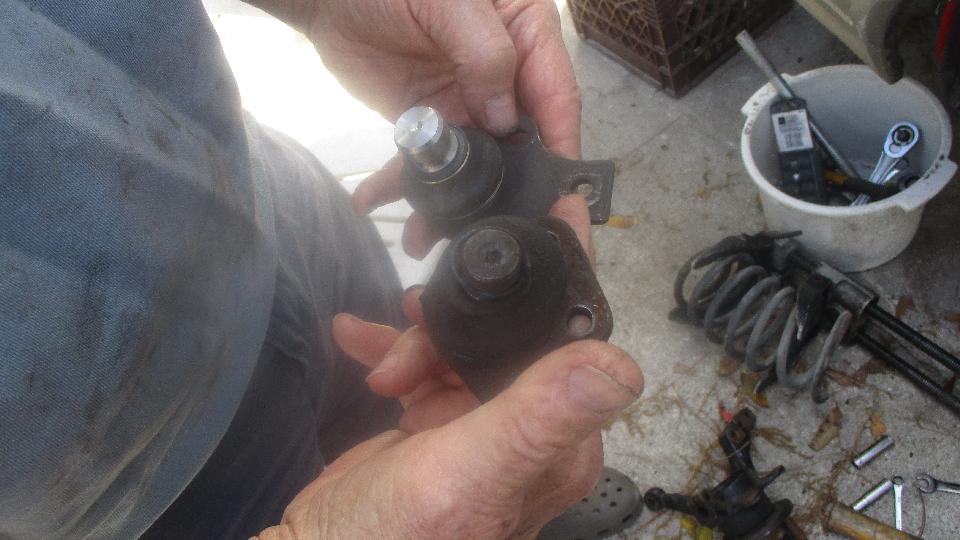
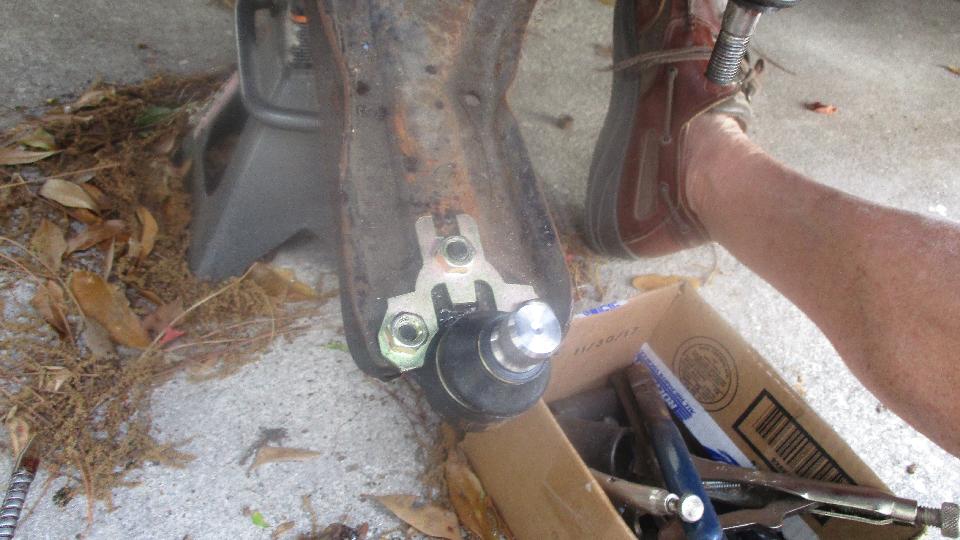
Then the guys were working on the Toyota race car again. They intended to install adjustable coil-over struts by converting some existing struts and installing new strut cartridge and a coil-over kit. There was different pilot diameter for the lower ball joint, so those had to change. The new ball joints had larger bolts and different bolt pattern, so they were drilling holes in the lower A-arm to suit.

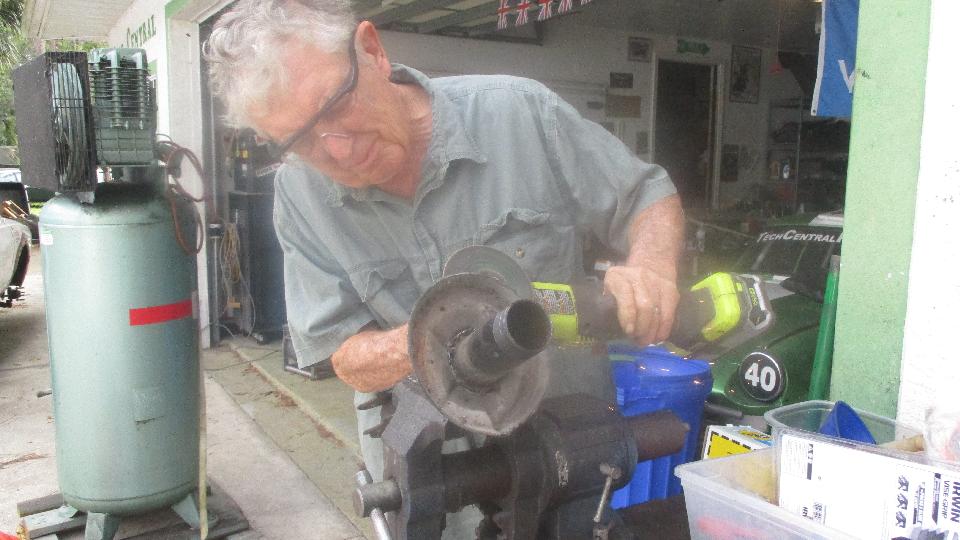
They took the replacement struts and cut away the old coil spring support shell to make way for the new adjustable coils. Oddly, the new adjustable coil mounts required to grind away all of the collar and weld from the old coil spring support. Then the new adjustable coil mount slid too far down the strut housing, so they set about cutting welds to retrieve a spacer tube from the prior racing struts that already had the coil over parts. After some comments about this little chore being a lot more involved than anticipated, I decided to leave them to their own resources, as I can claim to know nothing about either Toyota or aftermarket racing coil-over spring kits.

Then we were off to do some WiFi, tech questions and BBS, but a long way from being caught up.
Sunday January 28, 2018:
Tech questions on adapter spigot bushing for late MGB engine to early MGB or MGA gearbox. Something about stainless braided fuel pipes. Another case of congealed coolant when having mixed two different types of coolant.


Some advance planning for attending Back To The Bay 2018 Rendezvous at Thunder Bay, Ontario first week of June, where I will be presenting a tech session on "Keeping Them On The Road" with Tunder Bay Vintage Sports Car Club.
Monday January 29, 2018:
A bit of discussion leading to a revision of a web page on engine rear plates to correct a dimension that identifies an early MGB part. Long overdue, I knew it was wong, just didn't have the correct domension before. Sent out feeler email to a couple of car clubs and 15 people for possible future appointments. This was long overdue, but we had been very busy and couldn't commit to scheduling, so have been foot dragging until now.
Tuesday January 30, 2018:
Beginning to make some appointments for the next ten days or so. Looks like we're not getting out of Florida just yet. Rounded out some details for the June tech session in Thunder Bay. Spent a chunk of time composing a monthly travel report for CMGC (not quite finished).
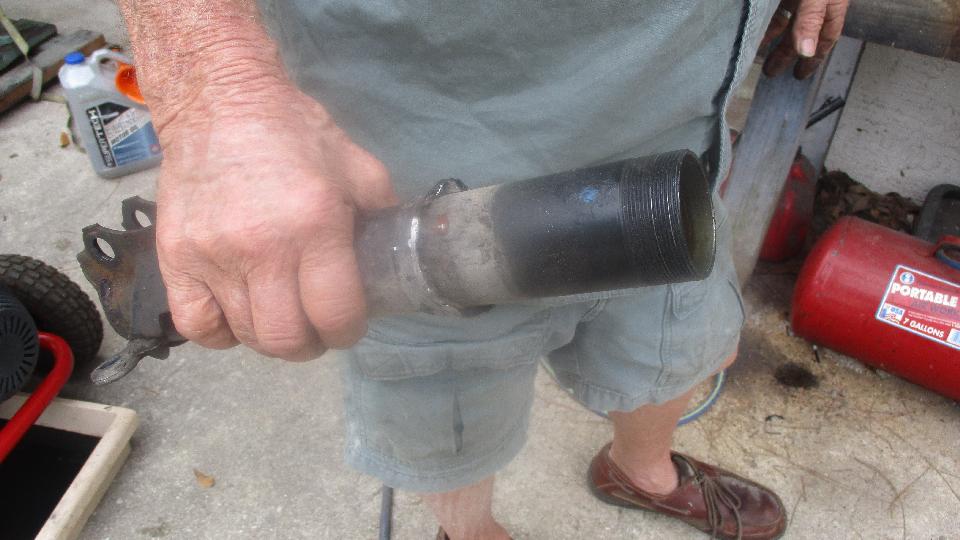
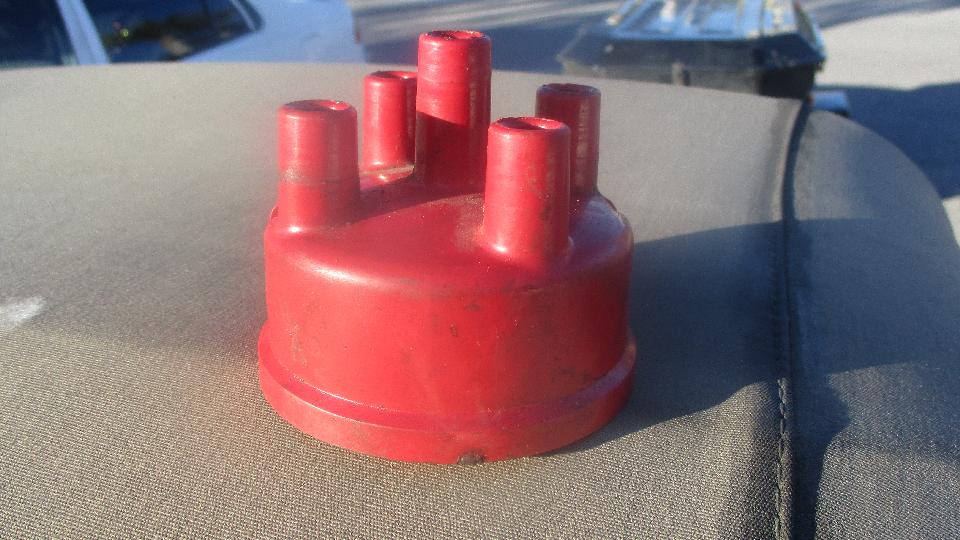
Then heading north late night when the engine quite and stopped us momentarily on the side of I-75. Been
 expecting this for quite some time, as we have been having intermittent engine cut-outs. It never quit long enough to diagnose it, but this time really dead. Spark from coil wire, no spark from plug wires. Pulled dizzy cap to change the rotor, but still no go. Then changed the distribitor cap, and it was running again. Still having some misfires, so I don't think it's fixed yet. Seems like an intermittent disconnect or short to ground in the ignition primary circuit. We swapped out the ignition coil a while back,and that didn't help either. Time will tell, I'm sure.
Wednesday January 31, 2018:
Early breakfast, email, BBS, and then we were off to Bradenton, FL to see a couple of wild and crazy guys
 from Canada, François Gay from Saint-Jean-Sur-Richelieu, QC, and John Mercier from Napierville, QC. First time we met these guys was January 23, 2016. One result of that meeting was a gratuity from François Gay when he contributed part of an MGA front fender for rust repair on my car in April 2016. Today it was just lunch and a nice chat about our ventures, and the lonely cars they left in Canada for the winter, and a likely meeting at their places in Canada next summer.
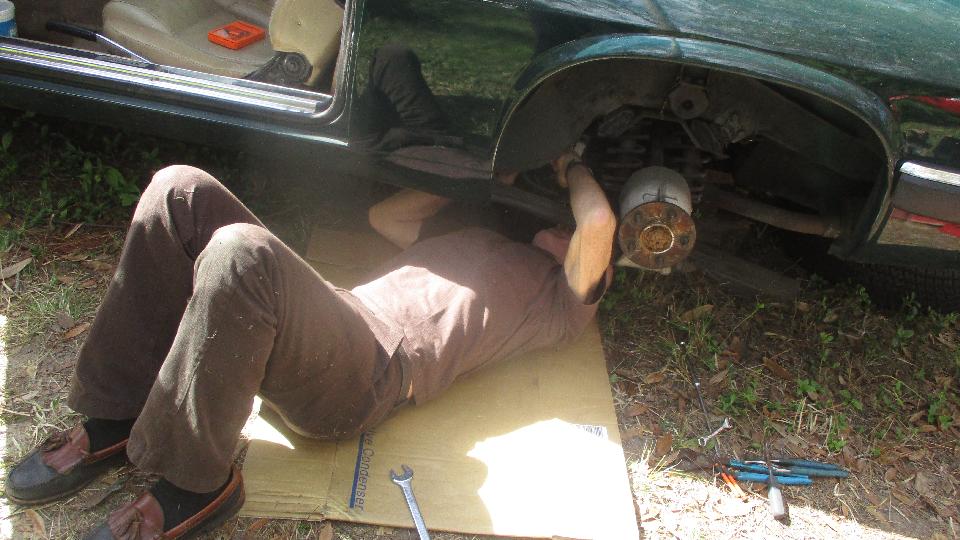
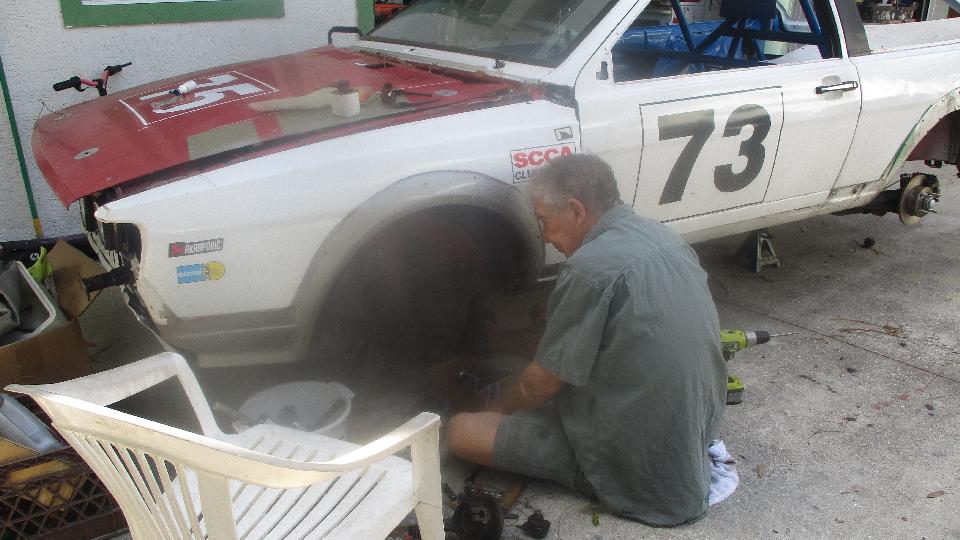
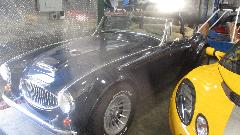
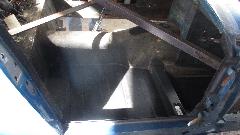
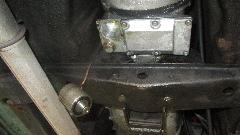
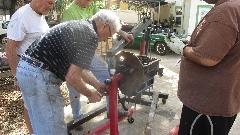
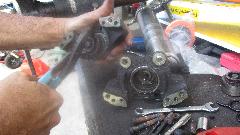
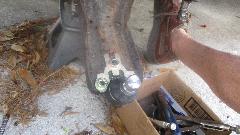
Our afternoon appointment cancelled out in favor of knee sugery, so we had a quick change of plans, heading three hours north (now a day early) to visit Ron and Michelle Edwards in Alachua, FL (just north of Gainsville). We arrived just a bit early for dinner, so had a chance to check out some of Ron's toys. Good that we have a couple days to spare now, because the MGA on the hoist is going to need some TLC on a rather abused rear axle. We had a little prior discussion about this, so Ron had a head start by draining the gear oil and removing wheels and brake drums and half shafts and pulling the differential.

After just a cursory inspection it was time for dinner, followed by a late night chat about, well, things, you know, with a little plans for the next day mixed in. Then when they get to turn I have to go to work. A quick late night crunch to finish and send the monthly report to CMGC with a bunch of pictures (very late, I'm sure). And a late night tech question about shaving a cylinder head and cutting eyebrows in the engine block to clear the exhaust valves at full lift.
|