The MGA With An Attitude
MGA Guru Is GOING MOBILE - (February 16 - February 28, 2018)
Friday February 16, 2018:
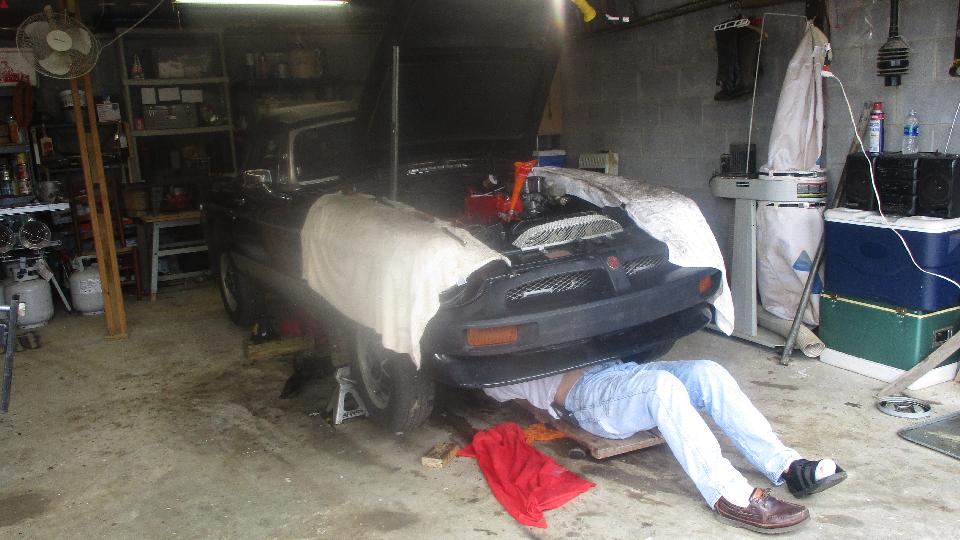
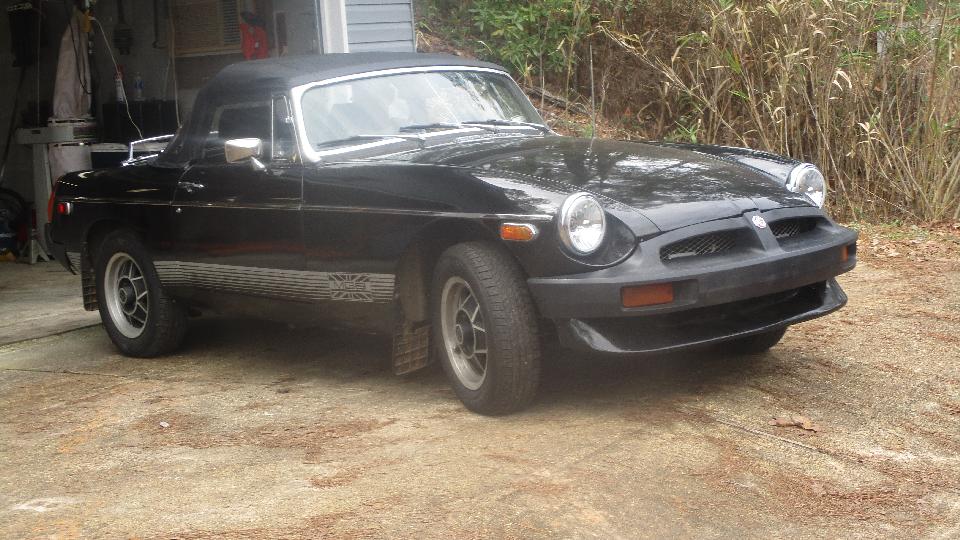
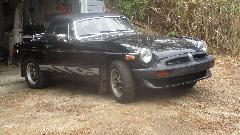
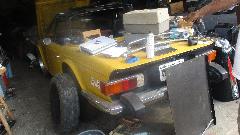
Back to Dan Byrne's place for a second day on his '79 MGB LE. Bound and determined to get it running and back on the road so it can be driven on a Saturday club tour (maybe). We got very busy, and didn't take enough
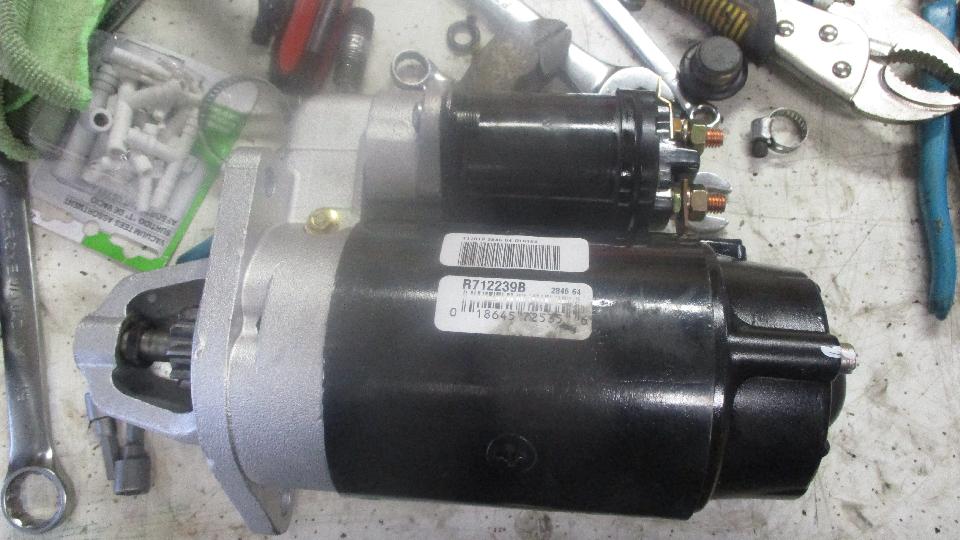
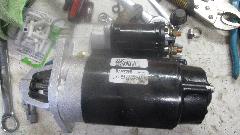
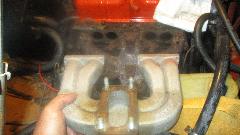
 pictures, but I'll see if I can get it covered anyway. Early morning Dan had concluded that the starter motor was kaput, having perhaps broken a couple of wire terminals, so he ordered up a new one, which should arrive about 1:30-pm. Then there was a lot of this going on today, beginning with two hours to get four bolts into the MGB gearbox mount before attaching the cross member to the frame (along with the fore to aft stabilizer rod). Then get the exhaust pipe connected to the exhaust header. And pull the old starter motor out to return as a core in exchange for the new one. Clean up a bit and head out for the starter exchange and a few more small bits from the parts store, and a quick lunch.
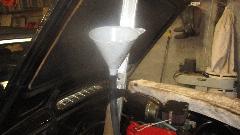
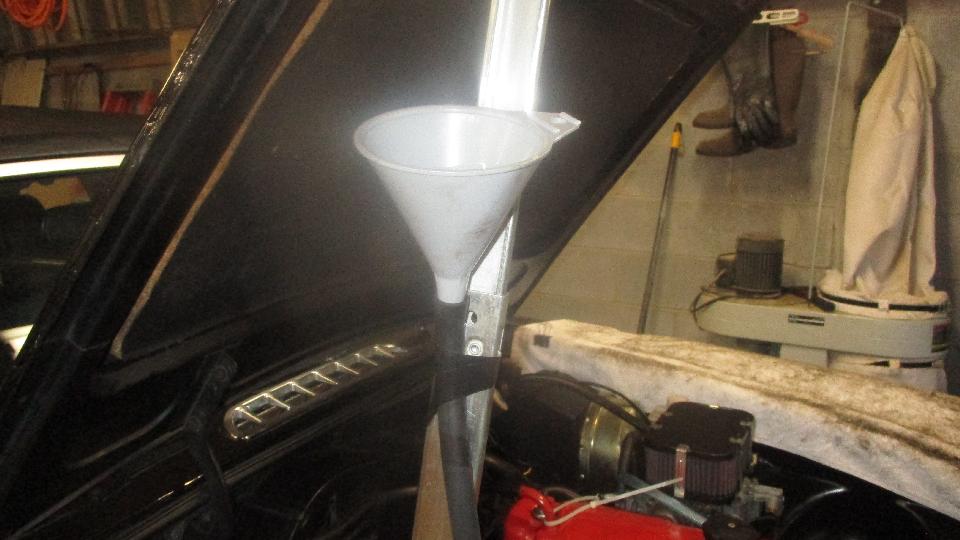
 Back to the shop to install the new starter, use a hose and funnel to fill gearbox with oil. Hook up wiring for ignition coil and distributor, top up coolant, crank engine with ignition off to get oil pressure. Then cross fingers and give it a crank to see if it would run, but it didn't. Bummer. Back to the shop to install the new starter, use a hose and funnel to fill gearbox with oil. Hook up wiring for ignition coil and distributor, top up coolant, crank engine with ignition off to get oil pressure. Then cross fingers and give it a crank to see if it would run, but it didn't. Bummer.
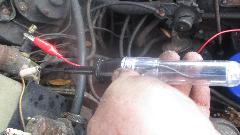
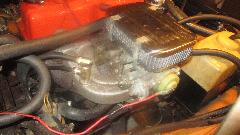
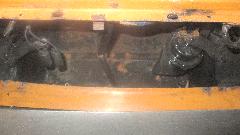
 Looked like the coil was connected wrong, so remount the coil with terminals on top where they could be
seen, and re-wire in the correct order. Give it another shot, still cranking with no fire. Couple of tests reveal no flashing on the distributor side of the ignition coil, so figure the solid state ignition module in the distributor was fried. Bummer again. No spare part.
Looked like the coil was connected wrong, so remount the coil with terminals on top where they could be
seen, and re-wire in the correct order. Give it another shot, still cranking with no fire. Couple of tests reveal no flashing on the distributor side of the ignition coil, so figure the solid state ignition module in the distributor was fried. Bummer again. No spare part.
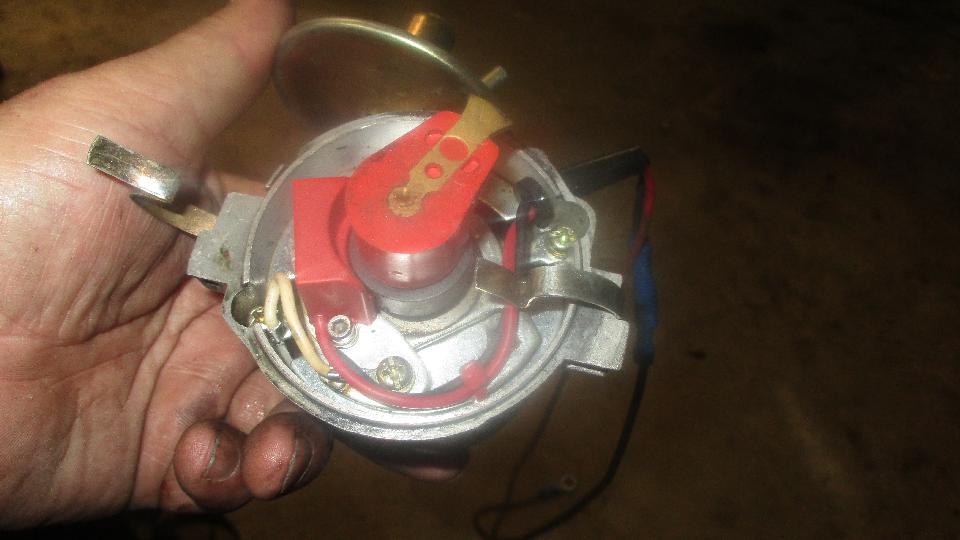
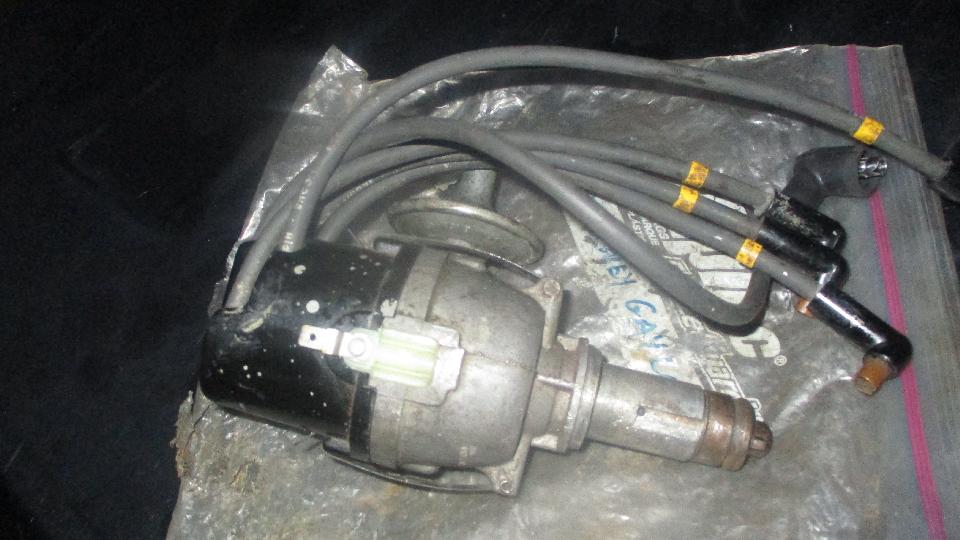
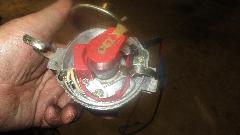
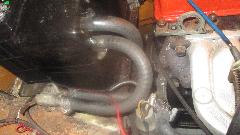
 Retrieve the spare MGA distributor (with points and condenser) from the magic trailer, get that installed in the MGB, and it was running with not much problem. Yesterday's quick install hose on the PCV valve had collapsed under full vacuum, so swap that out for a sturdy piece of 3/8-inch rubber hose, and the PCV system was working great. Just about ready to kick it off the jack stands for a test drive, but the ignition light was on, no charging from the alternator. Dang! Can't get a break today. Alternator less than a year old, will have it tested, may get a free exchange, but not tonight.
Curses. Looks like the car will not be going on tomorrow's tour run after all. 8-pm, call it a day, close up shop, and go find a WiFi spot to post these photos and notes.
Saturday February 17, 2018:
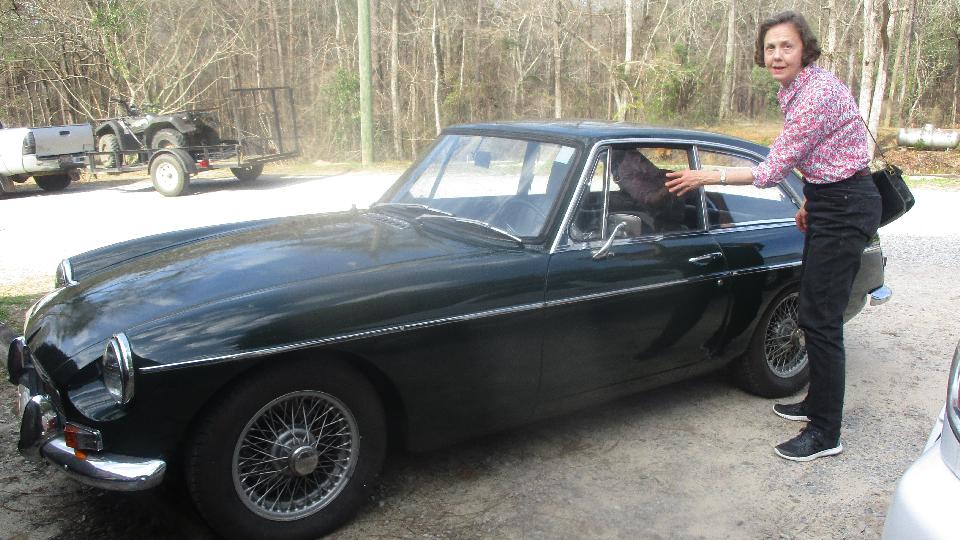
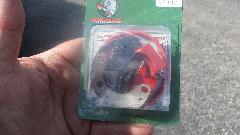
Time for a social day, we have an morning appointment for a tour with British Motoring Club of Montgomery. We had a surprise when a club member came up with a PowerSpark electronic ignition for Dan Byrne's MG.


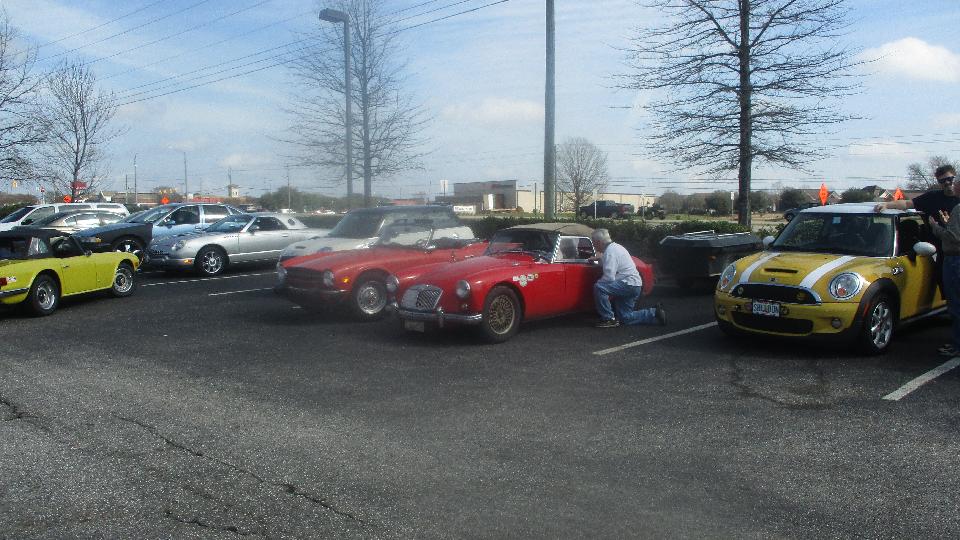
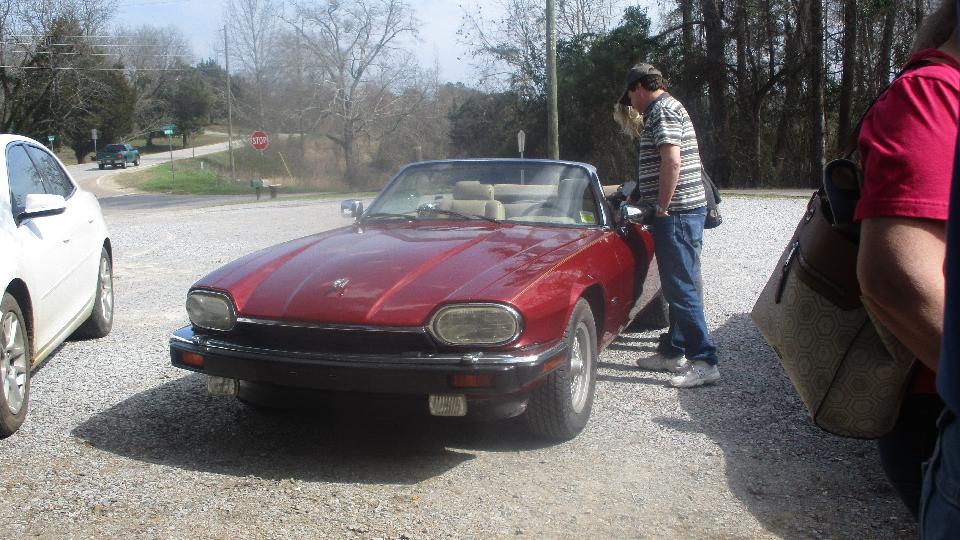
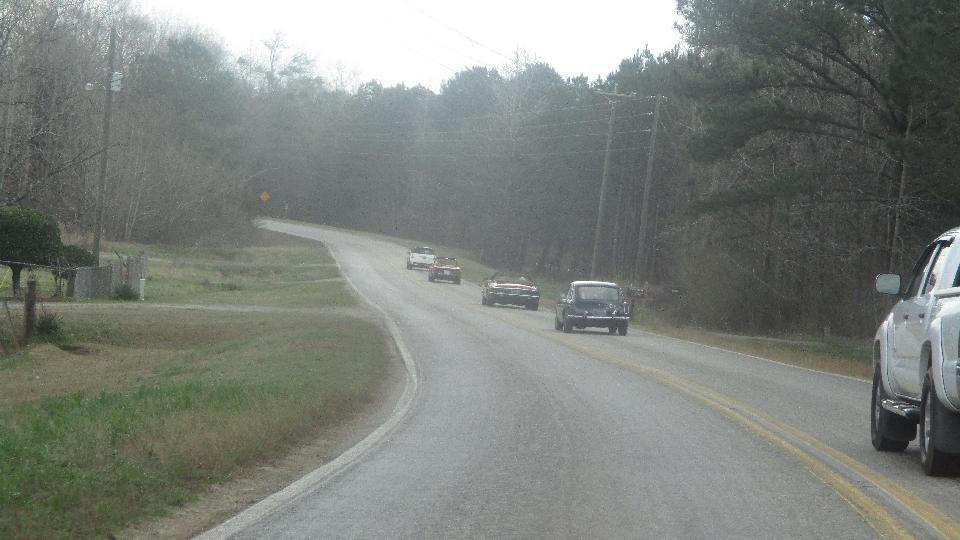
Then we had a nice cruise on some side roads, 25 miles or so, picked up a couple more cars along the way.


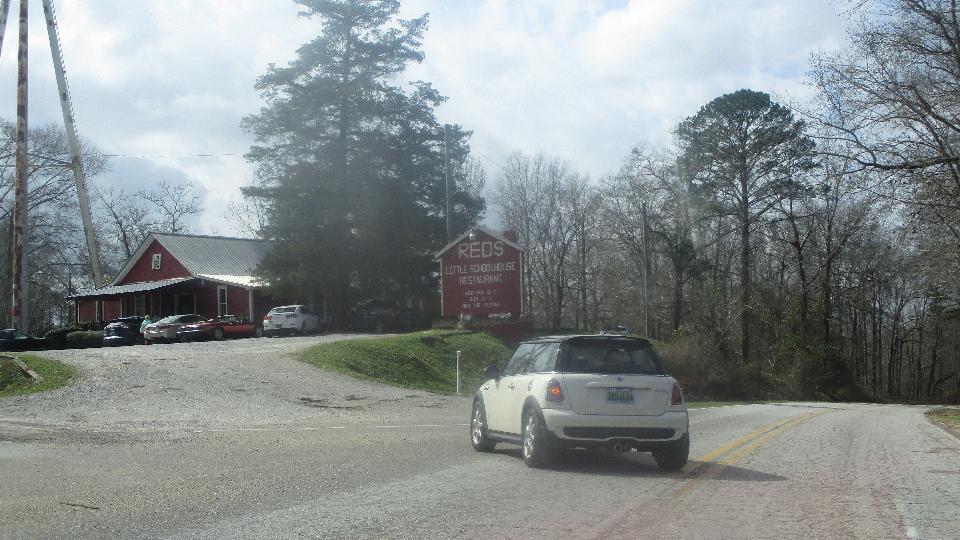
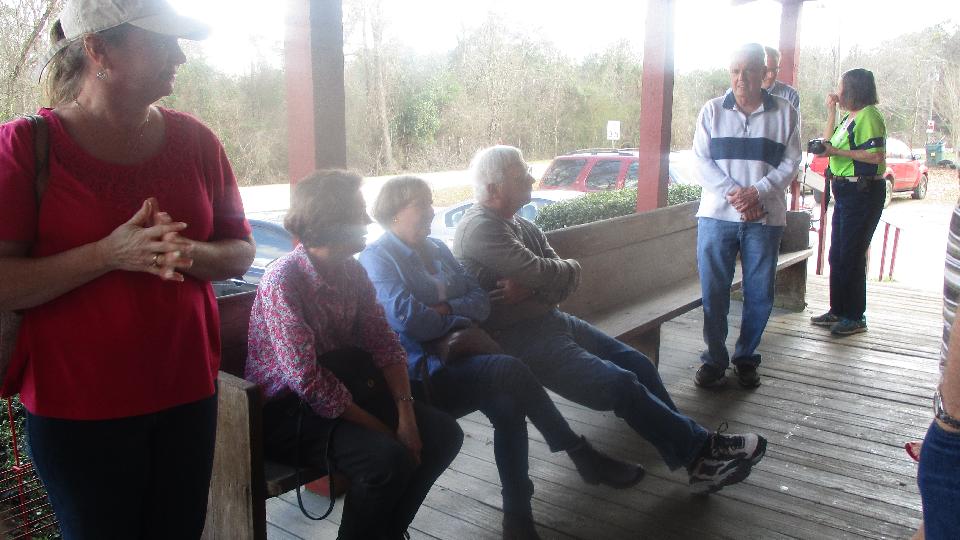
Red's Little Schoolhouse Restaurant in Grady, AL had a delightful buffet lunch, quick and easy. After lunch, choice of return route, but some of us headed back in the general direction of Montgomery.

One more stop at Sweet Creek Farm Market for home made ice cream, then on our own again. 
 Late afternoon, Dan had his alternator tested, and it seems okay, so back to look at the car wiring. The PowerSpark unit switched hands and didn't find its way back, but at least we retrieved our spare distributor. Maybe tomorrow. Then back to WiFi work.
Sunday February 18, 2018:
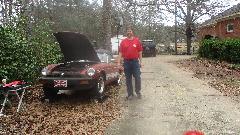
Today would be a better day. The new PowerSpark electronic ignition module was in hand, and the alternator wiring was sorted out. We spent a little time straightening the deformed distributor clamping plate, installed the spark module and the distributor, set static timing, fired it up, set dynamic timing. We did ultimately rotate the distributor 90 degrees to original orientation, and move all the wires one position around (bless the extra length wires). We had the vacuum connected long enough to verify that the vacuum advance works as intended, but the vacuum hose was "fully depreciated", so put a new one on the shopping list. We topped off the fluids, kicked the car off the jack stands, and we were off for a test drive.
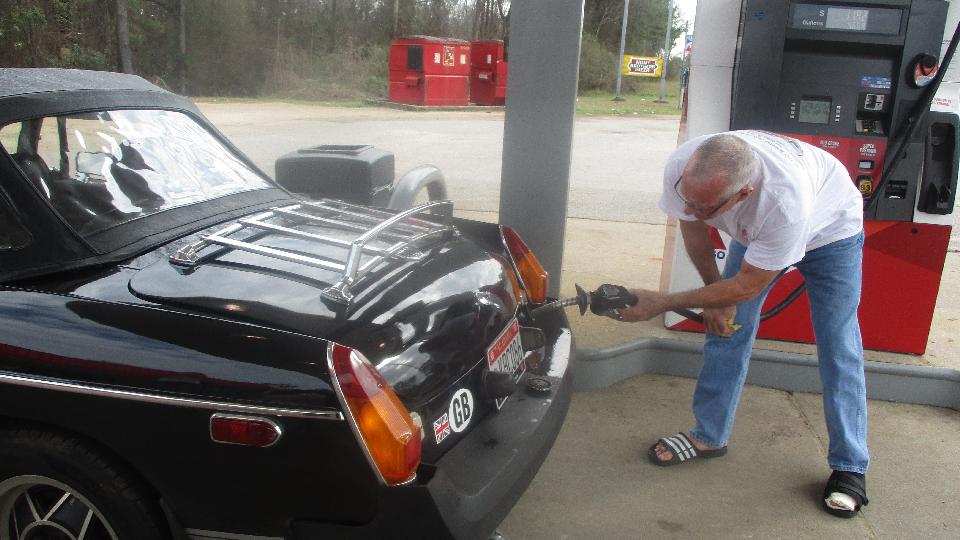
With the fuel gauge pointing at "E", I casually suggested maybe we should head for a gas station before getting
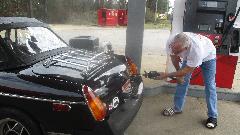 too far down the road, so we did. The fuel pump went spastic sucking air a hundred yards before we rolled into a gas station. Good timing. After fill up, a hundred yards down the road it died for lack of fuel, while the Facet fuel pump was still chattering away with that irritating rattle, apparently not self priming. No tools in hand, but the solution was easy enough. Switch on so the fuel pump would run, then blow into the fuel filler port to push a little fuel into the fuel pump, and in a minute we were running and on the road again. Score one for the good guys. After late night WiFi session we headed east for an hour.
Monday February 19, 2018:
Day off in Auburn, AL. Finish uploading the CMGC newsletter to their web site (a pretty good accomplishment for one day). Also a tech page update for another home brewed wrench socket for the rear axle hub bearing retaining nut, a tech question on setting the speedometer needle position, and a new tech article on another versin of electric power steering for the MGA. Late night cruising farther east, crossing the Chattahoochee River into Georgia, loosing an hout to time zone change, landing in Albany, GA in the small hours of the morning.
Tuesday February 20, 2018:
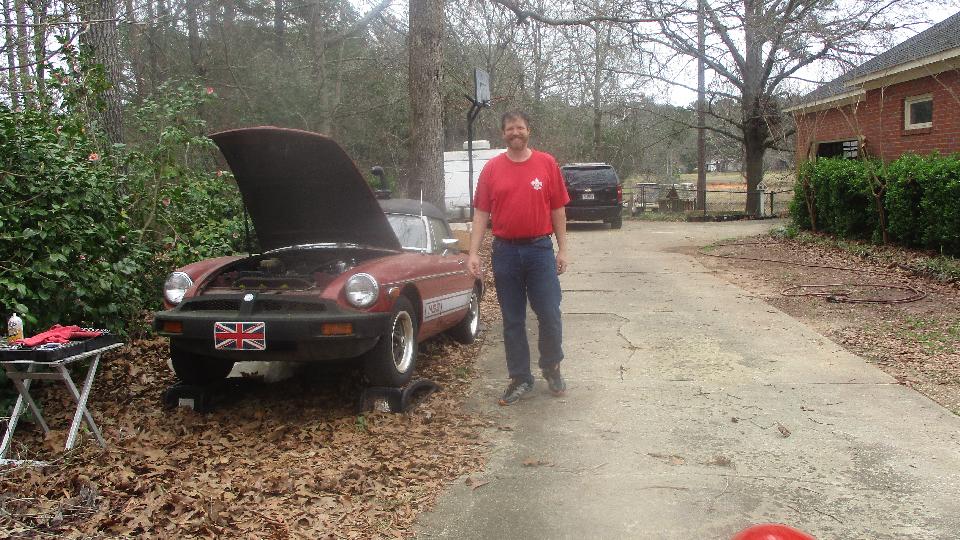
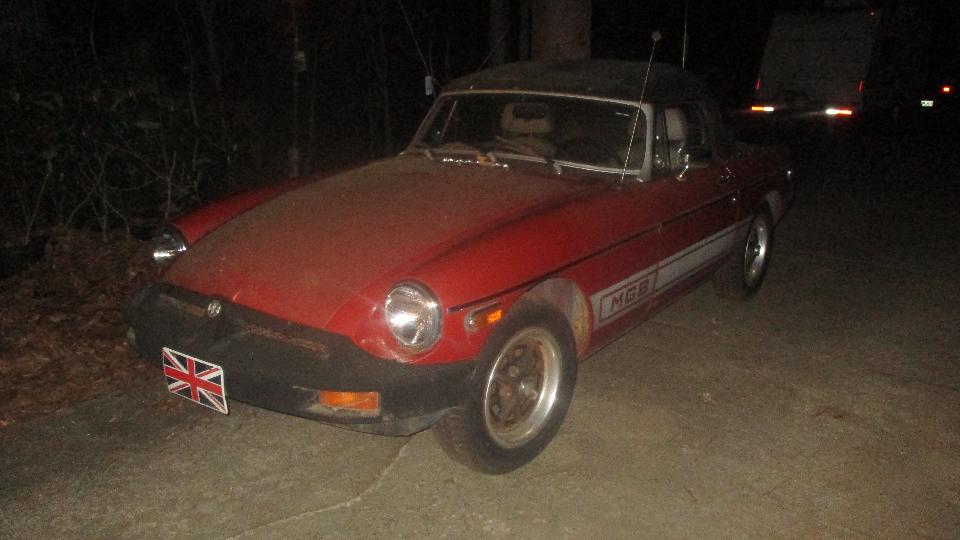
Working day visit to Bill Waller in Albany, Georgia. Been here a few times before. Last time on Nov 18, 2017, we got a reconditioned cylinder head installed along with a Marina manifold and SU HS6 carburetor and a clutch slave cylinder. Today determined to finish getting his wife's ex-MGB running. First issue was a bad coolant leak on top of the cylinder head, just a leaky hose joint easily cured by cutting an inch off of the radiator hose. Then connecting a vacuum hose to the distributor, testing the vacuum unit, and setting ignition timing.
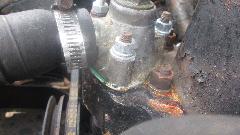
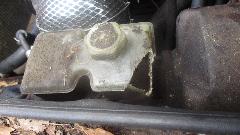
When it would only run on full choke, we found the tappet cover vent hose connected directly onto the intake manifold (in place of the brake booster hose). Swapping those back restored good running, but left it with no crankcase ventilation (which we would fix later). Then we found a bit of fuel on top of the float chamber, dripping from the overflow/vent tube. Cover off, fiddle with the float valve some, getting it to flow and stop normally, and get it back together. Then we noticed a "gnawed" hole in the master cylinder reservoir, and a nest of "gnawed" leaves filling that corner of the engine bay. Later in the day, after leaving the car unattended for a while, we found a live squirrel in there, so we figure we know how this happened. Add one master cylinder reservoir to the shopping list.
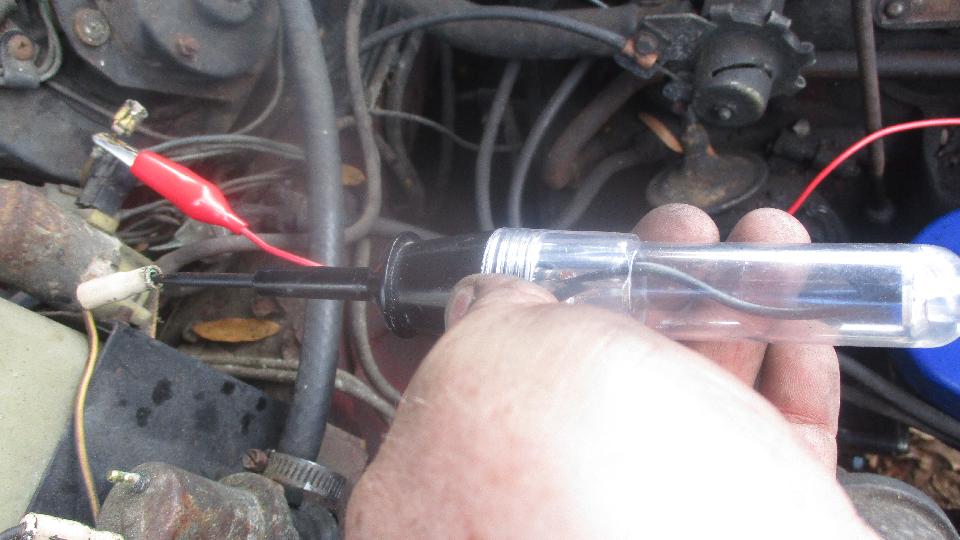
Electric fans not working, apparently two new motors and fan blades. This issue turned out to be a corroded contact in an in-line fuse holder, easy enough to find with a test light, and easy to fix. Then trying to get the Anti-Run-On valve to work, we ran into a wire with a disconnect between the ARO valve and the oil pressure activated grounding switch. This was very strange, because wires almost never fail inside the harness, nearly always failed at the end connectors. While tracing the wire through the harness we found an 8-wire branch of the harness disconnected (hidden behind the washer fluid bottle). It still had all of the blue wrapping tape in tact, looking like it had been chopped off with a snip. Hard to believe the squirrel could make a cut that clean, but equally difficult to think why any human might do such a thing. I may have nightmares over this issue. After stripping back the wrapping tape, we spliced one wire to get the ARO valve working, and left the rest of the harness repair for later.
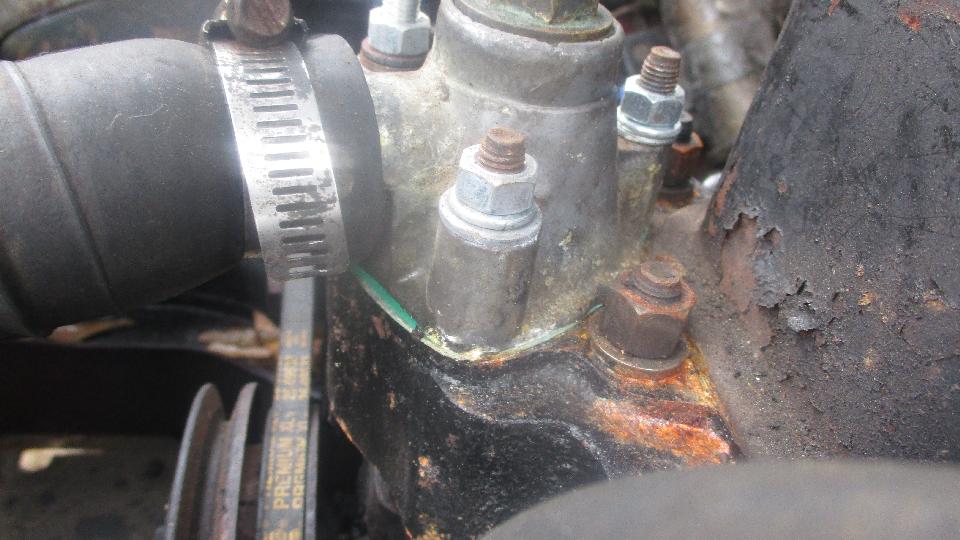
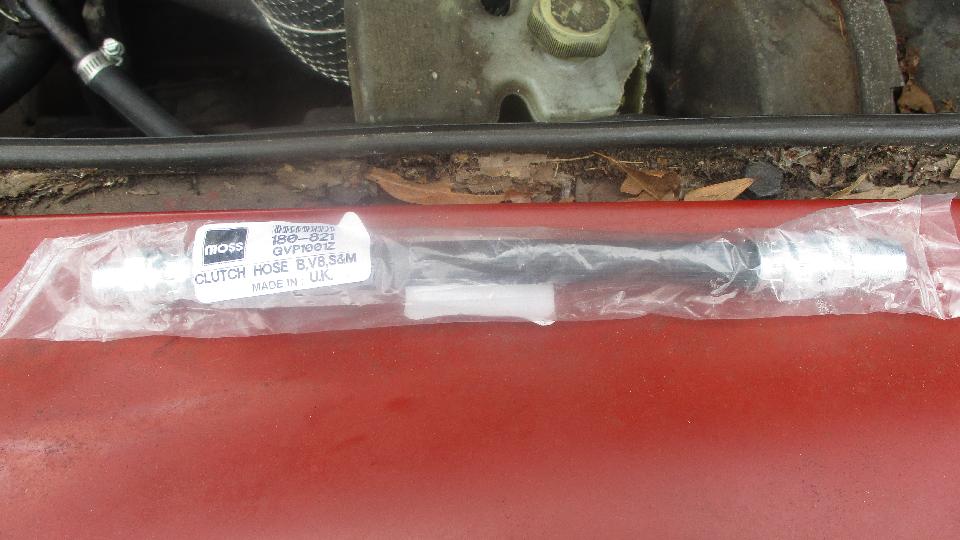
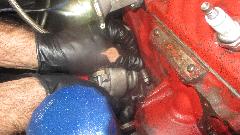
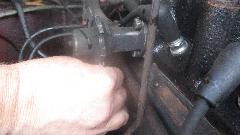
Bleeding the clutch slave cylinder that had been replaced on the prior visit, we found about 3-second return
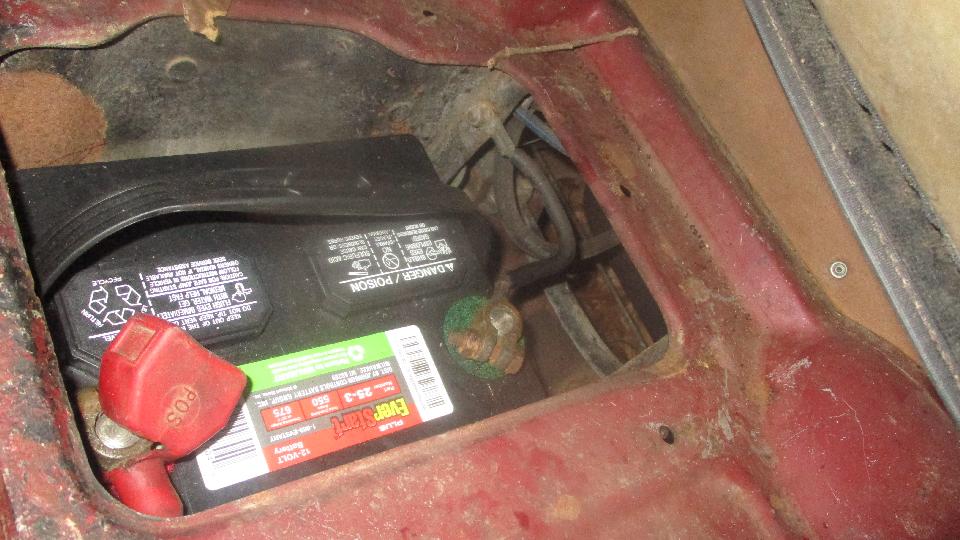
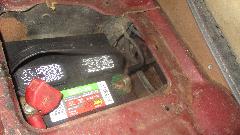
for the pushrod, meaning the hydraulic hose was clogged. This may have been obvious earlier, because there was a new hose handy. Disconnect battery first, then a bit of a fiddle to R&R the starter motor for access, but we soon had the new hose installed, clutch bled and working. Reconnect the battery, and it running again.
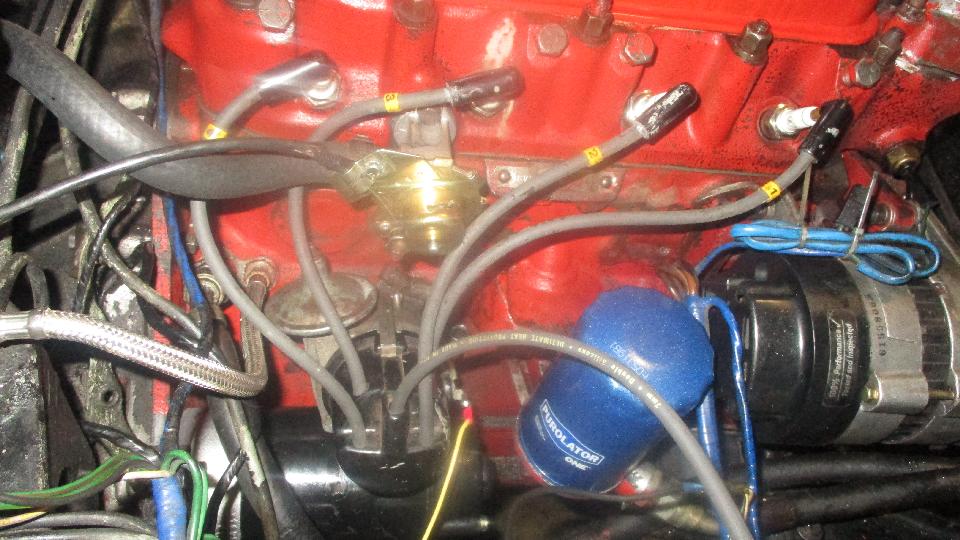
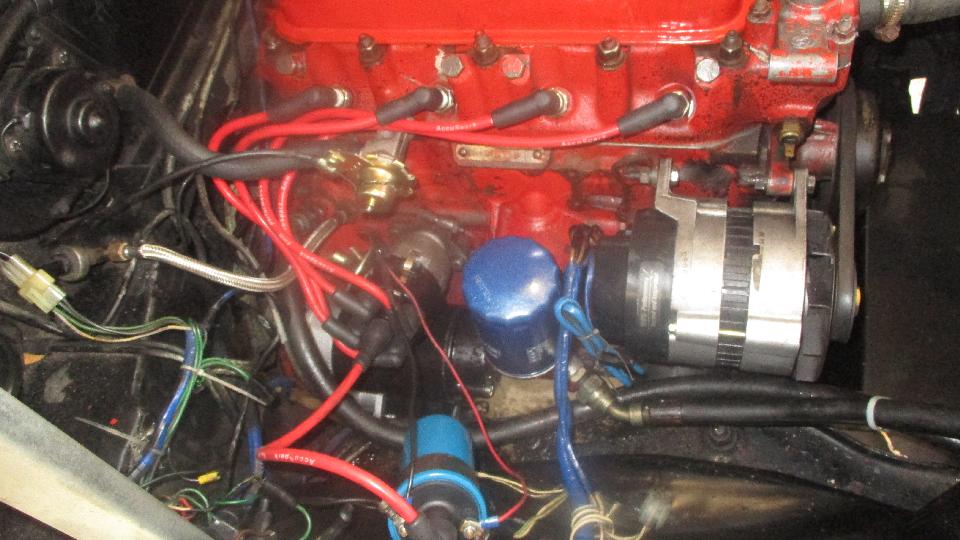
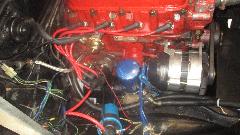
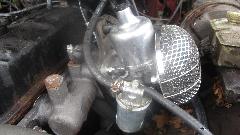
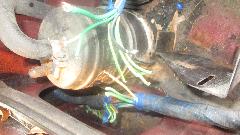
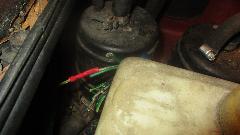
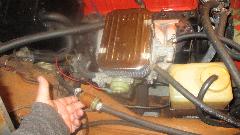
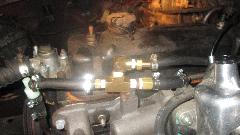 We had a short break for a parts run, picking up a PVC valve and a fist full of brass fittings and three different size hoses for vacuum connections. The little white plastic gadget on the left is the new PCV valve, while that top hose is the vacuum source for the ARO valve. When properly connected, jumpering power to the ARO valve would immediately kill the engine (with ignition still on), and ten seconds later the ARO valve would click off after oil pressure dropped, so we knew that was working.
 Finally time to see if the beast would move under its own power. Happy to report the clutch worked without sticking. A little struggle to back it off the ramps as the brakes were dragging. Couple of good yanks on the parking brake cable aft of the rear axle got that to free up, so the cable will need attention later. We had headlights, low beam (2) and high beam (1), and turn signals, but no parking lights or brake lights. So no test run in the street tonight, but it did run up and down the driveway a bit.
After dinner and a few hours of WiFi work we headed back west, and a little past midnight landed in Columbus, GA in anticipation of next day's activities.
Wednesday February 21, 2018:
Day off in Columbus, mostly catch-up work, a little future planning, email and calling a few of the locals.
Thursday February 22, 2018:
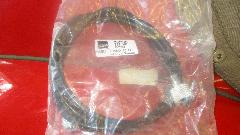

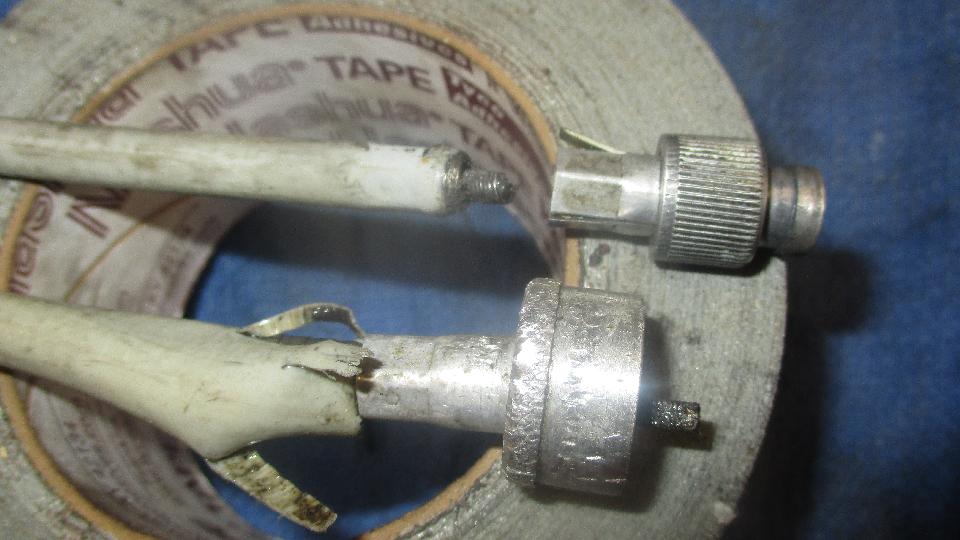
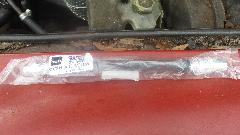
Somewhat busier today. Began with a stop at Phillip Clark's shop to borrow a floor jack, and changing our speedometer cable.
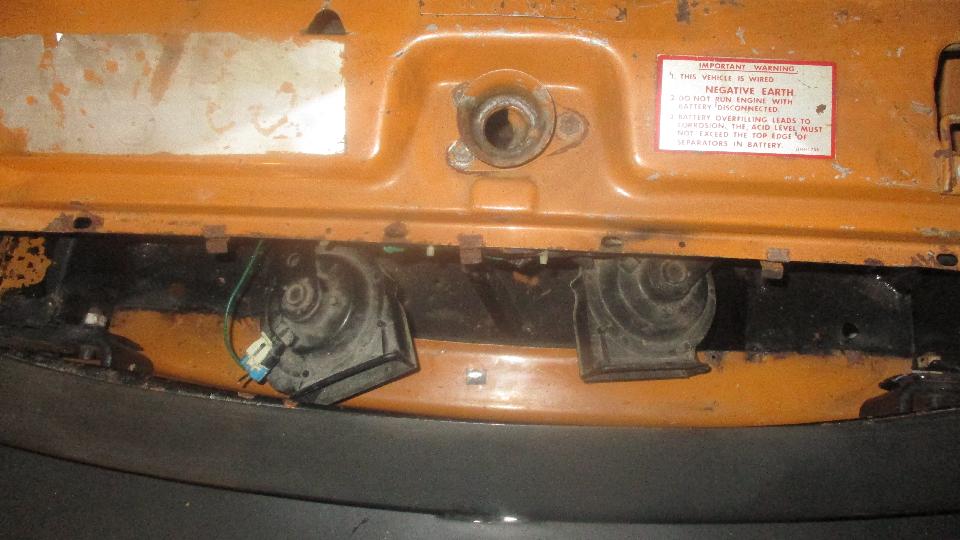
While there, we might as well look into some electrical issues with Phil's MGB. Horns not working, blown fuse. We found one horn shorting to ground internally, so just disconnected that one. The other horn would tick when pressed. Adjusting the diaphragm and breaker points got that one working (weakly), so install a new fuse and recommend buying two new horns. Then a problem with no side market lights and no tail lights. Checking two fuses for left and right side marker lights, found badly corroded fuse contacts, spend time trying to clean the contacts (almost futile), finally got the fuses to connect. This resulted in working tail lights and rear side marker lights (no front side markers). Must be some incorrect wiring, as I think tail lights are not supposed to be connected to the side markers, and side markers front and rear need to be connected together. Short on time, so leave the rest for another time.
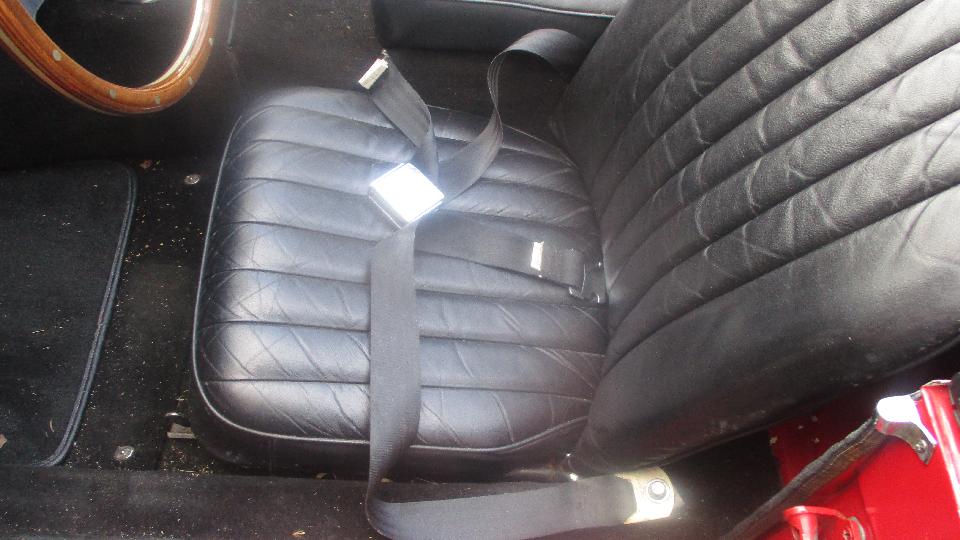
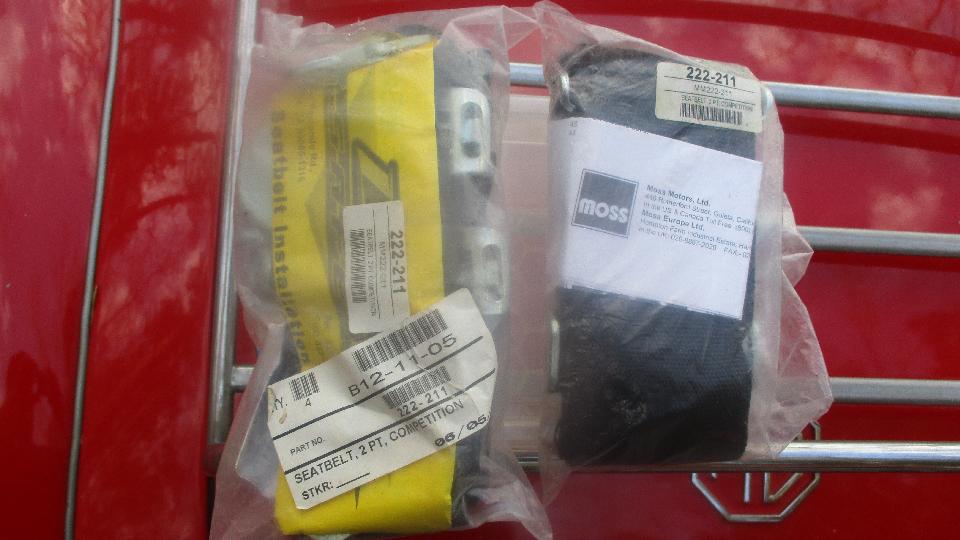
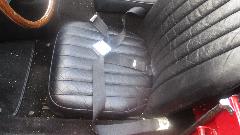
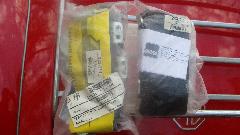
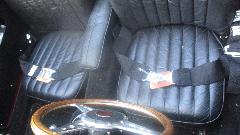
Then off to visit Larry Stephens (still in Columbus). He has a nice MGA 1600-MK-II, and he just wanted to swap out the vintage seat belts for 3-inch wide racing lap bets. Easy enough done from the top, no need get underneath. Figure an hour to do the belts and another hour of pleasant chat.
Losing the sun, then off to WiFi for the rest of the evening. Late night a short jaunt north to Hogansville, GA.
Friday February 23, 2018:
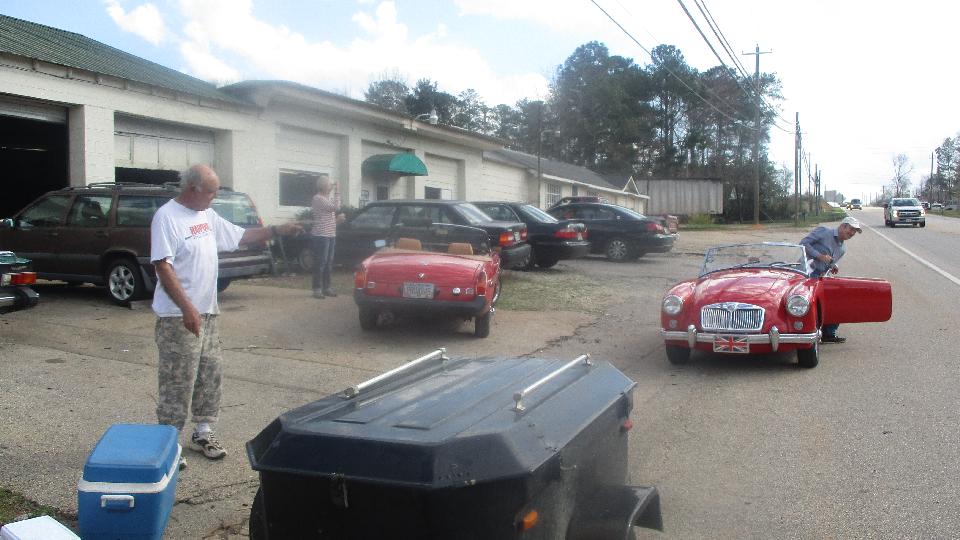
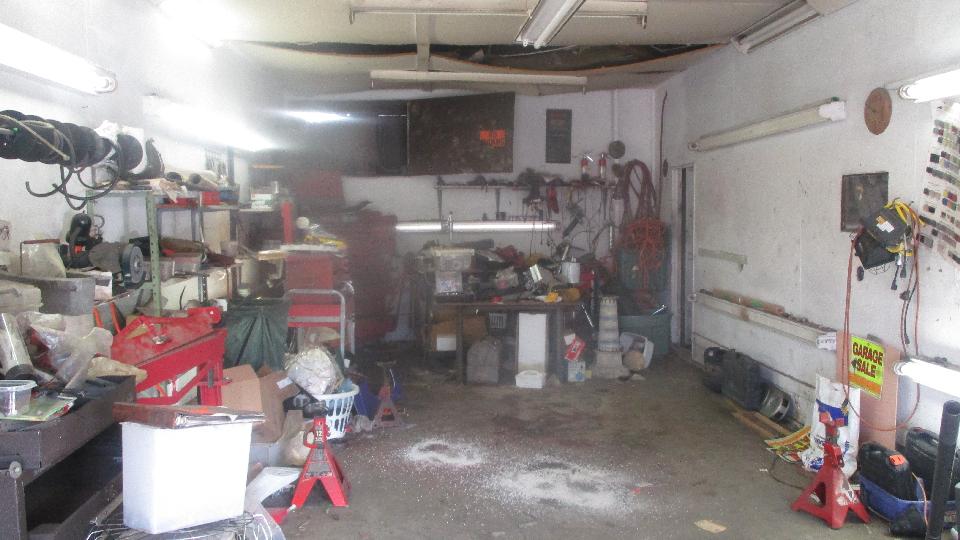
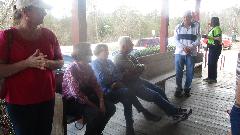
Mid morning in Hogansville, we had a walk-in. This turned out to be George Sampson, a vintage car shop owner from Lagrange, GA. We had a short visit to his shop Euro Car Care in November 2016, but it was closed at the time, so we will take another shot at it today. That's George in the white "T". As we arrived another MGA pulled in right behind. That would be Peter Rowle, also from Lagrange. Peter is also a member of Brits In The Valley in Columbus, and we have met him before at a prior tech session in Columbus. The shop is filled with vintage MGs and Triumphs, and a few more parked outside. George has been in business at this location for decades.
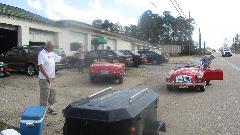
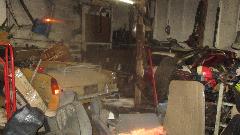
There seems to be a lot of "take two to make one" going on here. The open bay may originally have been a paint booth but now doubles as nicely lighted workshop space. Out front, checking out each other's cars. By quitting time we agree to look up Peter again next time we're back in the neighborhood.


Saturday February 24, 2018:
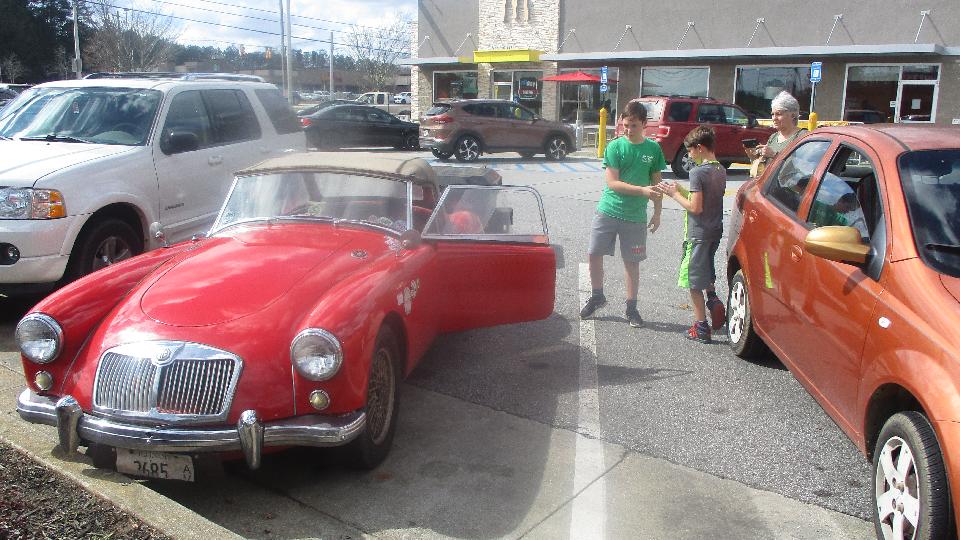
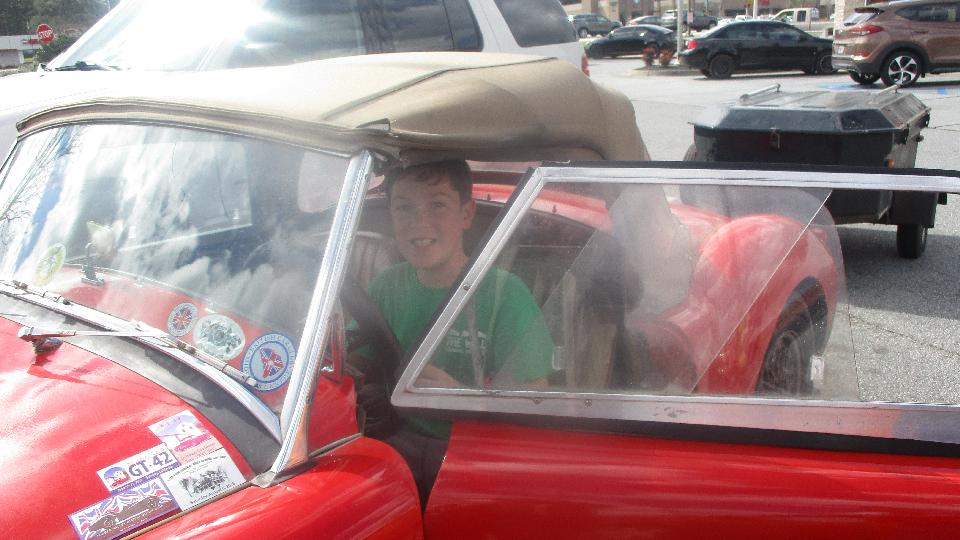
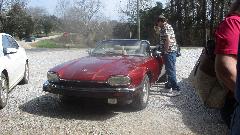
 Sitting in Newman, Georgia today we had another walk-in, this time with an interesting request. Lady wants a picture, and three kids would like a closer look at the little car. These kids are just about the right age to leave a memorable impression. Apparently they already know how to drive a lawn mower with clutch and stick shift. It would be nice to know what they might do about little cars in future years. Lady wrote down the web address www.MGAguru.com.


By late night we moved a little farther to Peachtree City, Georgia, closer to our next appointment.
Sunday February 25, 2018:
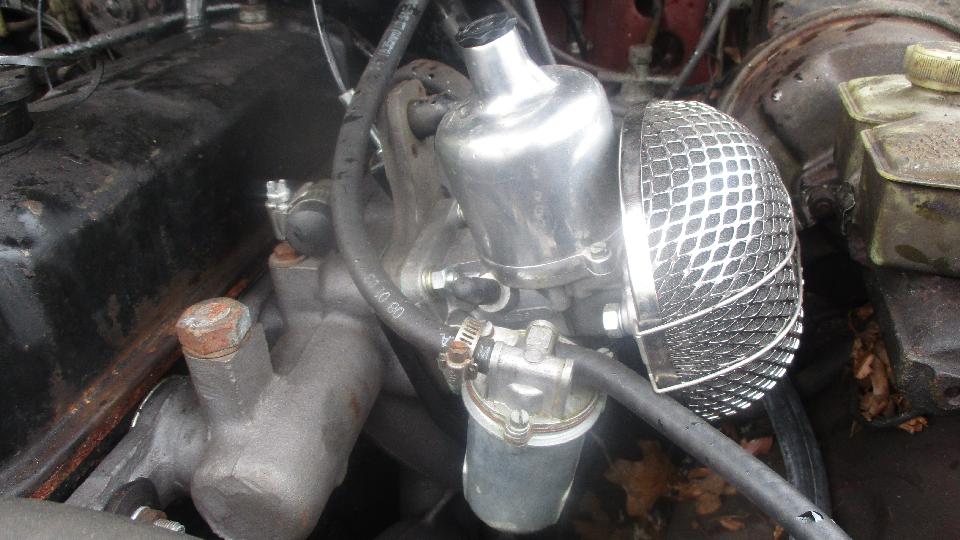
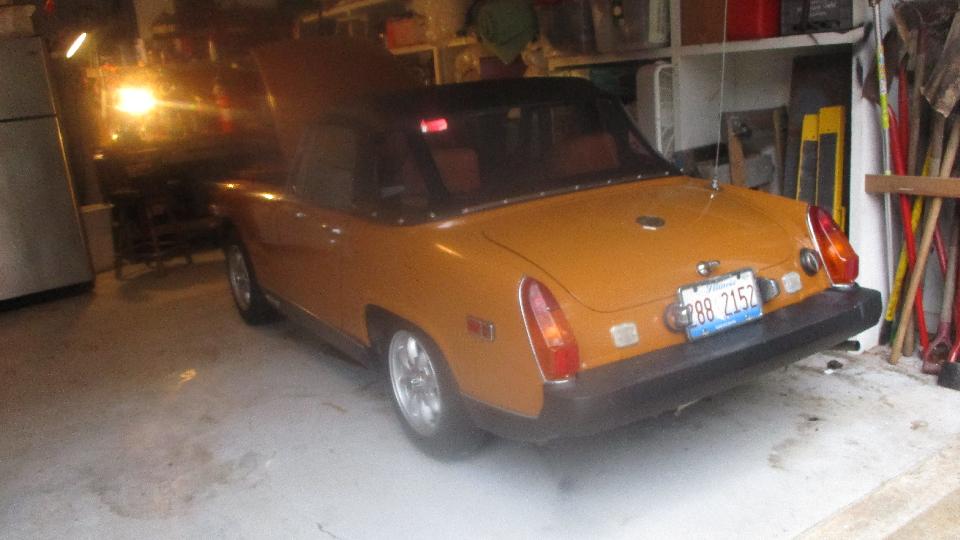
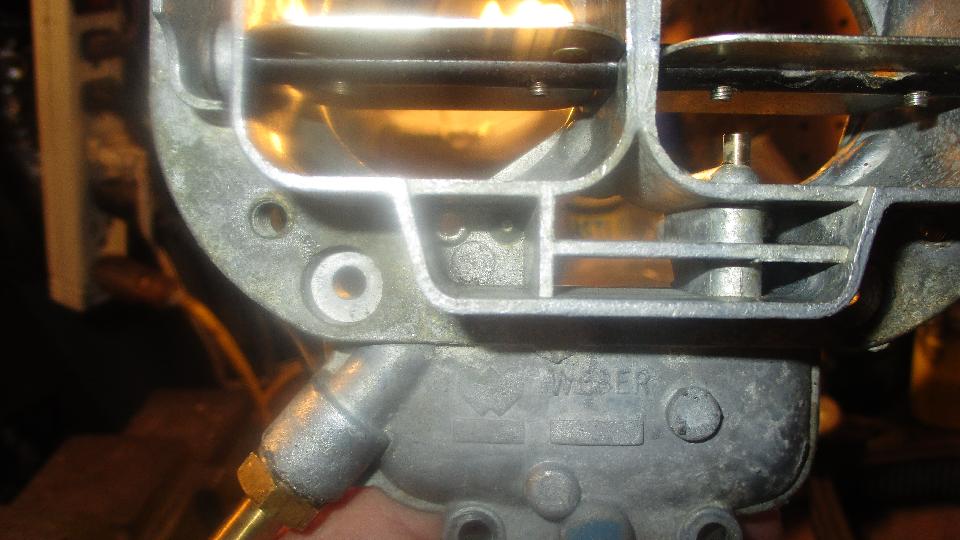
By mid morning we dropped in to see Glenn Fountaine in Peachtree City, GA. He has a 1975 MG Midget 1500 reported to have a few electrical problems, and might benefit from a little tune-up. He fired it up to move it from side of the garage to center of the work space, but it didn't run well, and was difficult to drive back into the garage. My first observation was that it has a Weber downdraft carburetor, and these conversions are almost never done right.


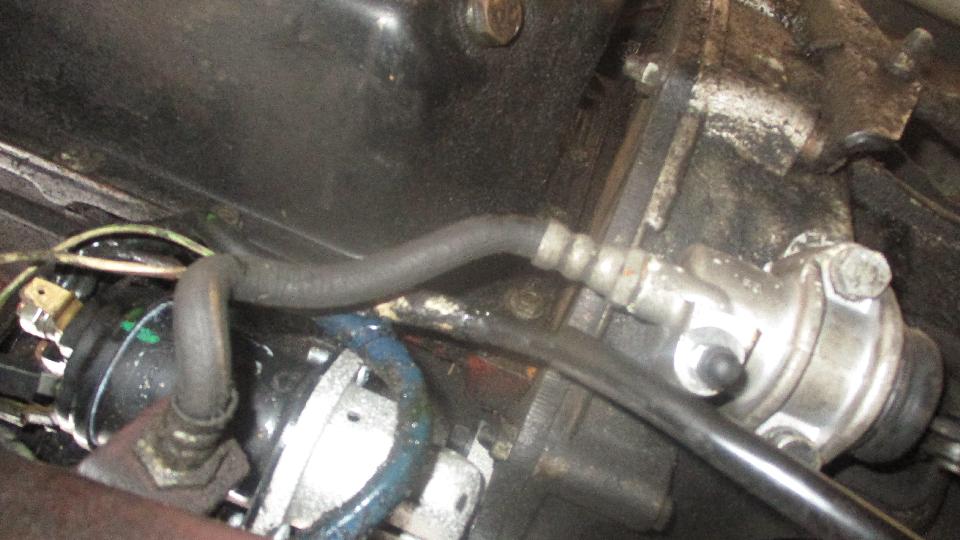
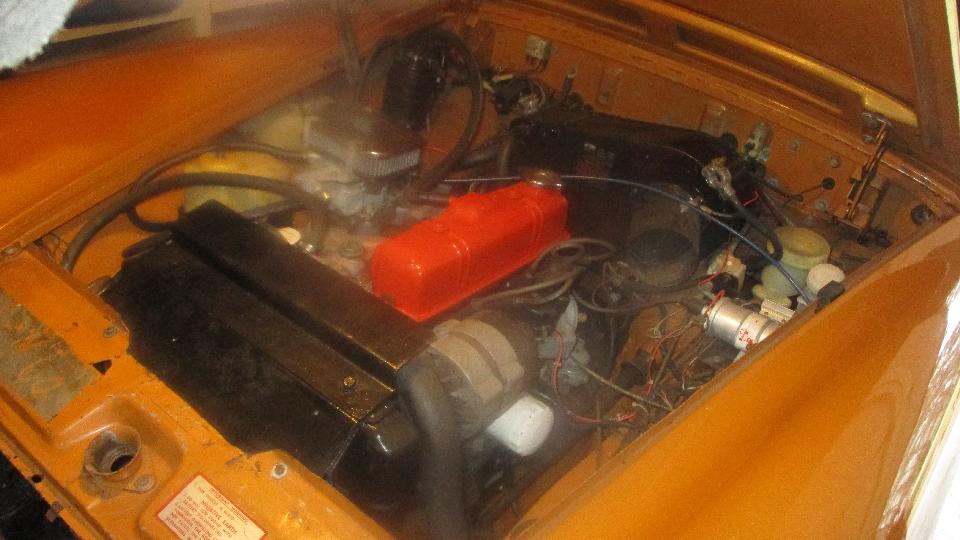
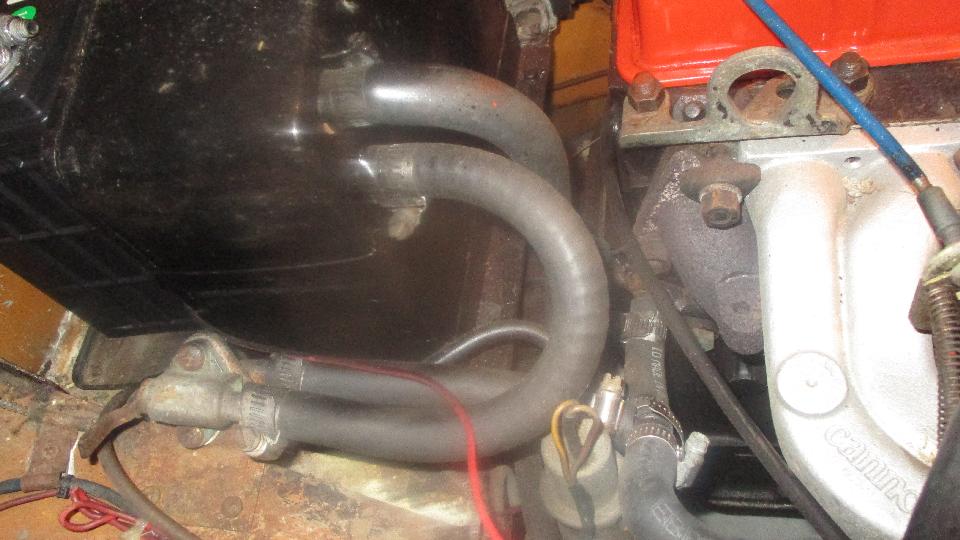
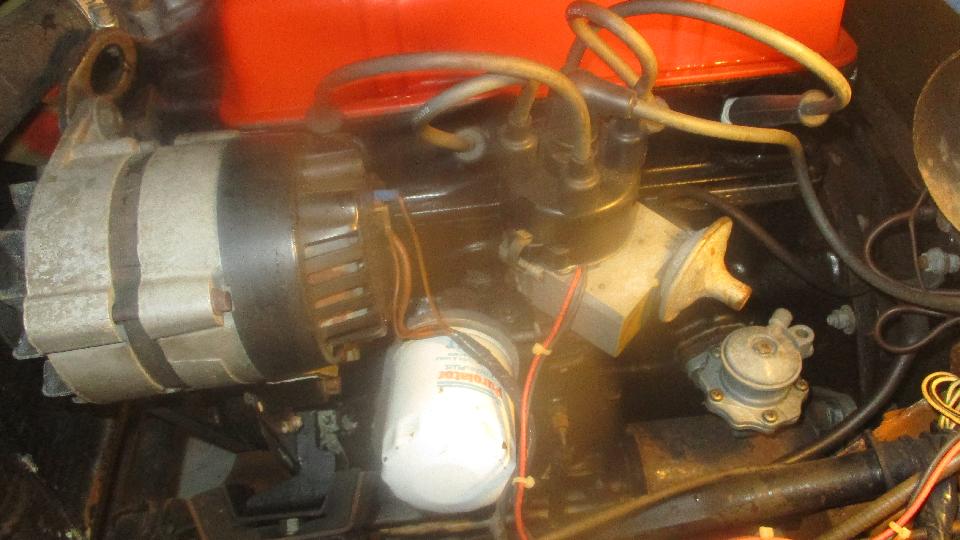
The original fuel mechanical pump on the engine was disconnected, abandoned, didn't work. A replacement Airtex type electric fuel pump was installed in back near the fuel tank, with lots of hoses used for connection, a small filter at inlet of the pump, and another filter in the engine bay.
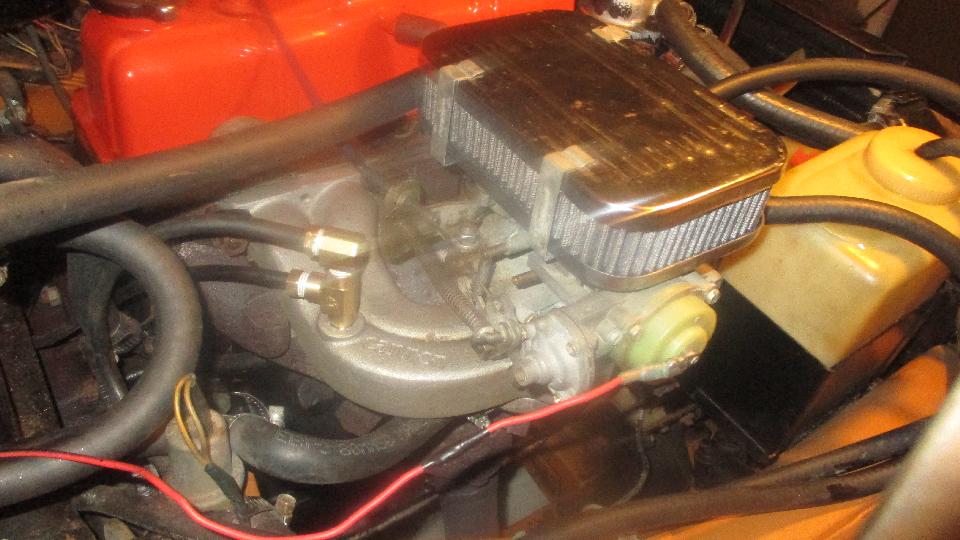
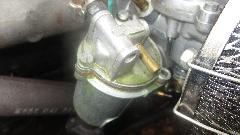
 Hose connection to the lower right of the air cleaner was supposed to be a float chamber vent to the vapor recovery canister, but this port on the carburetor was never drilled out, so the hose was plugged and non-functional. That means the anti-run-on feature was also disabled. The hose connection just below the white plastic electric choke is a venturi vacuum port on the Weber carburetor, but the distributor on this late model Midget is the vacuum retard type, so it needs the vacuum signal to be connected to the intake manifold.
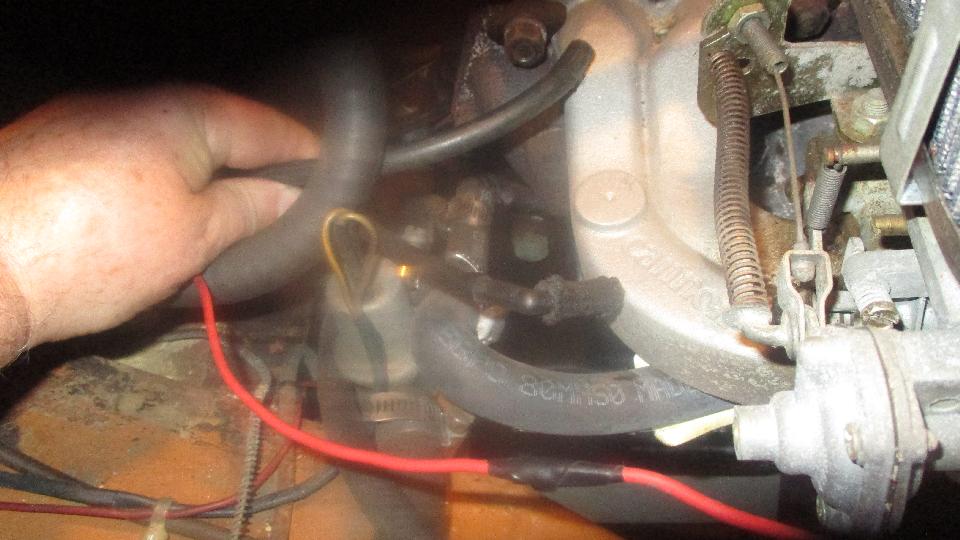
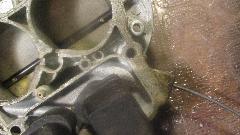
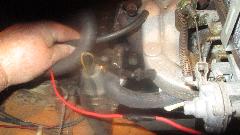 I pulled the vacuum hose off of the carburetor, and found the disconnected vacuum hose for the anti-run-on valve. These two hoses will need to be connected to the intake manifold. For this the intake manifold will have to be removed for drilling and tapping for a vacuum port.
 A hot water hose comes from the front of the cylinder head going to a water chamber in the intake manifold. then continuing on the heater shut-off valve, through the heater, then back under the manifold to the water return near the water pump inlet. Shutting off the heater valve would stop circulation, so there is a bypass hose between two "T" fittings in the supply and return hoses, which will allow water to circulate continuously for temperature stabilization of the inlet manifold. The problem here is that when the heater valve is open, most of the water would flow through the bypass, resulting in not much flow through the heater. I think the solution to that might be a flow restrictor in the bypass hose, but will have to investigate that later.
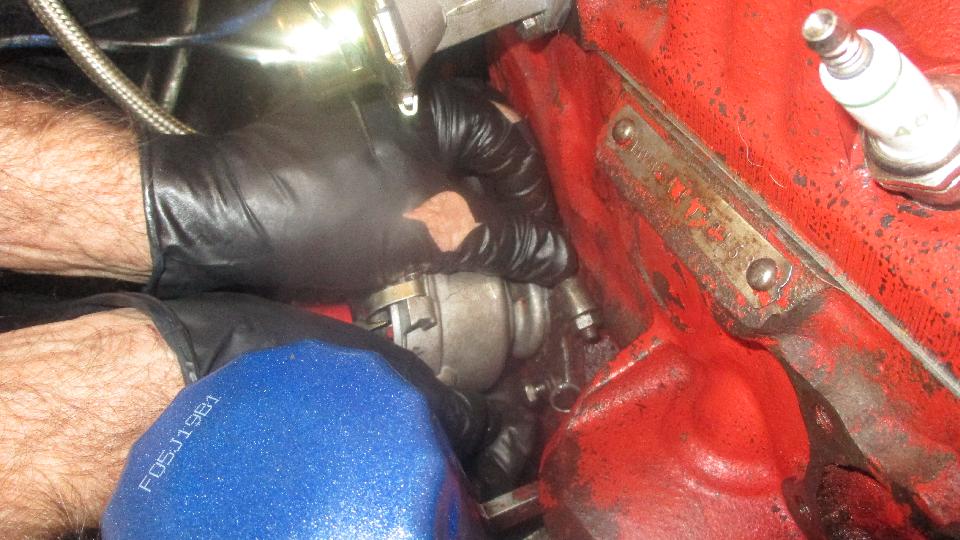
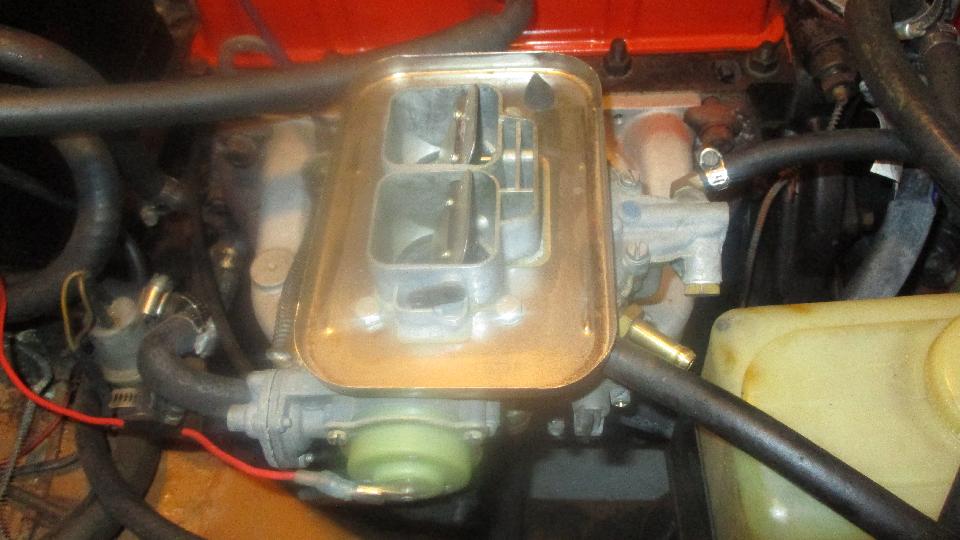
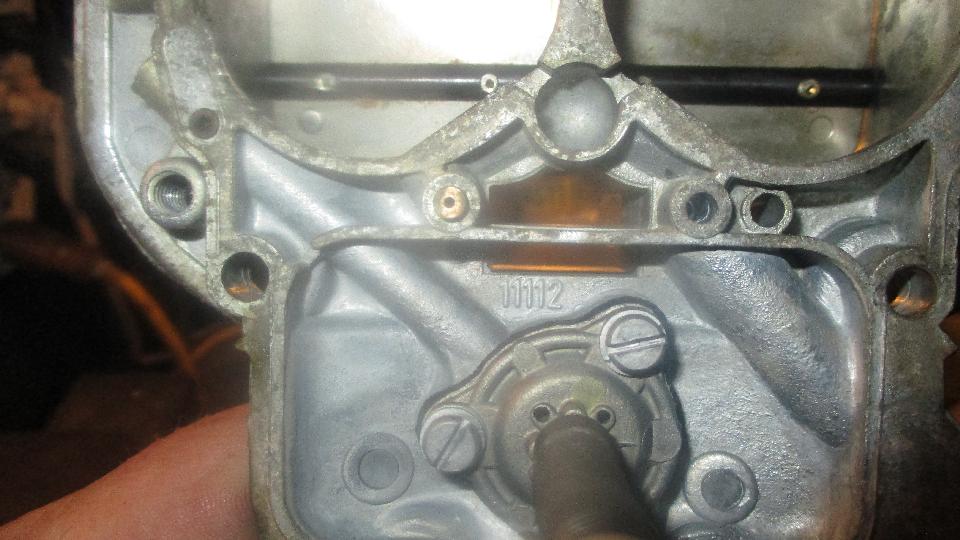
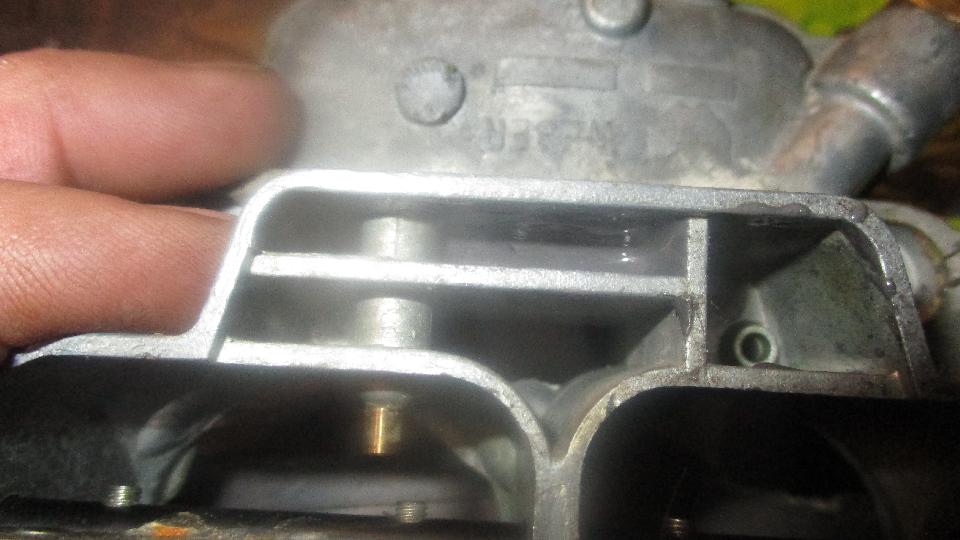
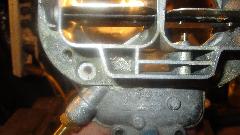
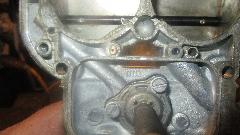
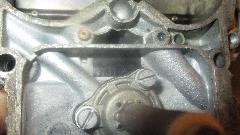
To make vapor recovery and anti-run-on work, we need a sealed float chamber with an external port for that hose connection to the vapor recovery canister, so we had to modify the Weber carburetor slightly. Removing the air cleaner, when you look straight down from the top you can see fuel in the float chamber. A narrow slot is the original Weber float chamber vent, and it must be plugged. So we removed the carburetor top cover for a little rework. First was to finish the incomplete thread for the hose barb, then to drill a new vent hole in the bottom of that port above the float chamber.

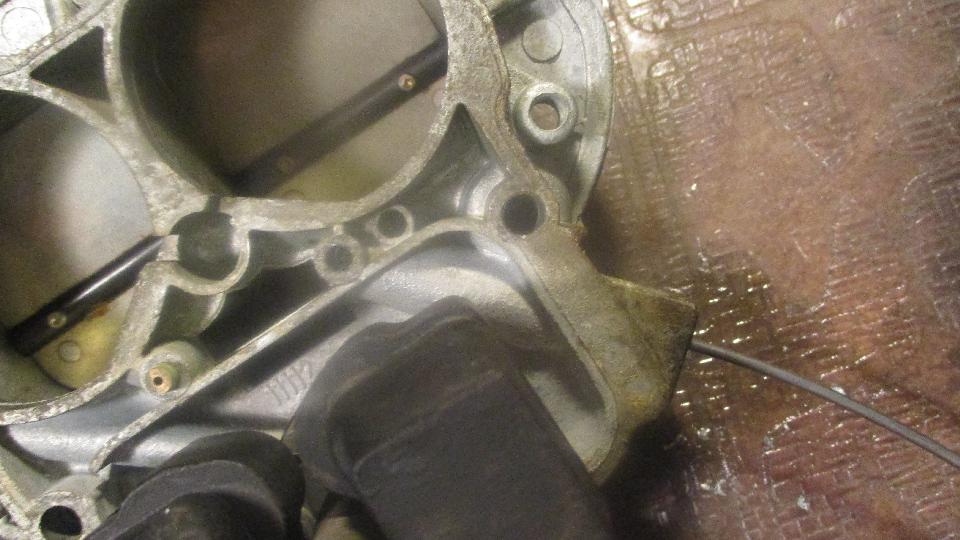
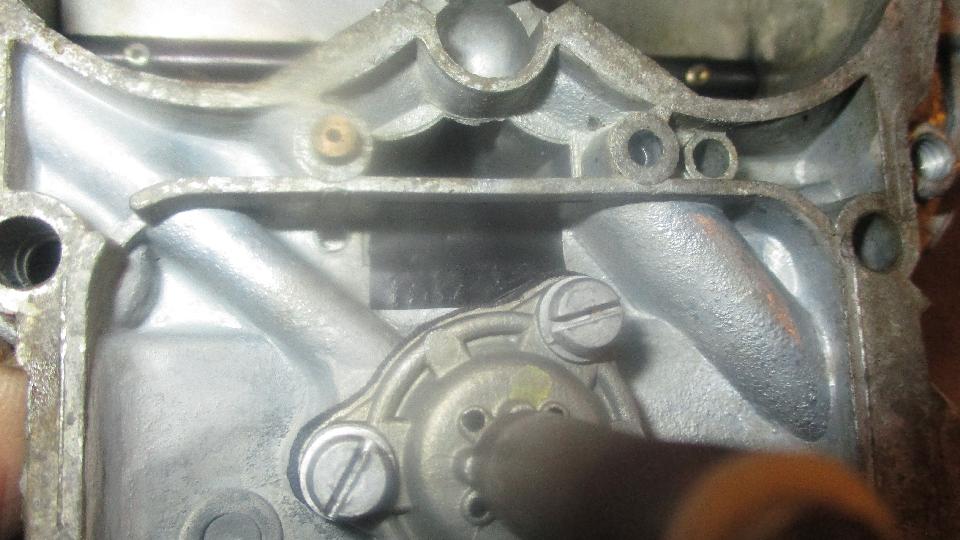
There is the narrow vent slot seen from top and bottom, and a piece of tape to cover the bottom of the slot temporarily.
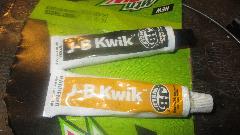
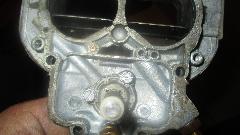
Then we mixed up some 5-minute epoxy and trowled it into the slot. Once it had set up we removed the tape to real the new plug. The threaded side port is then the only vent into the float chamber. Not much required to reassemble the carburetor, and we moved on to the next task.

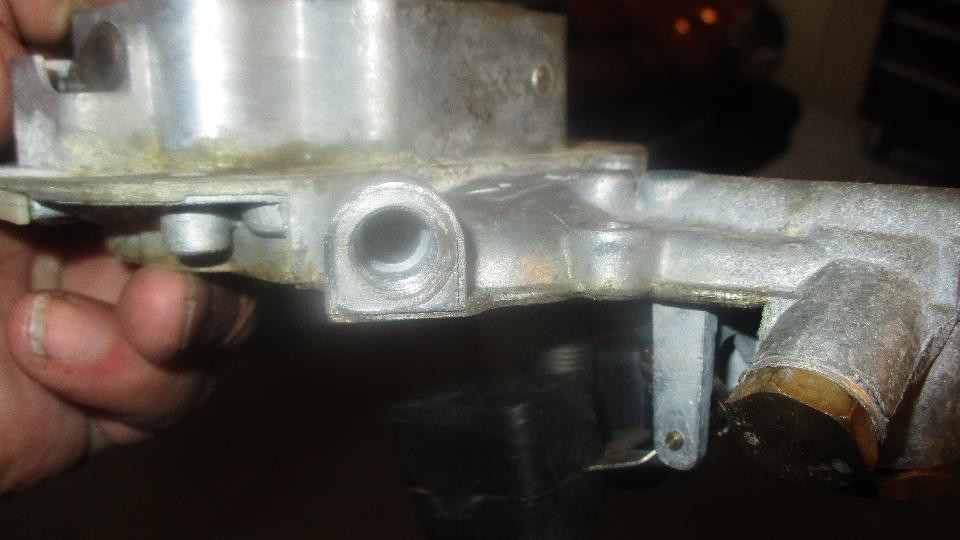
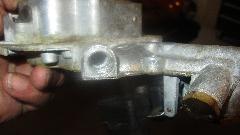
We removed the intake manifold to drill and tap a vacuum port (1/4-inch tapered pipe thread), file it smooth and clean out the swarf. Then a short trip to local store to pick up some brass fittings, and we soon had the spark retard and anti-run-on vacuum hoses connected, and the manifold and carburetor re-installed.

 We fired it up long enough for some quick testing to prove that the anti-run-on valve was working, which means that vapor recovery was also properly connected. Then set ignition timing and verify that mechanical advance and vacuum retard were both working. Notice the original mechanical fuel pump disconnected, verified to be non-functional, not drawing vacuum on the inlet port. Way past dark, and more to do here, so we would call it a night and return tomorrow to continue.
Monday February 26, 2018:
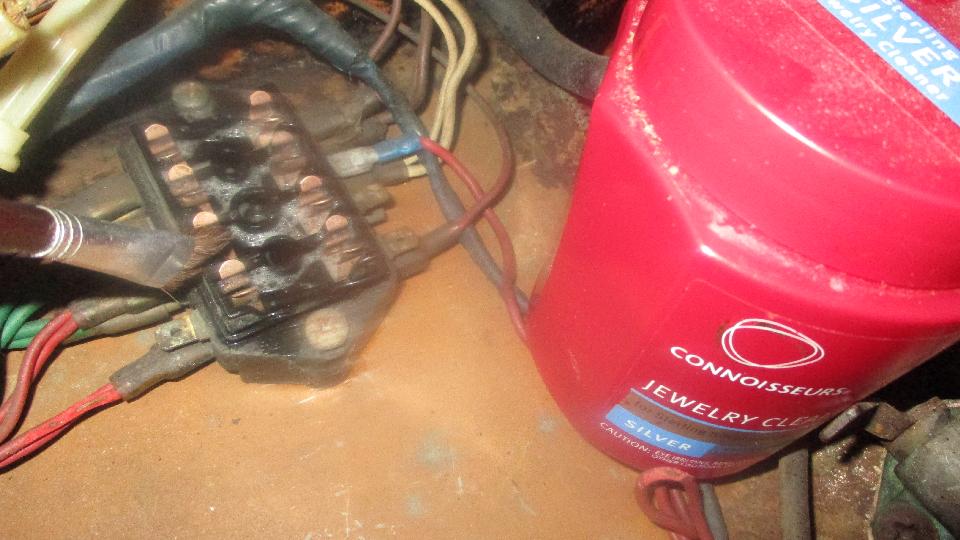
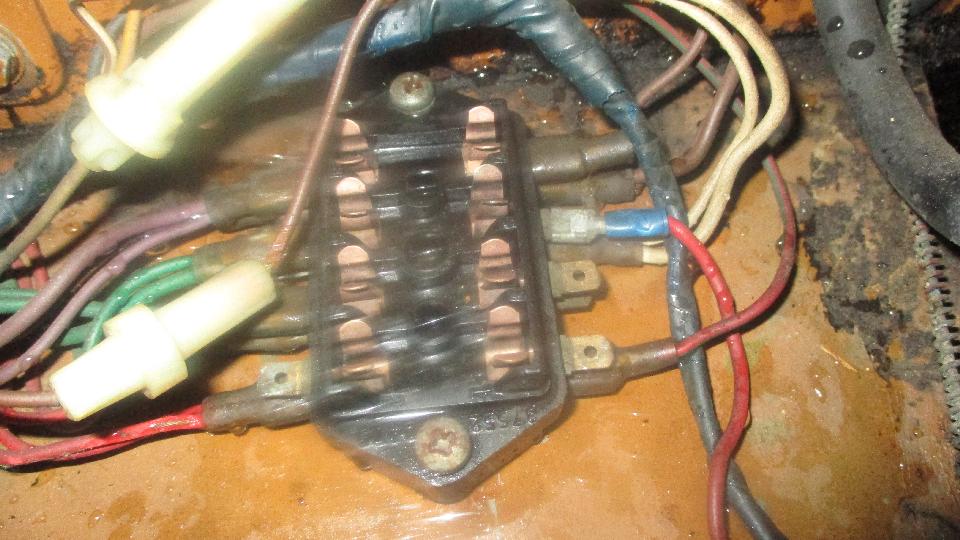
Today we would tackle the electrical problems (lots of them). Very bad connections in corroded fuse clips, so we broke out the silver cleaner and a small brush. Nice bubbly chemical action, and soon the copper clips were clean and bright, and washed down with lots of water. All incorrect fuses, requiring a quick trip to buy more fuses (and a relay for the horns), all pretty again.

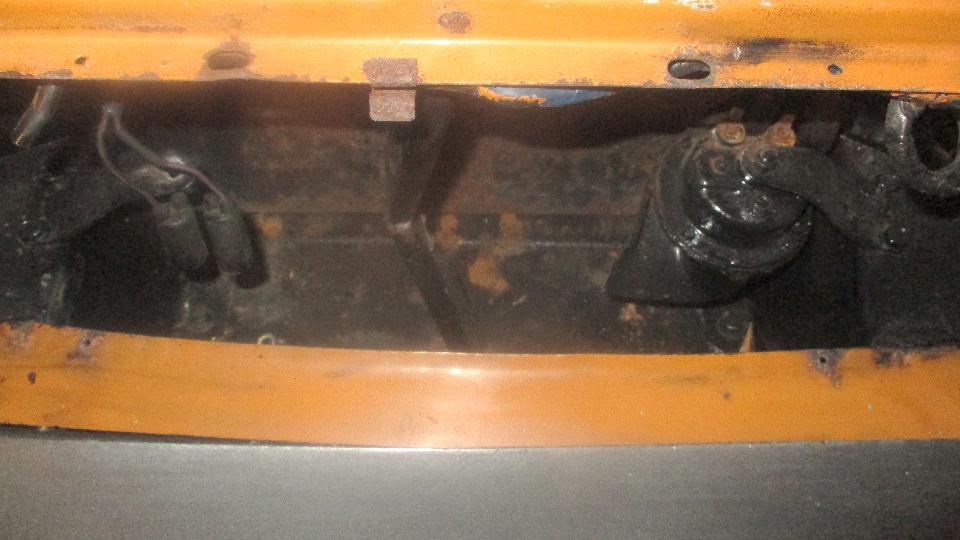
With proper fuses in place we moved on to the dysfunctional hooters. One was silent while the other had a tiny beep. The owner had procured a pair of Cadillac horns from the bone yard, and it didn't take too long to install them.

 Problem here was the new horns were grounded through the case and bracket to the car body, so we had to install a relay to reverse the power switching function. In the end the character was changed from "beep, beep, please don't hit me", to "HONK, HONK, STAY IN YOUR LANE"! (insert big grin here).
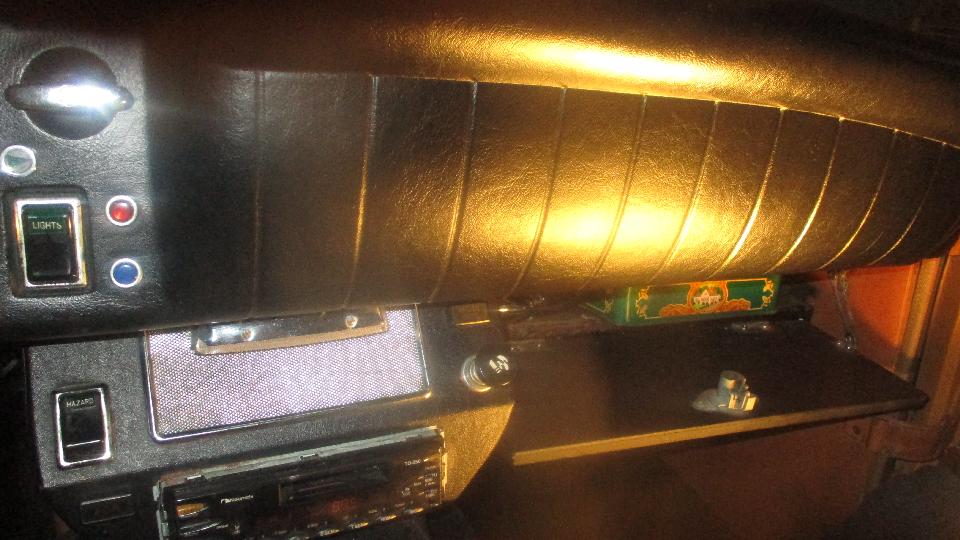
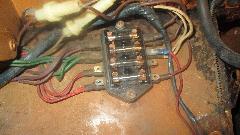
Then a look at dysfunctional wipers. Starting at the fuse block, I noticed a connection error. One of the red wire connectors was on the second fuse (live only with the ignition on), while one of the green wire connectors was on the third fuse (live with lights on). See fuse box photos above. Crafty grin here. Switch on parking lights first, then switch on the wipers, and they were running. Doh! Another DPO bodge. Put all green wires on the 2nd fuse, and red wires on 3rd and 4th fuses, and all is right with the world. Parking lights, side markers and license lamps work with lights on. Wipers, brake lights, turn signals and heater blower all work with key on. That was too easy.
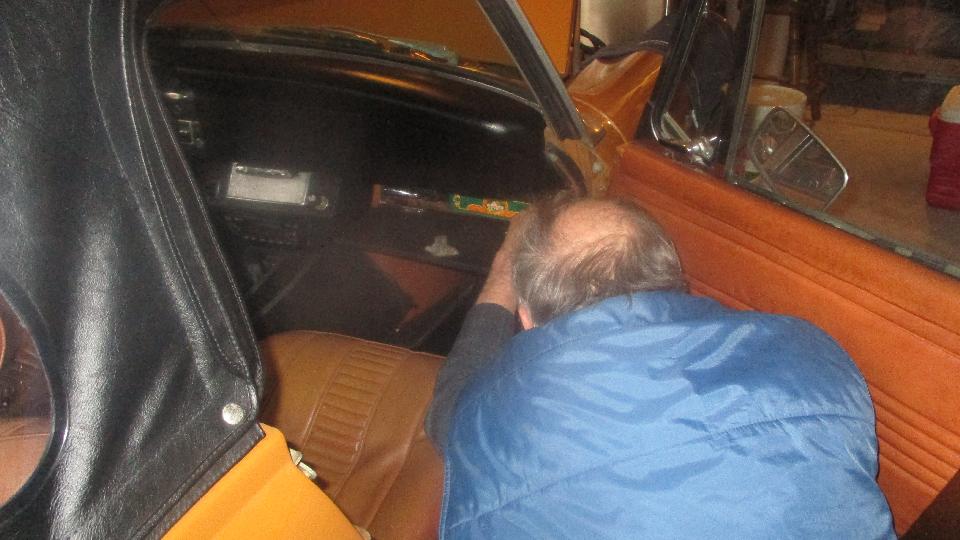
Turn signals would light up but not flash, and hazard flashers did not work. Check the book to figure the flasher units should be behind the dash on the passenger side (LHD car), which would be behind the glove box. We found the turn signal flasher unit high on the firewall inside/above the glove box. Installing a generic flasher unit from the magic trailer soon had the turn signals working. The old flasher unit appeared to be epoxied to the firewall with no holder clip. The metal canister device to the left was the voltage stabilizer for the the dash instruments. No flasher unit for the hazard flashers anywhere in sight. We suspect it would be found behind the center console somewhere near the hazard flasher switch (and the turn signal flasher may have originally been in the same area). Looks like a royal pain to R&R the center console. We tried pulling out the radio, but the shifter lever was in the way. Getting late again, so guess we will have to leave the 4-way flasher problem for later.


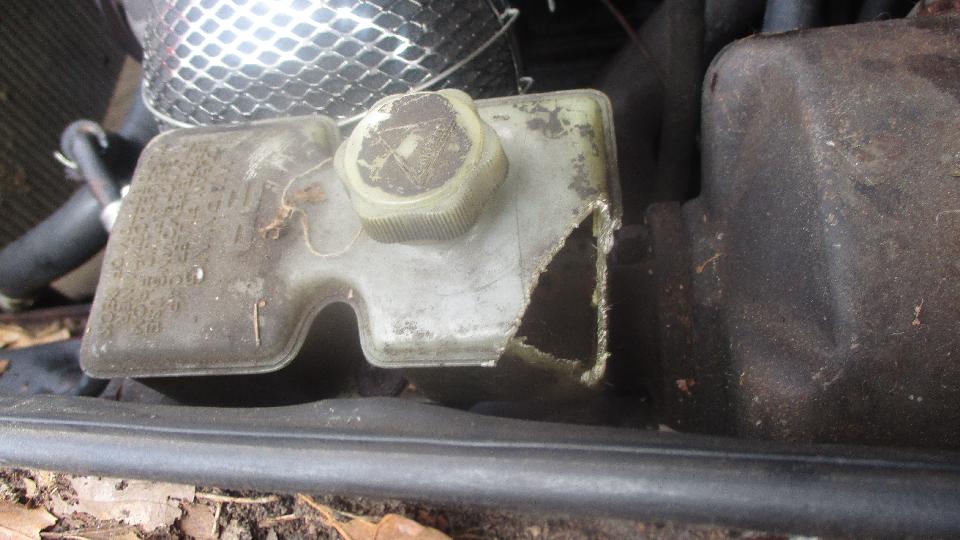
Dinner with the Fountaines tonight, a good time for all. After dinner we took the Midget for a test drive, first time out of the garage for a year. Engine runs great, clutch works, backs up, goes forward in a flash, runs through the gears nicely, but almost doesn't stop (oops). Back to the garage (gently), check the master cylinder, almost no fluid in the reservoir (front or back sides). Dry under the master cylinder, but we did find wet on the LR tire (and I think a small puddle on the floor). Must be a leak somewhere up front as well, since the reservoir was empty. No DOT-3 fluid handy, so no more fun tonight. Begin shopping list and planning for brake cylinder repairs.
Too late for WiFi work, so we headed north for an hour to land in Acworth, GA.
Tuesday February 27, 2018:
Tech questions on backfiring and coil polarity, sealing the rear edge of the MGA boot floor, and carburetor rebuild kits. Also a huge push to get out our monthly trip report for the CMGC newsletter (late, but just under the wire).
Wednesday February 28, 2018:
A long answer about the (minor) benefit of increasing coolant flow rate in an MG engine. Some discussion about rebuilding MGA body sills. Some research into a vintage Austin A-series engine 10MA-U-H-229502, which turned out to be from early Morris Minor 1000 Series-5, one of the earliest applications of the 1098cc engine. Answers for questions on bad configuration aftermarket MGA door seals. Got messages from a friend in Downers Grove, Illinois about his 1977 MGB single to dual carburetor conversion. Made an appointment to visit him in a couple of weeks when we get up that way.

We had plans to visit Eddie Lewis in Acworth, GA, but he dropped in to visit us instead. He has an extensive interest in Datsun 240Z, which has a lot (or at least a little) in common with MGs. That gobbled up most of the evening into late night. He gave us the name of a local shop the specializes in Z-cars and also works on vintage British cars. Need to check that out before we leave town.
|