The MGA With An Attitude
MGA Guru Is GOING MOBILE - (March 1 - March 15, 2024)
Friday March 1, 2024:
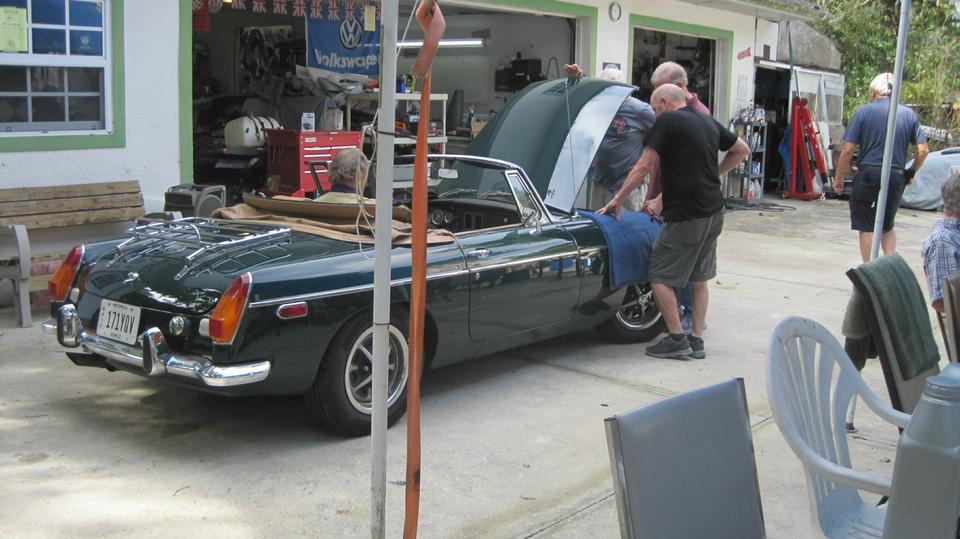
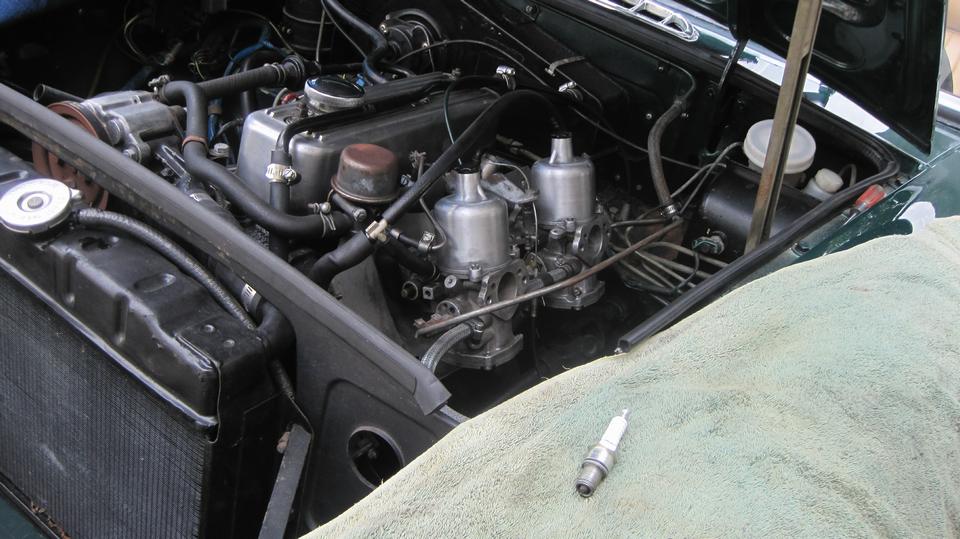
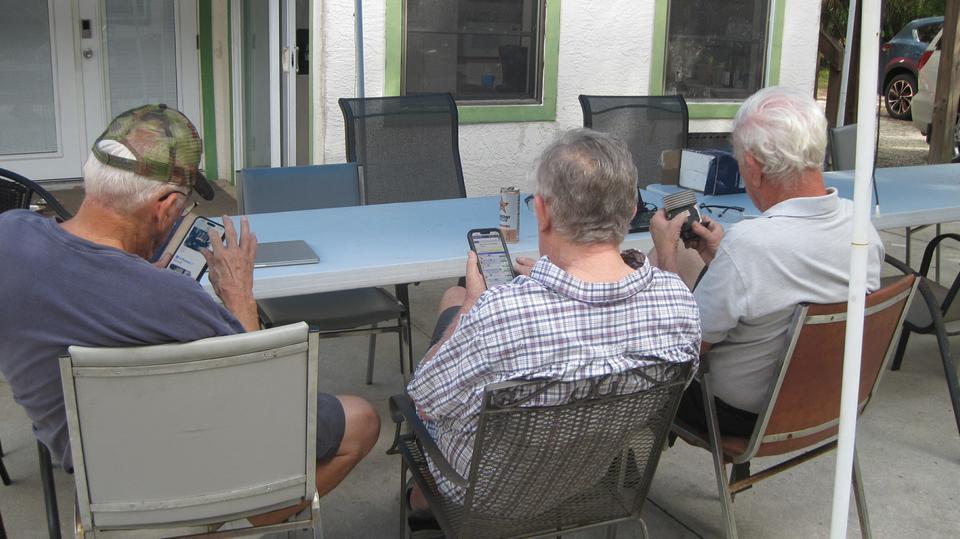
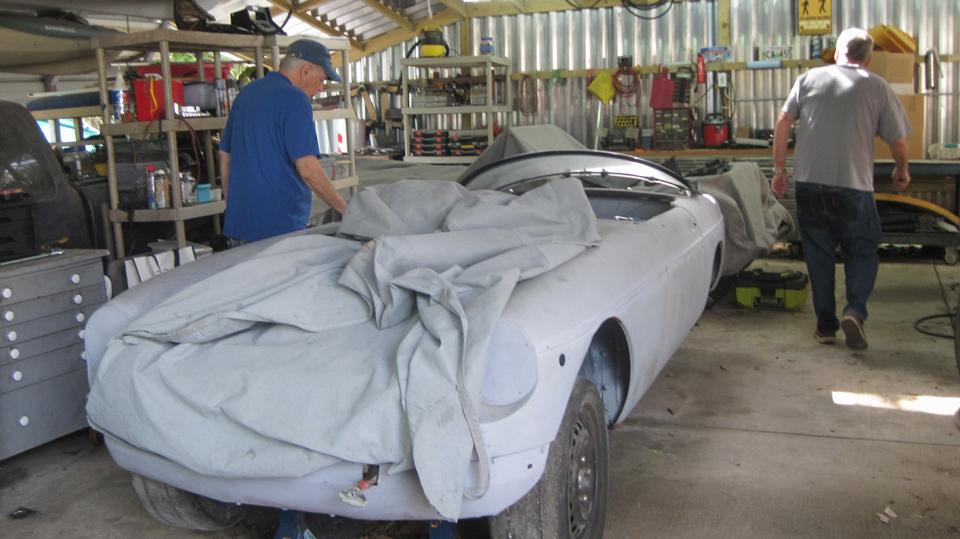
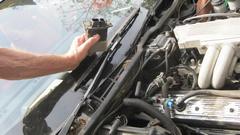
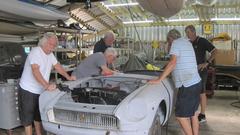
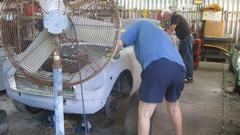
Tinkering day at Tech Central in Bonita Springs, Florida. The green MGB has been a regular here in recent weeks. Running badly on two cylinders, carboning up spark plugs. Two weeks ago the carburetors were removed. Disassembled to install gaskets and seals, free up float and main jet/choke movement, adjusted and reinstalled. No improvement? I know what's wrong with it, but they have been too busy to listen.

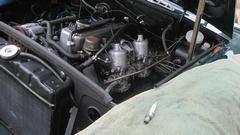
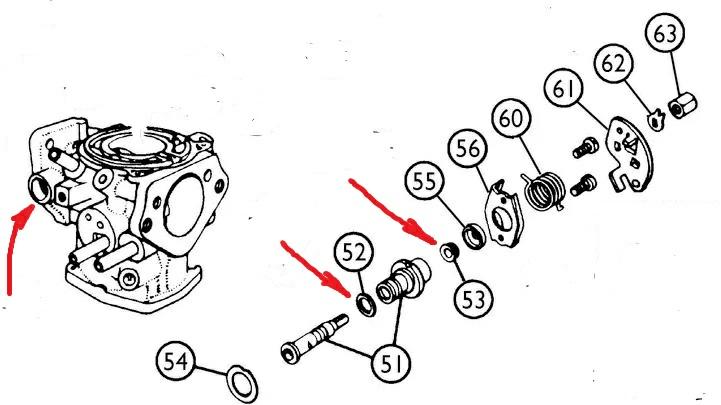
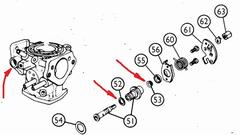 They need to replace two small seals in the Starter Valve of the HIF4 carburetors. When the inboard seal fails it dumps raw fuel directly into the throat of the carburetor, flooding the engine. Or, fuel supply hose connected to the vent port?
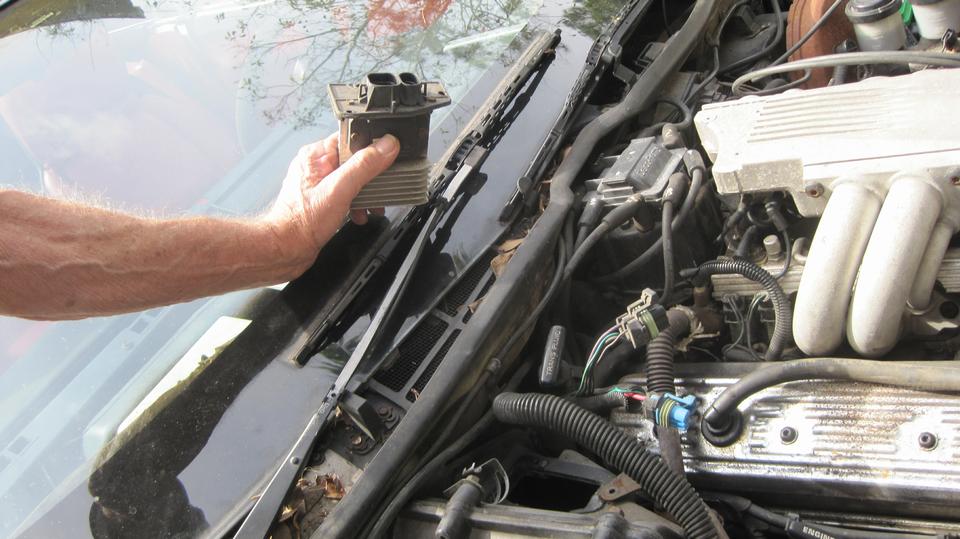
Other guys think they have figured out why the Corvette AC inside fan runs continuously with ignition switch off. They found a thermostatic fan controller on the net for $112, so order one, and put the bad one back in the car (disconnected) while waiting for the new part.

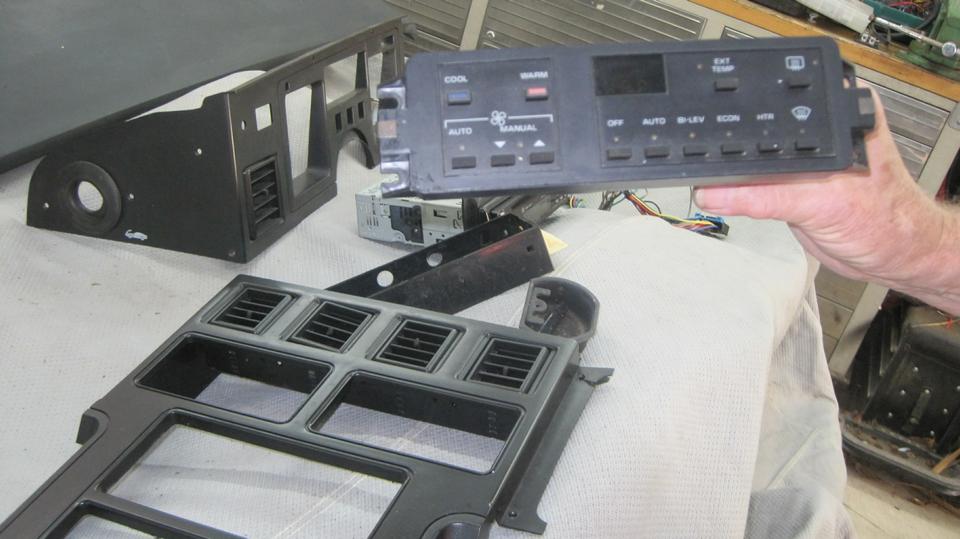
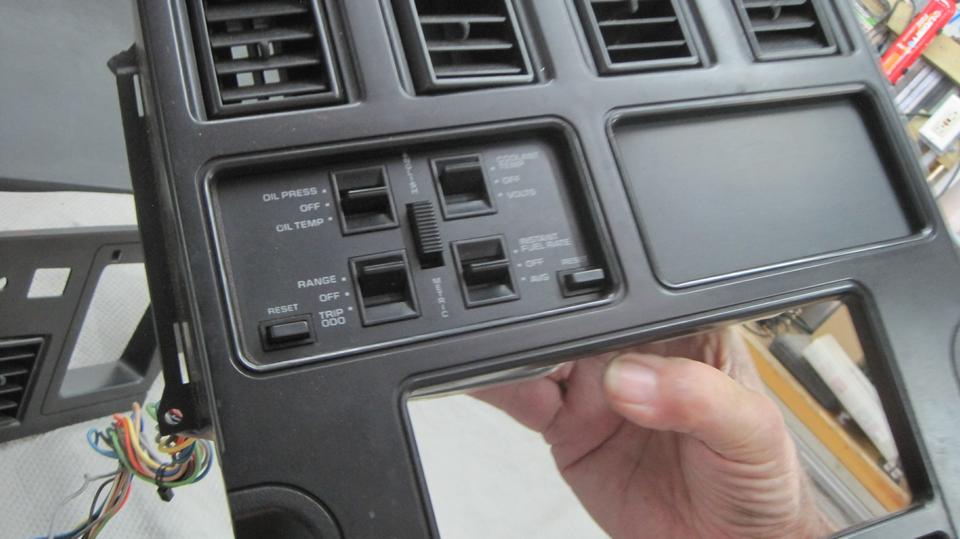
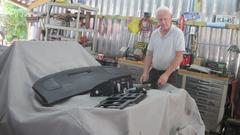
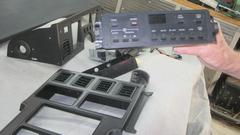
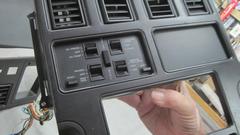
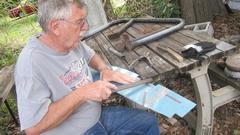
Using the kit car as a work surface, these are dash fascia parts for the Corvette. I know the large dash top cover is a used part. The other parts look new, but maybe the old parts cleaned up well. The seemingly blank black panel on the right is a back-lit panel with indicator lights.
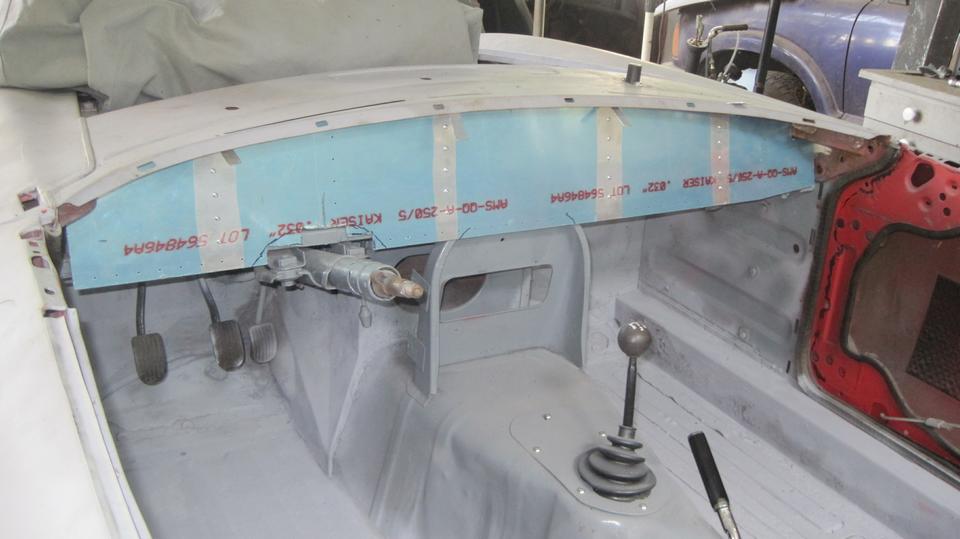
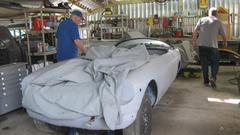
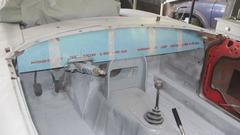
The MGB wannabe race car is finally getting a very thin light weight dash panel fitted.
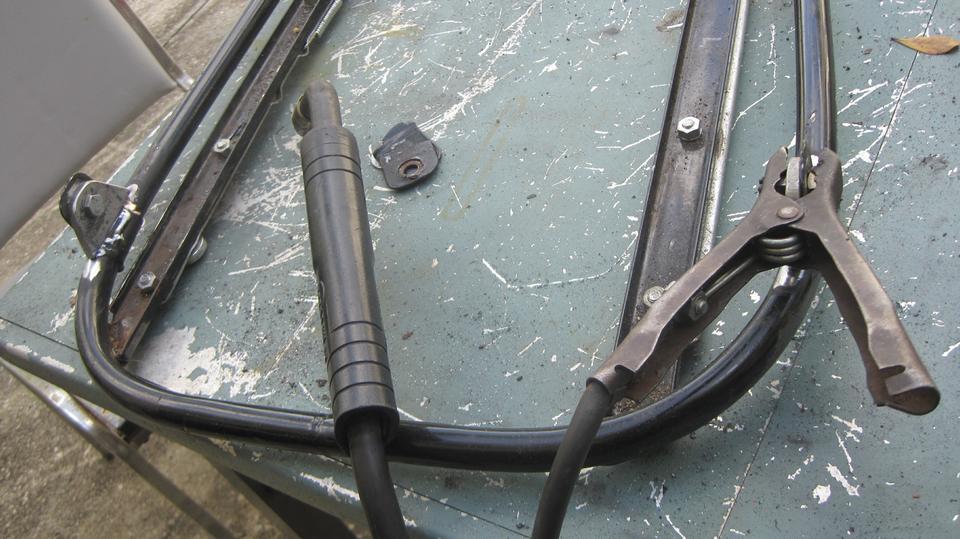
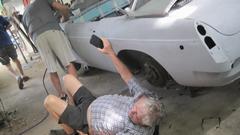
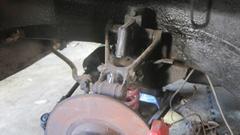
They are getting serious about fixing the rear tire inboard clearance problem, with acetylene torch and BFH.
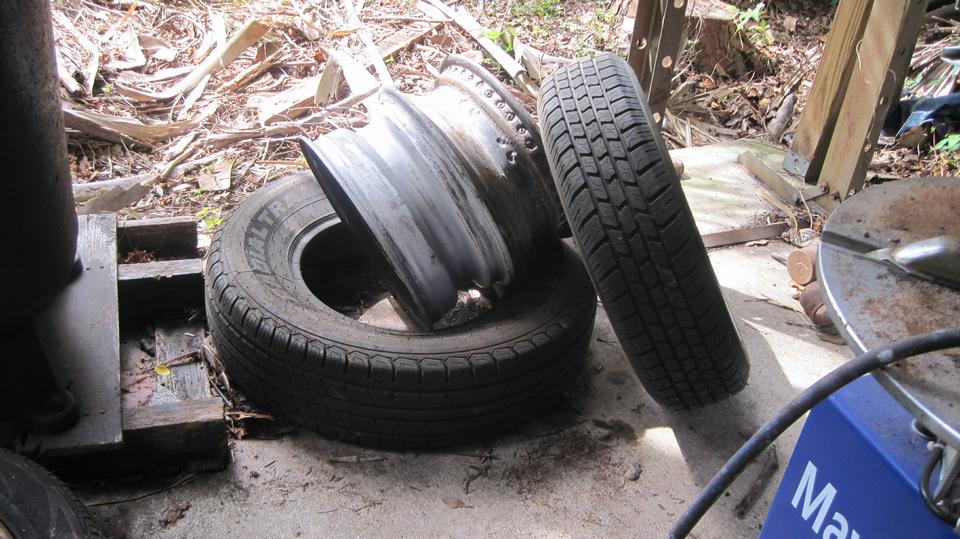
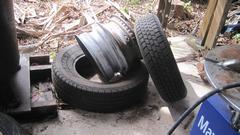
Removing time expired tires from the wheels, some MGB and TR6 wheels (lots of both).
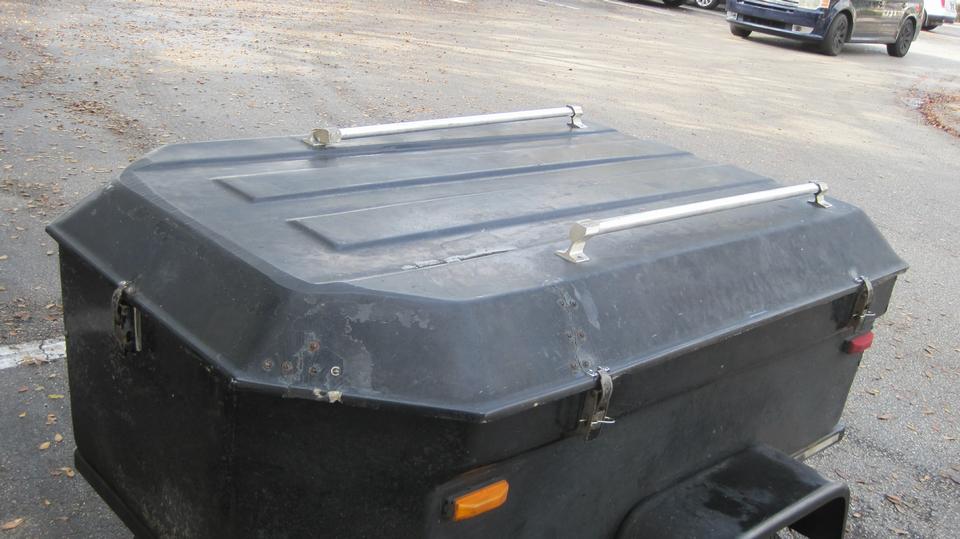
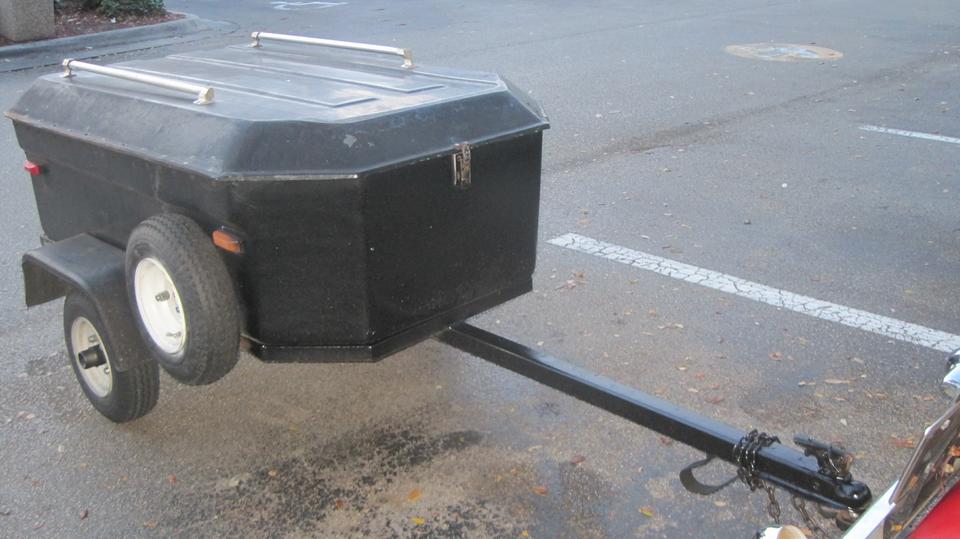
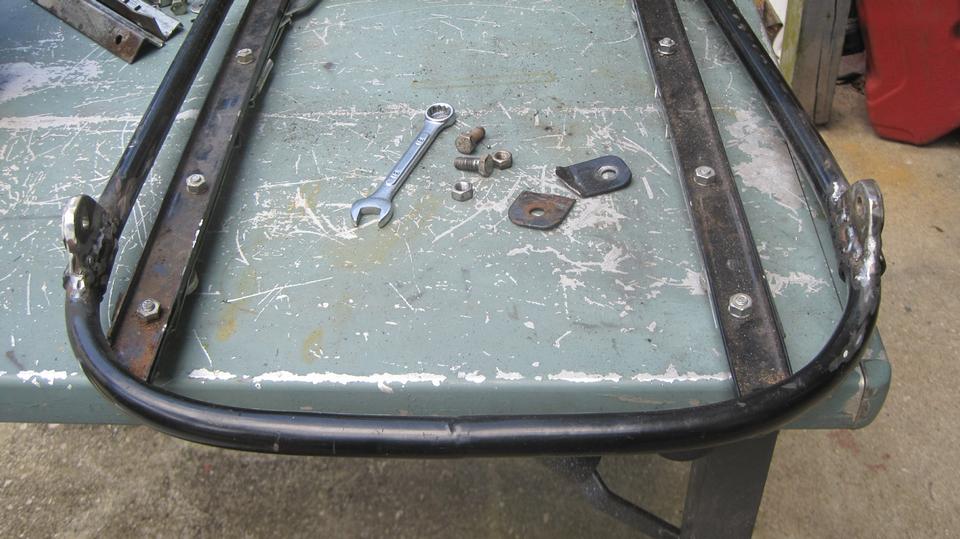
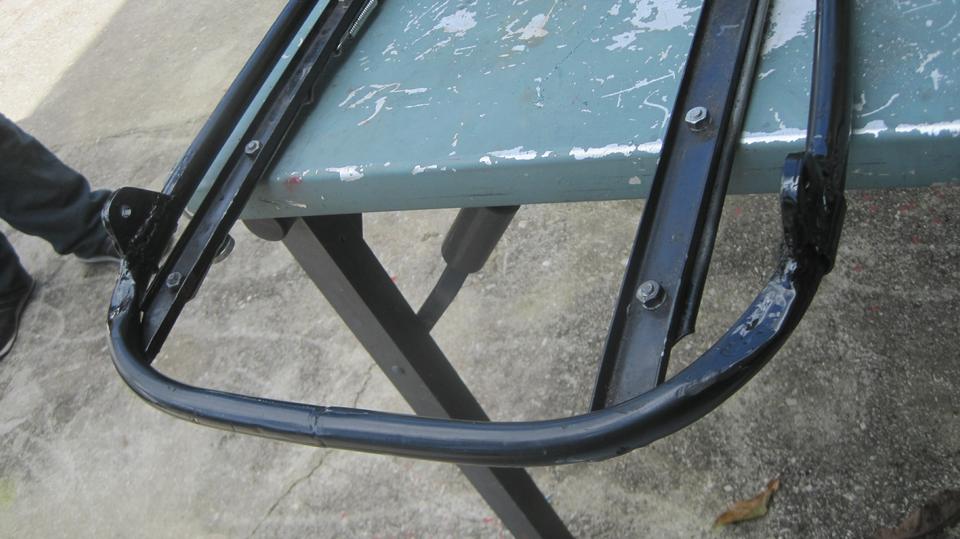
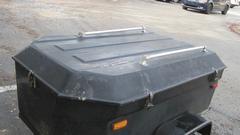
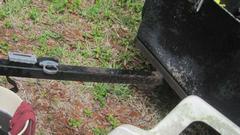
Meanwhile, for a few hours navigator Elliot was working on the Magic Trailer. It has been leaking through the top cover when it rains hard, just sitting still. We hope the solution is removing the tie-down rails to silicone calk around the screws and under the mounting pads.
Saturday March 2, 2024:
Posting photos and notes for yesterday's follies (above).
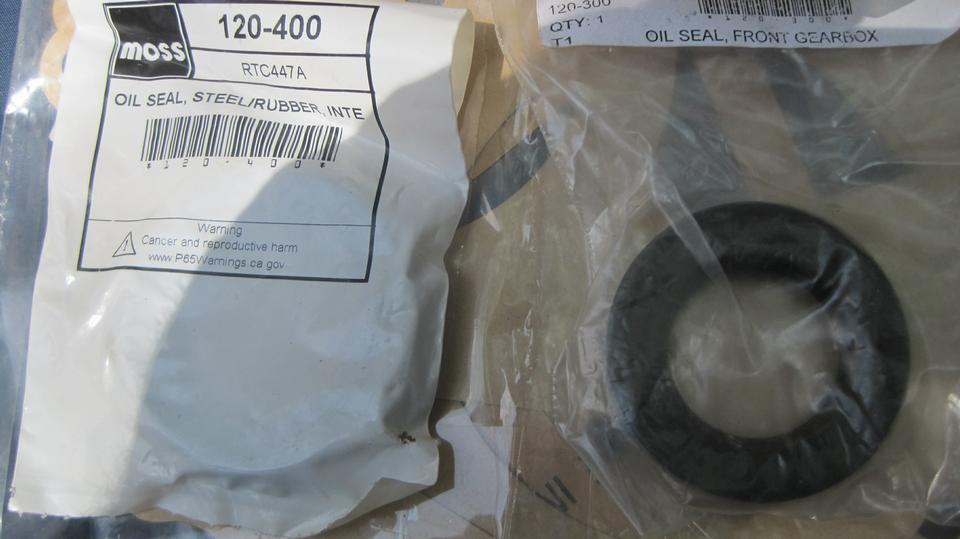
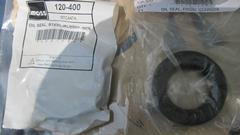
 Posted three new Part Numbers information tech pages for AEH393 Pipe for water outlet, head to thermostat assembly on the MGA, Twin Cam engine (trying hard, still researching dimensions), and for 1H3275 Rear Seal for MGA high starter gearbox (Jan-1959 on), and 22H475 Oil Seal for front cover of the 3-synchro gearboxes. Posted three new Part Numbers information tech pages for AEH393 Pipe for water outlet, head to thermostat assembly on the MGA, Twin Cam engine (trying hard, still researching dimensions), and for 1H3275 Rear Seal for MGA high starter gearbox (Jan-1959 on), and 22H475 Oil Seal for front cover of the 3-synchro gearboxes.
Sunday March 3, 2024:
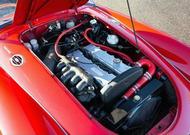
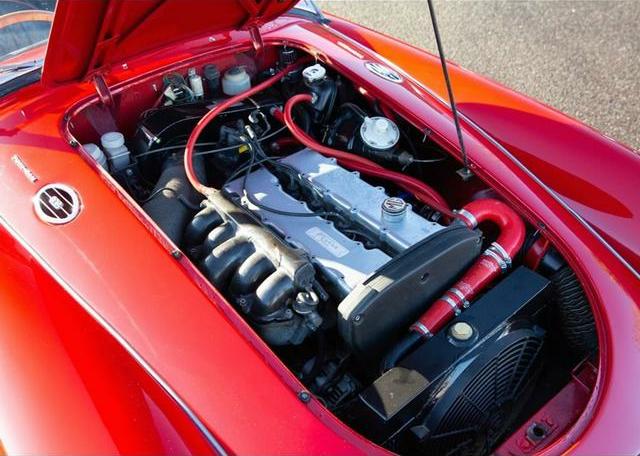
An MGA modified 12 years ago, just sold at auction again (with a few more updates). It was endowed with a Rover 200 T-Series, M16T DOHC Turbo engine conversion. This engine was the last in the line of the developments to the Austin B-series engine originally fitted to a host of British cars. Twin cam, 16 valves, it produces 200 BHP in standard form! Just updated the PP-503 tech page with more current pictures.
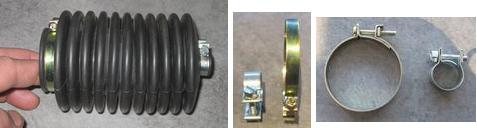
Got a good start on creating a Part Numbers tech page for the MGA steering rack rubber boot, almost ready to upload it when I thought, "How about the numbers for the end clamps as well. Seemed innocent enough, until all three part numbers were changed during production, and now I'm dealing with six new pages and a bunch of cross reference links and index page updates. Didn't get it finished yet.
Had some computer crash type problems that killed several hours and kept me up until midnight, again, dammit. I hate software programmers who are allowed to put bugs in the programs and never fix them (especially bugs in the operating system). Not fixed yet, and likely not going to have time to fix it tomorrow either.
Monday March 4, 2024:
Several hours catching up email tech questions and the forums. Then killed the rest of the day,
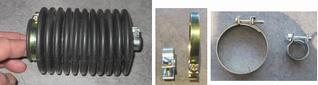 posting new Part Number tech pages for the MGA steering rack rubber seal and two clips. Three parts with two part numbers for each one (numbers changed during original production). Formally only six new pages, but lots of cross reference links on every page, and updating multiple index pages, page links and copy right dates. I have a headache, and it just hit midnight again. I'm outta here.
Tuesday March 5, 2024:
 A few hours this morning finally recovered the data loss from the computer problem, back on an even keel again, but needing to do another full computer data back-up, sometime soon.
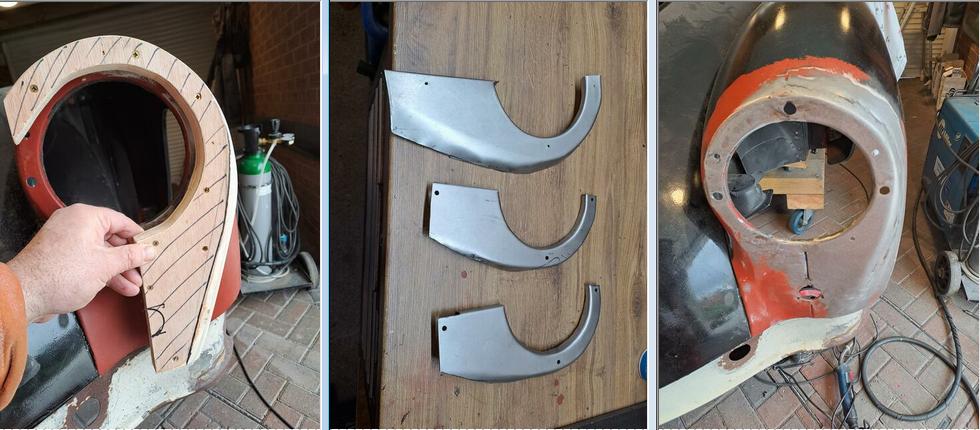
Someone is in process of panel beating a new MGA front wing nose patch panel. Courageous effort for a one-off in a home garage, but going very well.
Data backup mostly done, should finish it in the morning.
Wednesday March 6, 2024:
Half the day spent very carefully shopping for computer parts. We ordered up a RAM card, a keyboard, and a battery for my computer. Also a power pack for navigator's computer, because it has a proprietary connector, and we must have a spare. The good trick was, we are getting all of it from Amazon, one order with quick delivery from stock and free shipping. Should all arrive Monday.
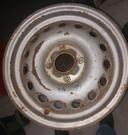
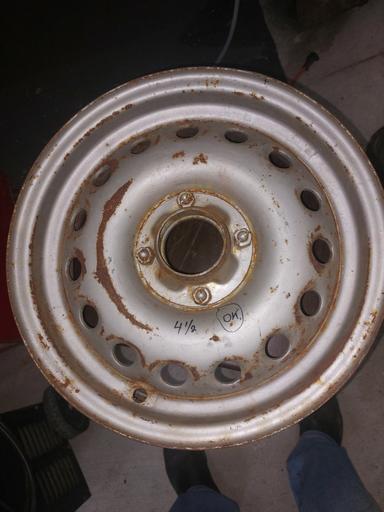
Then I got to update a tech page for wheels. The MGA Twin Cam (2111 built) uses Dunlop peg drive steel wheels, 15-inch diameter x 4-inch inside width. We always thought the only place to get Dunlop 15 x 5-inch wide 4-bolt pin-drive wheels was from a Gordon Keeble, very rare with only 99 cars built. But now someone came up with a few pin-drive steel wheels 4-1/2 and 5 inches wide, with Dunlop part numbers stamped on them. Huh? No one knows how, or where they came from.
Thursday March 7, 2024:
Getting seriously into making a new tech page in the Care And Feeding section for all of the odd External Port Threads and Fittings, mostly around the engine bay. Also soon to have another Care page for Double Threaded Studs for the whole car (MGA). Neither page will be up for a few more days, but they're off to a good start.
Friday March 8, 2024:
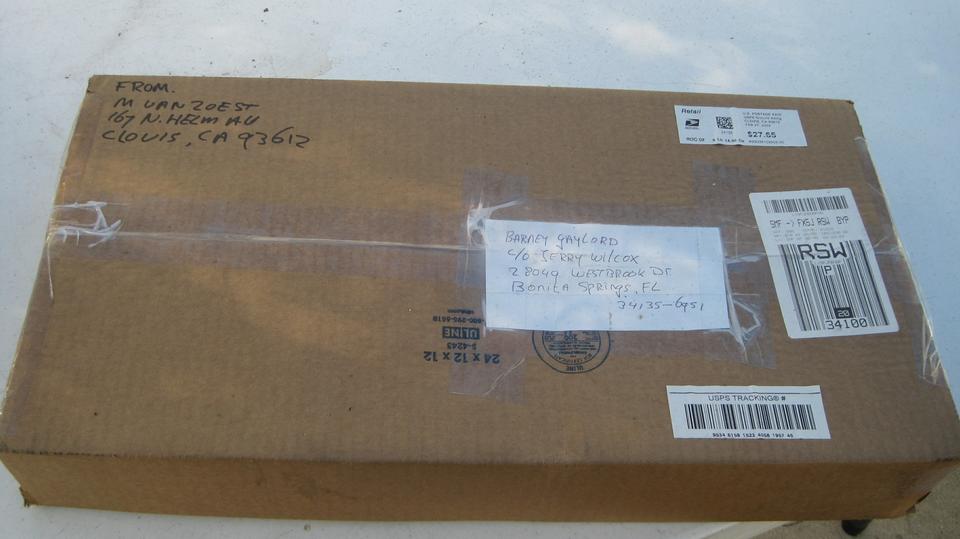
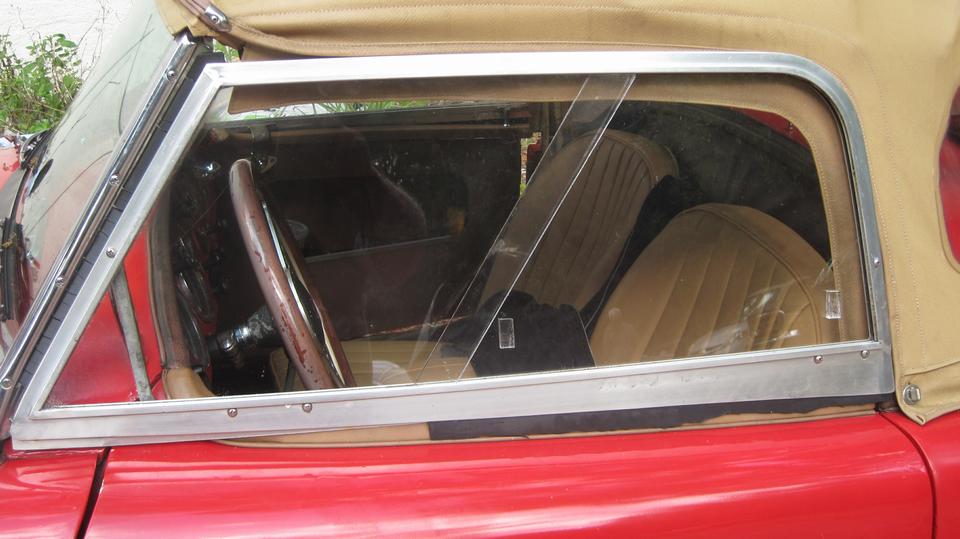
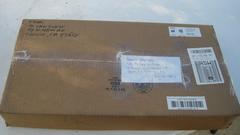
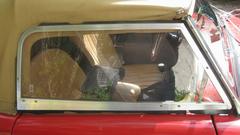
Back to Tech Central, picking up a package that arrived last week an hour after we left the shop, compliments of a friend Marc Aleyd Vanzoest in Clovis, California. This was a new set of Perspex panels for the MGA side curtains, procured from Ckarke Spares when Todd Clarke was still with us, prior to January, 2003. I guess Marc decided he didn't need them. Absolutely peachy, just peel off the protective paper, and pop them right in there. Now we need to find time to install the felt track liners, and the rubber seals around the edges.

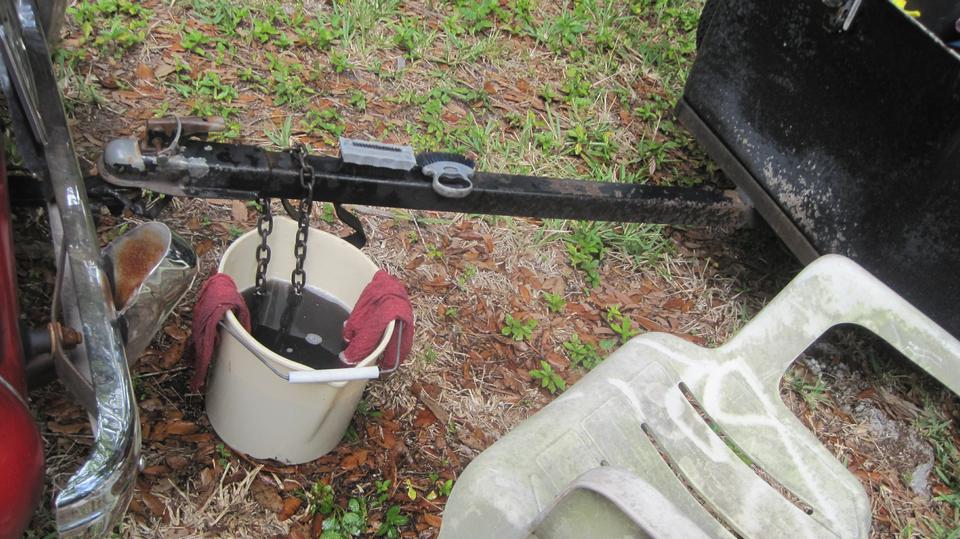
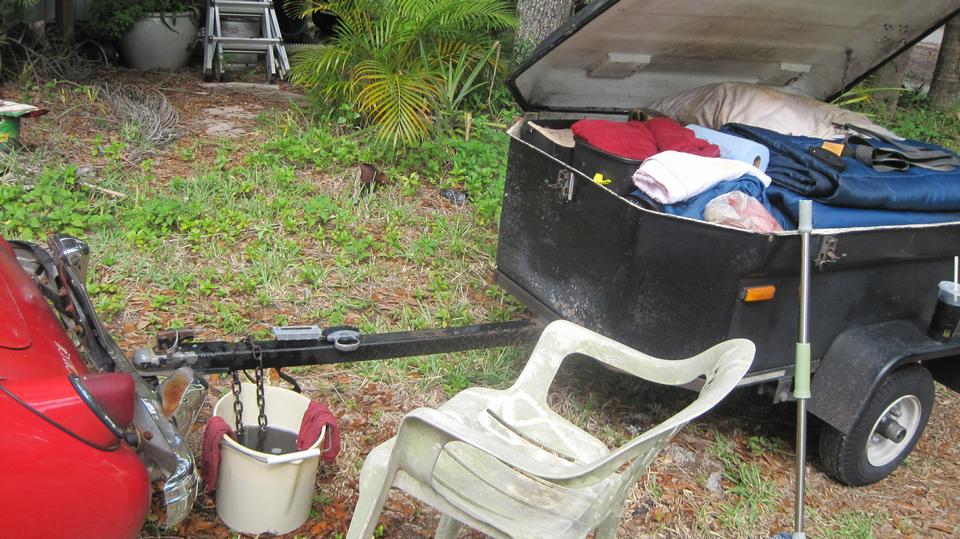
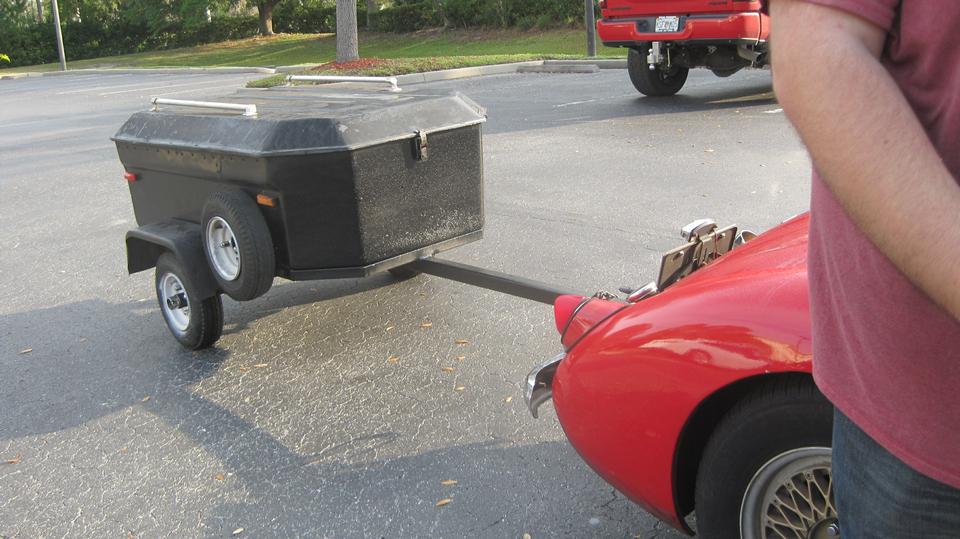
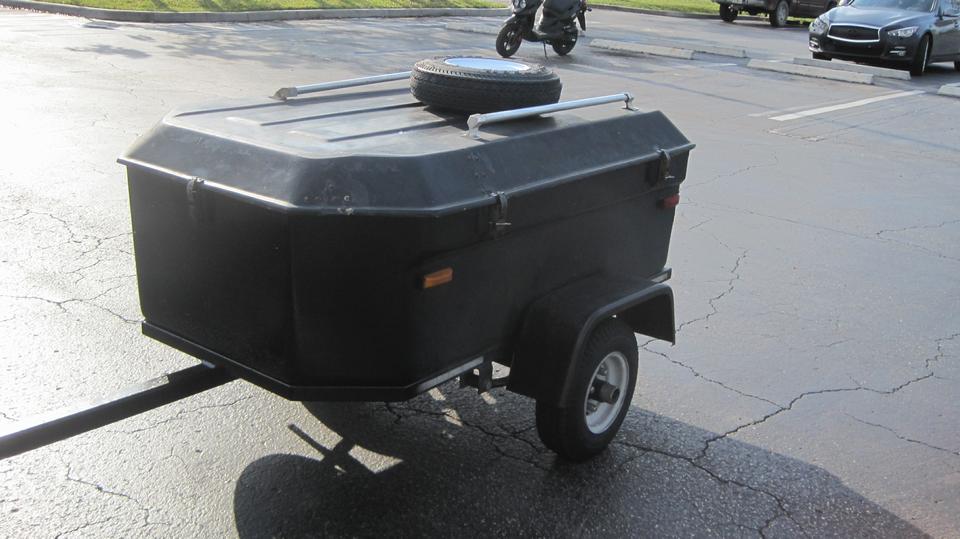
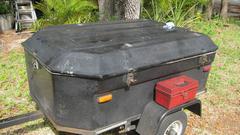
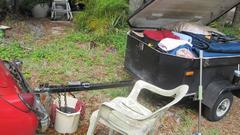
Navigator was busy with a bucket of suds cleaning dirt and oil off of the trailer front and hitch. We had some intention to fill and smooth the gravel divots and repaint the front face. I was busy with other things, and it was a hot day in the sun. In the end we just grabbed an aeosol can and sprayed it black. Guess that will do for now, as we have other priorities. Drove off with wet paint, but the follow-up picture at dusk doesn't look too bad.
Tina, the wanna-B race car, got some finishing touches on the hand brake, and got a battery installed with live power for the first time.
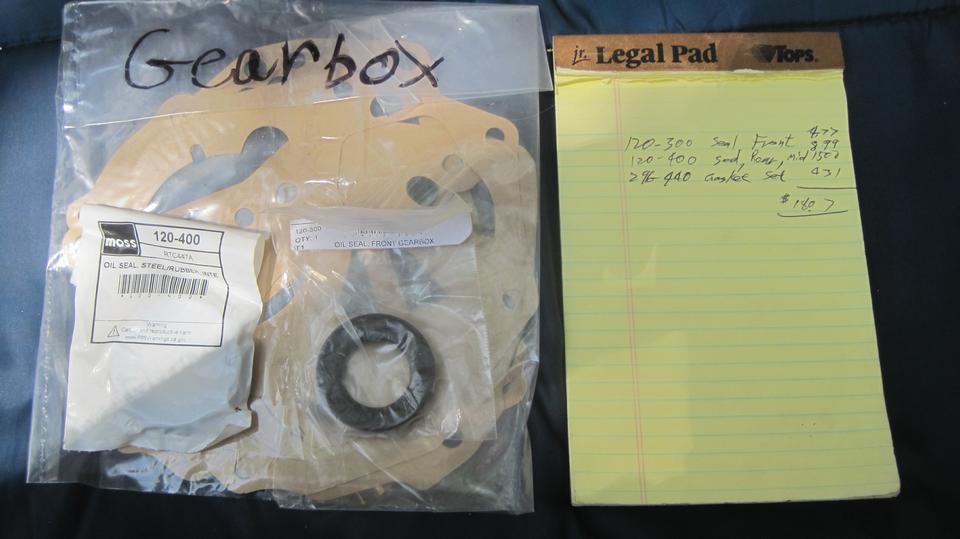
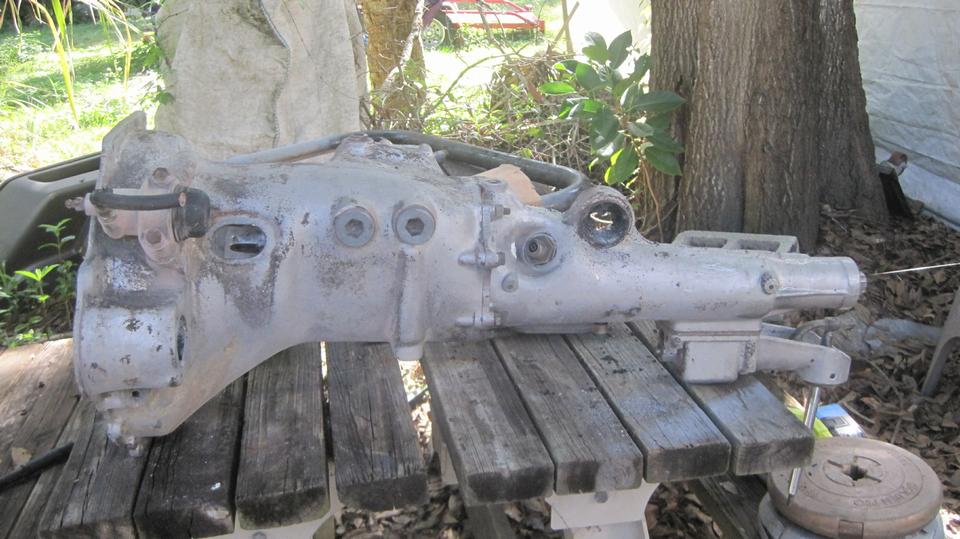
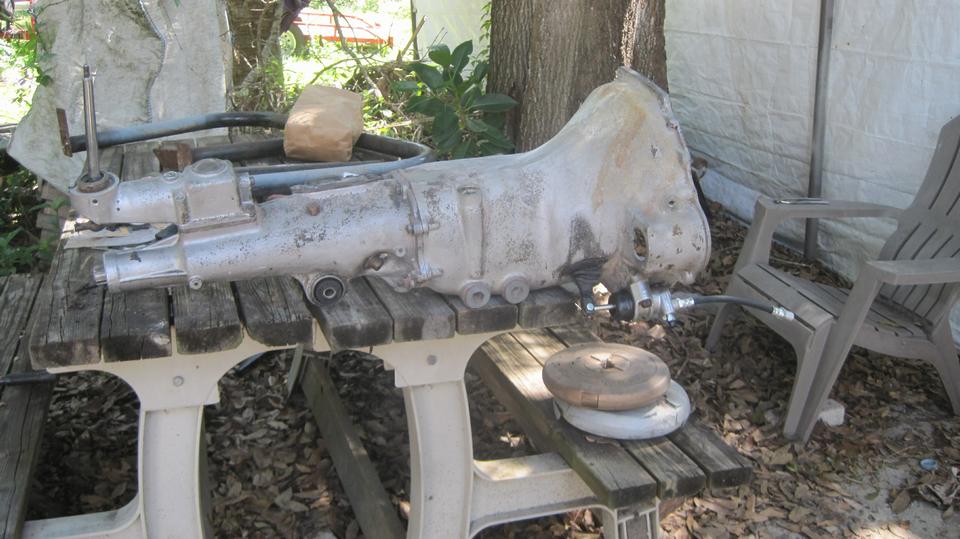
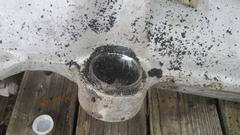
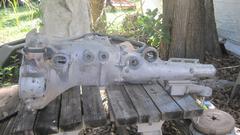
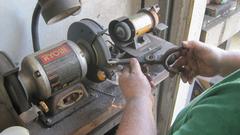
Spent some good time working on an MGA 2nd generation (1957-1958) 3-synchro gearbox. Of f5 different gearboxes used in MGA over 7 years of production, this was the most common with 40% of all production. We pulled the side cover for a look inside, inspecting gear teeth and synchronizers, shuffling the cogs through all gears to find it in generally good condition. We decided not to disassemble it, but would dress it up some externally. Start with front and rear seals and a gasket set, new carbon release bearing, release arm pivot bolt and bushing.
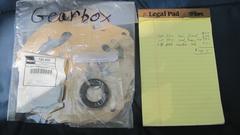
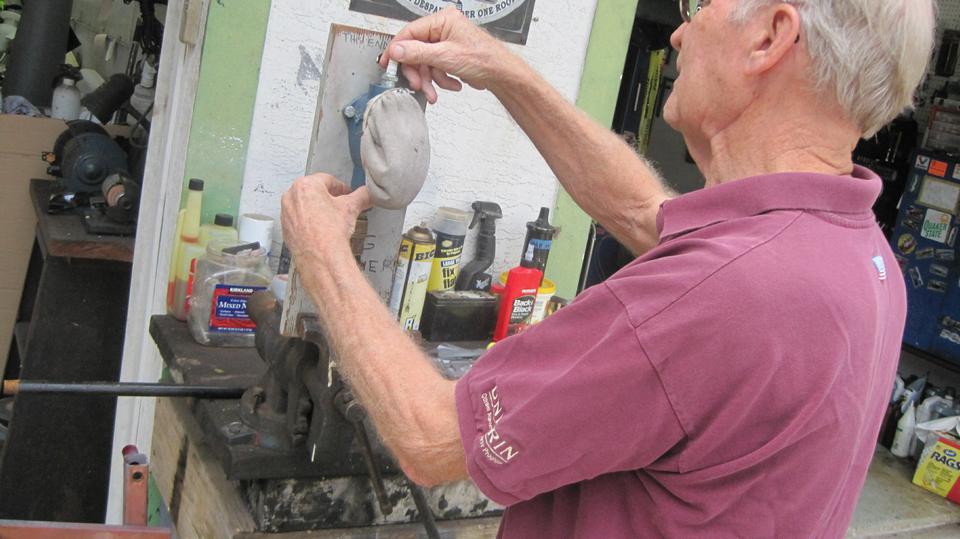
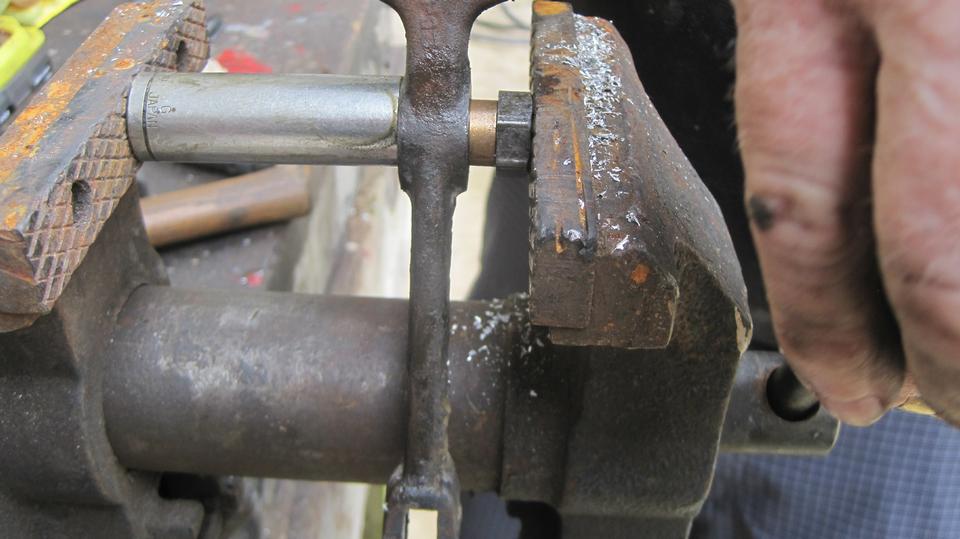
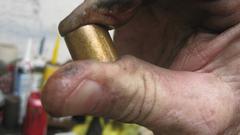
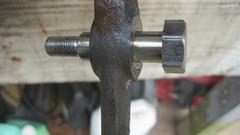
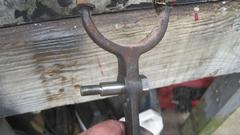
Next bit is easy, use a punch to remove the worn bushing from the release arm. To pre-oil the new sintered bronze bushing, rest it on one finger, fill it with oil, squeeze it on the ends to apply hydraulic pressure, and watch the oil "sweat" through the sides of the bushing. That's how you know it is fully s turated and ready to install. Then using a deep well socket to accept the shank of the shoulder bolt, give it a squeeze in the vice to seat the new bushing.

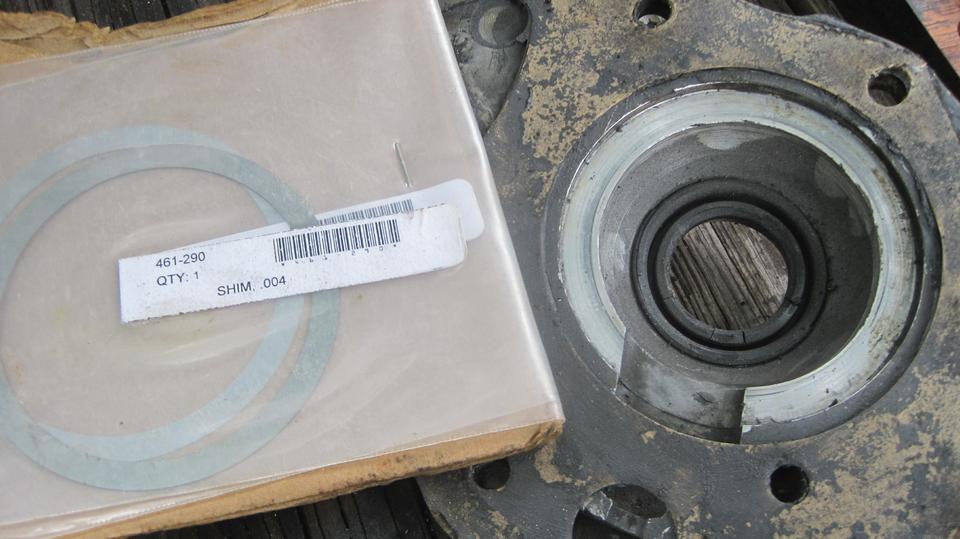
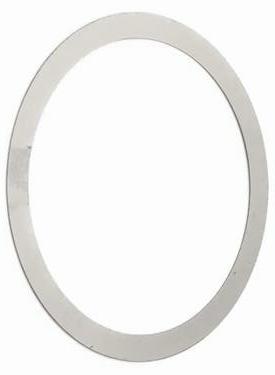
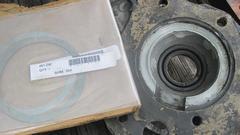
With front cover removed to install the new front seal, we found no shims in the front cover. I pulled all the shims I had out of the Magic Trailer, two 0.004' and one 0.002", which is normally enough to adjust anything from 0.002" to 0.010" stack. After measuring carefully with a depth micrometer, we found a gap of 0.016" between the cover pocket and the front bearing outer race. So bummer, this will have to wait for next week after we can order up some more shims. Meanwhile, in preparation for replacing the rear mounting rubber bushing, someone drilled out all of the old rubber to remove the center sleeve. Then hacksaw through the outer steel sleeve from inside in the direction of the housing to split the sleeve for easy removal. Then figuring the guys were out of time or energy, this was where they would stop for the day. Lets go order more parts.
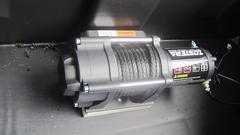
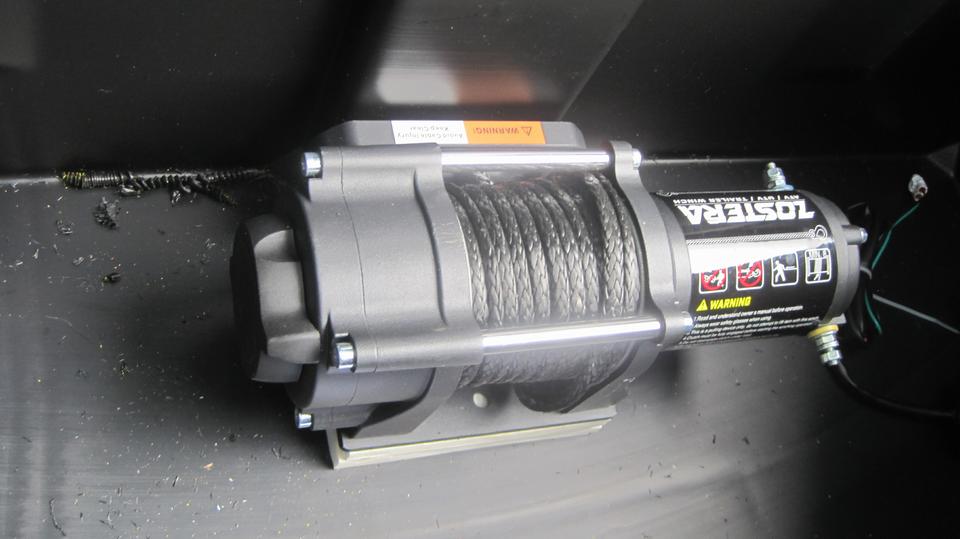
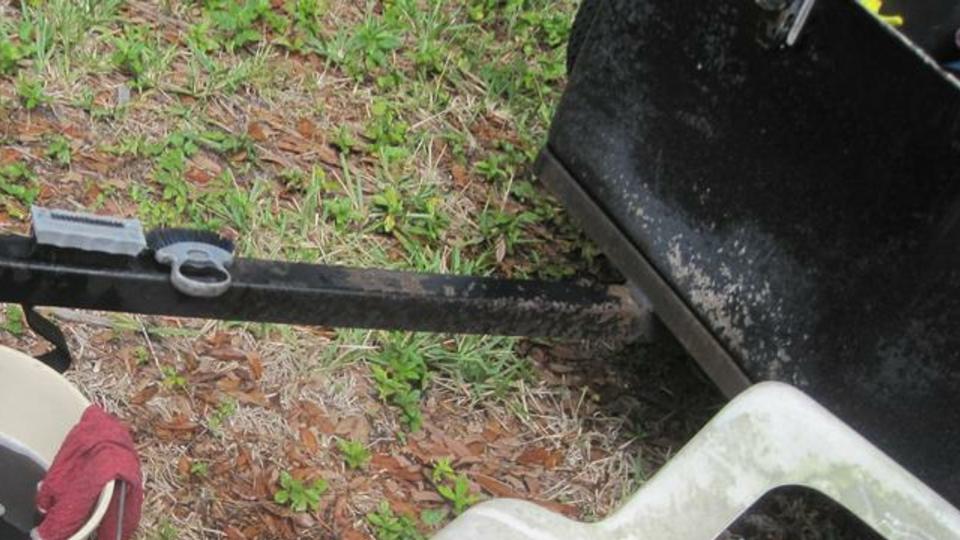
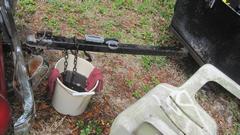
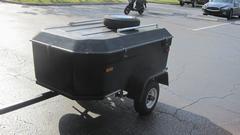
 Jerry was installing a winch on his new aluminum trailer, which he hasn't used since buying it like two years ago. Now he has to get serious, as he intends to use it next weekend. And he also needs to install the electric brake controller in the motor home before towing the new trailer.
Saturday March 9, 2024:
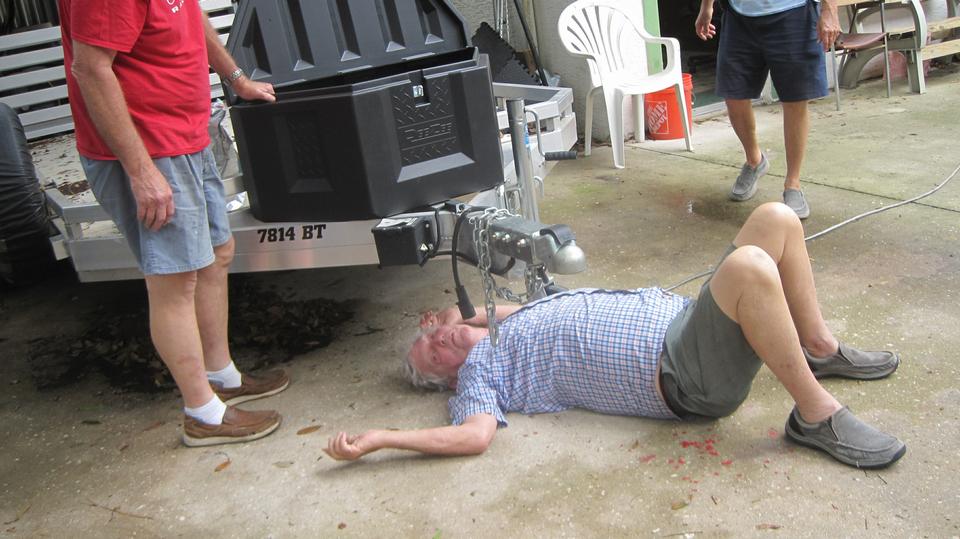
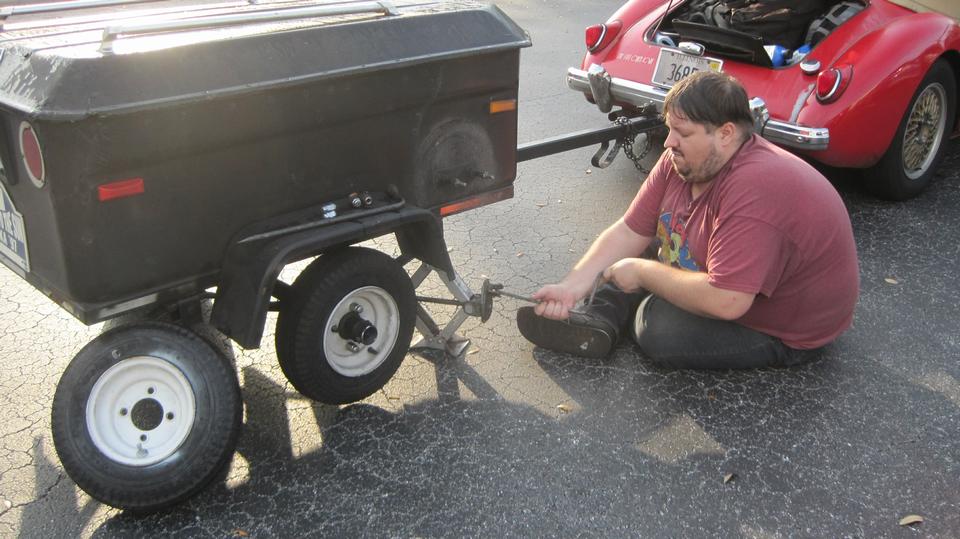
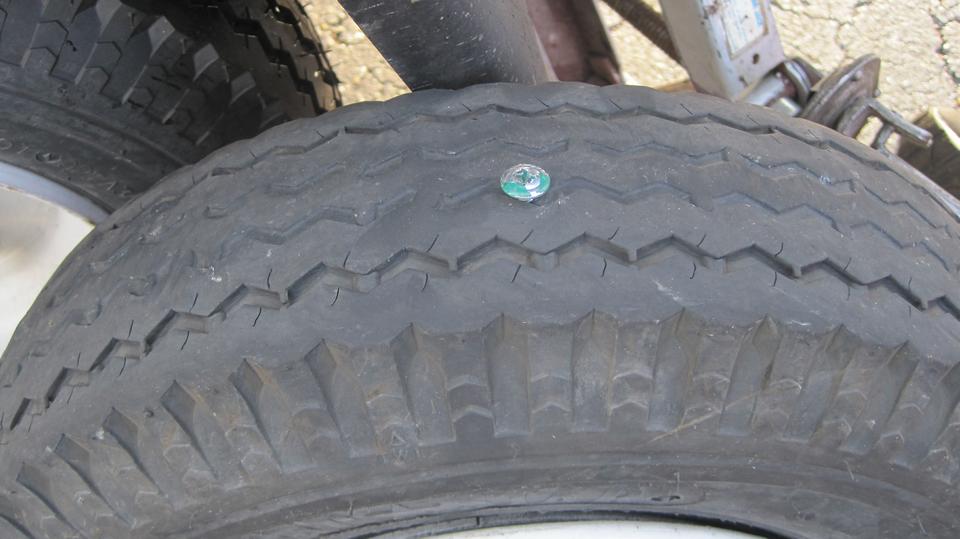
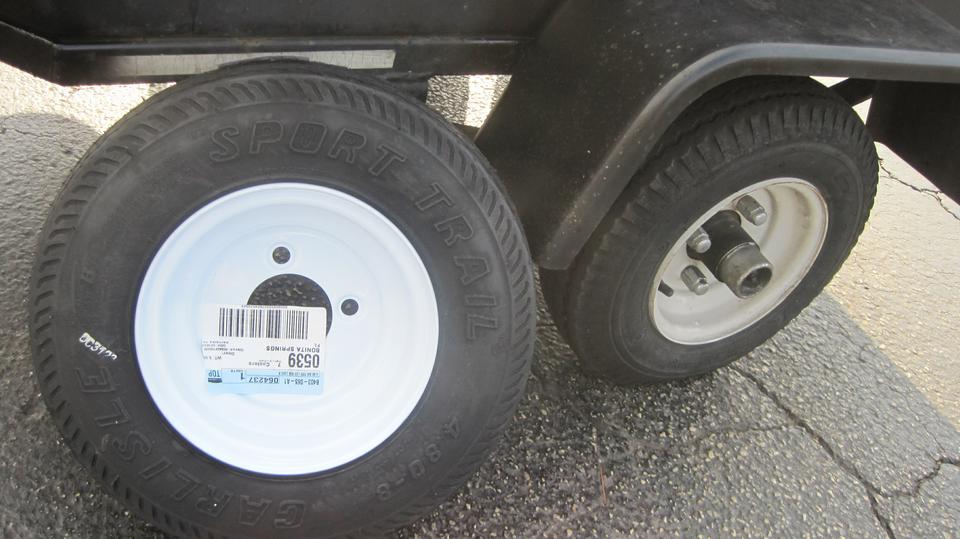
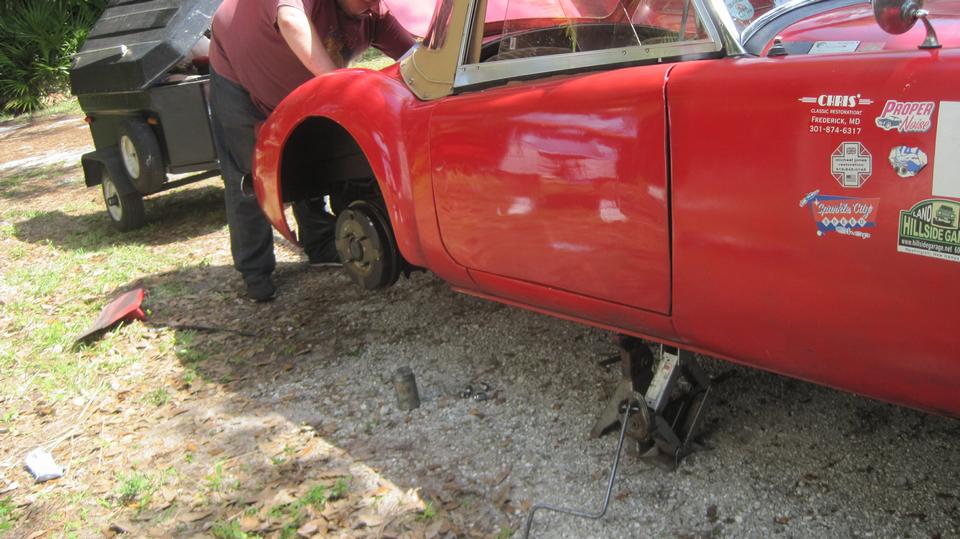
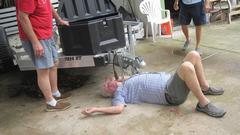
Good morning, flat tire. Pesky way to start a day, but it definitely wasn't flat when we parked it last night. 20 minutes delay, but only because navigator put the little jack in the wrong place and had to jack it twice. Then a neat reminder that last year's new tires included three, so the current pare was new. Nice. Put that on the right, and the flat on the spare fixture.
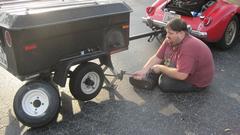


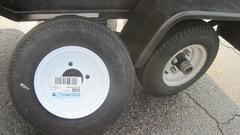
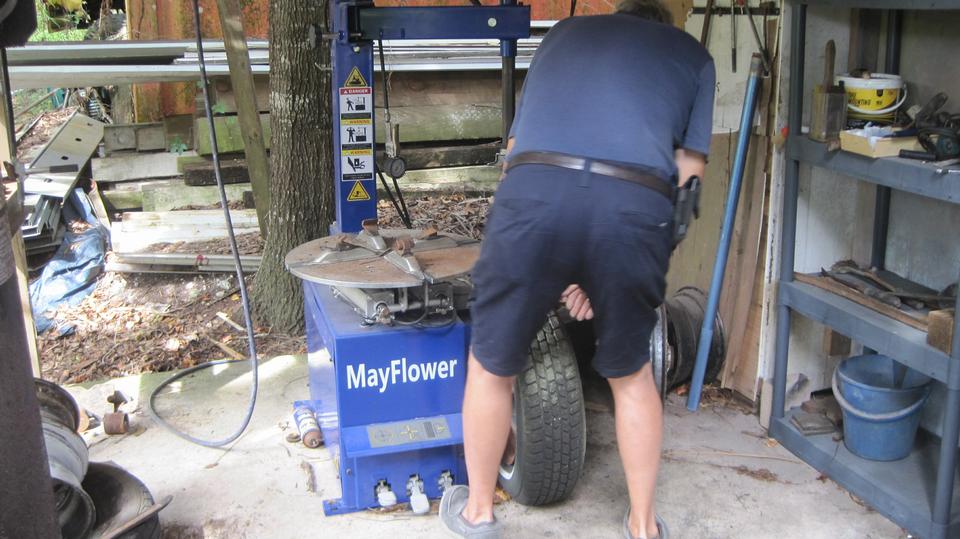
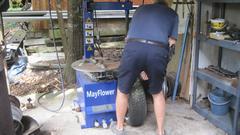
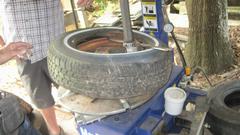
 Since the two tires were mostly bald anyway, it was a good time to mosey over to Harbor Freight and buy one more new one. We then installed the new one on the left, put the better nearly bald one on the fixture for spare, and sent the punctured one off to recycle so we don't have to fix it.
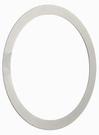
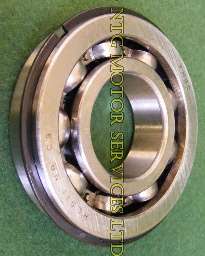
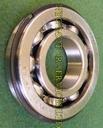 Then I definitely had something to do for the rest of the day. I was adding four more Part Numbers web pages for the 3-synchro gearbox front bearing (with two different part numbers) 6K885 and 97H512, a "clip" (retaining ring) 6K886 (that snaps onto the OD of the bearing), and two different thickness of shims 6K907 and 6K908 that control end float of the bearing.
And then some good news; some computer parts I had ordered from Amazon arrived late today rather than Monday. We'll see if we can jump on that tomorrow, along with an early start for some paint touch-up on the car and the trailer? That may span a few days (half days, we hope).
Sunday March 10, 2024:
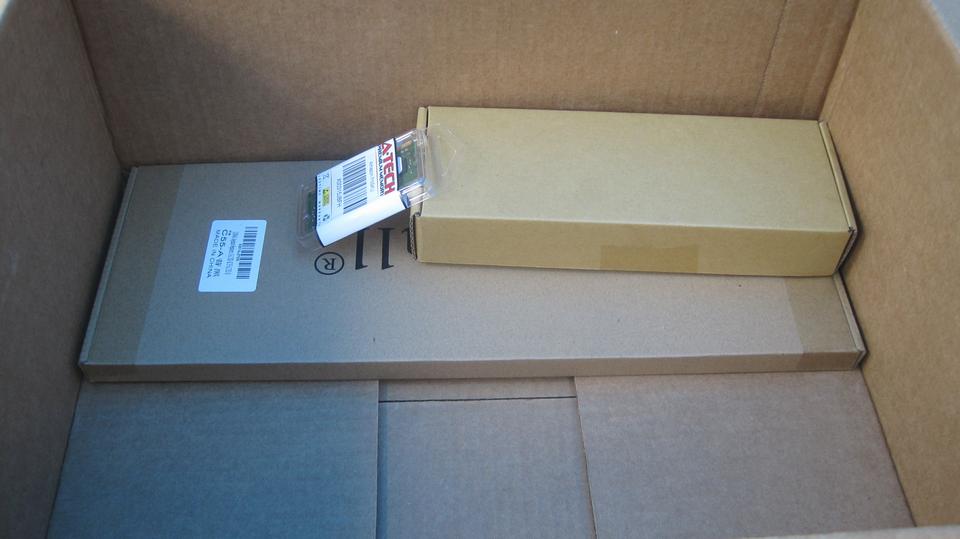
Ah, we have some things to do today. A package that was supposed to arrive Monday came two days early, Saturday evening. So today we dropped in to Tech Central for the pickup. The small box brought my computer a
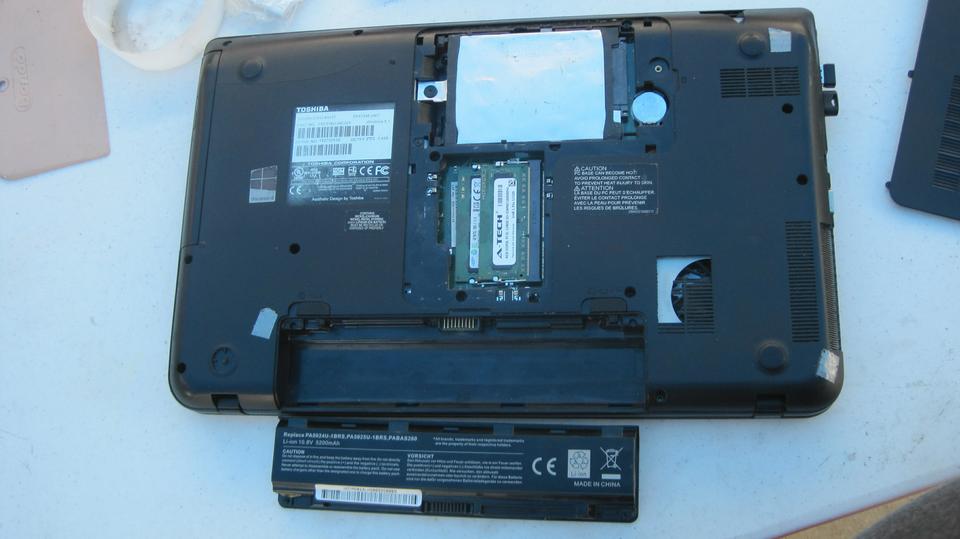
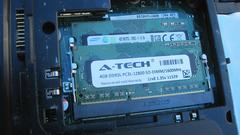
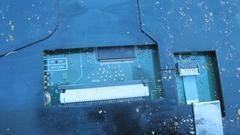
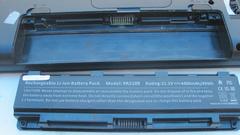
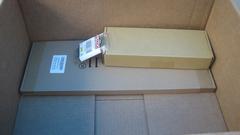 new keyboard, a new battery, and a new 4GB memory expansion chip. Navigator's computer got a power supply as a spare, because his relatively new Acer computer has a funny proprietary output power plug, and we can't just pick one up at Walmart on demand. Working with the same computer for nearly ten years by now, I got this down pat. Flip it over, pop the battery out, one screw to remove the bottom cover. Snap the new 4GB chip into the spare in-line socket on top of the first 4GB chip, latch it in place, put the cover back on.
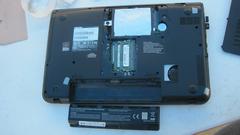
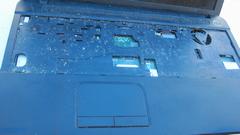
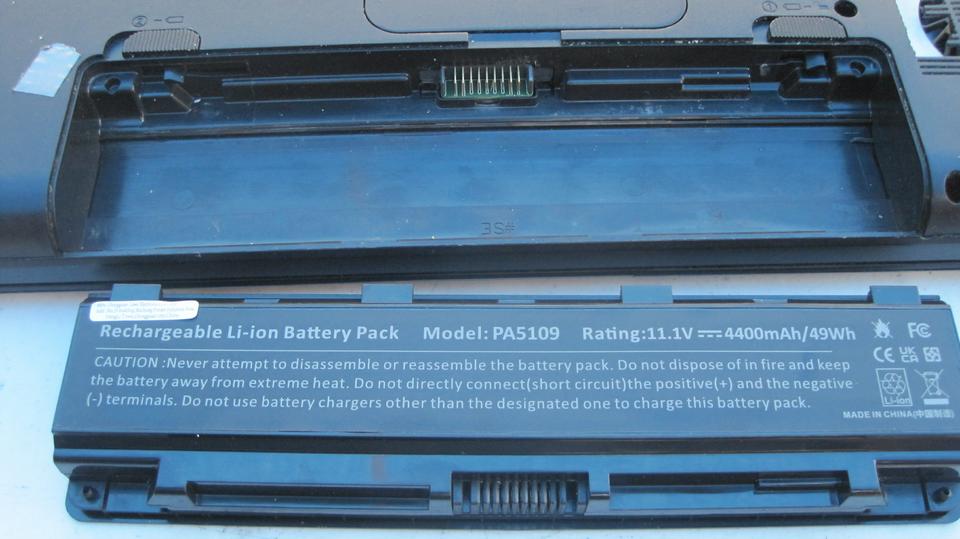
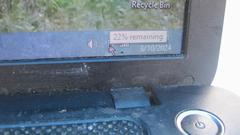
One small screw in back comes out to release the keyboard. Pop the keyboard out using a thin plastic stick (or a pocket knife). Push a couple tabs to release a ZIF connector (Zero Insertion Force), and pull the old keyboard ribbon cable. Yikes! Get the air hose and blow out the food crumbs. Plug in the new ribbon cable, reset the ZIF connector, pop the new keyboard into place, and reinstall the one screw in back. Drop in the new battery, switch it on, and it works right off. For all the problems I've had with this computer in recent years, this is one day when everything went right for a change. Plug it in and charge it up.
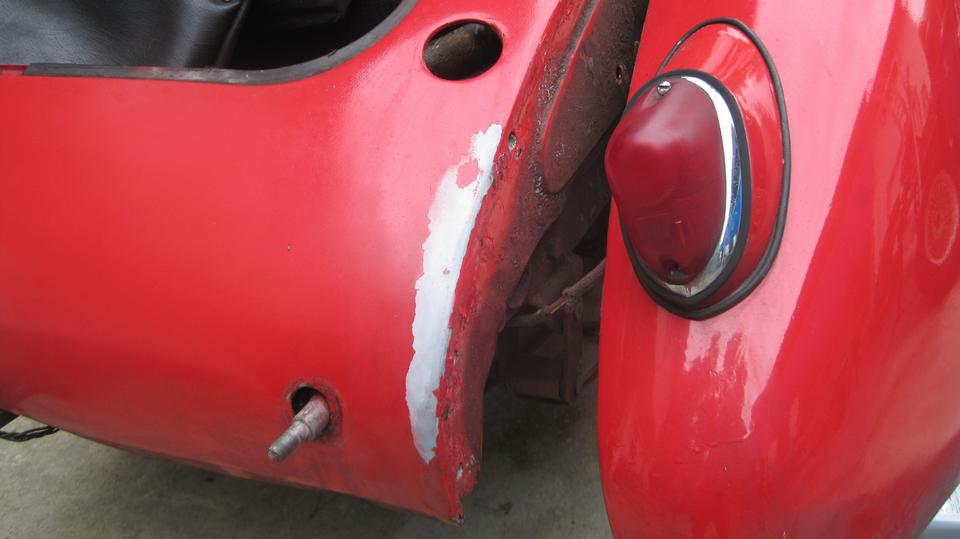
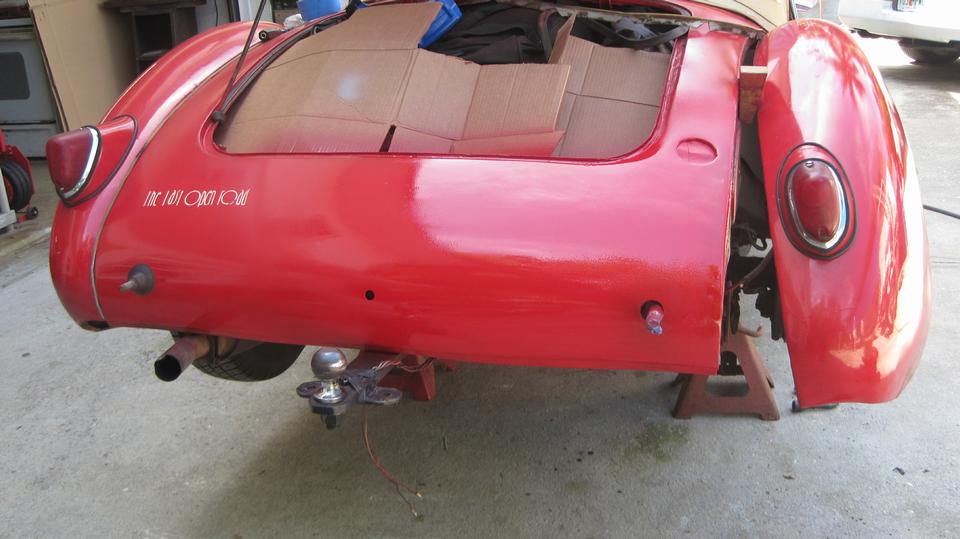
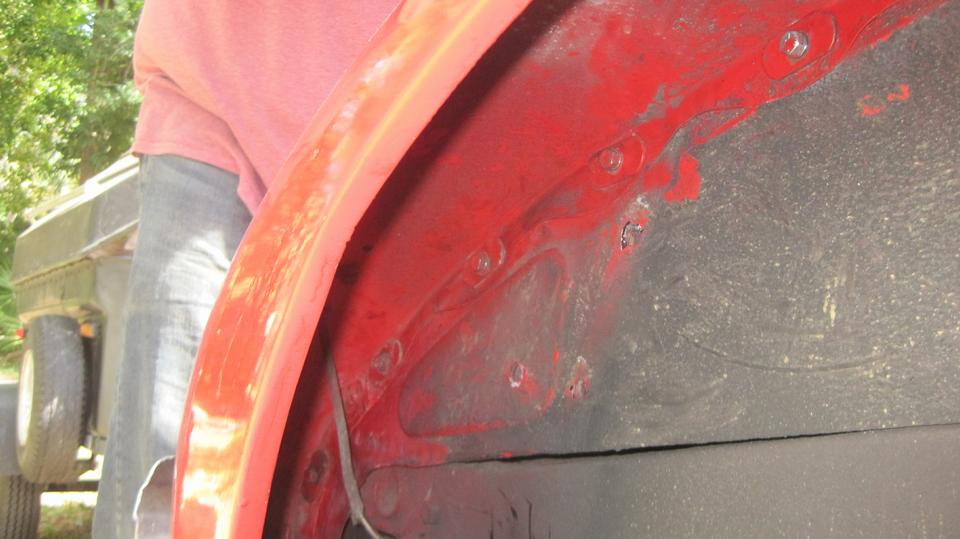
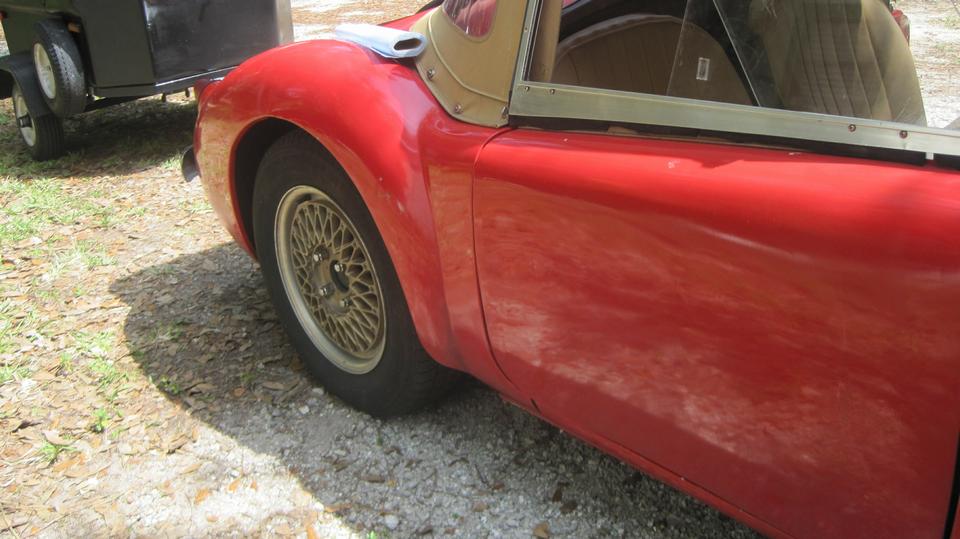
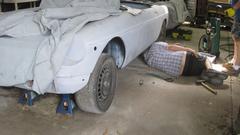
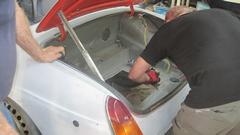
 Sunday is an "off day" at Tech Central with no one else here (mostly), so now we get to work on our car. Time to touch up some peeling paint below the fuel filler cap. Raise the car and set it on stands. Two wires and two large hex nuts removes the rear bumper (yeah, we've been here before). Remove RR wheel, and four screws remove the rear splash panel. Remove 8 or 9 bolts to release the RR wing, extract the piping and insert a small wood wedge to hold the wing out for access inboard. Didn't even have to disconnect the lamp wiring this time.
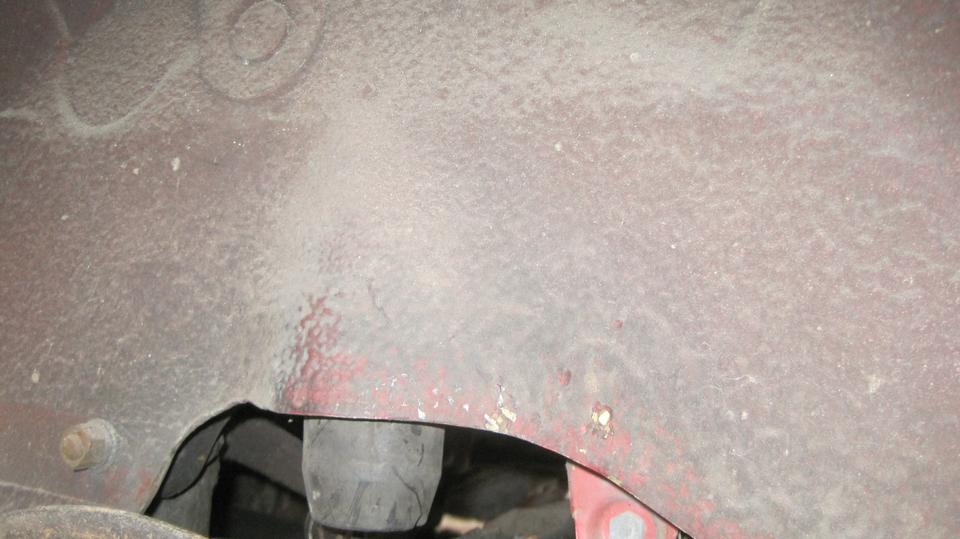
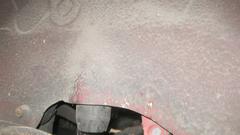
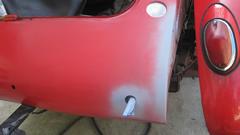
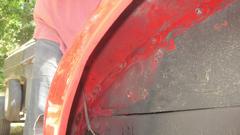
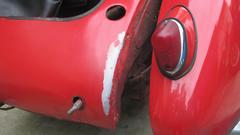 Loosen one hose clamp to release the fuel filler. Fuel splash exposure had loosened the outer layer of red paint, leaving primer underneath still in place. A bit of wet sanding soon removed the loose red paint, and a thin layer of primer, leaving mostly good red paint with no metal showing. Memory recall. 2017 Moose incident in Alaska; 2019 good repair work; 2022 rear repaint on a whim, which is when it got the paint that didn't stick to the thin primer. Okay, wet sanding brought up good red paint from 2019, not even any primer required.
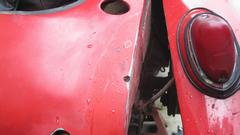 But there was that one little dark spot, half way up near the piping line. That was a tiny paint blister with a pin hole under it, which of course is rust through from the back side. Grab a burr in a power drill to grind out the rust, leaving a hole the size of a pencil by the time we found solid steel. That spot is right at the end of a packing piece between the boot floor and the rear valance. That may have been difficult access for painting during 2008 body off restoration work. Okay, duct tape in back, and fill it with 5-minute JB KwikWeld.
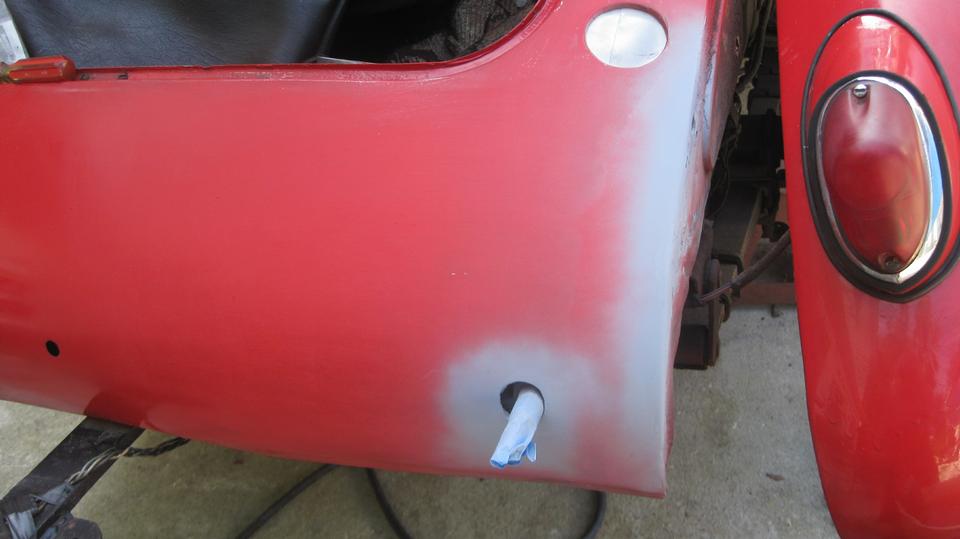
`That set up well enough in 20 minutes to apply a touch of Bondo over it. Not quite flush yet,so one more touch of Bondo, followed by wet sanding, and a light primer, just to be all one color for final inspection. Hey, nice. Not only did we get started on Sunday, but this is going well enough that I think it will be wet sanded and sprayed red tomorrow. Two bolts to hold the rear wing temporarily, leave out the splash panel, put the bumper back on for the night.

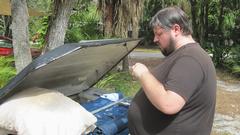
Meanwhile, while we were waiting for stuff to set and paint to dry, we had another job going on the side. The
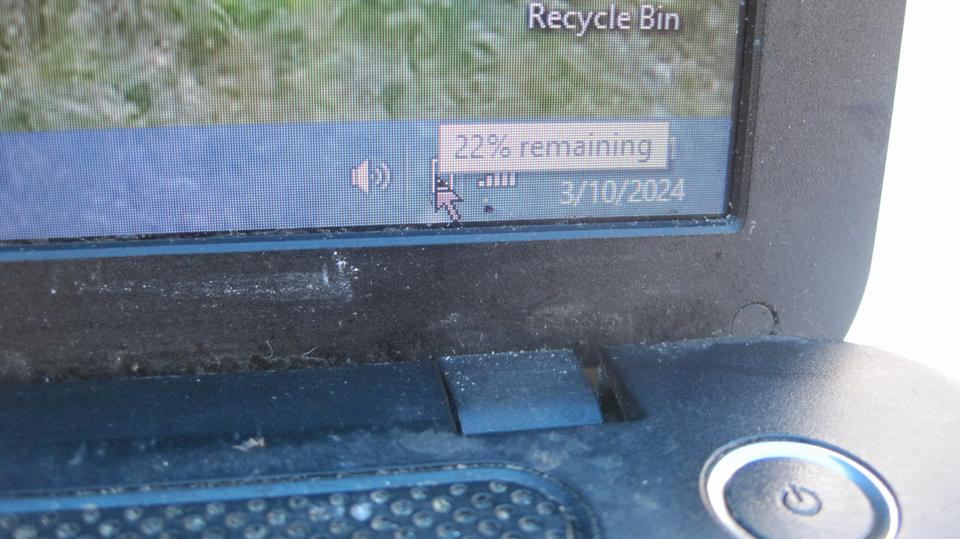
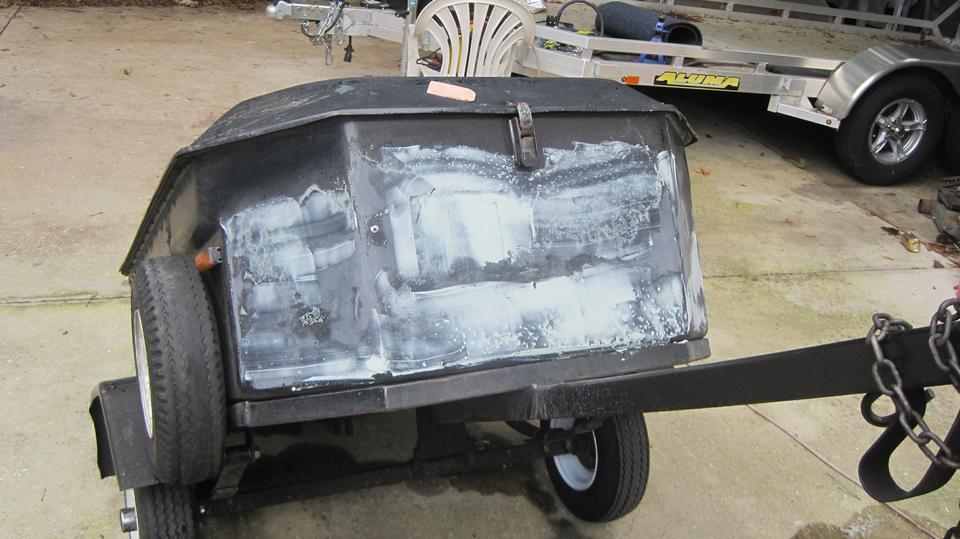
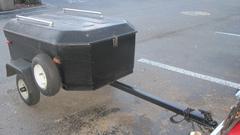
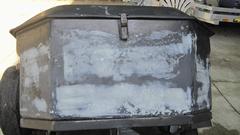
 trailer (with 382,000 miles) has had the front end regularly blasted with road debris, mostly flying gravel from the car tires. We took this opportunity to sand smooth, fill the craters in the fiberglass with Bondo, sand it again, and spray bomb it. That's a little better. Pack it all away and head for late lunch before dusk. --- Photos and notes here finished around midnight. Gotta say the computer seemed to boot up a lot quicker, and some of the heavy software seems to load faster and run better. Of course the new keyboard works well. Need more time to monitor battery life.


Monday March 11, 2024:
I felt good about yesterday. Not so much today. We had tried to order some important (time sensitive) gearbox parts Friday afternoon from Scarborough Faire 3-pm . First, no answer, so I left my number for call back. Then a voice message, "We're busy, 3 or 4 orders ahead of you, may not be able to ship today, call back later". So I called back later, 5-pm, 8-pm, once again Saturday morning, even one try Sunday, all no answer, leaving a voice message. I called once more this morning 8:30-am, left another message, "If you can't even take my call, I may have to order elsewhere". Still no call back. Must be nice to have so much business you can ignore your customers. -- 10:30-am I called Moss Motors. Quick answer, placed the $300 order, will be shipped today, nice. But all that made us two hours late for today's work start, which is part of why I'm now in bad mood.
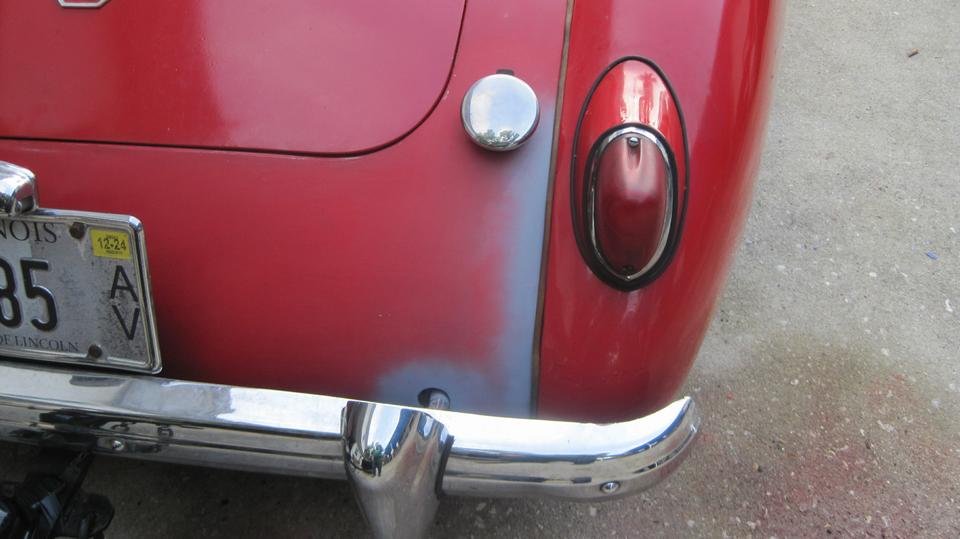
Taking up where we left off yesterday, rear of car back up on the jack stands, bumper off, RR wing loose. a little wet sanding, wash and blow dry, ready to paint. Grab the cute little touch-up paint gun I bought for this shop a year ago. I only used it once or twice, cleaning it thoroughly each time. Since then someone had used it for primer paint, and didn't clean it very well (kind of a mess). Clean the paint gun, get it working, give it a blow test to assure it works. Then mix up our precious remaining 3-ounces of matching paint we have been saving for the past year. Blow a test pattern to get it adjusted right, and then something broke and it stopped spraying, before I even got to the car. Damn. This epoxy urethane paint is already mixed and aging, so we gotta hustle.
Pour paint out of the gun into a clean holding container, and clean the gun. Disassemble it to figure out
 what broke, try fixing it, put it back together to try again. First it worked, and then it broke again. Double damn, we don't have time for this, go find another gun we can use. The next one was something from the Chinese tool store (H.F.) with a plastic spray head, plastic pick-up tube, no fan spray control. We put our 3-ounces of paint into the 1-qt can, and managed to do a quick half-assed job of making the tail of the car all one color again. This is the second time in a year a paint gun failed in my had in the middle of a spraying session. Coming to think we may have to buy a new paint gun before starting any time we want to do painting here.
By that time it was 2:30-pm, and we got to watch paint dry for four hours until we felt compelled to put it back together before we lost the light. That was fun, putting two bolts in the fender, two nuts on the bumper mount, and two wires on the tag lamp without touching the still tacky new paint. Sorry I didn't have time to take more pictures.
Tuesday March 12, 2024:
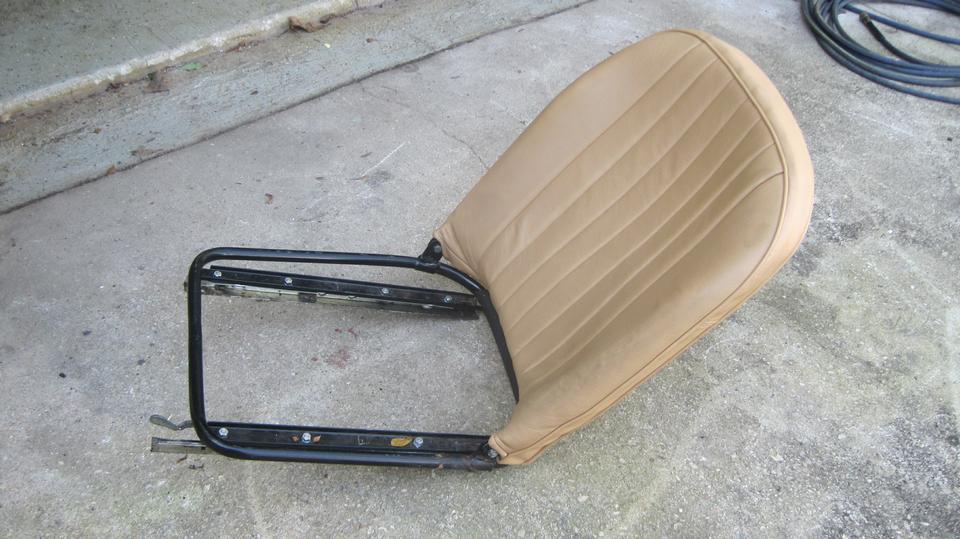
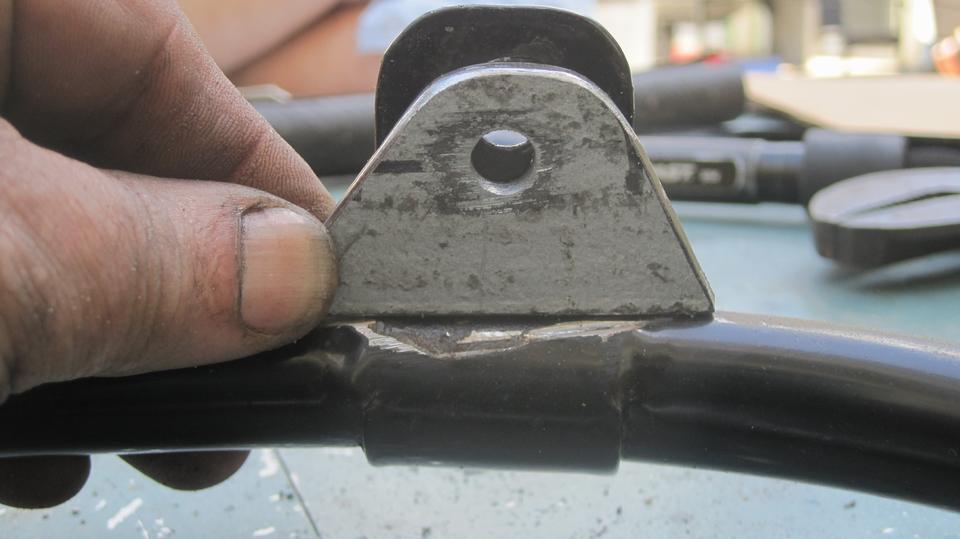
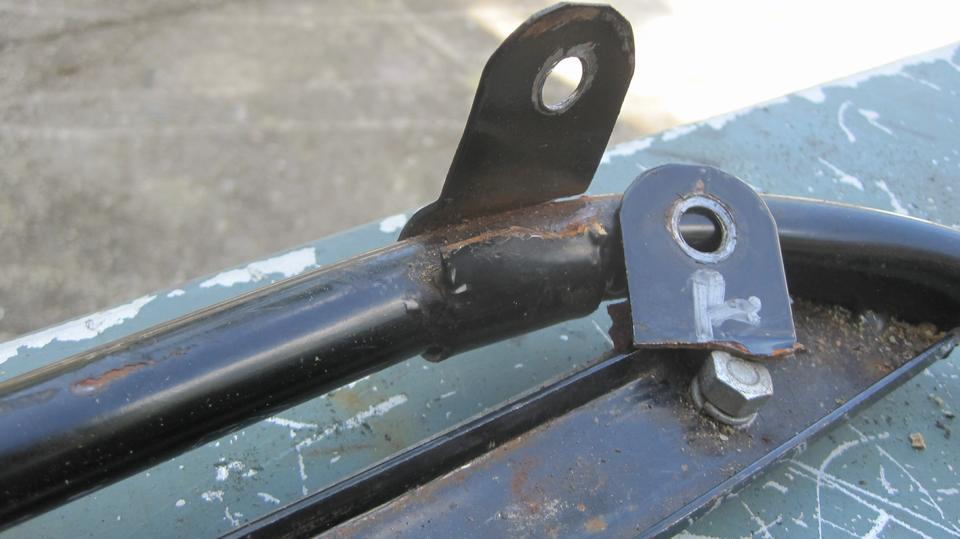
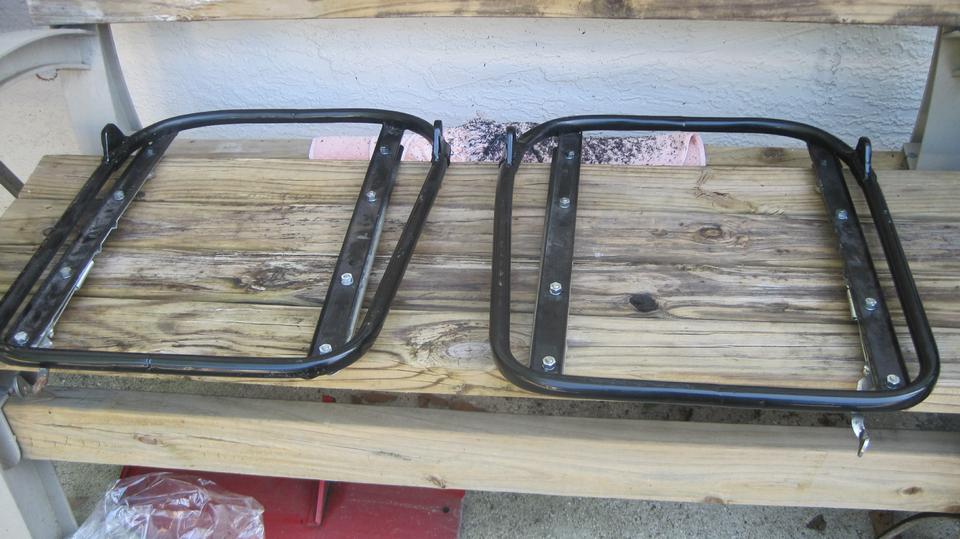
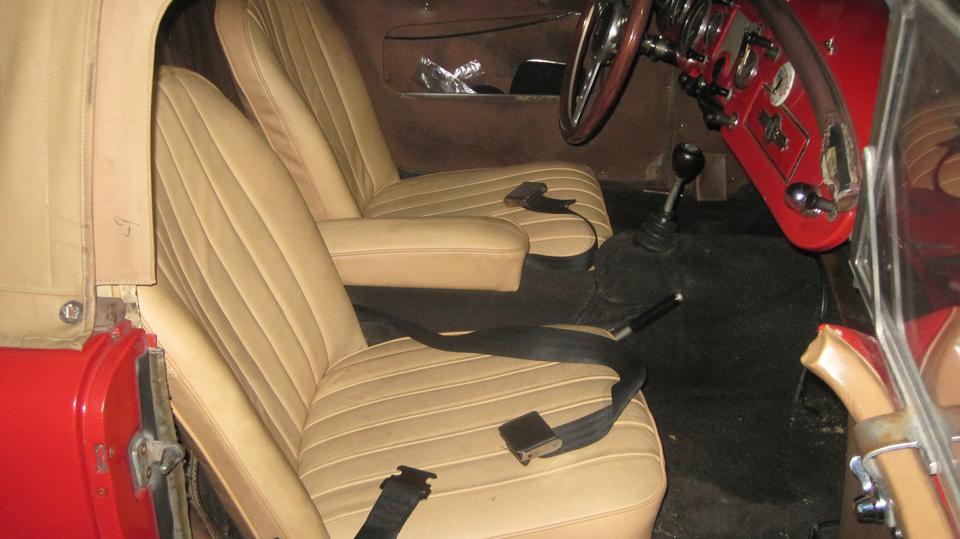
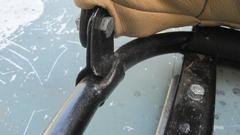
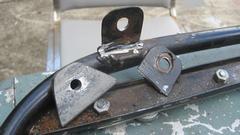
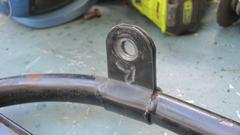
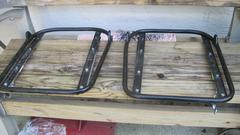
Back to work on the car, but guess what, not for paint this time, as the final reassembly can wait another day or two. More important, we need to repair/weld more broken seat frame parts. These were all new $2000 complete seat set in 2018. Considering the "generous" pricing, the backrest pivot brackets looked somewhat thin and weak. Sure enough, the driver side outboard pivot bracket broke and needed welding in 2021. That one is still surviving, but now the driver inboard and passenger outboard brackets are broken. With 3 out of 4 failing, the last one would only be a matter of time, so today we will rebuild all four in a more sturdy manner.

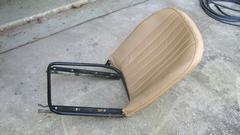

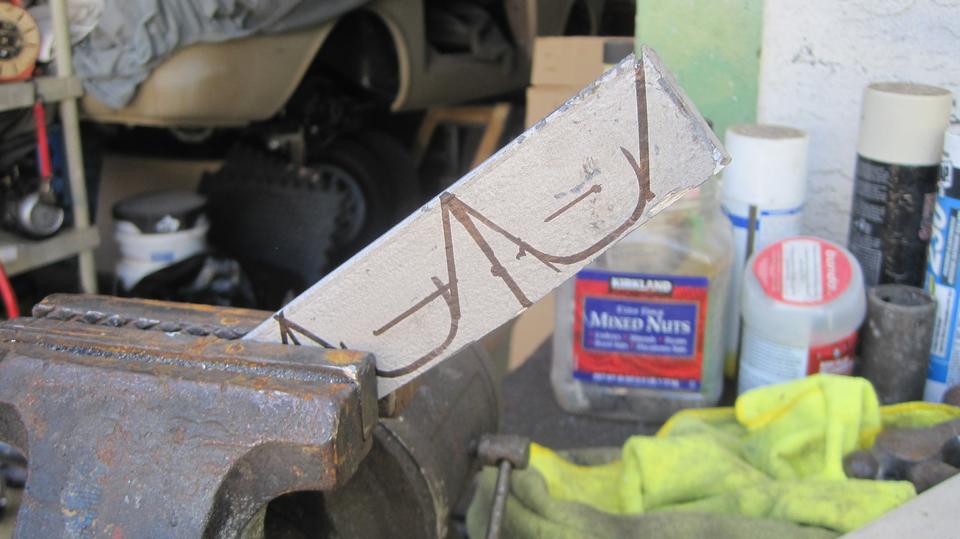
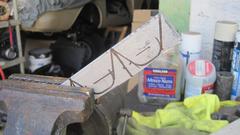
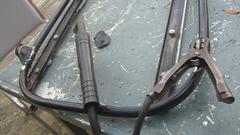
The trick here would be to cut away the inboard side of the original bracket, leaving the outboard side as the alignment guide. We then scrounged up a piece of 1/4-inch thick angle iron, and sliced out a piece 1-5/8" wide, cut a cardboard template, and traced it onto the steel stock.
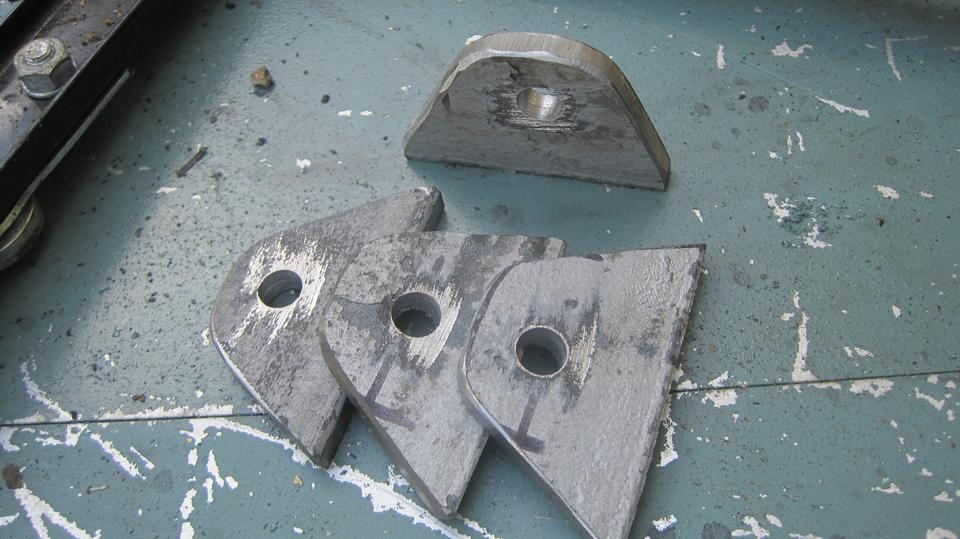
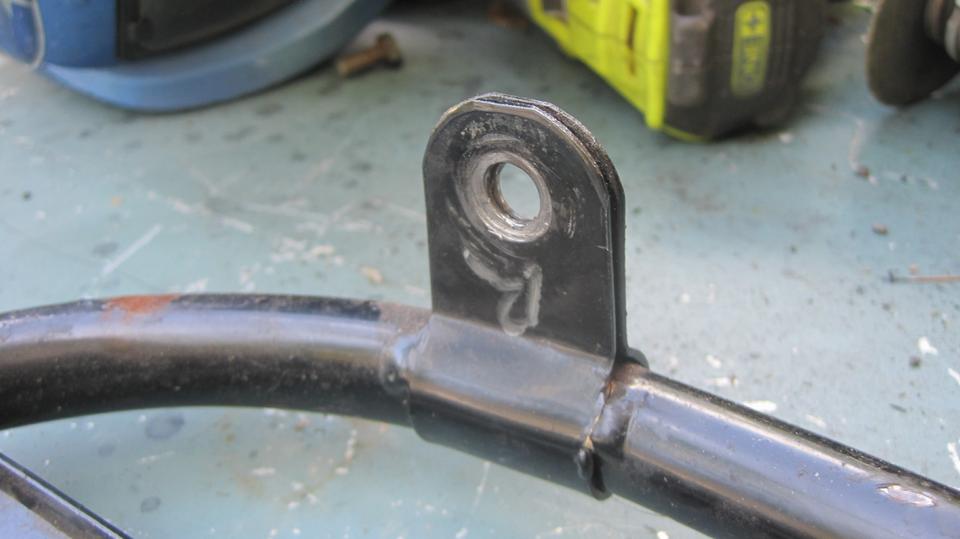
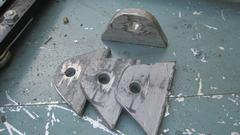
20 minutes of Sawzall work, 15 minutes of cleanup grinding, 10 minutes at the drill press, and we had four new 1/4" thick pivot journal brackets in hand. Notice the new hole is 1/4" lower by intention. That is to drop the pivot axis to put position the backrest a little farther forward (a personal preference for a short dude like me). Use a rotary rasp to elongate the original hole a bit downward, and it's ready to weld.

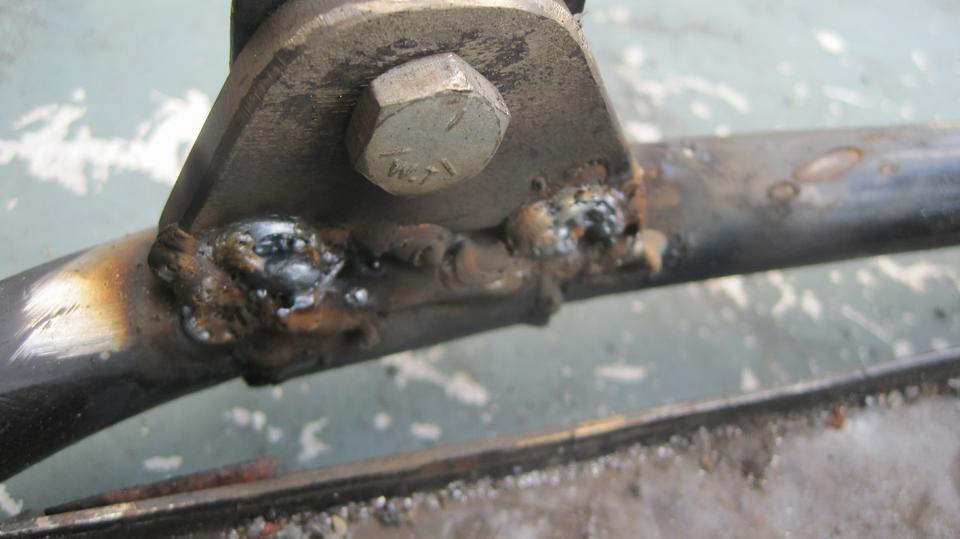
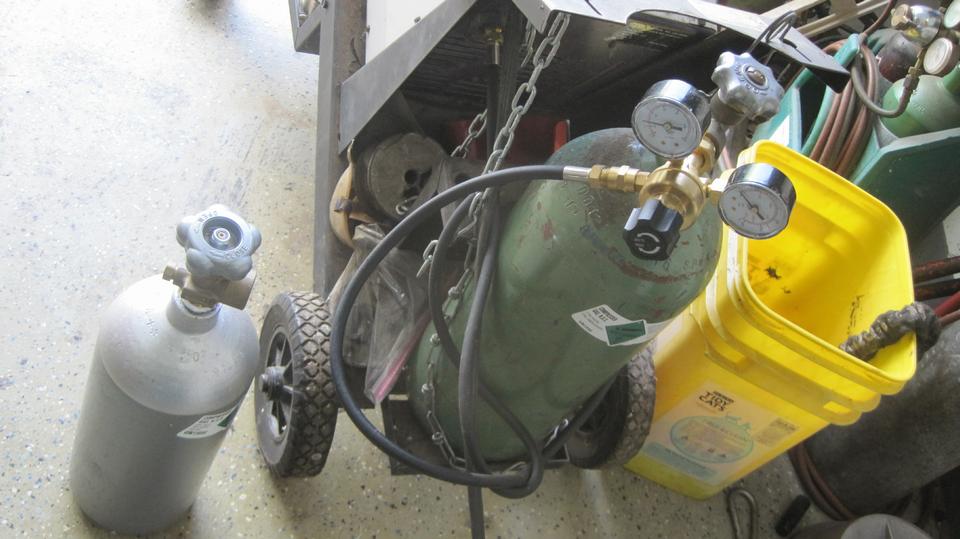
Use a bolt to hold the new bracket in desired alignment. Just getting started when we discovered the MIG welded was out of shielding gas, making a horrible weld. One quick inquiry tuned up a smaller bottle of gas held special in reserve for just this case. 5-minute swap, and we were back in business.
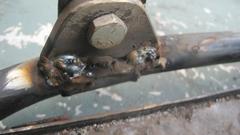

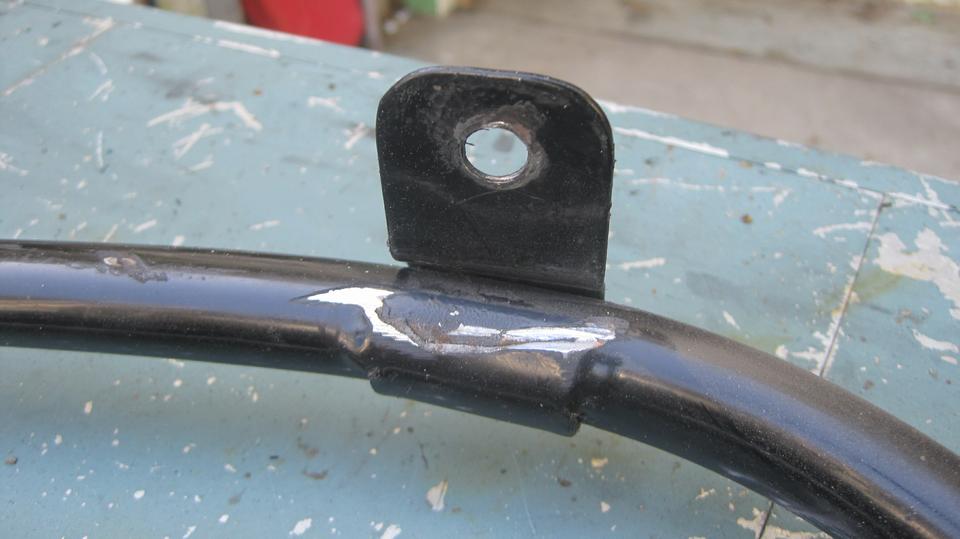
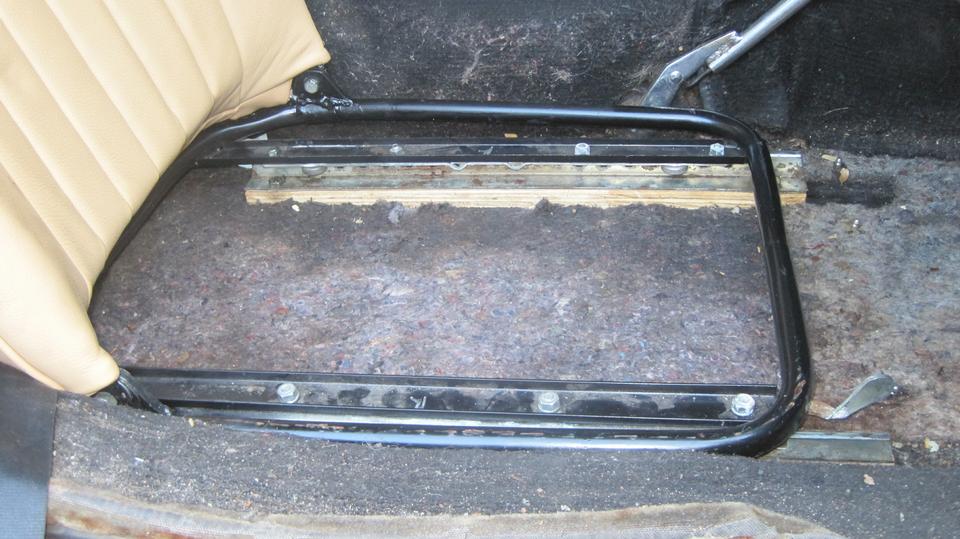
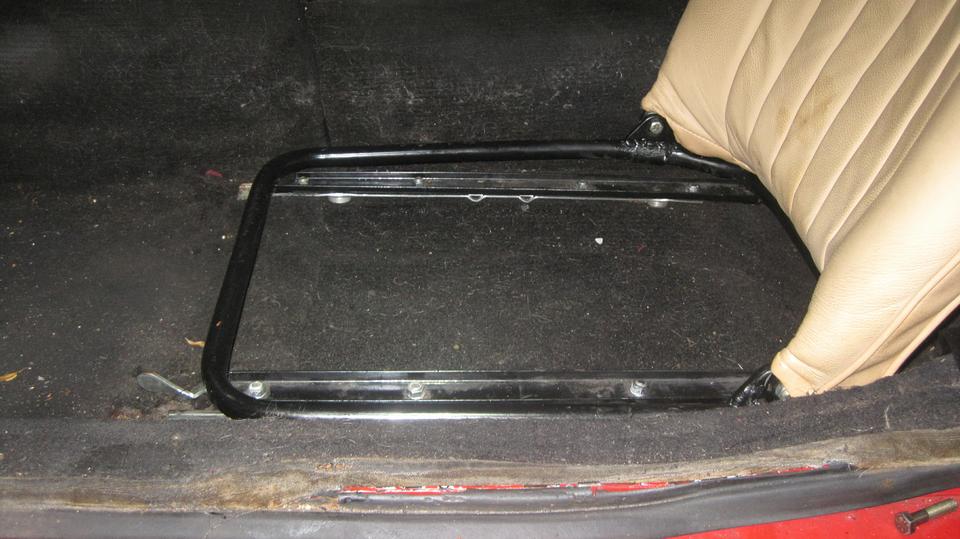
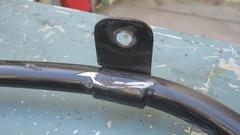
As long as I'm not burning holes, I don't mind being generous and making a fairly heavy weld to assure it will never break again. Not long to weld two brackets continuous all around, grind the old brackets top tab down to flush with the new bracket, and polish the welds a bit to be easy to paint. With test fit of the backrest, there was a little "adjustment" with a big hammer to tamp down the top of the tubing just aft of the new bracket. This is to clear the leather cover where it wraps under the bottom tube of the backrest frame, because remember we lowered the pivot hole intentionally. Once the backrest would sit down on the rear of the base frame again, it was tine to clean up the handiwork, spray it black, and set it aside to dry.


Then the passenger side. One original bracket was still hanging in there, sort of, but no matter, it has to be modified as well. With tools and techniques well in hand, the second one is modified much quicker, and soon the twins are sharing the drying bench. And now the seats have nice quarter inch wide journal bearings for the seat back pivot joints.

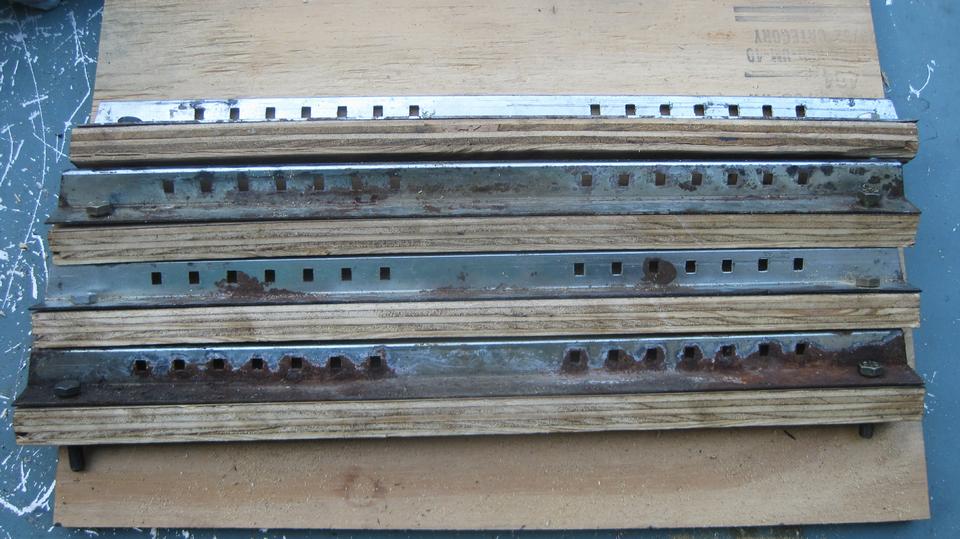
Then the second step of this project. Back in the 90's when I was autocrossing regularly, I had installed 5/8" thick wood spacer strips under the seat rails to raise the seats a bit for better close in visibility over the front wings. Those spacers a had to be removed in 2018 because the slider mounting rails were farther apart on the new seats (and I miss those spacers). Now was the golden opportunity to fix it. Grab a spare piece of 3/4-inch plywood and a Skill Saw. No measuring required. Using a lower seat rail as a guide, lay some lines on the wood and have at it. Take the four new wood strips to the drill press, again using the steel rail as a drilling guide, and in short order we had four finished seat spacers.


Quick put the seat frame pivots back
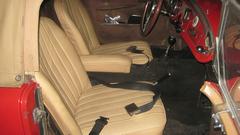 together, and as daylight was fading, we were bolting the things back into the car. There was a short delay as we were looking for and gathering up some longer bolts (8 pieces please). Finally finishing up by flashlight in the increasing shadows, and realigning the carpet. Kick it off the jack, snap a few more pictures, clean up, pack up, and get outta here. 10-AM to 8-PM was a 10 hour work day with no lunch break, but it feels good to be done. Head off to very late lunch and WiFi to check email and BBS. together, and as daylight was fading, we were bolting the things back into the car. There was a short delay as we were looking for and gathering up some longer bolts (8 pieces please). Finally finishing up by flashlight in the increasing shadows, and realigning the carpet. Kick it off the jack, snap a few more pictures, clean up, pack up, and get outta here. 10-AM to 8-PM was a 10 hour work day with no lunch break, but it feels good to be done. Head off to very late lunch and WiFi to check email and BBS.
Wednesday March 13, 2024:
A funny early morning obligation, posting a new Part Numbers tech page for AEH650 Distance Washer for the
 MGA Twin Cam clutch assembly. There are six of these to be installed between the clutch cover and flywheel, unique to the Twin Cam, and they must be the correct thickness. Seems like no one supplies this part, so someone has to make them on demand when needed. For years the question has always been, "How thick is it"? That one number demanded a new web page.
Then onto posting yesterday's photos and notes (above), which pretty much ate the rest of the day. New bank debit card on the way to replace the expiring one. New trailer license tag sticker on the way to update the expiring one. My parts order from Moss Motors (not S.F. who wouldn't take my order) arrived today. Nice to have a day to sit after three long days working on the car. I recon we need to get back on it tomorrow.
Thursday March 14, 2024:
Time out. Watching Space-x Starship launch this morning.--- Sacrébleu! That was impressive. Can't wait to see the official reports in a few days.
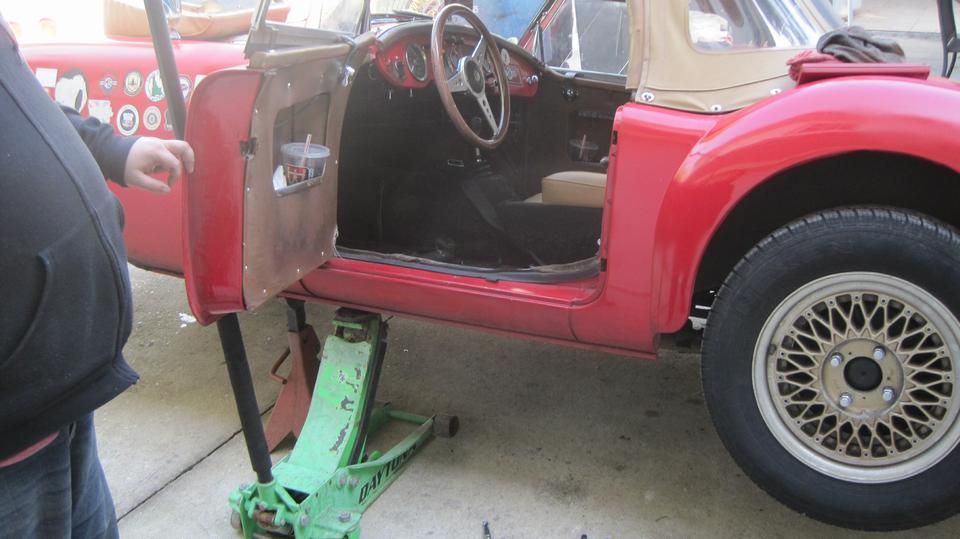
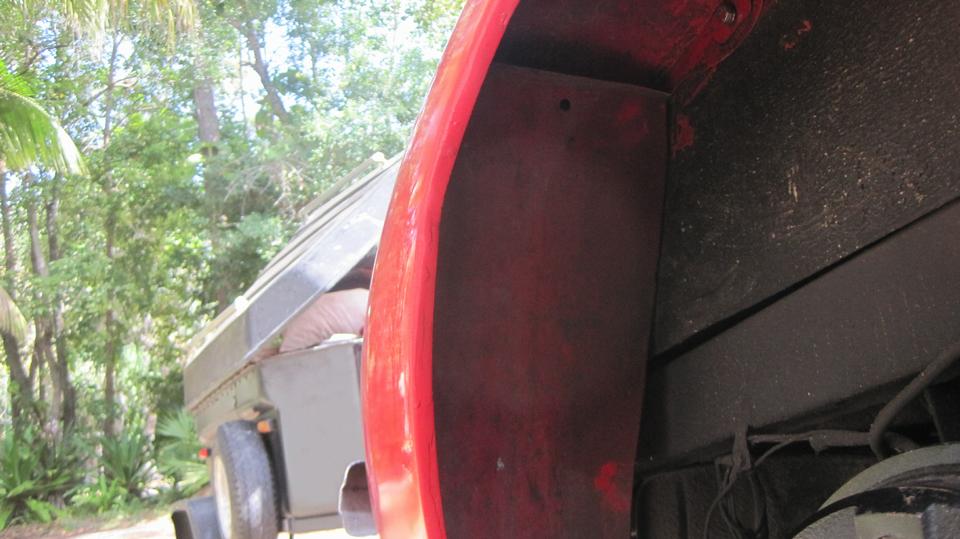
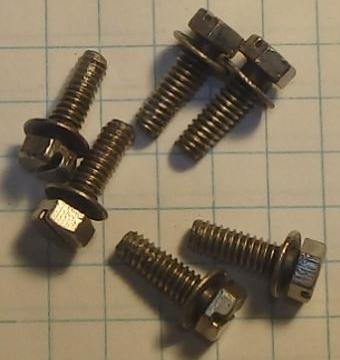
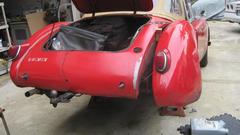
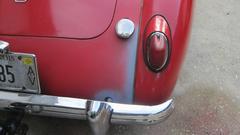
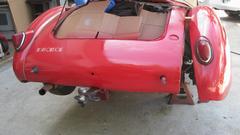
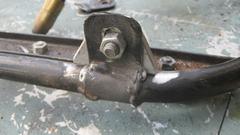
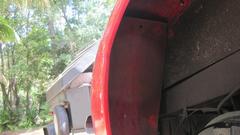
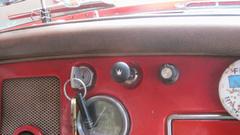
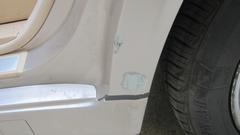
 Okay, back to the car stuff. We hit the ground running for this one. Nothing serious, just needed to install some missing bolts since the Sunday-Monday paint touch-up. Jack up to remove wheel. Since we parked it in the gravel, the scissors jack will work better than the hydraulic floor jack. That's the rear splash panel to the left in the picture at right. Several fender bolts with the big oval flat washers, leaving three open holes visible. Those are for the splash panel, three bolts inside the boot, and one more at the bottom to attach the lower corner of the fender.
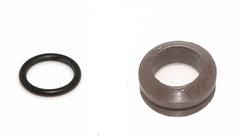
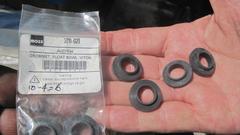 About that time John Shoemaker dropped in. He has the two-tone light and dark green MG ZB Magnette, and today it has a fuel leak at the SU H4 carburetor float chamber attachment banjo bolts. No problem, we have the needed Viton grommets right here in the Magic Trailer.
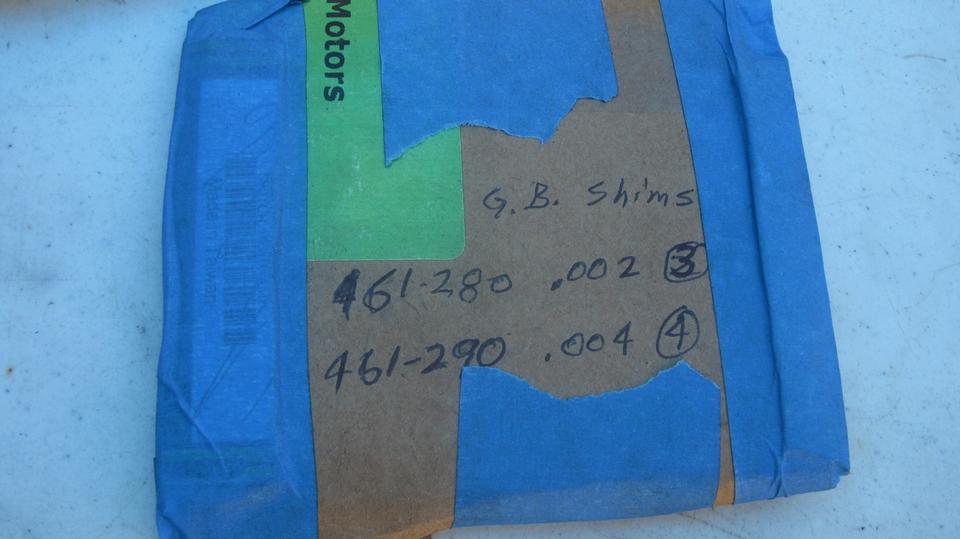
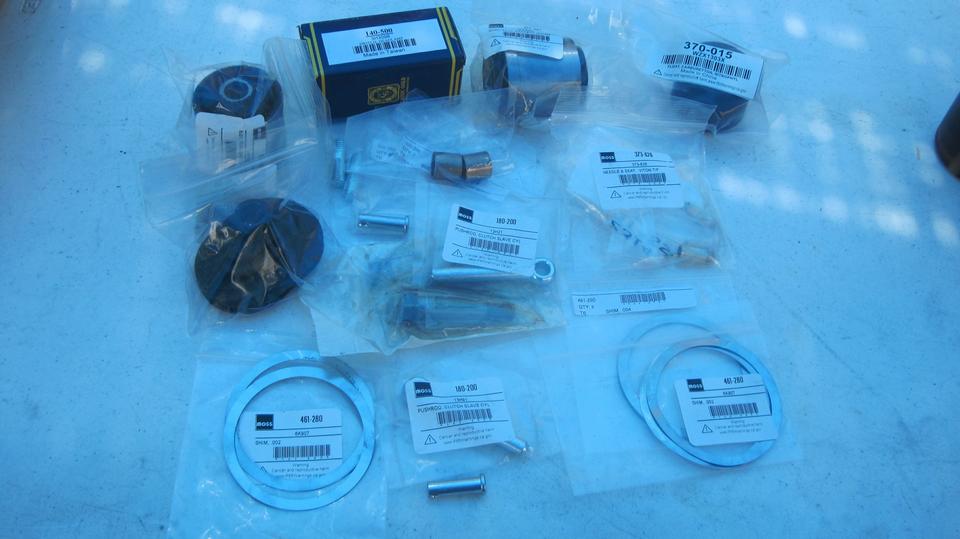
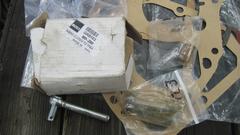
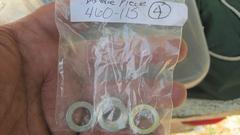
Then we sat down for a few minutes to open the box from Moss Motors and sort out the new parts. Some of these are reserved for tomorrow and the MGA gearbox we were fiddling with last Friday.
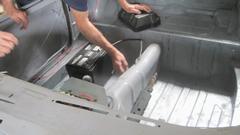
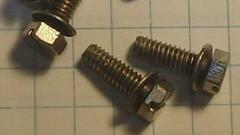
Some additional spare gearbox and carburetor parts, and two
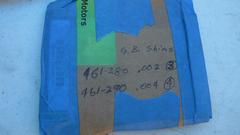
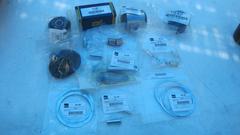 lighting switches, one to install and one for spare. Notice the paper thin bearing shims (0.002" and 0.004"). This is how we package those to protect them when we stuff them in a zippy bag in a tote box, crammed in with other parts.
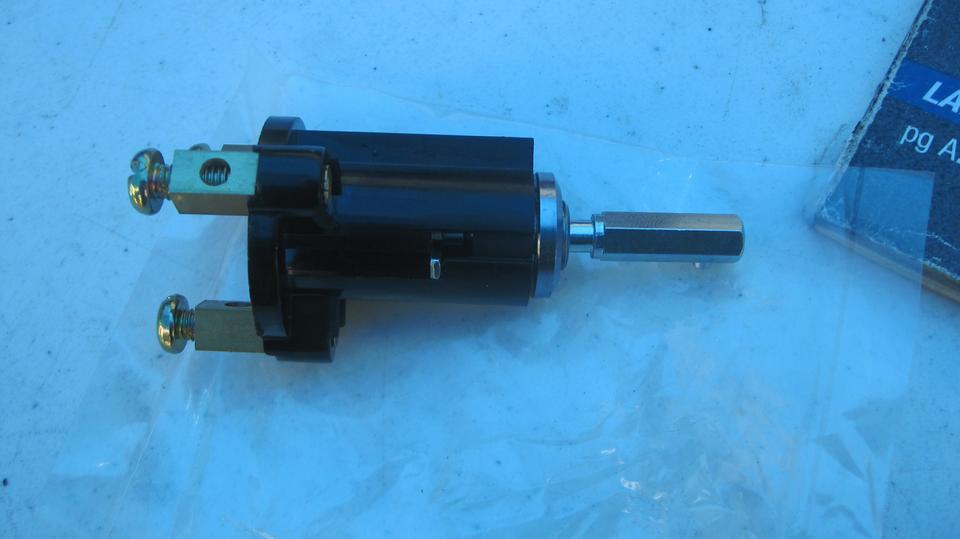
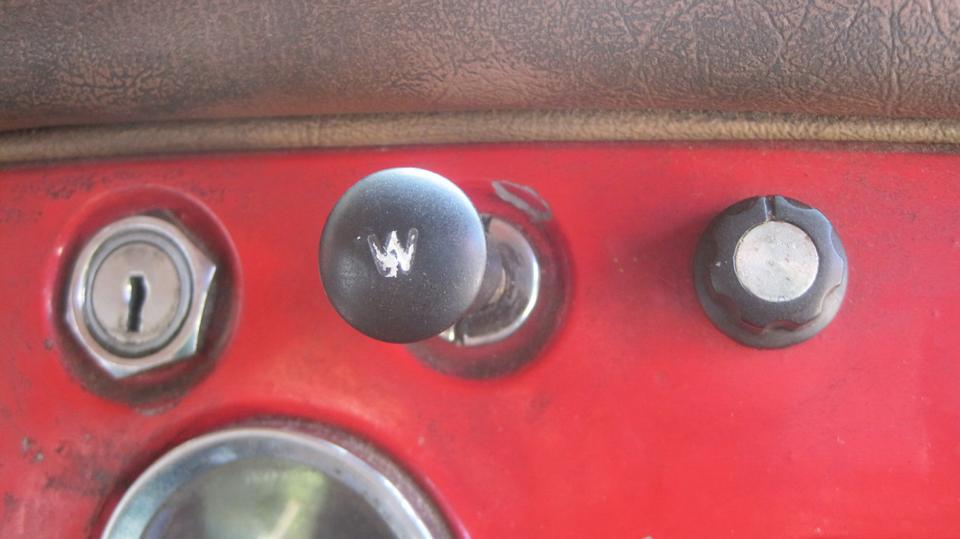
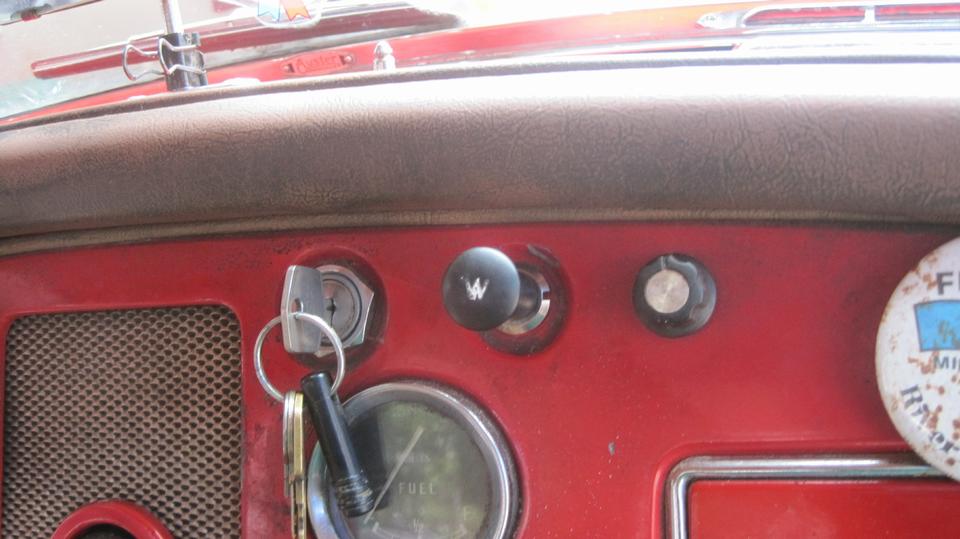
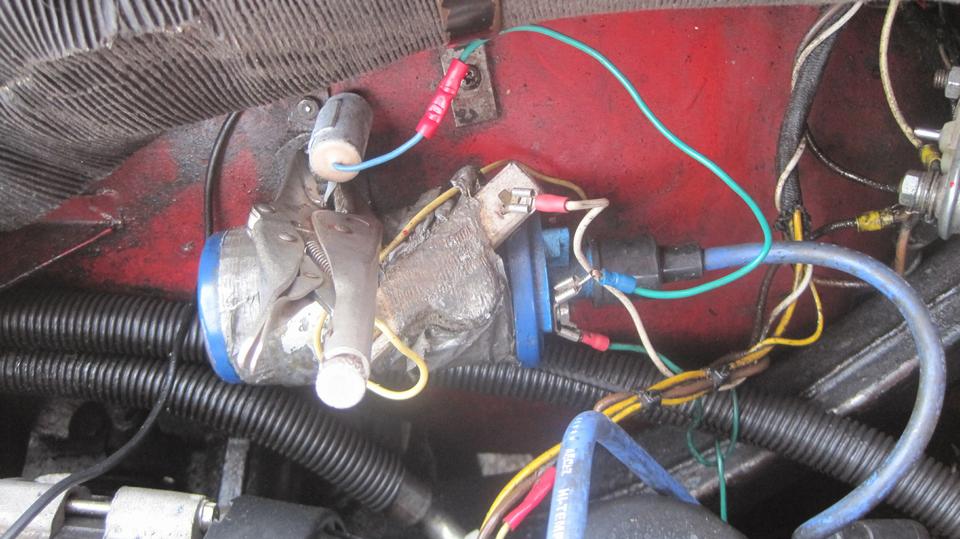
Then it was time to install that new lighting switch. But not for the lights; we replaced that one three weeks ago. This one was going to replace the single speed wiper switch to hook up the two speed wiper motor we installed back in November (24th-30th) which has since been running faithfully with only one speed and one disconnected wire. The only problem here was the wiper switch has a 3/8" thread, and the lighting switch has a 7/16" thread. Don't sweat the small stuff. Five minutes with a small rat tail file enlarged the "D" hole a bit,and it was soon back in service with working two speed wipers. Yeehaw! Except the new bezel nut being the wrong style. Bummer.

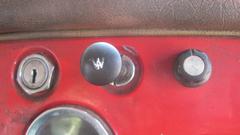
For anyone curious about the rotary knob to the right of the wiper switch, that's a potentiometer for time delay control of an intermittent wiper control that I installed in the last century, but failed in this century and was never replaced. I have a push button switch to install there (some day) to give a single wiper cycle at touch of a button.
Friday March 15, 2024:
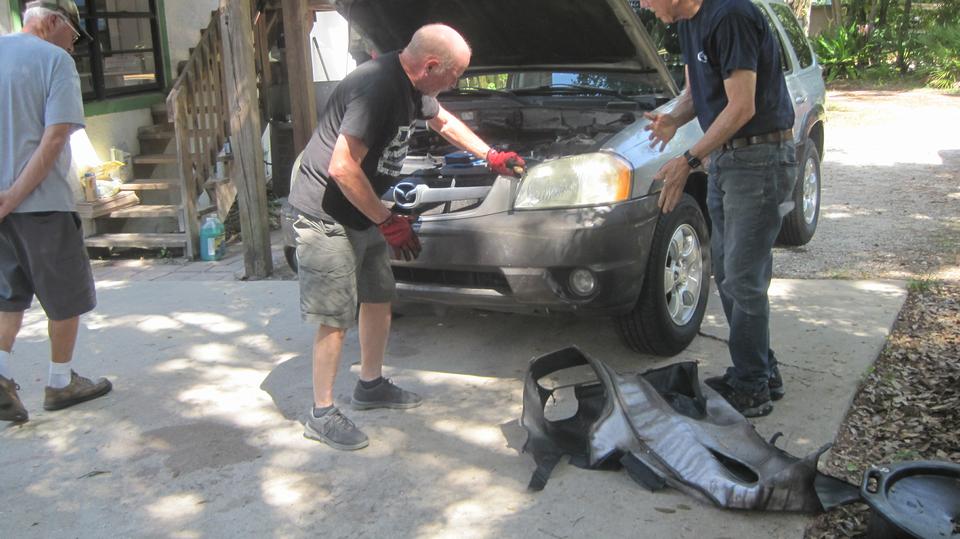
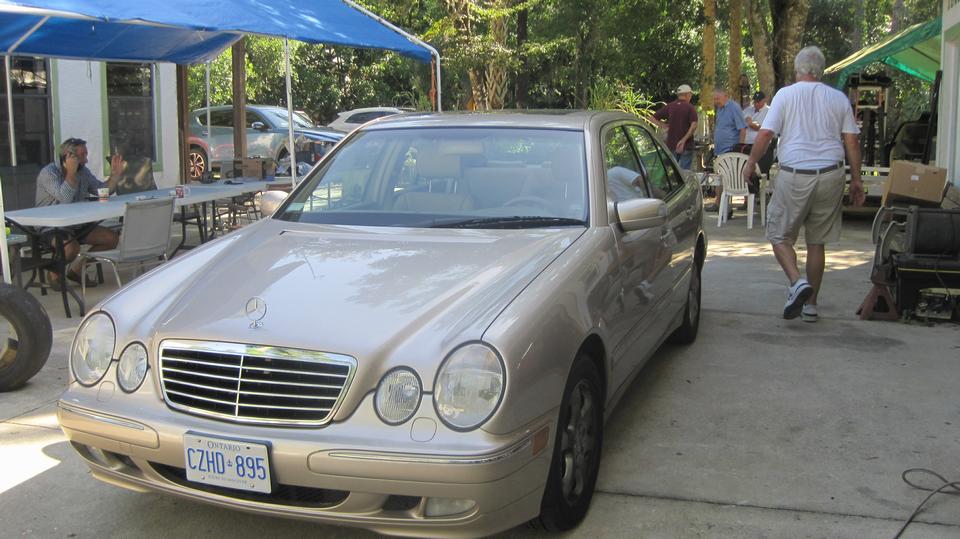
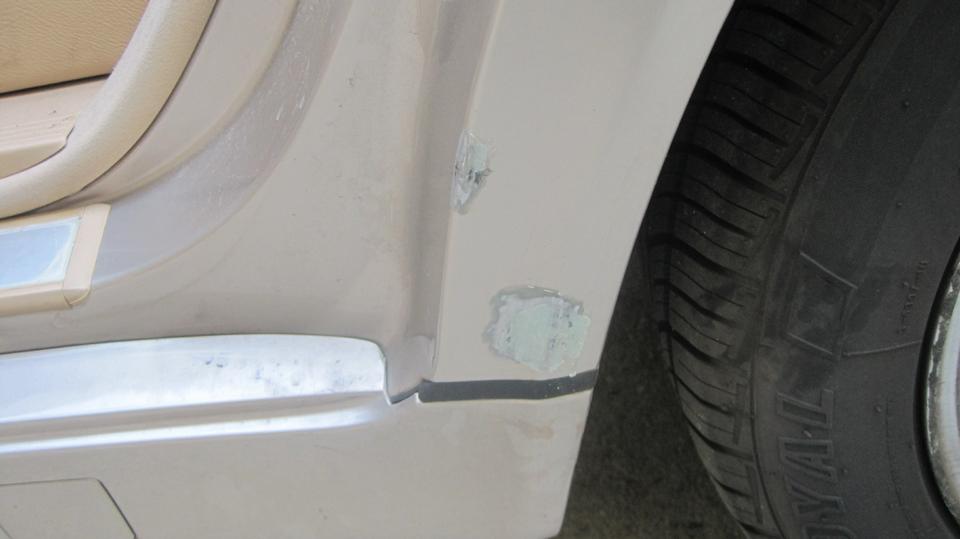
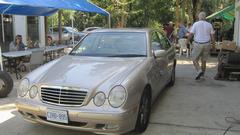
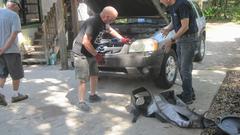 This will be my last day at Tech Central until next December, so let's see what's happening today. There was some sport-ute getting th nose bra ripped off for cleaning. Some of these guys are pretty quick at rmoving a bra. --- There was a 2002 Mercedes Benz, medium mileage, very good condition, with a thumbnail size paint blister. That sanded out to 1-inch bare metal, feathering the edges to 2" spot, no perforation. He had the paint color laser scanned and matched with new paint in a spray can for less than $20 (very good deal).
I c more serious about the Tina the WannaB race car. Hooking up brake pipes to the front end. Too bad I won't be here to see final installation of the fuel cell.

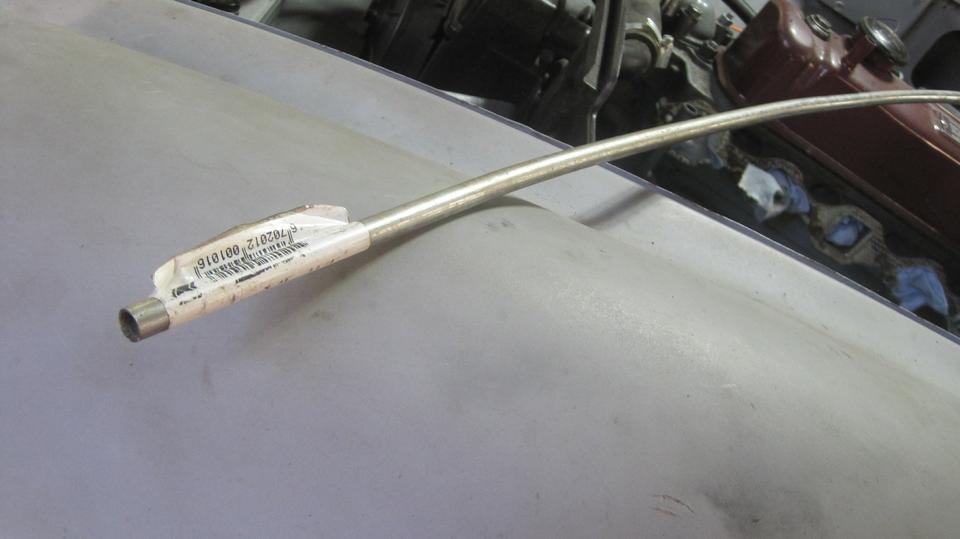
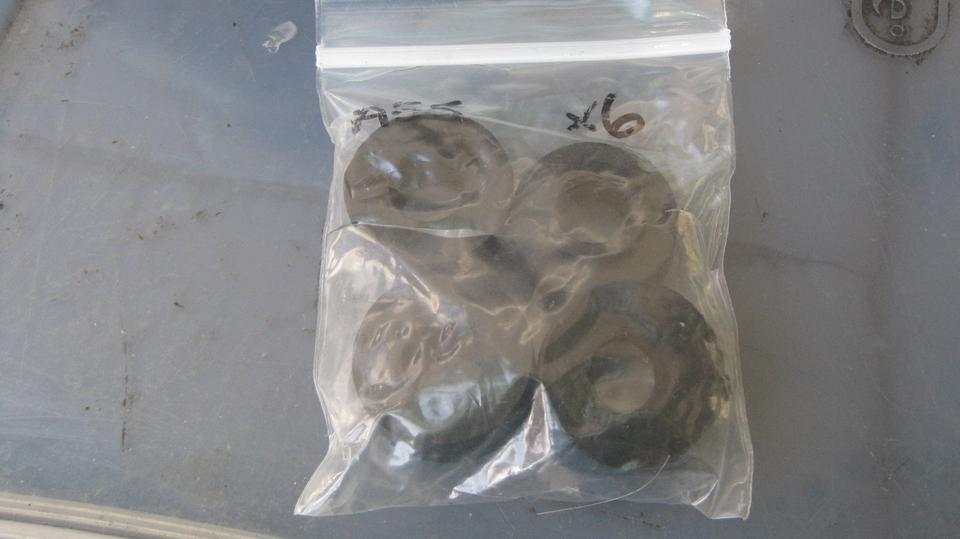
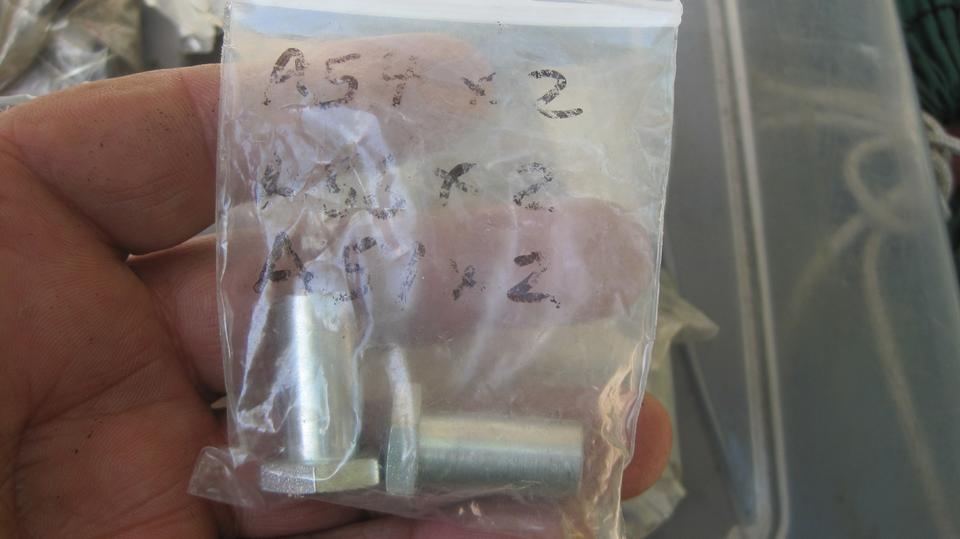
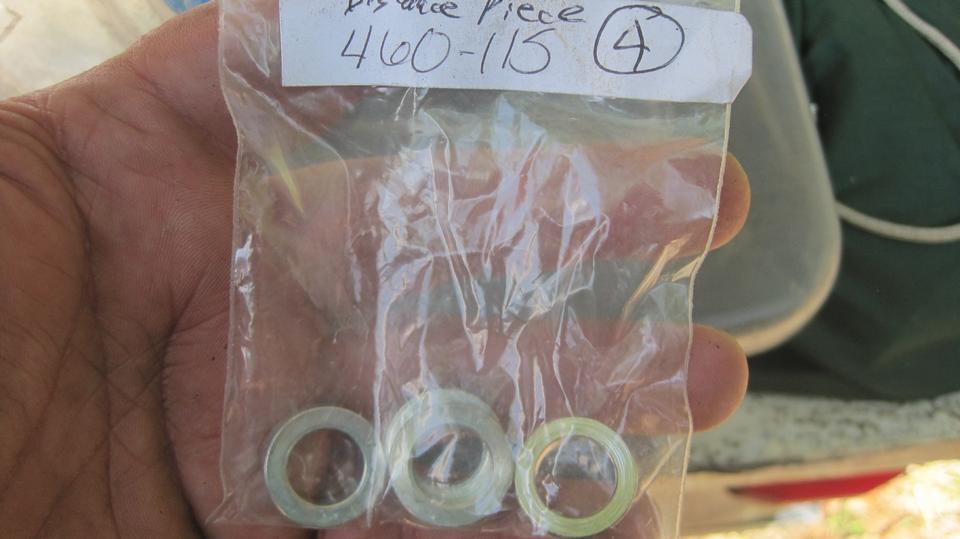
 Someone bought 5/16" steel tubing for the back to front fuel line, impossible to form by hand, so looking for the big boy's tube bender. --- Jerry's new aluminum trailer is getting final touches for the remote control solenoid for the winch. --- The Magic Trailer provided parts for an MGB valve cover rubber grommets, cup washers, distance pieces, tube nuts.


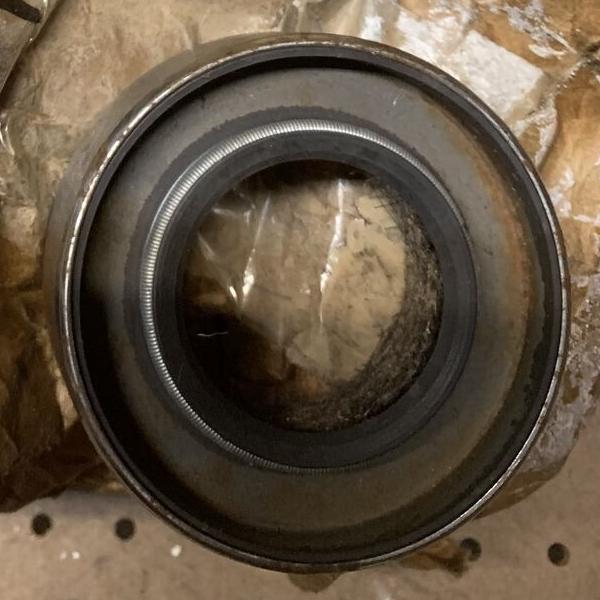
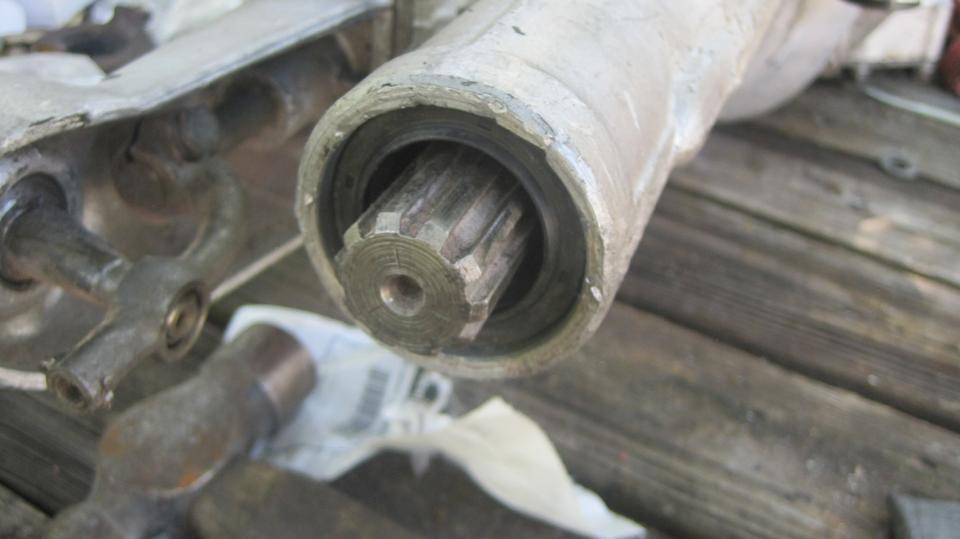
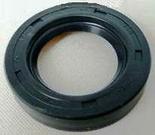
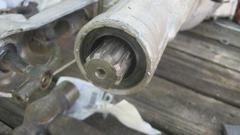
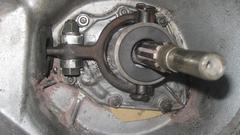
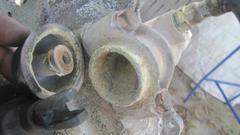
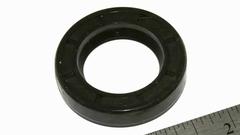
Now having the new parts delivery, we were back to the MGA gearbox. The old rear seal was stubborn coming out, but finally gave in to persistent persuasion. The new seal was pushed in farther than necessary, but works either way where the old seal was much thicker.
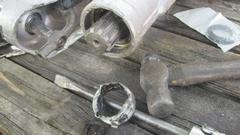
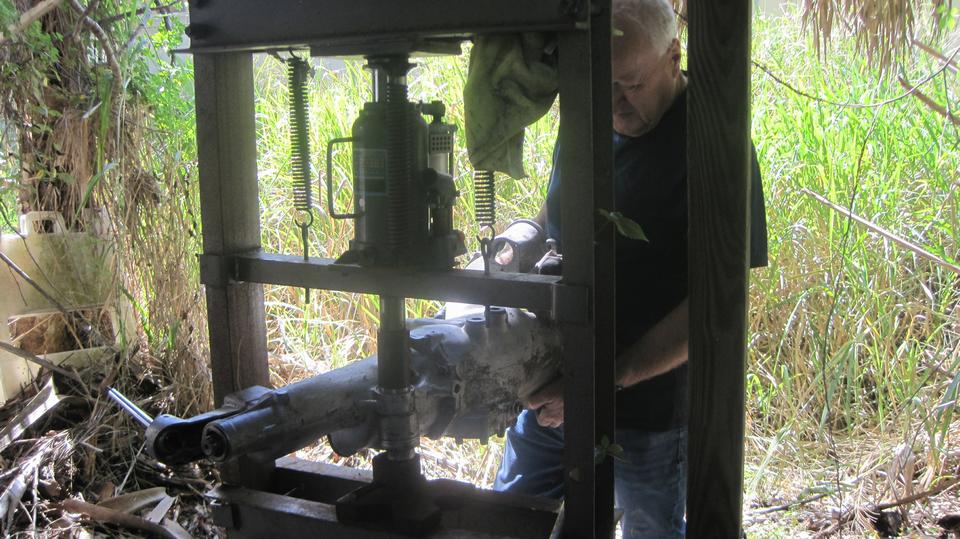
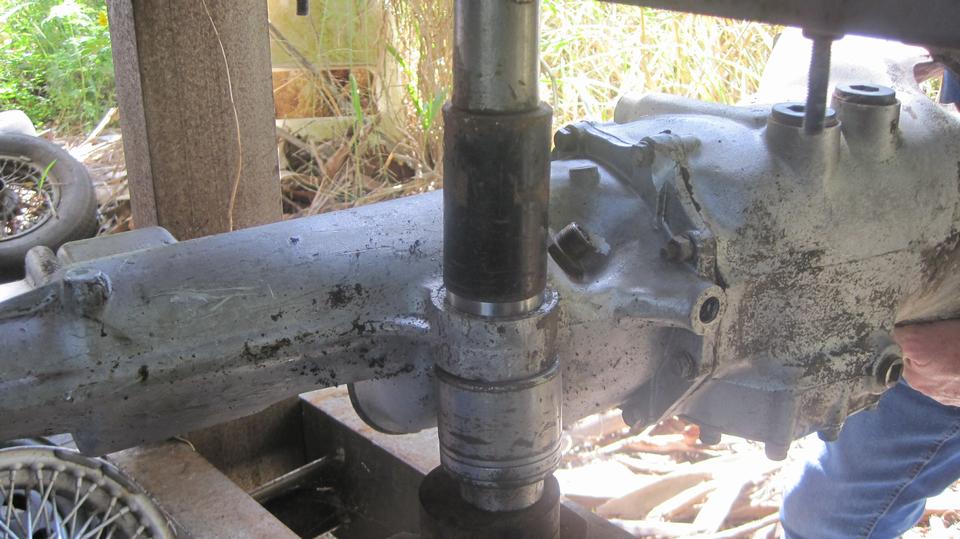
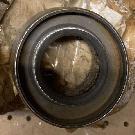
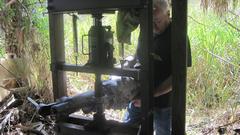
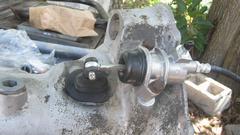
Replacing the Silentbloc steel and rubber rear mount, drilled out the old rubber to remove the inside steel tube, then upside down cut through the outer steel tube with a Sawzall to remove the remnants and clean out the bore. Then it was off to the hydraulic press to push in the new bushing. It's just two large tube sockets and a few tons of slow push with the 20-ton press. Easy with the right tools.
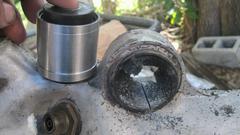
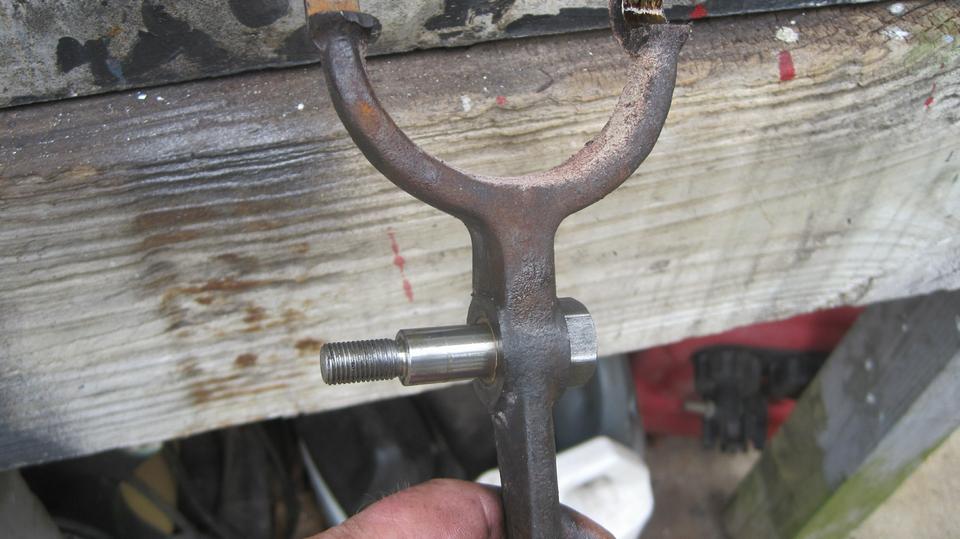
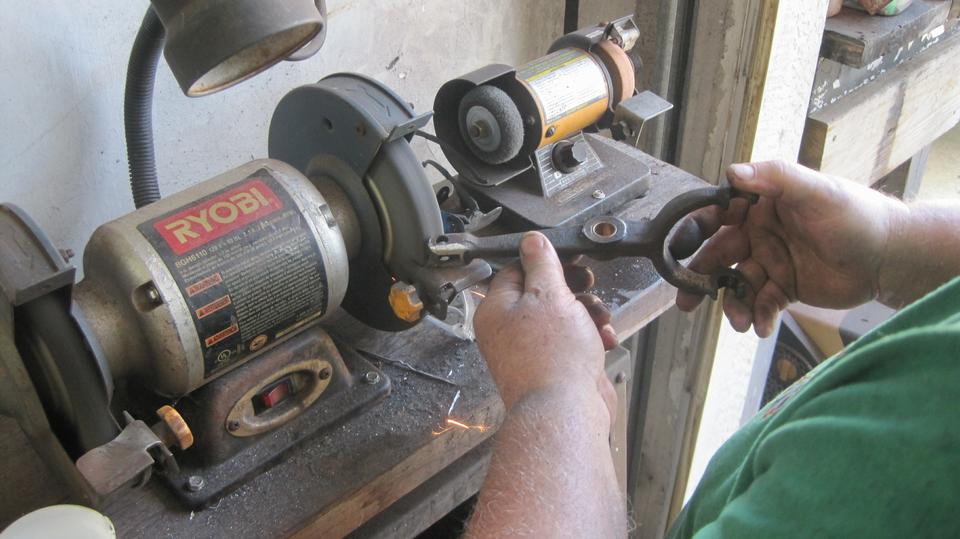
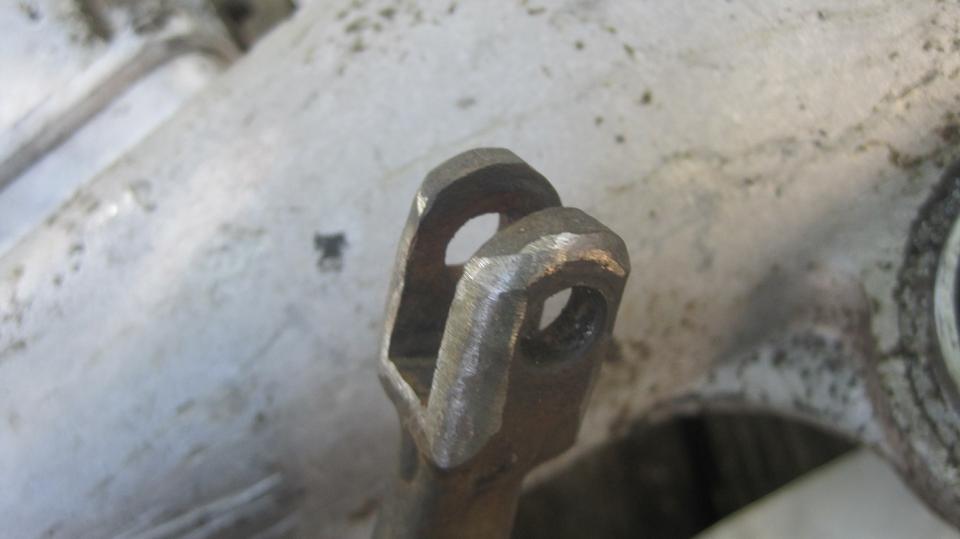
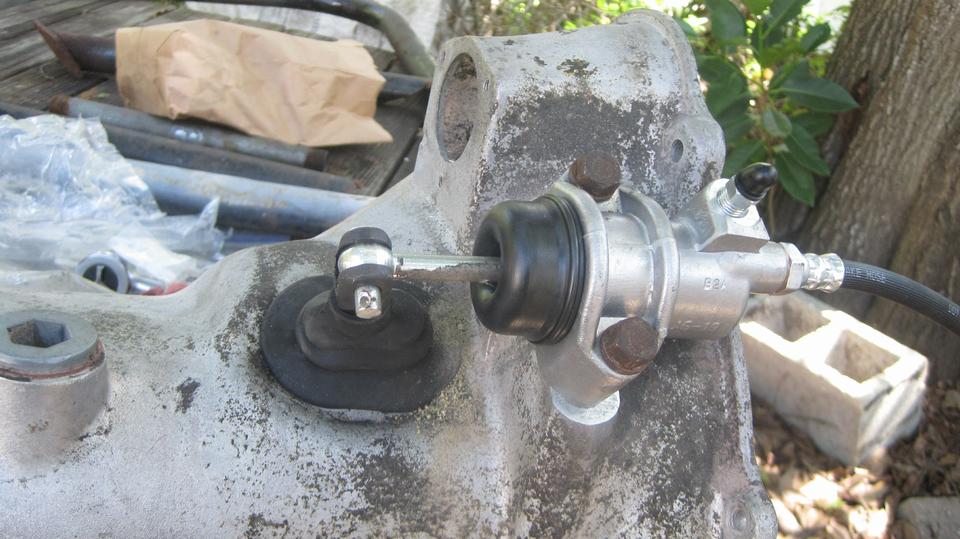
Before installing the clutch release arm, we will grind off the sharp corners on the square clevis end to make it smaller and soother, nearly round, which will make installation of the rubber dust excluder boot easier.
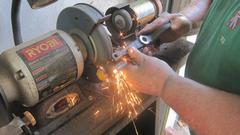
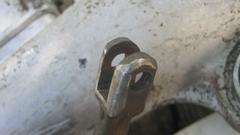
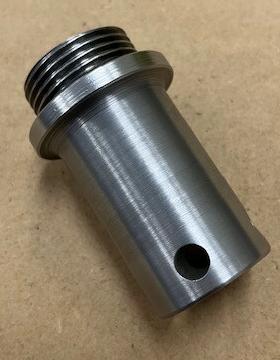
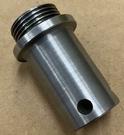
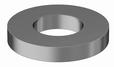
There was still one missing part that none of the vintage parts suppliers seem to have. 11G3199 Washer for bolt ()and it is special). This is the precision heavy washer that goes under the prevailing torque lock nut (Stiffnut) on the release arm pivot bolt. It needs to have at least one side ground flat, and a small bore with minimal clearance around the thread, because it needs to sit squarely against the shoulder on the pivot bolt. This is to provide the correct face to face inside dimension mating with the aluminum ears on the gearbox front cover, to give correct working clearance for the release lever rotation with minimal side wobble.
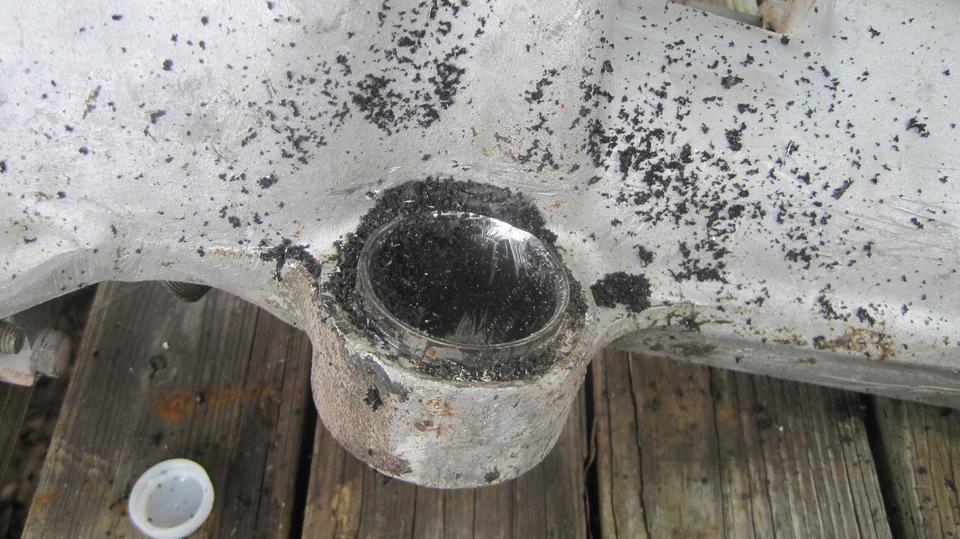
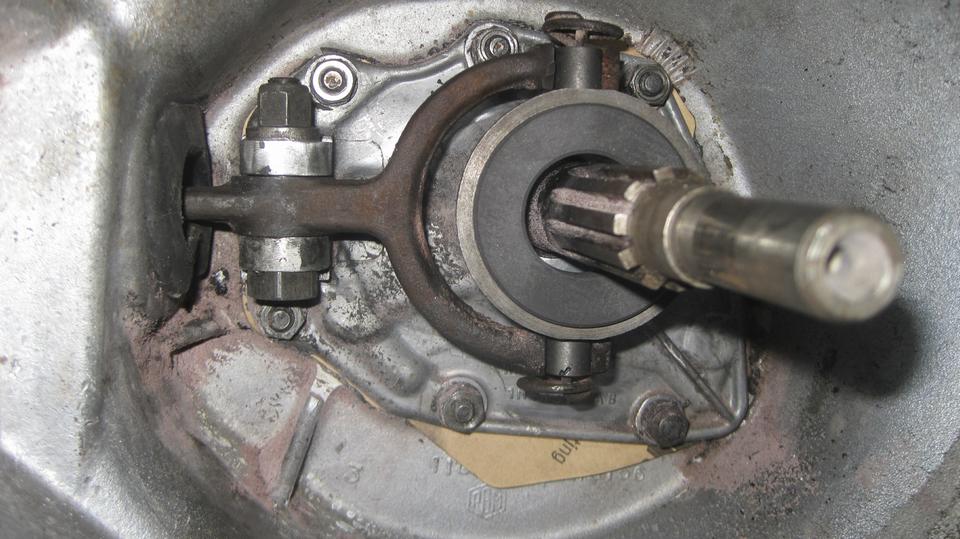
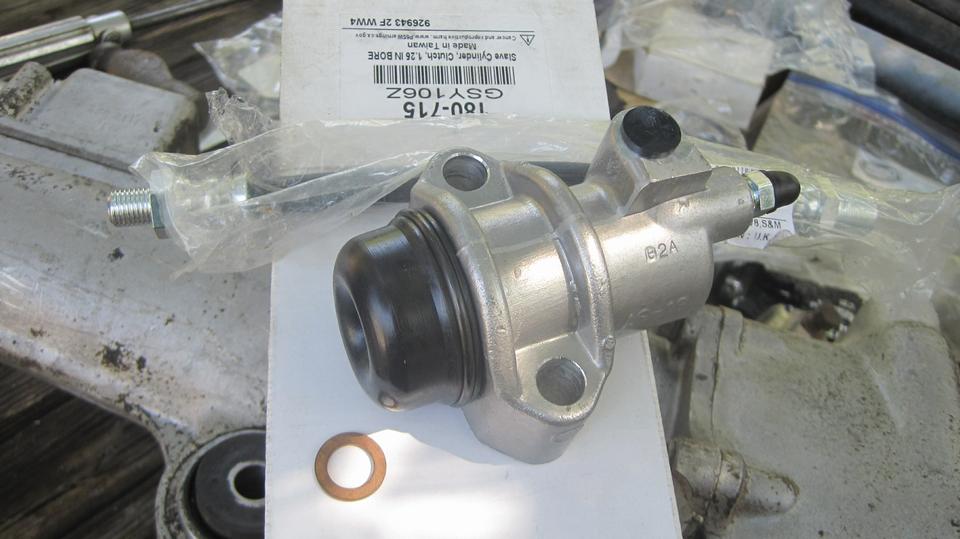
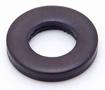 By coincidence, the heavy steel washer from a cylinder head bolt turns out to be almost ideal for this application (Moss Motors USA 324-725). We only need to grind one side flat to give that minimal ID clearance and sharp inside corner. This went together then with perfect fit, wonderful lever free action and no side wobble. --- Then I suggested we should check the crusty looking slave cylinder with the rotten cut-off hose. When the dust excluder boot was removed, a pile of aluminum-oxide corrosion sand ran out. Yeah, that's shot, but hey, Magic Trailer time again.
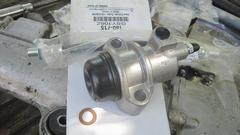
New slave cylinder, hydraulic hose and copper seal washer, installed with new pushrod and clevis pin in short order. Then the owner asked, "What's this left on the table"? Oops. It was the gearbox front oil seal. A week ago this was the only reason he removed the front cover, to replace the seal. Then we saw the front bearing shims were missing, and had to order some new shims, so put the job off until today. This morning, when I was busy doing something else, he got excited, installed the shims, and reinstalled the front cover, but forgot to change the seal. Bummer. Also out of time today, so now he gets to disassemble the clutch release arm parts himself to R&R the cover to install the seal. But that's cool, because now he knows how to do it, so he can easily do it later.

Heading north this time, and navigator (with his learners permit) was going to get a little seat time in Friday afternoon expressway traffic (trial by fire). I recon that went reasonably well with only a few bent nerves, but it was pretty hot in the sun. After 40 miles we bailed out for early dinner for a change, and WiFi, BBS, email and some tech questions.
One question brought to light that the fuel level sending unit mounting screws (ACA5127 or ARG923) were #2BA screws, not #8-32-UNF. Oh really? That soaked up most of the rest of the evening for research, and posting a few new Part Numbers tech pages for those screws and their installation, trying to explain why many parts vendors are now selling incorrect #8-32 screws for this application.
Then it ran past 11-pm, and we had to knock off without getting these photos and notes posted. With me driving, heading north for a planned 75 minute run to a rest stop, we didn't quite make it. After an hour there was an intermittent misfire, getting progressively worse, then stutter, pop pop. Me, "How far to go"? Navi, "19 miles". Me, "I don't think so". We bailed of the next exit and found a lighted canopy in a gas station.
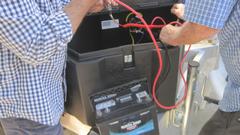
We both figured it must be another failing ignition condenser.
Pull out the faithful test condenser and the long nose Vice-Grip. Clamp the condenser onto the coil mounting bolt, and push the wire end onto the coil Lucar
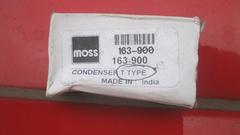
 connector going to the distributor. That puts the test condensed in parallel with the installed condenser and contact points. Zippo, it fired right up and was running smooth. --- A five minute search revealed the Magic Trailer was not in the mood for magic after midnight. Only one condenser remaining, for a T-type, no-go. Okay leave the test condenser in place as the emergency rescue part, and drive on. Fifteen minutes later we get to stop for the night (or morning) about 1:30 am.
|