The MGA With An Attitude
| MGAguru.com |
|
MGAguru.com |
MGA Guru Is GOING MOBILE - (December 16 - December 31, 2024)
Monday - December 16, 2024: 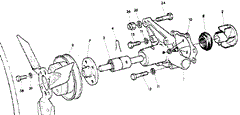
Sitting in Ocala, Florida today, I finally got around to doing something that was about 20 years overdue. I was updating a Cooling Tech page on the various MGB water pumps for 3-main bearing and 5-main bearing engines . This is important if you want to transplant an MGB engine into the MGA, and you need to select the appropriate water pump to make it work.
Tuesday - December 17, 2024:
Lutz FL today, just ambling along.
Wednsday - December 18, 2024:
Sitting in Ellenton,FL with a day off.
Thursday - December 19, 2024:
Strolled on down the road to North Fort Meyers, FL. We are due in Bonita Springs tomorrow.
Friday - December 20, 2024:
Christmas dinner time at Tech Central Racing in Bonita Springs, Florida, and we made as planned (easy-peasy). We arrived early enough to watch and help with staging the cars to be on display for the day.



Supposed to be a casual party day, no tech work intended, but sometimes boys will be boys. The MGB wannabe race car "Tina" that has been slowly progressing for the past few years recently got he clutch and brake hydraulics hooked up, so it may be about ready for a test run around the block. For some odd reason it is reluctant to start without a sniff of starting fluid, but once started it seems to run okay. And no, it is not stale gas.
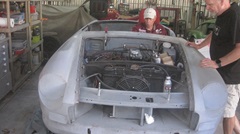
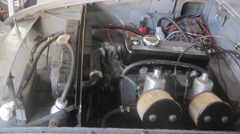
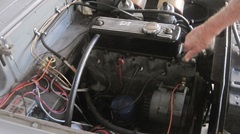
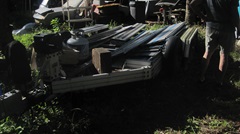
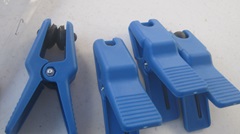
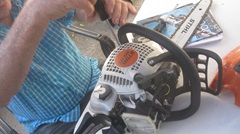
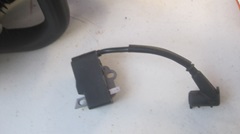
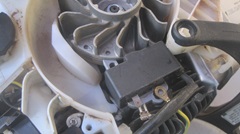
Someone is contemplating using the modular aluminum trailer, but lots of stuff on it needs to find a different hone (not today) . Some new simple shop tools have just arrived, a set of four pinch clamps with rubber seals used to close off hydraulic pipes to retain fluids during service disconnect. One on left has two rubber stoppers to seal a banjo fitting. Others are three different sizes to seal the open end of a flared pipe. Just so you don't think we only play with cars here, there is a small chain saw getting a new magneto ignition coil, which does work, so now it runs again.

Nice dinner party on the patio, good friends, wonderful weather, great time to take a day off. In the evening we had some time to grouse around the net looking for new fenders for the Magic Trailer. They seem to get beat up pretty bad every few years, cheap enough and easier to fit new ones than to repair the old ones. We may have found some locally, maybe a chore for tomorrow.
Saturday - December 21 2024:
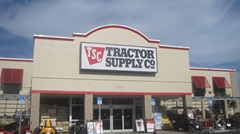
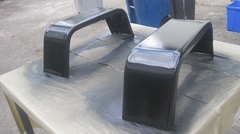
On a mission today. we found a pair of trailer fenders we wanted at the Tractor Suy store in Naples, FL. Word was they had been left outside for a while and may be a little rusty. That turned out to be an understatement, but they were the right parts in the right place at the right time, so we went for it. Being discounted 50% was only incidental. Looked like the "surface rust" might almost buff off, but not so lucky. Grab an angle grinder with a flap wheel sanding disc. By the time we were done it took two guys two hours to get them down to basically bare metal. Got lucky and finished grinding just as the sun was setting behind the trees and our view was getting lost in shadows. We washed them down with lacquer thinner to get the grinding dust off.
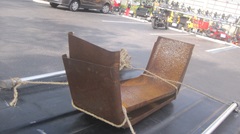
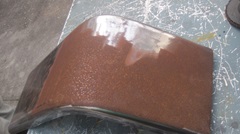
After some consideration we wiped them down with Ospho rust treatment, maybe the best we could do for any rust dust left in microscopic pits. After a few minutes there was a light blue hue on the surface to indicate it was working some. We will let that cure over night and take a shot at primer paint tomorrow..
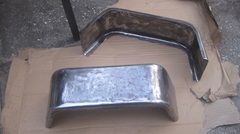
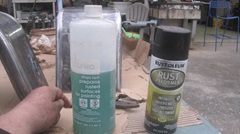
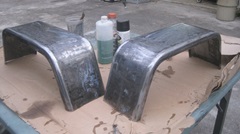
Sunday - December 22 2024:
Back to Tech Central to finish cleaning up the new trailer fenders and get them primered. Start by rounding off all of the sharp corners, Then go at them with 400-grit emery paper and lots of water to buff off the sharp edges and anything that does not feel smooth to the fingers. Not trying to make pretty, just wanting the paint to stick and stay on for as long as possible. In particular, it would be nice if the paint would flex and not break loose next time one of the wings will get bent (and of course they will). Wash them with lacquer thinner, let dry, spray with self-etching primer. walk away.
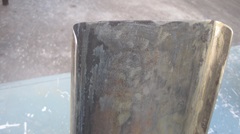
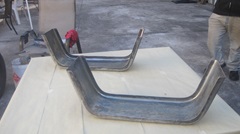
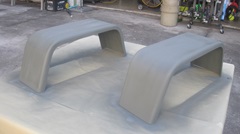
Watching paint dry is not my favorite past time, so let's check out the new engine. It has been running well, generally speaking, just a bit slow for cold start, and wanting to run about 10 seconds before it smooths out. Thinking it might be flooding on start up. We have been checking and adjusting float levels and making sure the float valves close and do not leak, So far so good. Wanting to do a compression test anyway, since it now has over 1000 miles since the rebuild. Remove spark plugs. Get two pair of eyes staring at the ports before cranking it over to be sure nothing would come spitting out,. Also okay.
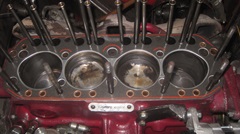
Then do the compression test. 140, 90, 60, 140. What? That looks a like a blown head gasket. Could it be leaking water that we don't see? So Do a cooling system pressure test. Top up with coolant, apply pressure at 10-psi, and it looks like it's holding the pressure. Really. Put the compression tester in port #2 and give it another crank. then we both yelled at the same time. Navigator said the radiator tester jumped a few psi at the same time as a I got soaked with a heavy wet shot from port #3. Okay, it's a blown head gasket. Just git er done. One casual hour to drain coolant, remove carburetors, separate manifolds from head, disconnect a few hoses, remove the head nuts and lift off the head. The head gasket looked okay, until we pulled it off and flipped it over. the under side was definitely burned in the middle between cylinders 2 and 3, including some disfiguration around the adjacent coolant holes.
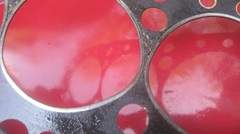
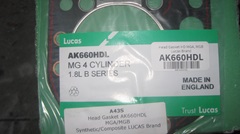
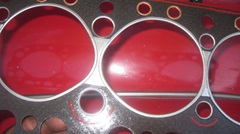
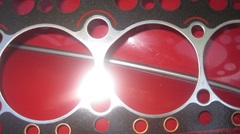
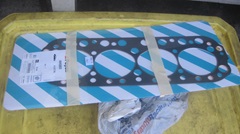
Mating surfaces of the head and block otherwise look okay, so clean it up and reassemble with a new head gasket. We regularly swap things around to try new parts from time to time. This time we set aside a couple of familiar Payen head gaskets to try out a new Lucas brand head gasket (Made In England). I rather like the looks of solid metal both sides in the center between #2 and #3 cylinders. Judging by where the red silicone sealant lines are positioned on the gasket surface, the makers seem to have some experience about the most likely leak points, and how to avoid it. -- Not long to get the new gasket down, drop the head on, get the head nuts all torqued down. Pushing dusk by that time, we spent the last half hour working with flashlights (nothing new here). Carbs back on, coolant in and and running by 6-pm, clean up and pack up the tools. Toddle on down the road 5 miles to our dinner spot, then re-torque the head again while the engine was still hot. Tomorrow's gonna be another day.
Monday - December 23 2024:
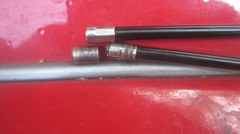
Back to Tech Central to spray a finish coat of black enamel on the new trailer fenders. Then to replace a throttle cable that has been bothering us for long time. Each time I bought a new one from Moss Motors, I found the metal ferrule on the bulkhead end of the outer jacket was too large to fit into the firewall receptacle. I would end up pulling the center wire out of the new cable to install inside of the old jacket. Now the old jacket that has been recycled several times is broken up too bad to use, so something else has to give. we finally figured out the old cable had a smaller diameter end fitting which fit inside of another thin wall ferrule, and it was now just matter of fishing the thin wall piece out of the firewall receptacle. Then it all went back together as intended, and there is nothing wrong with the Moss motors cable assembly. Peachy, it works just fine.
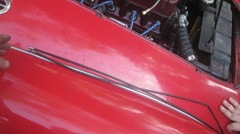
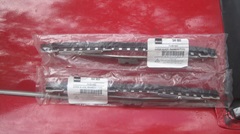
We installed new wiper blades, which we hope will banish a multitude of irritations. Then on to the more important issue that has been bugging us for at least a few months, and maybe lot longer. Do a power shift, hammer the throttle and let the clutch up, and the clutch would slip for at least a few seconds before it would hook up and pull normally. A related issue is, you can't do a burn out. First gear,m rev it up to 4-grand, pop the clutch and stomp the throttle, and it would just sit there and smoke the clutch. Back to half throttle for a few seconds to allow it time to hook up, and then drive away. Once the clutch is fully engaged, from 2500-rpm you can stand on the throttle, and it will pull normally without slipping. Seems like this has to be restricted fluid return. So we did the cheapest and easiest thing first, installing a new clutch slave cylinder. In the process, verify that the slave hose runs freely and will dribble fluid by gravity feed, so the hose is not clogged.
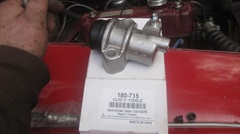

After clean-up and pack-up we headed out for dinner, and gave it a good hard power shift or two. Guess what? No difference, it still has the clutch slip. now thinking the fluid return restriction must be in the master cylinder. Maybe the anti-return check valve for the brakes was installed in the wrong bore and is adversely affecting the clutch return. Something to check tomorrow.
Tuesday - December 24 2024:
An eventful day at Tech Central with Tina the wannabe race car getting its first trip around the block under self power. And for the second lap around the block, it came back blowing clouds of steam with a blown head gasket. Well, it is a car built by committee, so no one knows who did or did not torque the cylinder head. but the Magic Trailer came to the rescue with another head gasket. Two minus one equals one left in reserve. Likely that will be fixed next Friday.

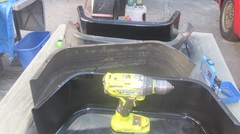
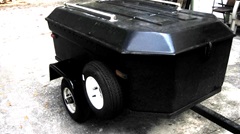
We did jump on the day to install the new fenders on the trailer. Empty the cargo, jack up, remove wheels, and remove the mangled wings. In short, locate and drill eight holes to bolt on the new wings. Wheels back on drop it off the stands and repack the cargo.

Time for chat with a few friends before folks blow town for a holiday break.
Wednesday - December 25 2024:
Thursday - December 26, 2024:
Holidays are kind of dead for travelers, so take a couple days off with no excuses. Merry Christmas to all.
Friday - December 27, 2024:
You may have guessed this was coming. Back to Tech Central to see what happened to Tina to cause her to blow out the coolant. Needing to remove carbs and manifolds, and remove the cylinder head. They have this neat fixture to attach to the face of the carbs in place of the air cleaners, which will keep the entire assembly together to avoid the need to disconnect choke and throttle shafts and the control cables.
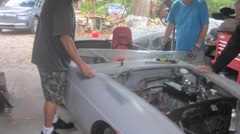
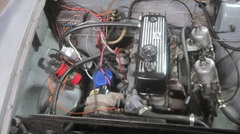
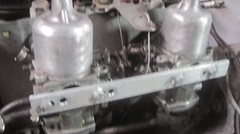
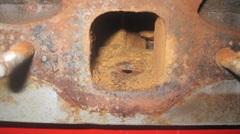
All hands on deck, in less than an hour the head was off. Top of the block and bottom of the head and both sides of the head gasket all looked fine, no obvious problem. But it didn't take long to notice the center exhaust port was full of rust.
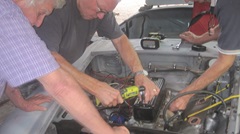
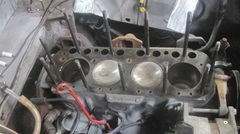
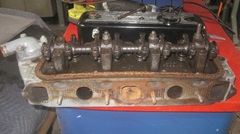
A few seconds later it was obvious the exhaust port also had a pencil size hole going through into the water jacket. It took another ten seconds to figure out this hole was man made, created by hogging out too much material during porting of the cylinder head. Someone just learned a very good lesson from the School Of Hard Knocks. No time wasting here. there is the new head gasket from the Magic Trailer, another fully prepared cylinder head from the parts attic (don't ask who it was borrowed from).
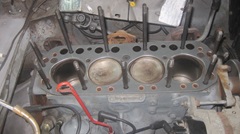
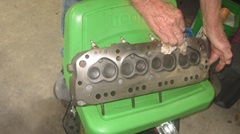
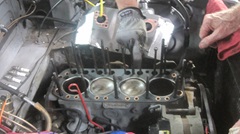
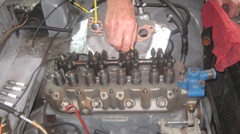
Reinstall the pushrods and drop on the new cylinder head, and not long to get it torqued down.About that time people began trickling away with various personal reasons for having to leave. I was last standing, and hung in there long enough to get he carburetors bolted back in place. That's it, come back tomorrow to see who wants to fire it up again.
Saturday - December 28, 2024:
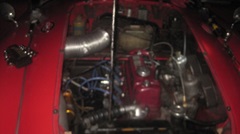
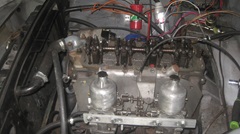
Someone was anxious to get Tina running again. Notice last picture on right above. The replacement cylinder head, in the picture aft of the rear carburetor, on top there is a water port with two threaded studs. This is a hot water outlet for the Stromberg carburetor on late model MGB (1975-1980). We need to close this port as it will not be used when running dual SU HIF-4 carburetors. There is a prescribed blanking plate for this application, but we do not have one in hand. So take a little time to make the two-hole blanking plate and a gasket to match. Install the valve cover, check oil level, add water to the radiator, and fire it up. Seems to run okay, except for idling at 3000 rpm. A little smoke rising from the exhaust header, not serious, just a bit of oil left from handling during last reassembly. While trying to sort out the fast idle issue, there was a bit of steam rising from the right side of the cylinder head. Now what?
 That was a gasket leak at the heater valve blanking plate spraying water on the #3 spark plug. The blanking plate appeared That was a gasket leak at the heater valve blanking plate spraying water on the #3 spark plug. The blanking plate appeared
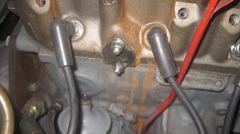 to be made of 16-gauge sheet metal, not thick enough or stiff enough to seal the paper gasket. Shut it off and take another break. The bolts used were also 6-mm coarse thread, very short, not suited for the application. So start by making a pair of 1-inch long 1/4-28-UNF studs from cut down hex head screws. Double nut those long enough to install them in the head. Guess I've done that a dozen times before. Find some 1/8-inch steel, and cut a diamond shape plate to match the heater valve gasket. Drill two 9/32" holes, round off the corners, deburr and install. Nice job, should hold water okay. Then everyone left, not coming back tomorrow, so take Sunday off? Did I mention it rained from mid afternoon, and all through the night.
Sunday - December 29, 2024:
And it continued to rain through mid day, so no one was going to show up to work on the cars. Day off.
Monday - December 30, 2024:
Taking another shot at getting Tina's engine running today. Carefully backing off all of the idle screws to assure that both throttle plates can close enough for slow idle. Then bring each throttle link around to minimal clearance, and lock them in place on the shafts. Finally set all six of the idle screws to minimal clearance before starting. Once then engine is running we can set the idle speed. Ignition on, pull choke, touch throttle, crank it over, and it started up. By now I suppose this surprised everyone. It must have run about 15 seconds, Before I could set the idle speed it quit suddenly. No spark? This turned out to be a broken ignition rotor. Very odd, looking like the rivet securing the contact plate to the rotor just fell out.
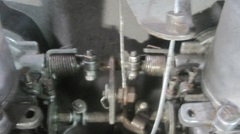
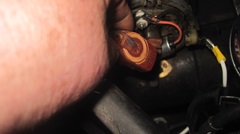
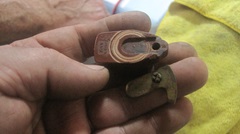
Someone quickly came up with another used rotor, promptly installed, and we fire it up again. This time it may have run just few revolutions before it quit again. This time it was a black plastic rotor with the internal key sheared off. Sorry, but I didn't get that picture. I couldn't swear it wasn't like that when first installed, so get on with it and go get another rotor. Next was a new rotor right out of the box with all plastic bore and key, which could not be pushed all the way onto the shaft. These poor quality replacement parts are getting irritating. Running out of spares, but I finally retrieved a known good rotor from our backup spare distributor. This one has a spring metal clip inside to make a snug fit on the shaft with easy push. Back together again, all was finally well, so it started right up and settled down to reasonable idle speed.
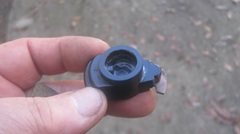
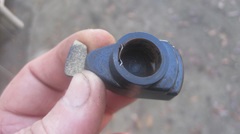
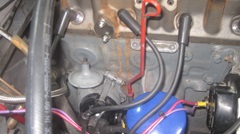
Wanting to fine tune fuel mixture, the front carb seemed reasonably close for first pass, but the slightest touch on the rear carb air piston would kill it instantly. Both fuel jets were at least an eighth inch below the bridge, which would normally be way too low, b8t for this one, who knows? I didn't put these carbs together. Looks like they will have to come off again to check inside the bottom to see if something is amiss. Job for another day, since everyone seems to be discouraged enough at the moment.
Tuesday - December 31, 2024:
New Year's Eve. Nobody wants to play today. Someone with a tech question about installing a DC to DC converter to use a negative earth radio in his positive earth MG Z-Magnette.
|