The MGA With An Attitude
MGA Guru Is GOING MOBILE - (January 1 - January 15, 2024)
Monday, January 1, 2024:

We have an interesting suggestion to start the new year. MGA Twin Cam (and "Deluxe") cars have Zerk style grease fittings on the bottom of the steering rack, and it seems they commonly drip oil. Simon Crispe via groups.io wrote:
"My understanding is that conventional grease is not such a great lube for steering boxes and racks because it can displace away from the contact surfaces and cause excessive wearing of the precious metal! -- I've always used Penrite fluid grease per the attached which is readily available in NZ and no doubt most other countries as well? It has the advantage of remaining relatively fluid and can take the quite high pressures generated in the steering gear, but is nowhere near as prone to leakage as gear oil".
https://www.britishautousa.com/products/penrite-steering-box-lube-500ml
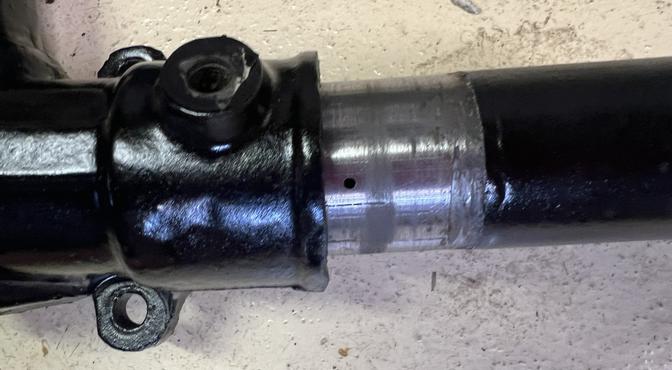
 Updated a tech page on Steering Rack conversion from LHD to RHD (or vice versa). Separating the rack end knuckle that carries the input pinion shaft reveals a small hole in line with the Zerk fitting for adding oil to the rack assembly. A new oil hole must be drilled after the housing reassembly. Updated a tech page on Steering Rack conversion from LHD to RHD (or vice versa). Separating the rack end knuckle that carries the input pinion shaft reveals a small hole in line with the Zerk fitting for adding oil to the rack assembly. A new oil hole must be drilled after the housing reassembly.
Tuesday, January 2, 2024:
 Found another front suspension split swivel link seal that can be installed without disassembling the suspension. This one has only a single screw to be installed and tightened for each seal. -- Swivel Link Seals, split for easy replacement
 Spending way too much time trying to track down and document a (Missing In Action) BTB104 Stud (items 27 and 22) for securing the brake rotor to the front bearing hub on about 1000 early MGA 1600 cars (before the stud changed to to a hex head bolt).
Wednesday, January 3, 2024:
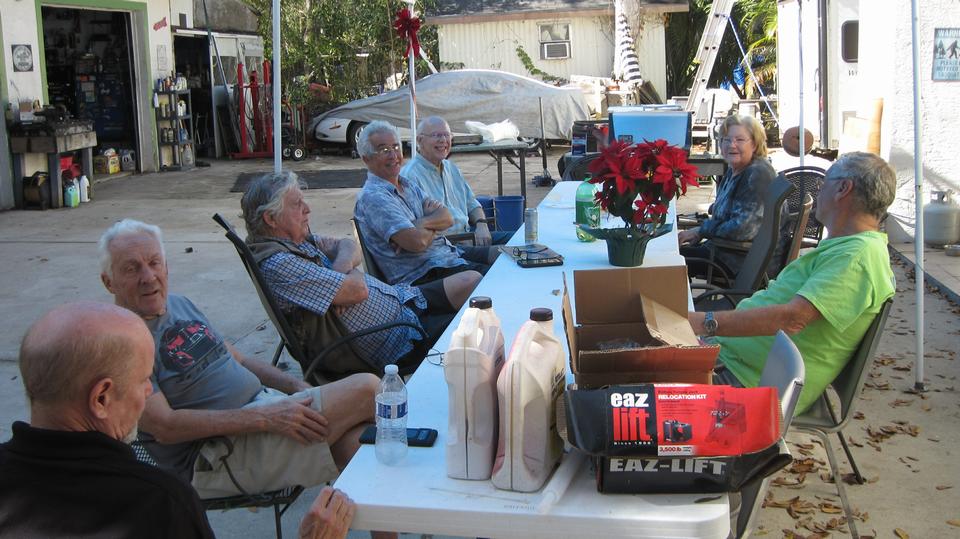
Having traveled 250 miles in the past few days, today we have a luncheon meeting with All British Car Club of Volusia County, in Orange City, Florida. Half the folks here at first glance, we ultimately had about 25 friends of the hobby for a social meet and eat. Our last visit here was two years earlier.

Afterward several of us headed over to the home of Steve Bradley in Orange City, FL to lend a hand to flip over and relocate a new entrance ramp for a back yard garage space for one of his MG TD. The toy in hand is a very early issue cap and ball 6-shooter revolver. Yes six shots as fast as you can pull the trigger, but hard to imagine how long it would take to reload the thing.
Another back yard garage space has another restored MG TD under the tarp, and I think that one may be looking for a new home. But inside is a very nice 1962 MGA 1600-MK-II, a real keeper.
On the shelves we found some MGA Twin Cam parts, including a full set of Dunlop pin-drive knock-off steel wheels (think $$$$). When I asked what the Twin Cam parts we for, the answer was "wishful thinking". That may be a pretty big wish. There was also a complete spare 1622 engine for his MK-II, and a restored gearbox for very early production MGA 1500. Not sure if he knew it was not the right gearbox for his MK-II.
We had a tentative appointment another hour farther north, but that one fell through (for now). So after some WiFi time and dinner I recon we will be heading back south.
Thursday, January 4, 2024:
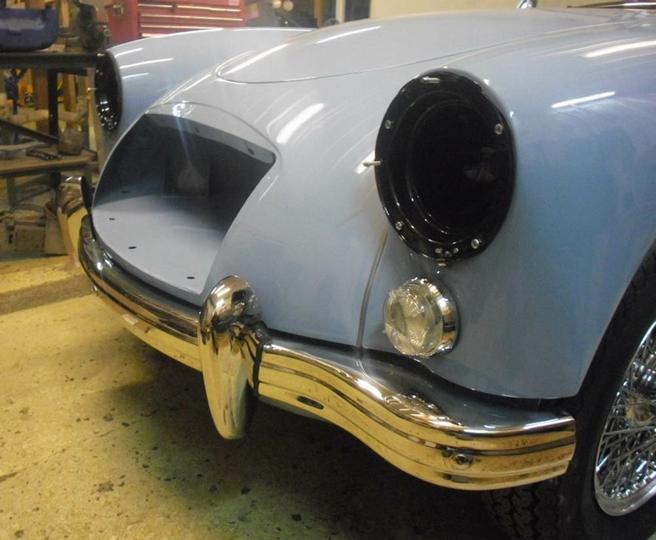
More information for the stainless steel bumpers for MGA. Polished on the front side, painted in back. It is a
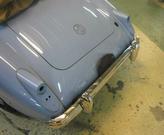
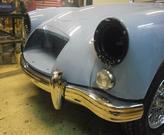 British owned company with headquarters in Vietnam, manufacturing in and shipping from China. Originally offered on eBay as combined front and rear bumpers set, the front set and rear sets can be ordered separately (at a premium to the prices). Oddly, you do not get a center hole in the front bumper for the (standard issue) starting handle (hand crank) unless you request it at time of order. Seems like that should be the other way around.
Friday, January 5, 2024:
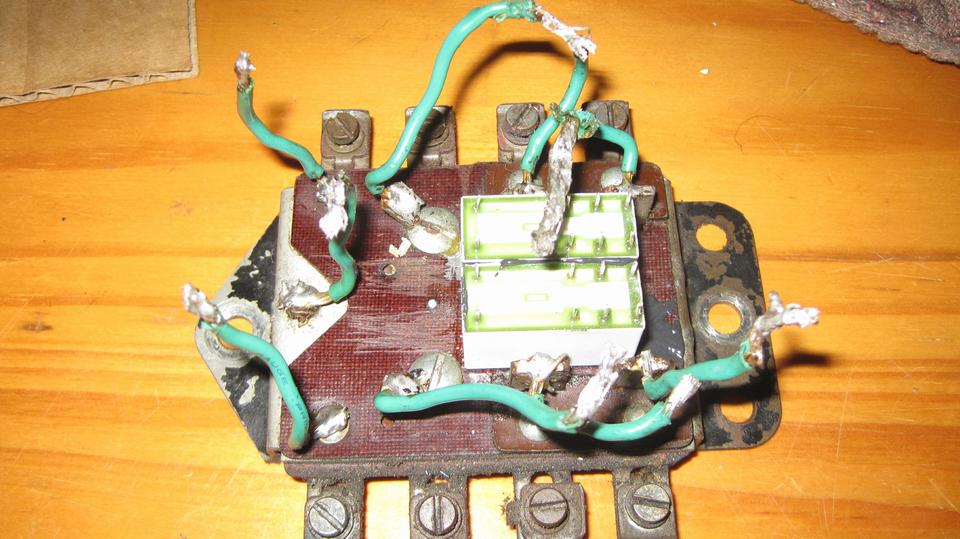
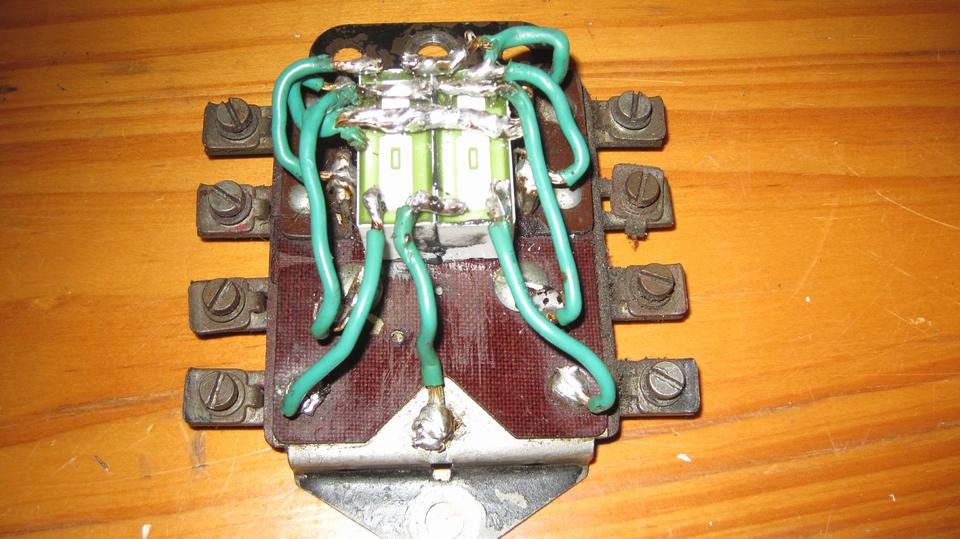
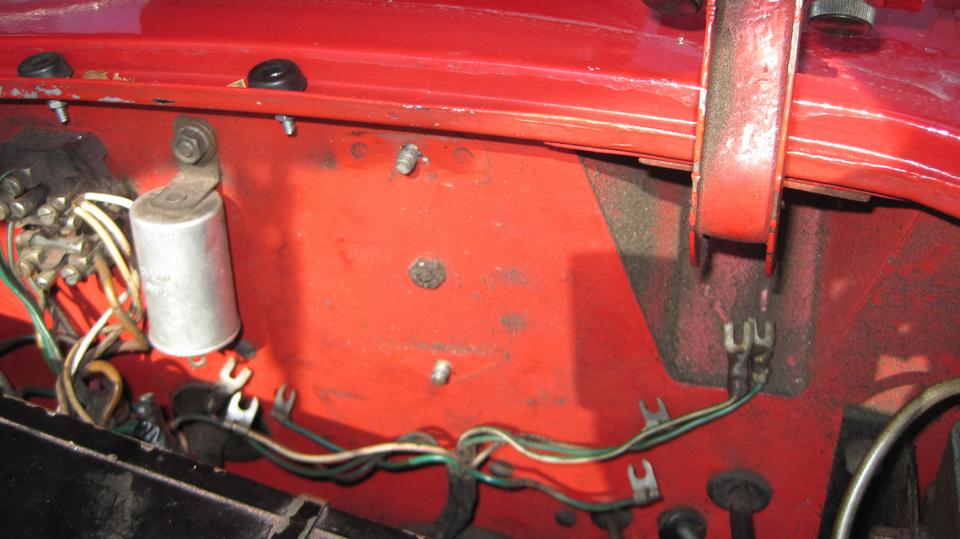
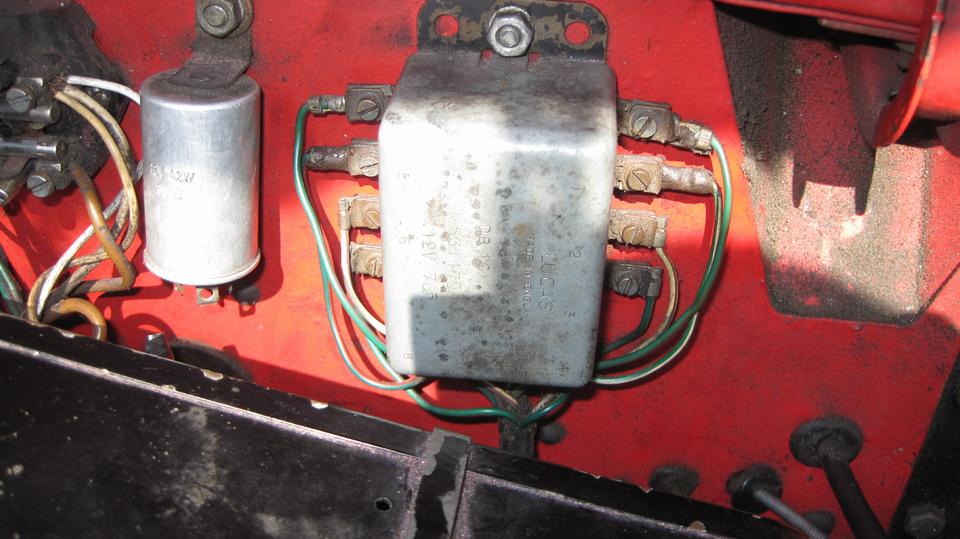
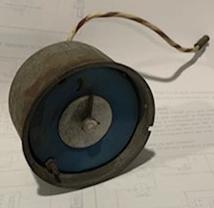
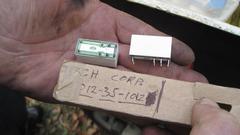
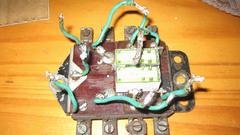
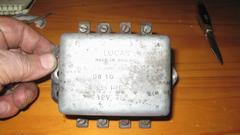
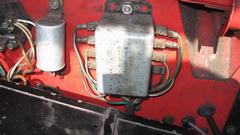
After the 450 mile trip to attend the club meeting in Fort Mary, FL, we are back in Bonita Springs for Friday tech at Tech Central. First bit of urgent business is to repair the turn signal relay unit that has crapped out again after only 17-months, 25,000 miles. I have two more spare relays in hand, so we will rebuild this thing one more time, but if it craps out again too soon, we will have to find a better solution. There is a tech article that I will be updating with more details. For now, grab the spare relays and have at it, unsolder the wires and break the epoxy joints to tear out the old relays.
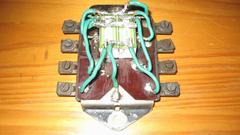
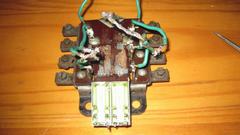
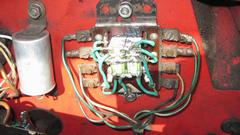
Apply a dab of 5-minute epoxy to glue the new relays in place, re-solder the wires, and pop the cover back on with some confidence that we did it right (5th time around for this procedure), to be tested in situ.

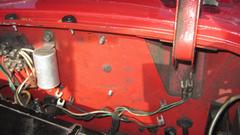
I always smile about my foresight many yeas ago to install the captive threaded studs in the bulkhead panel so we can quickly attach the relay unit with two hex nuts without messing around with loose fasteners under the dash.
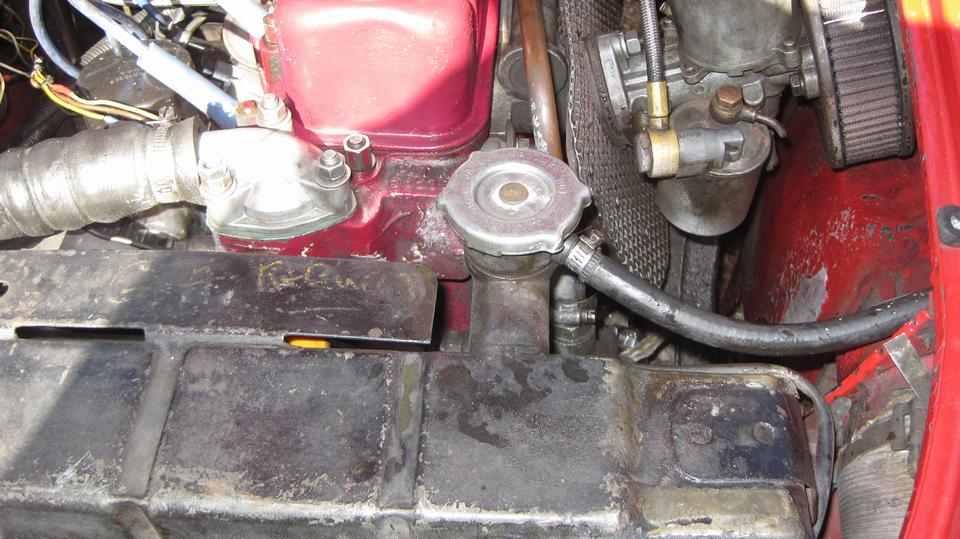
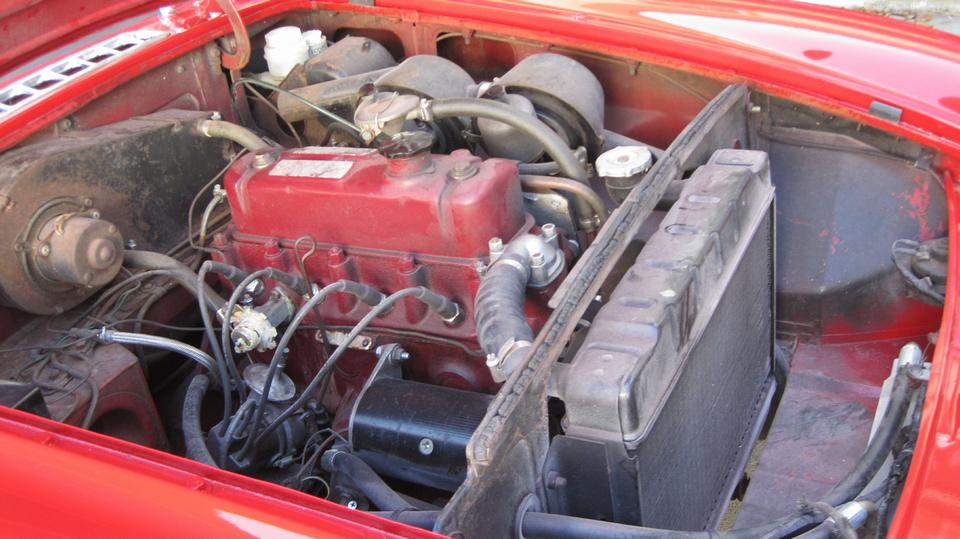
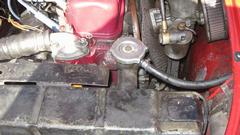 Turn signals working again, it was time to investigate why we seem to be losing a quart and a half of coolant in a week or ten days. Top up the coolant, run engine to purge out any air, and apply the pressure tester to the radiator with 10-psi test pressure. At first I thought it was holding pressure okay, but then it dropped 1/2 psi after 5 minutes. Pump it back up to 10-psi, and keep the engine running to maintain coolant temperature,
 but it dropped 1/2 psi in 5 minutes again. A light pinch on the top radiator hose immediately brought the pressure back, so for sure no air in the system. Around and around with a bright halogen spotlight flashlight finally found a wet spot on top of the engine front plate just below the water pump. After a while, a few more drops of coolant there, so it looks like the beginning of the end for the water pump seal. So make plans to change the water pump sometime soon.
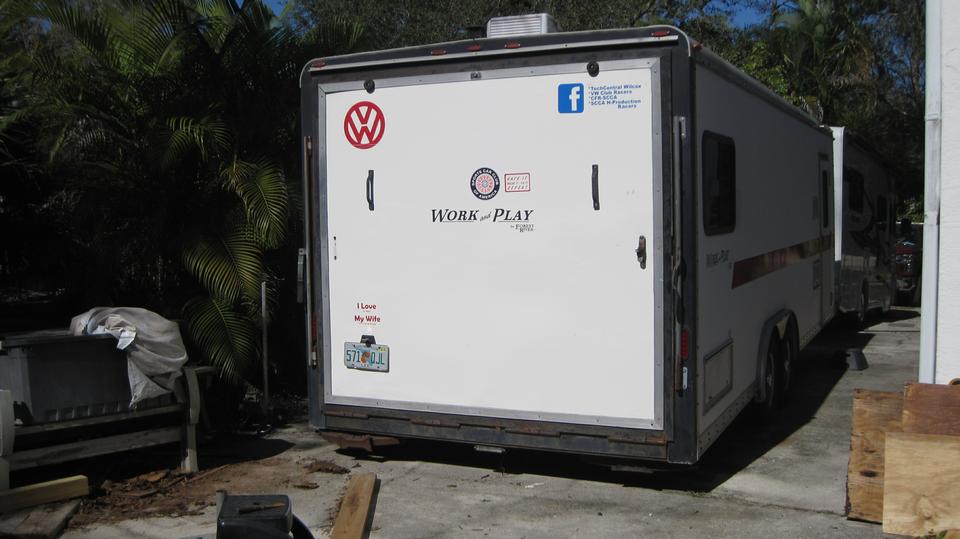
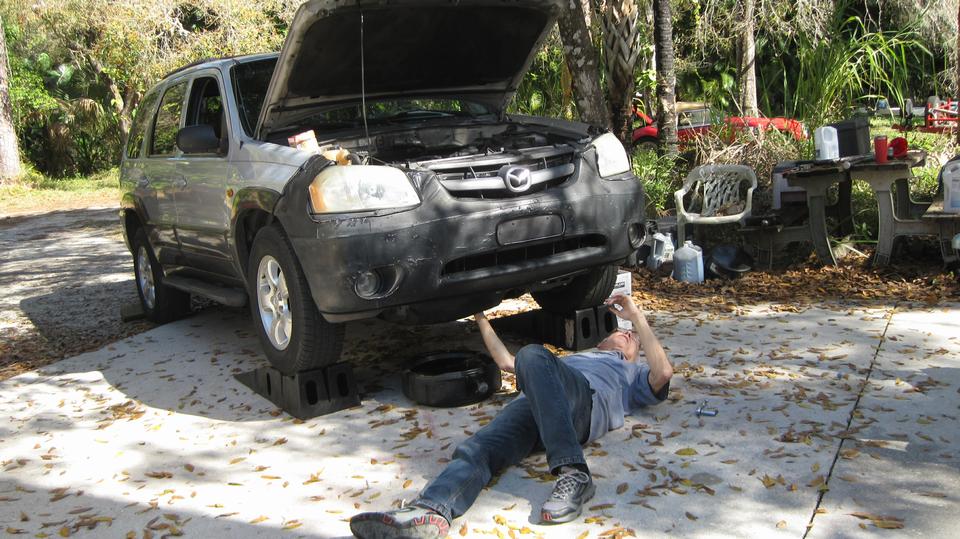
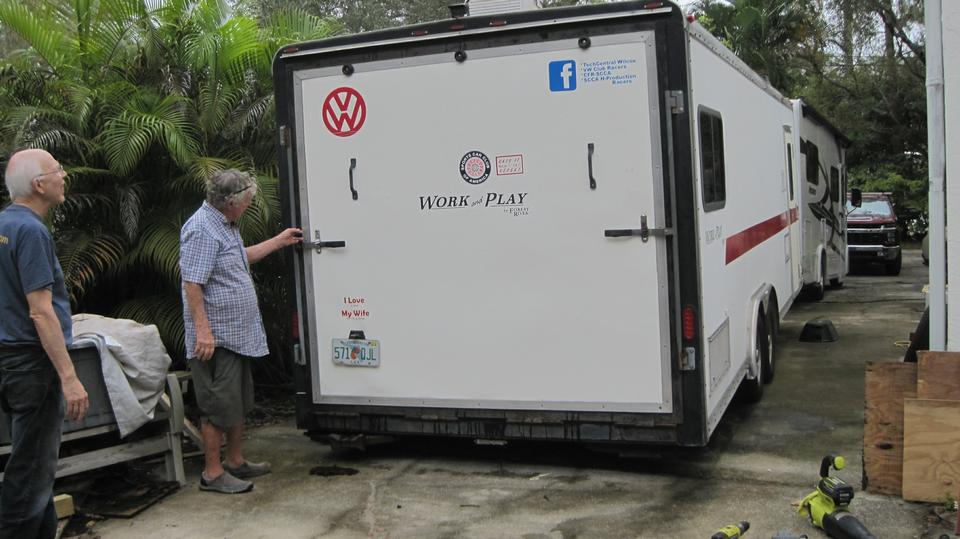
It was only noon, but we nearly missed lunch as the gang must have stopped a bit early. We also missed the morning tech session when the guys were working to install new plywood in the box trailer tail gate and get all that reassembled. Nice. (Review the 12/29/23 pictures). And there was a common people mover that just came in for an oil change.


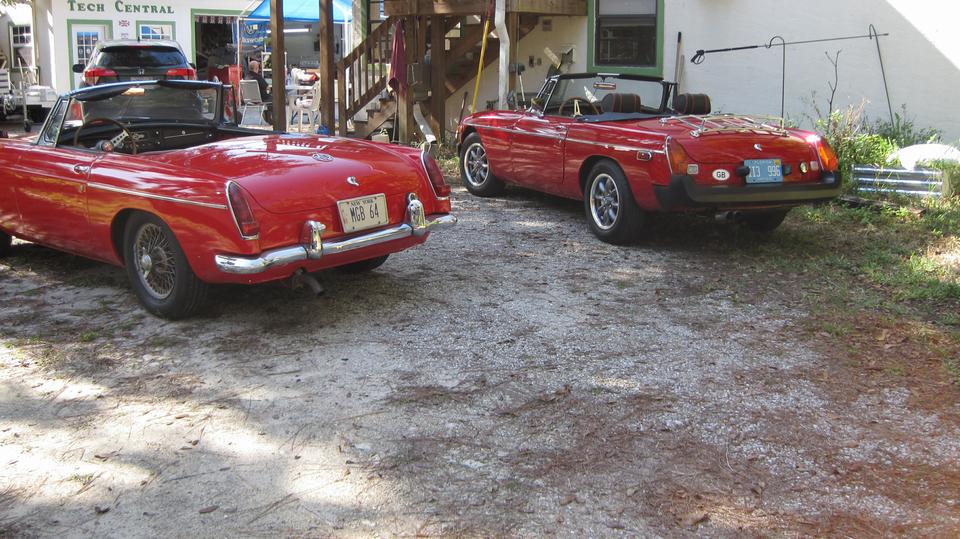
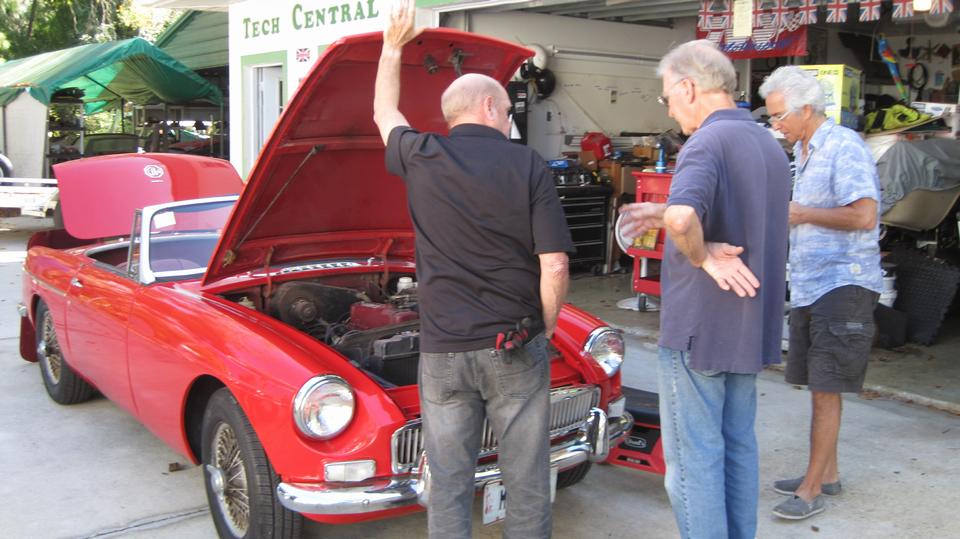
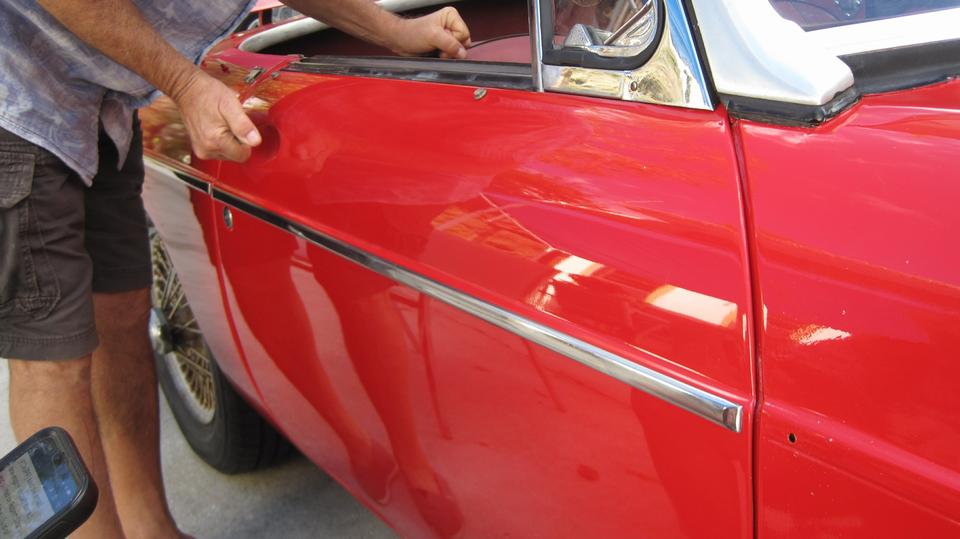
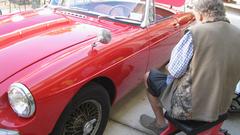
Then I got a little bit involved with a nice looking 1964 pull-handle MGB. Turned out I had touched this one before, having helped convert it from twin 6V batteries to single 12V battery. Just recently it had been professionally repainted, at least on the outside. Fresh out of the paint shop it was not yet all reassembled.
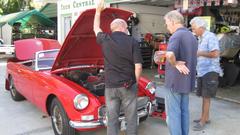

The paint shop told him they didn't want to install the new chrome side trim strips, because they didn't want to chance possibly scratching the new paint, so it was finished and he should come pick it up. So now it was at Tech Central where the guys familiar with MGB could install the side trim.

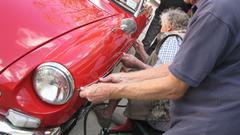
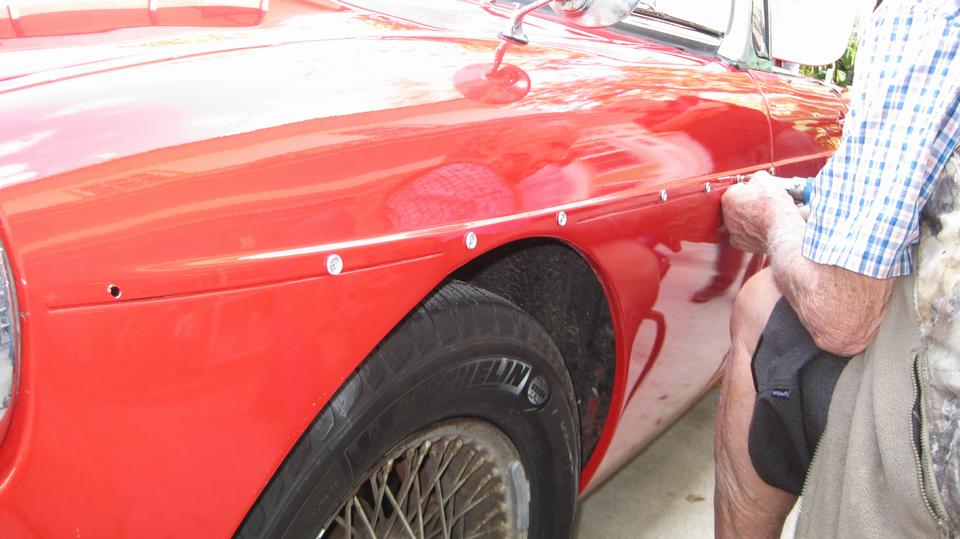
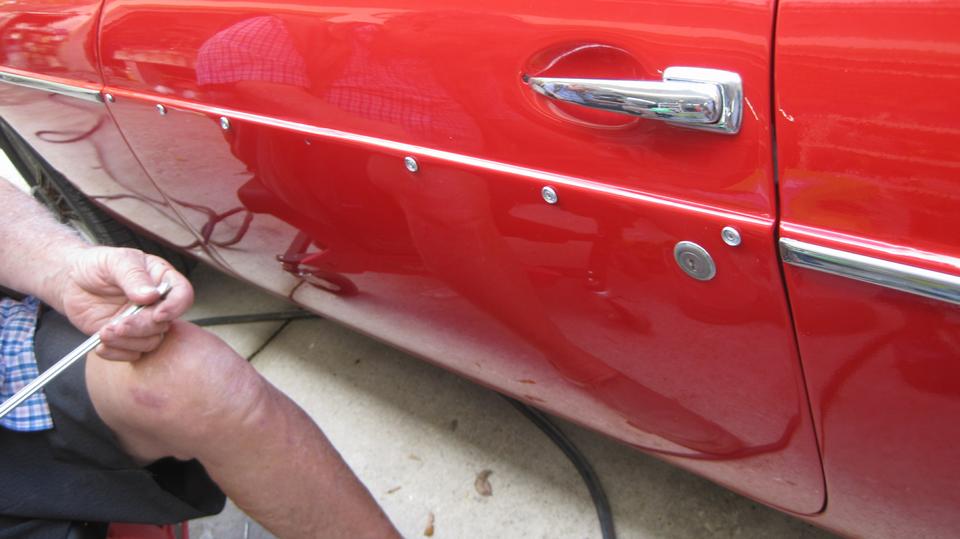
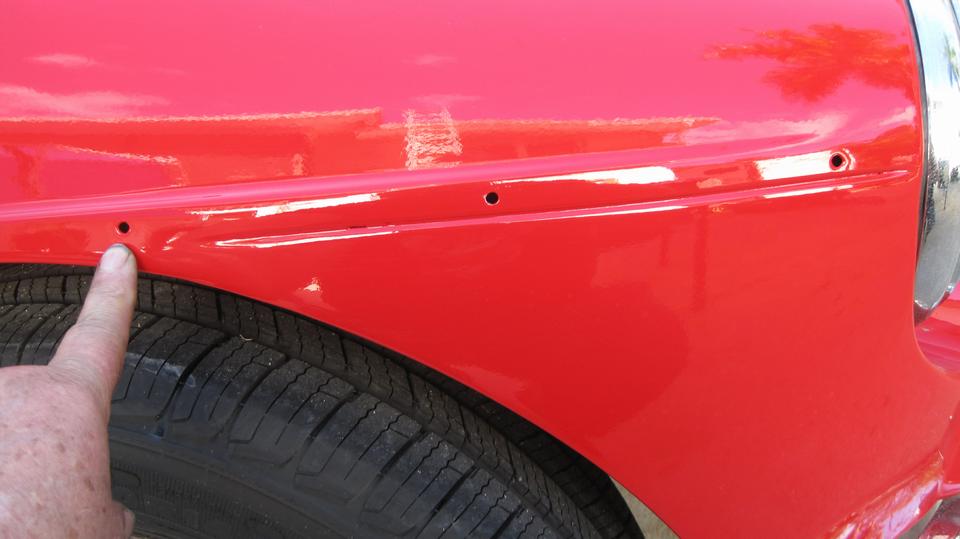
Standard procedure would be to pop rivet the snaps, and press on trim strips. one hole in center of the door trim would be larger for a threaded stud and nut to secure it so it could not slide end wise. Likewise one hole at front end of the front wing, and one hole at rear end of the rear wing should also be larger.

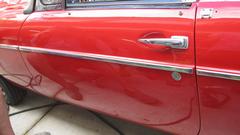
Then a problem, several more of the small holes had been drilled larger. We suspect the paint shop had done this when drilling out the old pop rivets. And maybe they knew this, which could be why they passed on final assembly of the trim. Well, the fix was not so hard. just use a larger pop rivet, drill the hole in center of the snap fitting larger to suit, and also drill the holes in the body slightly larger (to suit the larger rivets). That went okay, all except missing the chrome strip for the right front wing, which turned out to be still at the paint shop. Owner will pick it up later, and be back to install it next Friday.


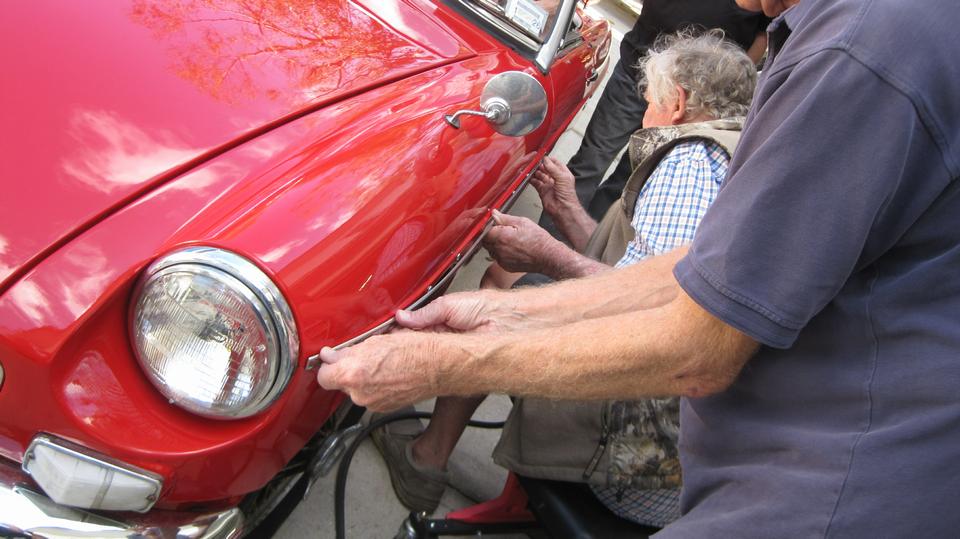
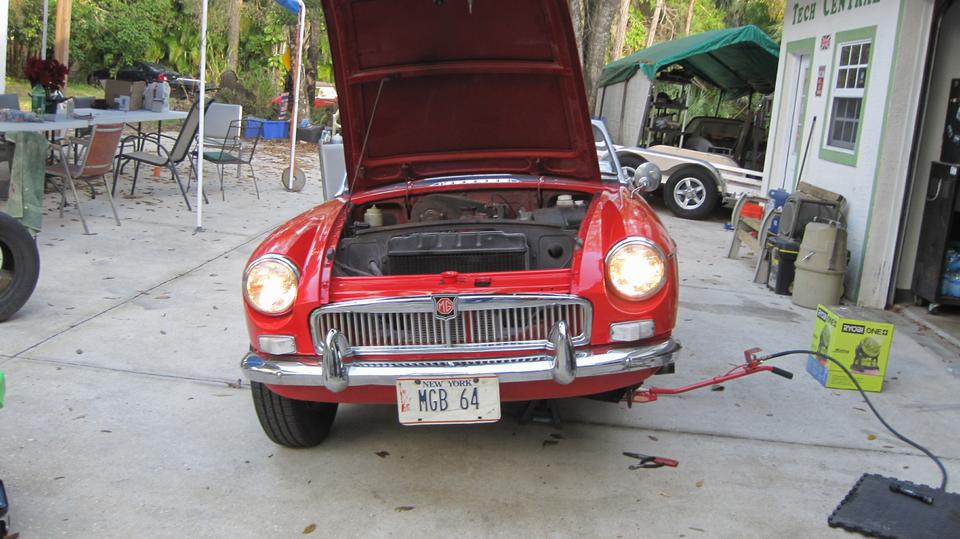
Then there were some lights not working, where all of them had been working when the car went to the paint shop. Well, working lamps included one headlight (right front), one parking light (left front), and one tail light, right rear). Good news then was that all of the circuits to both ends of the car were okay, just some local lamps not working. Casual observation revealed that the paint shop didn't bother to unplug any bullet connectors, just cut the wires near the lamps to R&R the lamps for body painting. Of course only a few lamps had been reconnected. Just strip the cut ends to install crimp-on butt connectors, and we soon had all the lights working again. Just tedious and time consuming, again likely why the paint shop didn't finish it.
The toughest part was getting the license plate lamps to work. This car has only the power wires, and no
 ground wires for any of the external lamps (except the headlamps). The tag lamps are in the bumper overriders. Each small lamp has a plinth behind, and a reflecting cover on front, with a bulb socket sandwiched in between. All of this attached to the overrider with two long screws, and small hex nuts inside that are very difficult for wrench access. The overrider is attached to the facebar with one bolt. The bumper is attached to spring brackets with a few bolts. The springs are attached to bumper brackets with one nut and flat washer at each side. The bumper brackets are in turn bolted to the unibody under structure. How many mechanical joints can you count, with no ground wire? Just thinking "cheap" back in the 60's and 70's.
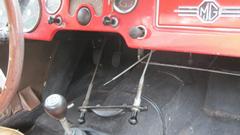
When we finally got all the exterior lights working, the high beam indicator lamp in the speedometer was
 not working. I traced that with test light and grounding wire all the way to the bulb socket, and got a good light. but it wouldn't work when plugged into the speedometer. The instrument housing was grounded, so this looks like some kind of dirty joint or disconnect where the bulb socket plugs into back of the instrument. Five minutes fiddling there couldn't clean it up, so the instrument will likely need to be removed from the dash, a job best left for another day. Call it quits, and we were all finally off to dunner. Note to self. Next time check to be sure the bulbs are plugged into the correct sockets in the speedometer.
Saturday, January 6, 2024:
Catching up photos and notes form yesterday (above). Catching up with BBS and email, and a few tech questions. Had to replace a dying computer mouse, spare from the Magic Trailer (note to buy another spare). Also fighting a flaky keyboard and a failing computer battery, so time to buy more of those too. Navigator's new computer is good at the moment, but its charge connector is odd, proprietary, smaller diameter than any of the
 dozen standard adapters. So we need to find a compatible small bore adapter, or pay the piper for a complete spare power supply/charger for that model computer. Keeping up with spare parts for the electronic toys is almost as much problem as maintenance on the car.
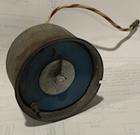
One interesting note about a found vintage car clock, intended to be a dash mount accessory. But MG never offered a clock for the MGA, or any space to install one in the dash. So a period correct aftermarket accessory clock is almost never seen in an MGA. Will try to follow the follies to see what may happen with this one.
Sunday, January 7, 2024:
`
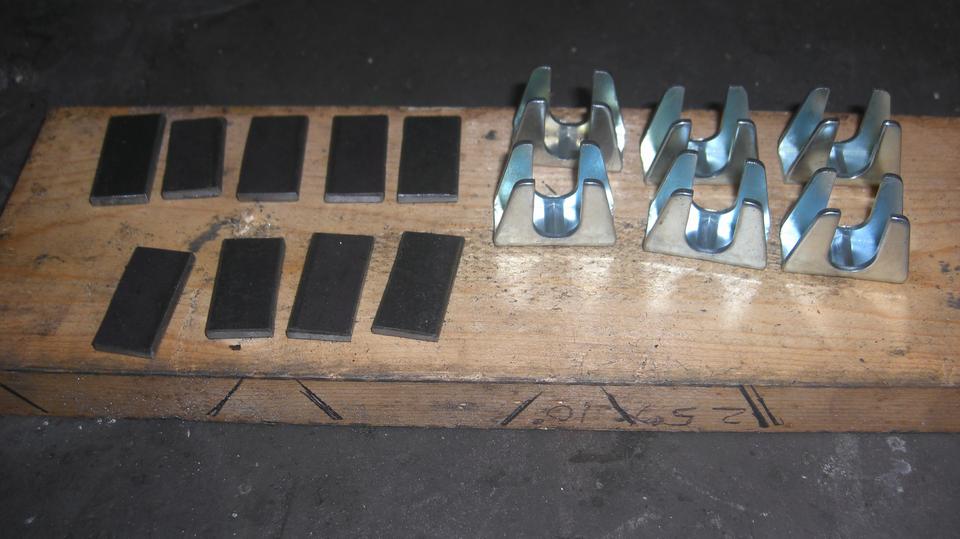
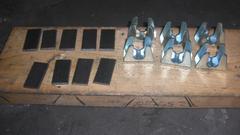
Another report about undersize brake shoes. I suppose the 20-year old problem will never go away. When you give up fighting mother nature, weld a thick shim on the back of the adjuster masks, 1/8" (4X) in front, and 1/4" (2X) in rear. Having recently done this (Aug 2023), we have the photos and notes in out travel log, but still need to make it into a new tech page.
Monday, January 8, 2024:
A day with some odd discussion. Back in Jan 2 someone asked about a non-cancelling turn signal with a 1956 Morgan, looking for a wiring diagram, knowing this was on the MGA forum, after getting little response on the Morgan forum. Since us MG folk are friendly and helpful, there was lots of discussion for a while, which I was staying out of while waiting for more information. Apparently there was some lack of communication, some misunderstanding leading to some responses the other party didn't understand, or interpreted as push-back or rudeness. I thought I understood what was going on, thought I had some good answers, and finally sent my attempt at a helpful response. That didn't go over well either, which may have involved more misunderstanding, but it was eating up lots of time while trying. Six days down, and problem still not resolved.
Wednesday, January 10, 2024:
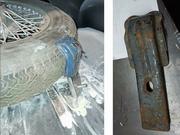
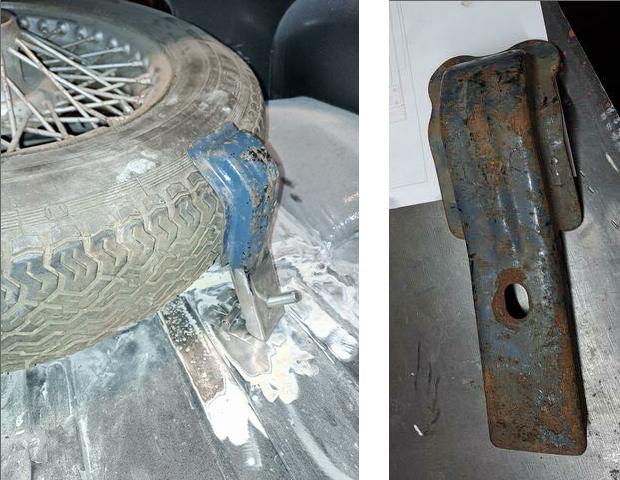
Update to a tech page showing how to make an MGA spare tire clamp from a (cheap) Morris Minor tire clamp.
My MGA heater blower is suddenly dysfunctional today. Working a few diagnostic clues in my head, then taking a flashlight and a test light under the dash. This quickly turned up a disconnected (broken) wire at the connection at the switch. Poking the bare wire end back into the switch terminal got it running again, temporarily. Okay, not critically urgent, so schedule that repair for Friday.
Thursday, January 11, 2024:
So far behind on our trip log that people are calling to ask if we're still alive. That figures, as we haven't uploaded an update since last week end. And then this.
 Just creating and uploading a new tech page on Shimming Brake Adjuster Masks to accommodate undersize brake shoes. This stuff was in our travel log in late August, almost 4-1/2 months back. Wow, talk about deferred maintenance! It didn't help to have a 5-week engine repair delay in November. Set aside the stuff we have been doing all this week, and get serious about getting this new tech page installed.
Now it's past midnight again, and we have a tech session tomorrow morning, so go get some sleep.
Friday, January 12, 2024:
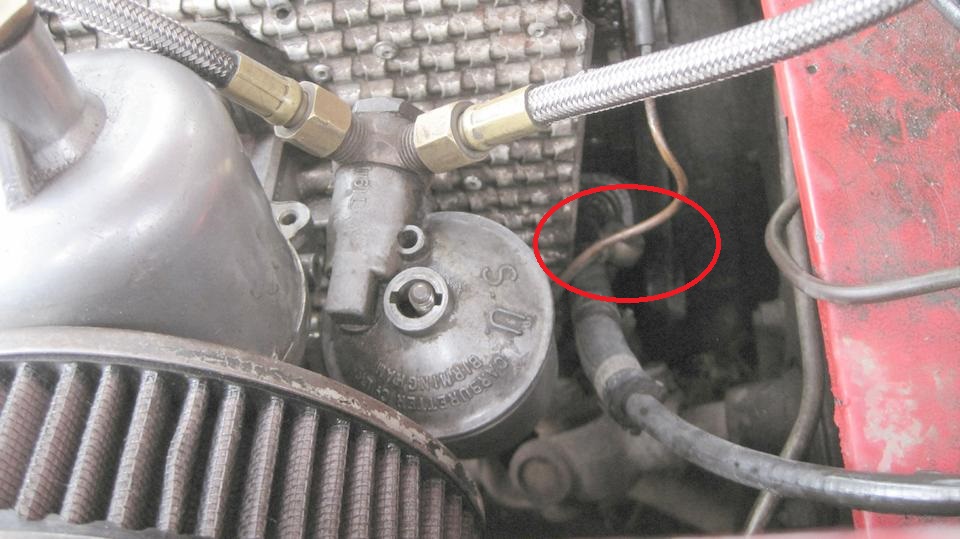
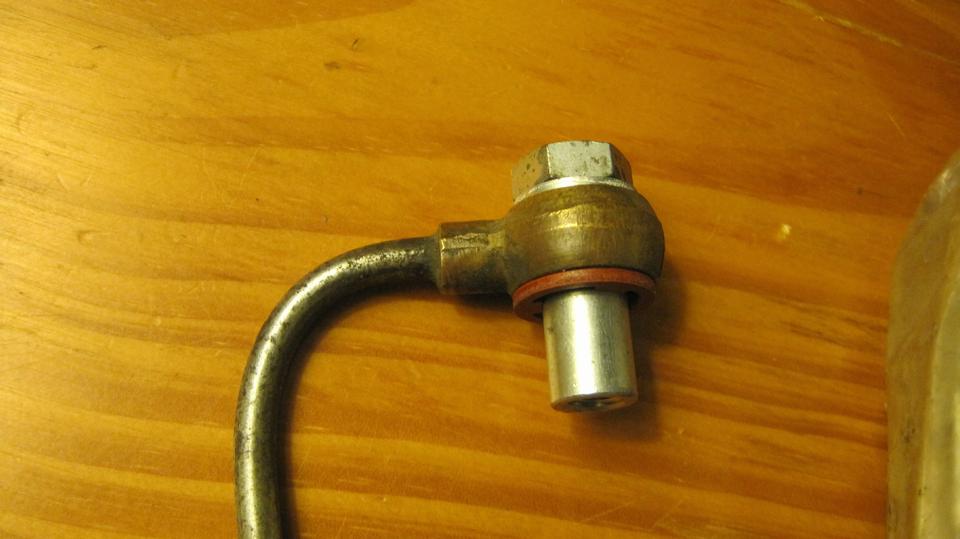
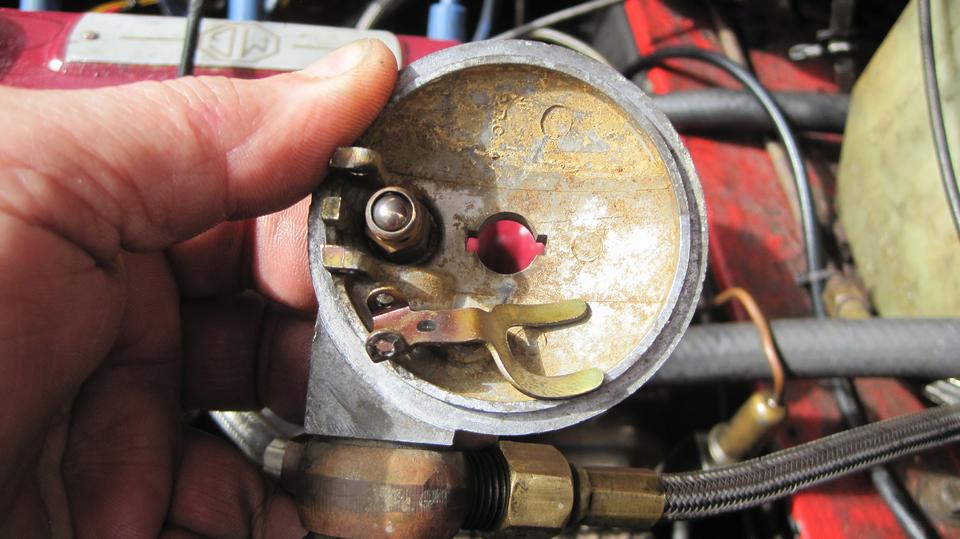
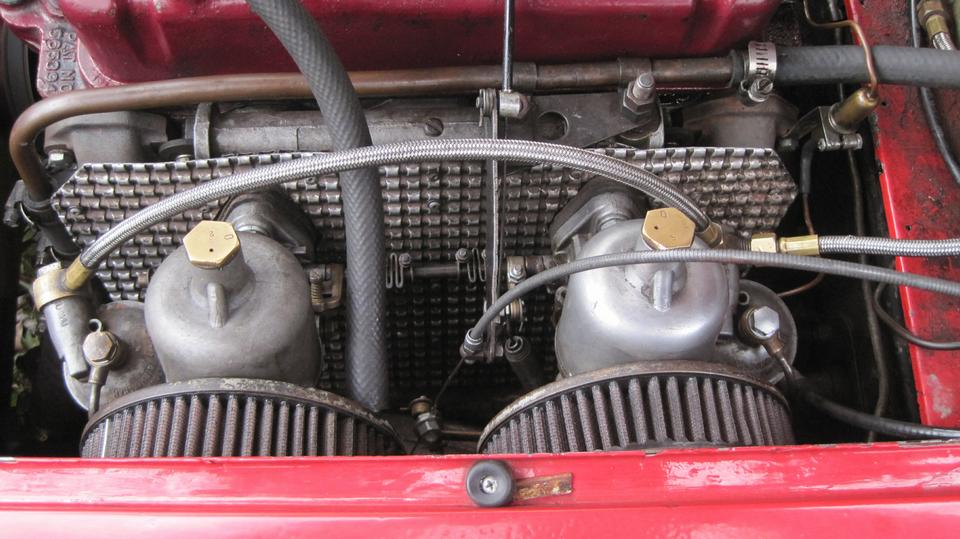
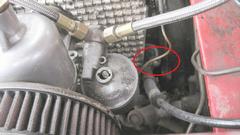
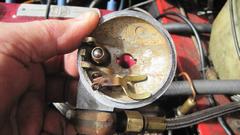
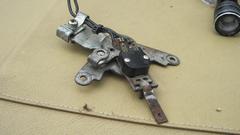
We were intending to fix the broken blower switch wire today, but somewhere during the last 18 mile run down the expressway the engine changed from running perfectly to running excessively rich (almost flooding). Quick check under the bonnet immediately revealed a loose float cover on the rear carburetor. Looks like the cap nut securing the banjo vent fitting came loose and took a hike. We have spares for the small bits, but no spare vent banjo and pipe. Poking around with bright spot flashlight didn't find it. Bummer.
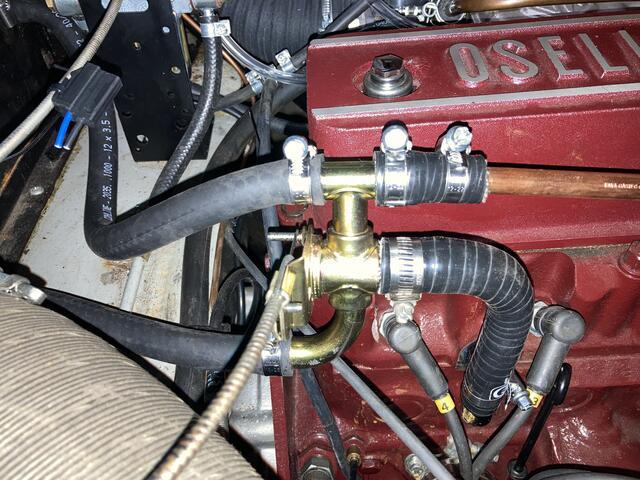
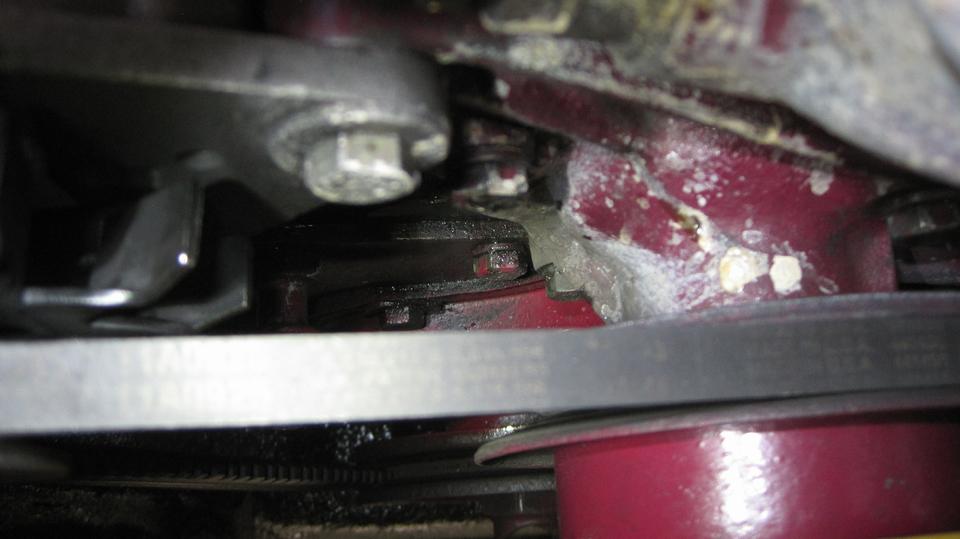
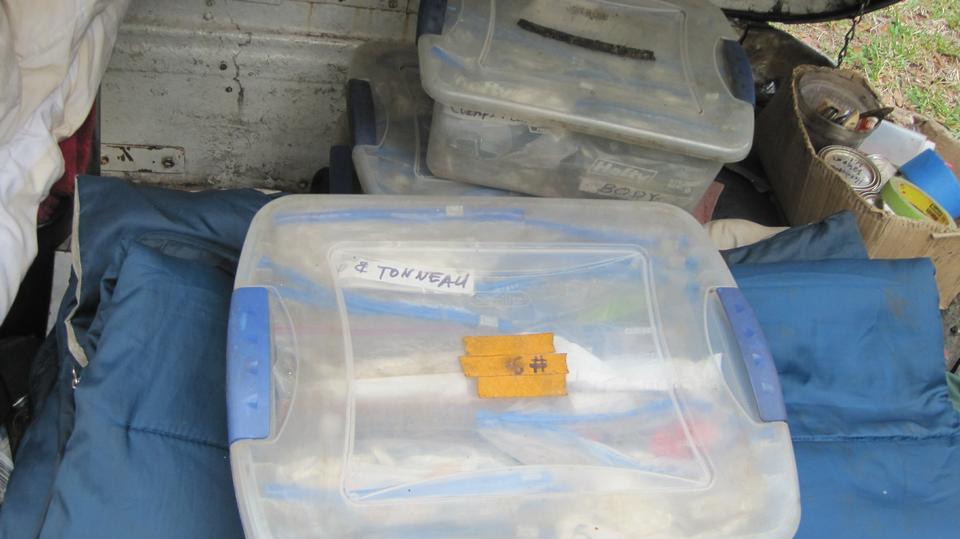
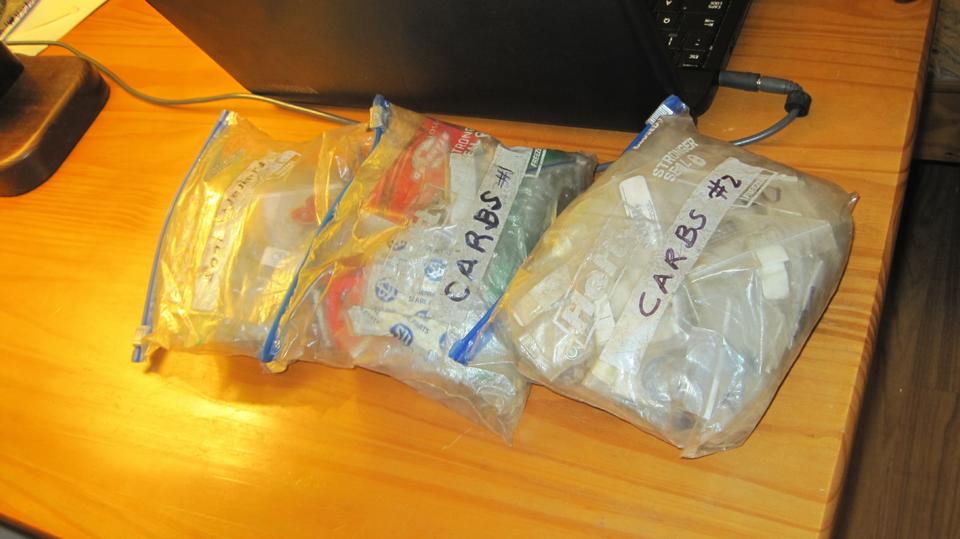
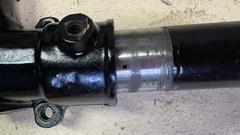
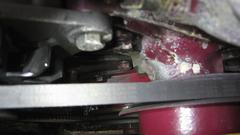
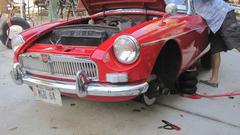
A half hour search in the Tech Central shop attic didn't find a spare either. Thinking about stacking a few flat washers, and cutting one out the side for a vent. Then one of our Tech friends found the missing banjo fitting. See red circle in first picture below. The little part was caught on the engine between the tachometer drive cable and engine rear plate. Hey, we lucked out. Visit the Magic Trailer for tote box #1, and zip bags for Carburetor. A few minutes digging to pull out a new cap nut, aluminum washer, and fiber vent washer.


A check under the float cover found the float arm disconnected and laying on top of the float. Looking under the float in bottom of the float chamber did not find the pin for the arm, but the Magic Trailer had one of those too. The float valve is a Gross Jet, so that did not come apart, not lost. Not long to reassemble, and it started right up and ran like an MG again. Make notes to restock the spare parts we just removed from inventory.


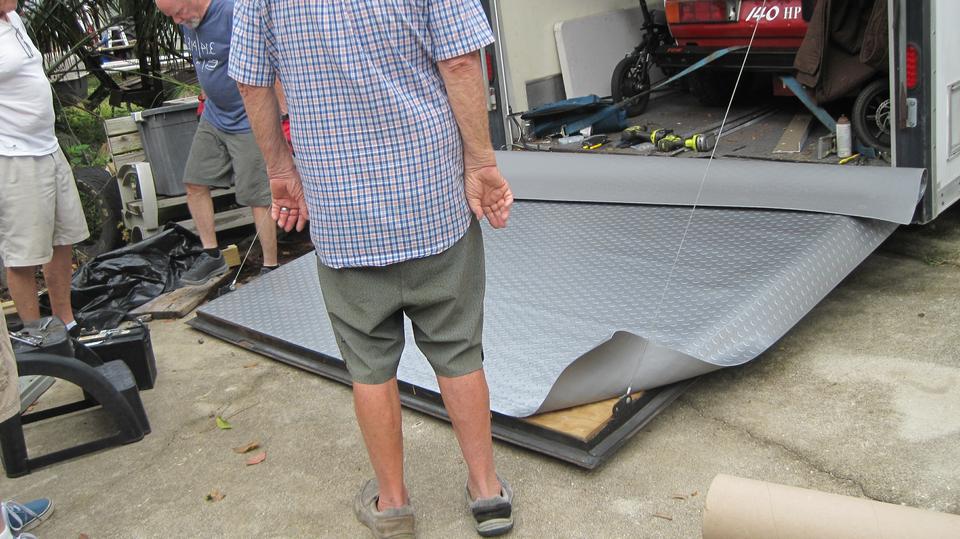
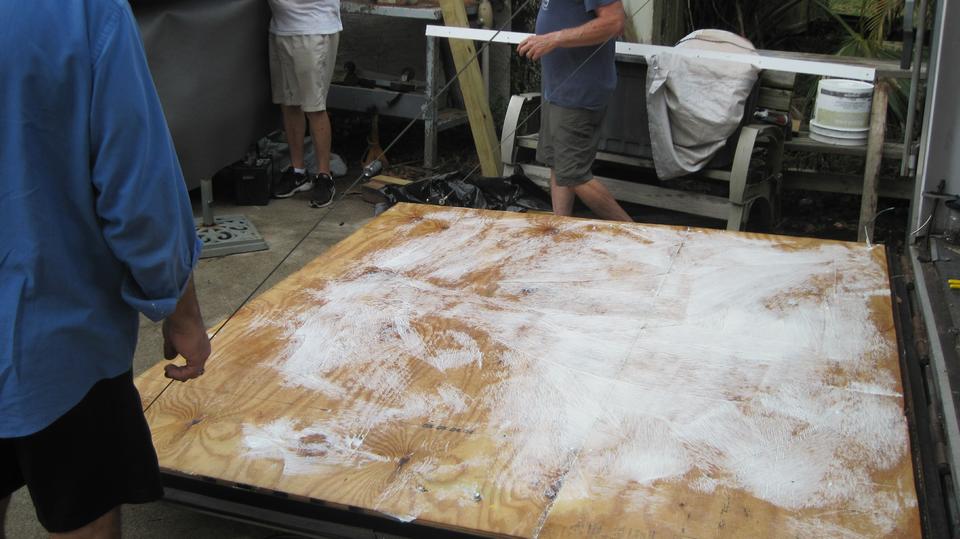
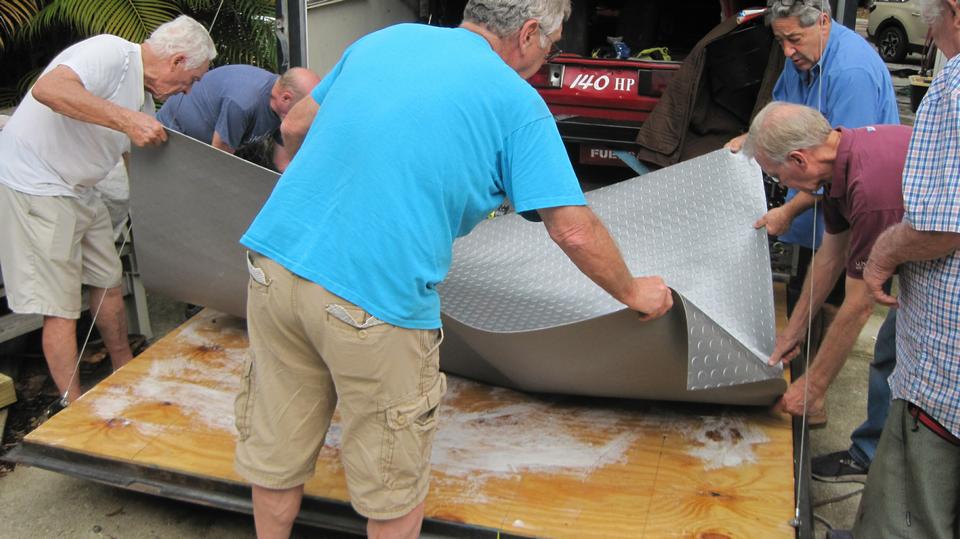
Meanwhile friends were continuing work to rebuild of the race trailer tail gate. All new plywood in place, and a new rubber face cover to be trimmed to fit. Good time for an early lunch break.

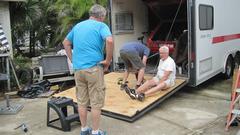
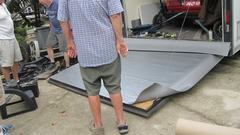
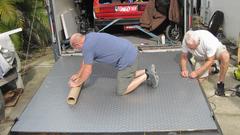
Spray on contact cement, wait patiently,and then a dozen helping hands to very carefully align the cover before dropping it into the permanently sticky stuff. Stretch from center out, working toward sides and corners, no bubbles please. I finally had a hand in tucking and trimming, something more than just taking pictures.
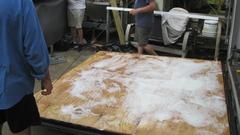

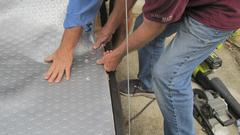
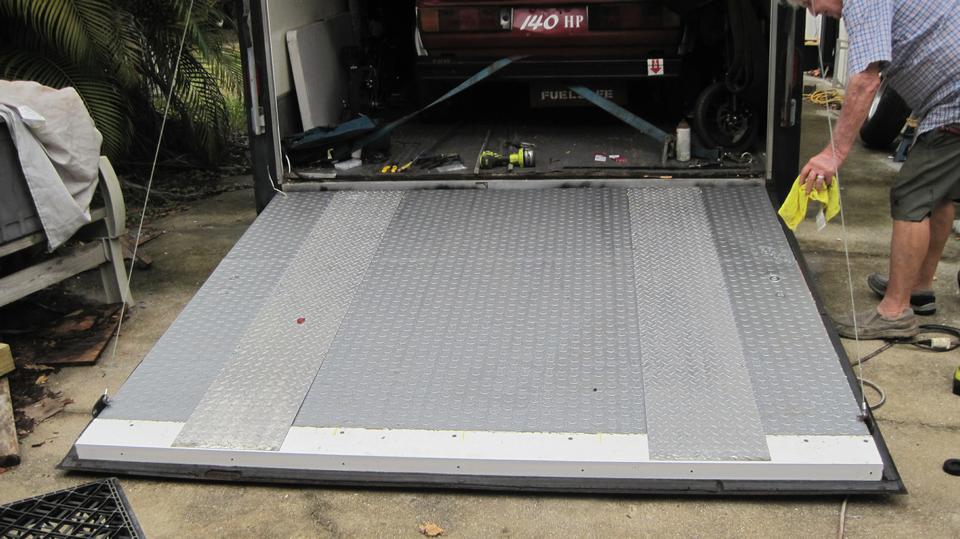
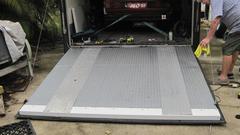
The tube roller worked well to make it flat. Lots of sneakers walking circles packed it tight into the contact adhesive. Install the aluminum drive-over angle on the leading edge. Flat head screws to attach the aluminum diamond plate for the tire tracks. Still remaining to reinstall narrow aluminum angles around the other three sides to cover edges of the rubber mat, but that will wait for another day.

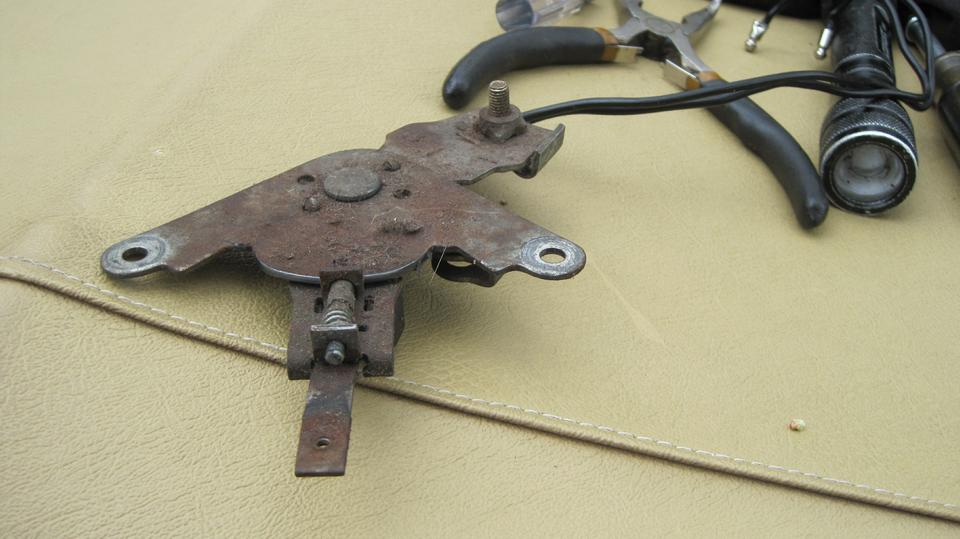
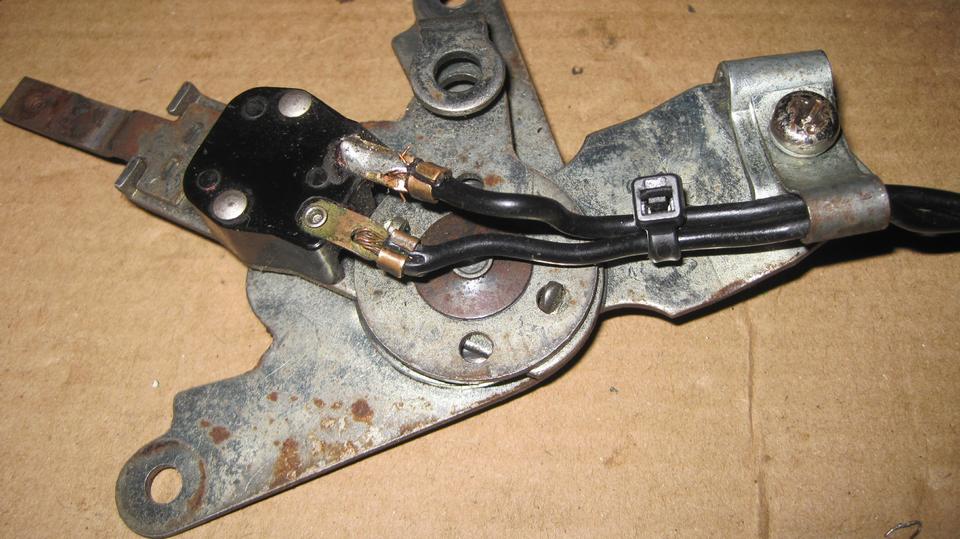
Finally getting back to the first reason we were here today, fixing the broken wire on the heater blower switch. Start with dismounting the mechanical control assembly from under the dash. Unplug two wire connectors, disconnect control wire cable stop and jacket clamp, remove two long screws, and please don't loose the four tube spacers. The assembly was a little rusty on top from years of humidity (dew), cleaner on the bottom with the zinc plating is still in tact. Take a pause to check records to see when this control was last replaced. Okay, it doesn't owe us anything after 400,000 miles in 25 years. For $50 retail I will order a new one for inventory. But for now we need to repair the broken wire. (Then we can see how much longer this part might last).

Unsolder the broken wire end from the switch terminal. Spread the terminal crimp fingers apart enough for the wire insulation to fit through. The tiny tubular rivet was loose, so go around and around the eyelet end with a tiny
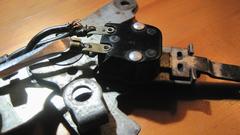  |
pin punch and light hammer to set the rivet a bit tighter. Scrape the terminal and rivet with sharp knife blade for thorough cleaning. Strip, straighten, trim and twist the wire end to go through the hole in the terminal. Solder the wire to terminal, and also run the fresh solder over the rivet to assure full continuity. Finish with overlapping and crimping the strain relief fingers. Ain't that pretty? -- Just a little mechanical work to get it reinstalled in the car. Started raining just as we were finishing, so no final picture, but maybe later. At least the blower works again.
Saturday, January 13, 2024:
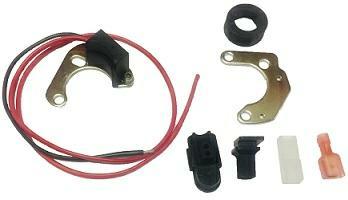
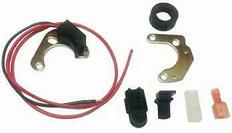 Post a new Ignition tech page for AccuSpark elctronic ignition. The interesting bit here is a condid comment from the manufacturer about life expectancy of the product, finally admitting that electronics are not forever.

Following up on weeks of discussions about Rube Goldberg style lash-ups of brass and plastic parts to compensate for a leaky heater valve. This was a good time to mention the replacement rubber diaphragm now available from Scarborough Faire that is supposed to be good material.
Sunday, January 14, 2024:
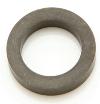
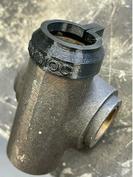
Having a good go at documenting bolts, locktabs, and internal seals for the Lockheed front disc brake callipers. The Workshop Manual recommends to never split the calipers, so these small bits were not normal service parts. The long through-bolts and locktabs are still difficult to source. The rubber seal ring is available, but no one ever published the size dimensions, and they are not all identical from different suppliers.
Monday, January 15, 2024:
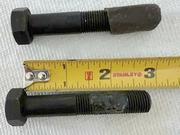
Most significant accomplishment today was composition and posting of a new Part Numbers tech page for Lockheed Brake Caliper Bridge Bolts. This cooperative effort of several people on the MGA forum brings to light the decades old mysteries of why this is a special fastener with a BMC factory drawing number, and why you cannot buy it from traditional fastener sources. Now we need to convince one of the vintage car parts specialists to commission a minimum production run to stock and sell this critical part.
|
 Post a new Ignition tech page for AccuSpark elctronic ignition. The interesting bit here is a condid comment from the manufacturer about life expectancy of the product, finally admitting that electronics are not forever.