The MGA With An Attitude
MGA Guru Is GOING MOBILE - (January 16 - January 31, 2023)
Monday, January 16, 2023:
Another day of too cold to paint, but the weather is getting better.
 Getting hot onto posting of the new "theory of crankcase ventilation", but waiting for an updated copy of the article from the author. Getting hot onto posting of the new "theory of crankcase ventilation", but waiting for an updated copy of the article from the author.
 Received an inquiry about extending (lengthening) an MGB remote shifter assembly by a few inches to allow use of an MGB overdrive gearbox in an MGA. This is documented on my web site, but the person is looking for a shop to do the modification, thinking I might be able to recommend someone. I will check into it.
Tuesday, January 17, 2023:
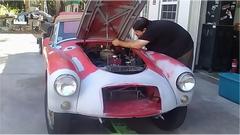
Received the update to the new crankcase ventilation article, but no time to post it today. Weather has improved, so back to working on the MGA nose job.
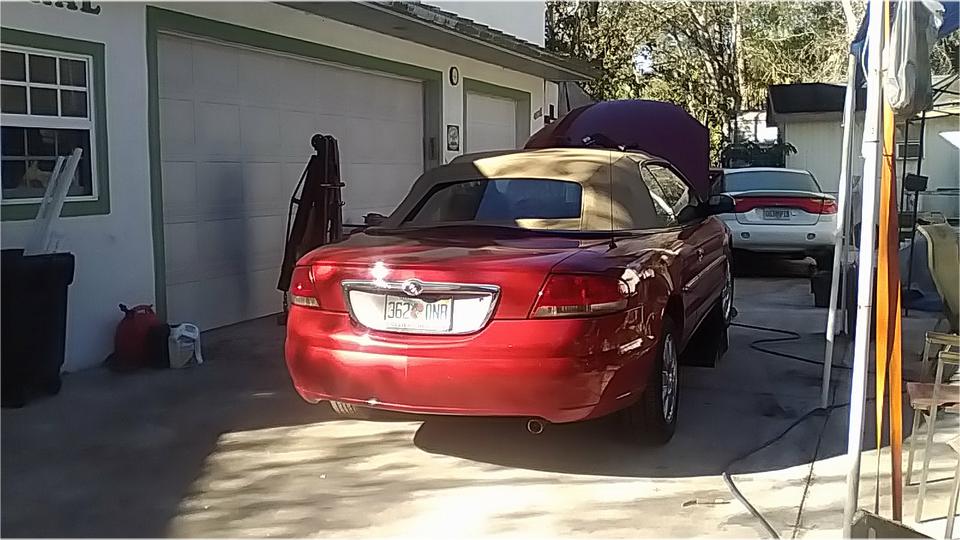
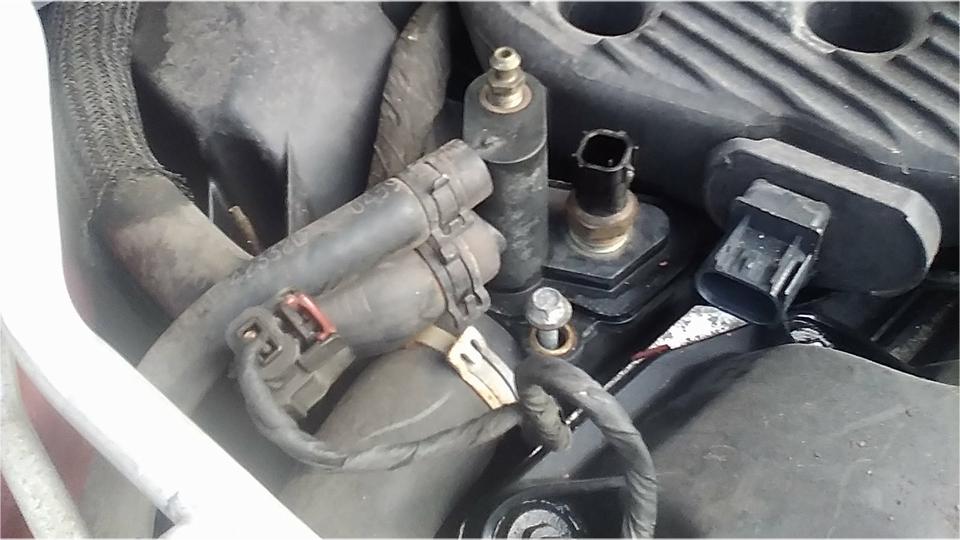
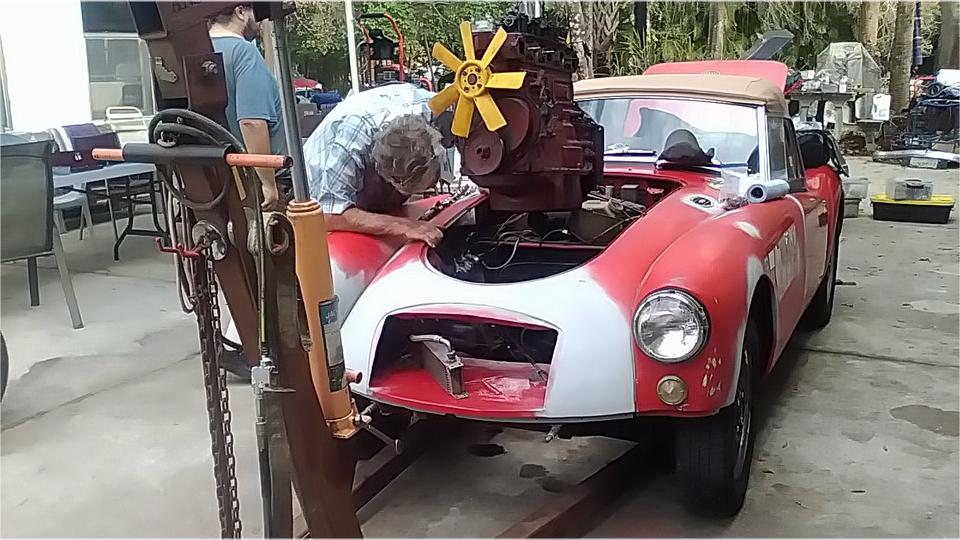
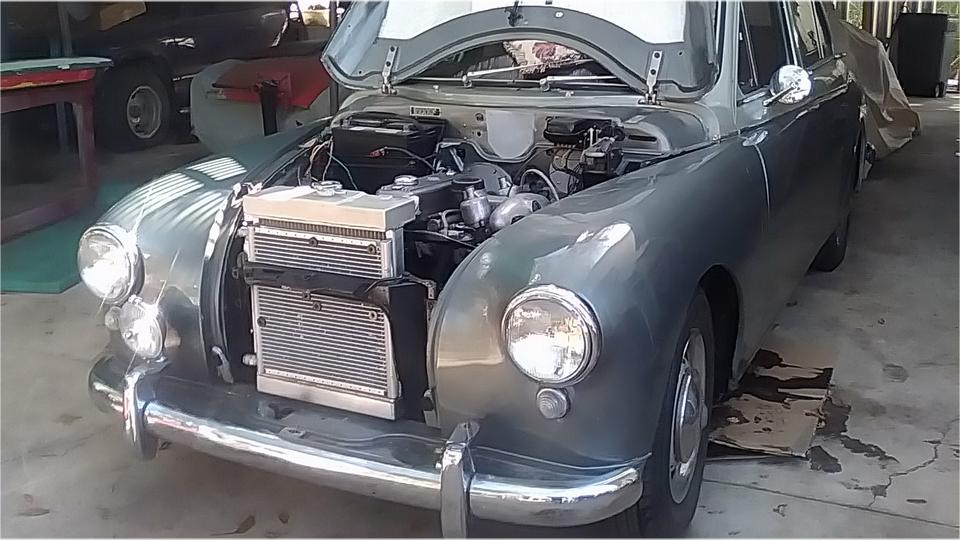
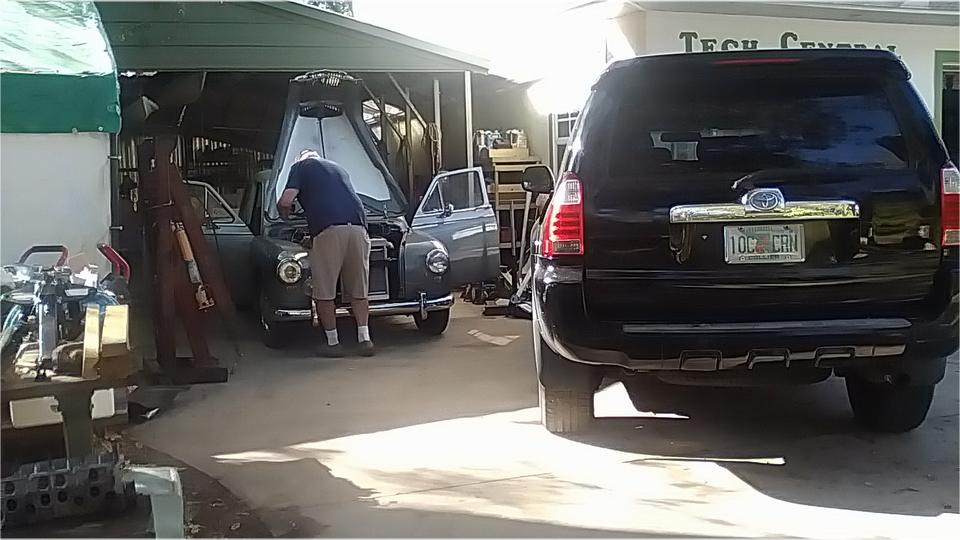
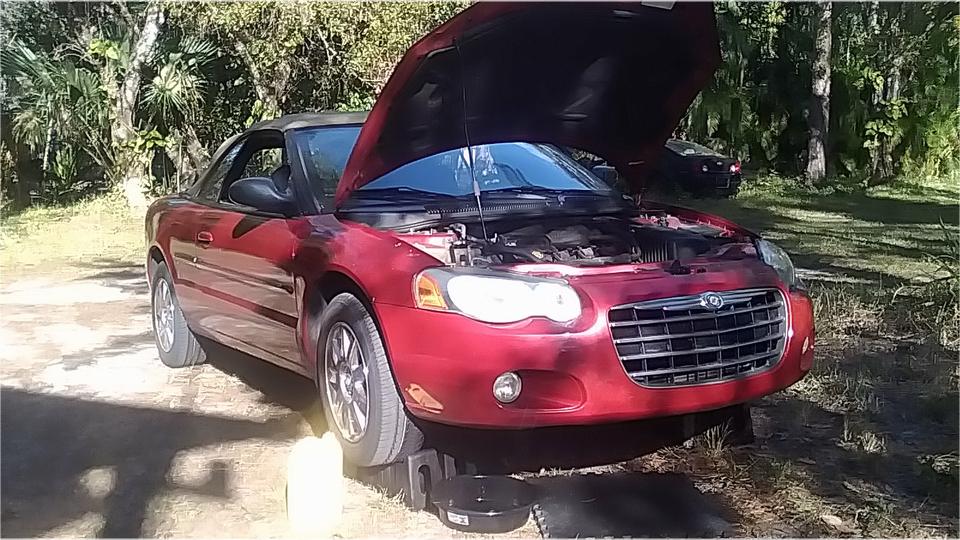
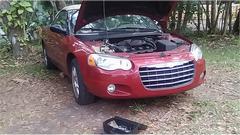
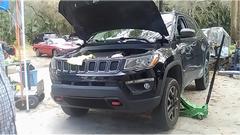
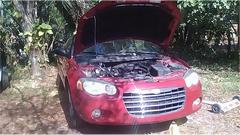
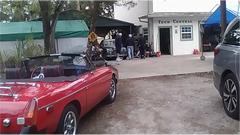
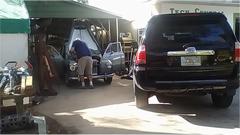
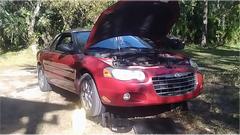
On arrival we found John Shoemaker's Chrysler Sebring up on ramps sitting in the spot we needed for
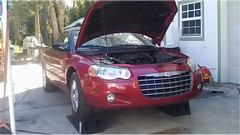
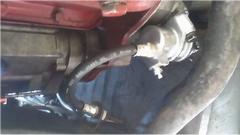
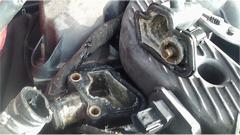
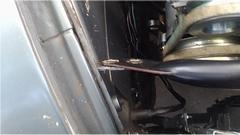
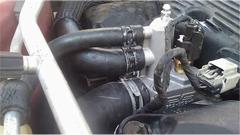
 painting, in the shade and not under trees. The report was that the car had suddenly dumped all coolant a few days back, and John had bought two new radiator hoses, which he was about to change. The top hose is easy access, but didn't seem to need changing. The bottom hose requires removal of a plastic cover underneath. Having removed the under cover, the font end of bottom hose at the radiator was easy access, but the water pump end was really hidden above some other parts, going to be a bear for access to that end.
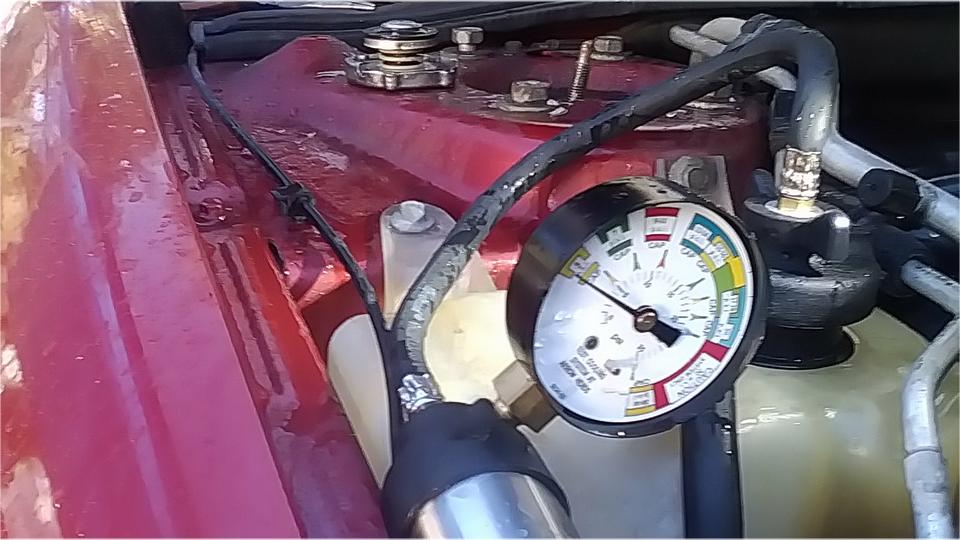
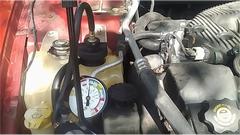
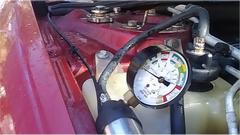 By the time I could crawl out from under the car I had a question and a suggestion. Do you really know where it is leaking? Well, not for sure, it just dumped a lot of coolant in a hurry. So how about we put water in it and do a pressure test to see where it leaks before going to all the effort of changing two large hoses? Could be real embarrassing to go to that effort and find that it still leaks some where else. That sounded like a good idea, so grab the radiator pressure tester out of the Magic Trailer.
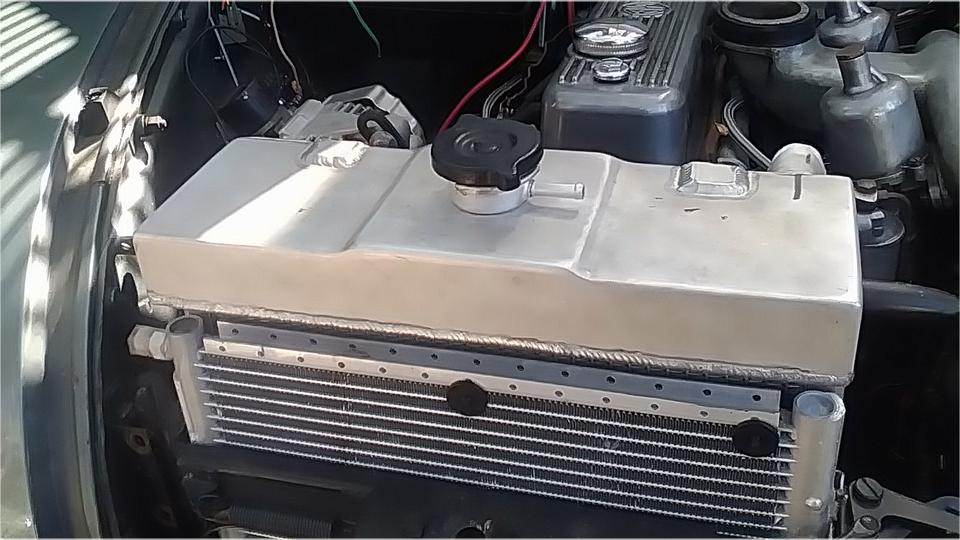
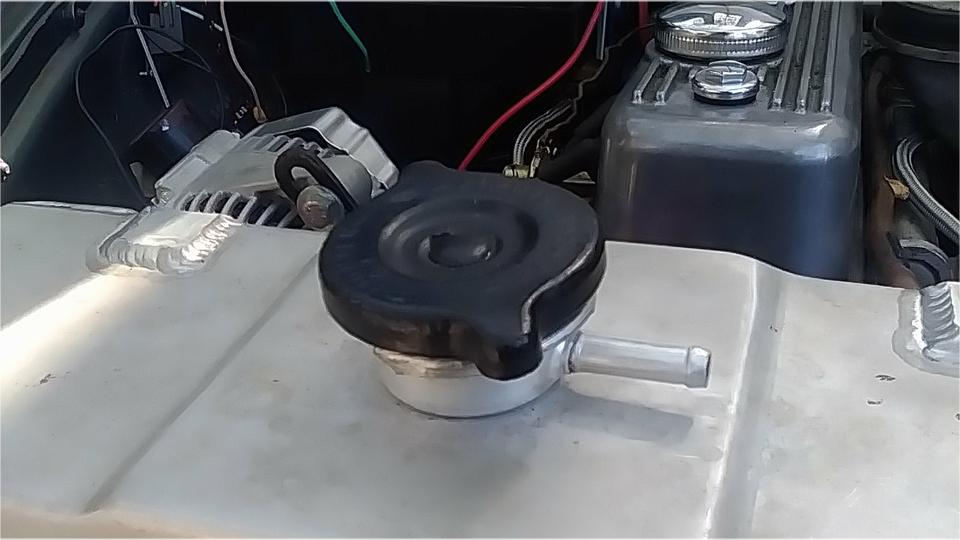
This car has a pressure relief cap on top of the coolant recovery bottle, but no other obvious means of adding coolant.
 So we filled the bottle with water, then put the pressure pump on it to push the water into thw engine. When pressure was removed, the engine burped a lot of air back into the recovery bottle. Rinse and repeat a few more times, and we eventually had installed two gallons of water before some of the water was returned to the recovery bottle. Then start the engine, and open the heater water valve to full heat to circulate water into the heater, and get the air out. Repeat once more pushing in water and burping out air, and then we had some pressure build up in the system.
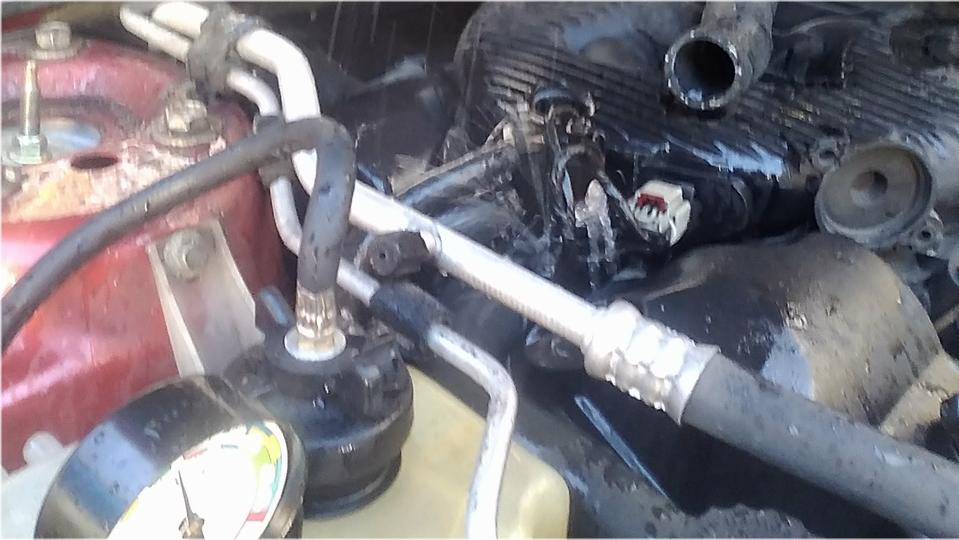
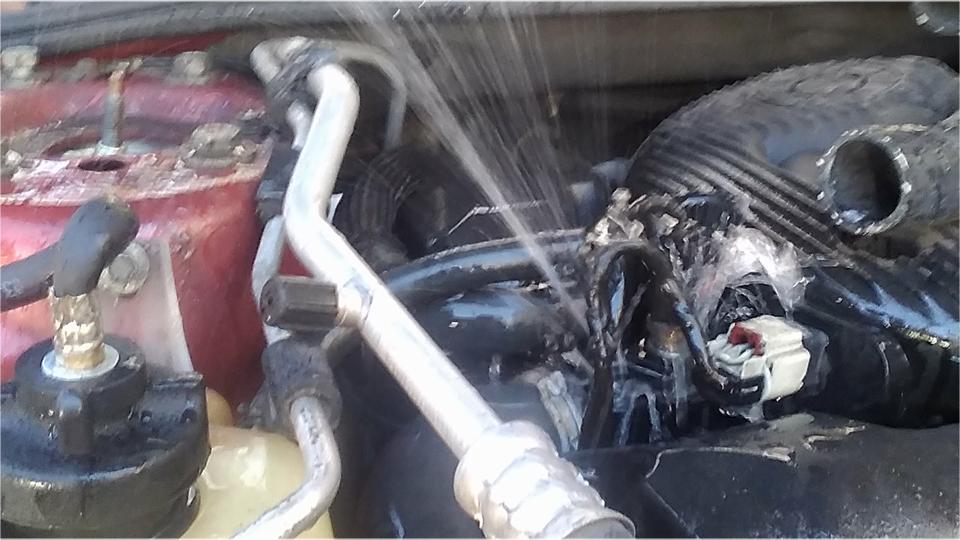
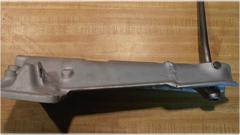
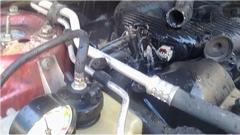
That did it, instant geyser right on top with enough water loss to sprinkle the lawn, and no obvious leak from
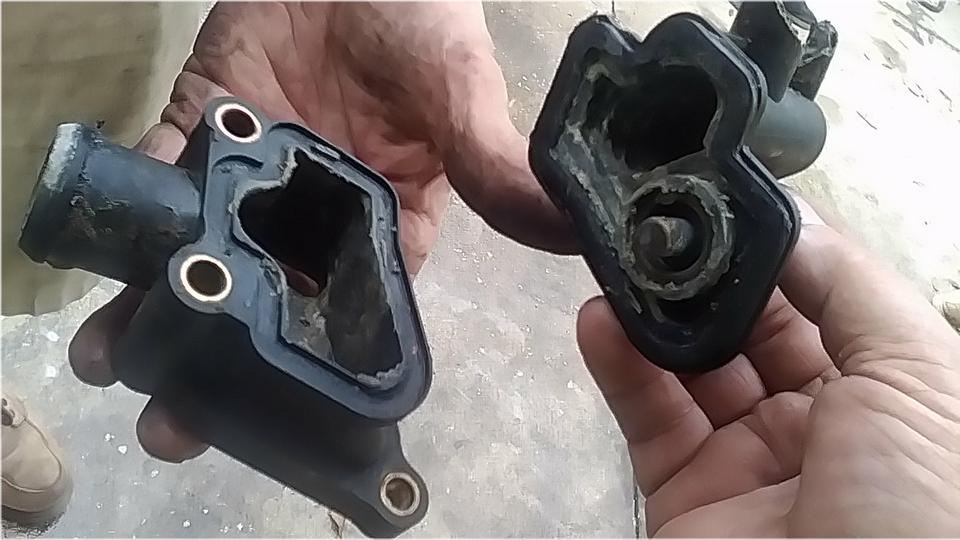
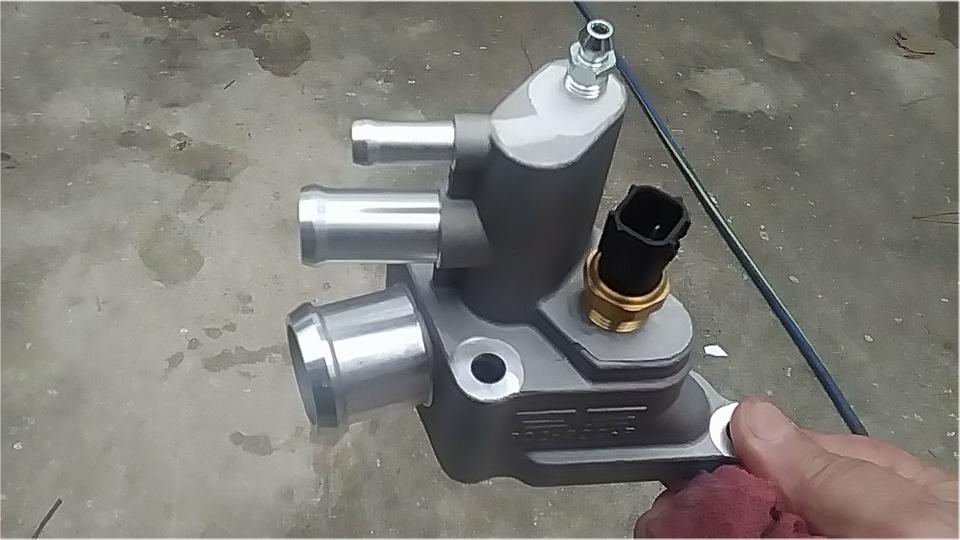
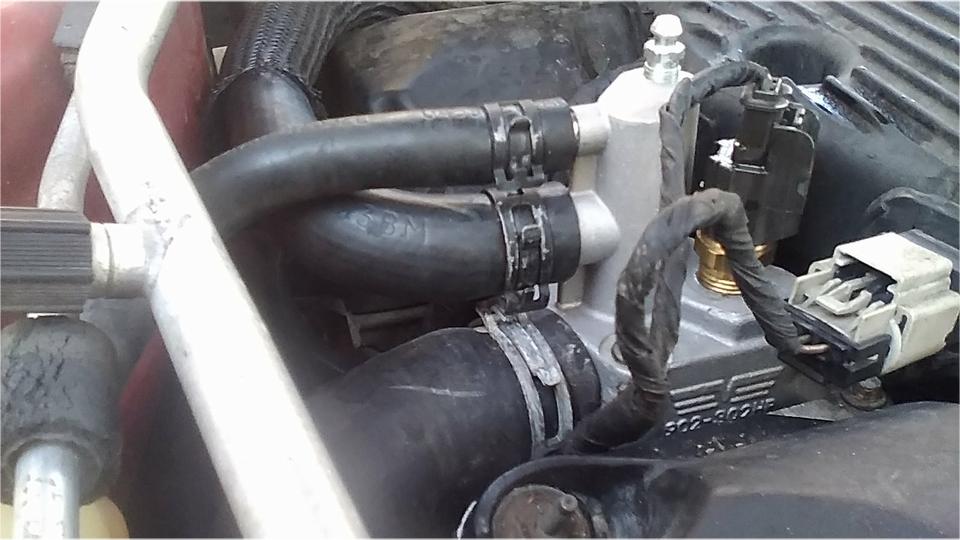
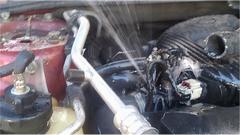 the hoses. Leaks were from where the two smaller hoses and temperature sensor are connected. A FRP water body (Fiberglass Reinforced Plastic) had lost its form after some years in service with the bottom flange distorted and leaking from the gasket joint. I had exactly the same problem with my 1987 Mazda RX7 ten years earlier. Cursed plastic parts in structural applications. End of investigation, go off to order a replacement hose connector body. After a short internet search, the original part was found, but also found an all-aluminum hose connector assembly, so they ordered that one, and now wait for delivery.
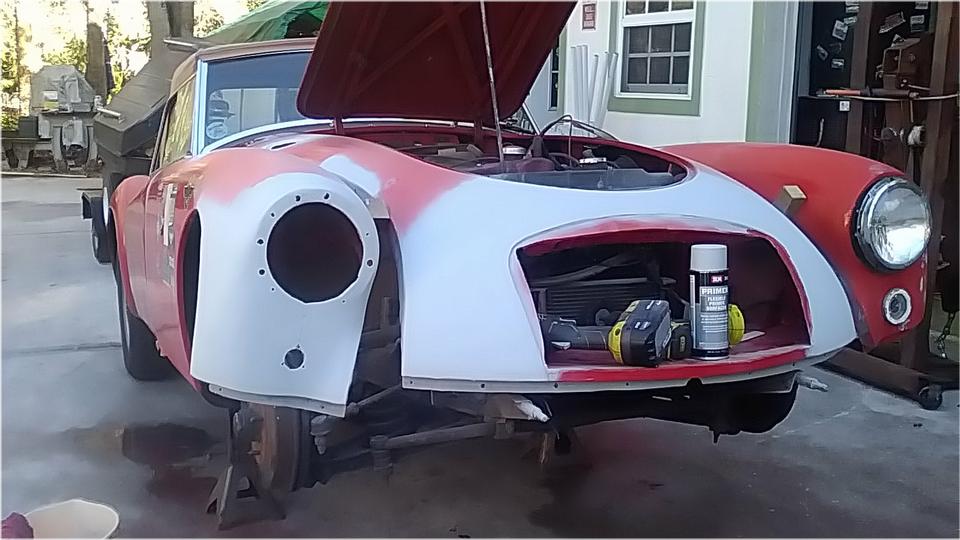
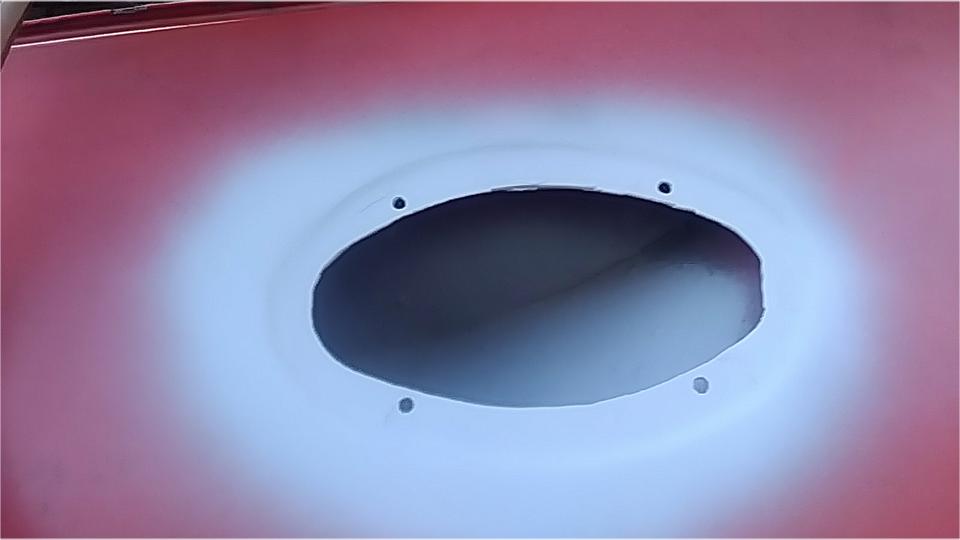
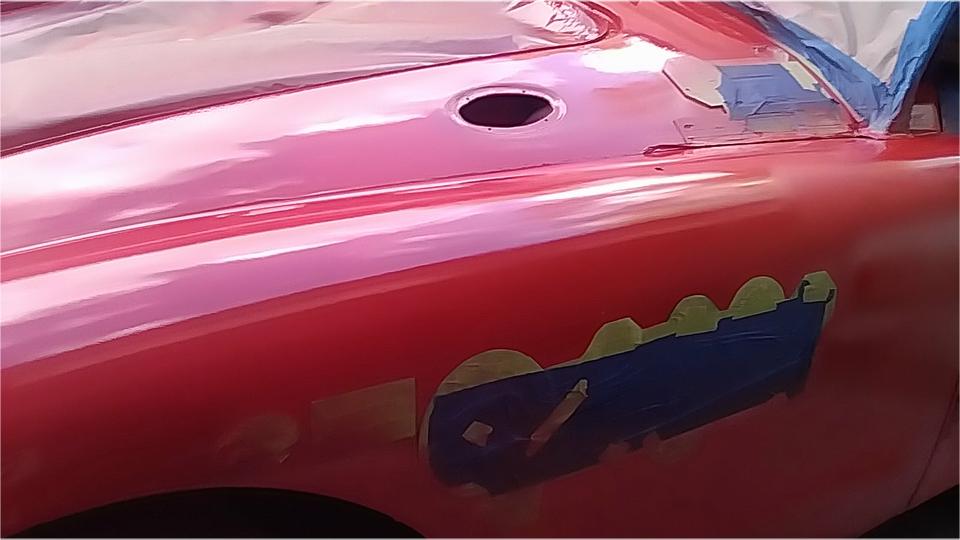
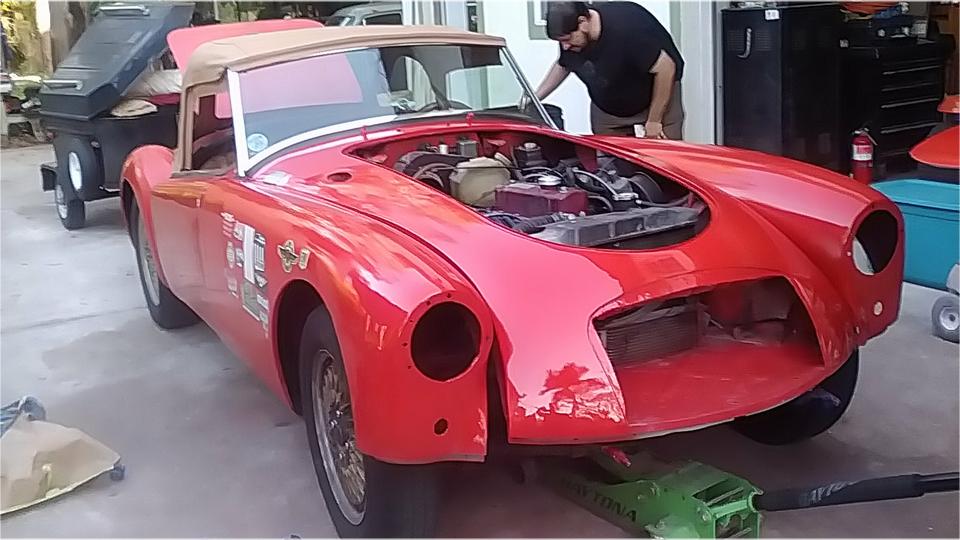
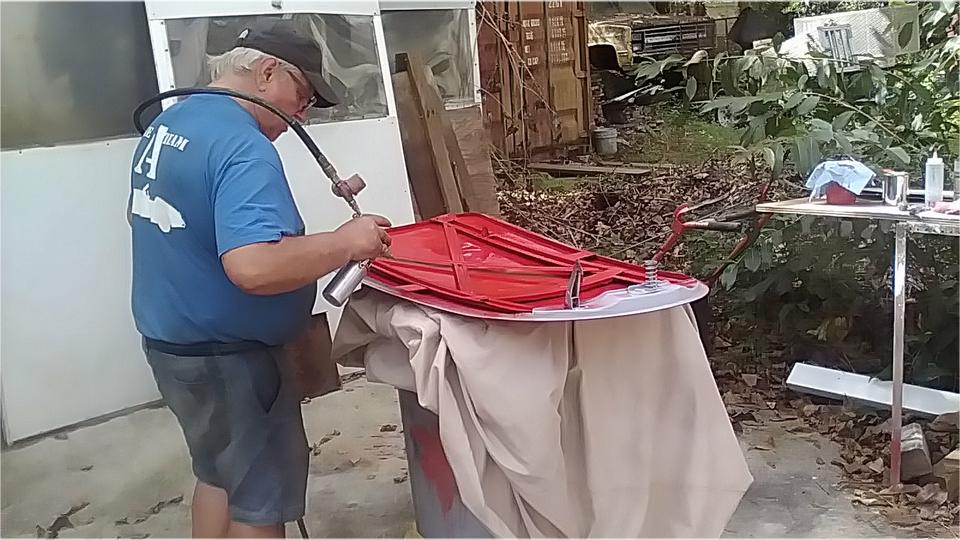
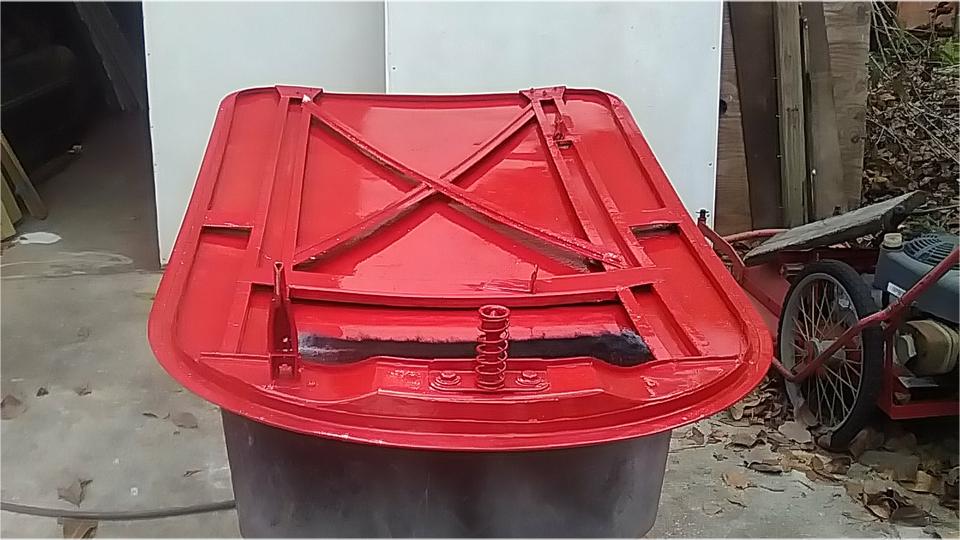
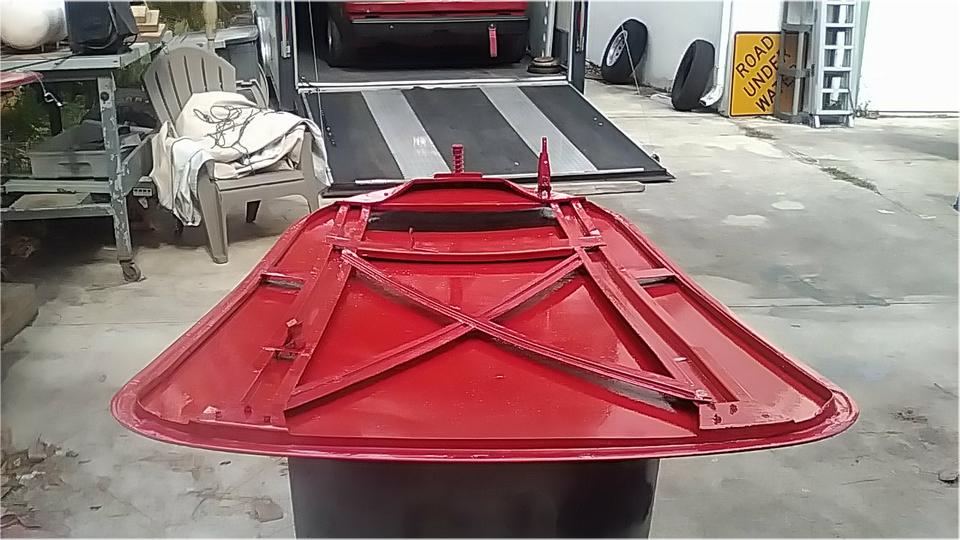
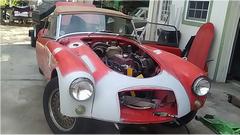
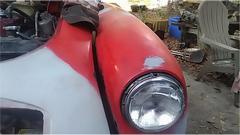
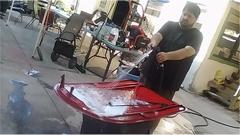
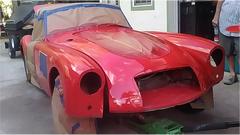
Having killed a couple hours working on the Sebring, we had our work space back. By the time we had wet sanded and primed the nose, it was after 1-pm, getting a bit late in the day to be spraying finish paint, and tomorrow should be warmer, so it was time for a change of plans (based on some prior wishful thinking). Take some time to do some more make-nice touch up today, and finish spray it tomorrow morning. Wash down and pressure air dry blew a little more loose paint out of the bonnet gutter, so fix that for sure. Pull out the MGA cowl vents (one was missing anyway) to flap sand too many layers of paint (and a few cracks) out of the recesses and repaint from bare metal (both sides). That was the moment we decided to re-spray the left wing as well.

That gave us to opportunity to touch up some blisters and chips and cracks on the left side, and a few more minor imperfections front, top bottom and rear on both wings and on the bonnet surround panel. That ate up the rest of the day until we were spraying the last coat of primer right at dusk, and after a little drying time, bolting it back together after dark (with the traditional two bolts).

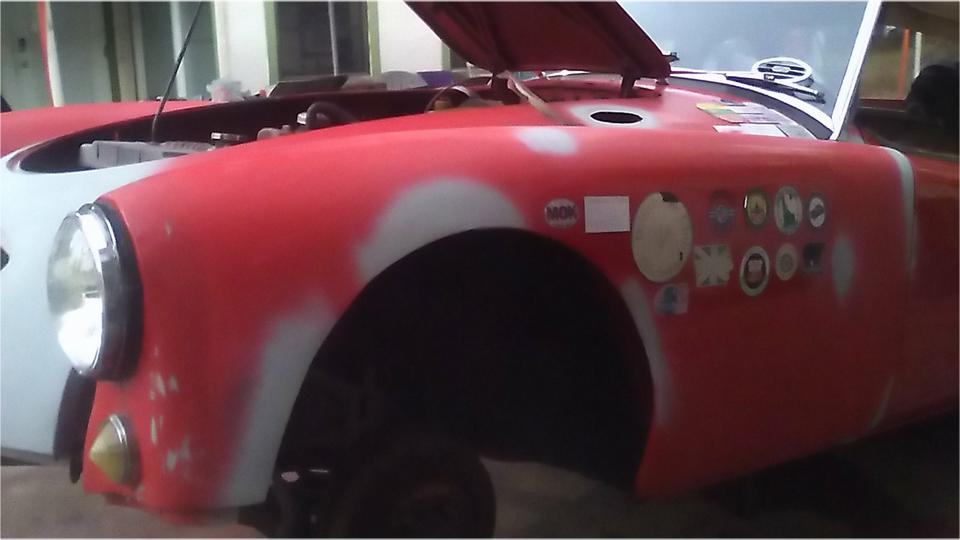
The idea now is to free-hand spray around the stickers to feather in the colors without painting the stickers (we hope). That should result in complete respray of the nose, front surround cowl and both wings (having resprayed around the wipers and washer jets last fall). Hoping that by tomorrow night the whole front of the car will be one color again, as it gets a little darker with aging and with each subsequent local repair. Remember the magic thumb screws on the hinges? That makes it very easy to R&R the bonnet and boot lid to re-spray those later (at first opportunity). And we also intend to do minor repairs and respray the doors as well. Kind of nice to have enough time to do this stuff after nine years of rush, rush, rush.
Wednesday, January 18, 2023:
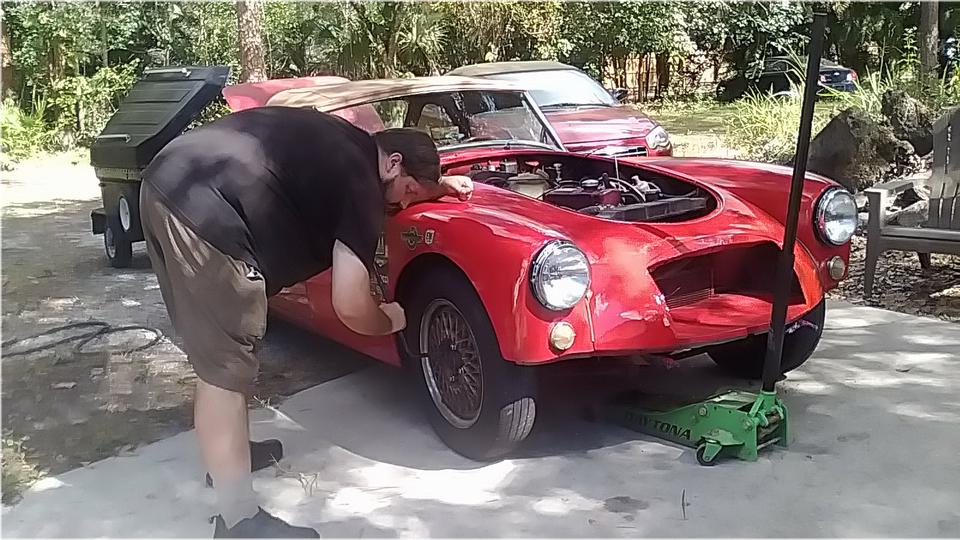
You know those days when nothing goes right, but everything goes just the opposite of what you anticipated? Yeah, this was one of those days. After all the time and anticipation building up to painting the car today, it still didn't happen. But "stuff" does happen, like it or not. Last night around midnight we drove from restaurant to motel, and the clutch which had been working perfectly since late August decided to start playing up. First the clutch pedal didn't want to go down, so give it a harder push. Then it was reluctant to come backup, so poke it a couple of times, and then it was working a little. These are symptoms of a clogged up clutch slave hose,so the brain starts thinking, "We have the hose and a new slave cylinder in the Magic Trailer", so plan on changing those parts first thing in the morning.
This morning it was working almost perfectly, go figure, but that didn't last long. After a 5-minute trip up the expressway, the clutch was completely shot. Wow. Last night perfect, but this morning just dead and rattling any time it was touched. That means probably not normal wear, but something suddenly broken. So flip the priorities on their head, and change plans to fix the clutch before painting. Grouse around the boxes in the trailer, check inventory and pull out some available parts, enough to install a new clutch slave cylinder and hose with all the related hardware.
 Navigator is getting into this stuff more with each required fix, so he was under the car working wrenches under my guidance. In about an hour we installed the new slave cylinder and hose, and had the clutch hydraulics bled and working. Yeah, but it still made funny noises while the clutch was not working. Additionally the clutch release arm would wobble freely in various directions, indicating something wrong inside the bellhousing. So the engine will have to come out for that fix. Bummer, because we had just installed all new clutch parts in late August along with the freshly rebuilt engine,and for me the chutch shold last well beyonbd 100,000 miles. This one just expird in 4-1/2 months and less than 8500 miles. No sense in this, just something wore out or broke that should not have. But get back to business and start collecting parts to replace something (or anything) inside the bellhousing.
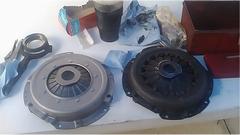
 Still mid day, get on the phone and order a new MGB 3-piece clutch kit from Moss Motors for same day shipping, most likely to arrive Friday (from Virginia to Florida), so we may R&R the engine to repair the clutch on Saturday. On the good chance that the release bearing is completely toast, the output end of the release arm is likely to be damaged. Easy solution here, as the guys at Tech Central work on a lot of MGB, and there are a few spare gearboxes out back, so we soon had a spare MGB release arm in hand. For sure we have the rest of the related installation hardware.
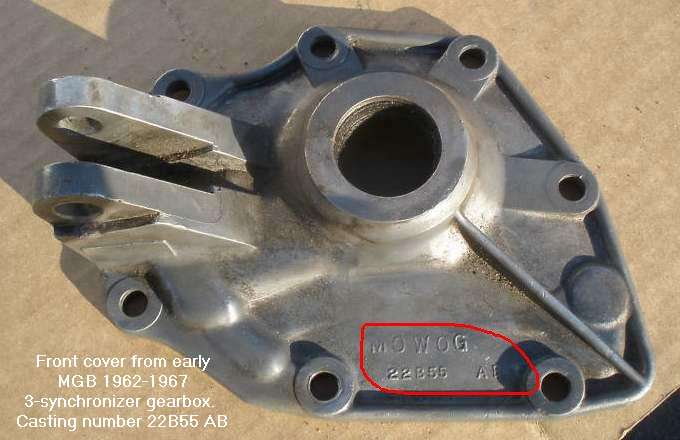
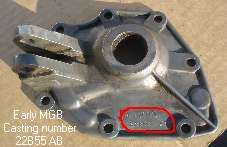 But there is one remaining "gotcha" that might bite us. The front cover has the mounting points for the clutch release lever, and this car has all MGB clutch parts, including the gearbox front cover. Getting the engine out and then finding a broken part with no spare handy could be a disaster, can't put the engine back in the same day. So now we still need to find an early MGB 3-synchro gearbox front cover (1962-1967). More chores on the internet for tomorrow.
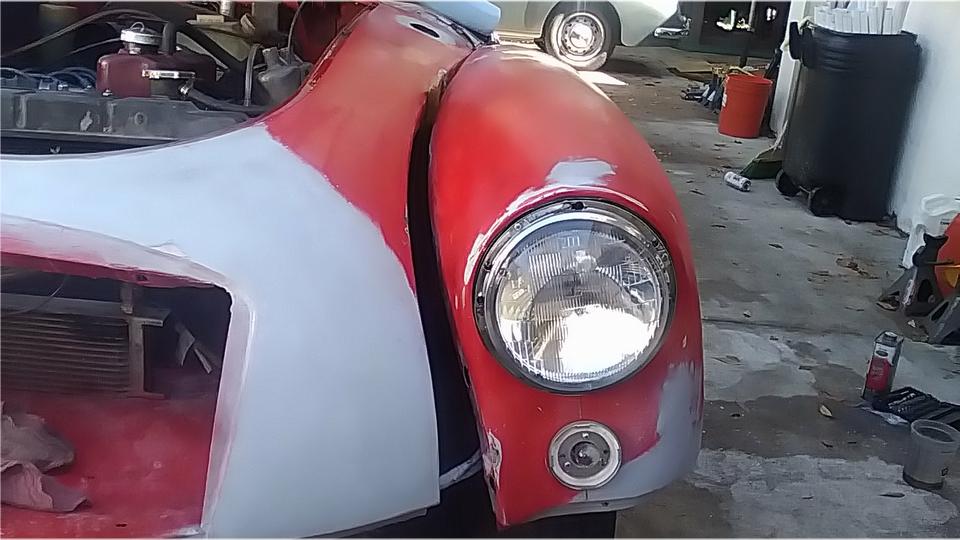
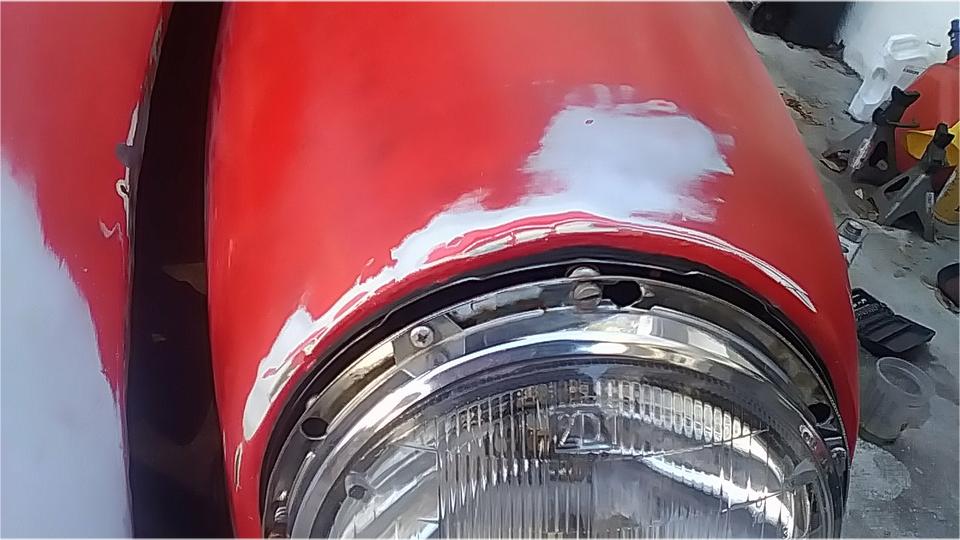
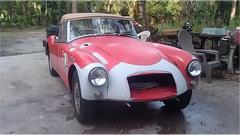
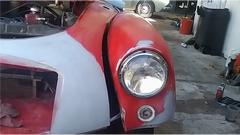
Too late to do any painting today, so revise plans to not paint until after the clutch is fixed and engine back in the car. So we spent an hour to install the right side headlight and parking light, and get those wired up and working. Also with a little time available,
 and car jacked up just having bled the clutch hydraulics, it was a good time to flush/bleed the brakes all around, which had not been done for a couple of years.
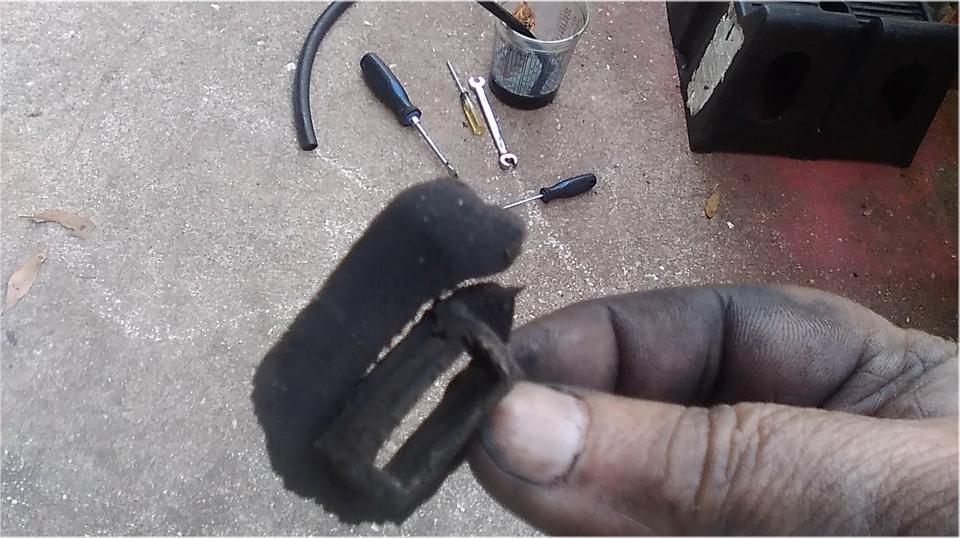
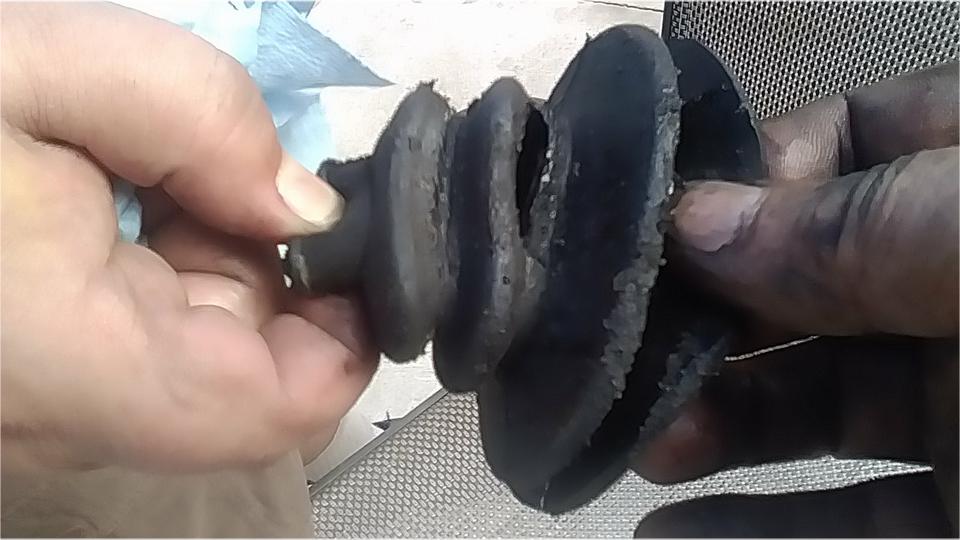
While poking around the rear wheels, I pulled apart one of the parking brake lever rubber boots (with an easy pinch of my fingers), badly decomposed rubber part after 69,629 miles in 6-1/2 years (definitely not as good as original service life). Note to self, look somewhere else for these rubber parts in the future.
Thursday, January 19, 2023:
Desperate for the MGB gearbox front cover, it was time to review my records and make some phone calls. This is where my web site records and links are about to pay back all the time it took to create them. I called Sportscar Craftsmen in Arvada, Colorado, got a recording, left a message to please call back. Then I called Jason Klemm in Yorkville, Illinois. He said "maybe", but could take a day to check. Then I called British Miles in Moorsville, Pennsylvania, where the nice lady promised to get someone hopping on it right away.
Then Jason Klemm called back to say he already found the part and had one in his hand. Bully! Score one for the good guys. He's a nice cooperative fellow, so soon agreed to send it out today for next day air delivery to Florida, should arrive tomorrow. Will let me know the cost and shipping fee once the part is on its way. That was easy, and I had only started on my list of sources for good used parts. Then I called British Miles back to let them know they could call off the search, thank you very much. Now by Friday I should have all new parts for the MGB clutch, everything between the flywheel and front face of the gearbox. Time for a breather.
 Kind of a forced day off, so I used the time to post a new tech article written by Bob Shafto with a different view of Crankcase Ventilation in the MGA engine. Kind of a forced day off, so I used the time to post a new tech article written by Bob Shafto with a different view of Crankcase Ventilation in the MGA engine.
Friday, January 20, 2023:

Start the day by posting a new tech page with tools for disassembling the MGA steering rack inboard ball joints. One of a kind custom made tools, compliments of Bob Rowntree in New South Wales, Australia. If you want them you have to make your own.
Off to Tech Central for the normal Tech Friday meet. Very good news first, the new clutch parts from Moss Motors have arrived,as well as the good used early MGB gearbox front cover and another release arm. No intention of doing anything with my car on Fridays (unless it might be a really slow day, and this one was not one of those).
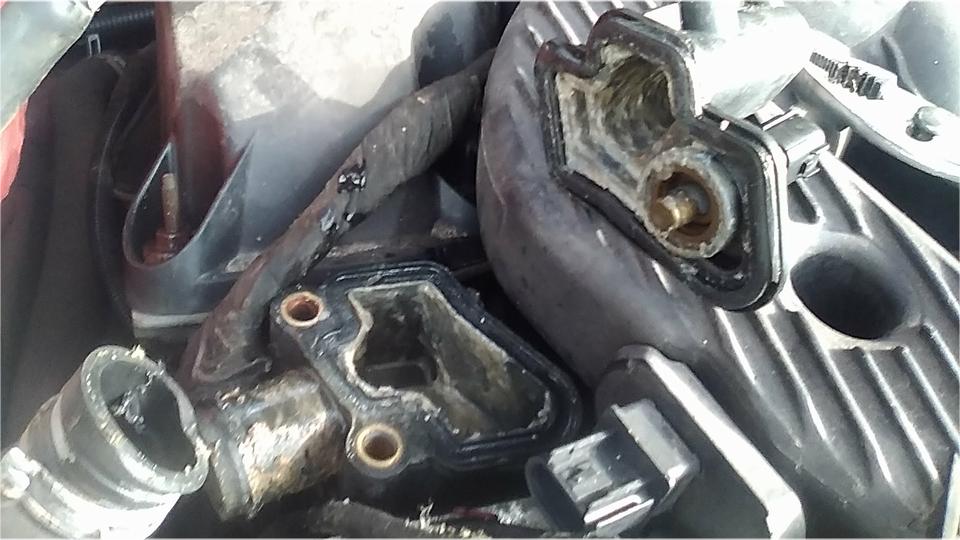
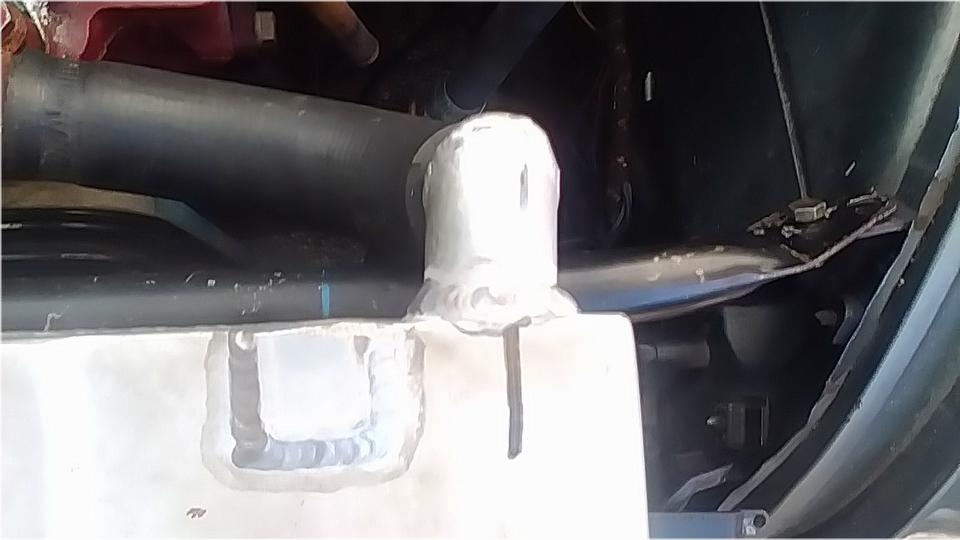
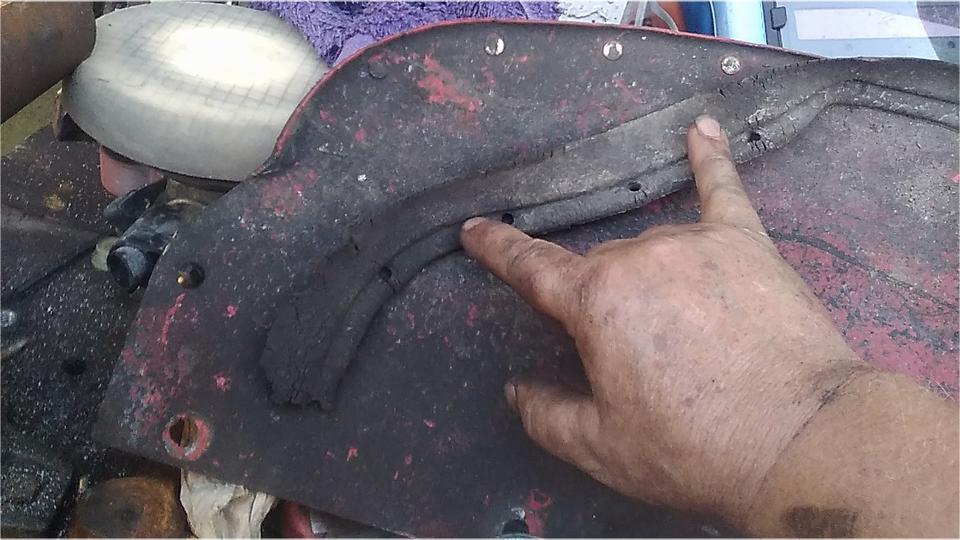
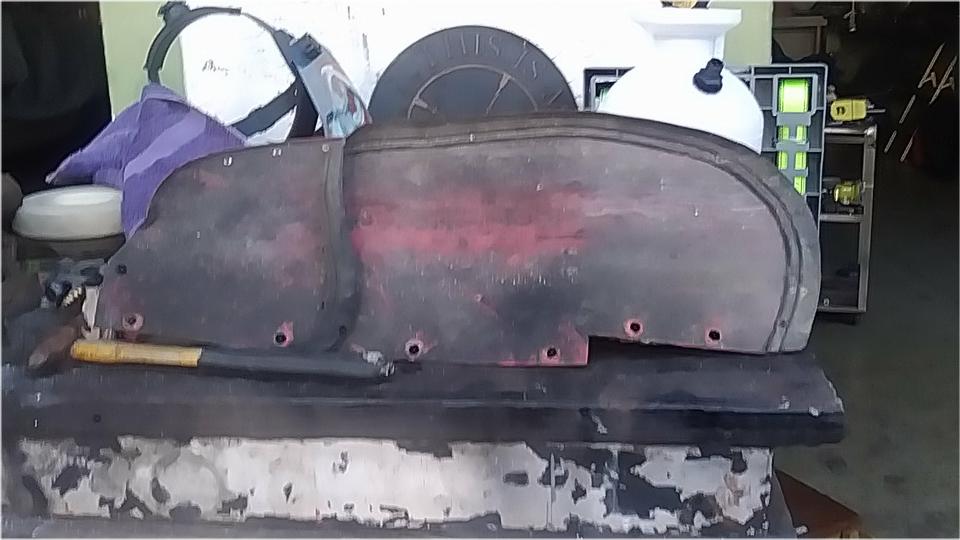
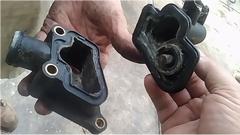
Back to the Sebring with the leaky coolant top connector. They didn't have the replacement part yet, but it was a good day to figure out how to get the leaky one off the car. Remember, the leak was at the horizontal joint just below the two small hoses but above the large hose. While disconnecting the two smaller hoses, the top of the assembly just popped off. This turned out to be a glued joint with no other means of mechanical security. From search of the internet, this seems to be a very common problem (like maybe all of the cars this age).

At first it looked like this fitting was held with only two long screws, but there were two more short screws hiding under the large air plenum. It required some masochistic knuckle busting but hidden screws did finally relent without removing the air plenum. Now to wait for the new part to arrive.

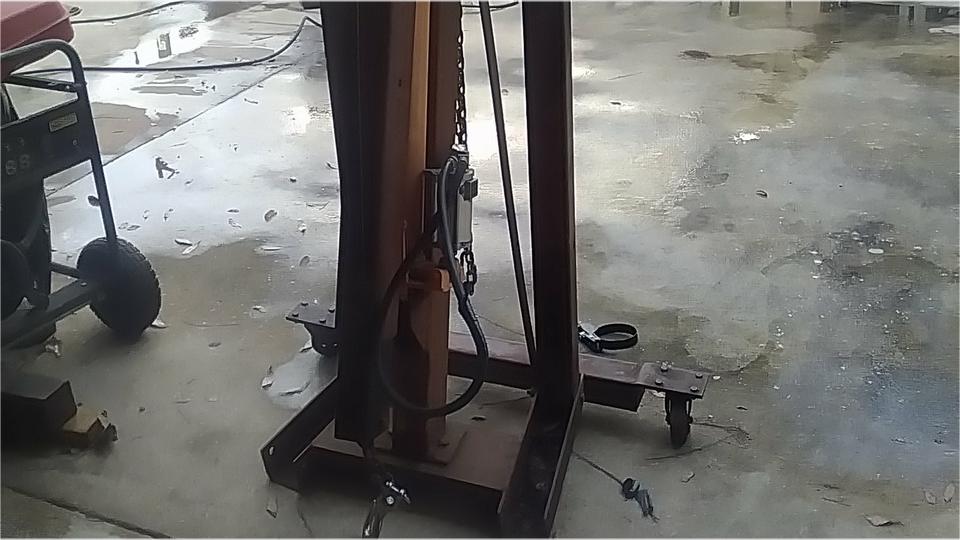
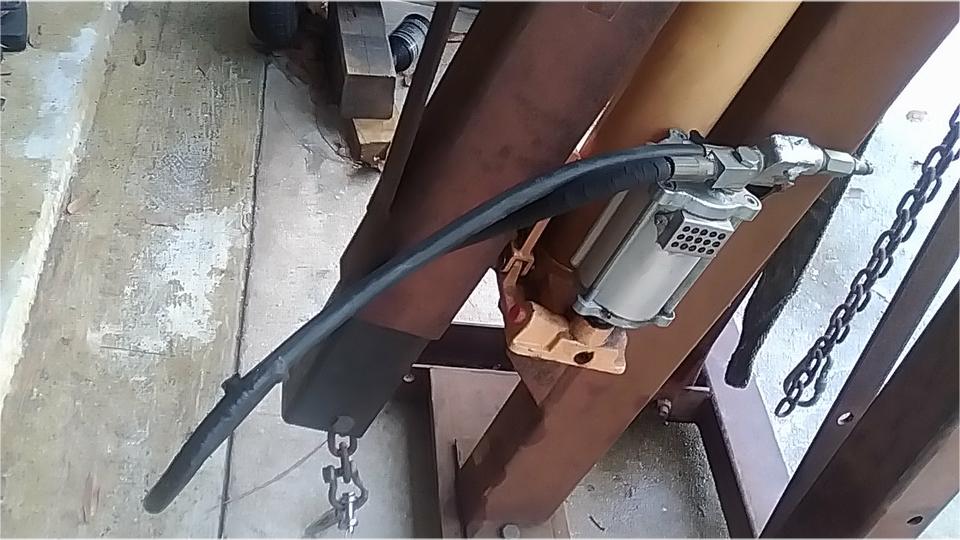
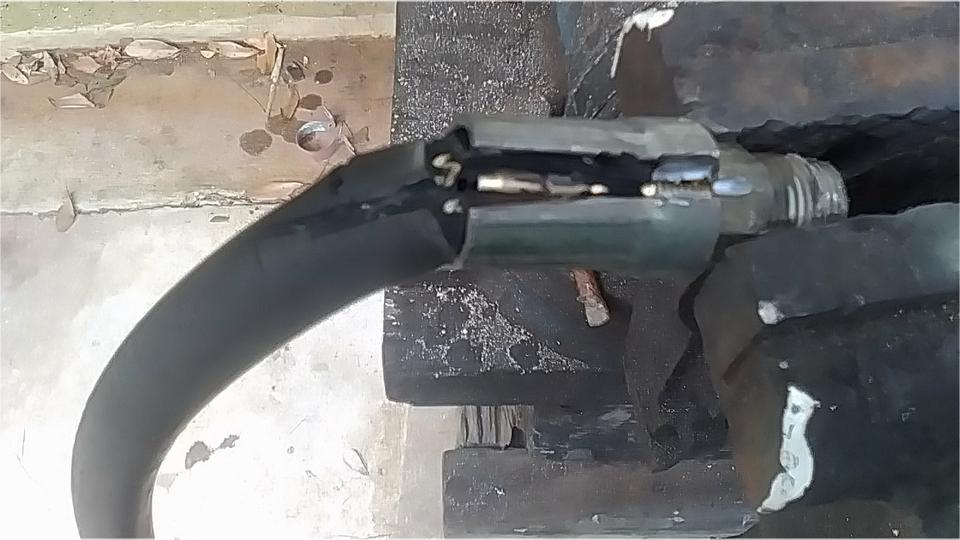
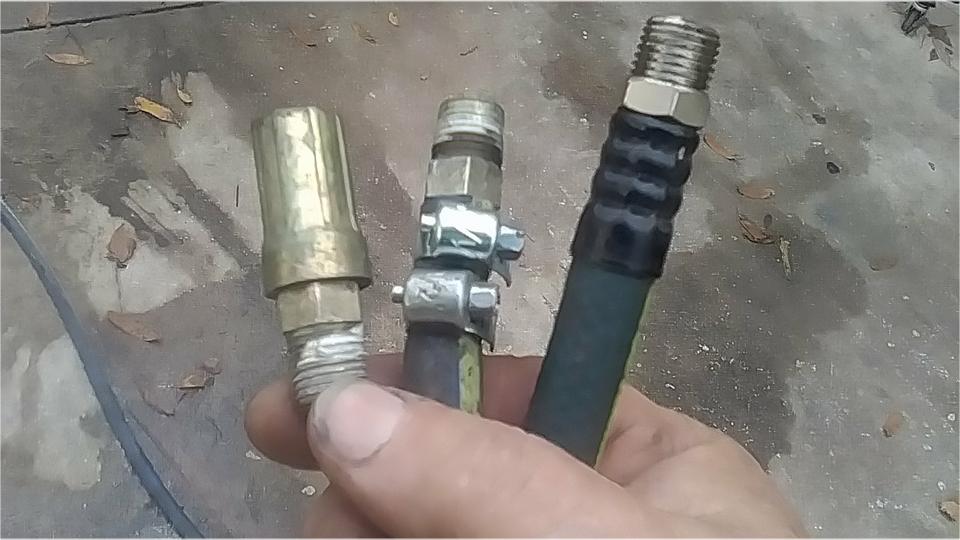
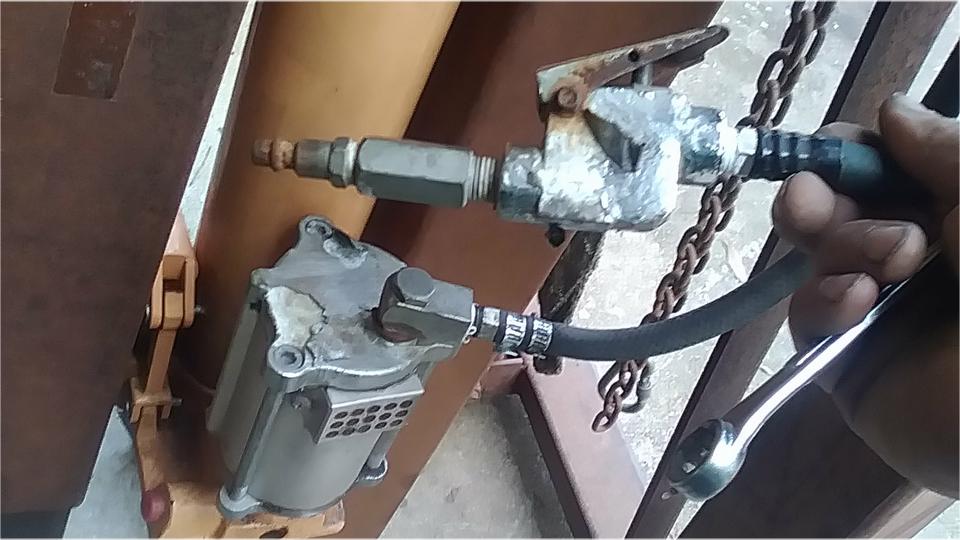
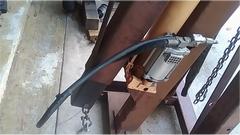
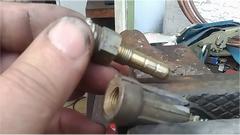
Since we would be using the engine hoist to fix our clutch tomorrow, this was a good time to fix the old leaky air hose on the hoist power lift air cylinder. It looked like a good idea to slit the coupling down the side to remove the outer shell and save the hose barb to use on the replacement hose. Once it was slit and split, it turned out to have a thread at the top end, so we could have just unscrewed it to reuse it. Live and learn. But we could still use the internal hose barb with a hose clamp.
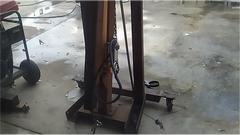
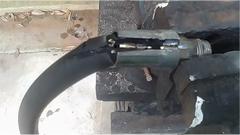
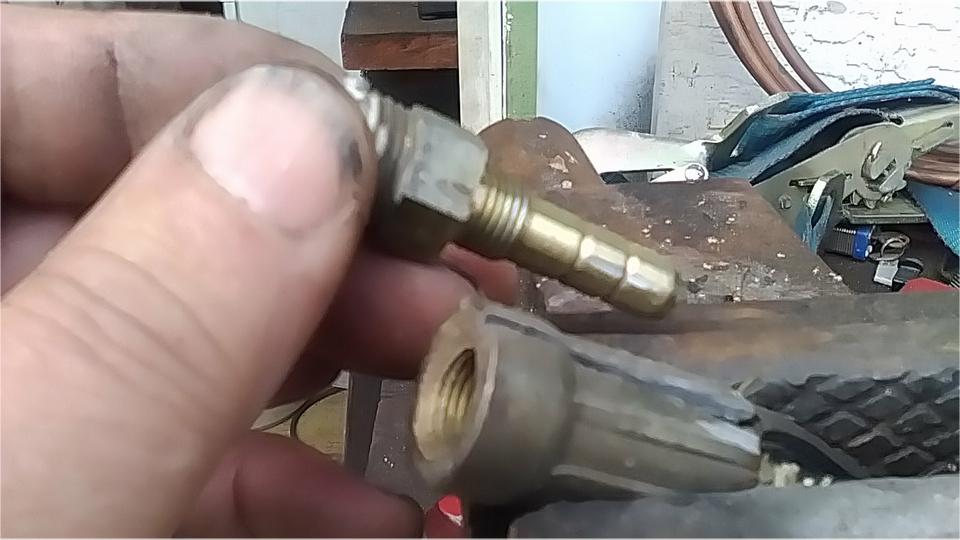
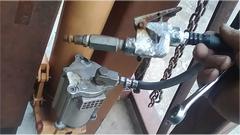
Then we found a good 4-foot used hose with a coupling already on one end, only needing to install one hose barb coupling to the other end with a hose clamp (or two). So that was soon back together, and will save an hour before the engine pull tomorrow.

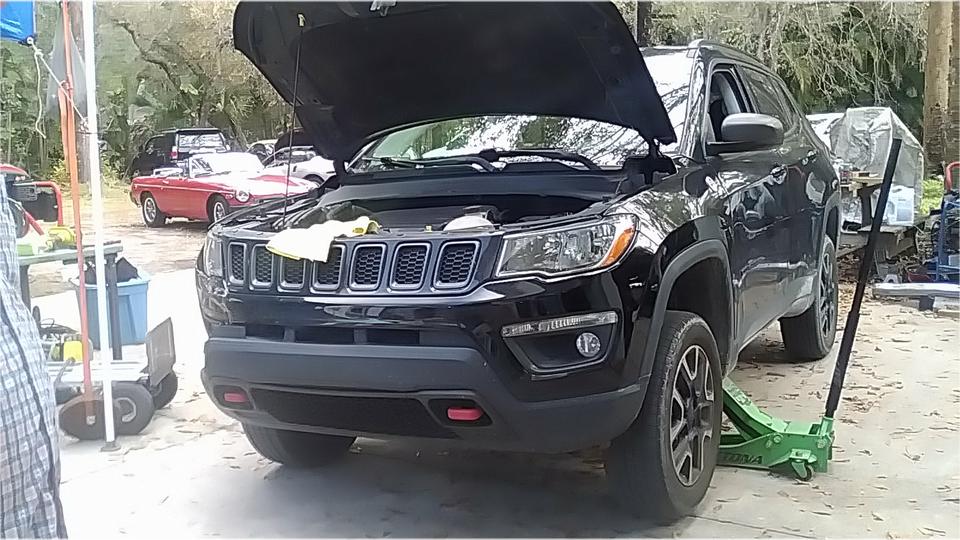
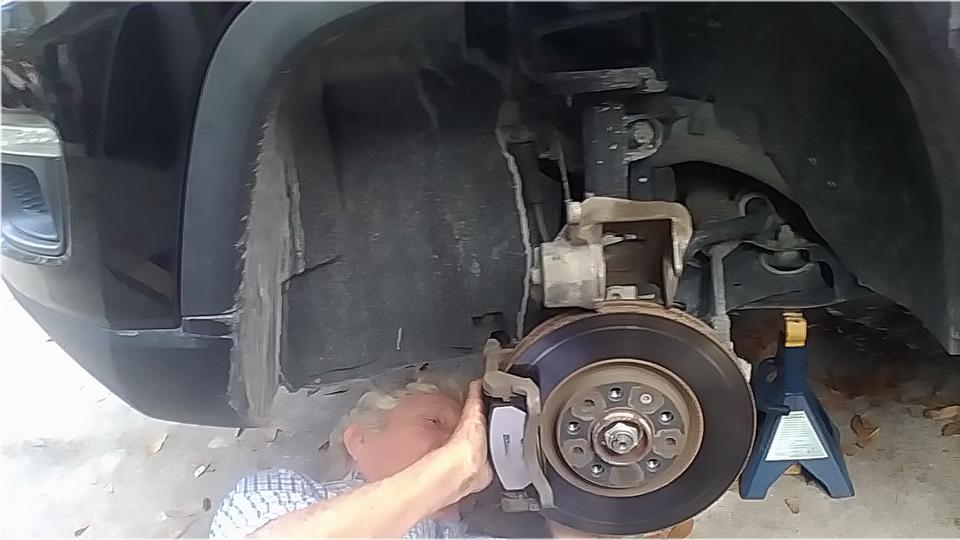
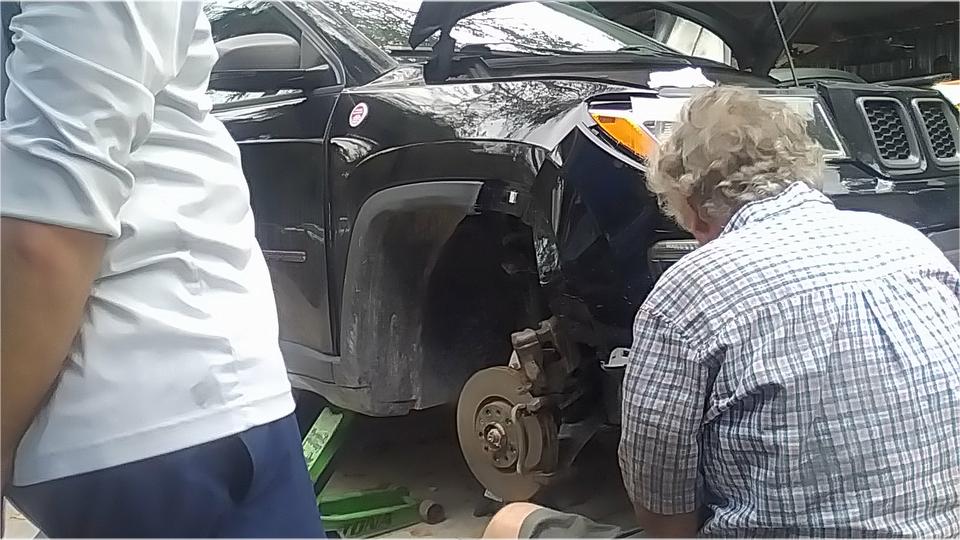
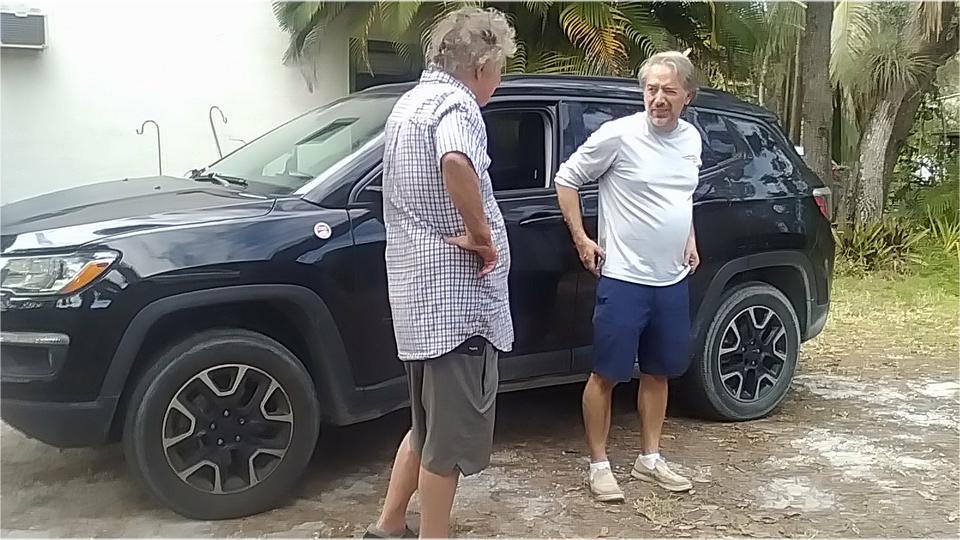
This large sport-ute came in complaining about clunking noises up front with every small bump in the road. There was also a new set of brake pads, just because the car had over 100,000 miles and it seemed like a good idea. The old pads were not badly worn, but did seem to be loose with the anti-rattle clips at the ends. Good example of sometimes just having to take a good look to see what's wrong.

There was also an issue with a recent bump on the right front corner pushing the fender back to jam the door to prevent opening. This would be a covered insurance claim, so best not to tamper with it until the claims adjuster could see it. But at least the car was back on the road with no more irritating clunking noises.

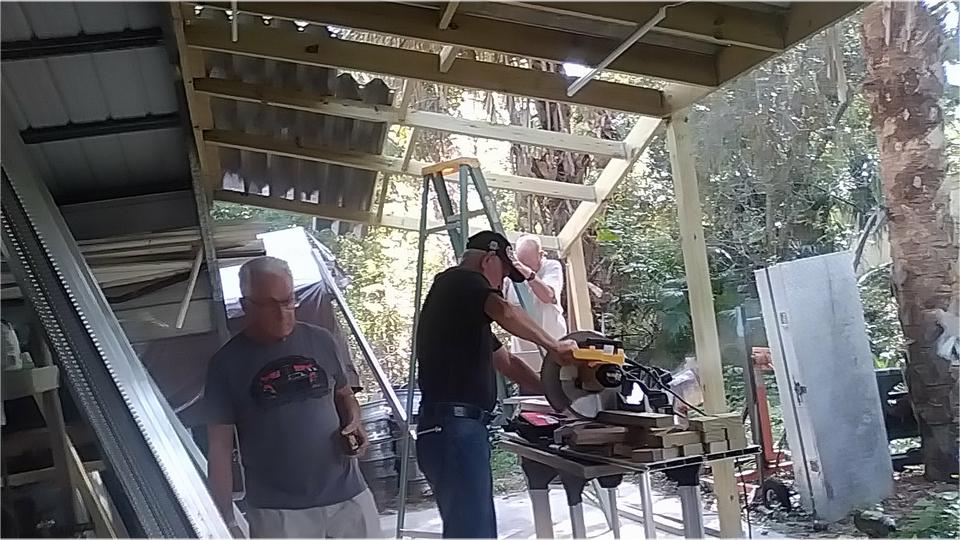
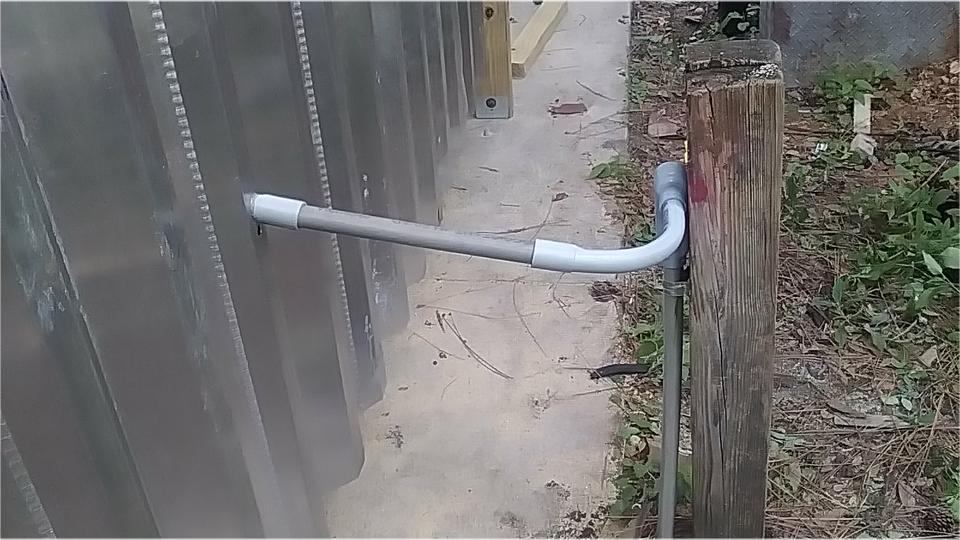
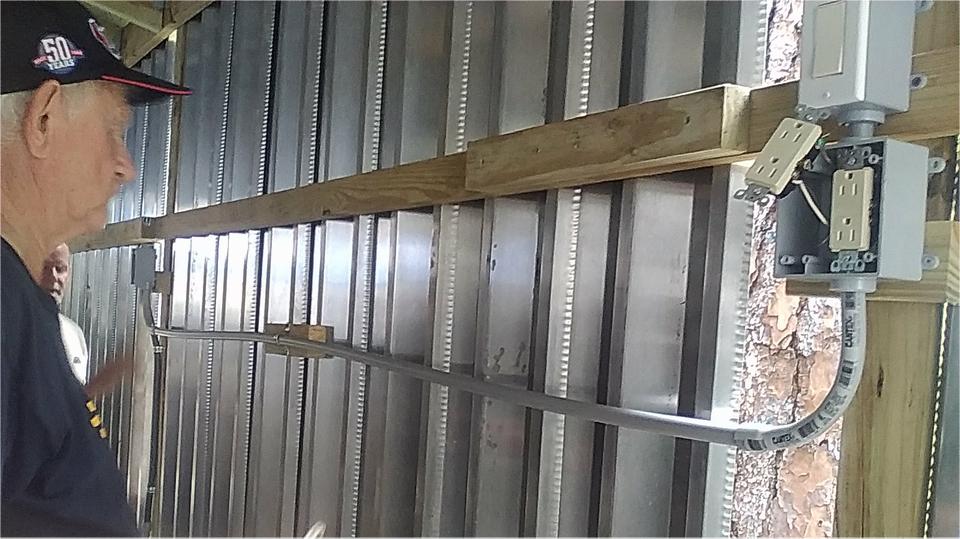
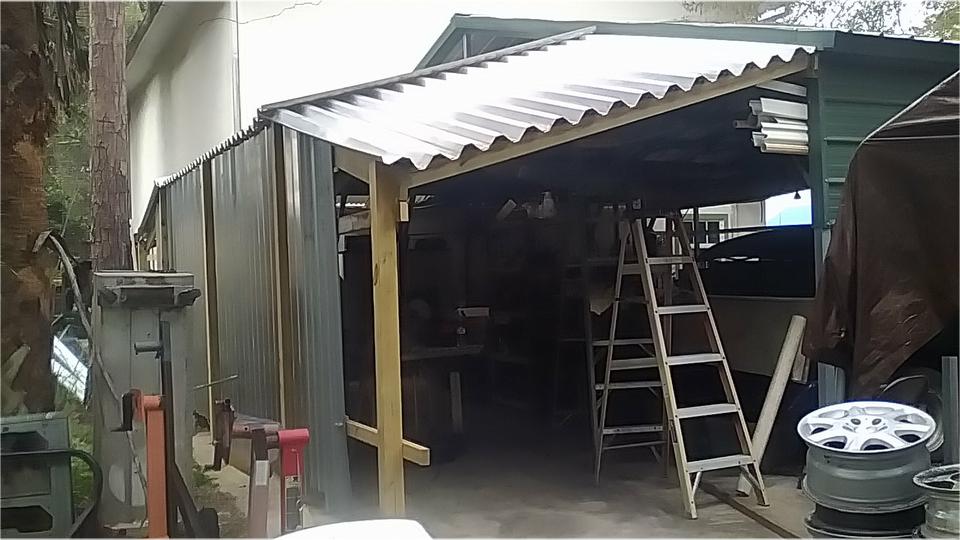
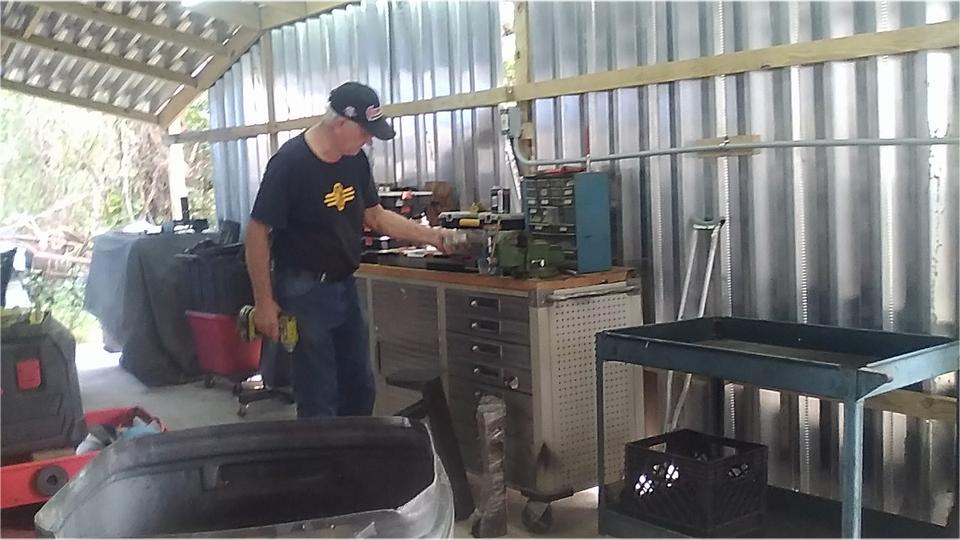
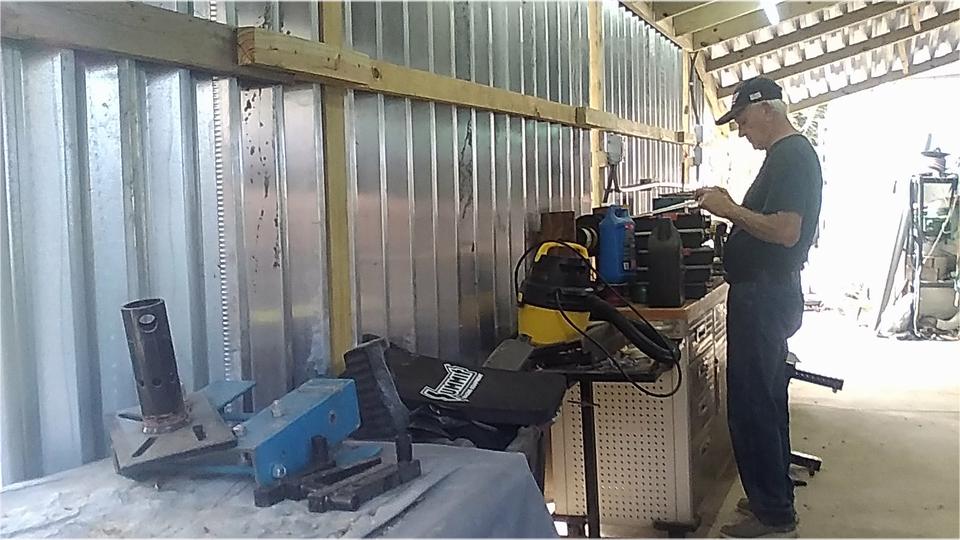
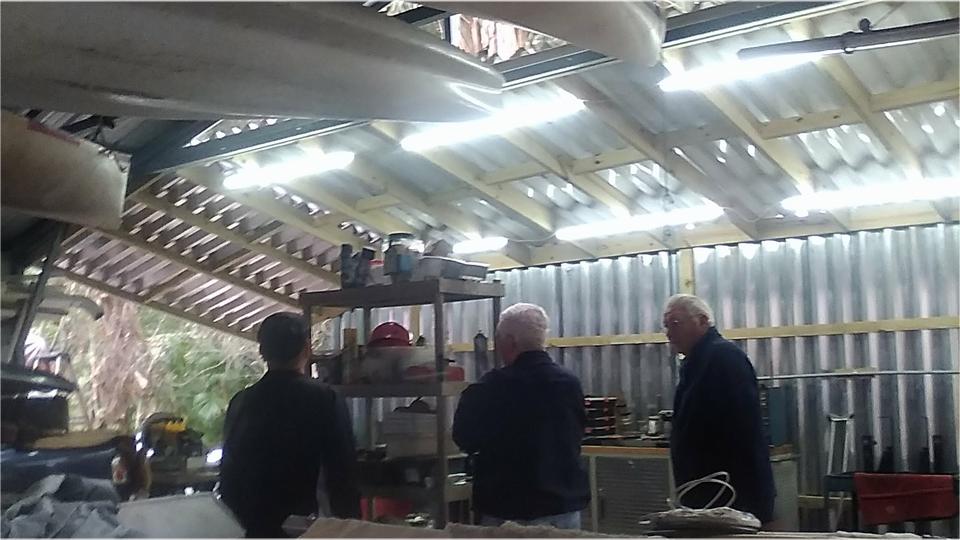
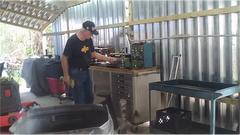
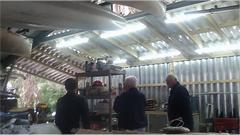
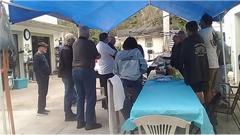
The real good news of the day was the guys putting in some productive hours on the covered work space rear portico. What didn't appear to be half finished in the morning looked a lot different by mid afternoon. They had some LED light tubes overhead, and nearly all electrical work was finished.
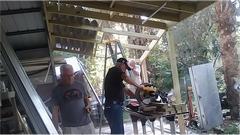
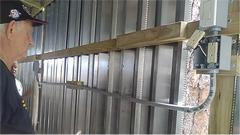
The roof and rear wall were mostly finished, intentionally leaving rear corners open for ventilation (and high wind force relief). Everything looking like work station currently along the back wall is on wheels, but they will likely install a stationary work bench there (to keep people from clogging up the work space with parked cars). Bully for these guys. Shade and rain canopies and ventilation are greatly appreciated in southern Florida.


Saturday, January 21, 2023:
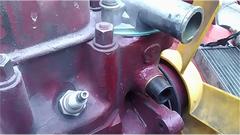
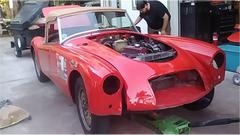
Now it's our turn on a day with few people present to interfere, and top priority is to fix the failed clutch in the MGA. Bonnet off (6 thumb screws),drain coolant, remove two radiator hoses and disconnect the overflow hose, zip out 6 bolts with a power ratchet, to lift out the radiator.
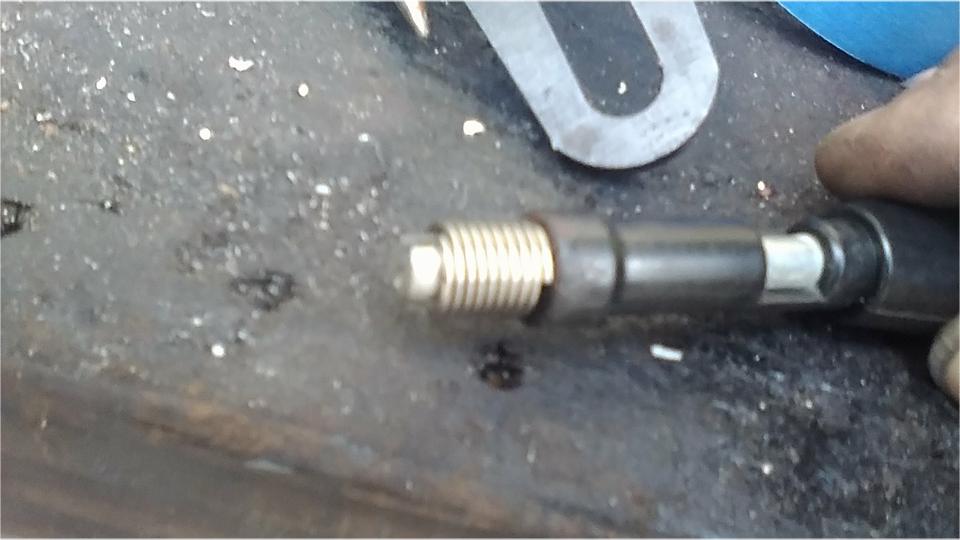
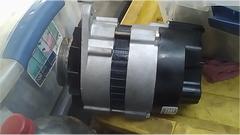
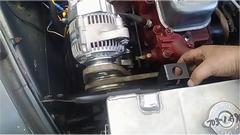
Pause the action to fix a problem with the last two replacement alternators. These (now foreign made) come with a coarse thread in the cast housing for the adjuster link anchor screw. Sometimes it may be 8-mm, requiring a metric screw and a metric wrench. Sometimes it may be 5/16-18-UNC (as original) coarse thread in the soft alloy casting. In any (all) case they are prone to stripping the thread. This one coming out of the car was stripped with the first installation, requiring use of a longer bolt with nut (a royal pain to us another wrench underneath the alternator).
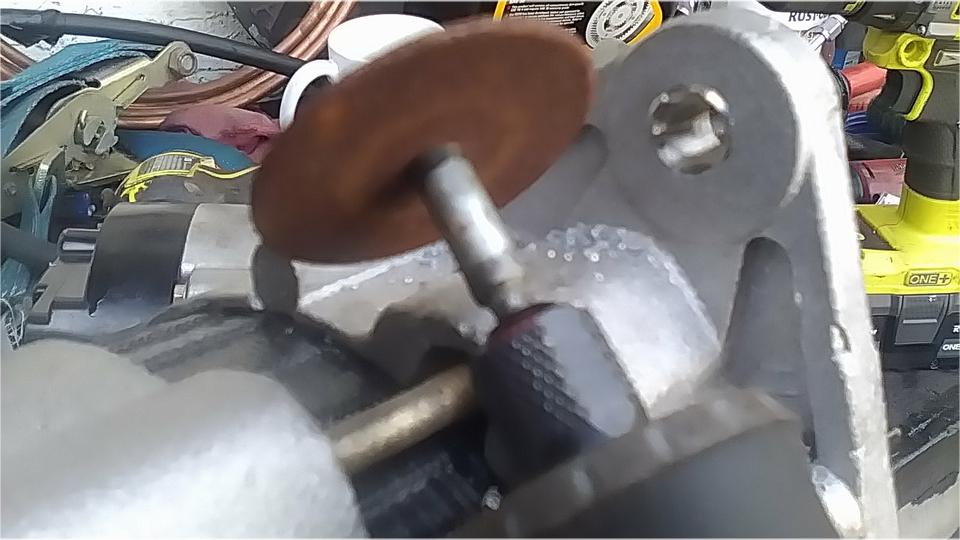
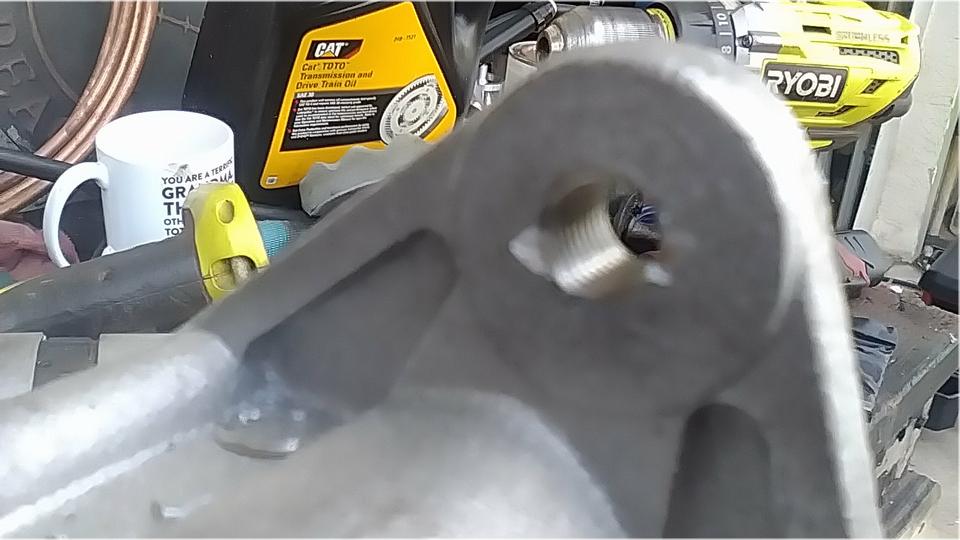
So it was time to drill it out and install a 5/16-24-UNF fine threaded Heli-Coil. Use 21/64" drill, then the special Heli-Coil tap, followed by installation of the Heli-Coil insert using the special assembly tool.

The standard insert is longer than the thickness of the housing front plate, so use a thin abrasive cut-off wheel to cut the insert diamond wire just below flush in back. Then we can go back to a shorter bolt for easier installation. Repeat also for the spare alternator carried in the trailer.


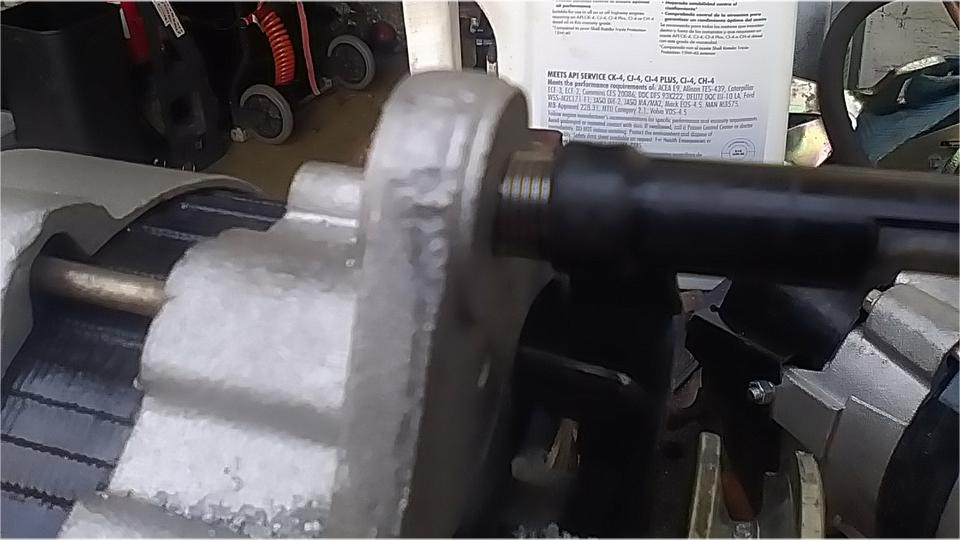
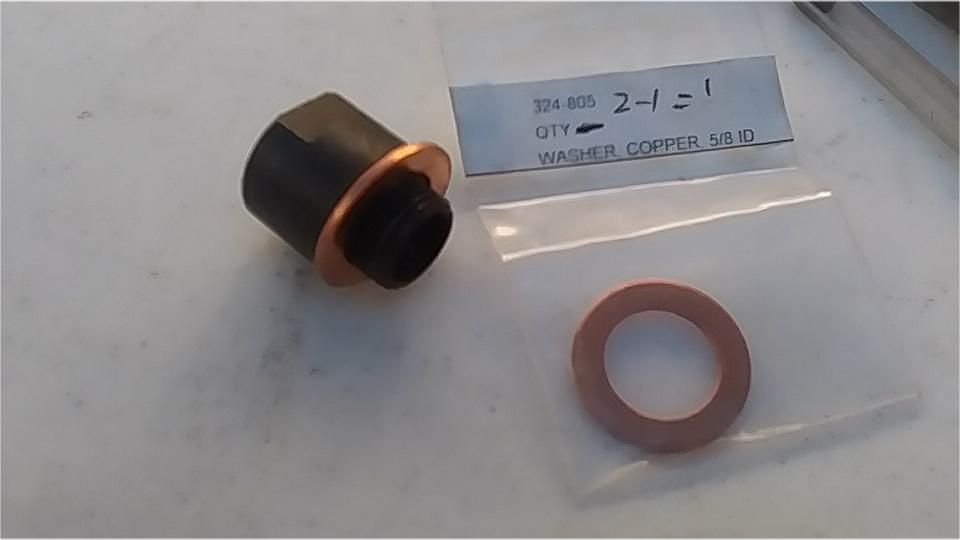
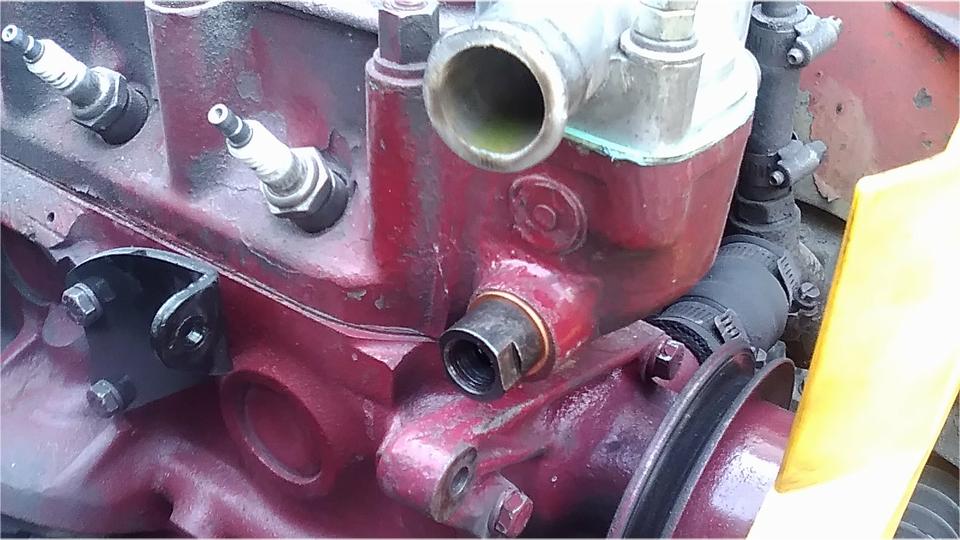
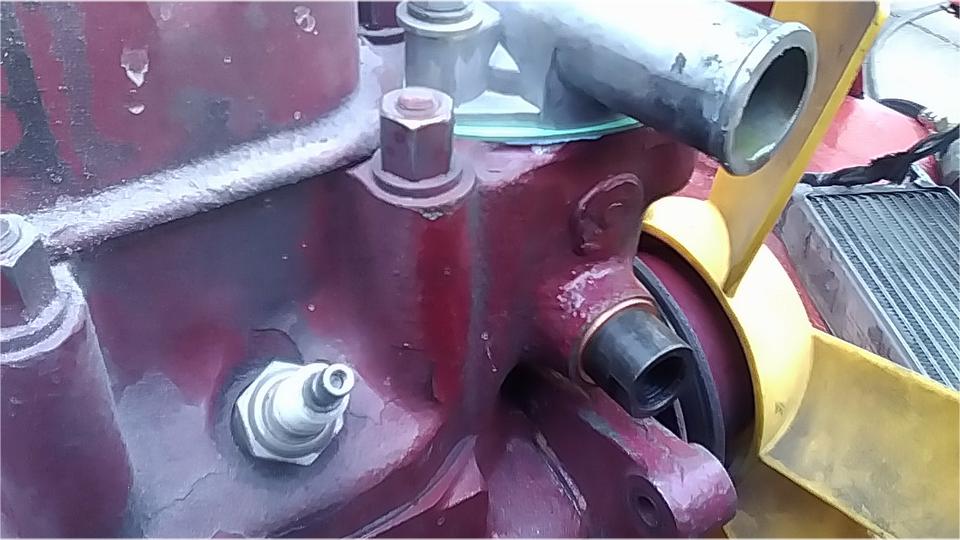
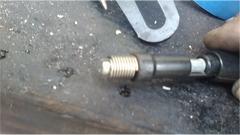
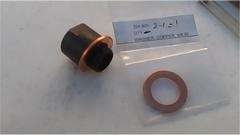
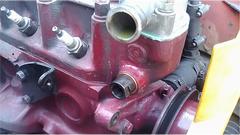
While we were disassembling that side of the engine bay, another brief pause to install a new piece we have been sitting on for a while. Where the analog temperature sensor screws into the side of the cylinder head, depth of the port is a bit too much for some modern replacement thermal probe fittings. If you would install this adapter (with a copper seal washer), the result is a slightly shallower port where the newer fittings can screw in and seal with no modification. The adapter is Moss Motors number 361-065 ADAPTER, temperature gauge, 1275cc 1968-'74 Spridget cars with cross-flow radiator.
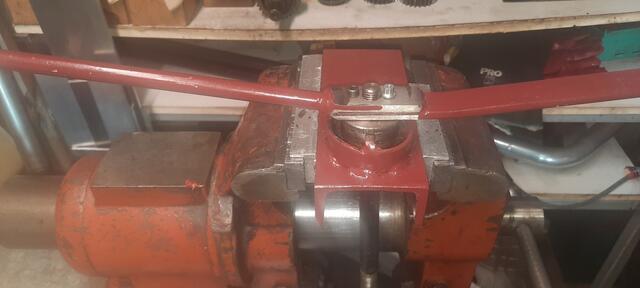
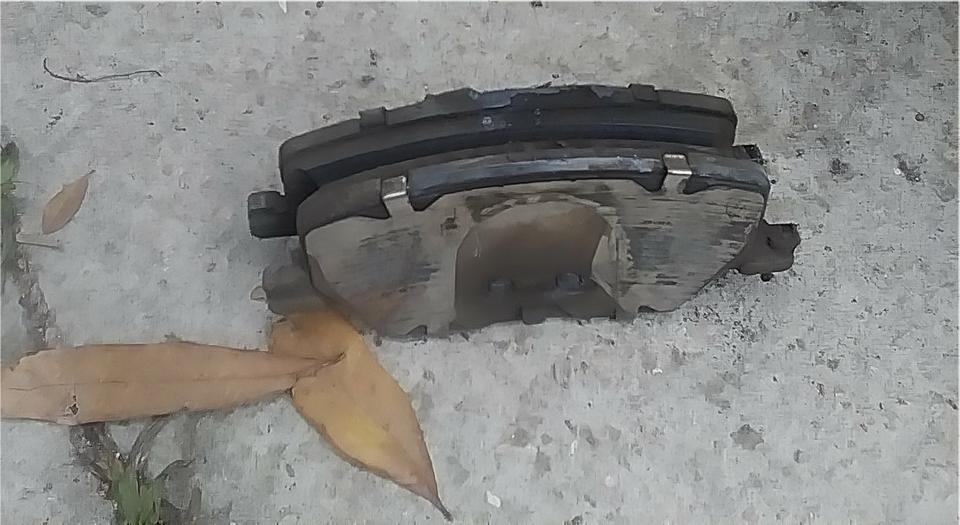
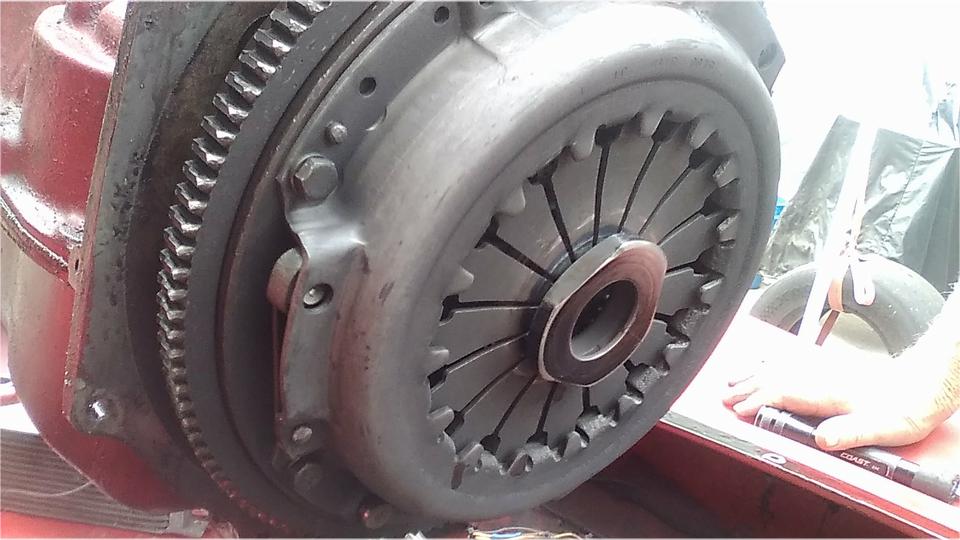
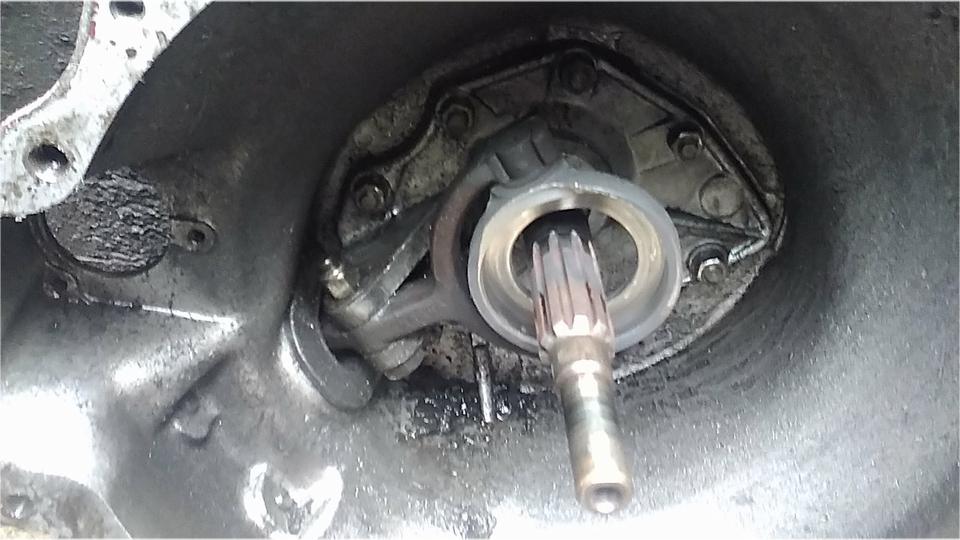
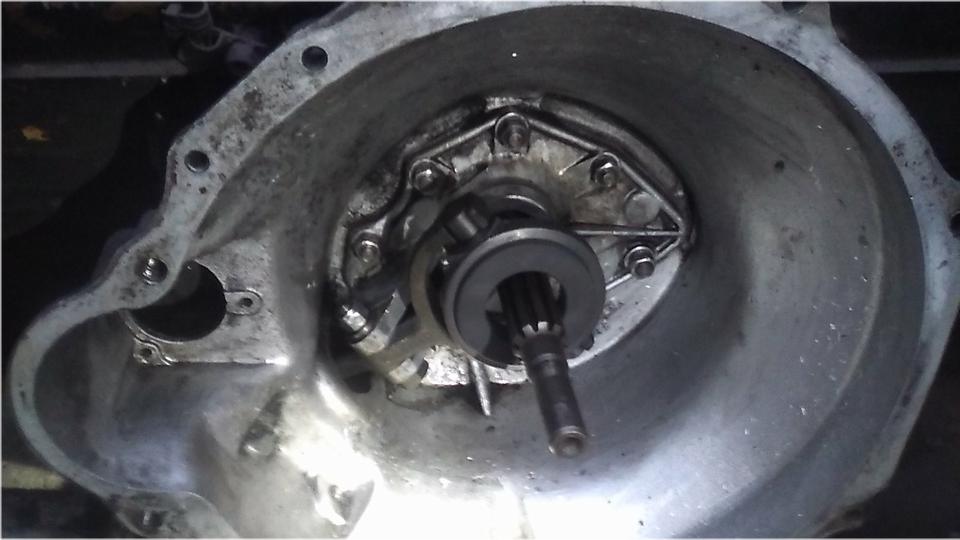
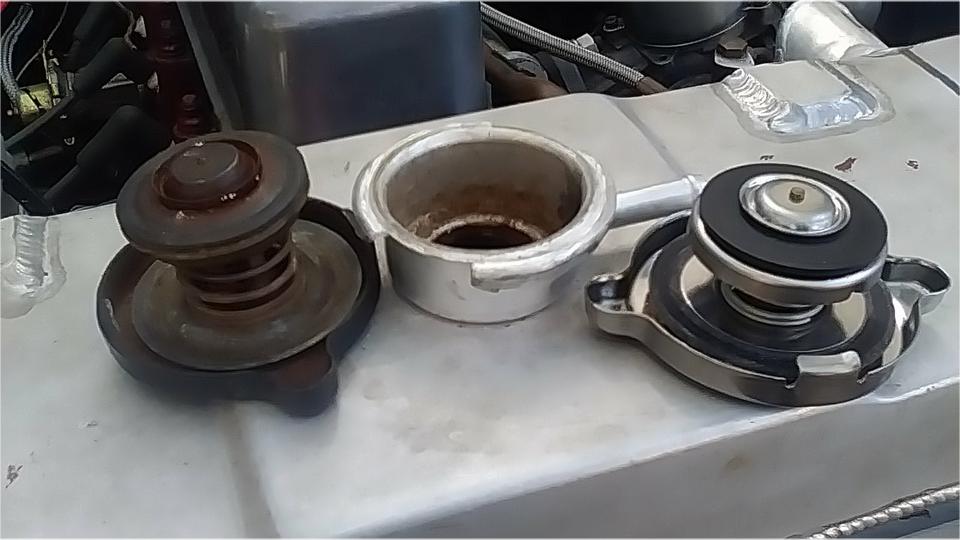
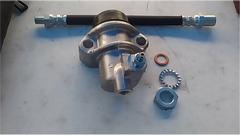
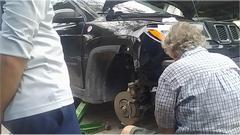
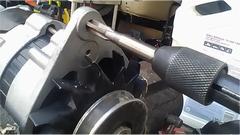
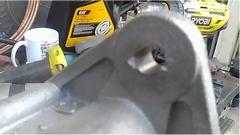
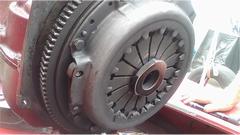
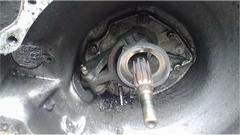
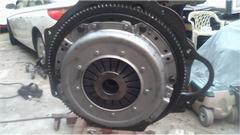
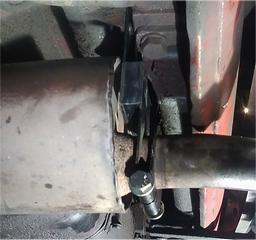
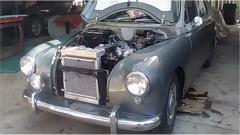
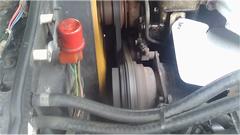
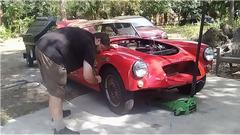
Then on to the serious part we came for. Remove starter motor, carburetors and manifolds. Detach oil cooler hoses, engine mounts and bellhousing bolts, and lift/pull engine out of the car. This gives us a look at the MGB clutch pressure plate that has been molested by a failed carbon release bearing. Click on picture below right for a 5-second video of the damaged pressure plate that will now have to be replaced.
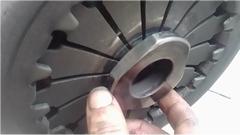
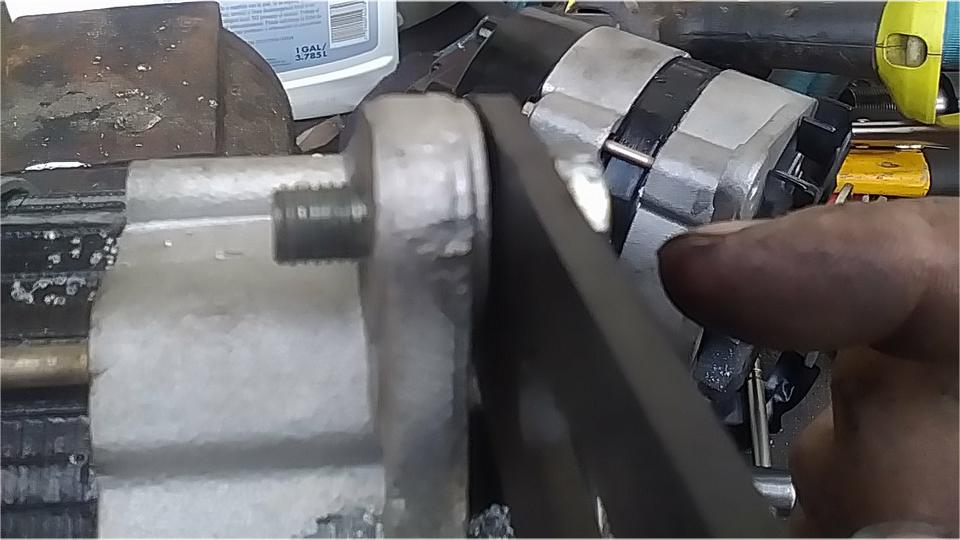
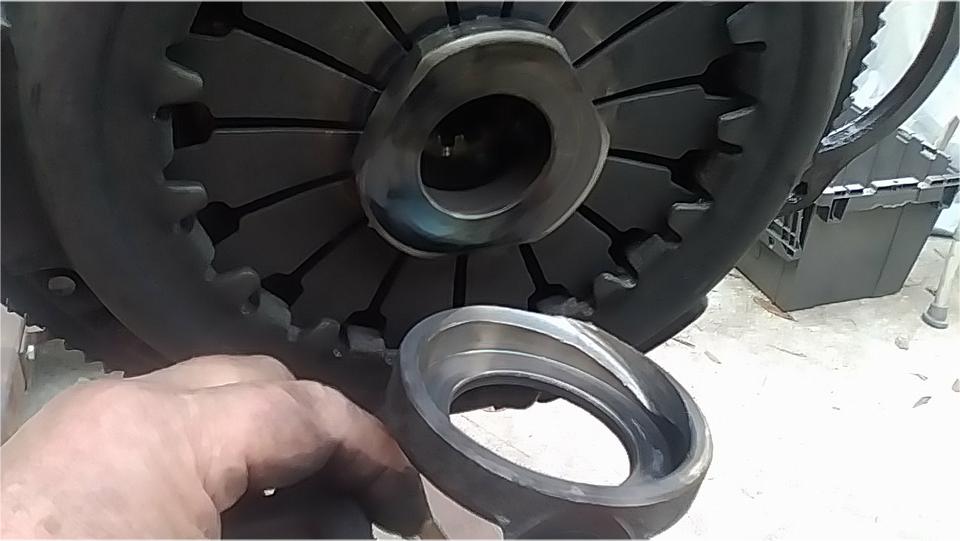
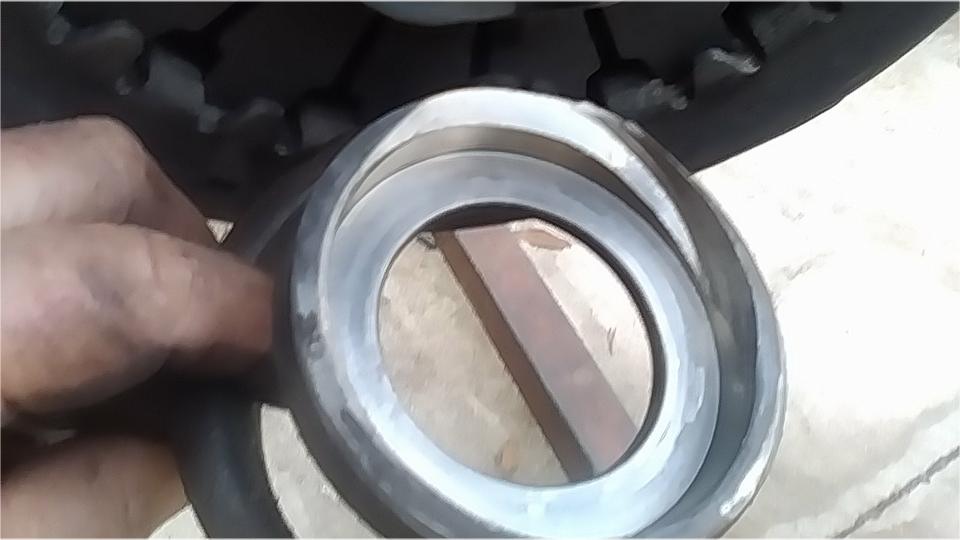
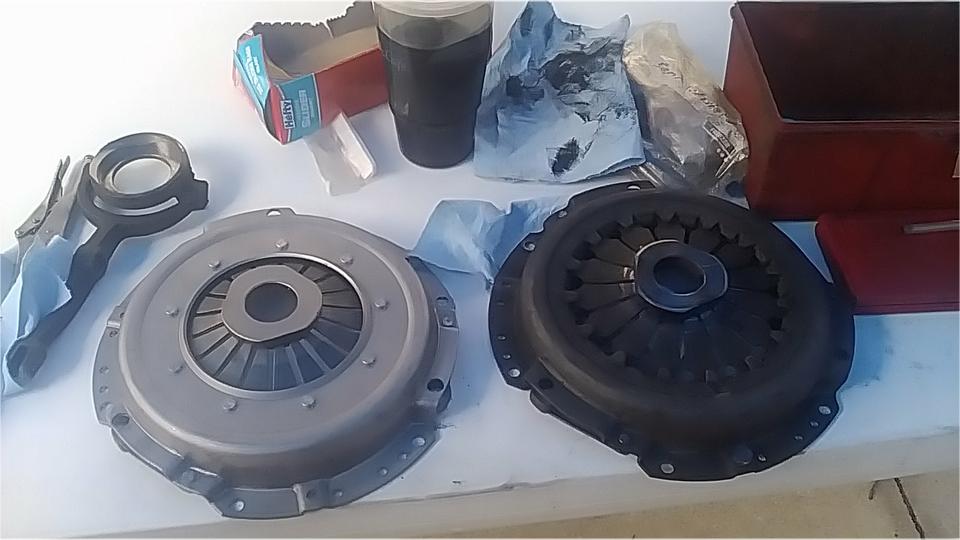
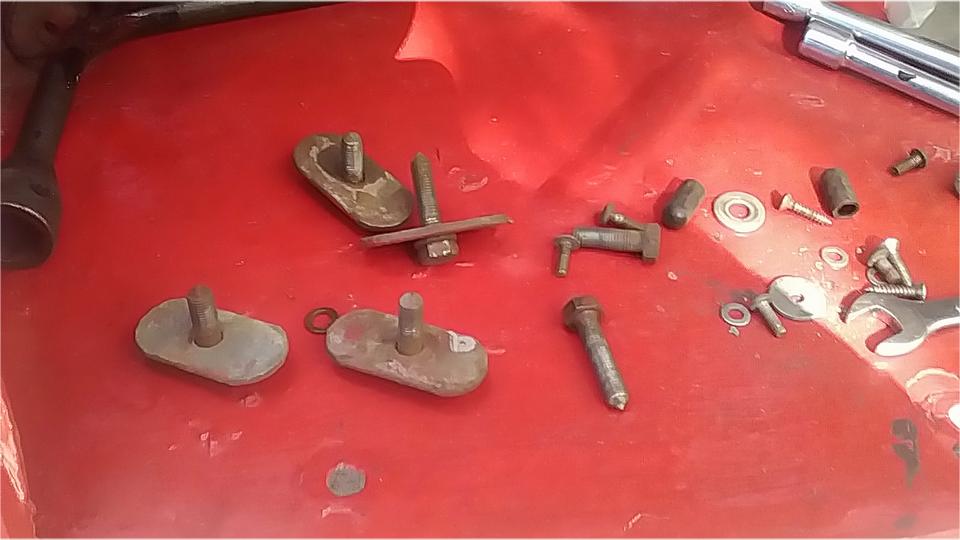
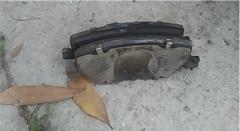
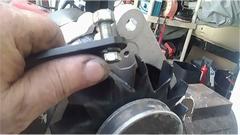
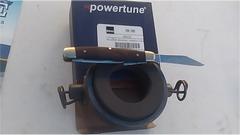
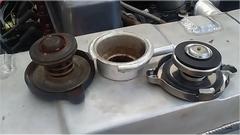
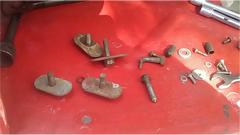
There is the culprit that caused all this damage, the failed carbon release bearing. You can go back to August 21 in the travel log to review the problems I had when installing this "Faulty Part". The piece was too wide across the trunnion thrust surfaces, requiring modifying the release arm to make it fit. It really rubs me the wrong way to have to modify a perfectly good original part to accommodate a faulty replacement part. Now that we have a better original style release bearing, we have to throw out the modified release arm and replace it with another original style arm (good money after bad). In retrospect, I suspect the carbon was also too soft, which would definitely cause such a failure just about this time, 4-1/2 months, 8,478 miles to failure.
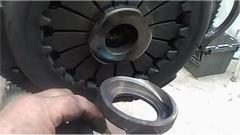

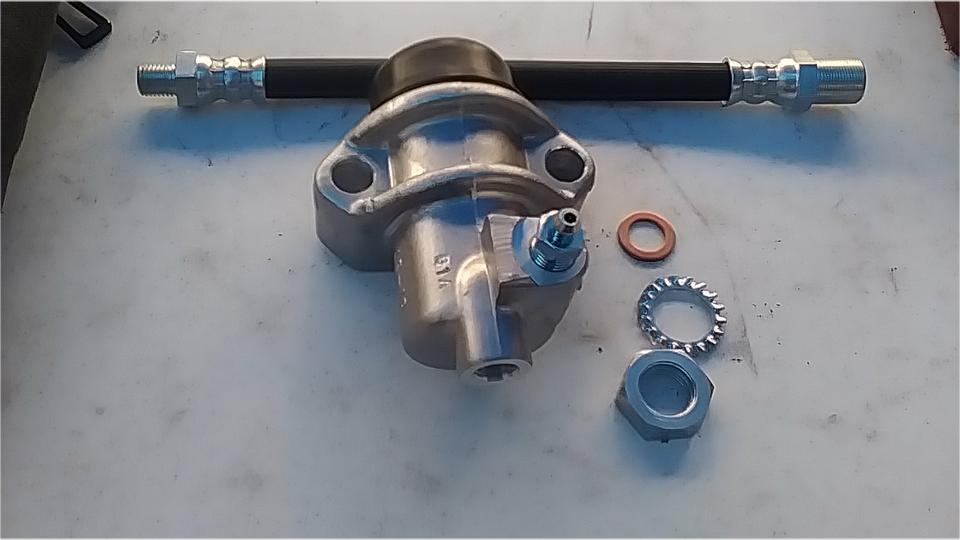
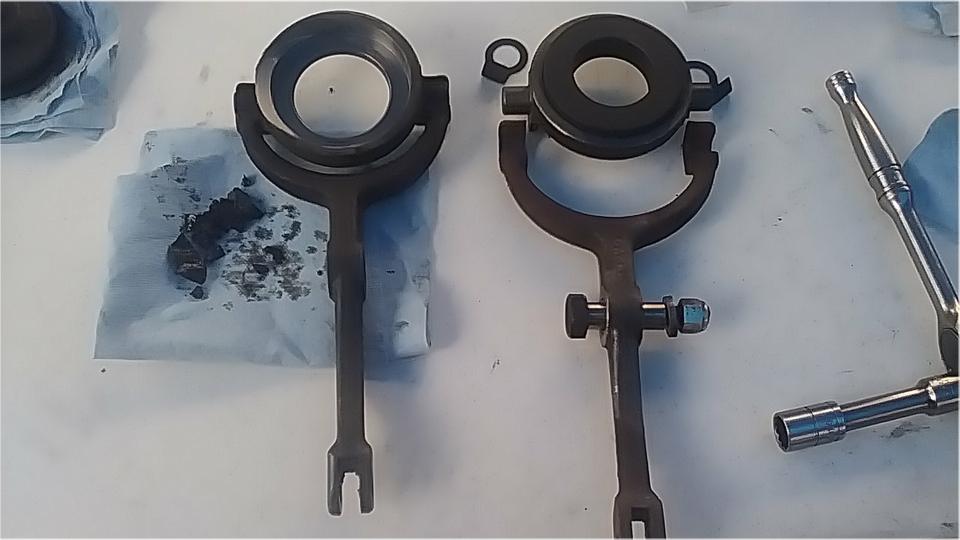
Failed release bearing and modified release arm on the left (with some of the tailings that came out of the bellhousing). Replacement original style release bearing and another original (not modified) release arm on the right. Rubber dust excluder boot that also failed in 4-1/2 months. And I pulled the new rubber boot apart with my fingers when trying to push it over the clevis end of the release arm. The car will now be running without a rubber boot for a while, until I can find a better one. Probably not a big issue, as the car has been running with a perished (rotten) rubber boot most of the time for the past 10 years.


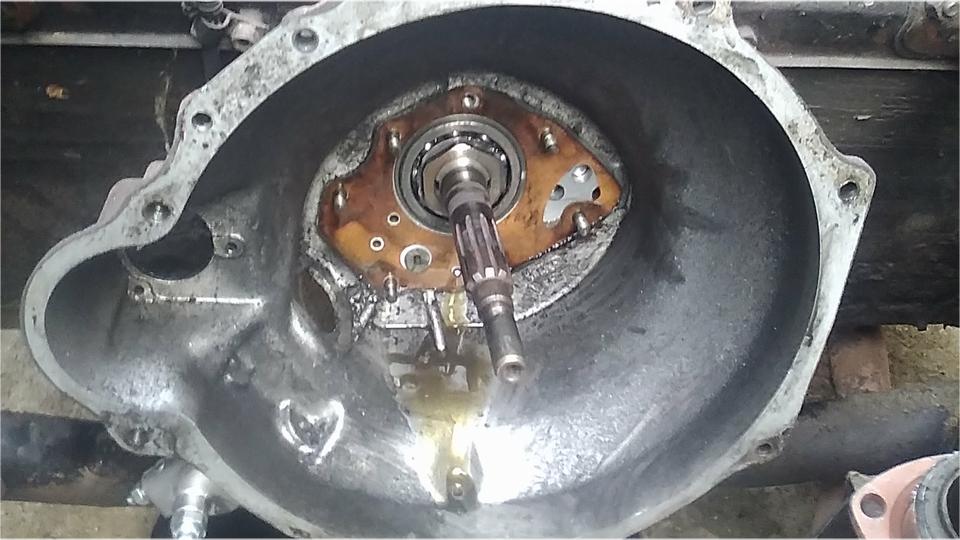
There was some minor shrapnel damage inside the bellhousing, not enough to put it out of service. The gearbox
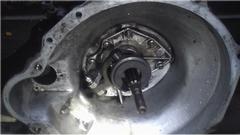
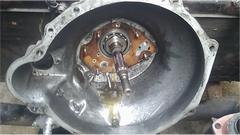 front cover suffered some with the release arm wobbling significantly sideways, so it was prudent to replace the front cover along with the arm (and new pivot bushing and bolt). The low mileage clutch friction disc is being put back in service, but otherwise everything between the flywheel and face of the gearbox was replaced. That's about $300 in parts and a full day of labor to fix damage caused by a faulty $25 release bearing. Is anyone else concerned about the poor quality of replacement parts?
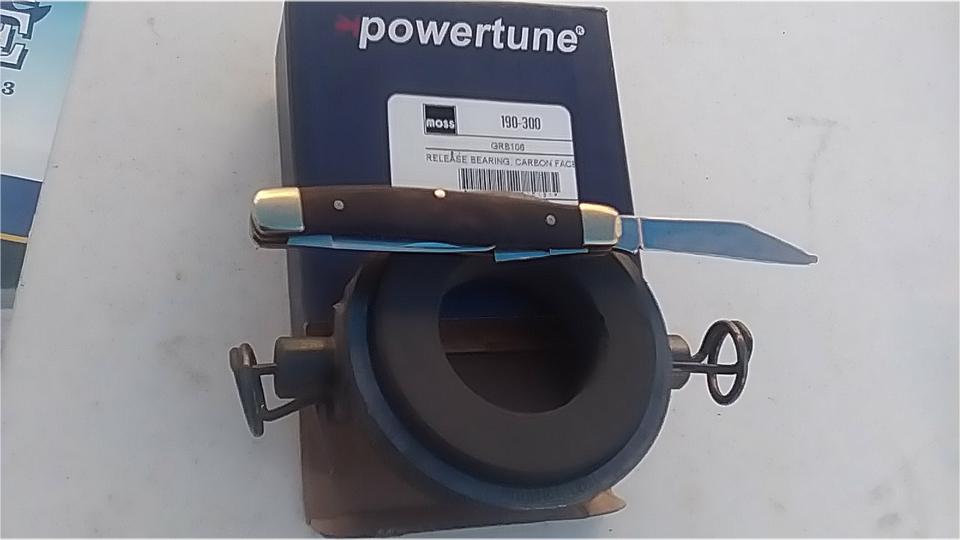
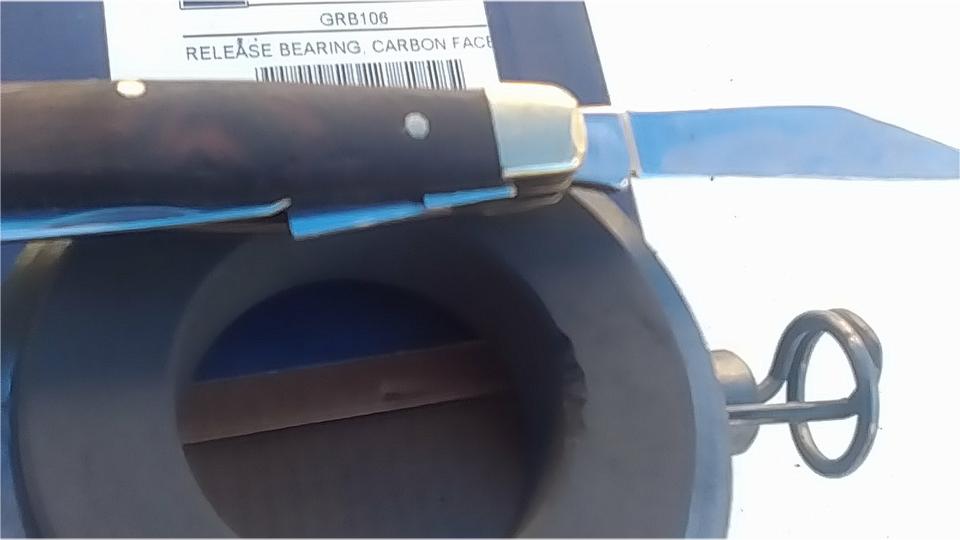
I just bought another MGB release bearing of the same type that failed, Moss Motors 190-300. Not going ever going to install it, but I want to check and test it to see if the bad or soft carbon can be identified and verified. The 3-piece clutch kit this time is Moss Motors 190-807 Clutch Kit (MGB) premium aftermarket (with apparently good release bearing). Time will tell. The pressure plate has absolutely no identifying markings on it. Will have to take a look at packaging materials to see if there may be a clue to origin.
About 10-pm we were dropping the car off the jacks to put fluids in it and fire it up (with great optimism). The radiator drain cock (original type 1/4 turn petcock) was closed before installation, but open and draining when filling the coolant, so I suppose it was bumped open while installing the radiator. Then top end of the lower radiator hose was leaking. Tightening the clamp didn't help, but installing a new clamp did fix it. Something rattling up front, turned out to be a loose fan on the alternator, result of stripped thread on the pulley mounting nut. Not uncommon these days for the replacement Lucas alternators to be made in China or Mexico, and the front nut is very commonly thin and loose in the thread, so this one just bit us. Hoping it may be covered by warranty. Meanwhile, pull the spare alternator out back out of the trailer.


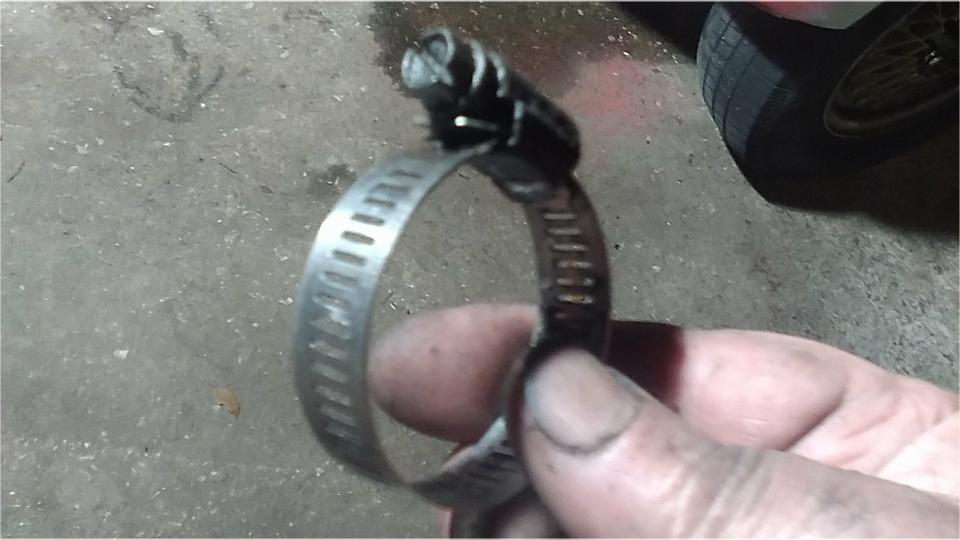
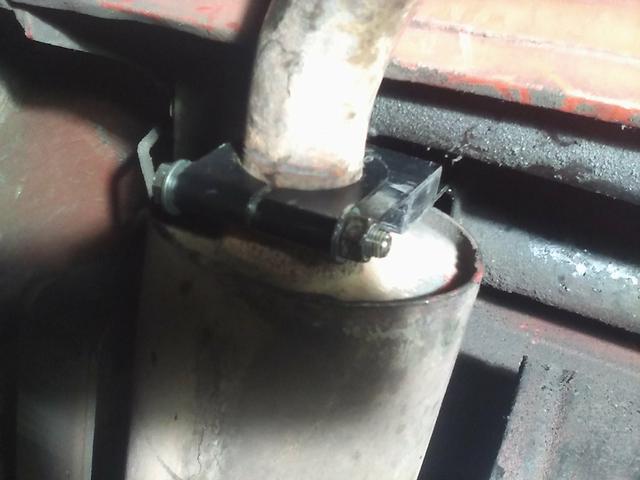
Just to add insult to injury, while working with the exhaust pipe connection to manifold (earlier in the day), we noticed another broken rear exhaust hanger. Not good to drive it that way tempting fate, so we jacked up the rear and changed the rear hanger. It was midnight by the time we got around to clean up and packing away parts and tools, but as always it feels better when the job is done. And it is really nice to have a friend who will tolerate our inconveniences while allowing us to use his facilities. Many thanks to Jerry Wilcox.


Sunday, January 22, 2023:
Mostly a day off to recover from the past two days, and to post the photos and notes from two days above, Also catching up with email and BBS.
Monday, January 23, 2023:
Posted a new tech page for the Faulty Part clutch release bearing made by Powertune, and called Moss Motors to report it, and try to stop sales of these parts. Also had a nice long 2-1/2 hour Zoom tech session with John Twist (University Motors LTD).
Tuesday, January 24, 2023:
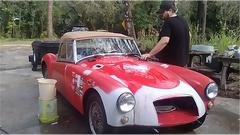
Up and cracking early, nice weather day. First order of business was to clean up the car after all the grimy hand prints from engine R&R for the clutch repair. We had a very large bottle of concentrated car wash detergent with instructions to use 2 to 3 ounces per 5-gallons of water. That's about 200:1 reduction, or 0.5% solution. Seemed like a decently mild car wash, but no way it was going to take away the greasy hand prints from Saturday's clutch job. I tried a touch of the concentrate full on with a damp rag, and that did dissolve the grease, so not long to get the gunk off and rinse repeatedly to end up pretty clean.
Then we were wet sanding primer and cleaning up the cowl vents, and decided to go ahead and wet sand the bonnet to paint that at the same time. Easy enough to paint the whole nose at once up to the windscreen, and good opportunity to refresh the badly faded 8-year-old paint on the bonnet. Yes, I do intend to feather the paint around the stickers and leave them there. Nuts, huh?
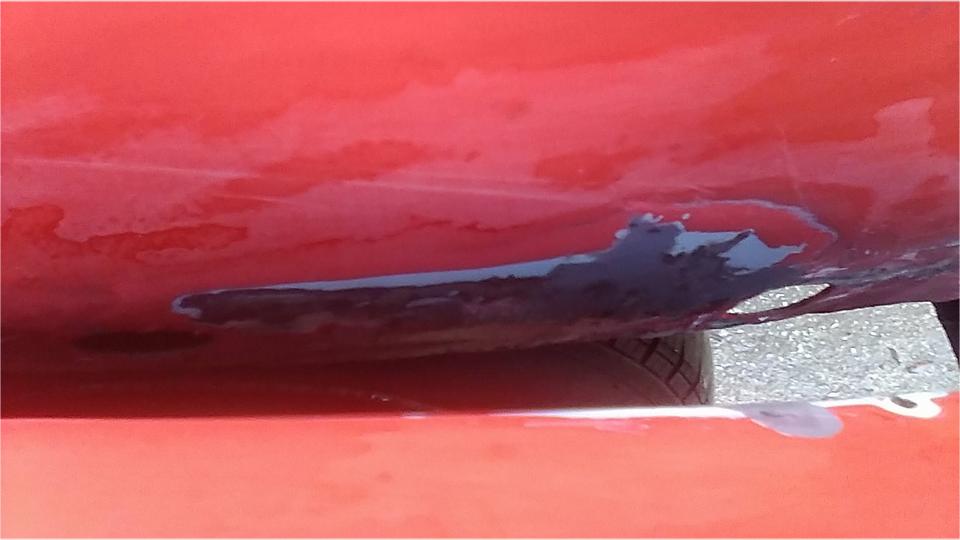
Then we jacked it up a bit to remove the one bolt from the left wing to go after some paint blisters along the piping. Prop the gap open, and grab a flat file. Sure you know what paint blisters are. Just hoping for not too much rust under the paint, and get it fixed before it gets worse.

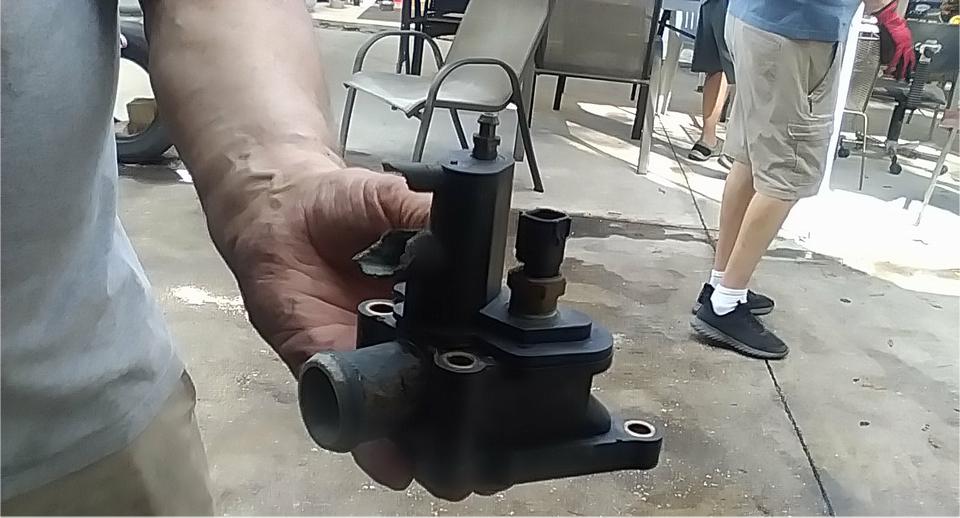
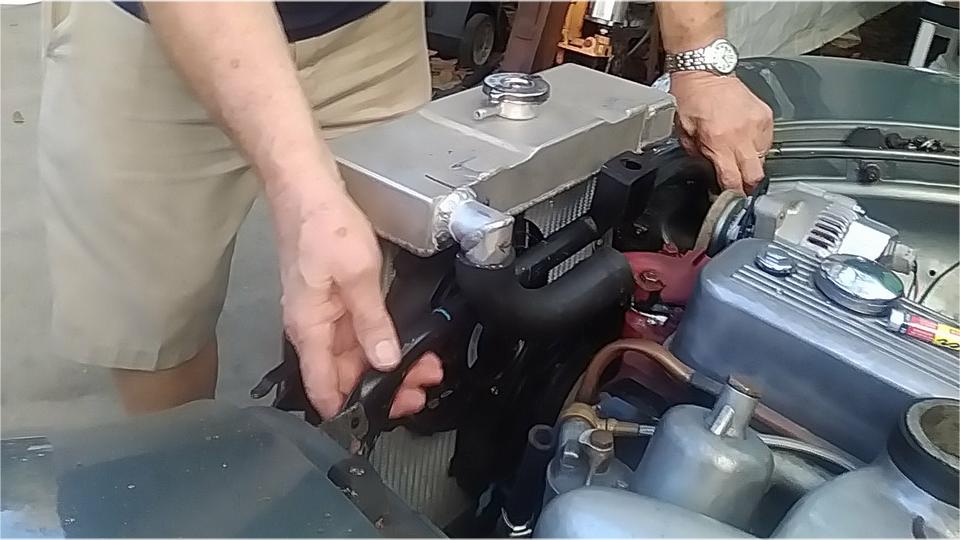
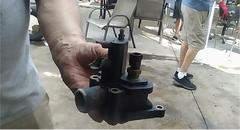
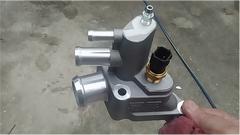
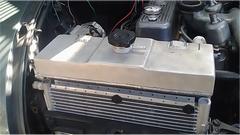
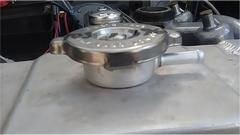
Then I got side tracked slightly when John Shoemaker opened his latest delivery and brought out the new aluminum water manifold for the Chrysler Sebring. Not long to get that installed, top up the water and pressure test it. All good. But then the problem of draining half of the water out before adding coolant concentrate. That's when I had to get back to work and let John figure out how to drain his radiator, and what type of coolant it wanted.
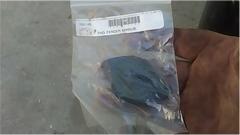
I also got a couple new deliveries, so took a few minutes to check out the remaining minor parts from Moss Motors. One of the parts was a copy of the faulty clutch release bearing with incorrect journal width, incorrect securing clips, and graphite (carbon) soft enough to carve with a knife. This is all about the new Faulty Parts tech page, and trying to convince Moss to freeze sales and trash the junk parts.


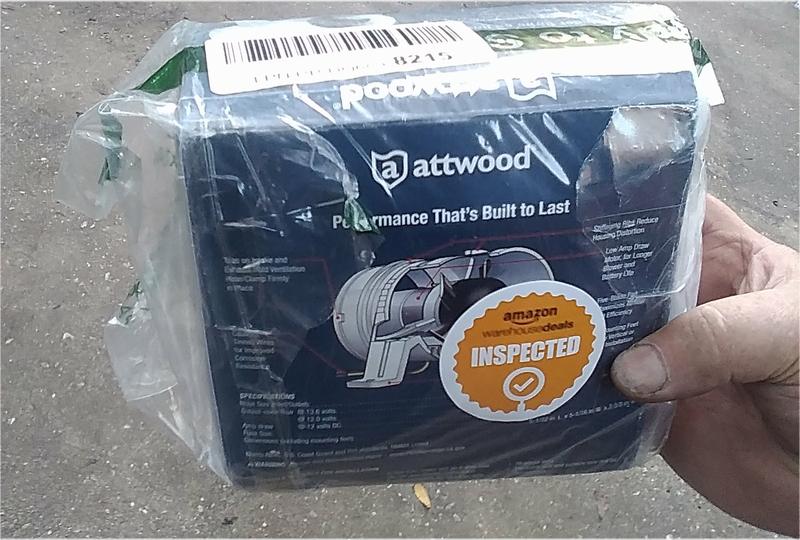
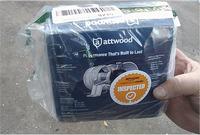 Oh, I also received a new Bilge Blower for carburetor cooling, but that's a small job for another day.
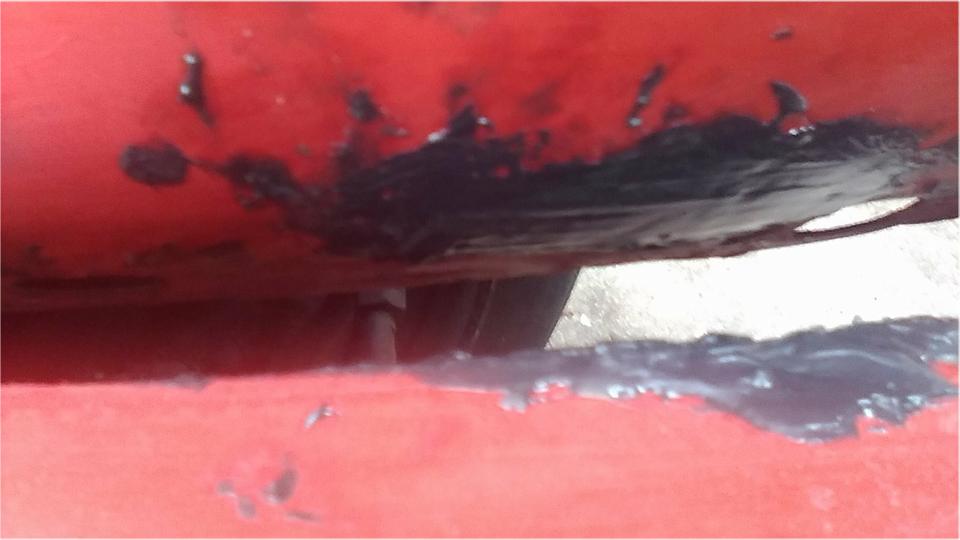
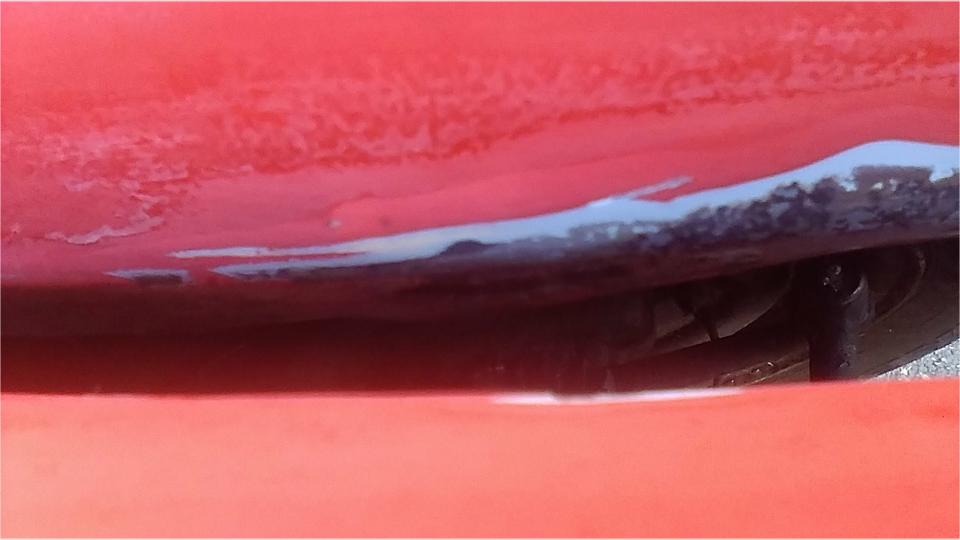
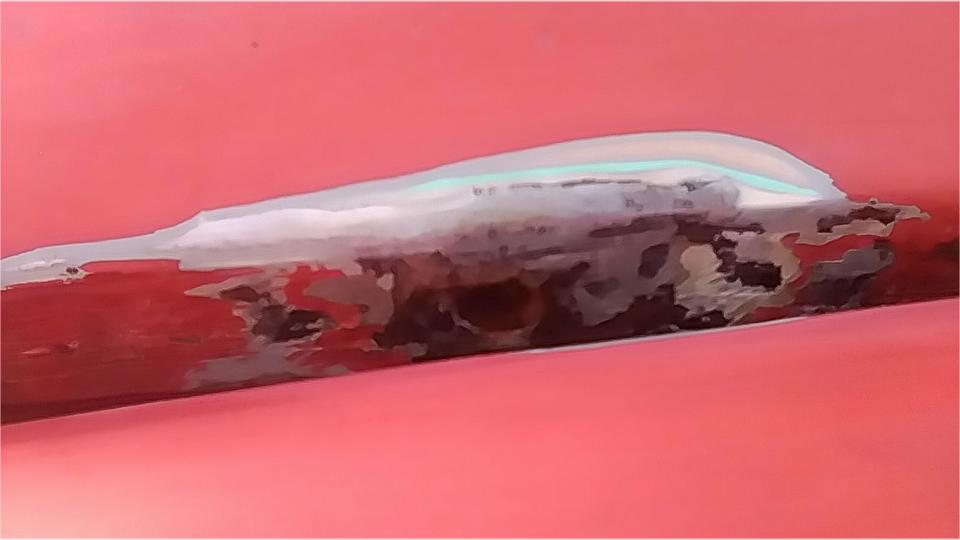
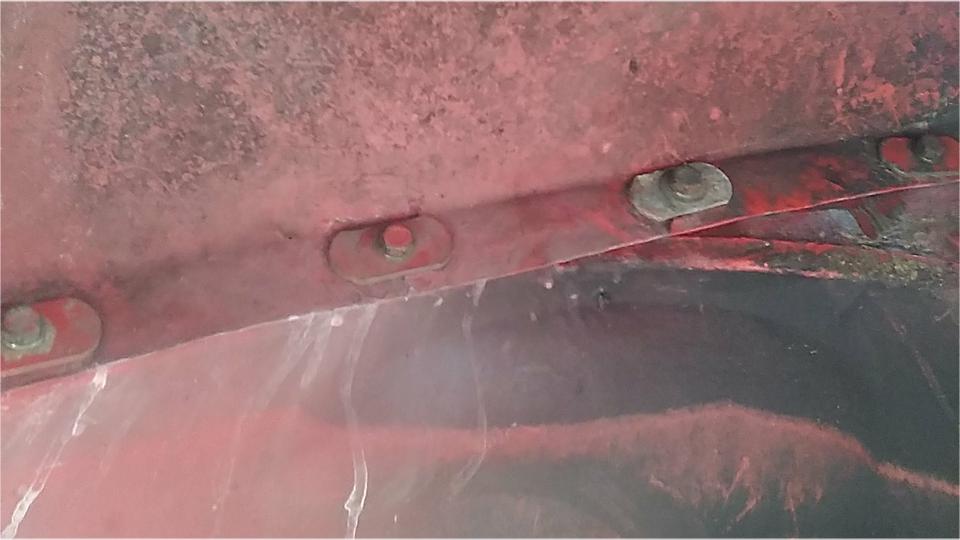
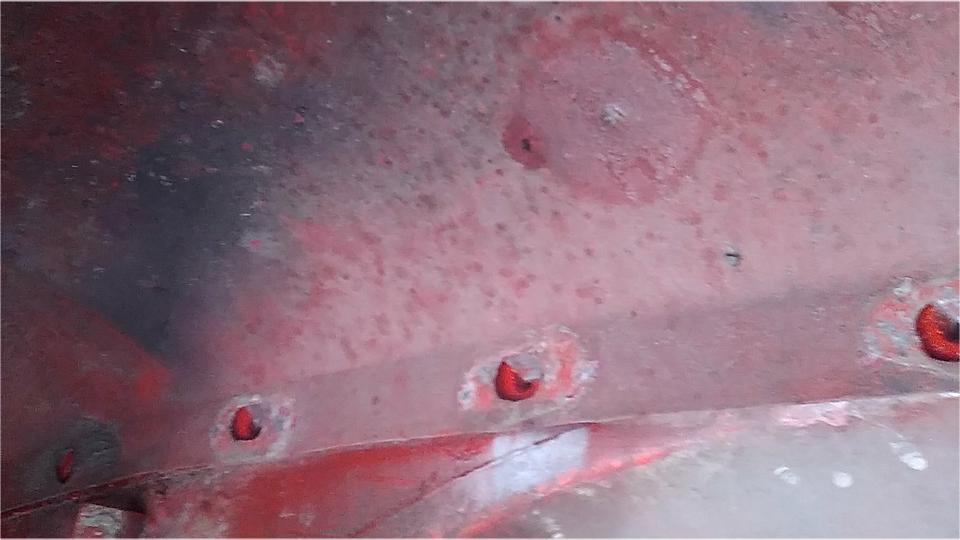
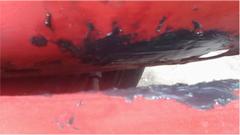
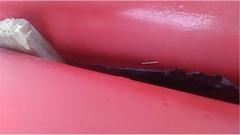
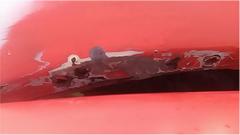
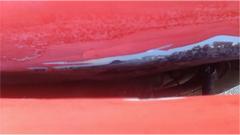
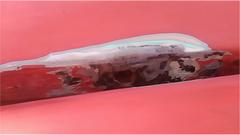
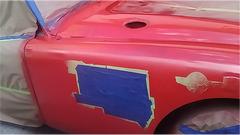
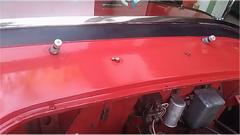
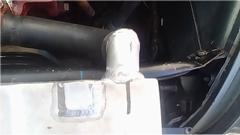
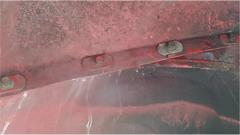
Back after the blisters in the left wing joint. Mostly not too bad, except one point half way between two wing bolts with perforation through the double lap flange where the top body cowling is spot welded to the inner wing. The guru is about to try another new technique here. Grab a power drill and a coarse rotary rasp to hog out the rust, which left one through hole the size of my index finger, another one pinky finger size, and a third one just pencil size. But otherwise solid metal around the holes.
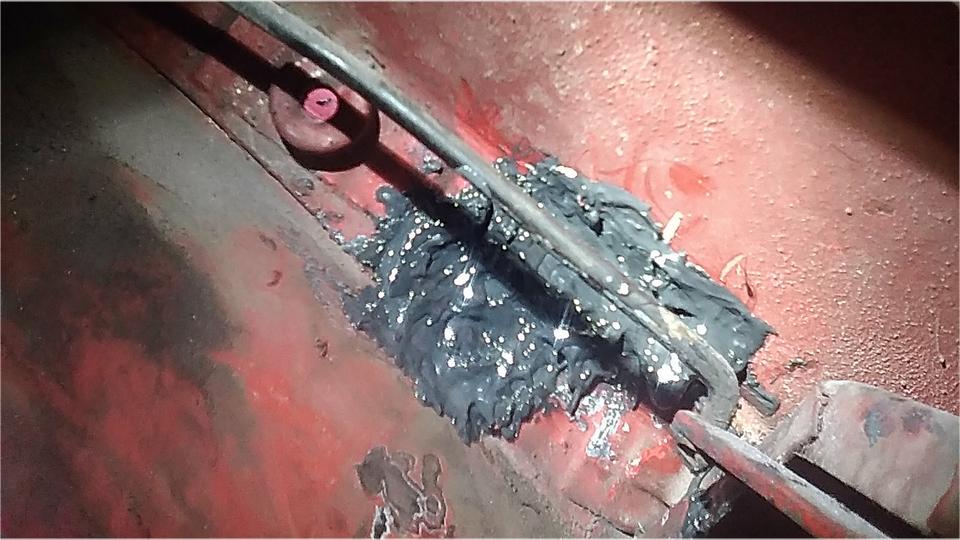
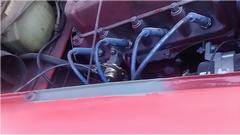
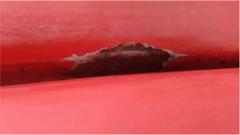
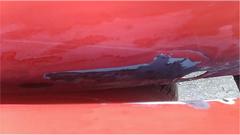
After filing flat and removing burrs, I was going to apply JB KwikWeld to fill the holes, rather like frosting a cake. I have used this stuff for years to patch fuel tanks. It sticks like crazy to bare steel and it does a good job of sealing the surface, even covering some remaining surface rust (but don't leave loose rust underneath). Mixing small dabs at a time (about 4-minutes working time), and spreading it on with a finger tip (really), in 20 to 30 minutes all the holes were filled. Center picture is what it looks like from the top. Right picture is what it looks like inside near the bonnet release pull rod. It will ultimately be brush painted inside. Within the piping joint it will be filed flush to be primed and painted in normal manner.

I also applied a thin coat of the stuff to a few more bare metal spots inside the same wing joint to stop any further rusting. Time will tell. This is avoiding the need to remove the fender for "proper" welding repair. Will leave the filing and finishing for tomorrow morning. If that takes too long (including priming and sanding), it may delay painting for another day. Hey, waddaya expect for a driver car that just wants to stay on the road?
Wednesday, January 25, 2023:
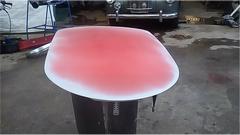
Very good news today, bottom line first. All body work and primer and sanding finished forward of the doors. Expect a light wet sanding early morning, and spray it red by mid day.
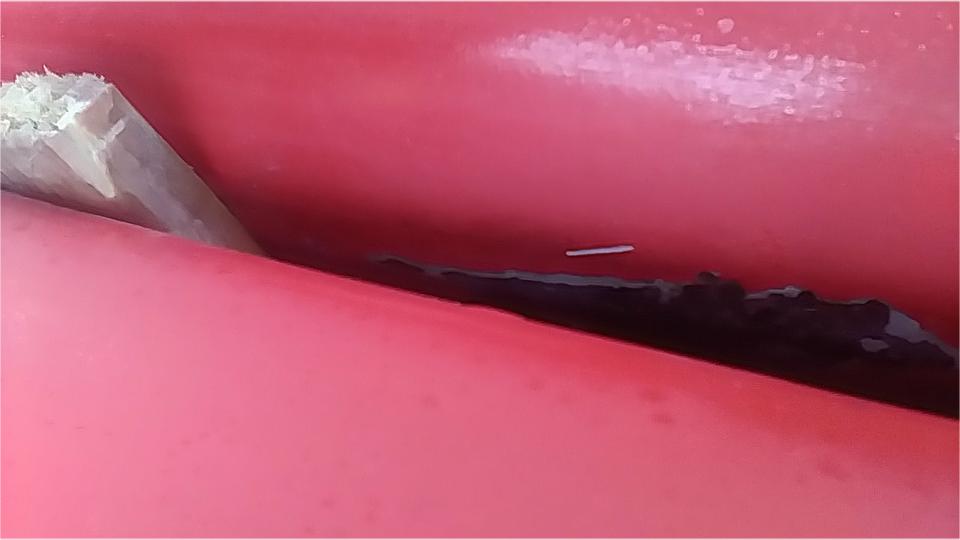
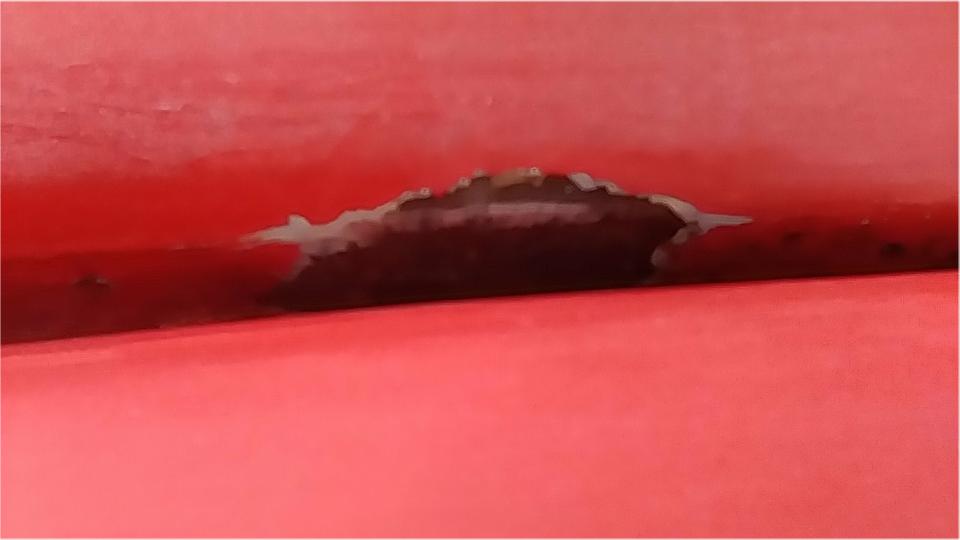
Morning finishing for that JB KwikWeld patch done late yesterday. Grab a coarse rasp file, and shave down the excess inside of the wing piping joint. With the rasp file the material comes off quick, almost like excess Bondo with a spaghetti file.
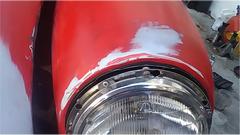
Then a normal fine tooth file for smoothing it down, followed by sanding, much like finishing a Bondo repair. I was surprised how easy this was, and trust me, no rust will ever get under the JB Weld patch. Since we are now committed to painting the left wing, I could touch up some prior painted over rock chips around the head light. And then another brief distraction.
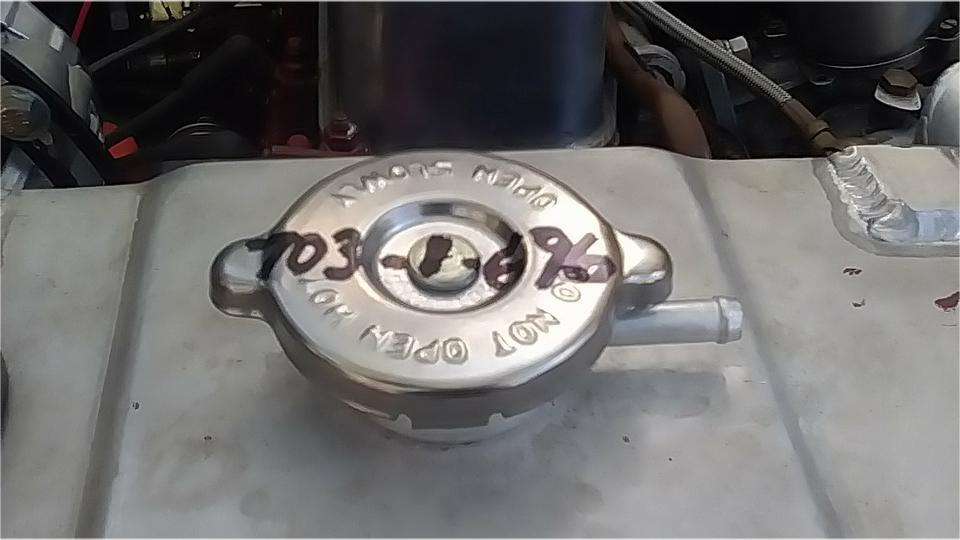
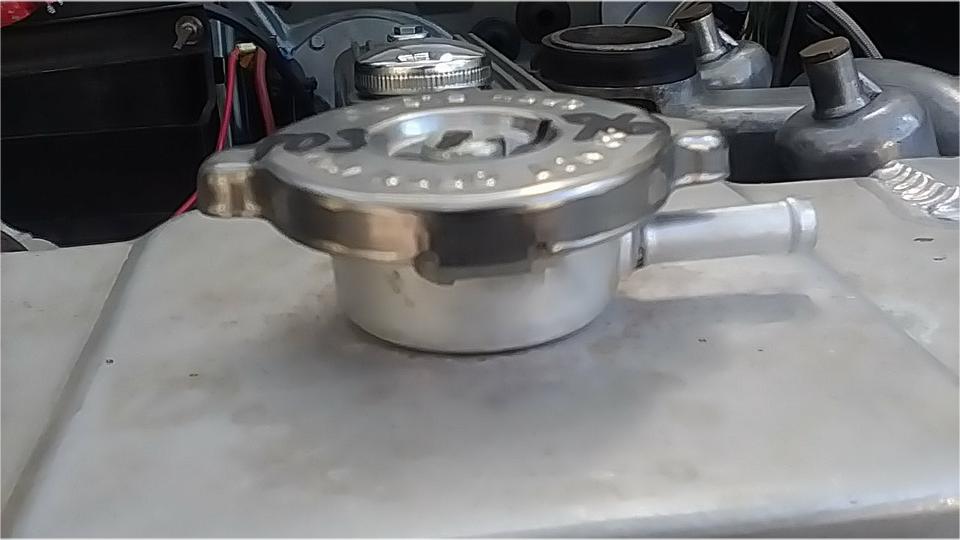
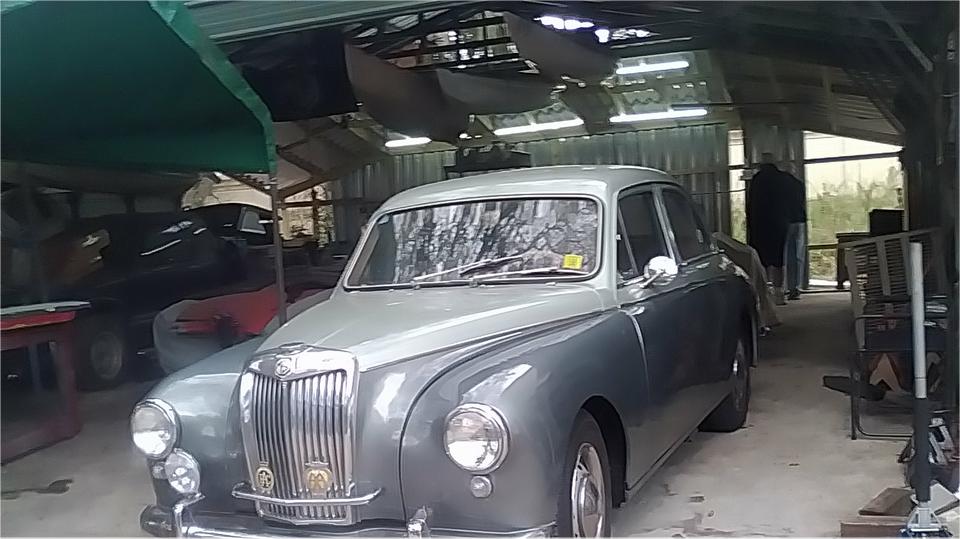
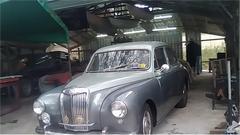
John Shoemaker had a custom aluminum radiator for his MG ZB Magnette (1800 with late MGB overdrive, 3.905:1 final drive, front disc brakes, and now air conditioning. I don't want to ask what the custom built radiator cost.
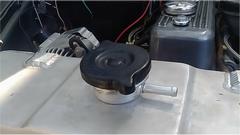
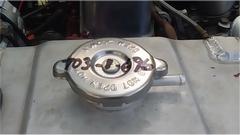
The original long reach pressure cap wouldn't fit, because the new radiator had a short reach filler neck. Easy fix, just pull the correct pressure cap out of the Magic Trailer (tucked into the radiator pressure tester kit). 7-psi short reach, with NAPA part number written on top, it even has a top seal for coolant recovery system.
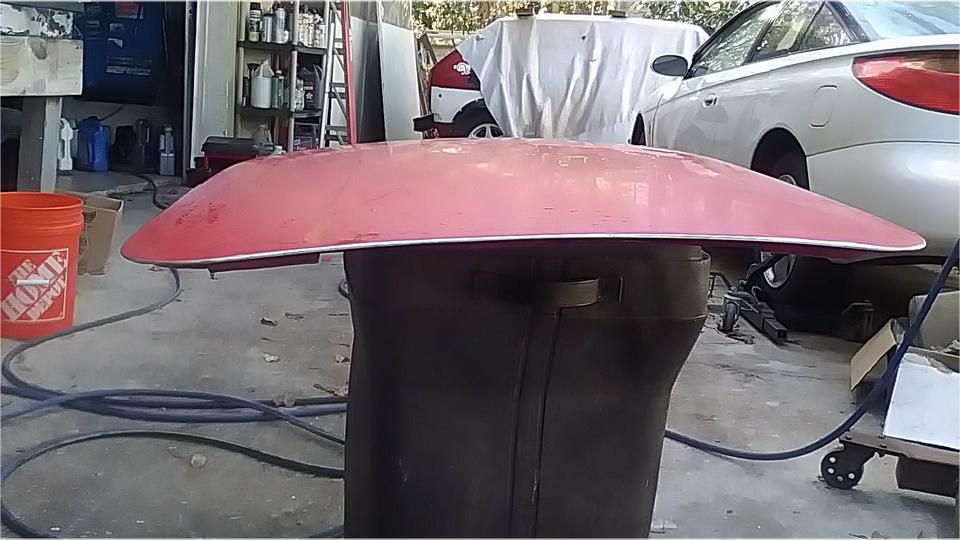
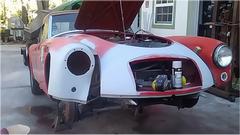
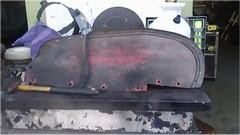
Back to the MGA, tape the front lamps, and get after a couple passes of primer and fine finish wet sanding. While waiting for primer to dry, we pulled the bonnet off and quickly DA sanded the front and rear edges to remove a bunch of paint chips and extra layers of paint. Took it right down to the aluminum skin for minimal paint thickness and maximum clearance in assembly on the car.

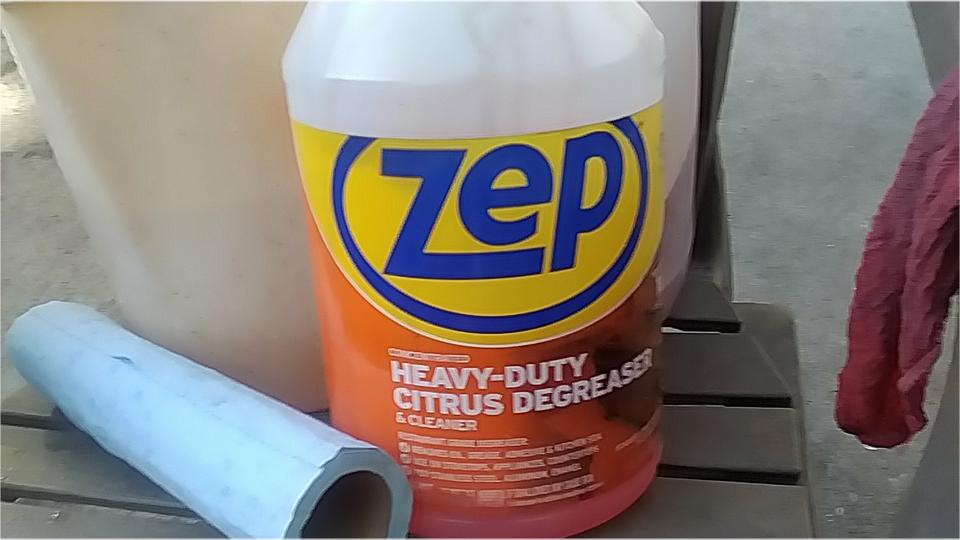
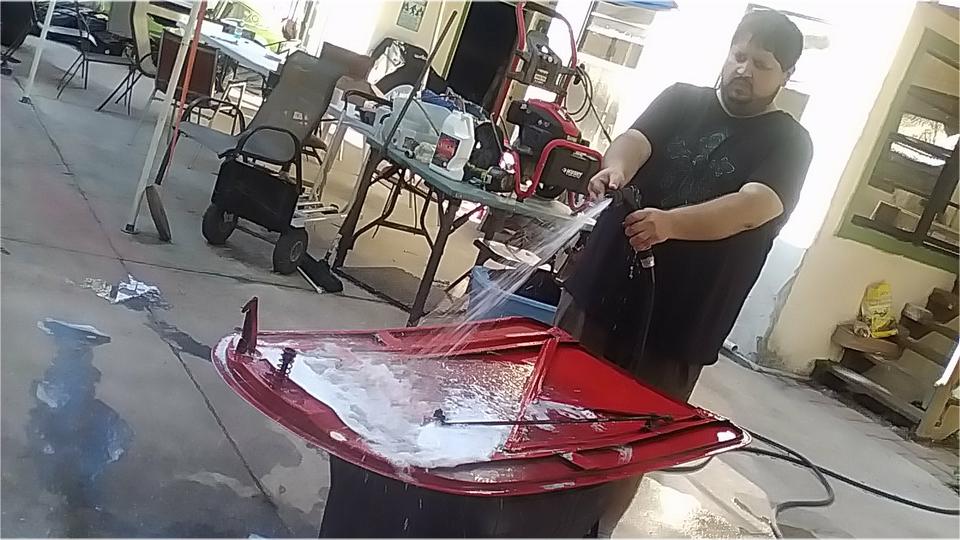
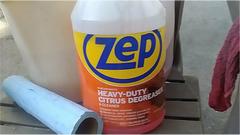
Then a good wash to remove dirt and oil underneath. Here we found ZEP "Heavy Duty Citrus Degreaser" to do a good job, and very quickly as well. I think it was originally intended to be a kitchen cleaner for pots and pans and ovens. Instruction is to spray on, wait one minute, and rinse off. Maybe it's not quite that quick, but applied full strength (as instructed) and wiped with a soft cloth, it did take engine bay crap off lickety-split. Then a quick rinse blow-dry with the air hose, requiring some persistence to get all the water out of of the crimp joints, felt pad, and the wood reinforcement batten up front. That's when I remembered it was a replacement panel back in the 90's, as there was some white paint underneath and a little paint peeling. So this will want a little primer and respray underneath.

Then we spray bombed primer on the front and rear edges, all around the flanges underneath as well as any bare spots, and then all around the edges up top. After one last pass of fine wet sanding and rinse on the car, the bonnet went back on (remember six thumb screws) along with the two bolts in the wings so we can drive it tonight. Sorry, missed the last picture, but hoping for very nice weather for finish painting tomorrow. Clean up time.
Thursday, January 26, 2023:
We have one word for today. CRAP!!! It's raining on our painting day, again. Gotta love Florida. Took advantage of the forced free time to catch up with the spare parts inventory and some other record keeping.
Friday, January 27, 2023:
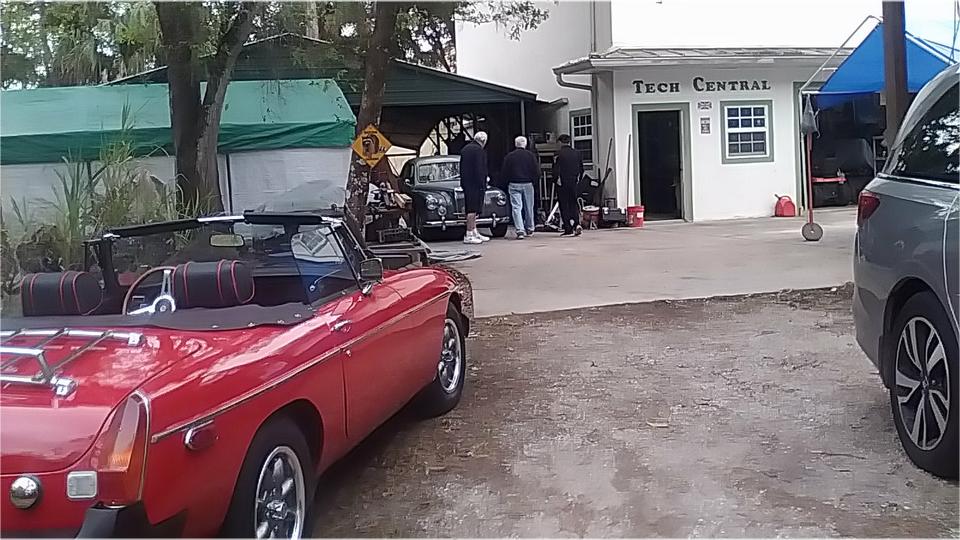
Tech Central Friday. Start with a larger group of members (and a few friends) admiring the recent work on the rear extension to the left side patio canopy.
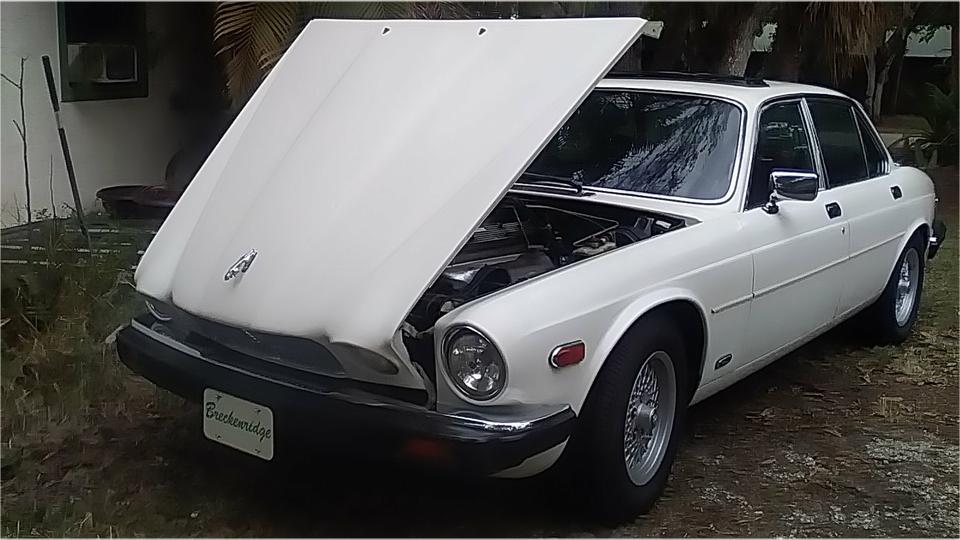
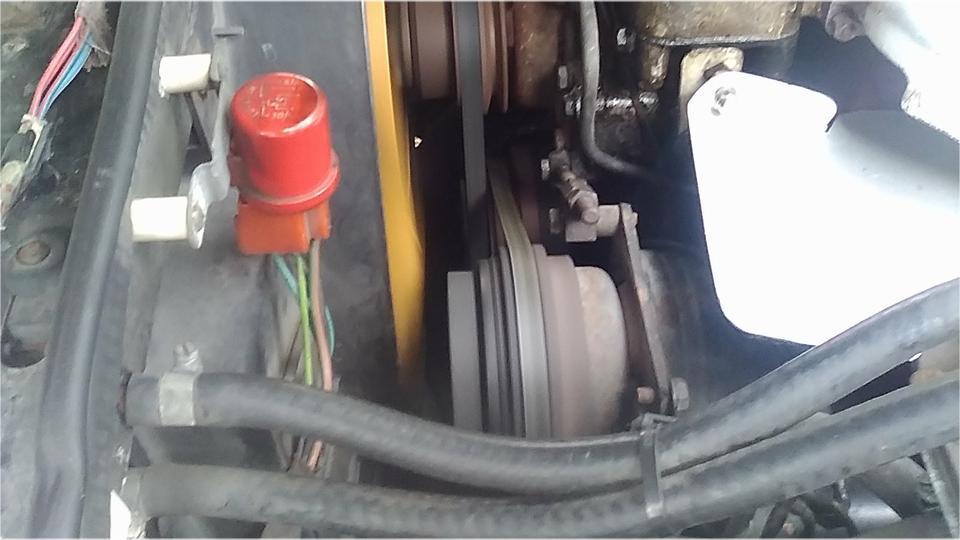
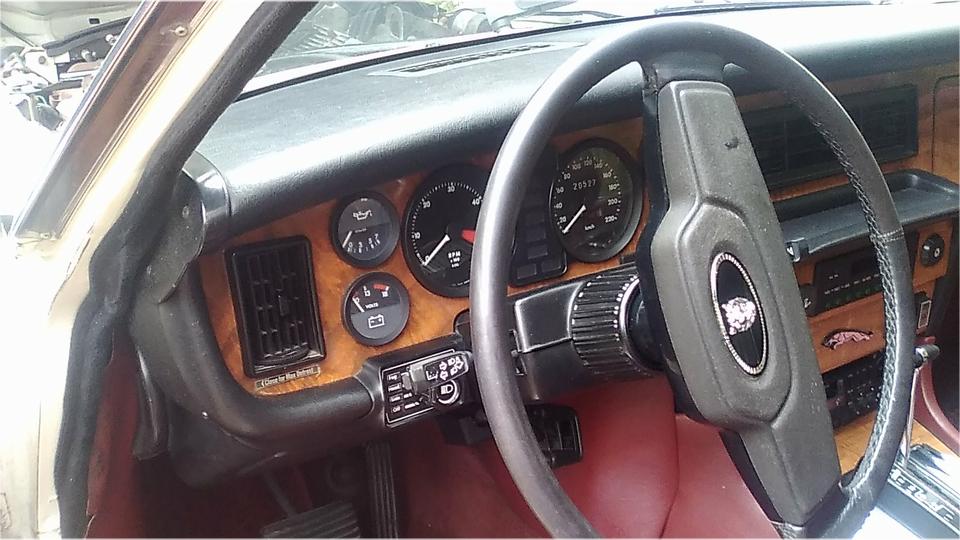
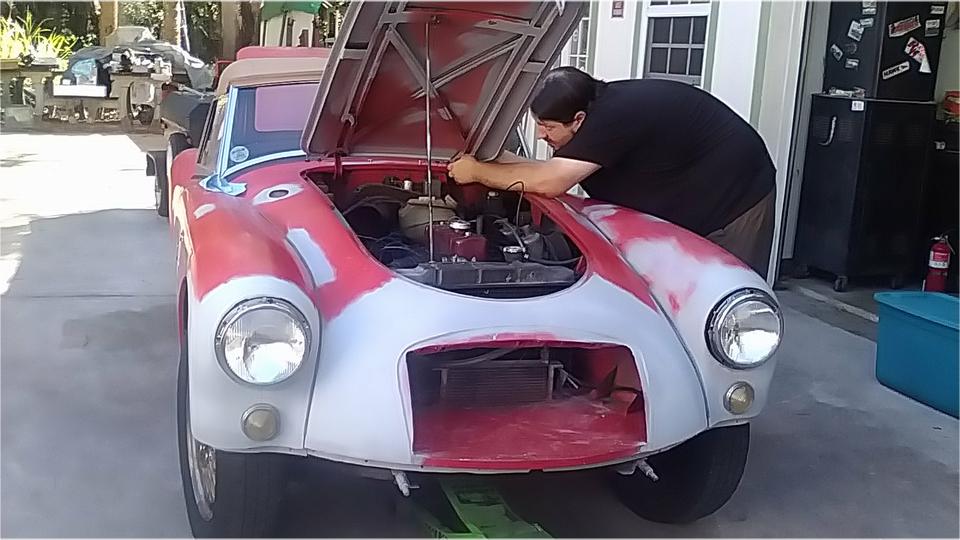
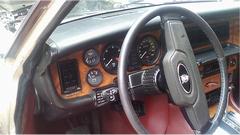
Then a short distraction to check out dysfunctional air conditioning on the Jaguar. The compressor runs when A/C is switched on, but it blows heated air inside. Since the air flow is actually hot, I'd be inclined to think the Freon circuit is okay,and the problem is more likely in the servo controls driving the air divider door to full hot position. For servo controls, that might be a blown transistor on a control circuit board (best guess for that vintage car). In any case,that sort of problem is likely beyond my area of expertise, and no time to get after it today, so leave it for later.

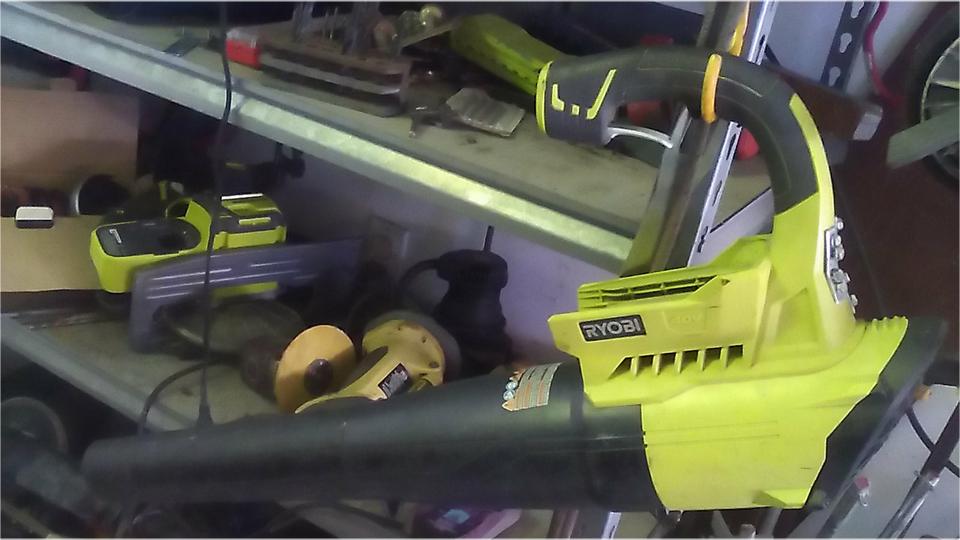
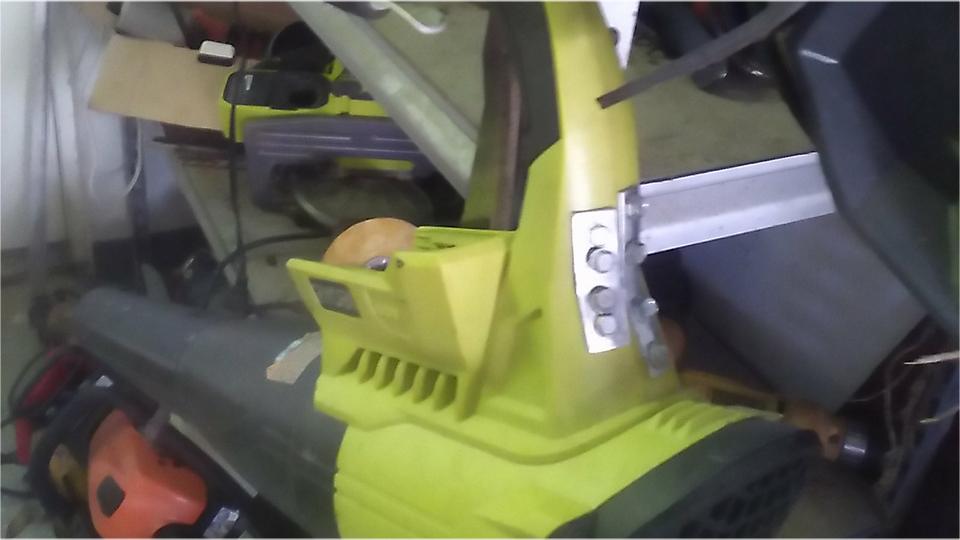
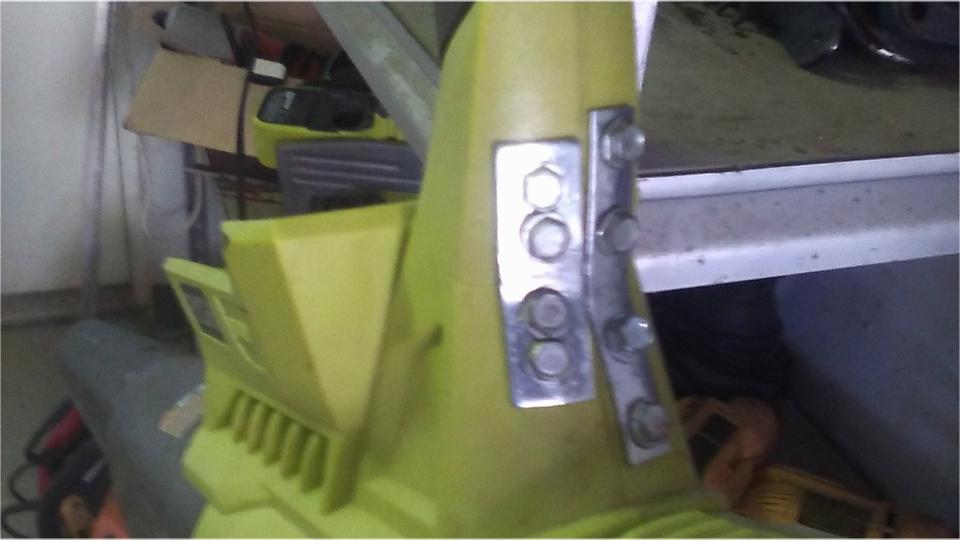
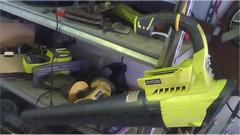
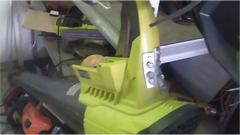
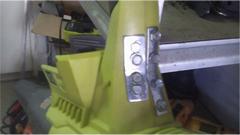
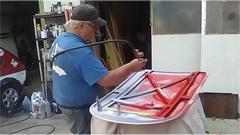
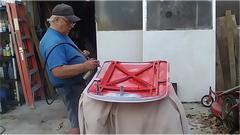
Had a few minutes to spare before group lunch, so we got after repairing a cracked handle on a leaf blower. I forged to fit a couple of splicing brackets from some small furniture brackets, drilled some holes in the plastic handle, and put it together with some self-drilling sheet metal screws. Hey, it's Tech Central, so nothing fancy, just trying to keep it in service a while longer.
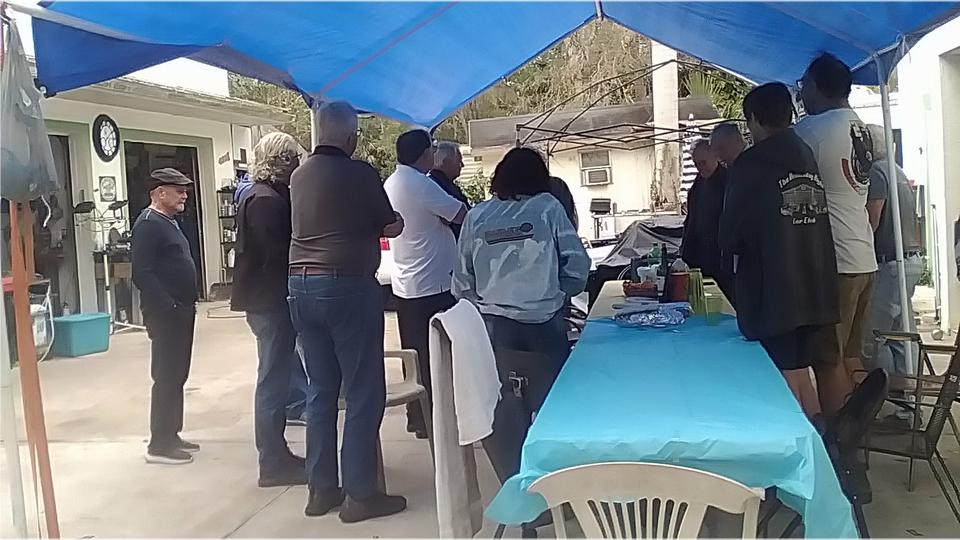
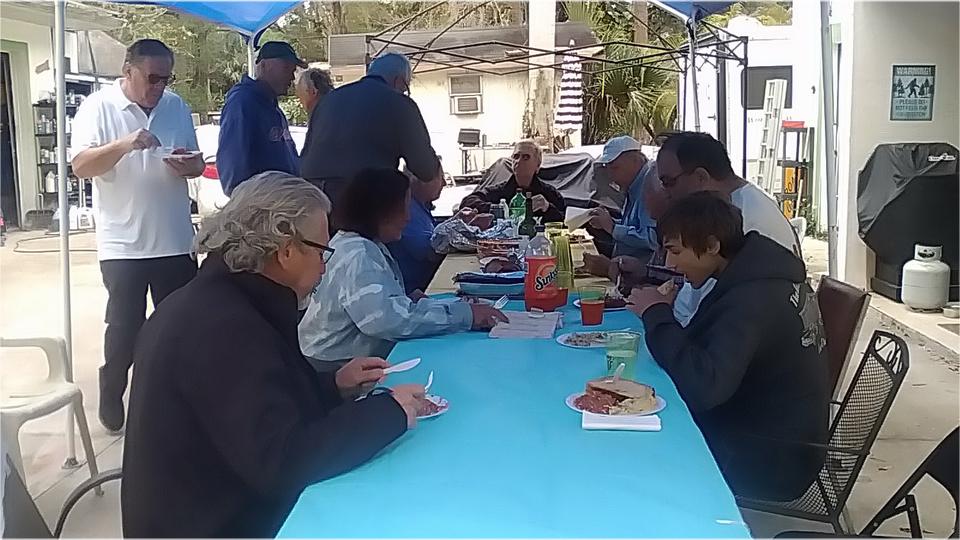
Nearing lunch time we had a special event, a memorial celebration for Temperamental Executive Chef, Terry Luck, a recently deceased long term member of the club. 15 people present for this in a chilly breeze a day after cold rain. A nice remembrance, and a good meal with friends. Most of the people bailed out and left after lunch, not surprising considering the cool weather.


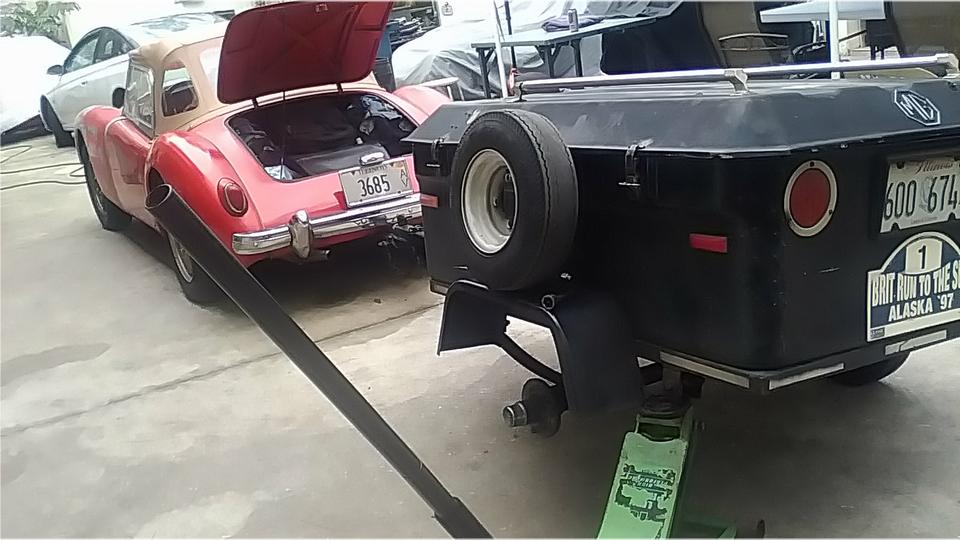
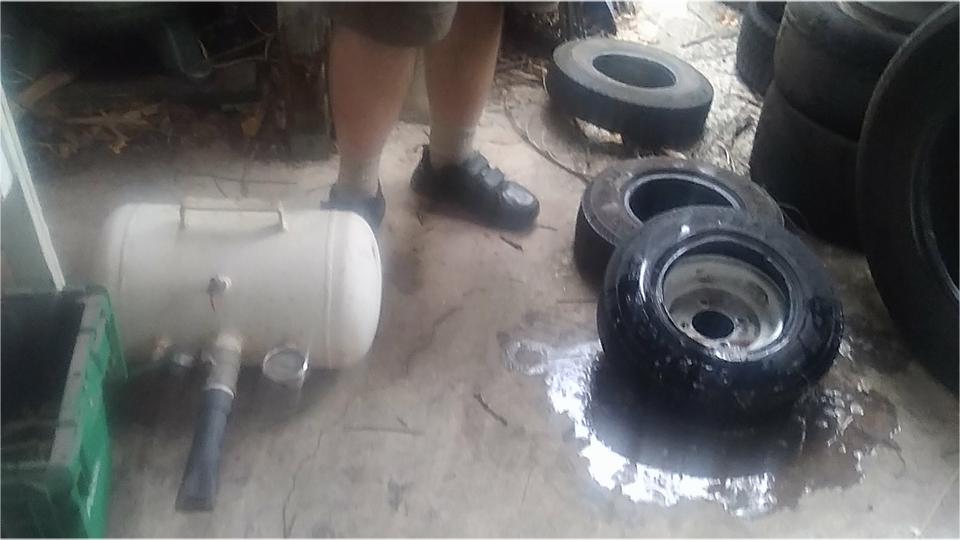
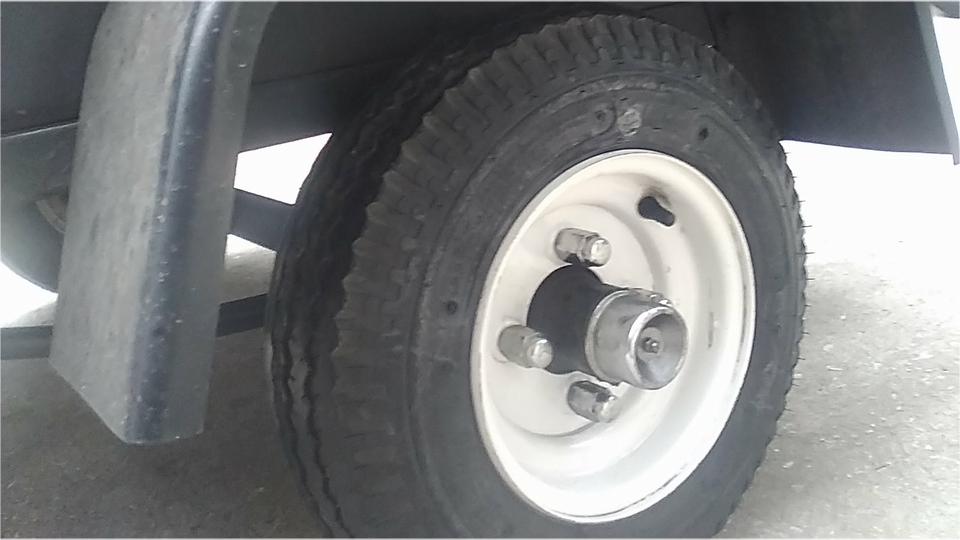
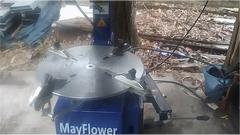
Early afternoon on a day when we can't paint makes a good time tend to the new trailer tires that have been sitting around for four weeks. Easy enough to pull them off the trailer one at a time. And take another crack at trying to use the Mayflower tire mounting machine. Easy to break the tire bead loose from the rim, but the central radial clamps can't retract small enough to grip inside the rim of the 8-inch wheels. Not much concern for the old tires, so we used the redial hooks (intended to grip the outside of a wheel rim) to hold the outside of the rubber tire long enough to wrangle the first side wall off of the rim. Then not too difficult to wrestle the rim out of the tire, and wrestle the rim back into the new tire. Then drop it back onto the tire machine, and the inside pointed ends of the radial clamps could catch the OD of the rim just long enough to wrangle the top side tire bead into place (with a few tries and a little swearing when it jumped off a couple of times).


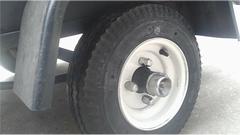
Then we got to try out that "air popper can" (picture above right). Pump it up to at least 90-psi, hold the wide flat nozzle between the wheel rim and tire bead, quickly open the large ball valve, and in one second the fast air flow goes in past the tire bead to puff up the tire and seat it on the rim. I was a little skeptical, but it worked on the first try, for two tires. Nice tool. Pump the tires up to road pressure, wash the soapy stuff off, put them back on the trailer, and pack up to roll out. Jerry says easy disposal of two used tires per week here, so no problem disposing of the old tires.
We had a couple more stops before dinner time. Off to NAPA to pick up a couple of radiator caps. Then off to Rural King (on a recommendation) to buy a good pocket knife (replacing the junky old one I lost Wednesday evening). Then on to our favorite WiFi spot to bring you these photos and notes, and then a casual dinner. Probably have tomorrow off, likely to be too cold to paint.
Saturday, January 28, 2023:
Almost second guessing myself this morning. The sun popped out nicely around 10-am, trying to fool me into thinking it might be a good day to paint. But still only 70dF and 14-mph wind by 11-am, and mostly cloudy with moderate chance of rain by mid-afternoon, so stil no-go. Should be better weather tomorrow (but where have I heard that before?).
Sunday, January 29, 2023:
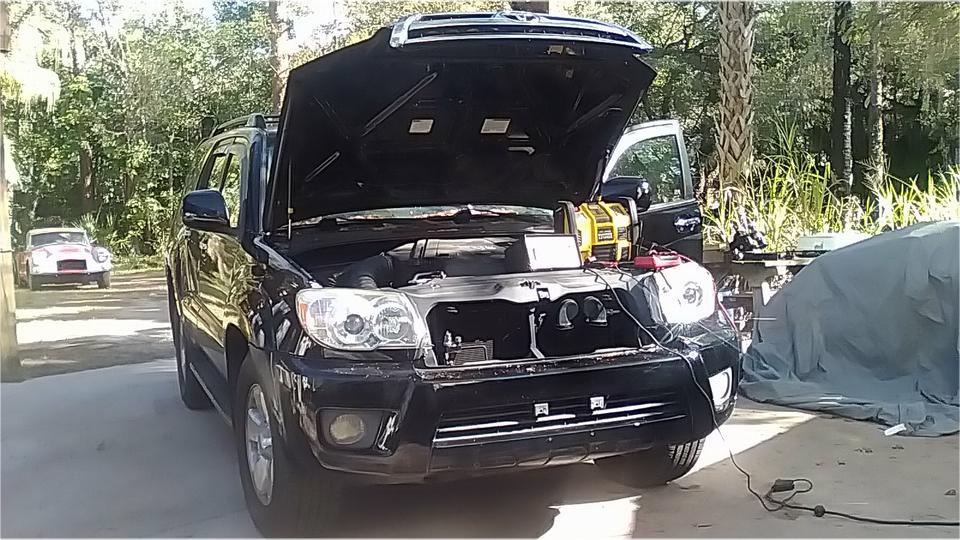
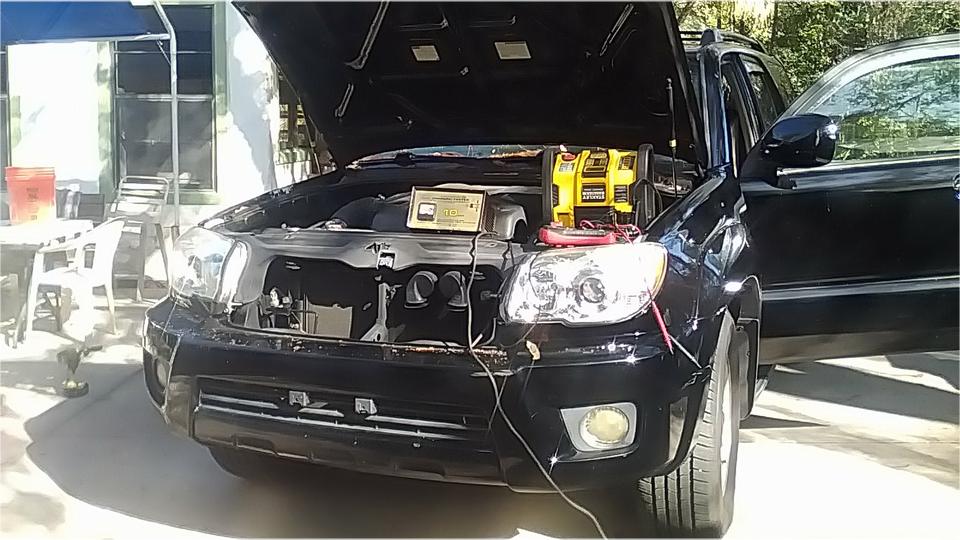
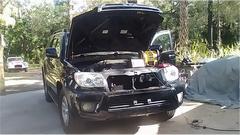
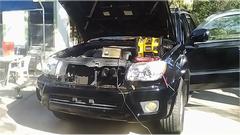
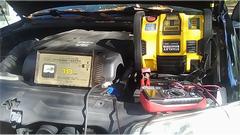
Off to a bit earlier start, on site by 9:30-am, just about the time the dew had dried off. Oops, something sitting in the way in front of our work pad. The Toyota needing a brake job had driven in last night, but had a dead battery today. A small lithium battery starter pack wound not get it to crank. A 10-amp battery charger wasn't doing much. A larger lead-acid battery starter pack certainly gave it more than 12 volts, but still no cranking, just a solenoid clicking. Thinking the battery must be shot, we finally pushed it back out of the way to get the MG up front and center. After running a charger on the Toyota for a few hours, it started, was charging properly, and made good voltage. Jerry was thinking maybe he left the glove box door open over night, and the small courtesy light ran the battery dead flat.
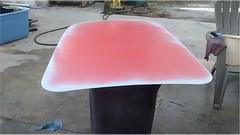
 Maybe it was just the late start, but I can't believe how long it took to prep the MG for painting. It was just a
 quick once-over with 500 grit emery paper and water with two people, just to get two days worth of environment off of it. Then a clean rinse, and a blow-dry with the air hose. During the last free standing ambient air dry, apparently the masking process took longer than anticipated. We masked the rubber seal at front of the windscreen, wrapped up the wiper spindles, put a dollop of tape on top of the washer jets, covered the entire windscreen, and the side window openings, and the doors, and covered the new vinyl convertible top.
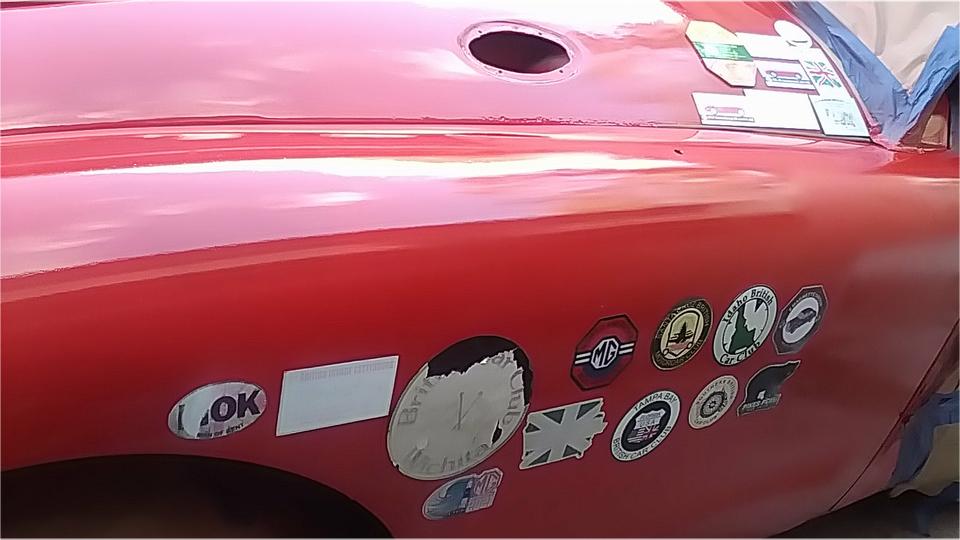
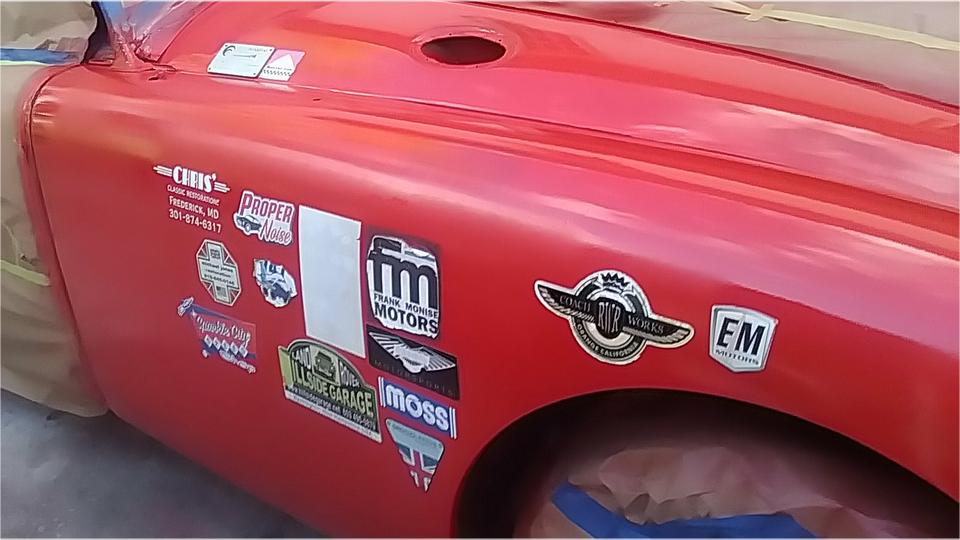
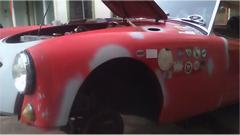
Then something a bit time consuming. We had in mind to save the stickers, so that took some time to mask over some of them, and around the edges of a few more, then cover the windows within the pattern. Finally conceded to remove all the front lights, easy out but more work to install them again later. Paper over the engine bay so we could paint the gutters around the bonnet. Finally cover the front wheels, because I don't want to accidentally paint the gold wheels half red (again). BTDT.
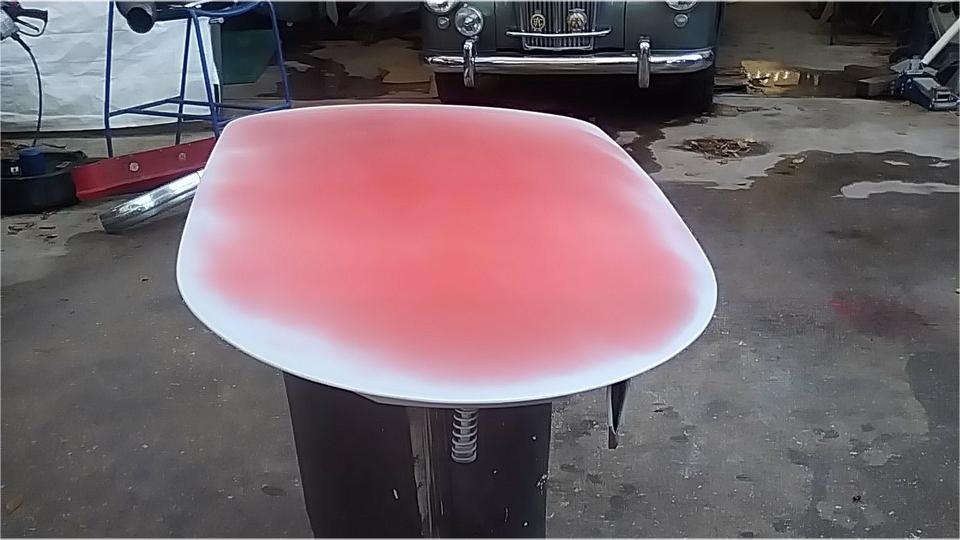
By then it 4-pm, but no turning back now, so grab the paint gun and get out of my way. 20 minutes later it
 was done, mostly because I ran out of paint. Dummy. That was a result of change of plans a few of times, mission creep. Original plan was to repair the main body nose and the RF wing, for which I bought a pint of red paint, and used a few ounces to brush paint inside the nose. Then decided to paint the main body cowl a little farther back, then thought it might be good to fix the rock chips around the LF lights, then decided to paint both front wings while we had it apart and the paint was handy. That's what happens when you let the quick repair job drag on too long. Working with the last two ounces of paint, I did manage to make the bonnet red all over, at least on the outside. It is a thin coat of paint, I guess going to need wet sand and repaint later, when we have more paint to do the under side as well. was done, mostly because I ran out of paint. Dummy. That was a result of change of plans a few of times, mission creep. Original plan was to repair the main body nose and the RF wing, for which I bought a pint of red paint, and used a few ounces to brush paint inside the nose. Then decided to paint the main body cowl a little farther back, then thought it might be good to fix the rock chips around the LF lights, then decided to paint both front wings while we had it apart and the paint was handy. That's what happens when you let the quick repair job drag on too long. Working with the last two ounces of paint, I did manage to make the bonnet red all over, at least on the outside. It is a thin coat of paint, I guess going to need wet sand and repaint later, when we have more paint to do the under side as well.
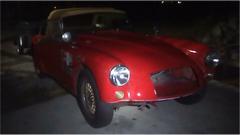
Remember wanting to save the stickers? Well it was soon time to find out how that would come out. Half an hour after the last paint was sprayed, and the sprayer and tools were all cleaned up, it was time to start picking at the masking. Sharp point of the pocket knife under the edge and thumb on top to peel the tape off of the stickers. Don't stand too close, stay away from the wet paint, kind of a delicate job.

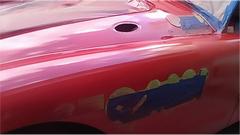
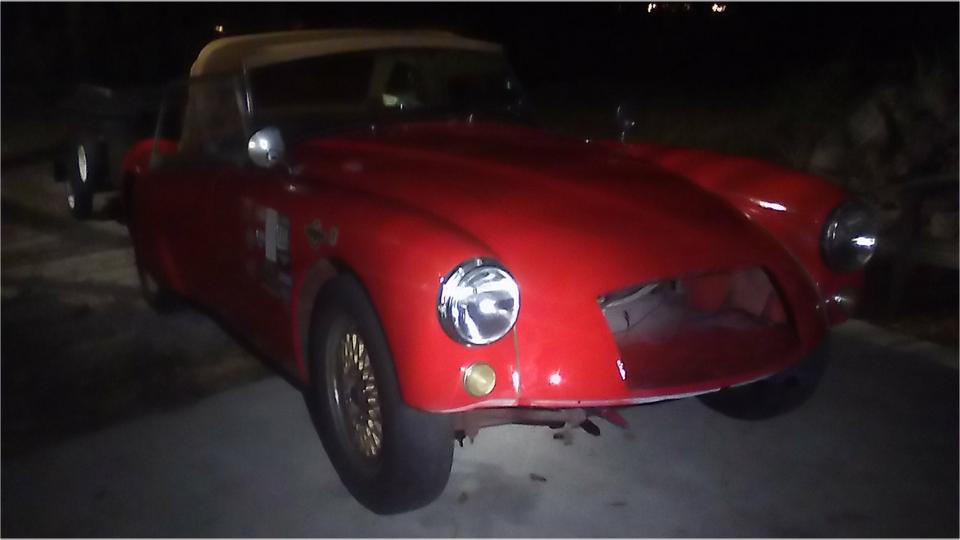
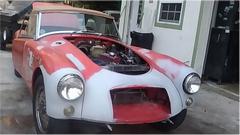
Well I'll be danged, that came out pretty nice (at least in the limited dusk lighting conditions). You may notice the
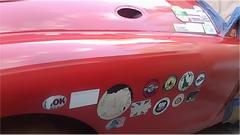
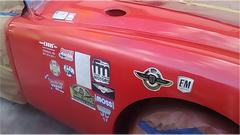 color is getting darker with every touch up and respray. That's because the red paint fades darker over time, and each time we need to buy more paint it gets a laser scan to match the existing color. The most recent scan was on the LR wing where it had been resprayed last July after the dented dog leg repair. That was fairly close after painting between the wipers a year ago (same paint).
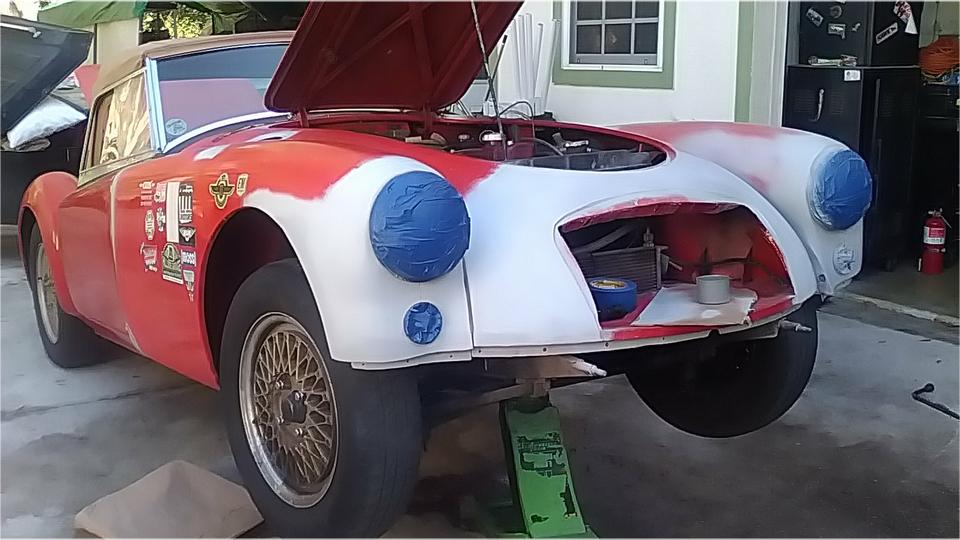
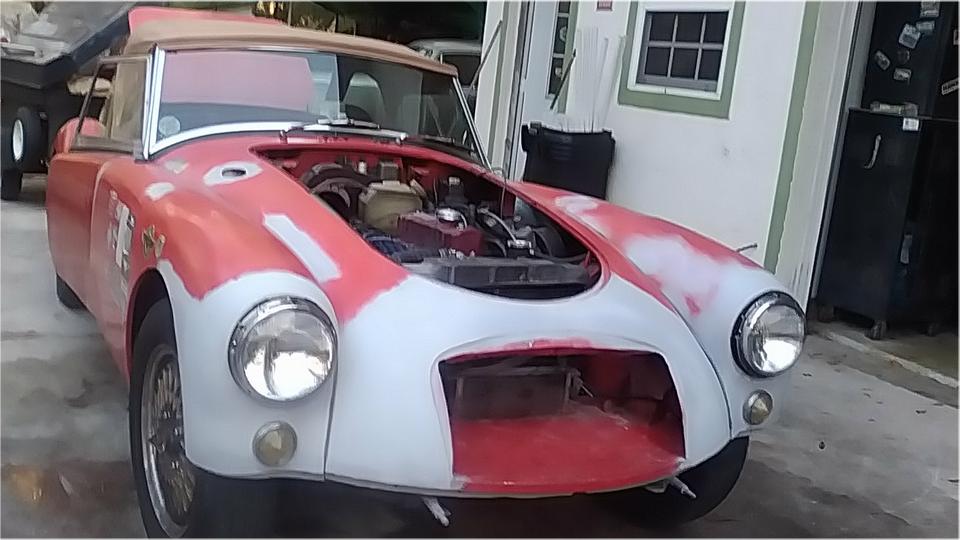
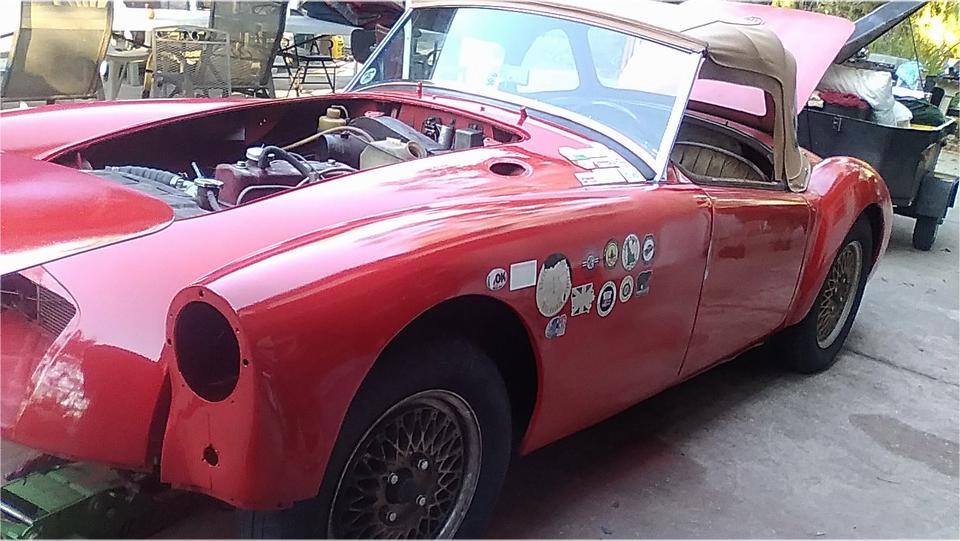
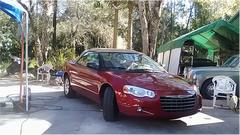
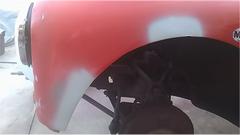
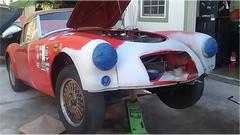
Okay, after an hour carefully peel off all the paper and let's see what it looks like with the whole front end all fresh again. Certainly nice enough for a daily driver. Better paint than it has had for years. Now just get away from it until the fresh paint is at least six hours old, and we will be putting in a couple of bolts and the front lights somewhere around 10:30 to midnight. Meanwhile, I have time to sit on Jerry's WiFi to process these photos and notes for your enjoyment.

Monday, January 30, 2023:
After a 16 hour work day and 6 hours sleep, mostly a day off to recuperate, and wait for paint to dry. Did get to an auto paint supply store to pick up some more red paint.
Tuesday, January 31, 2023:
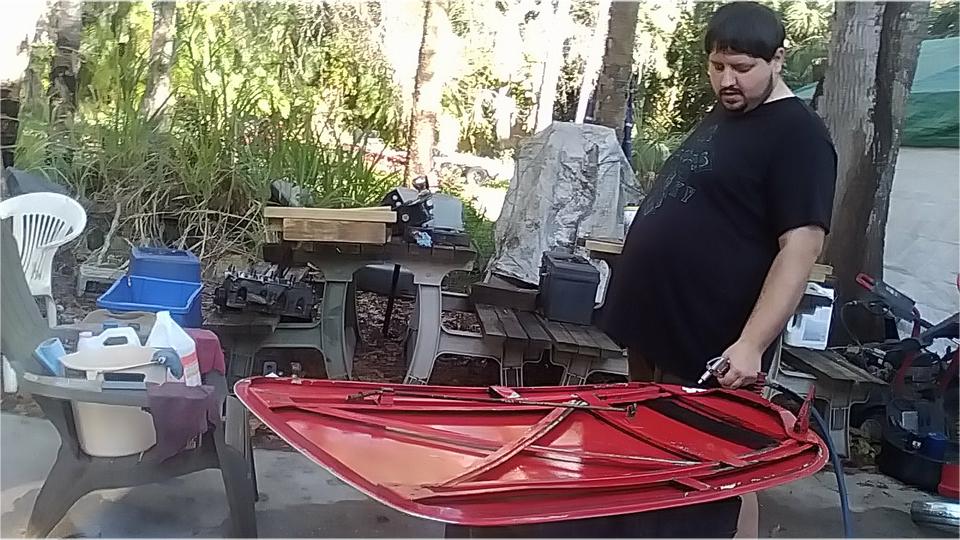
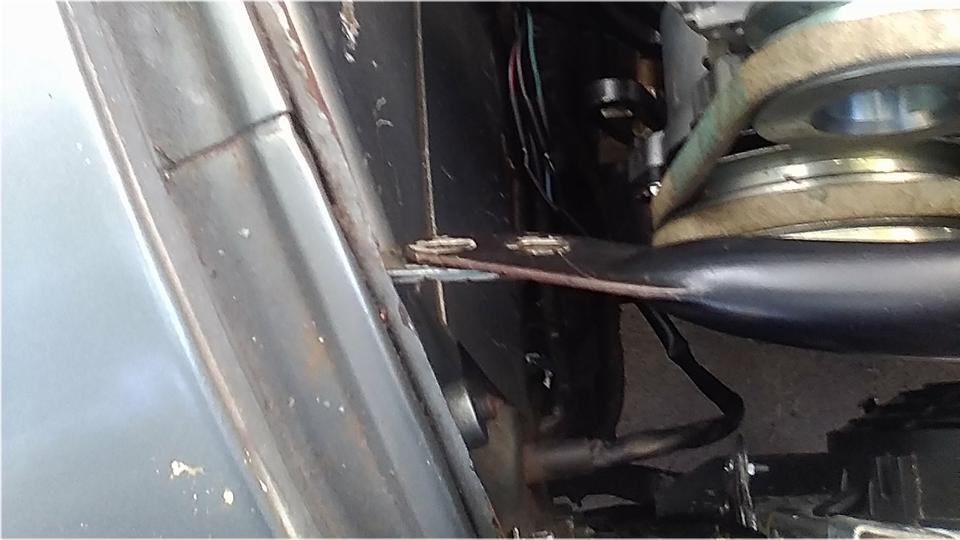
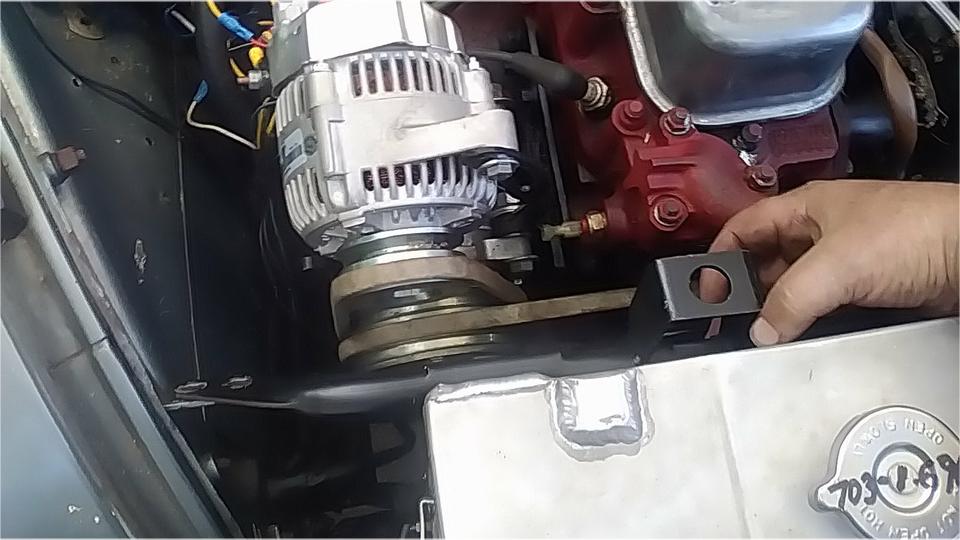
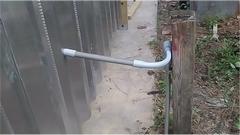
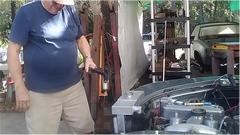
We drove a mile to breakfast at 8-am. Then drove 6 miles more to arrive at Tech Central at 10-am. The car still had morning dew on it, so it figured to be a humid day. The big Toyota was parked on the pad again, but we had enough space to get the front half of the MGA on the pavement behind it. So park it there. John Shoemaker was tinkering with his MG ZB Magnette. The piece in his hand is the bonnet proprod support brace that goes up high just aft of the radiator, except it didn't quite fit there with the new custom alloy radiator. It would have been nice if the top hose connector tube was extended another half inch farther back, but not going to pay another $100 to have it modified now.
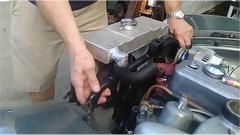
Problem was the hose clamp space was interfering slightly with the brace. The expedient solution was to bend the brace forward a bit to clear the hose, then bend the flat ends slightly to get back in plane with the end mount brackets on the body. In the end it was also fairly easy to bend the body bracket forward a bit. Final result was 1/4" clearance from tubular bracket to hose, and 1/4" clearance from the electric fan aft of the radiator. Sorry, but missed the final picture, maybe later.
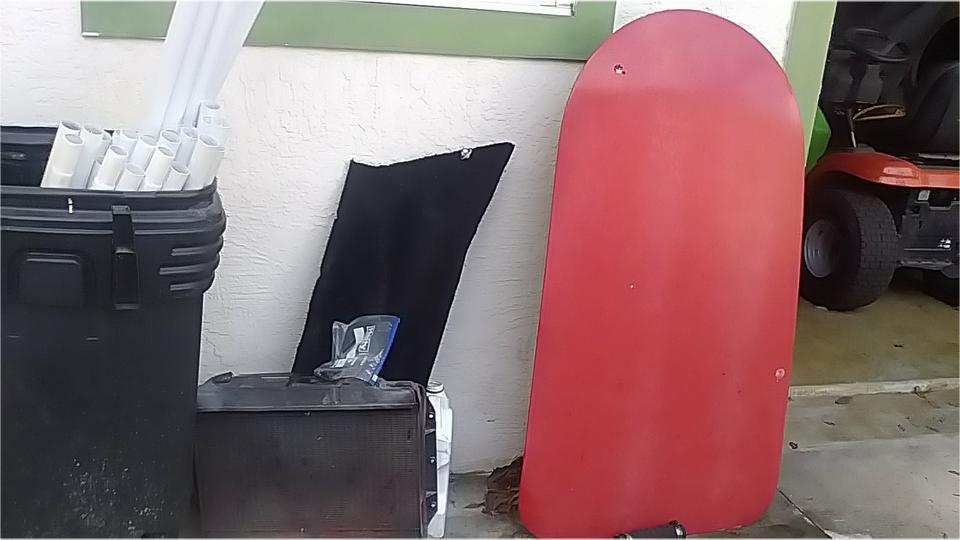
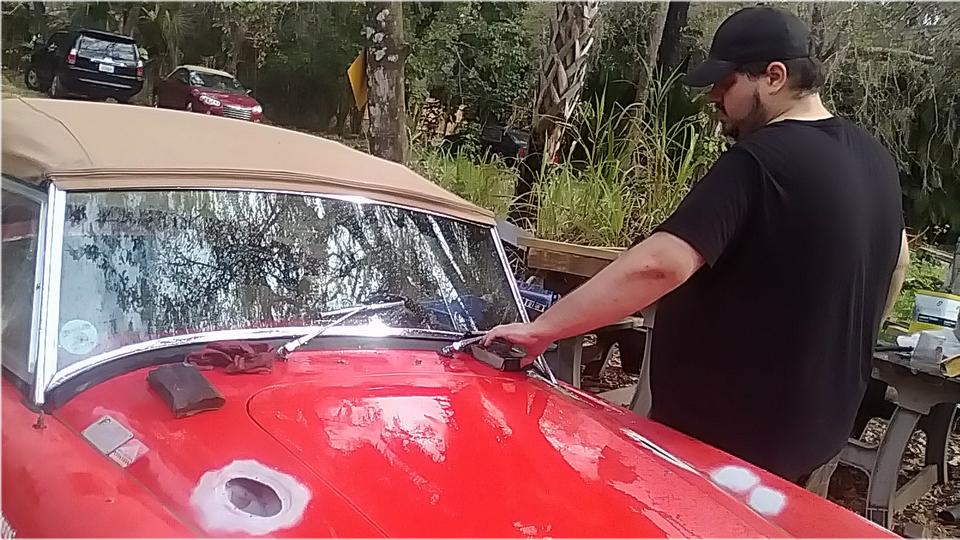
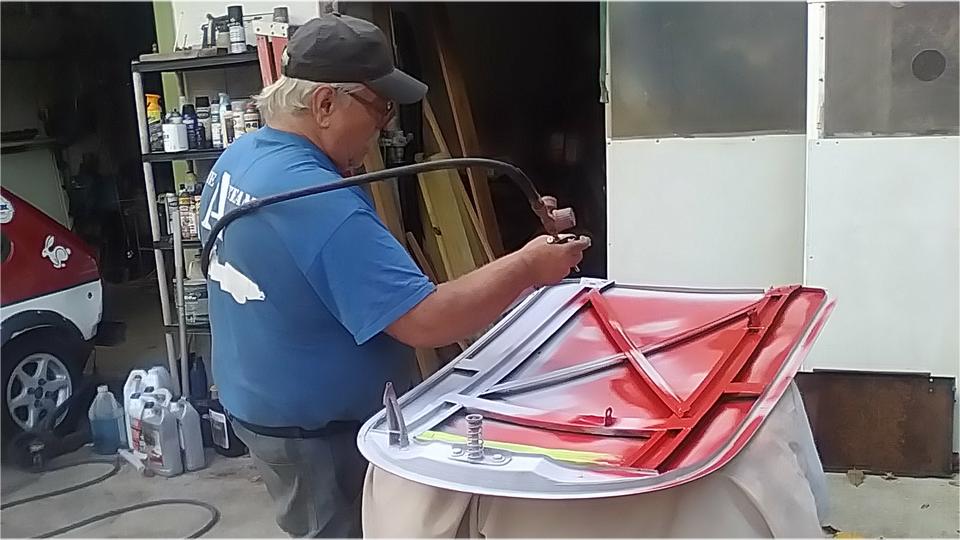
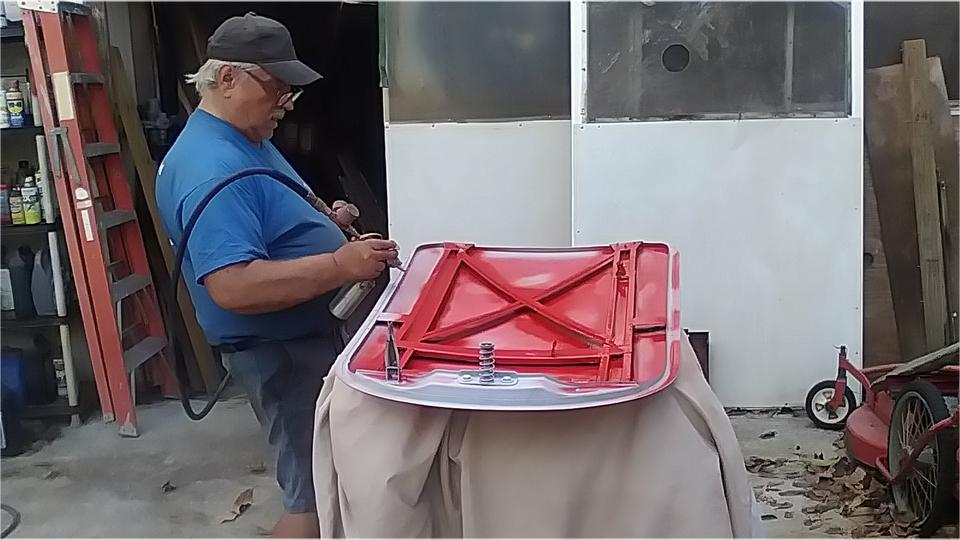
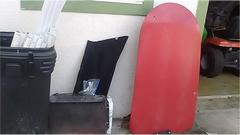
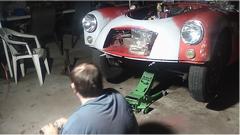
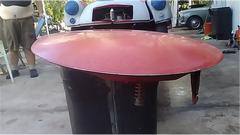
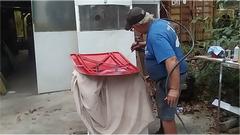
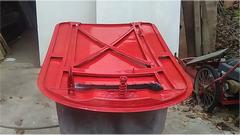
We spent the better part of an hour with a Scotch-Brite wheel in a power drill buffing some loose paint and a very few touches of rust from the underside of the bonnet. Seemed like a good idea to pad the outside of the bonnet to protect the paint from the trash can it was sitting on while buffing, and there was a nice car cover handy. Then navigator thought it was a good idea to get some pictures of the guru for a change, while I was spraying behind all those braces (mostly bored I suppose).
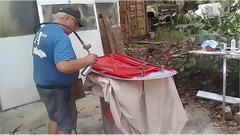
Just starting finish paint around the edges, and OOPS, didn't want to paint the car cover, so get that out of the way. Not long to finish then, and certainly good enough for something not often seen in public. Finished painting by 12-noon with plenty time to dry before installation around sunset. Paint gun clean-up time.

Then it was time for reassembly of the car, starting with full bolt-up of the front wings with piping properly aligned. That took longer that it should, because there were some bolts missing ever since the crew in Pennsylvania was doing the last full repaint in 2015. We had some spare bolts, but came up at least three short on the large oval fender washers. Put those on the shopping list, and dig through two boxes of miscellaneous washers in the shop to find a few large diameter flat washers to substitute for now.

Slow but steady, and eventually we got there. Then pull the new rubber grommets for the wing mirrors out of the trailer, and get the mirrors installed. One notable surprise there. One mirror had 5/16-24-UNF threads, while the other had Whitworth threads, and we nearly lost the Jesus nut. When dropped it fell to the bottom inside the wing, underneath the body box sill. Dang! I could see from the front, but the space wast too small to get a stick magnet in there. I finally fished it out forward with the hook end of a tape measure. Wow, don't drop that one again.
 Another short distraction as John Shoemaker was heading home with the Sebring but soon returned. The dash
indicator said it was running hot. Not really sure, because it was driving normally, not steaming. Out of time there, so he left the Sebring and called for another ride home.
Another short distraction as John Shoemaker was heading home with the Sebring but soon returned. The dash
indicator said it was running hot. Not really sure, because it was driving normally, not steaming. Out of time there, so he left the Sebring and called for another ride home.
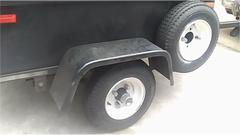
Time to install splash guards, but some of the soft rubber seal(s) had torn loose from the split rivets. Solution there was to remove the failed split rivets and install some 3/16" Pop Rivets with larger flat washers. That worked well, even with the old soft rubber seal. Sorry, missed that picture too, but if you're not concerned about concours originality I can recommend the 3/16" Pop Rivets with #10 washers in place of the original split rivets. Six 1/4" bolts with washers, and one #10 screw at the bottom for each splash guard. What's left?

Get the wheels on and drop it off the jack stands. Pack-up and clean-up time, especially getting our hands real clean. Last task for the night was to put the bonnet back on and install the screen-wiper arms (with blades of course). Check all the lights before driving out after dark (8-pm), and head off for late lunch and WiFi to post these photos and notes (finishing slightly after midnight).
|