The MGA With An Attitude
MGA Guru Is GOING MOBILE - (January 15 - January 31, 2020)
Thursday January 16, 2020:
Began the day with email from Moss noting that my parts order was shipped Wednesday evening, and is scheduled to arrive Friday (not bad).
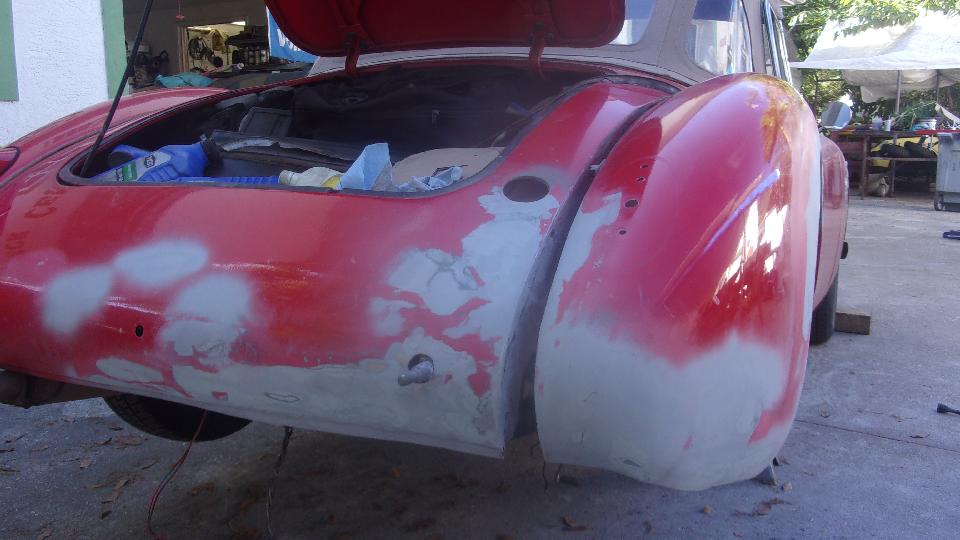
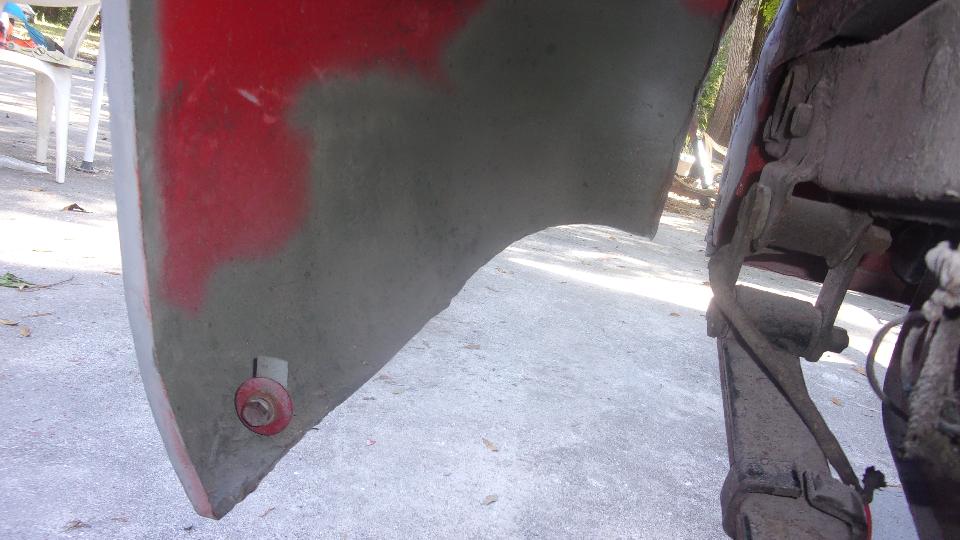
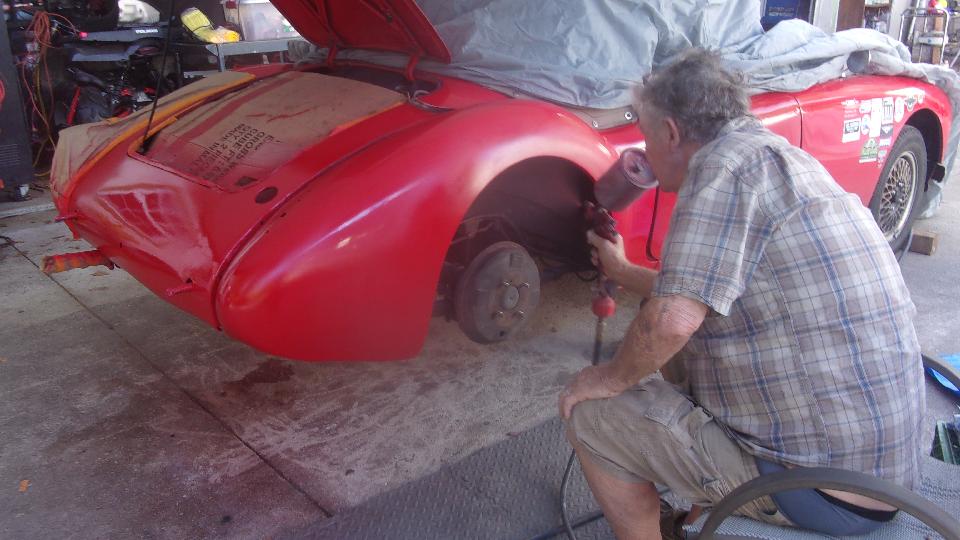
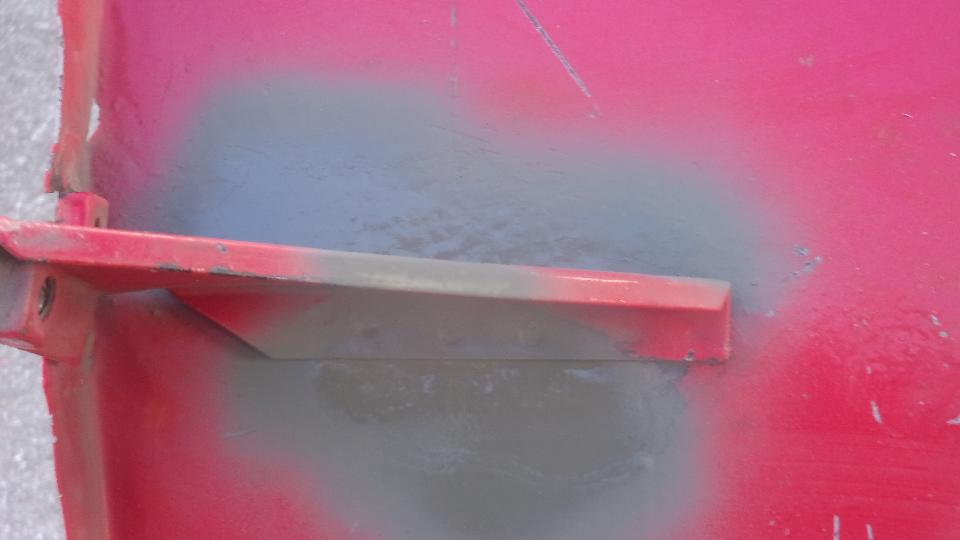
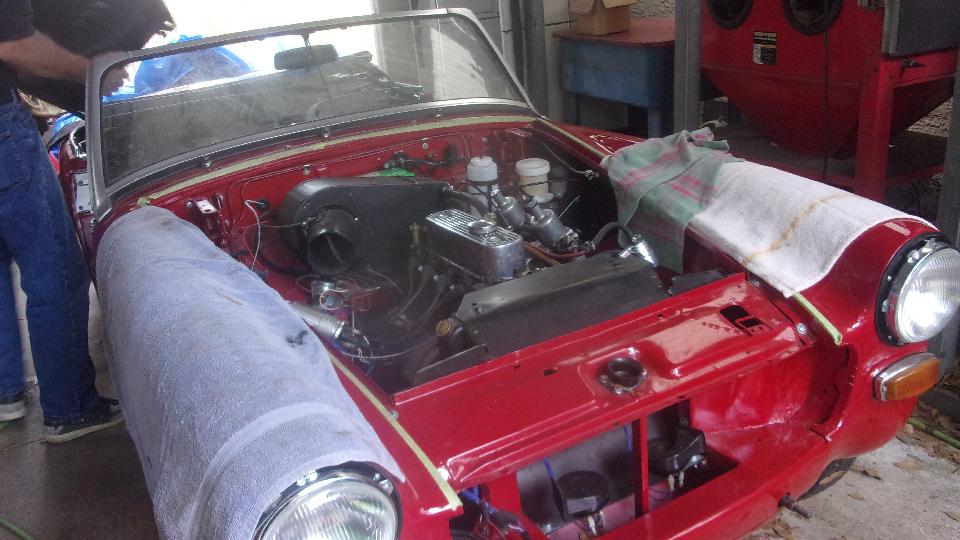
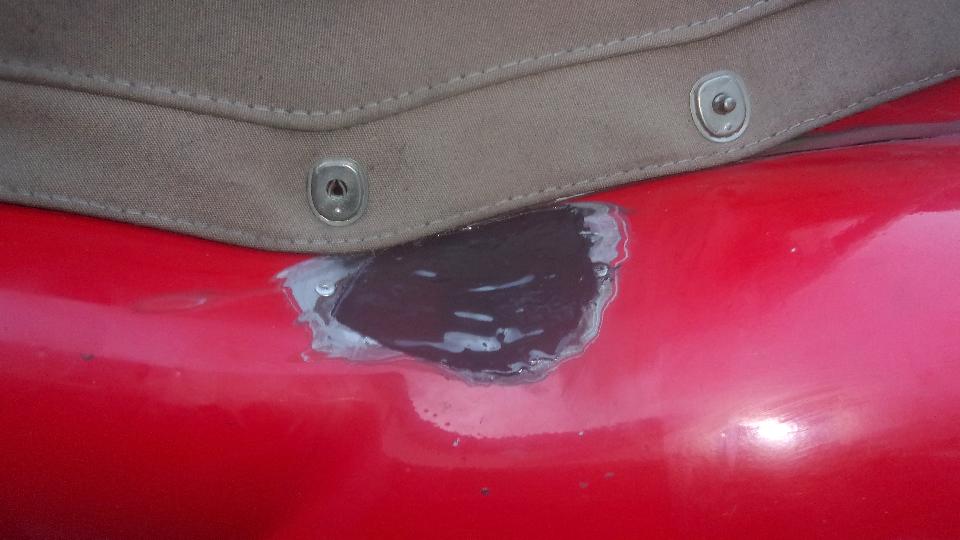
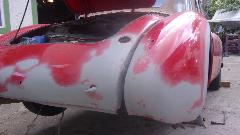
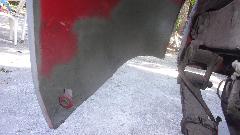
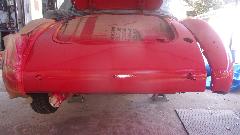
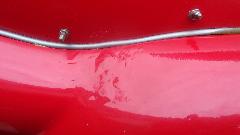
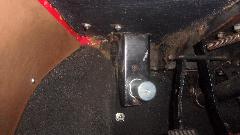
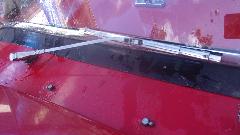
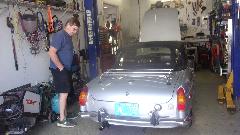
 Back to Tech Central around 10-am to do the (quick) re-disassembly, jack up, wheel off, hitch bar off, tail light off, three bolts out of the wing, and one stud installed with oval washer and a spacer nut. And here is the picture I didn't get yesterday. Back to Tech Central around 10-am to do the (quick) re-disassembly, jack up, wheel off, hitch bar off, tail light off, three bolts out of the wing, and one stud installed with oval washer and a spacer nut. And here is the picture I didn't get yesterday.
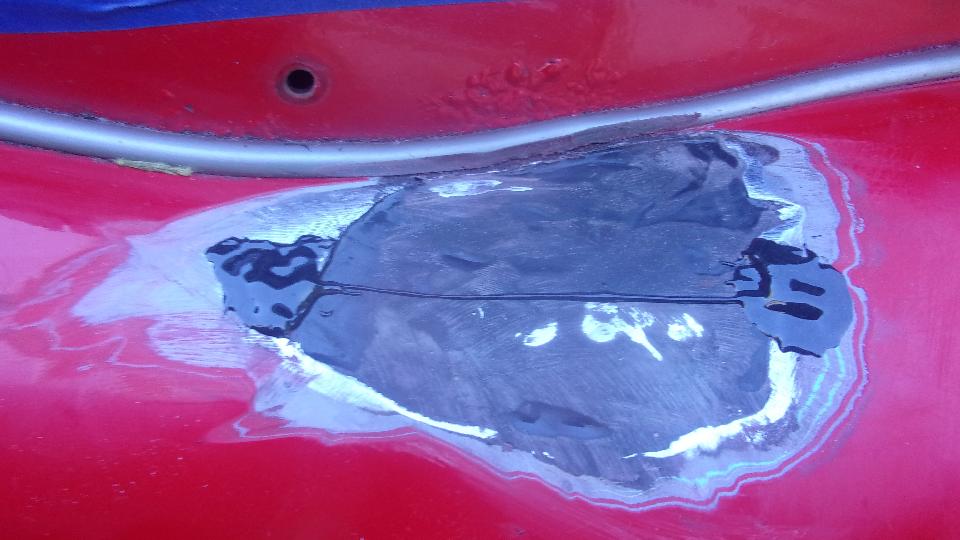
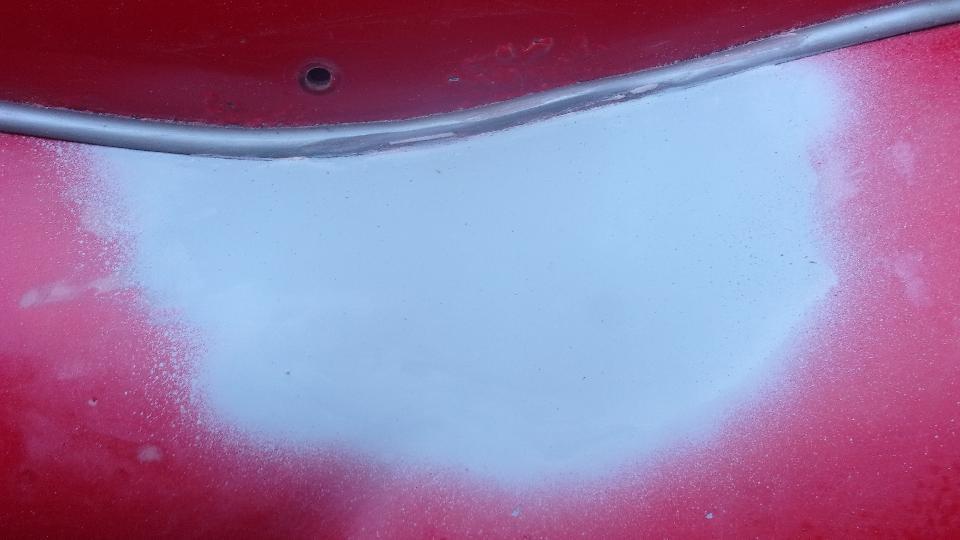
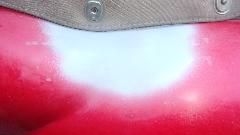
Yeah, there was more finishing work alright. Once it was obvious this would require more than one pass at filler and sanding, and it was past noon, it was also obviously going to be too late in the day to shoot red paint and let it dry long enough to be reassembled. With no need to rush anything, I took more time to do a couple more passes with filler and sanding, then one pass with about a tenth of an ounce of spot putty (surprised how little it needed). After lightly sanding that flat, everything looked straight and clean, so it was time for one last coat of primer, just to make everything one color to assure it was done.
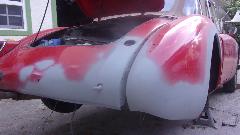

I suppose it was only 4-pm at the time, so we let it stand untouched until 5:30 before reassembly. About an hour later it was back together with tools put away and cleaned up. Not a bad showing for the day. Plans are for a slightly earlier start tomorrow, similar disassembly again, a quick once over light sanding of the primer, and shoot the red enamel while still morning. Then leave it untouched for rest of the day, and hopefully have it dry enough to handle with kid gloves to reassemble it in the evening (nice trick if we can pull it off).
Friday January 17, 2020:
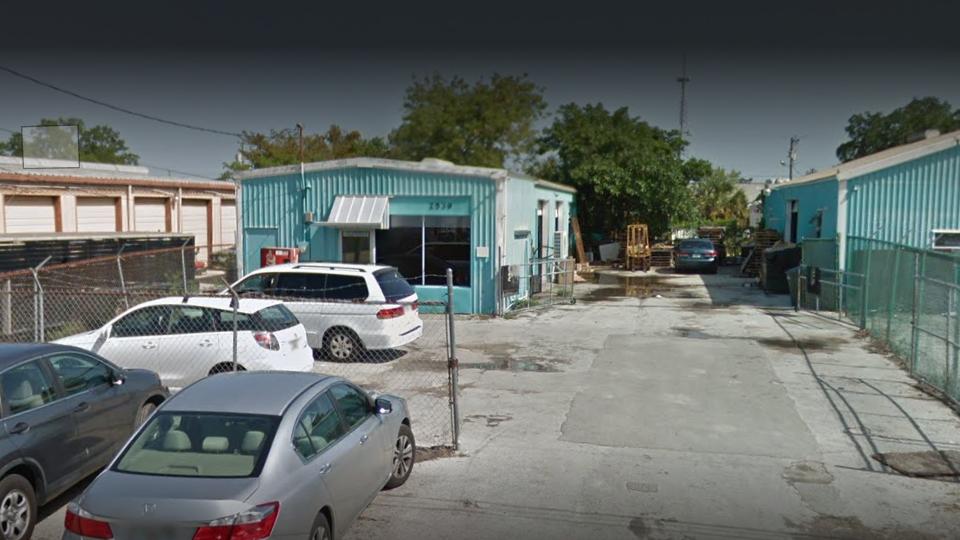
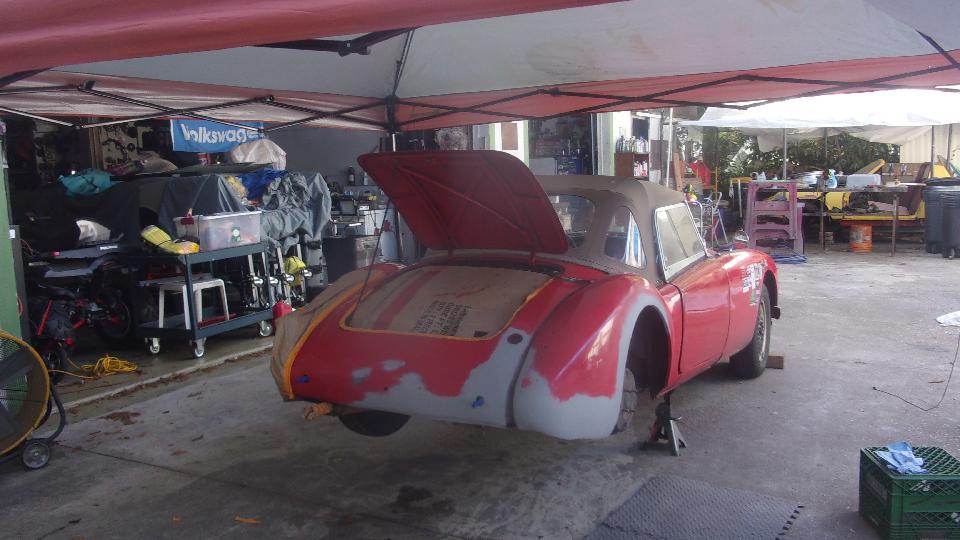
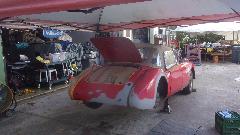
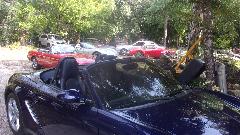
Began the day at 9-am with lots of enthusiasm for finish painting. Couldn't place the car in the middle of the cement apron today, because a flat bed trailer had to get in to remove the VW race car (going to dynamometer tomorrow). First alternate put us under a tree and the trees were shedding seeds like crazy, so that was a no-go. The remaining option was to back the MGA under an awning, which put it in close proximity to two MG Midgets
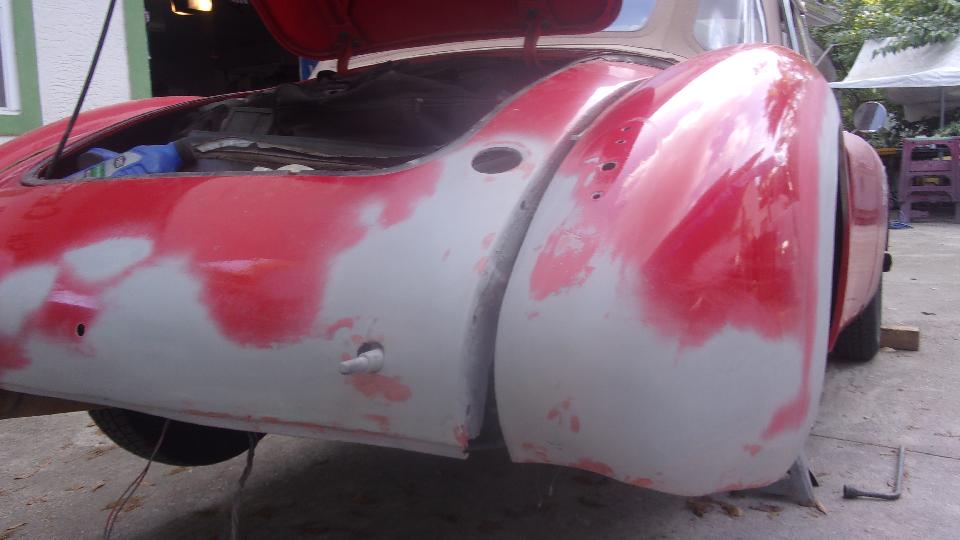
 where we were impeding their work a bit. Beginning to look like Friday was a bad day to do this, while there were other people here working on their cars. Still determined, we jacked it up, removed wheel, bumper, and tail light, and separated the RR wing from body again. A short stint with fine sand paper prepped the primer so it was looking beautiful and ready to paint.
Then the bad news. The aerosol can I was using Wednesday to spray inside the rear valance had decided to lose its pressure, so it would only spit and dribble, not going to spray. Bummer. I tried a couple of known good spray nozzles from other spray cans, but still no go. This left us looking for a paint supplier. First try was the chap around the block, hobby car guy with his own paint mixing facilities. Unfortunately his day job had him away from home on Friday, so that was out. Then it was time for lunch break, giving us time to ruminate a bit. Then helping to get the VW race car onto the trailer as it was getting to be too late in the day for painting (again). So we fell back to the task of putting the MGA back together again as our host Jerry was scouting the local paint suppliers.
Good news for the day is that our Moss Motors parts order arrived. We opened the package to immediately retrieve two cable stops to hand to the guy with the TD. Also pulled out the new dipper switch for our MGA, a Classic Gold part from Moss Motors, pretty much guaranteed to fail in short order (as we haven't gotten a good one yet), but will install it anyway because we need it for night driving.
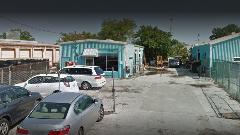
We found a paint supply shop called Supplies Plus, 12 miles south in Naples, and off we went. Unit 6 on the
 side, busy place, but we were patient and finally got service. Not able to cross reference the manufacturers' paint stock numbers to a modern mixing code, we opted to scan the color on the car (better option for aging paint anyway). The scan results came to a very close match to some modern color, so that was good. They could mix 2-pack (base coat and clear coat), but to get single stage paint with hardener they had to call another branch shop in Fort Myers (not too far away). We will pick the paint up there tomorrow morning. Tech Central will be inactive tomorrow while Jerry is getting the VW dyno'd, so we are now scheduled for Sunday morning finish painting.
Saturday January 18, 2020:
Breakfast first, then off to Supplies Plus in Fort Myers to pick up the paint. For now the shop is still on Katherine
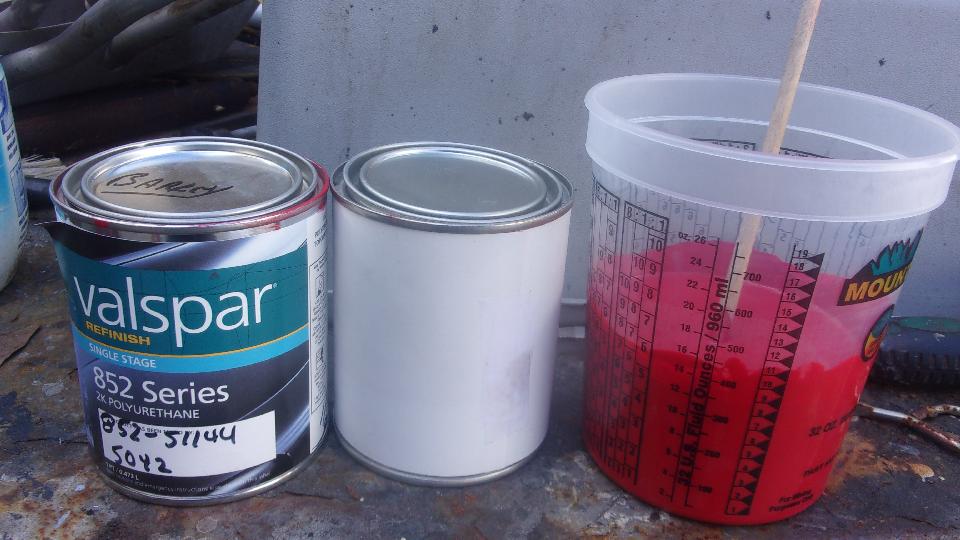
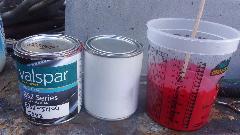
 Street, but is soon to be moving to Fowler Street, just one mile due south. One pint of custom mixed Red was waiting for us, plus a half pint of activator. Together called "2K", it has the reducer and activator combined in the second can. Just mix in 2:1 ratio and spray it (single stage). Peachy. Paint in hand, rest of the day off. I don't want to record the paint color or mixing code, because it is derived from a scan of 4-1/2 year old paint that was itself derived from a color sample of 7 year old paint. It was factory color Orient Red fresh repaint in 2008, but figure 12 years of fading darker by now.
Sunday January 19, 2020:
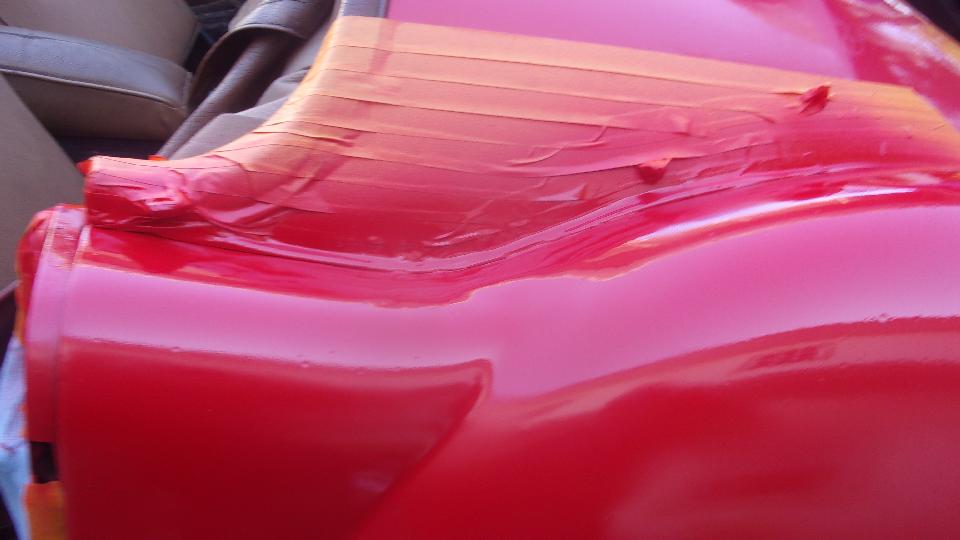
Only one task today, spray the red paint. Jack up the car again, remove bumper, hitch and tail light, and space out the wing. Do a little wet sanding to be sure stuff is clean, wash, wipe and air dry. Mask and cover a few things not to be painted. We took a little time to erect a 12x12 foot awning and throw a tarp over the rag top.
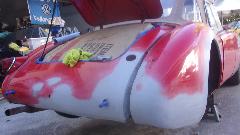
Then came the fun part, mixing paint. We only mixed half of the pint of red with half of the reducer/hardener, making 6-oz of 2:1 mix for the spray gun. I sprayed the inside of the lower wing first, and Jerry sprayed the outer surfaces, all done in short order.
With the important stuff done it was down to waiting for the paint to dry. This is when one splash panel with a couple of rust spots took a step up the priority list.

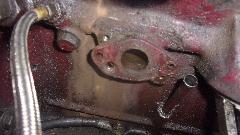
That went into the sand blaster for about 10 minutes, followed by a spritz of primer. Half hour later I gave it a quick brush coat of red. That should stave off the rust for a few more years. Now go kill some more time.


We gave it as much time as available to dry, waiting until 5-pm before starting reassembly. This time we had to put
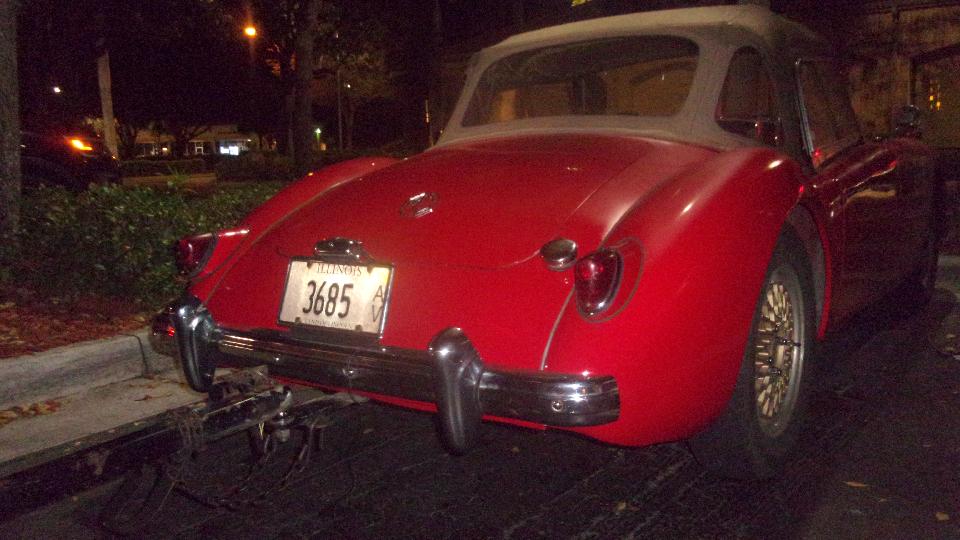
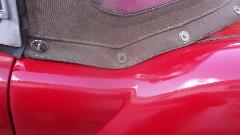
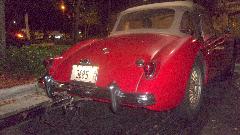 all of the bolts in the fender while aligning the piping without getting fingers in the still tacky paint. Also install the splash guard (bolted to lower edge of the fender for the first time in 2-1/2 years), assemble the tail light with the rubber gaskets (PITA), and install the fuel filler tube and bumper and hitch. By the time we got the wheel on and the car off the stands, all the toys stowed away, and had all the lighting working it was pushing 7:30-pm. Having done it all multiple times in the past week, it was no problem finishing up with flashlight. So there it is all red and chrome again, only slightly tacky. Will have to wait for tomorrow to see how it looks in the light of day. Bye-bye moose damage.
Sunday January 19, 2020:
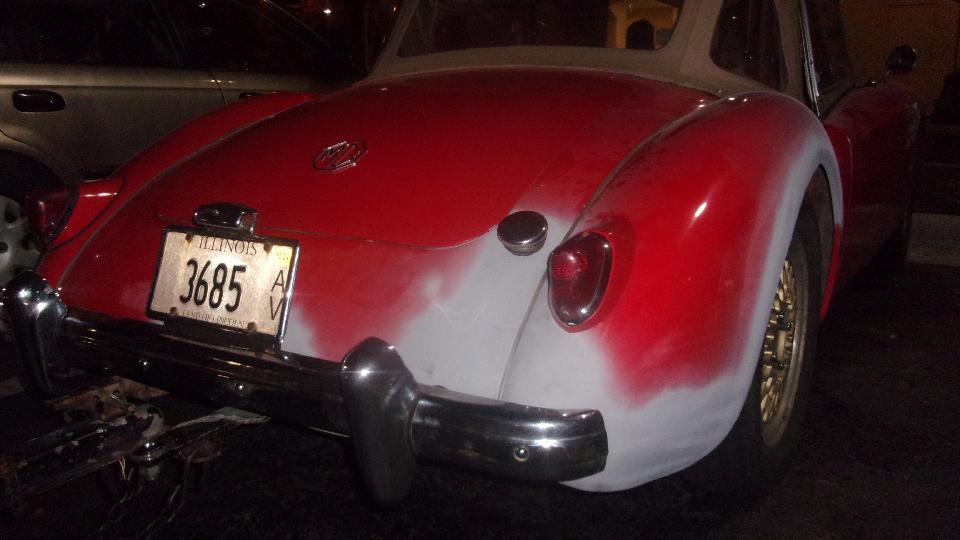
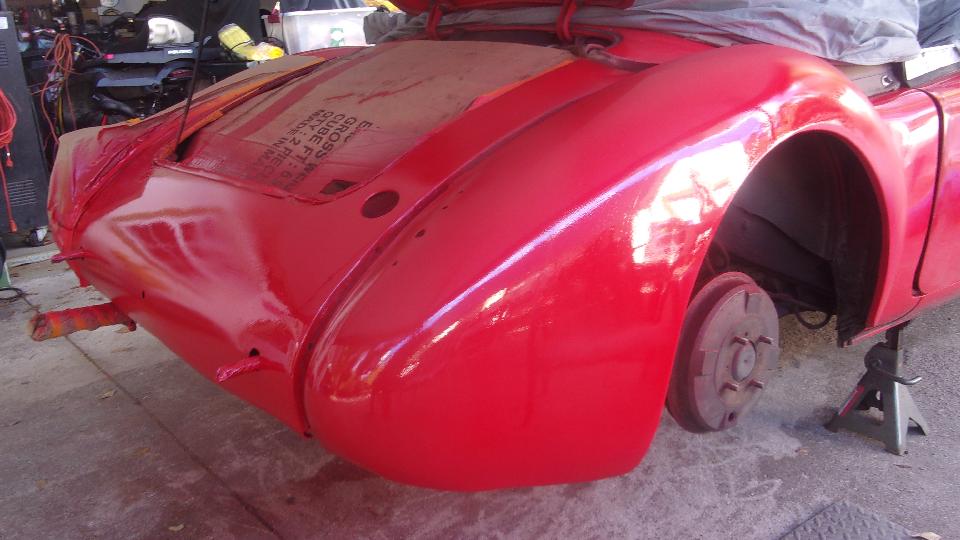
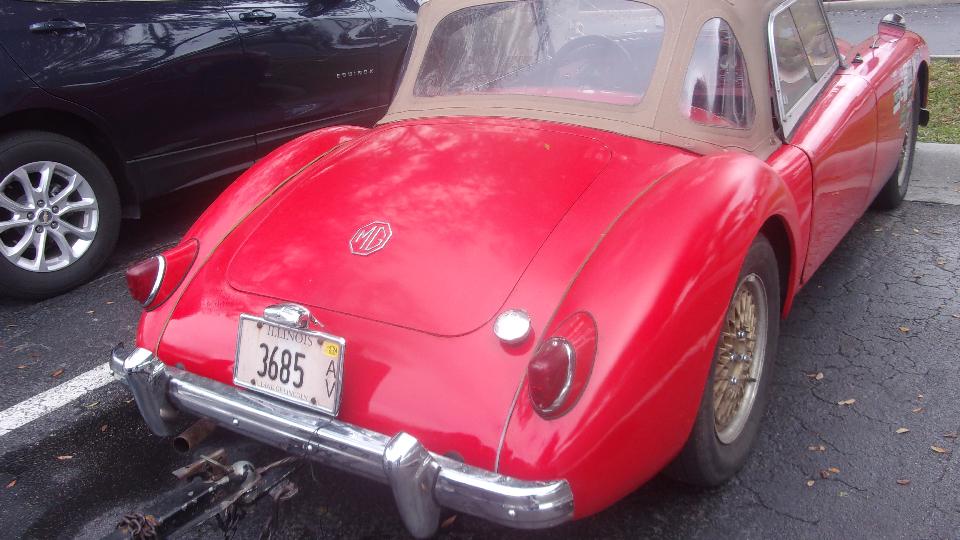
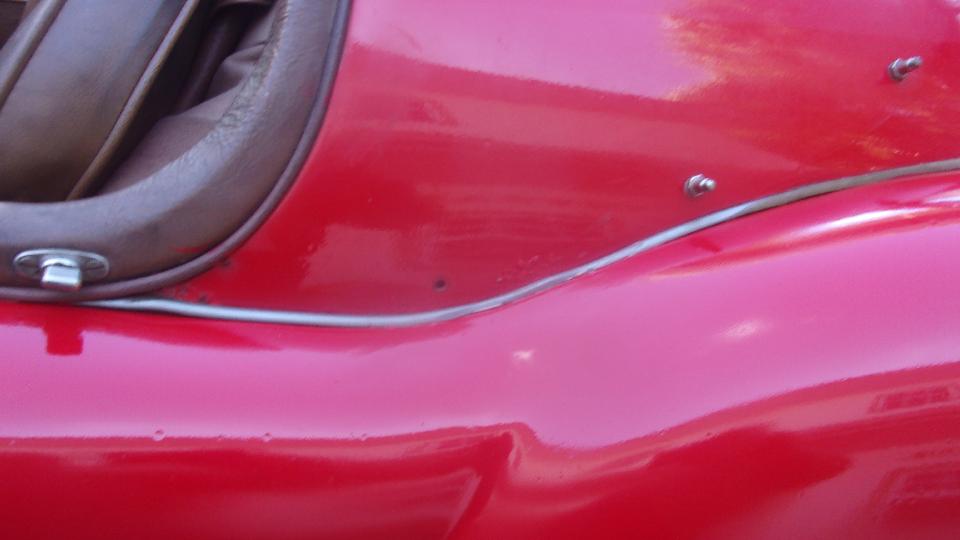
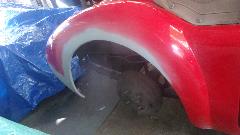
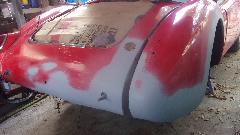
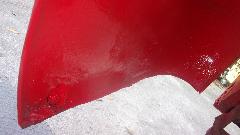
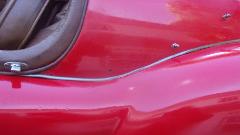
 Here we are next morning, slightly overcast making for good color without undue glare. As the old paint was scanned for color, the new paint is a very good color match. New is glossy where old (less than five years aged) is a bit chalky on the surface. Once fully cured I suppose it would benefit from a rub down polish or maybe clay bar to skim away the chalky surface and remove thin over-spray in the transition blending areas. I'm happy with the results, and relieved that the job is finished. We intend to take the day off to relax after a week of hard work, while we catch up with a backlog of email and BBS.
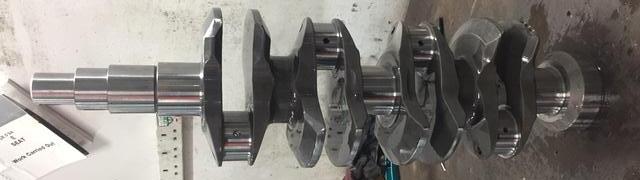
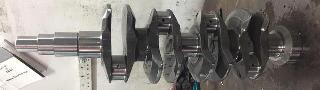 Just posted a new tech page for custom crankshaft with "ghost mains" for the Twin Cam engine. See TC-307A. These custom made crankshafts are very expensive, but they (almost) allow you to ignore the tachometer and rev the engine to your heart's desire (just the ticket for serious competition).
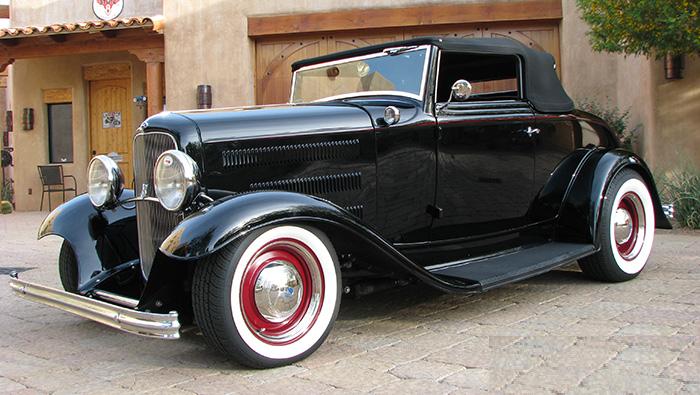
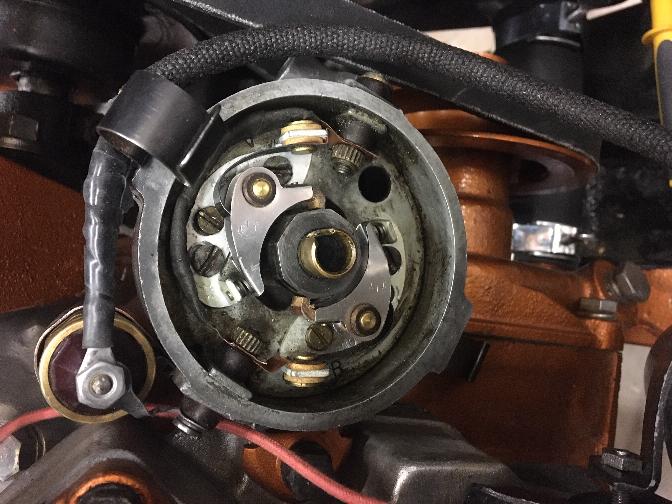
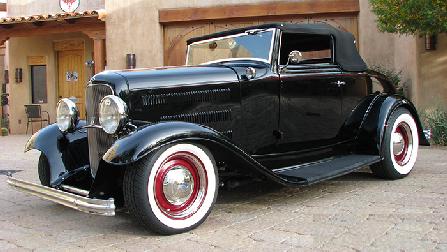
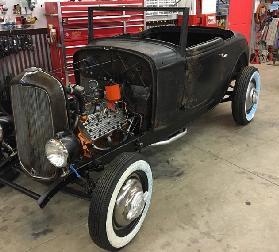
Then it was a good thing that we had the day off and were sitting down, as I received an email from Don Turner in North Carolina. He has a 1932 Ford Cabriolet which should look like the picture on left, but currently looks like the picture on right. Give him credit though, as the car has been sitting for decades, still in original paint, and he just got it running. He was so enthused that he used a jumper wire to the coil and sat on a milk crate to be driveable, and took it on a weekend club rally. Unfortunately it crapped out on the road, and they sent the rest of the cars off to continue the rally. A few friends helped to push and coast it (mostly down hill) three miles to safe port at a friend's place. There was no spark, and it has a Dual Points distributor. While browsing the internet for information Don found one of my web pages on Mallory Dual Points distributor, and sent me an email with his phone number.
Then we spent two hours on the phone debugging this thing (from 800 miles away). He was emailing me pictures from his cell phone while I was directing where to poke with the test light. We spent nearly an hour circuit testing
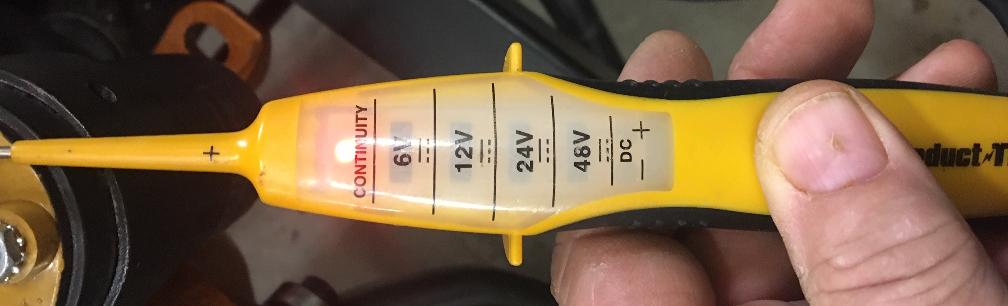
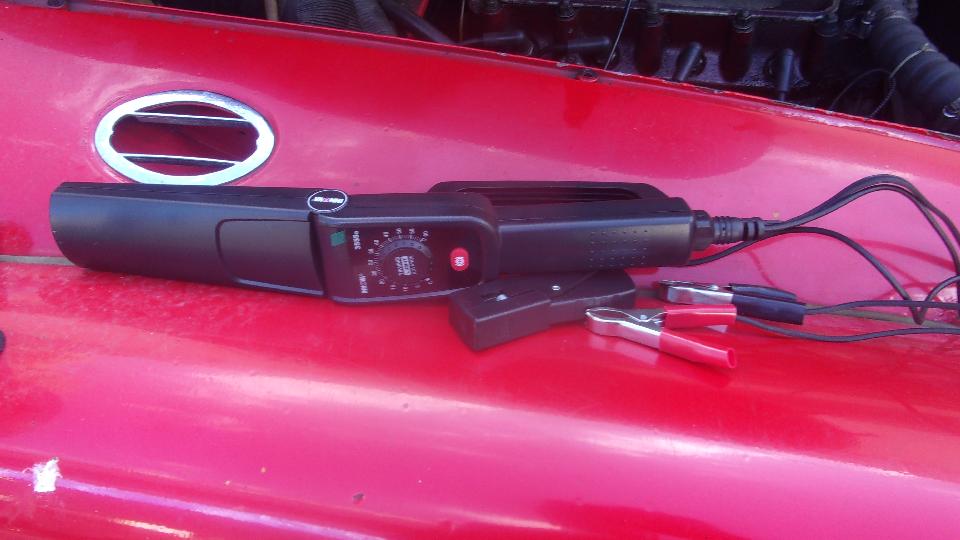
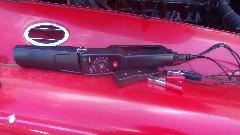
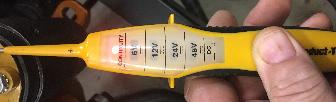 and running into contradictory results before I discovered the "test light" he was using was actually a continuity tester that was lighting up no matter what he touched. Once that was resolved and he picked up a real test light, then we made quick progress.
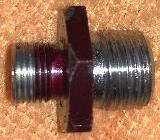
This is not a test light. ---------------->
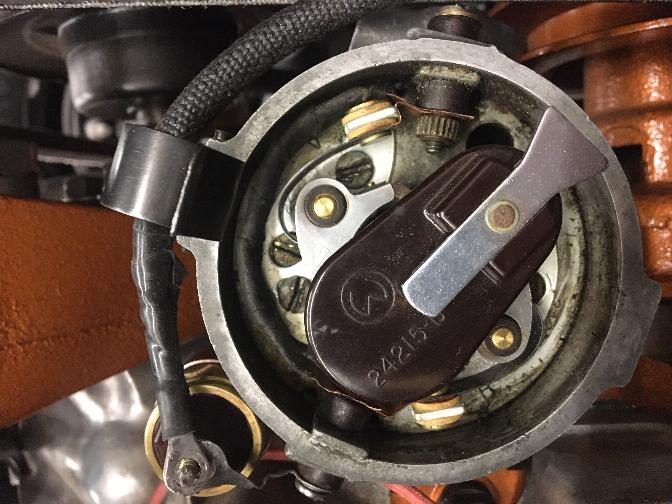
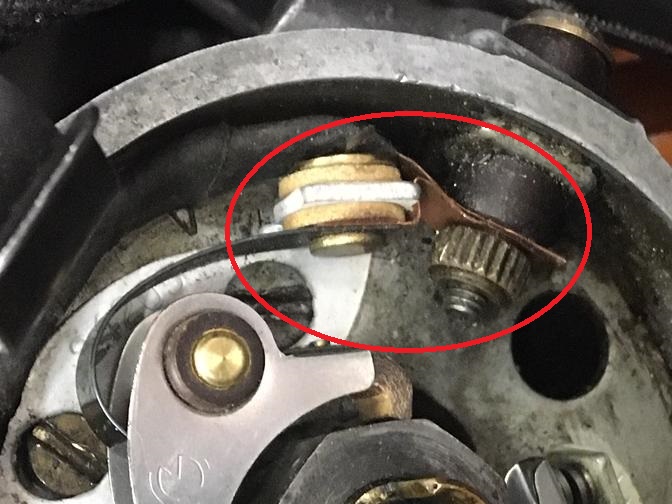
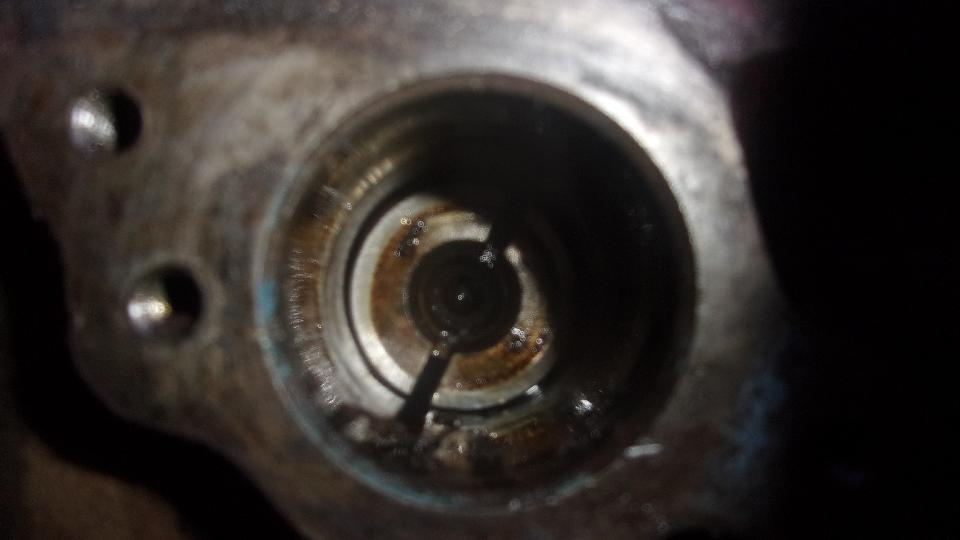
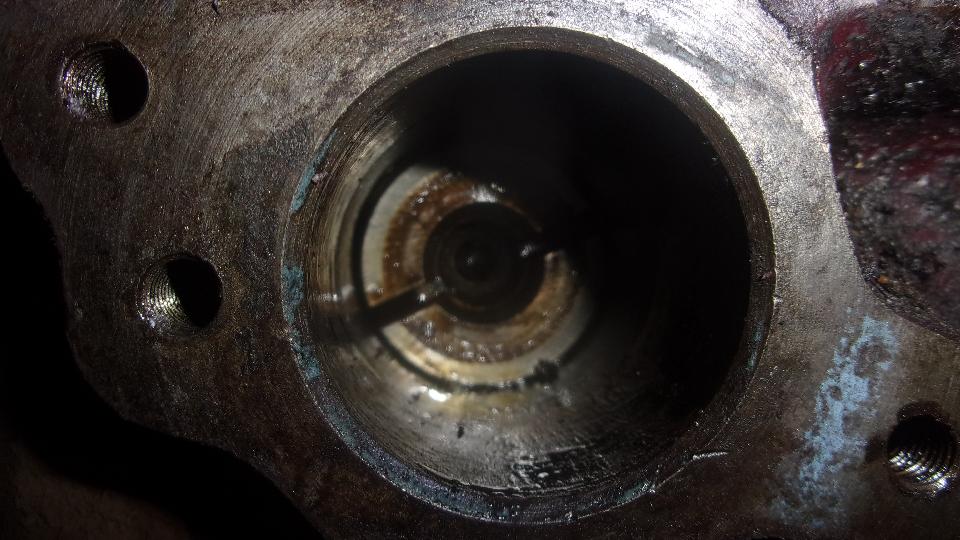
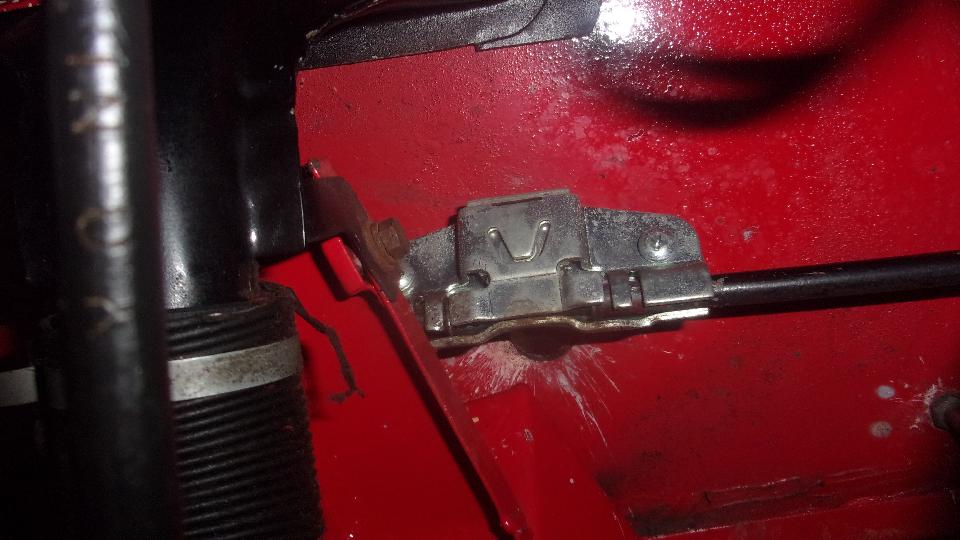
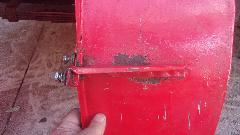
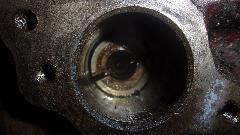
It quickly became apparent that something inside the distributor was shorted to ground, so it looked like the points were always closed. After disconnecting a couple of things inside to isolate parts of the circuit, we found the grounding problem. Circled in red in the last picture is a thin copper connection strip that was folded back to erroneously touch ground on the points mounting frame. Reforming the copper strap to avoid touching ground fixed it, and then the test light would blink as the points opened and closed. Score one for the good guys.


Monday-Tuesday January 20-21, 2020:
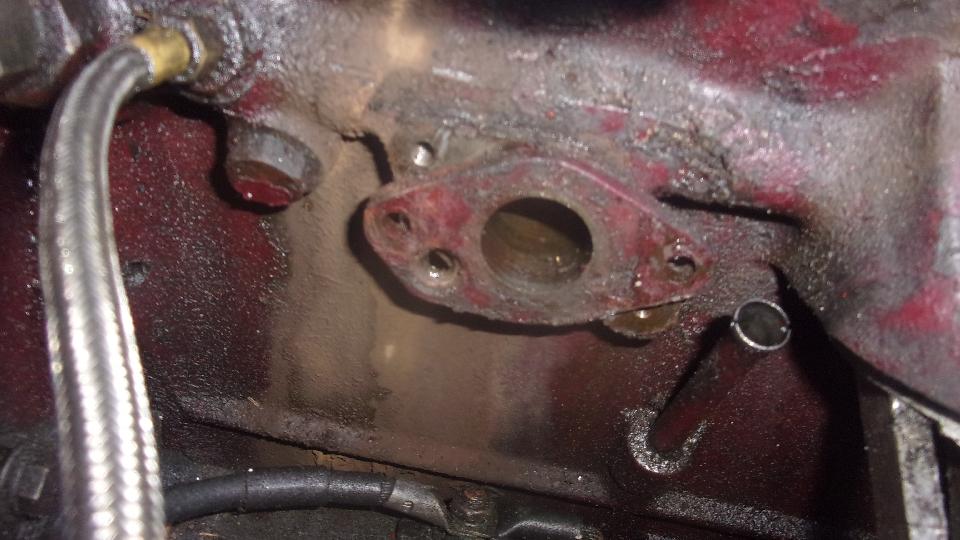
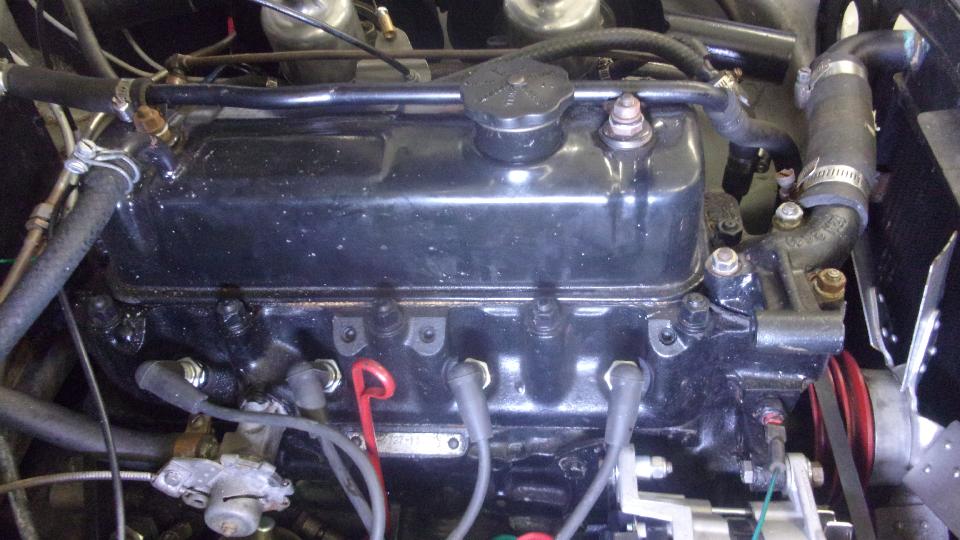
Not much happening, but I did post a new tech page on design of the Union fitting for oil pressure gauge pipe on side of the engine. There was a tech question about small bore restrictor orifice in this fitting, possibly affecting the pressure gauge reading. Not a problem, as the small bore pipe serves as restrictor to damp out oscillations of the gauge needle. But it is a good idea to bleed air out of the pressure gauge signal pipe to improve gauge response time.
Wednesday-Thursday January 22-23, 2020:
Tech question about a fuel gauge on a TR2. Another call on the '32 Ford, now has spark but not running, might be flooded (or maybe no gas), towed it home. A queston on a car purchased with a lost title. An issue of MGB rear axles, banjo type and tube type having different brake backing plates, and faulty parts brake shoe anti-rattle springs (long standing problem). MGA aftermarket plastic fans going around again, and body work on a detached fender (oops). Something about larger condensers being used as radio noise suppressors. Note from the owner of MGA 151ABL "Deluxe" rally car clarifying some prior misinformation. Another note about mysteriously disappearing brake fluid.
Friday January 24, 2020:
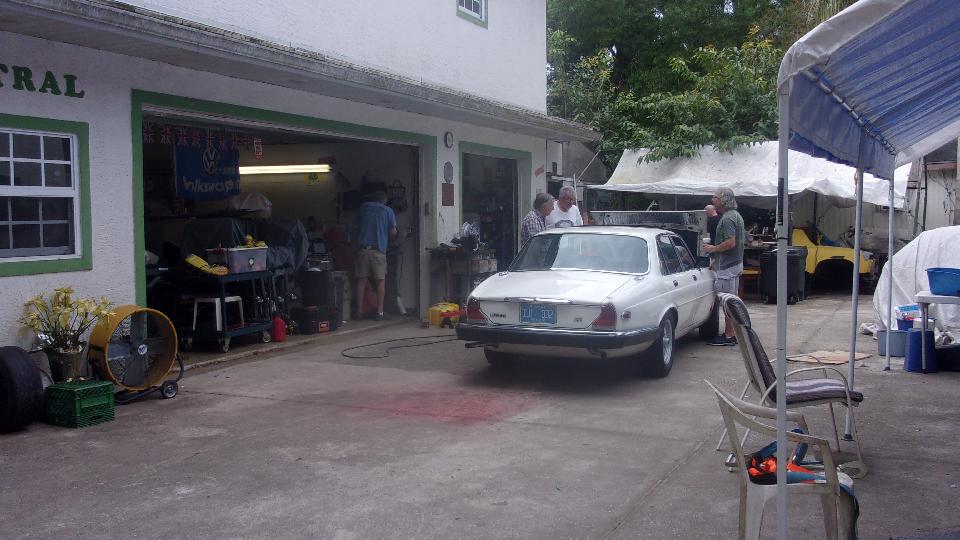
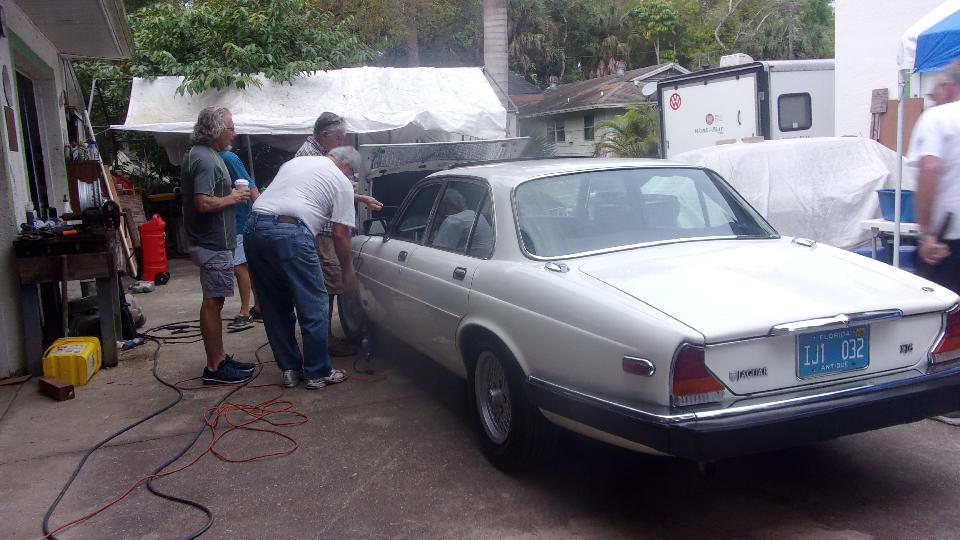
Back to Tech Central this morning, setting my car aside to work on a few others. First up was a Jaguar XJ6 with failed air conditioning. Guys got out a freon sniffer to find a leaky Schrader valve, and a little more diagnostic work f or electrical issues.

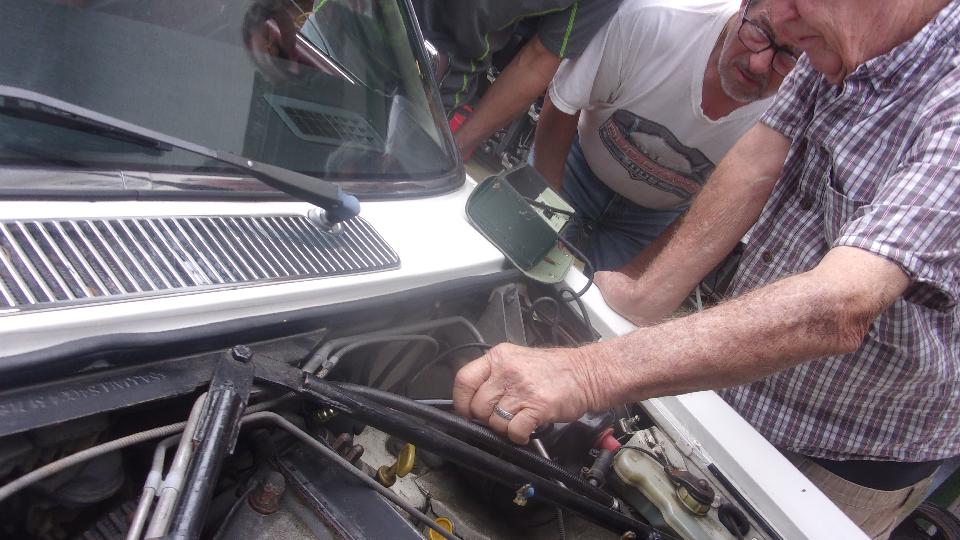
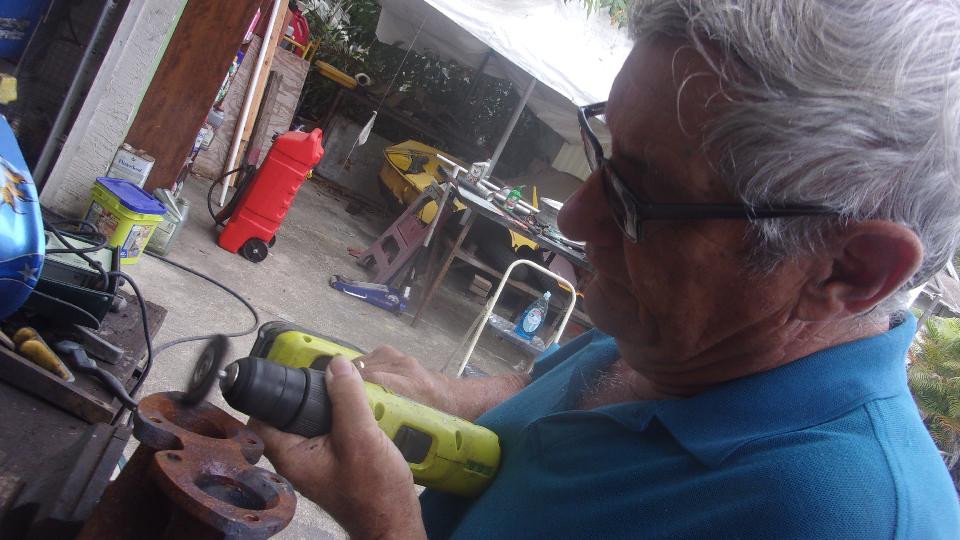
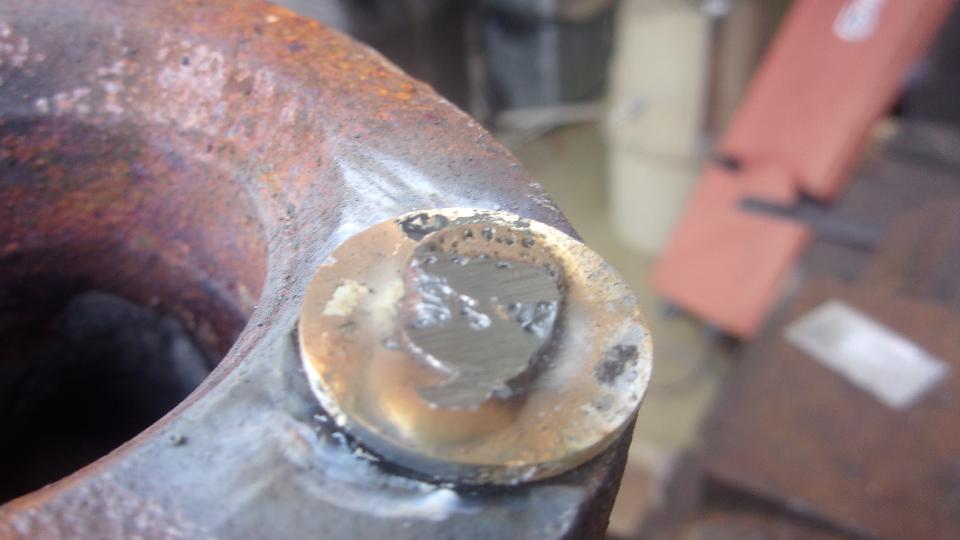
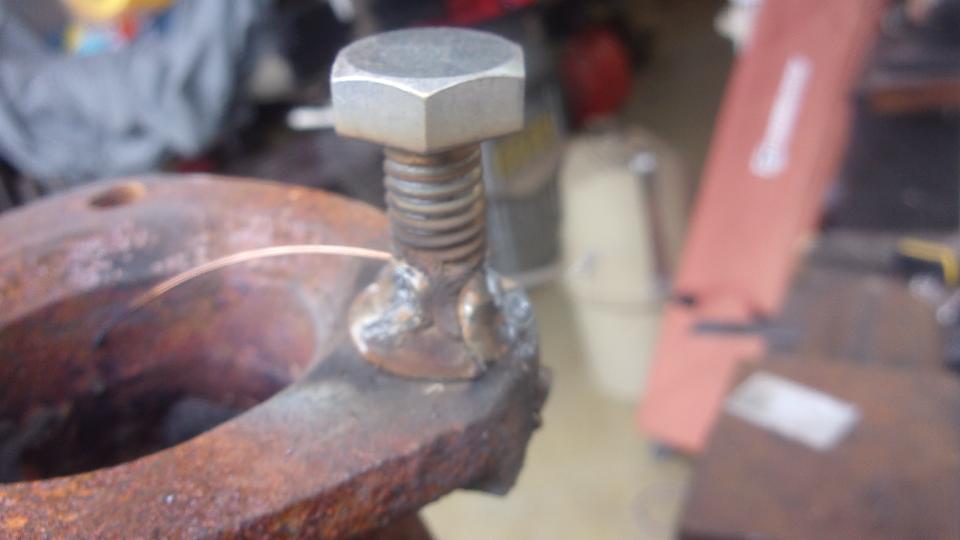
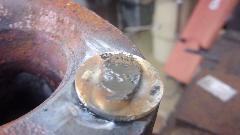
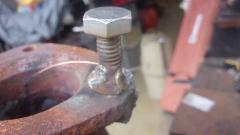
Next up was another MGB exhaust manifold, trying to remove a stud that was broken flush. SOP is to weld on a flat washer, then weld a bolt on top of that. First try was a bust when the washer weld didn't hold. Then they handed me the MIG welder, and we did it again with better welding, but opted not to try to unscrew it yet, waiting to get a gas bottle refilled for the Oxy-Acetylene torch. Meanwhile drill out another hole that had been welded up, but no Heli-Coil handy. So I took a quick trip to a local parts store to buy a 5/16-18-UNC Heli-Coil kit. After a lunch break the hole was drilled to final size, tapped oversize, and the new threaded insert installed.

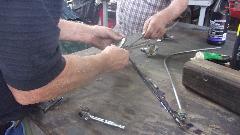
Next up was the Midget nearing completion of restoration, this time having a frozen wiper drive, not able to withdraw the drive cable from the pipes, even though the spindles seemed to be free. Having to remove the works from the car, it turned out to be a kink in the pipe between #1 and #2 spindles pinching the drive cable. This was ultimately fixed by driving a punch into the end of the pipe to push out the kink until the cable could slide freely inside, then time for reassembly.

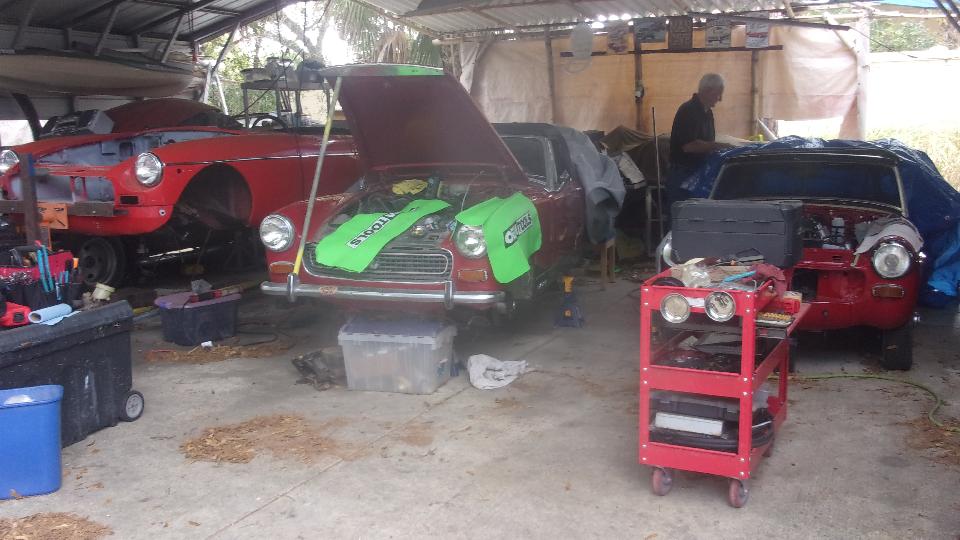
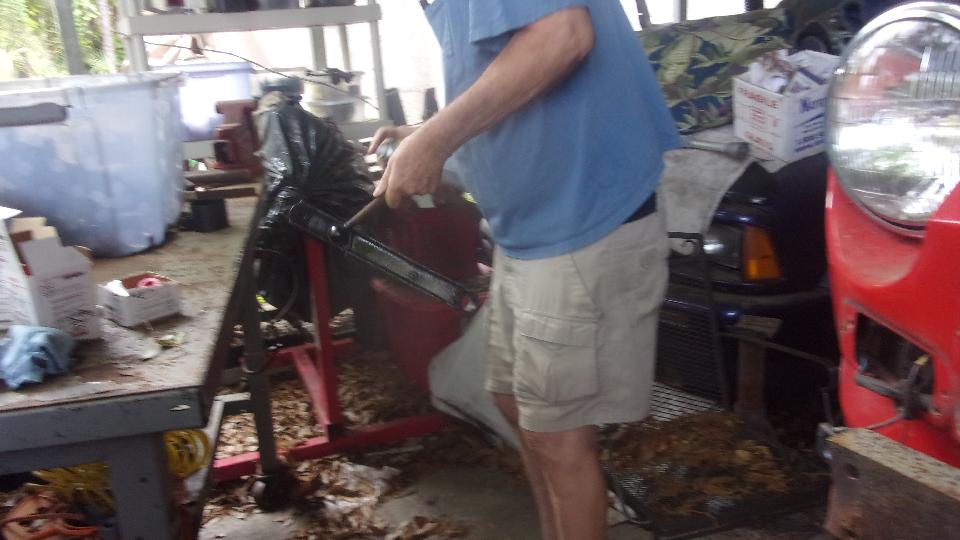
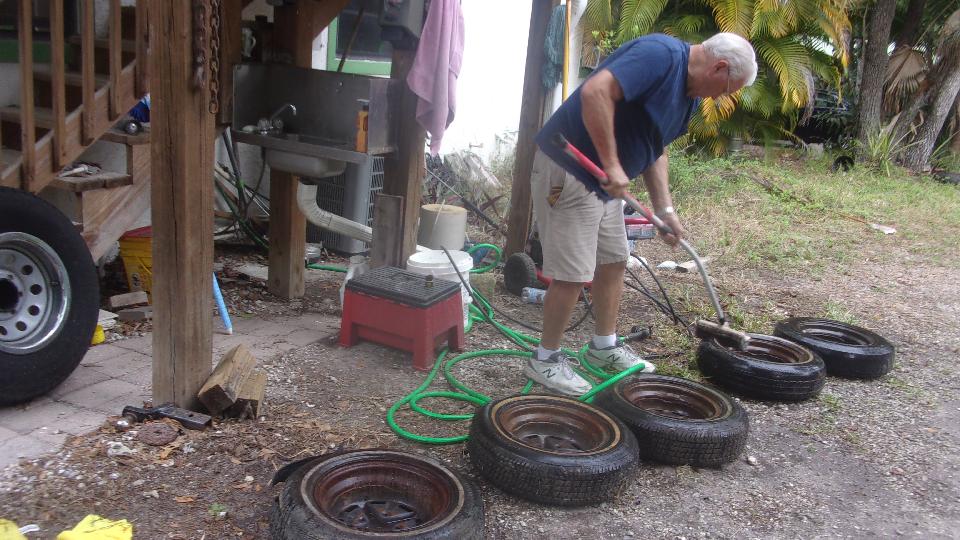
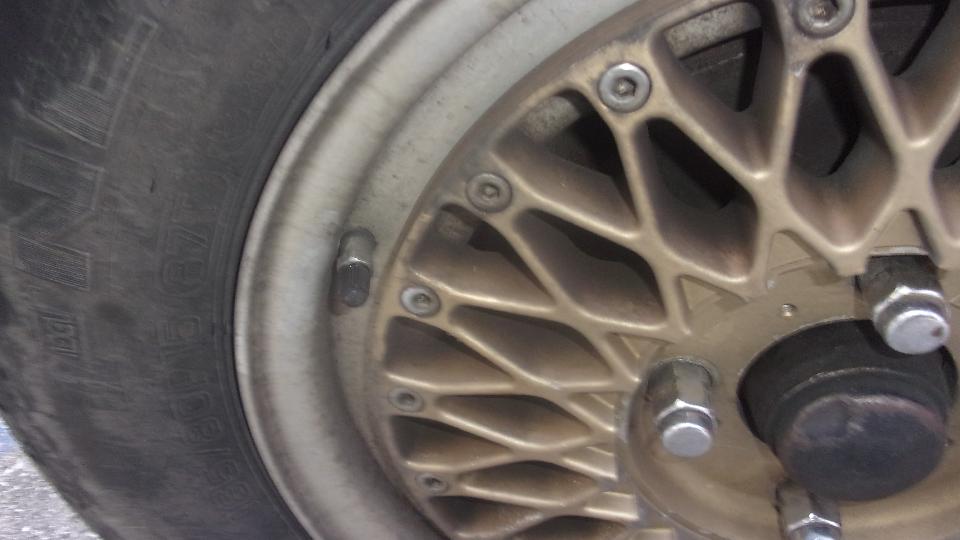
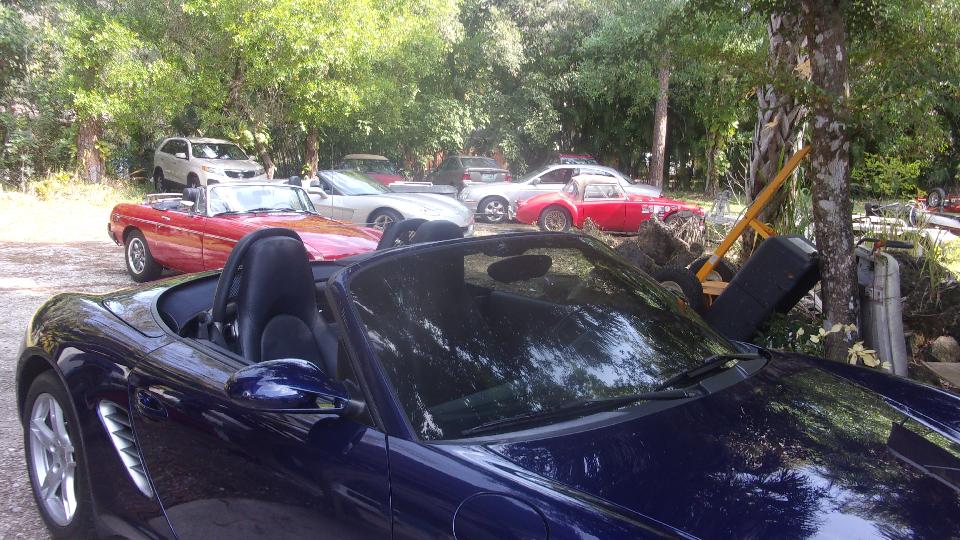
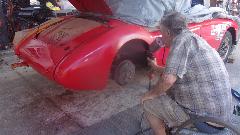
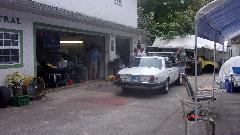
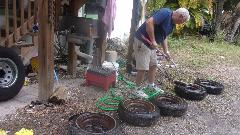
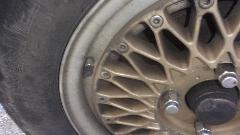
The MGB wannabe race car (far left) was getting a rattle can repaint on some suspension parts, while the Midget in the middle was getting a little more brake work (which might be done next week). The brush and hose job was in process to save the wheels for the MGB race car. First tire on the left was shredded, while the other four are very old, but should be good for rollers while the car is in process.


Saturday January 25, 2020:
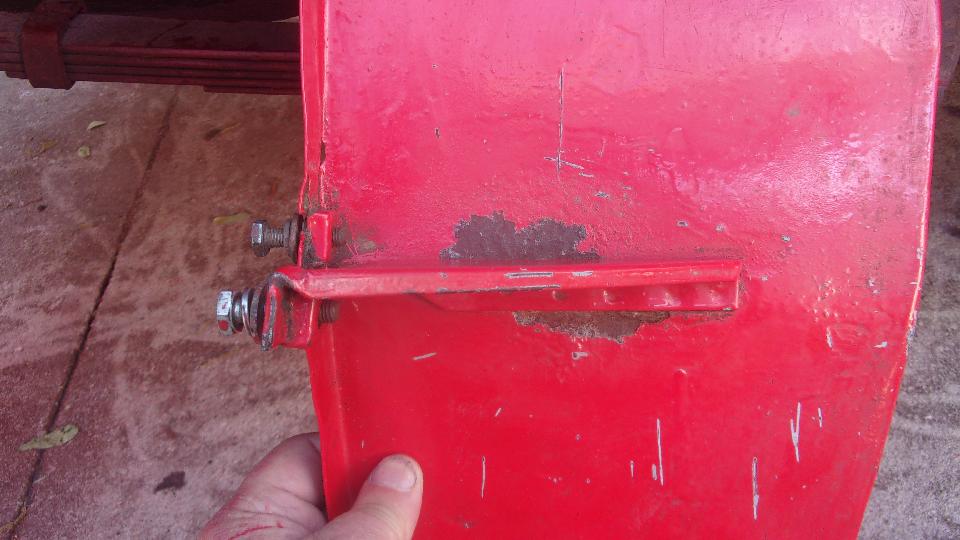
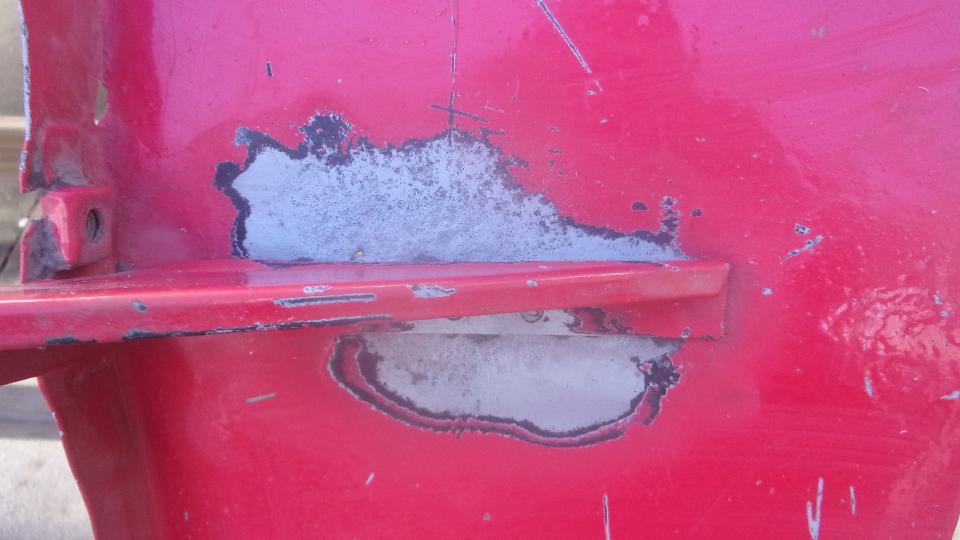
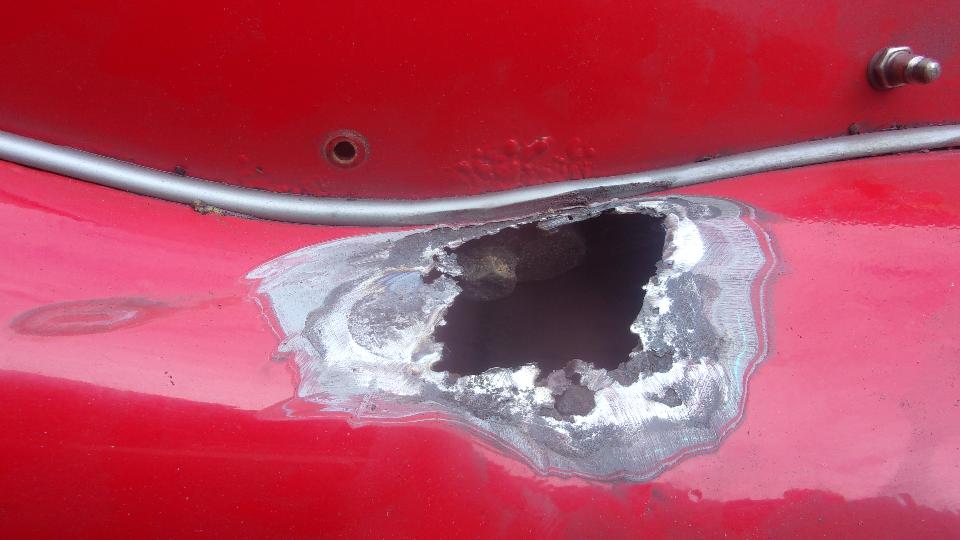
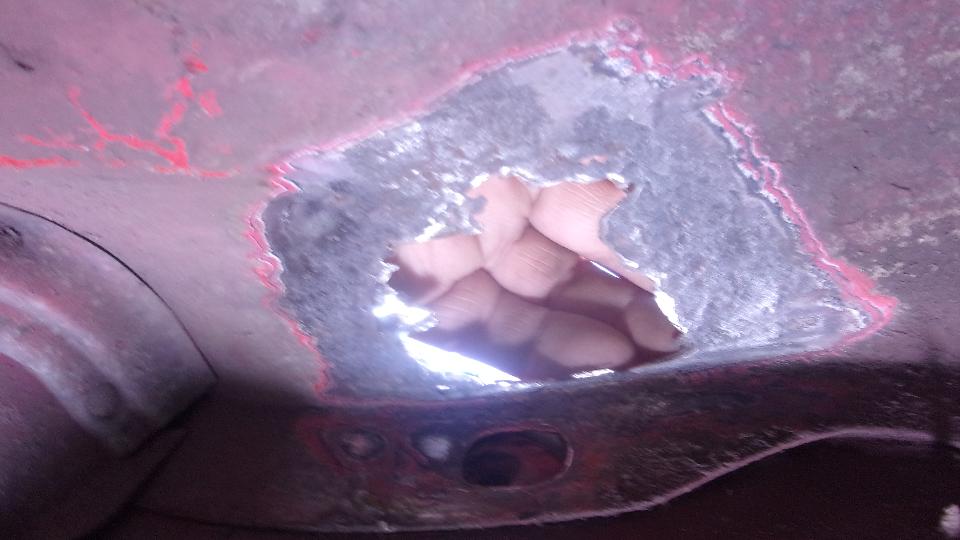
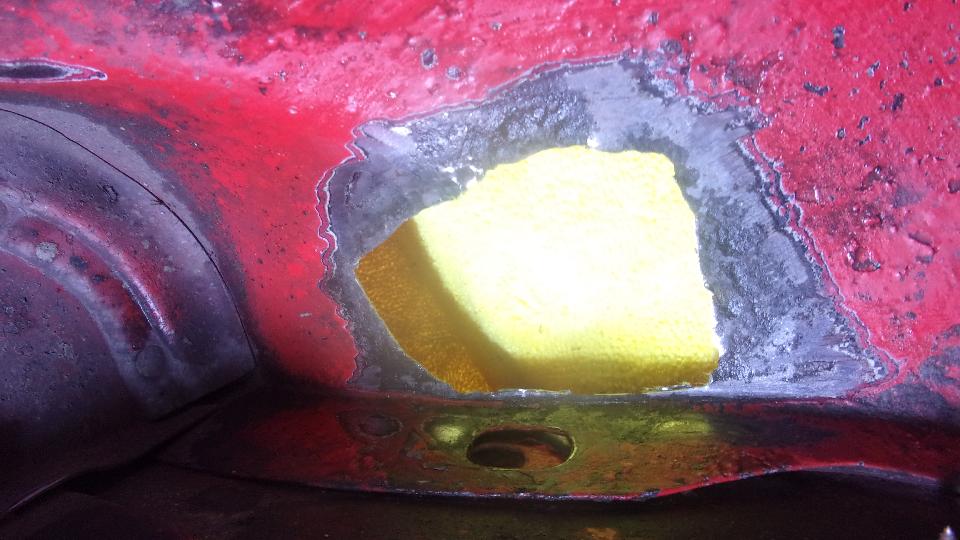
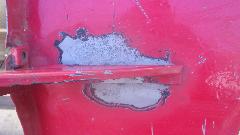
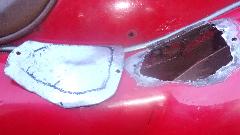
Nothing happening at Tech Central today, so it was time to attack a large rust blister on top of the LR wing near the rag top. This began as a fingernail size blister shortly after the last repaint five years ago. Now seeing the result, I'm sorry I waited so long to fix it. Yuck! This was aft of the splash panel, easy to reach underneath.


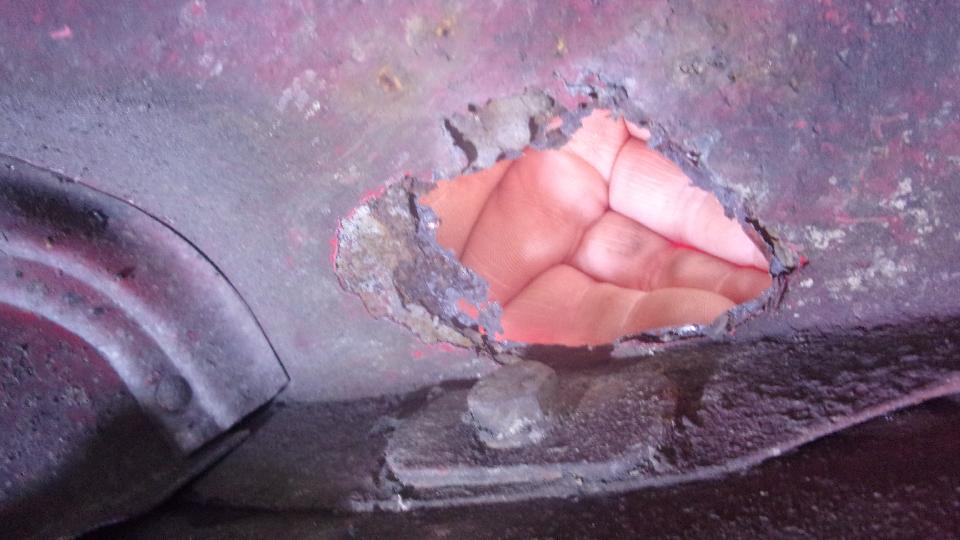
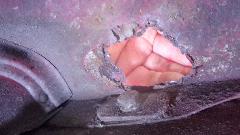
There's what it looked like underneath, before and after grinding, and after cutting away the thinnest metal with a body saw (much larger hole).

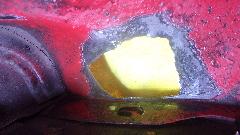
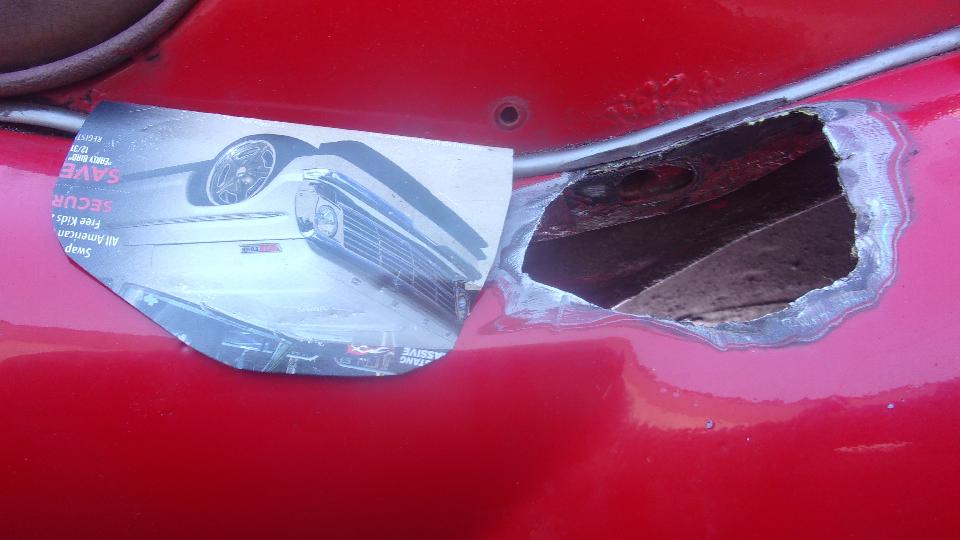
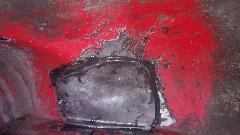
Begin by making a cardboard template, then tracing it onto sheet metal to cut a patch piece. The inboard edge has a 1/8-inch folded flange,contoured to match the curve on the fender flange. The rest is 3-dimensional contoured in a saddle shape. That must have taken at east three hours to form with crude hand tools and a vice, no English Wheel available. When it finally came to suitable shape, I drilled two holes for pop rivets, then glued it in place with a generous dose of JB Weld. The idea is to completely seal the joint to exclude moisture so it (hopefully) won't rust out again.
After clean up it got a coat of primer paint underneath. Enough for one day, will see about filler, sanding and primer on top tomorrow. The last picture was to remind me to log in another replacement dipper switch, keeping a log on how often those things fail.
Sunday January 26, 2020:
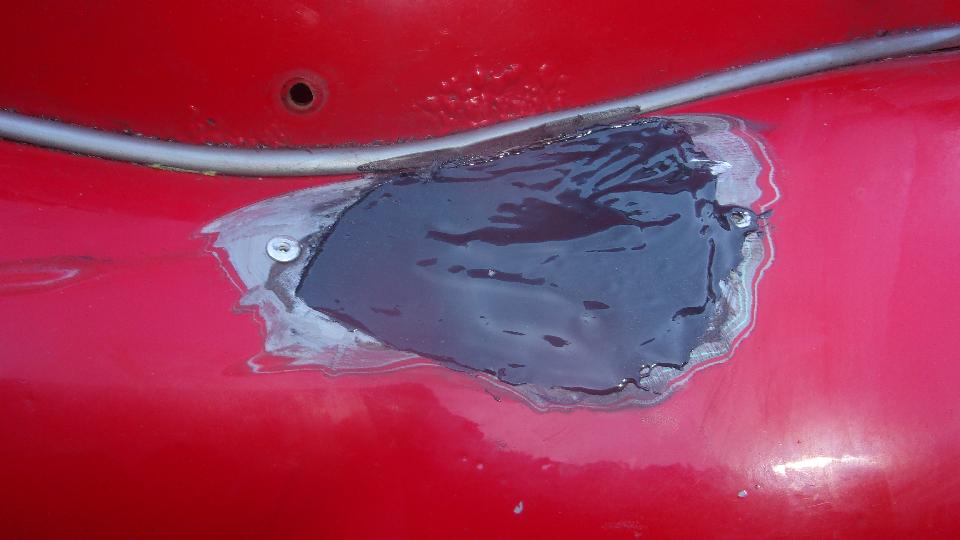
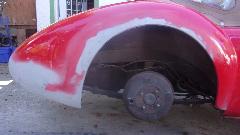
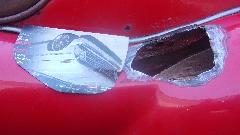
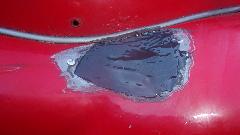
We know what's on the agenda today, body finishing work. It's a relatively small spot, and we don't have to disassemble anything or even jack it up, just put the top down and have at it. The trickiest thing here is working next to the piping without removing the fender. Second trick is that this spot has to be hand sculptured in three dimensions. Begin by drilling out two pop rivets, fill the holes with JB Weld to seal it, and wait. Then sand it flush,
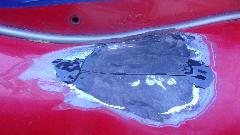 mix body filler and fill flush, much of it as deep as one thickness of sheet metal, and wait. What you don't see is a few applications of masking tape along the piping.
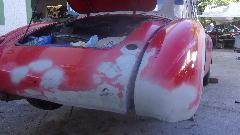
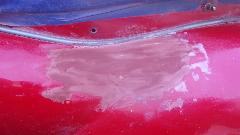
Then the interesting part, sanding and sculpturing to correct contour, hopefully within the thickness of one or two sheets of paper. Lucky there was enough filler on the first pass to not leave low spots. The orbital disc sander with fine grit did well with a very light touch and fairly low speed. Then a thin skim of spot putty (the red stuff), and wait. Sand that smooth, looking pretty good, hit it with a coat of primer paint, and wait. Wet sanding the primer, testing the surface finish with finger tips, clean, dry, and add touch of spot putty to fill the last few tiny divots, and wait. Wet sand it smooth again, good enough for me. Hit it with another coat of primer, and wait, but not so long this time. To much waiting today. Running out of daylight, so clean up, pack away, put the top up, and we will do the finish paint tomorrow.
Monday January 27, 2020:
Raining today, not a good time to be painting. Had an interesting question about why MG went from TD to TF without having a TE model. Spent some time conjuring up a half decent answer for that, not cast in stone, but maybe better than anyone else has suggested. Then I spent much of the day joining British Car Forum to have another look at it, maybe stay stuck to it this time.
Tuesday January 28, 2020:
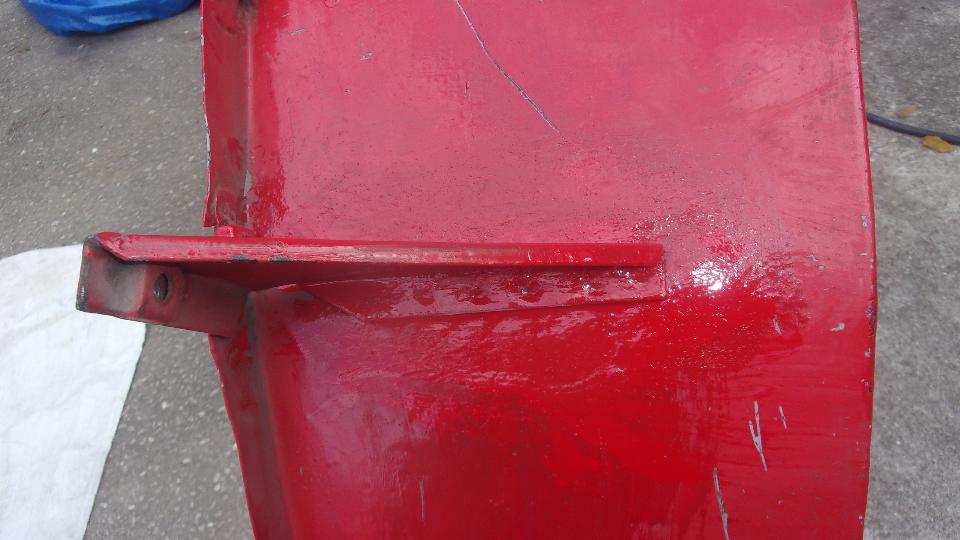
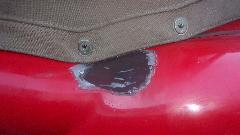
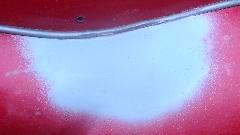
Good start for the day, a little wet sanding of primer paint, some masking tape, and sprayed a little red paint. Came out pretty good,kiss off one rust hole. Last picture was mid afternoon after the paint cured enough to touch, and I had reinstalled one bolt under the wing and one stud for the LTD fastener.

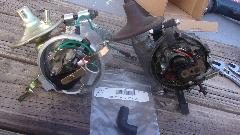
While paint was curing I had time to install the new distributor (needed because the vintage Lucas unit was totally shot). I wanted to re-orient the drive gear, as it has been half a turn out since I removed the Mallory Dual Points distributor a year ago. I got it wrong on the first try, probably because I had the crankshaft set at 12d BTDC rather than 0. But persistence pays, no big deal to do it twice.

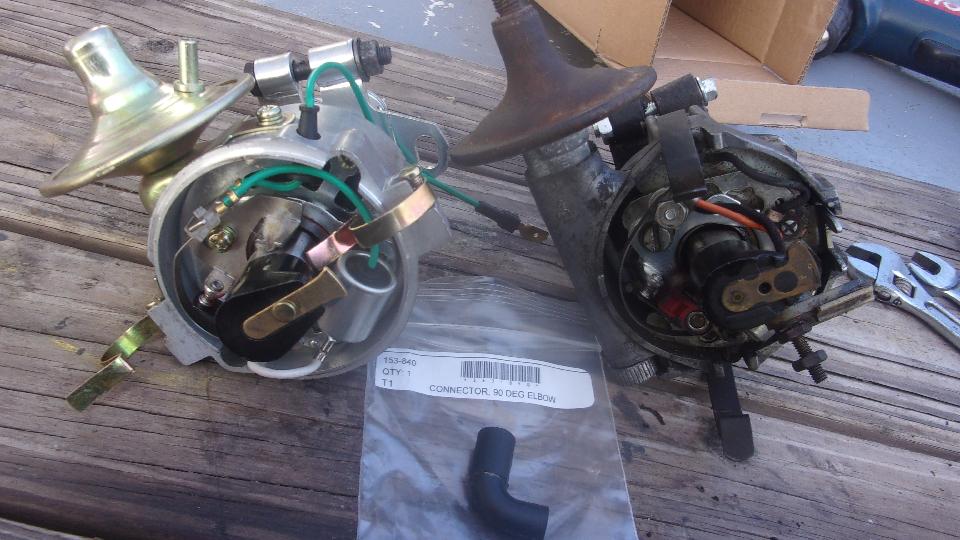
So I bought this new "replacement type" distributor, advertised as for '62-'71 MGB for a meager $65, just to try it out to see if cheap can also be decent. There are no markings, numbers or names at all on this thing. I was expecting replacement for a Lucas 25D4 type, but the lead wire and contact points look more like 45D. No notes in the catalog to tell what tune-up parts might fit it, so I will have to call Moss to find out (on the rash assumption that they might even know).
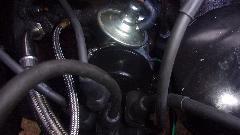
The first picture shows where I already swapped the clamp bolt so I can use a standard wrench. Vacuum connection is easy, just push back the flare nut on the vacuum pipe and push the rubber connector over the pipe olive. The green lead wire had to be cut and spliced to the original White/Black wire in the MGA (due to incompatible wire terminals). Otherwise plug and play by standard procedures.
Good opportunity to try out my new Innova timing light, same model I had before (which was pinched out of the trailer last year). I like the simple analog thumb wheel for set-back, just nudge it around until timing marks align (when running), and then read the advance number on the thumb wheel. No button punching required, and no need to read digital numbers when holding it with one hand. I have so far only driven the car 6 miles tonight, but already I can say the performance is good, and a bunch of odd running glitches have disappeared. Next step is to put 100,000 miles on it to see how durable it is.
A few more pictures to remind about other minor details, like more "adjustments" to the ill-fitting wiper wheel boxes from Moss to better secure the drive pipe. Not great, but now the wipers work again (at least with water on the glass). Also adjusting tire pressure for the car and trailer, which hadn't been done since September. Happy to report both car and trailer tires are holding pressure quite well.

Wednesday-Thursday January 29-30, 2020:
Quiet for a couple of days. Nothing worth writing home about.
Friday January 31, 2020:
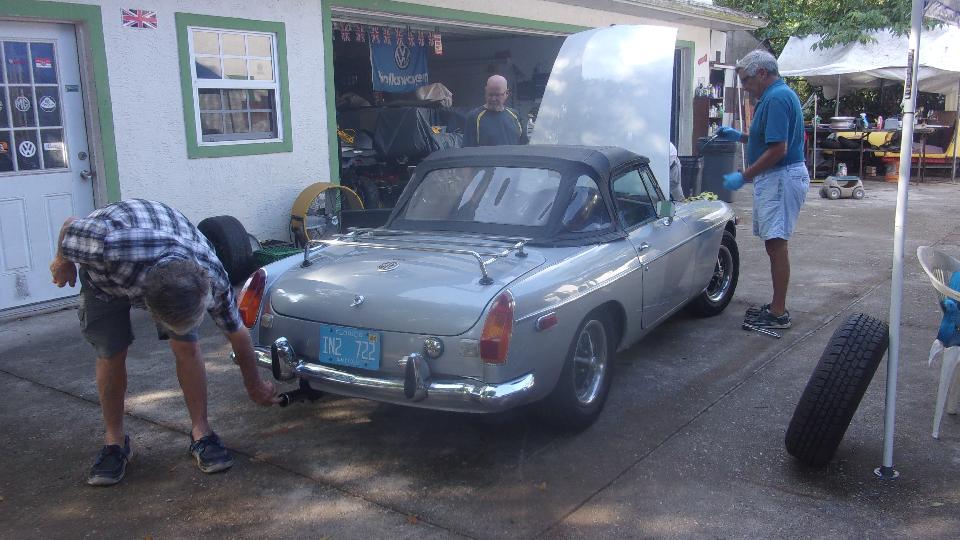
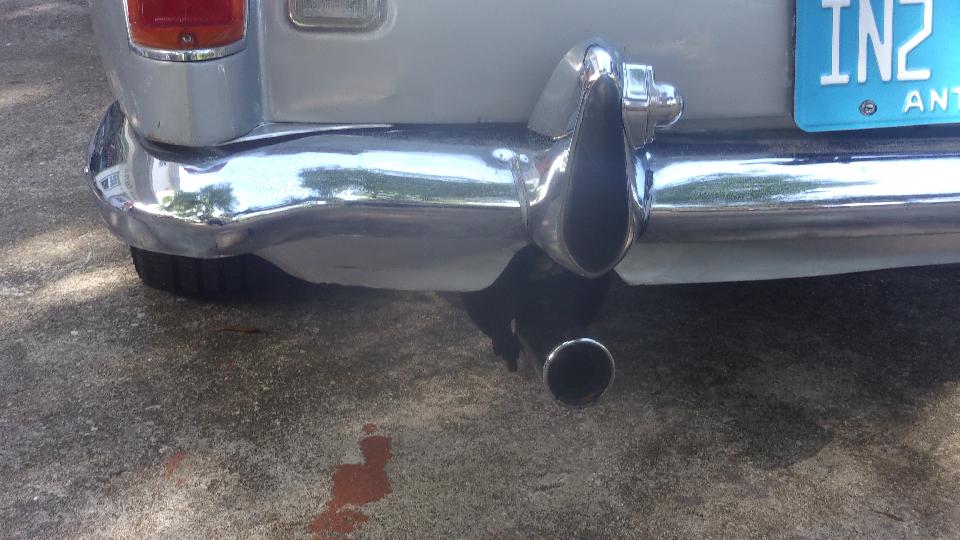
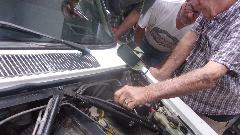
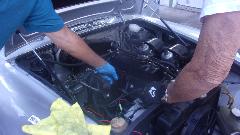
Good way to round out a month. Back to Tech Central to see if we can help out with anything. At first only a couple of cars there, but soon several more. And sure enough, there was this silver MGB that had recently changed hands within the group. New owner had it just a week or two, only driven 200 miles, running just a little rough, but seems to have consumed an inordinate amount of oil in a short time (like a full quart down in the last 50 miles). We did a compression test, found 120-psi minimum on all four cylinders, not too bad for an old engine. A little carburetor adjustment had it running better. Oddly enough, not one drop of oil on the ground since it was parked here this morning. So we fired it up again, let it warm up a bit, and checked to see if there was anything notable coming out of the tail pipe. At first not much, but when it was revved up to road speed it would spit a fair amount of oil out the back in a matter of seconds, enough to coat my hands in short order.

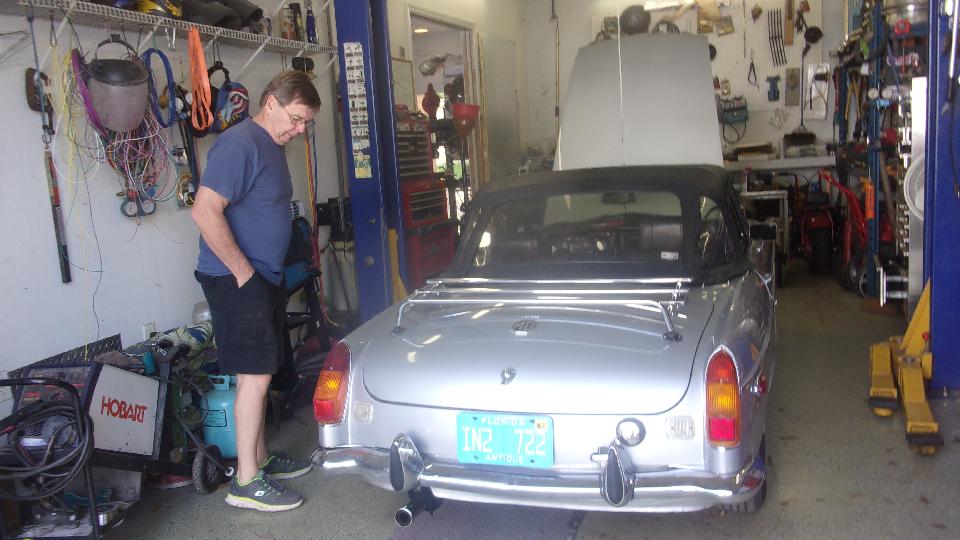
So we got it into the shop and up on the hoist for inspection, but still no significant oil leak to be found. Taking a good guess it may have badly worn valve guides, and it may benefit from installing umbrella seals on the valve guides. I looked up the part number for the aftermarket valve seals on my web site, and we made a call to the local NAPA store. No seals in stock, but can get them soon. So we ordered up a set (or three) and made an appointment to install them back here next week.


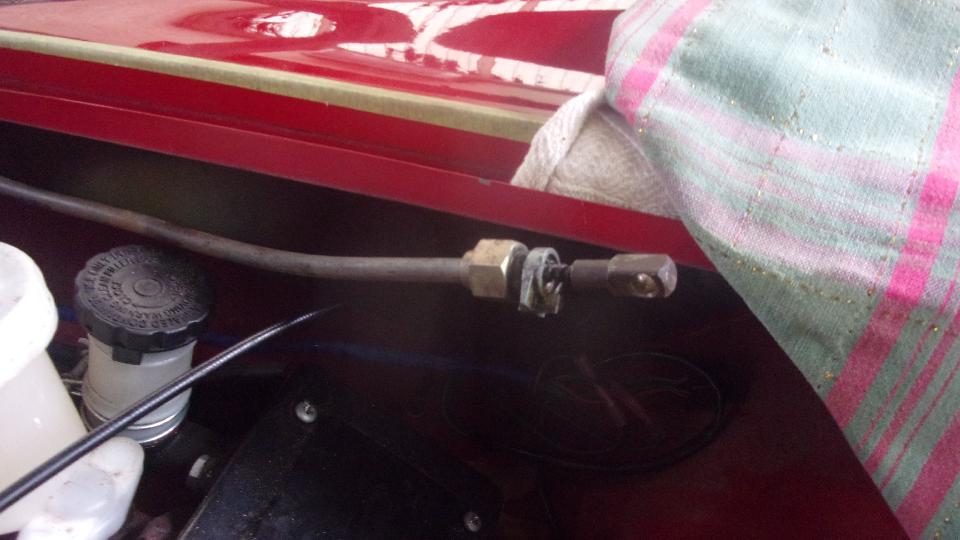
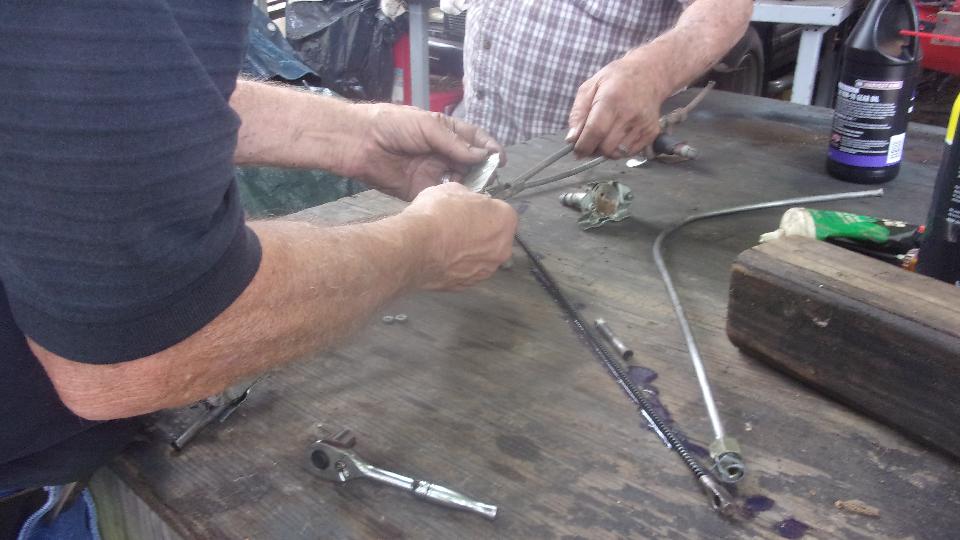
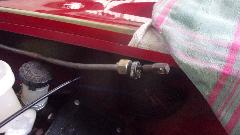
 Meanwhile the Midget was finishing up brake work. Someone had installed and aluminum tube for the primary brake pipe, and it had fractured at the master cylinder end (kind of makes your skin crawl). That was replaced with a proper steel brake pipe, and now we're speculating on maybe driving the car next week.
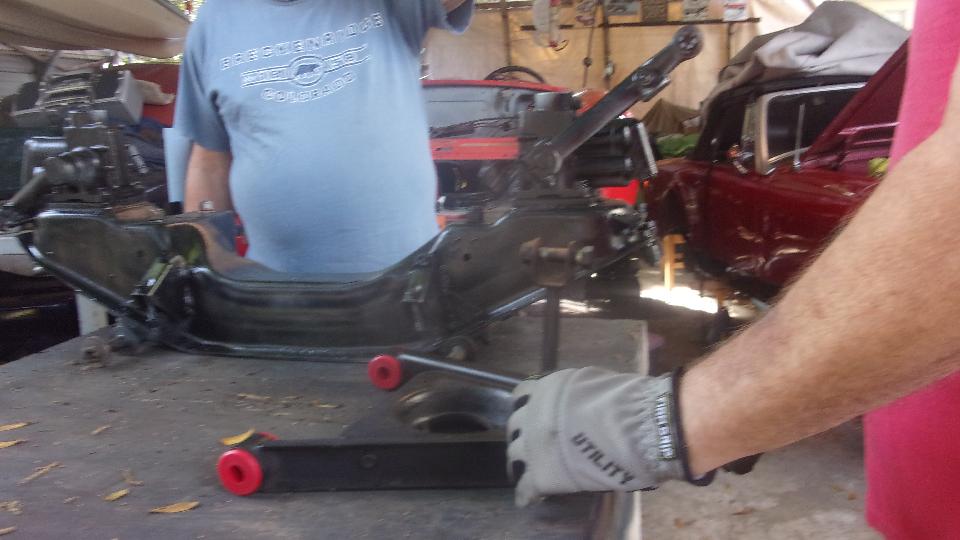
And the MGB destined to be a future race car was getting the front suspension rebuilt. Nice poly bushings and new sway bar links.
|