The MGA With An Attitude
Body Sill Replacement - RT-633
Body Trim and Fixtures
I must be getting confident about finishing on time if I take a little "might as well" time to do this stuff. I took a little shopping trip for aerosol etching primer, sanding primer, and a couple cans of School Bus Yellow.
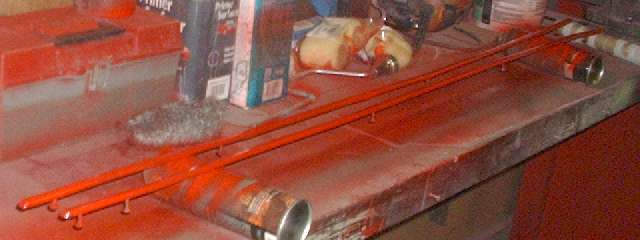
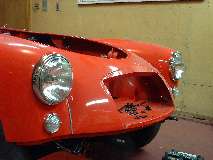
I used the 2" air sander to remove paint, dirt and a little bit of corrosion from the aluminum lower body trim strips (dusty chore). I was amazed at how much dirt had accumulated inside these trim strips in just 10 years, solid full for nearly half the length, but I managed to dig it all out in a few minutes (dirt on the bench and floor). After light sanding they were sprayed with etching primer, which I hope will work as well as zinc-chromate primer on aluminum (sticky green mist). Later in the day I mixed one ounce of red enamel with reducer and hardener 8-2-1 (a teaspoon is handy for measuring the small quantity) and gave the trim strips a couple of coats with the little touch up sprayer (sticky red mist). A tiny artist brush then came in handy with the remaining red paint to touch up a few scratches on the body panels.


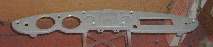
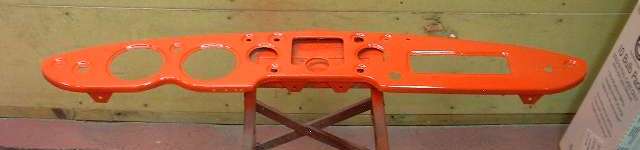
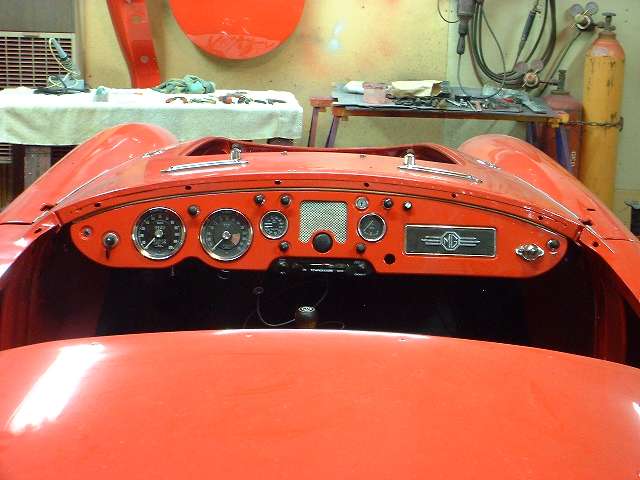
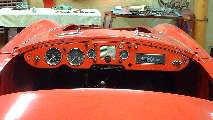
Next I disassembled the dash and power sanded the flat face only, removing red-gray-red gray from two prior paintings, and some more recent deep scratches (more dust). I didn't bother trying to remove paint in the depressions, as that part was smooth enough to take another repaint. This was primed late in the day. If I had my schedule right this could also have been red by day's end, but I just forgot about it until later. No big rush for that anyway as I want to install carpet before dash.
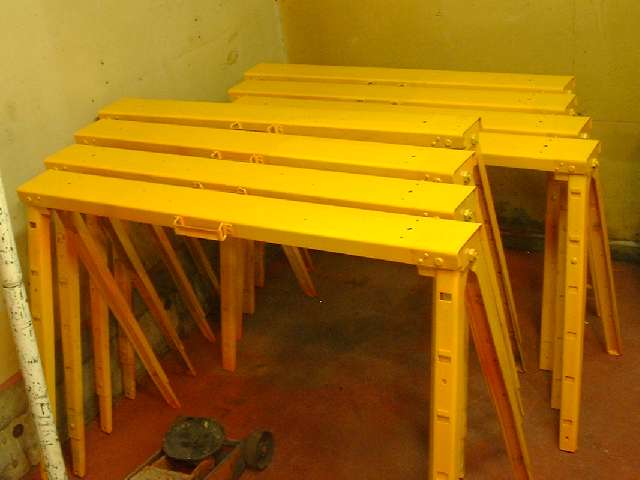
Then I did a little dance on the driveway spraying some yellow paint on the borrowed saw horses before I send them home (sticky yellow mist). I suppose it wasn't really necessary, but they were new when I borrowed them, so I thought it would be nice to return them at least looking clean.
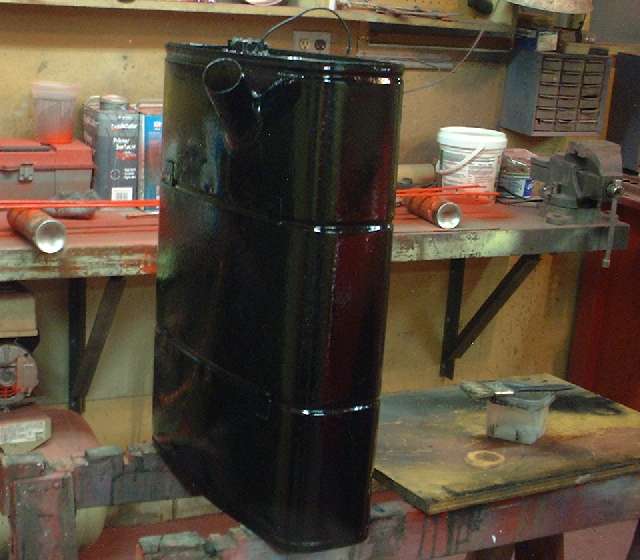
By afternoon I was scraping off oily dirt (yucky stuff) and washing the fuel tank with gasoline (smelly stuff), power wire brushing it (more dust), pressure washing it with the liquid/air blaster, and finally applying a first coat of Chassis Saver black (more sticky stuff on the fingers). I think this was last painted in 1977 during the first restoration. It is in amazingly good condition for a 50 year old part (with some hope of lasting another 50 years).
Time for laundry again, and you thought I might have been done with the dirty work? .... (21 June 08)
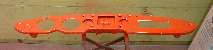 Today I got after the dash panel first, wet sand, prime again, wet sand again lightly, and paint red a couple of coats. Also apply another coat of red to the lower body trim strips, and a second coat of Chassis Saver to the fuel tank, all looking good.

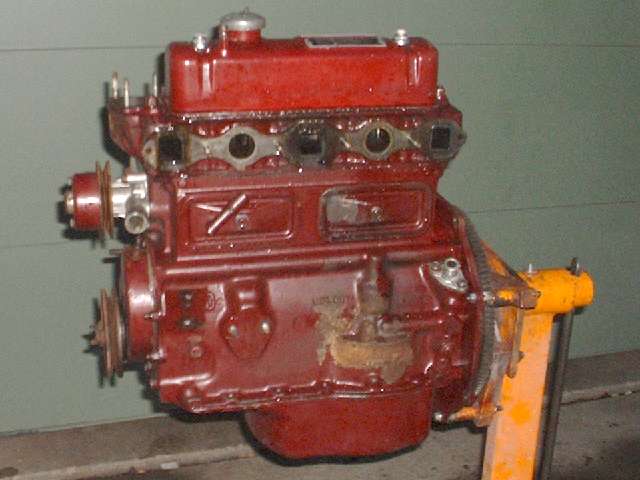
Then back to the dirty work cleaning the engine with petrol and a stiff brush, and washing it down with Mr Clean solution and the liquid/air blaster. I might have had it painted too, but guess what? It's raining again, and the rinse water wouldn't dry off from the engine. Ah well, three sidewalk supervisors today, so that's all folks. .... (22 June 08)
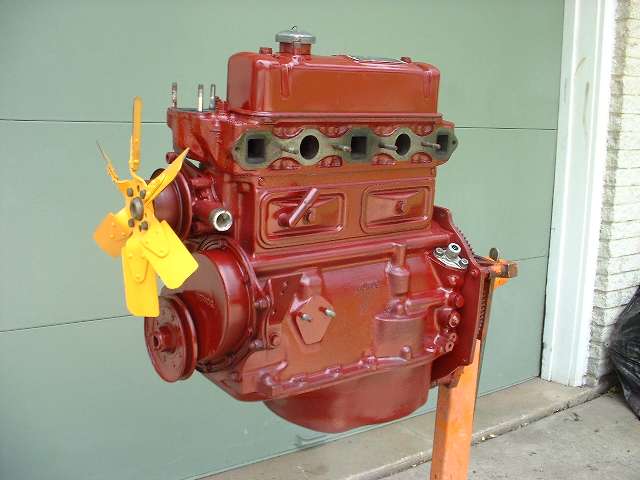
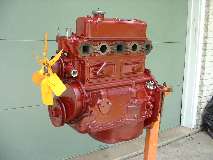 First thing today was to mask and paint the engine, done lots of times before, old hat.
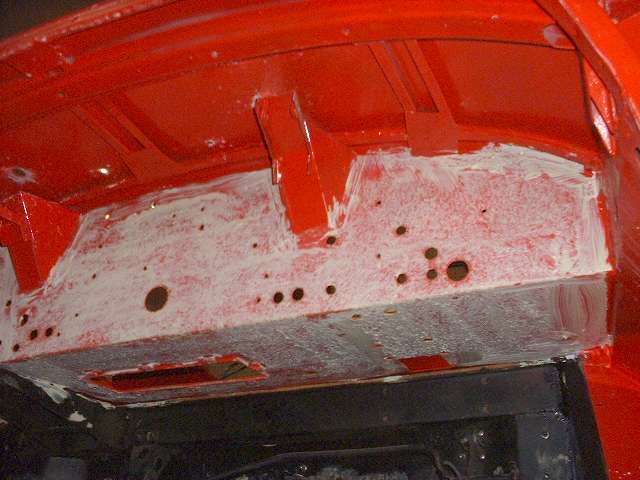
Now here's something I've been wanting to do for 22 years, installation of the MGA Coupe under dash insulation pad. I bought it when it became available in February 2000, and I've been waiting for a good opportunity to install it. The good news is it is finally done, and also that I only paid $32 for it eight years ago (now over $100 list price in 2008). This one is felt with a heavy nubbly plastic face cover, a very nice piece of work by Moss Motors, and far superior to the original. The factory part (for Coupe only) was some sort of yellow foam that was prone to disintegrate in less than 10 years (maybe just a few years). The die-cut outline and holes are mostly spot on. The only thing I cut before installation was a large notch for the pedal bracket, left hand drive in this case.
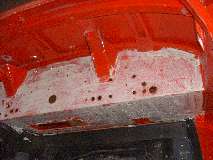

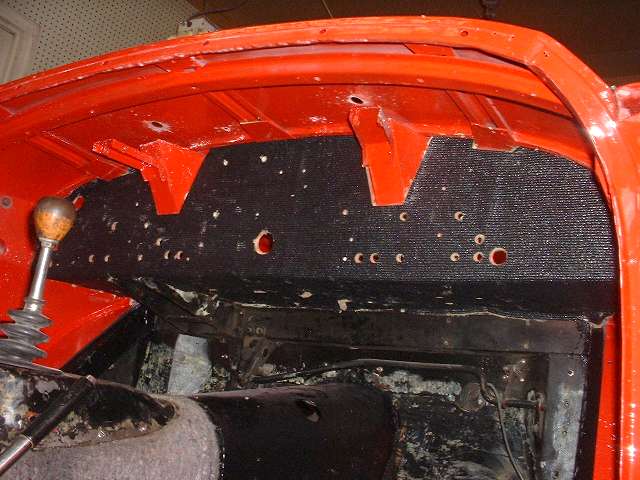
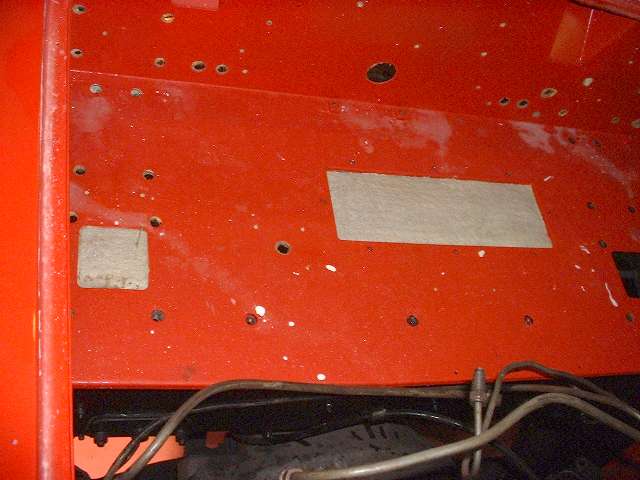
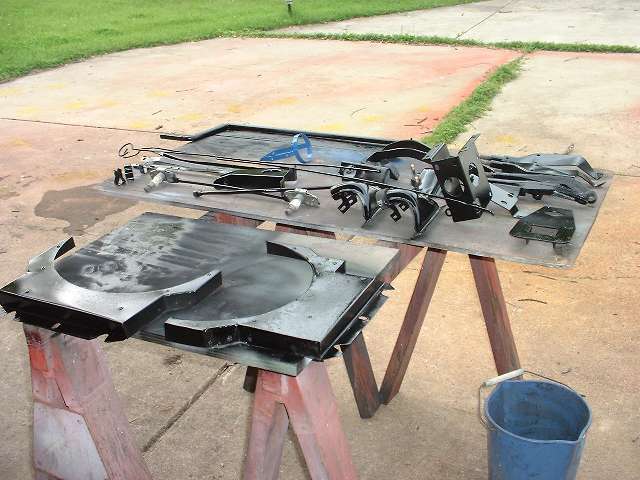
I opened the fresh gallon of carpet adhesive ($14 from Home Depot) and had at it with a 3-inch paint roller and a cut down 1-inch paint brush for the tight corners. It didn't take long to slobber goo under the heater shelf and behind the bulkhead panel. Then I set the pad down with the felt side up and slobbered more adhesive on that. It was nice that a friend dropped by to lend a hand with the bulky pad, moving it into place and sticking it on the body panels. Most of the pre-cut holes lined up okay (we checked that first) including little square cut-outs for the heater mount cage nuts. The goo stayed sloppy just long enough to push the pad around a little for final alignment, and there was no risk of it coming loose during handling. Pictures below left and center show top side of the heater shelf before and after slicing out the pad around the heater opening.
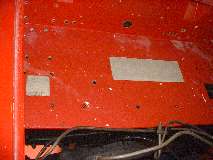
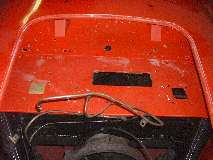
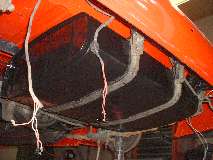
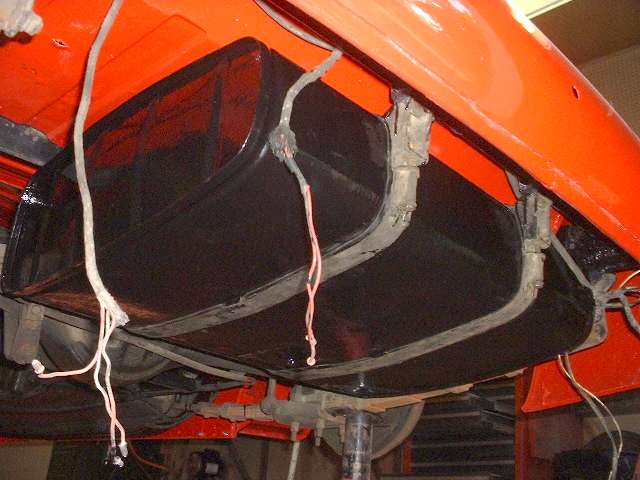
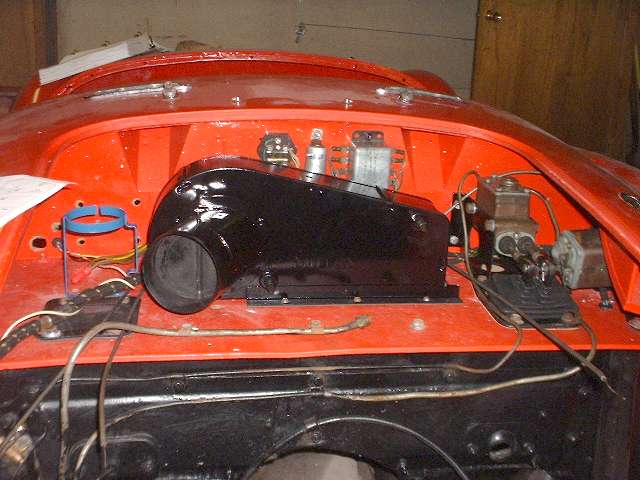
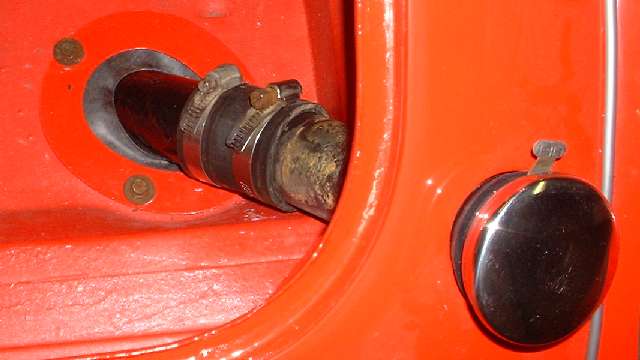
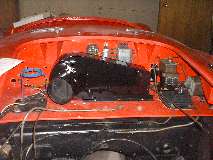
Photo above right shows the fuel tank installed with new rubber packing (and old steel band straps still dirty). Just before painting the tank I applied air pressure in it to push out a bit of a dent in the bottom side. I put the air blow nozzle on the fuel outlet fitting and held my hand over the filler pipe, letting the pressure build until I could no longer hold it with my hand, guessing it may have been 15 or 20 psi peak. Not only did it remove most of the bottom dent, but it also bulged out the ends of the tank almost half an inch, so I may have a wee bit more fuel capacity now.
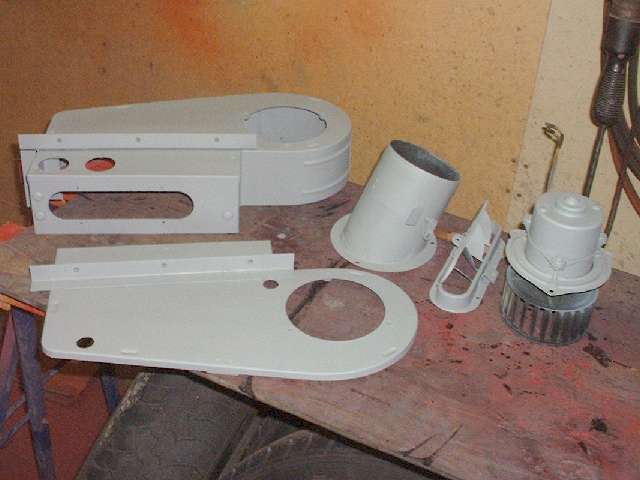
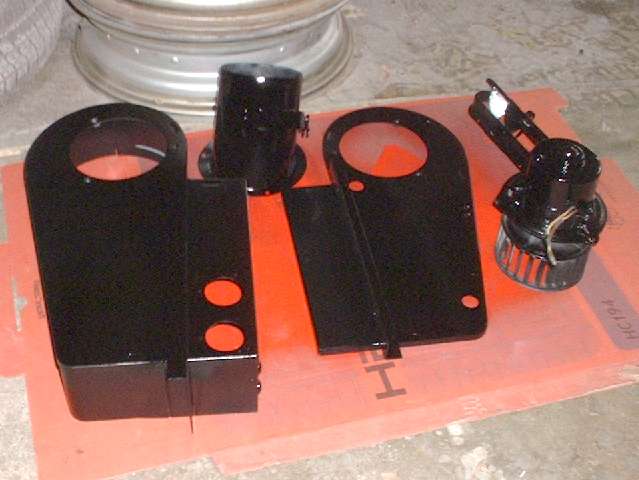
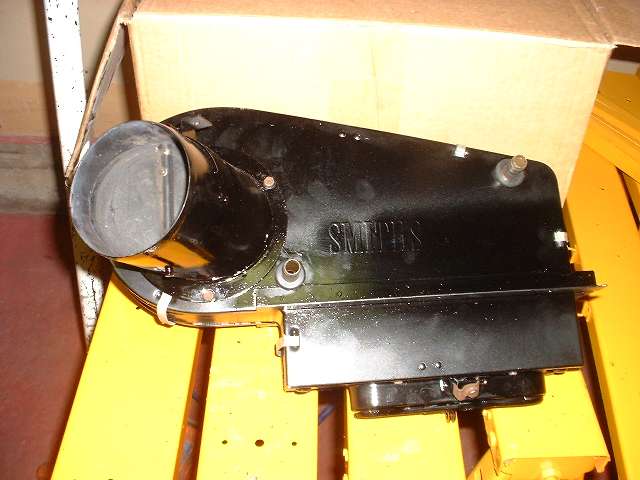
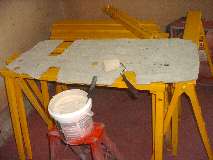
Many things are flying right along with progression of final assembly. Today I also disassembled the heater to clean and paint the housing. When I scrubbed it with gasoline some of the paint came off. So I scrubbed it with lacquer thinner and all of the paint came off (at least on the outside). I guess I was using cheap lacquer (and maybe no primer) for this 22 years ago, so now I get to do it right. All cleaned up and sprayed with primer today, to be black tomorrow (below left).

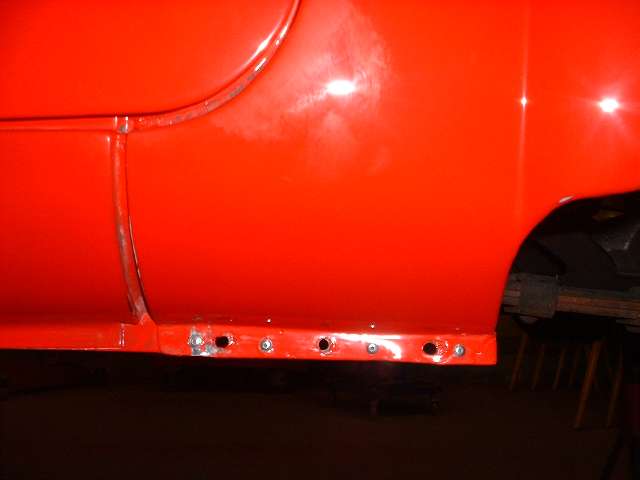
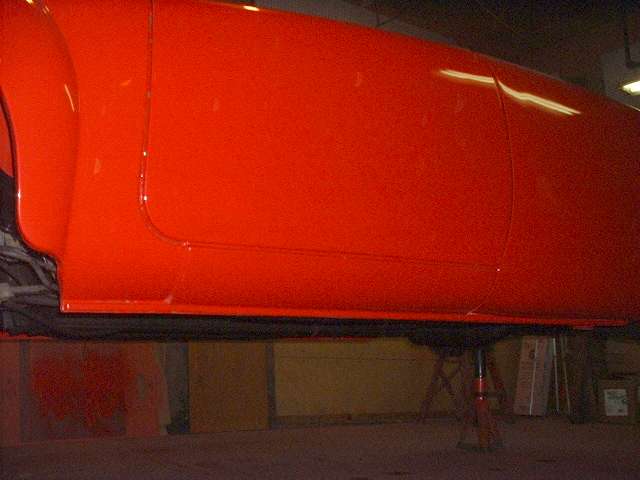
Then it was time to install the sill bottom finisher strips, where I have another trick up my sleeve. For body assembly work I have been using 1/4-inch bolts in the fender bottom flanges. Some of the holes were drilled while the parts were clamped in final position, which is why the holes are round and not slotted as original. One problem here is that the space inside the narrow flanges of the finisher strip is only about 1/4-inch wide (or a little less), and the head of a #10 fillister head or cheese head screw is about 5/16-inch wide. I have never figured out how to make the finisher strip fit over the screw heads, not now nor during past restoration work. So I pulled the same trick I have before. I drilled some 1/8-inch holes and installed pop rivets, then removed the bolts before installing the finisher strips. It works fine, and no one has ever noticed this before. Most of these pop rivets went in the same holes in the fender flanges that I have used already twice in the past, only needing to drill through the new inner sills to match. When it comes to later disassembly, drilling out pop rivets may be easier than removing rusted bolts.
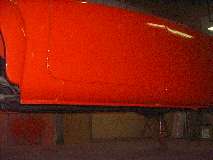

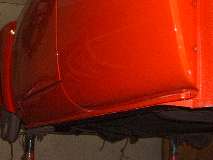
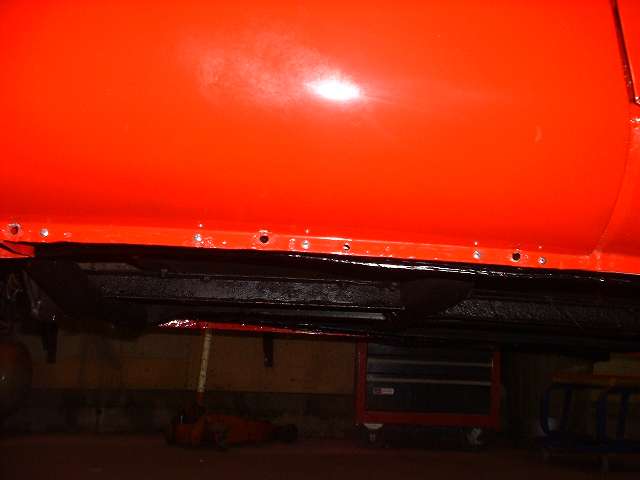
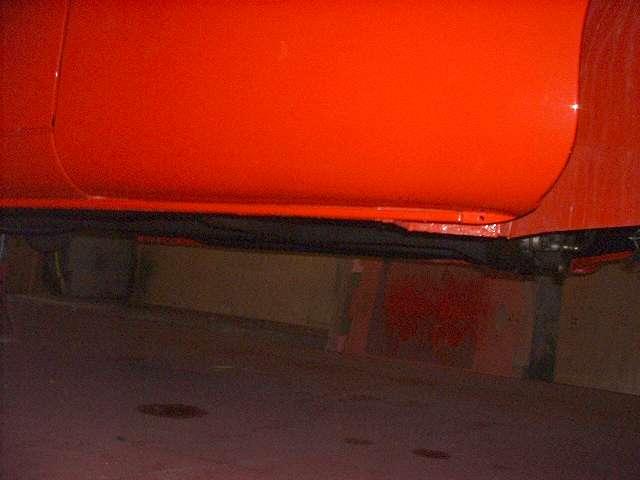
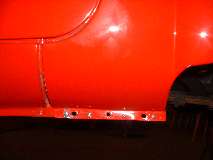
Here is the right side finisher strip installed, using the same special #10 T-bolts the came with the purchase 10 years ago (5 studs each side). Notice the back end of the finisher strip is very near the back of the rear fender dogleg, while the front end of the strip stops short leaving one hole exposed in the front fender. That hole is for the bottom bolt of the splash panel that may be installed or removed any time without touching the trim strip. .... (23 June 08)
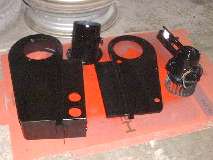


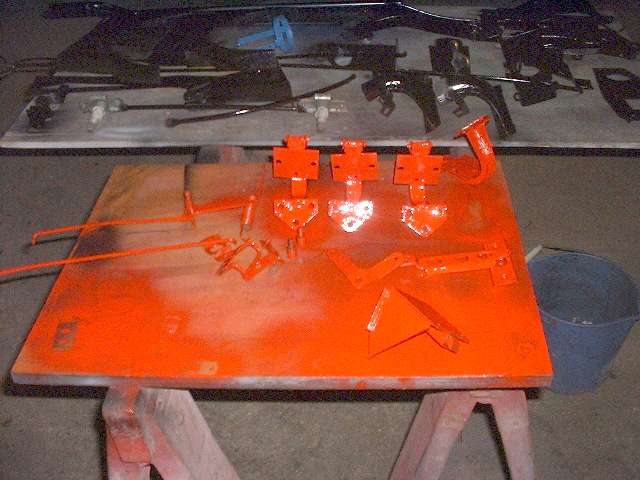
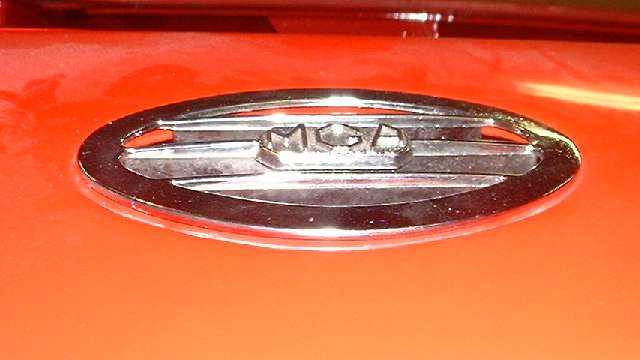
 Where has the time gone? I can't believe I didn't assemble anything on the car today. I started to clean and paint a few small parts, and the whole day just slipped away. The two big black parts on the front table (above center) are the metal fan shroud, circa 1997. I noticed the starting handle has "MOWOG" stamped on the side of the cross leg. Good news is, this is most of the small red and black bits remaining, and I did get the heater reassembled after painting (with a few finger prints to be painted over tomorrow). .... (24 June 08)
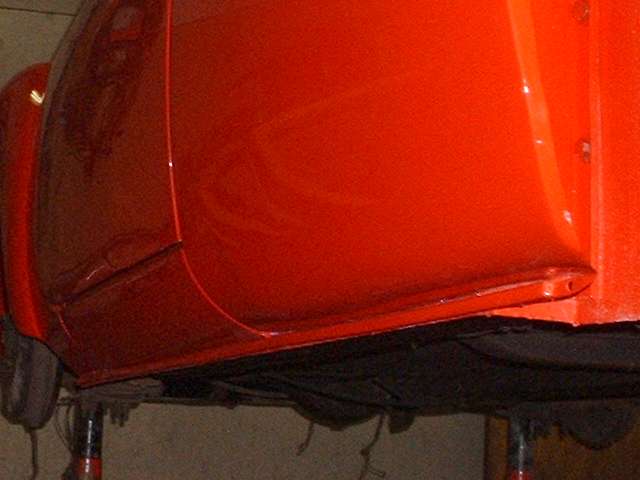
Too many distractions today. I re-sprayed the heater and some of the loose red bits, painted over a bunch of bolts (mostly fender bolts), installed the rearmost splash guards to anchor the rear fender bottom edges. Looks like I will have to skip the carpet and interior panels until next week if I want to drive it Saturday morning. .... (25 June 08)
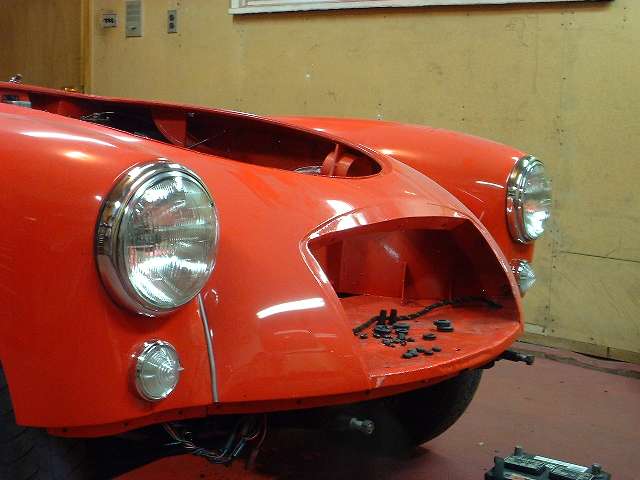
One of the crowning achievements this week was a 90 minute cleaning of the 22 year old cloth covered vinyl insulated wiring harness that was well oil and dirt covered around the engine bay, getting the pretty yellow stripes back again. This was done on a work bench with a stiff bristle brush (cut down paint brush) soaking the cloth wrap with lacquer thinner, scrubbing it well, rinsing with more lacquer thinner, and then sopping it up nearly dry with absorbent paper towels. I even managed to remove some red acrylic enamel (that was sprayed on the harness wrap inside the grill opening by some other bloke ten years earlier) by rubbing with wire wool and lacquer thinner. The 214,000 mile wiring harness is in surprisingly good condition, never having any over heated wires and not much mechanical abuse. There are just a few moderately stiff wire ends near the engine (ignition and generator wires), and it needed a few new bullet ends, but all in all it looks good for another 20 years of service.
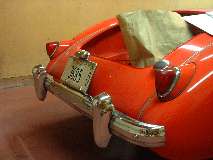
A couple of days here I count as play time, getting to install the main wiring harness with grommets, screen wiper drive, wiper motor, dipper switch and bracket, master cylinder and pipes, turn signal relay, flasher unit, fuse box, heater, screen washer bottle bracket, fuel pipe with P-clips. No control box this time, being omitted as unnecessary since last year's installation of an alternator. Next was the demister ducts and bright finishers, dash panel with all included fixtures and wiring and under dash braces, rear bumper with license plate bracket and lamp, all lighting fixtures, fuel filler parts, and cowl vents.
Some of this takes a bit more time than anticipated (what else is new?) for issues like cutting away a bit of the new under dash pad to clear some screws and brackets, and review of how to connect wires for the intermittent windscreen wiper module. I knew that little bit of added complexity would come back to haunt me some day. The four-way flasher wiring was never disconnected from the dash harness and turn signal switch, so no problem there. The hall-effect sensor wiring for the rally computer was also a no issue plug-in. The bulkhead still needs some more grommets and hole plugs, and I will get a couple of new number plates stamped before installation.
As it was approaching three o'clock A.M. Saturday morning I was lying under the dash dressing the wiring with a few tie wraps. I was thinking, "I can get the engine, radiator and oil cooler installed in three or four hours, bleed the hydraulics, install the windscreen, steering column and seats, and be on the road to MG Open House by nine o'clock". On further review, I would have to remove the seats and steering column later to install carpet and kick panels, no big deal in itself, but then a few hours sleep would be nice too. So I changed modes, killed the lights, got some sleep, and went to MG Open House without the MGA. - Bummer. .... (26, 27 June 08)
|