The MGA With An Attitude
Body Sill Replacement - RT-626
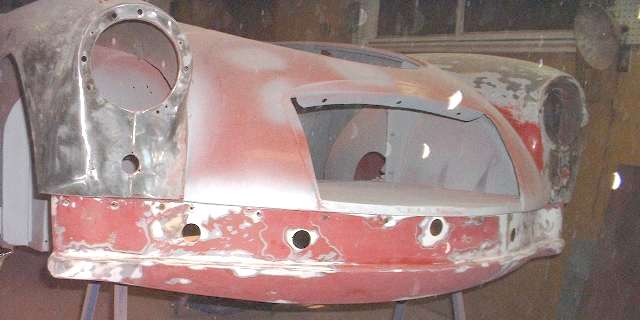
Fiberglass Front Valance Panel Repair
I was slowing down a bit here, sanding a lot of paint off the doors and wings (fenders to us yanks). Before removing the front fenders again, it was a good time to repair the fiberglass front valance panel.
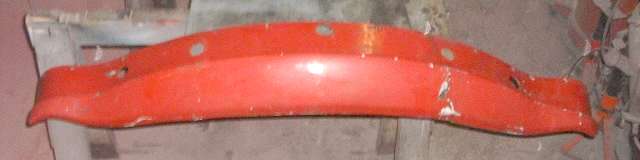
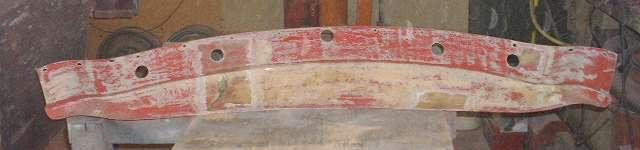
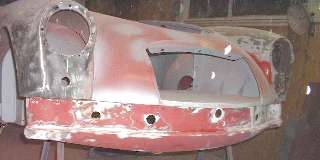
This piece has been in service for 21 years, 214,000 miles, and has seen more than few "road incidents", lots of paint chips and a few small cracks. Several years ago during a short off road excursion (only partly planned) a grassy road shoulder put a hurt on the lower edge creating a long vertical crack from bottom to center and from top to center (almost), leaving a short section of solid at the center rib. I have considerable appreciation for the strength and durability of this piece, and it looks to me to be as easy to repair as to fit a new panel, so here goes.
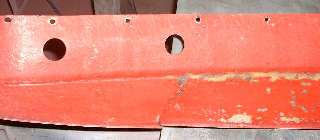
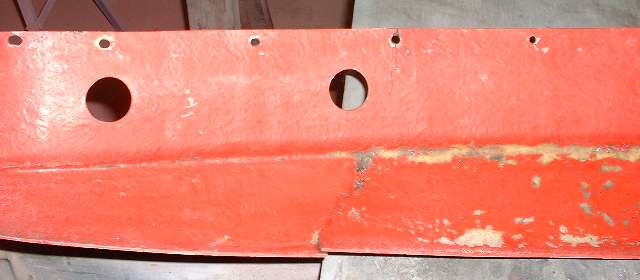
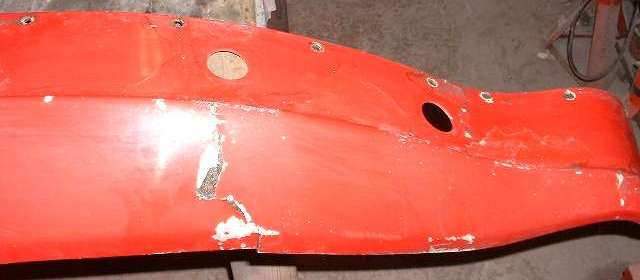
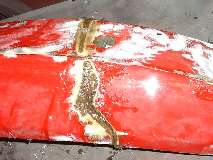
First step was to give it a quick scrub with petrol and a stiff brush for cleaning. Photos above show inside and outside surfaces around the large crack. Looking closely you may see the smaller crack extending downward from the small screw hole at the top. Next came a little coarse sanding to smooth the panel in back and remove any loose paint (below left). Wear a cloth respirator mask when sanding to avoid breathing paint and plastic and glass fiber dust. Since the back does not need to be perfectly smooth it will get a couple layers of fiberglass cloth for reinforcement. In front it gets considerably more sanding and grinding to remove any delaminated fiberglass shards and burrs. I use a high speed 2-inch sanding disc with coarse grit to remove the plastic material quickly, grinding at least 80% of the way through the panel to most of the depth of the crack (which goes completely through). The sides of the crack are ground back to a sharp "V" shape to allow application of patching material. The top edges of the crack are then ground to a shallow angle and feathered into the front surface to avoid any sharp transition of the joint bond that could promote a future crack.
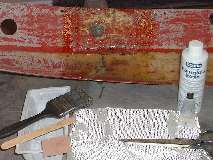
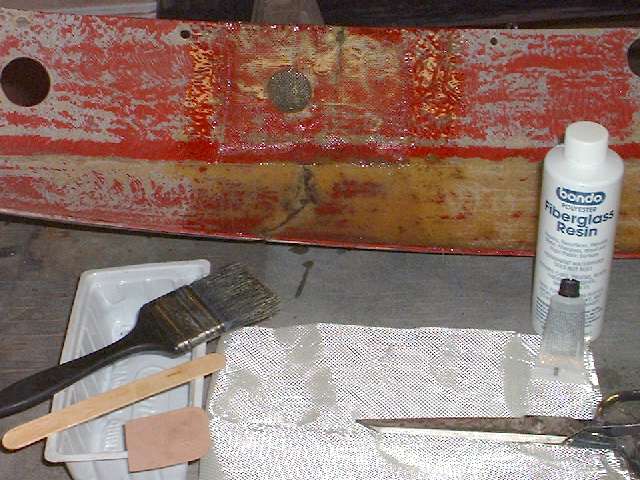
The fiberglass repair kit is available at almost any auto parts store and many large discount department stores. For the repair in back I prepare two pieces of fiberglass cloth, easily cut with scissors, large enough to extend at least 2-inches beyond the area to be repaired (above center). The resin and hardener are mixed in 40 to 1 ratio. For small amounts that means 14 drops hardener for each ounce of liquid resin. Instructions say to dip the cloth and smooth it onto the surface with a plastic spatula. This is a messy process perhaps appropriate for patching a larger hole with outside access only. For solid flat surfaces there is an easier (and cleaner) way. I use a 2-inch brush to paint resin onto the surface to be repaired, then lay the cloth onto the surface and paint over it with more resin, saturating the cloth in the process. I then add the second layer of cloth and repeat with brush to saturate. This is quick and easy, and the cloth can be pushed around with the tip of the brush to conform to the surface, including getting into some pretty tight corners and intricate contours (results above center). Any number of layers of cloth can be applied this way to build up a panel with desired thickness and strength.
Instructions say you can sand the stuff after 90 minutes. I gave it an hour to set up (solid but still slightly sticky), then turned the part over to work on the front side. For filling the deep grooves instructions call for use of random fiber mat, which is a different material not included in this kit. Since this repair is not very large in volume, I cut about half a square food of cloth into shreds using scissors. I cut at angles to the cloth weave in 1/8 to 1/4-inch increments in various directions to produce small snippets of cloth and lots of short fibers. I then mixed the resin, brushed it into the crevice, sprinkled the dry cloth fibers on top, and then brushed that material into the crevice using more resin on the brush. I also used a few long narrow strips of cloth running the length of the crevice in alternating layers within the random fiber. I used the tip of the brush to pack the fibers into the joint displacing some of the resin. I continued this process until the joint was completely packed full of fiberglass built up a little above the intended finished surface and completely saturated with the plastic resin (no air bubbles), then let it set to cure solid (see above right).
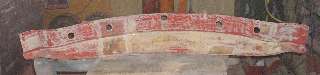
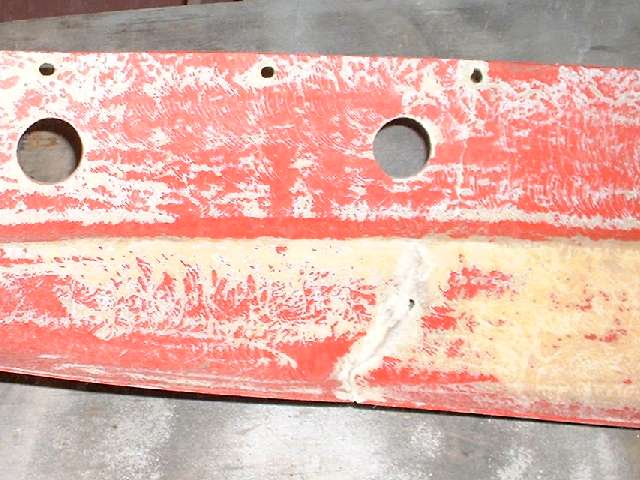
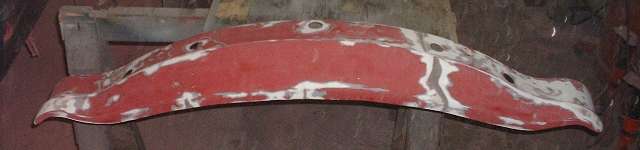
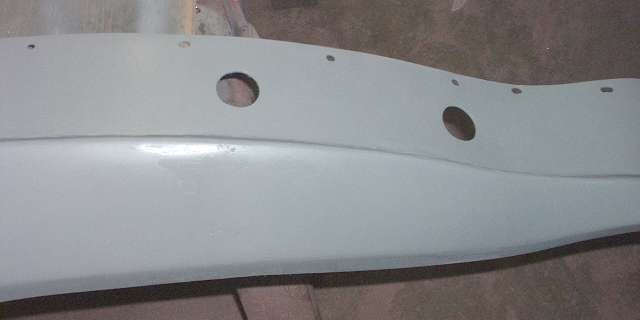
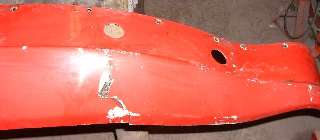
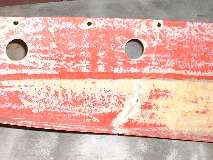
Once the plastic has cured any excess material can be sanded away to finish at the desired level. Photos above show inside and outside of the full valance panel with a few patches after sanding. The inside was sanded just enough to smooth the edges of the patch and remove any errant cloth fibers or burrs or drips of resin (below left). The outside surface was sanded down to blend in flush with the original surface, thereby avoiding the need for any significant re-contouring of the part. Once at the finished level an orbital sander was used to smooth and flatten the surface in preparation for painting (below right). I used a rotary rasp in the die grinder to quickly clear the new patch material out of the larger hole(s), and one small screw hole was redrilled through the repair stripe at the top edge of the part.


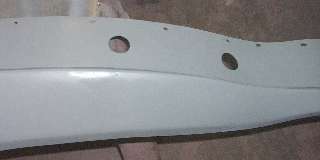
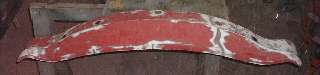
There's the repaired panel momentarily attached to the car body for test fitting (above left). The last picture shows it with no additional touch up, just a coat of primer paint on the front to make it all one color. It will need a little spot putty to fill some pin holes, and some sanding primer to be acceptably smooth, but nothing more than the rest of the car body will need for finishing before painting. I was rather surprised it came to this condition in a single pass without need for any additional filler for leveling the outer surface. For a few hours of fiddling around and less than $15 worth of materials, I just saved the cost of a replacement panel. (13 Apr 08)
|