The MGA With An Attitude
Body Sill Replacement - RT-609
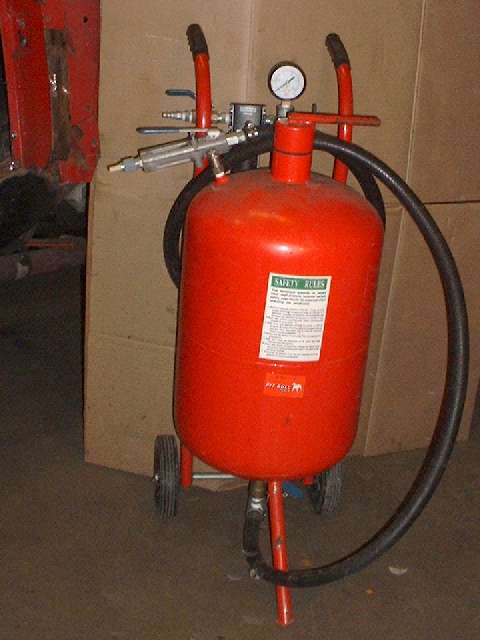
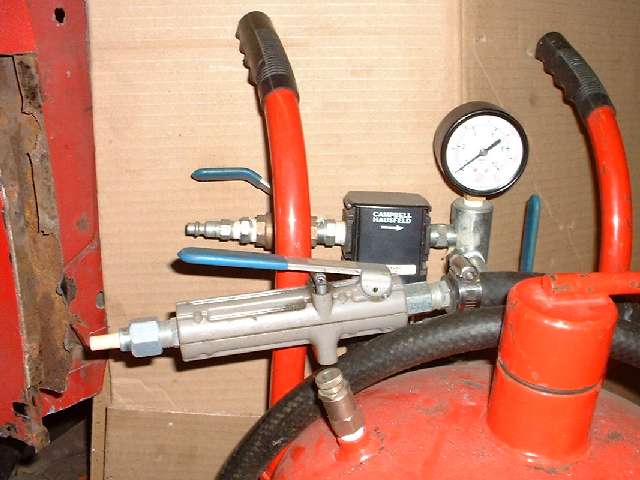
Sand Blasting
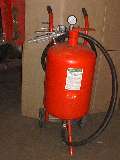
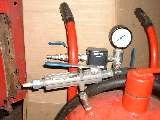 I can say right off that open room sand blasting does a nice job of cleaning up blistered paint and rust, but it is a very dirty job. Personal equipment calls for (minimally) long sleeves, gloves, closed goggles, full face shield and a filter mask. Even then you would have your hair and ears full of gritty dust. Instructions with the sand blaster call for using a hood, which is a full head cover with a clear shield in front. A possible short use alternative is a pillow case with a site hole cut out and fully closed goggles. The grit goes everywhere, so don't have an open engine or gearbox in the room when doing this. For more notes on using the sand blaster see separate Sand Blaster tech article.
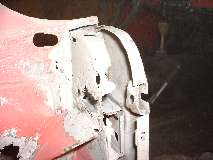
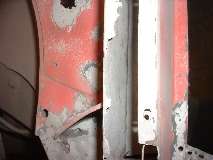
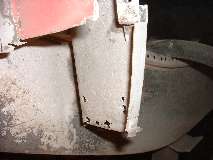
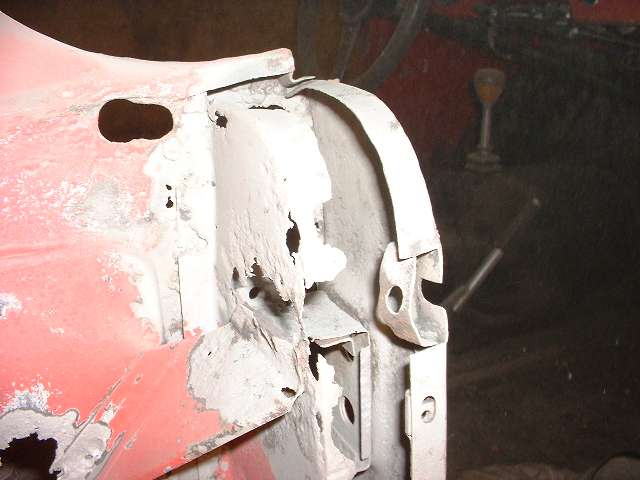
These photos show how nice the metal cleaned up, even inside of the B-pillar where it was a tight access for the blaster nozzle. It is quickly obvious where the metal is thin and needs to be replaced. This would be a good time to get some primer on these parts before they start to go rusty. Good time to try out the POR-15 inside the box, and zinc-rich weld-through primer on the spot weld surfaces.
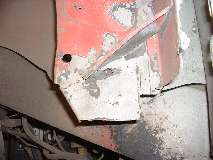

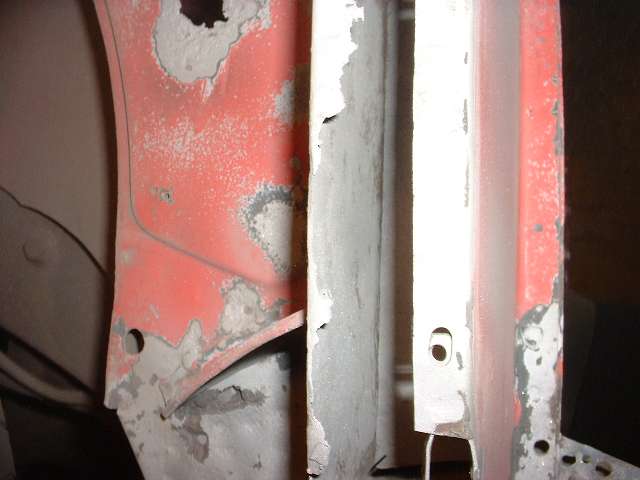
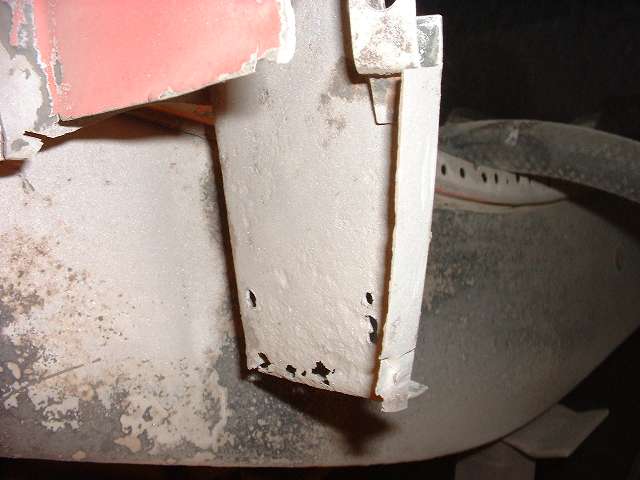
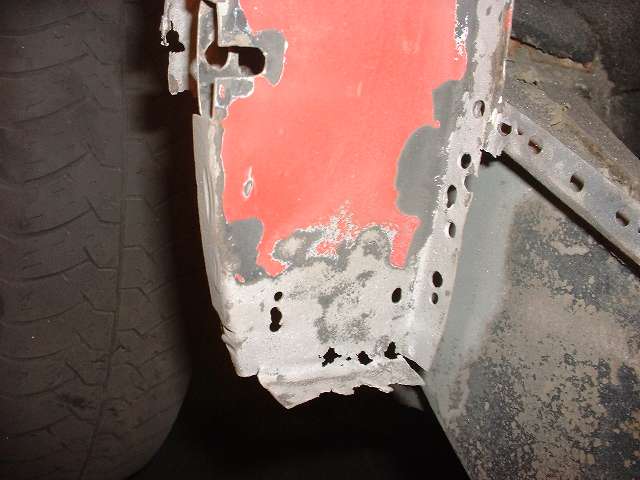
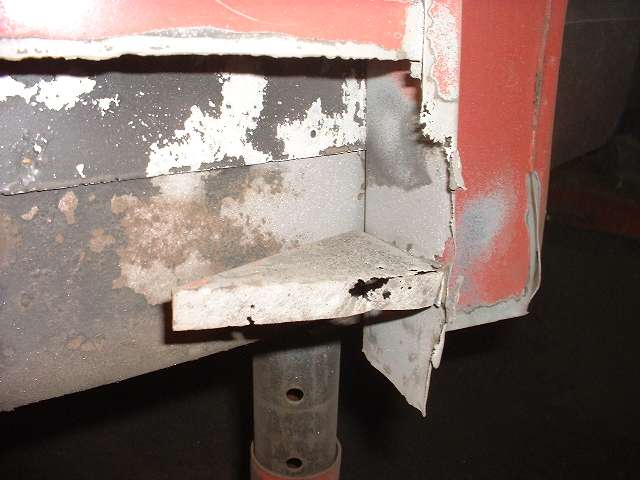
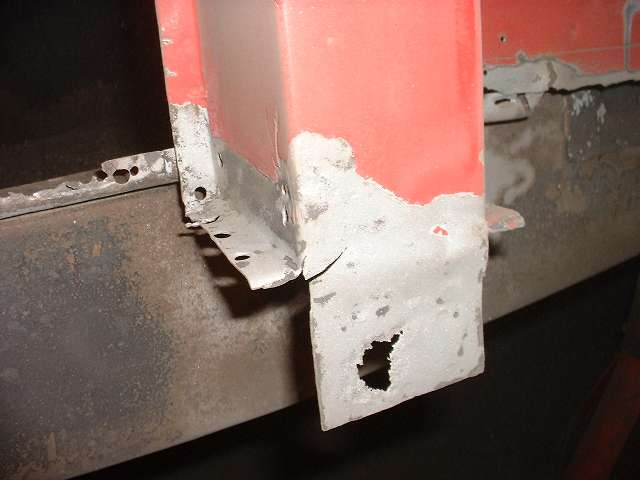
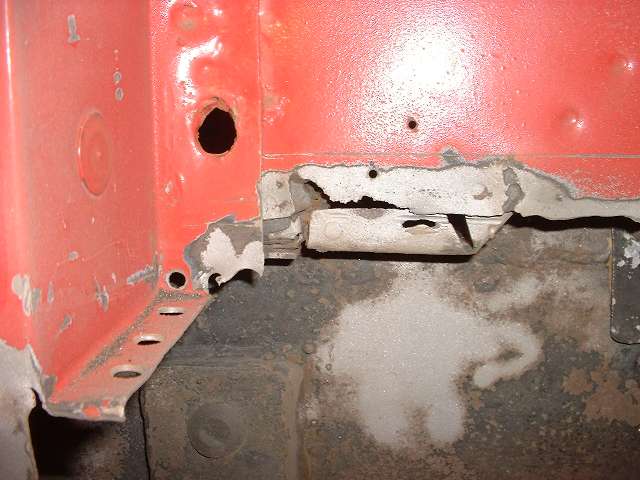
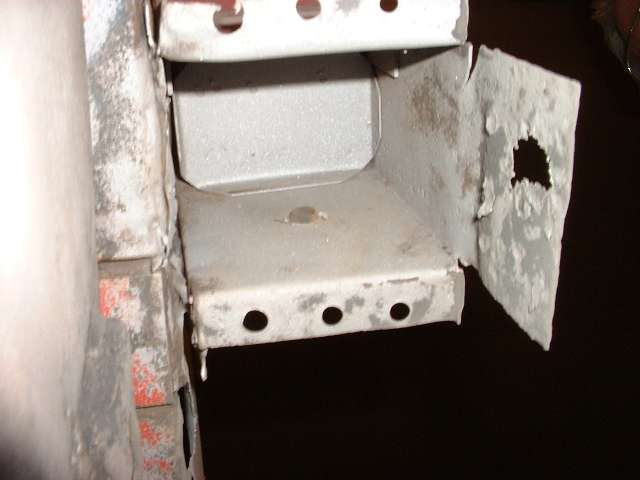
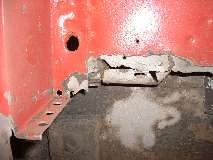
Front side bottom of the B-pillar. The round holes are from drilling out spot welds. These will eventually be filled with rosette plug welds in assembly and ground smooth. Second photo above shows the lower side panel aft of the B-pillar. This is where I cut around the body to frame mount that is still rock solid. The black areas are showing exposed epoxy paint undercoat that was applied 30 years earlier. Third photo above is a gusset in the sill aft of the front wheel. With only a few spot welds remaining here, this one will be easier to replace than to repair. Inboard of the gusset is the frame with some paint removed. A little higher is the thin aluminum panel that closes the large triangular opening on the side of the frame, also with some paint removed.

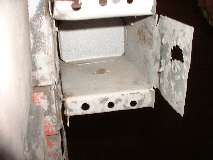
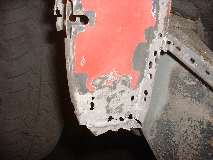
These photos show the bottom of the A-pillar in very good condition. It is amazing how clean it was with just a stain of surface rust inside. In the second and third pictures you can see a small plastic snap plug closing a hole on the front side of the pillar. This is where I sprayed in a little Waxoil 30 years ago after the full body chemical and electrical cleaning by RediStrip. Apparently I got that one right in my younger novice years. Too bad I missed doing the B-pillar the same way. (29 Dec 07)
|