The MGA With An Attitude
Body Sill Replacement - RT-603
More disassembly, front wings and rocker panels
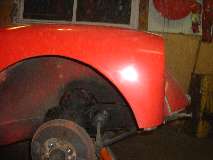
 Face on view of the front wings. Bolts have been removed, so the wings have dropped just a bit. No problems here, just a few paint chips and that smidge of surface rust on the left headlamp mount ring. No worry there, as that ring is a heavier plate welded in as a repair piece 30 years ago (notice no vertical seam at the bottom of the ring).
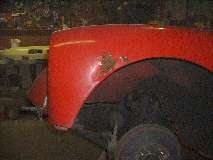
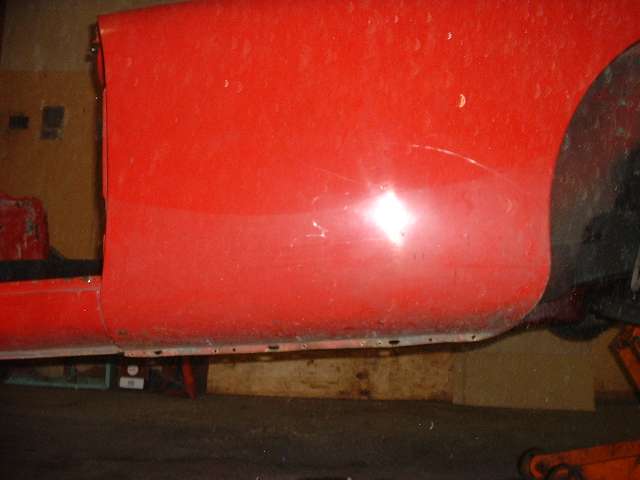
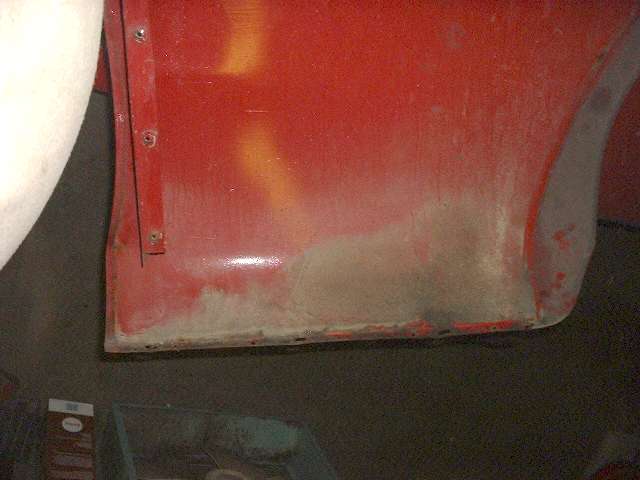
 Views of the left front wing. There is an interesting repair in the front side that I did very well 30 years ago. Then it kissed a guard rail 10 years ago, and the subsequent repair was done very badly by someone else. Now I get to fix it. More on that later.
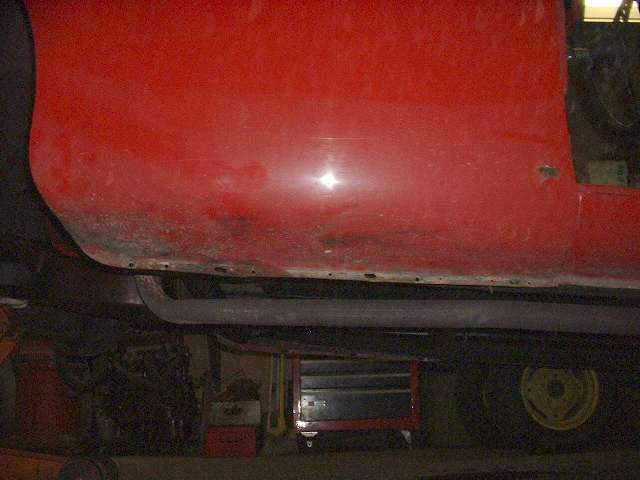
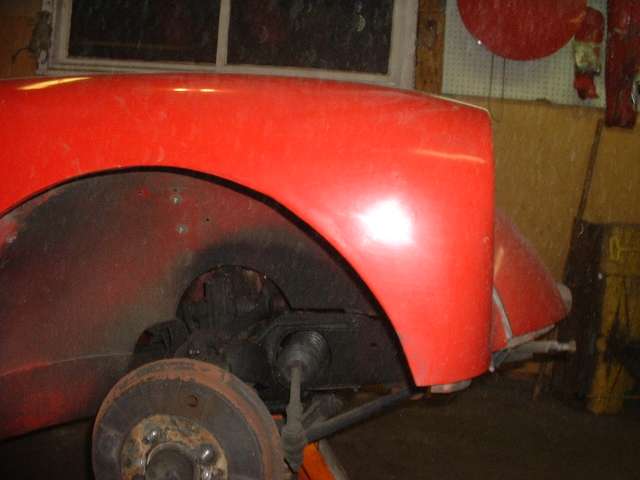
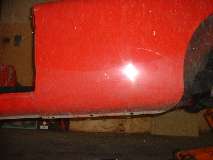
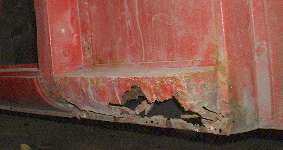
Bottom edge is in generally good condition, considering some paint abrasion just behind the tire. A small rust spot at the rear near top edge of the rocker panel is surface rust from an early paint chip.
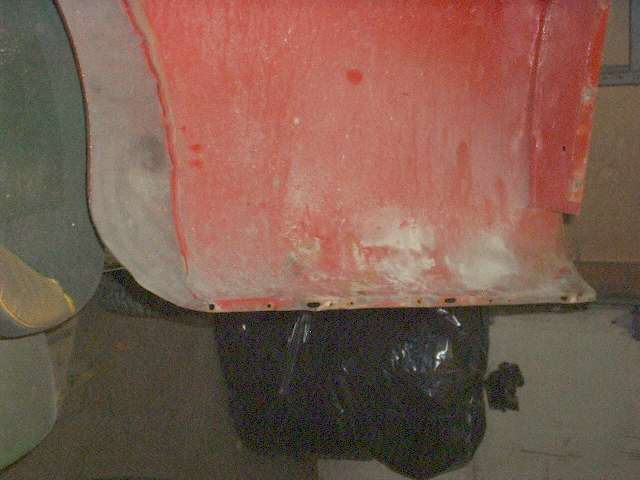
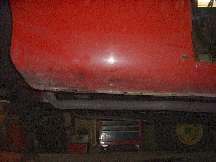
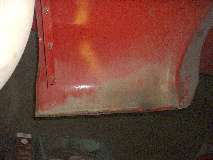
 Views of the right front wing. This one is in much better condition, not touched by "the other guy" when last painted 10 years ago. Just paint chips underneath. This will be fairly easy to clean and repaint (again).
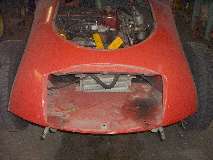
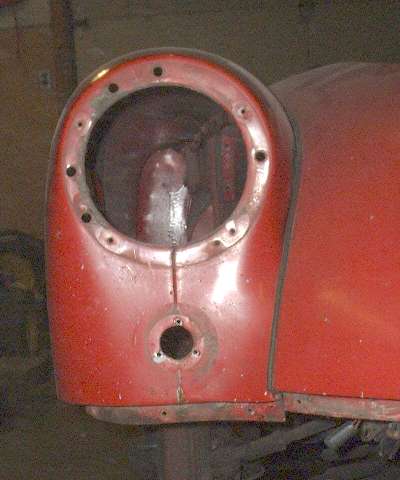
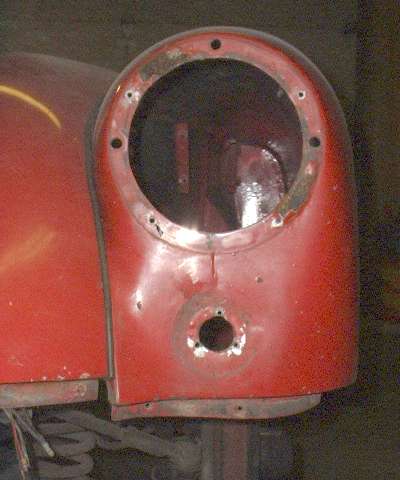
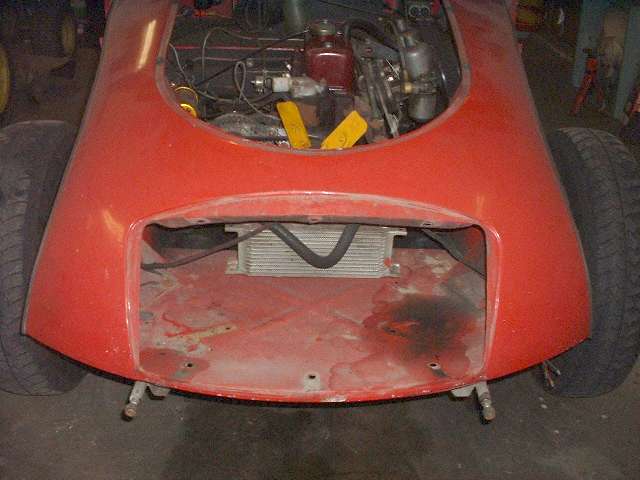
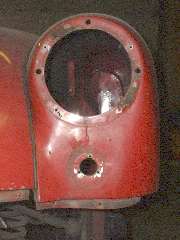
Above are views of the front end in excellent condition. The dark stains are a bit of penetrating oil from careful removal of the grill. You would never know I did a repair on this 30 years ago. There was a large "push" on the RF corner (left in this picture) that was bondoed over when I bought it. I had to pull the corner forward 1-1/2-inches to restore the original shape. The metal around the top corner of the grill opening also had to be pulled out about 1/2-inch, and a large vertical crack above the corner was welded. There is an area about the size of one hand around that corner of the opening that I lead filled about 1/8-inch deep at the thickest point. Today I could do a better job of raising the sheet metal for less fill requirement, but the job was not bad for my amateur years, it is holding up very well now, and I think I will leave it alone.
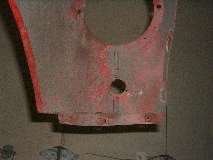
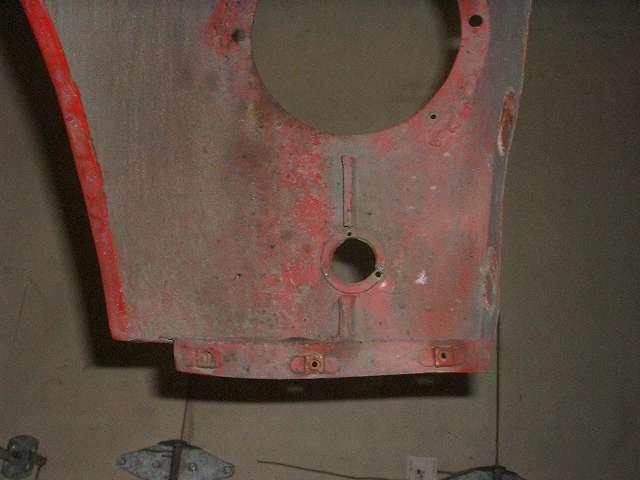
 Views inside the nose of the front wings. On the right side notice the original small flange around the inside of the headlight opening. On the left side is the heavy steel ring welded in 30 years ago. I'm still amazed how well I did as an amateur (with acetylene torch).
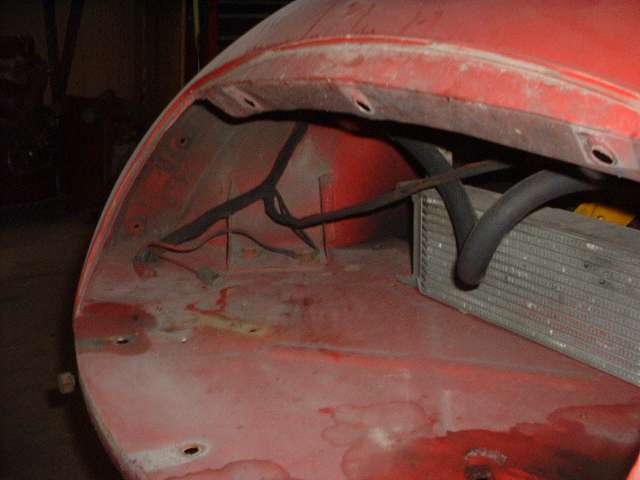
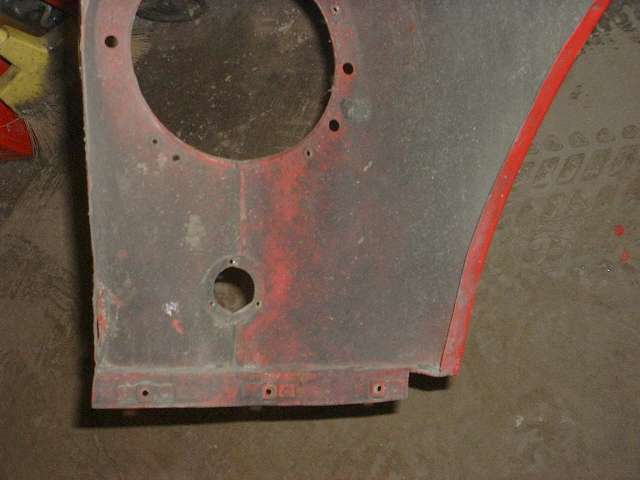
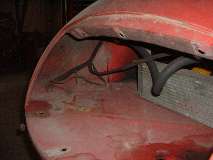
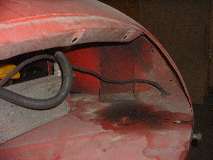
 Views inside the lower edge of the front wings. Most of the dark color is dirt, not rust, as the paint is still there. It is common to chip a little paint off around the screws during assembly, and that's where rust can start.

Views of the forward ends of the inner sills after removing the wings. Now there's a repair on the left side that I did 30 years ago but didn't remember doing. It seems to be holding up fairly well. Unfortunately I know the inboard panel has a rust hole, so I will likely be replacing this one anyway. The one on the right side was not in need of repair 30 years ago, but it certainly is today.
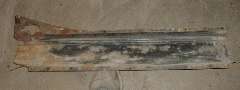
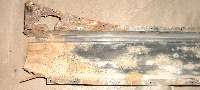
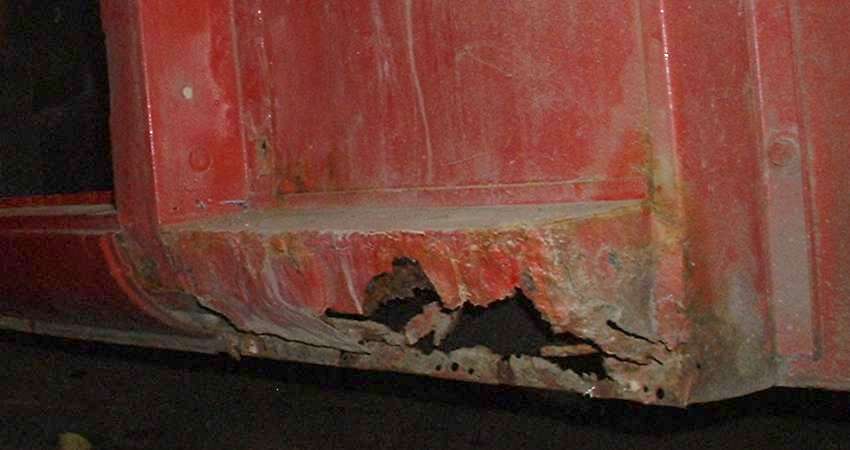
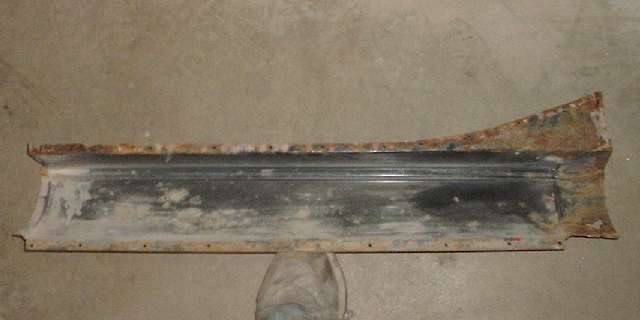
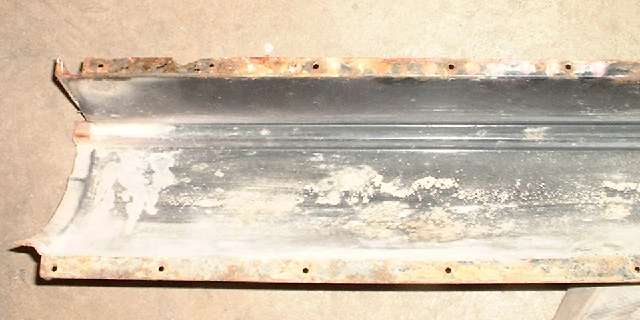
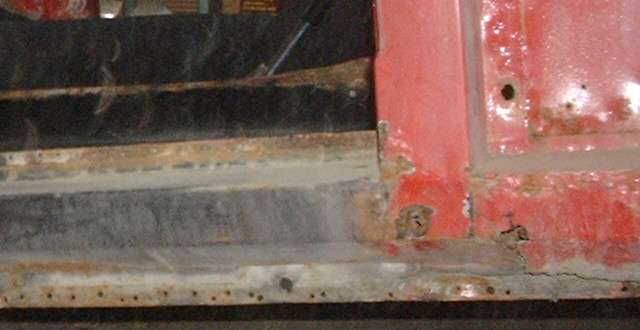
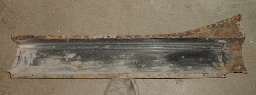
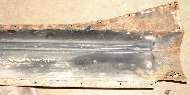
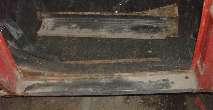
View inside of the left side rocker panel. I can tell you, it is a lot easier drilling out 30 year old pop rivets than breaking spot welds. The black is not a cheap thin factory primer. It is Pettit PolyPoxy over a caustic etching primer. Just that it has been in service on the road for 21 years, all year round, in the Chicago area. This rust is a little worse than I thought before disassembly. It could be repairable, but I may start with a new one anyway. This is the panel that was too tall at the shoulder. The solution would be to flatten the bottom flange and re-form it with the bend a little higher, and then cut off the excess. I might still have to do that with a new one if I can't find a new one the right height.
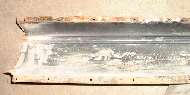
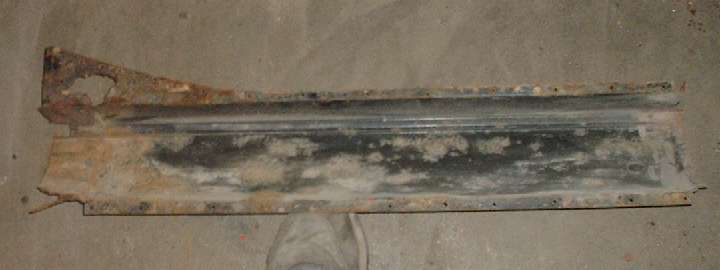
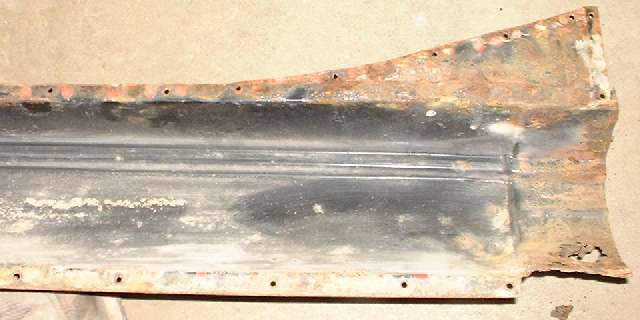
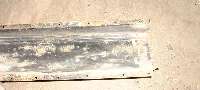
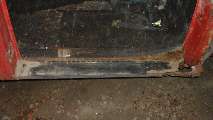
View inside of the right side rocker panel. This one is in somewhat better condition, but I may still replace it, if I can find new panels the right height.
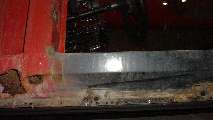
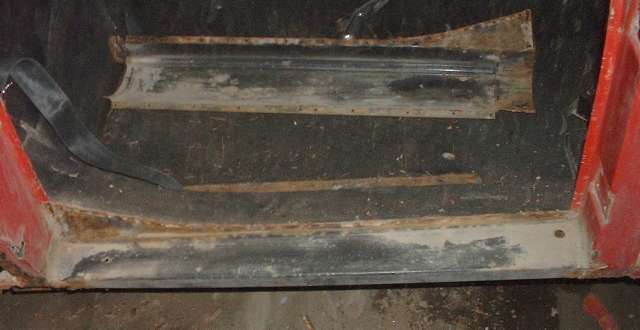
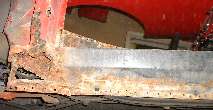
Finally, what I have been so anxious to see, views of the inner sill on the left side. There is a little rot underneath ahead of the A pillar, but the pillar is entirely in tact including all of the bottom flanges being solid. At the back about 8-inches of the outer shell is gone, except by some miracle enough of the tail end is still there to provide dimensional reference for rebuilding. A lot of the center section of the sill is in surprisingly good condition. I had a brief moment thinking maybe some of it could be saved easier than replacing all, but the moment passed quickly. I know the entire inside of the lower box section has serious surface rust, and if it isn't replaced this whole job could come back to haunt me in another 10 or 15 years. So I intend to replace all of the lower box sheet metal and do a bang up job of rust proofing the inside. This stuff is all flat stock with simple bends and flanges, so it should be easy enough to fabricate new parts from flat sheet stock.
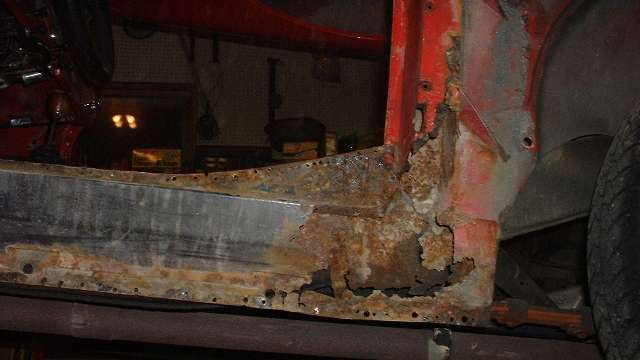
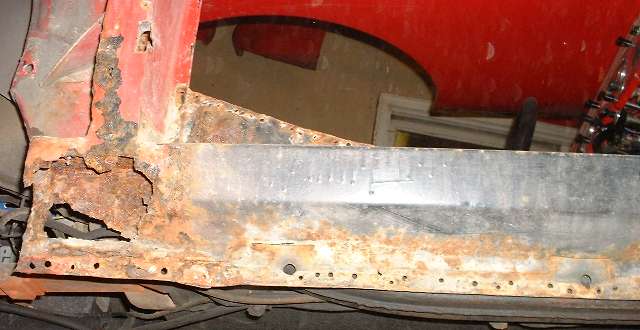
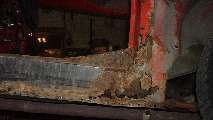
The tougher bullet to bite is the sad condition of the B pillar. This is badly eaten away for several inches at the bottom and even farther up the rear outer corner. This box section is composed of front and rear plates with flanges, and a flat outer strip. I believe the cage nuts for the shut face screws are part of the flange on the front plate. The front plate also has an indent surface in the area of the striker plate. Fortunately that area is in very good condition, and I am sure it can be saved. I think will start by removing a large part of the flat strip at least half way up the pillar. That will give me a good look inside to figure out how much of the front and back plates may have to be replaced. It may also give enough access to sand blast the inside of the pillar the rest of the way up in the part I want to keep.

Views of the inner sill on the right side. At first glance it appears to be in slightly better condition then the left side, but perhaps the damage is just in different places. Everything underneath ahead of the A pillar is toast, although the A pillar itself is in great shape including all bottom flanges. Most of the tail end is missing. Only a few inches of the bottom of the B pillar is damaged on the outer surface, but there is more rust through higher up in back, so it may need most of the back side replaced. I may get better pictures of the B pillars soon. (13 Dec 07)
Addendum August 2012:
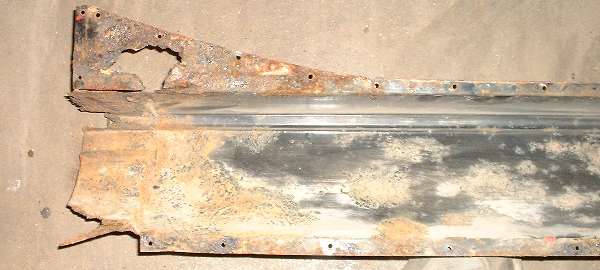
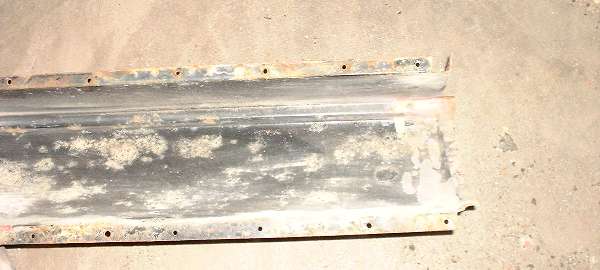
Questions about quality of commercial replacement panels continue to arrive. You will see more of the sill box panels on this page and several pages to follow. The three long rectangular notches on the bottom edge of the box panels are original issue as drain and vent ports. Also each box panel has two end plates and four internal gussets (at least on my car produced in August 1957). Most commercial replacement box panels have three internal gussets, leaving out the one at rear side of the B-pillar. I can understand the logic of possibly leaving out the fourth gusset (reduced cost of course), as it is fairly close to the rear end cap. But it is still my contention that the fourth gusset does some good for stiffening up the stance of the rear door post so you get a nice solid thud and easy latching when you close the door with one finger. After the fact, four years later, I can still report this end result, easy opening and closing of the doors with one finger. This is where patience and persistence and attention to detail pays off.
|