The MGA With An Attitude
MGA Guru Is GOING MOBILE - (January 16 - January 31, 2026)
Friday, January 16, 2026:

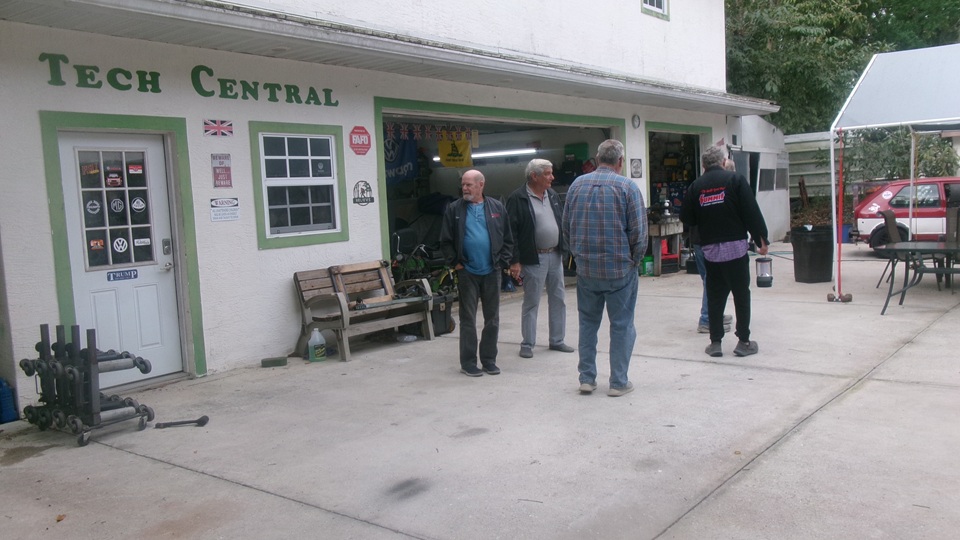
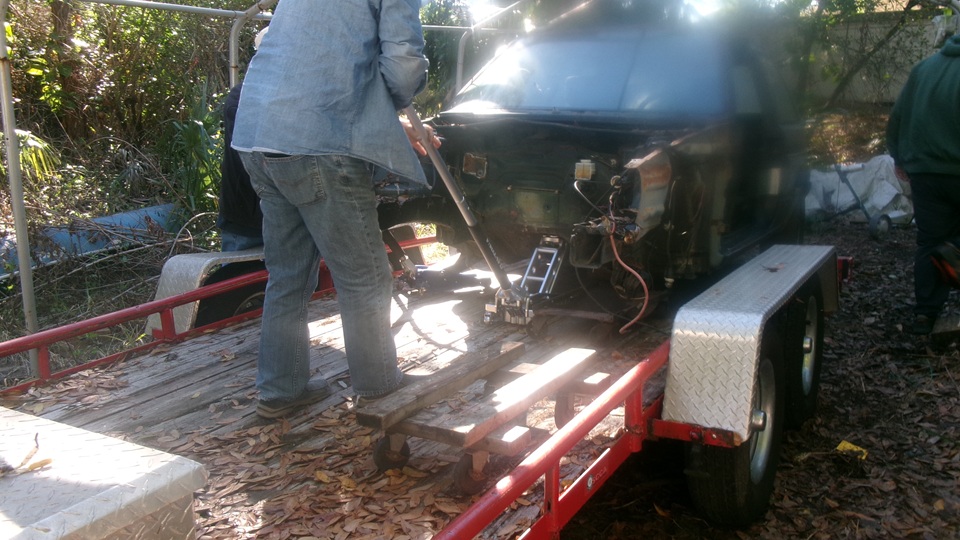
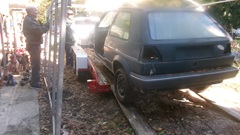
Standard program Friday at Tech Central. 42dF at sunrise, 50dF at 10-am, at least it was sunny and dry, not sure if anyone would show up today, but they did come out in full force. The metals man was there hitching up the TCR flat bed trailer and backing it into position to load up the last half of the VW destined for the recycling yard. Plenty of hands on with a roller jack, roller dollies, ramps and strong backs to pick up and push the hulk onto the trailer. In the end, all tied down, and away it went.

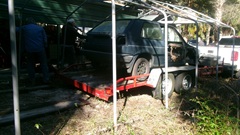
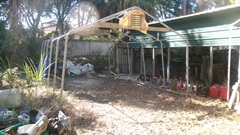
That left an empty space with some waste gravel and cement powder. Some short discussion on preferences for re-claiming the space via excavation and gravel bed, or fresh lawn, or maybe extended cement slab for more useful work space. The tubing frame is in good enough condition to cover with heavy canvass for rain and sun shelter.

A while back one MG ZA Magnette had the original inertia starter changed to a modern gear reduction starter. That one has subsequently failed with the pre-engage sliding gear extended, not retracting. A new starter of different model is now being installed. When finished, we may get to take the old one apart to see if it might be salvaged (possibly next Friday).

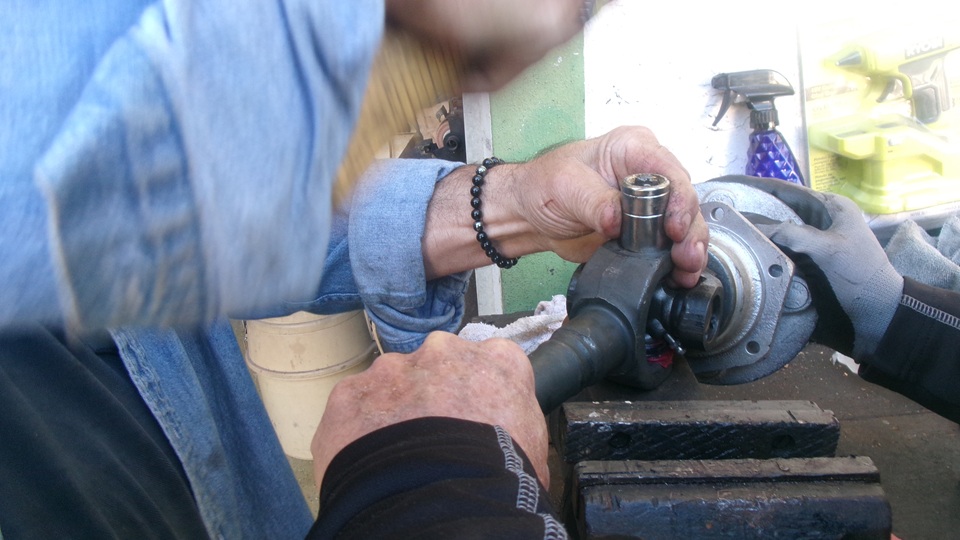
For the third Friday running, the guys were still changing U-joints forTR6 rear suspension. Finally reassembled, they may be in the car running next week.

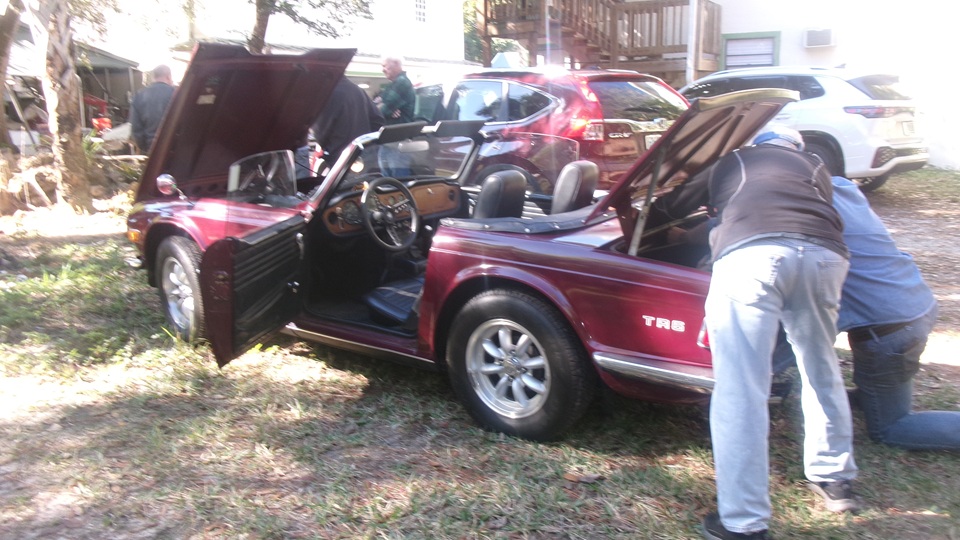
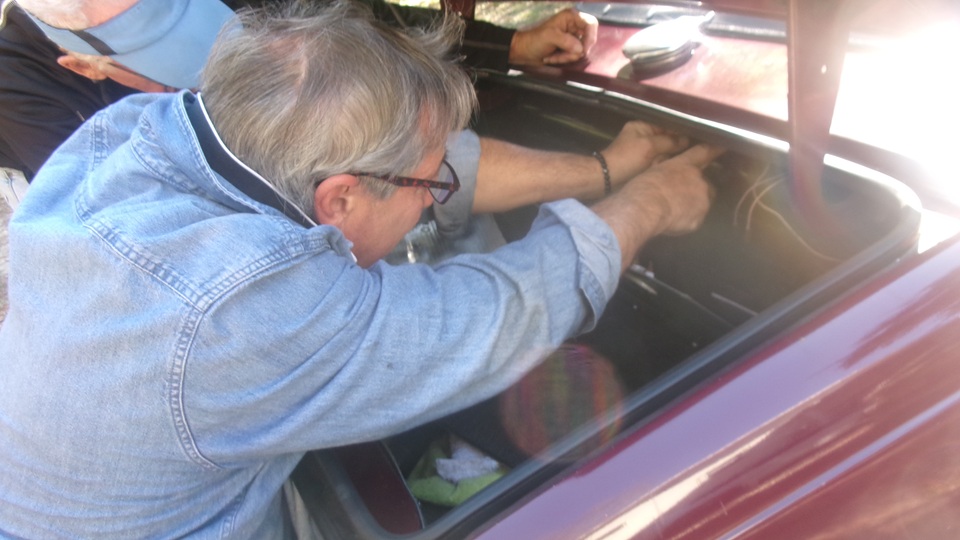
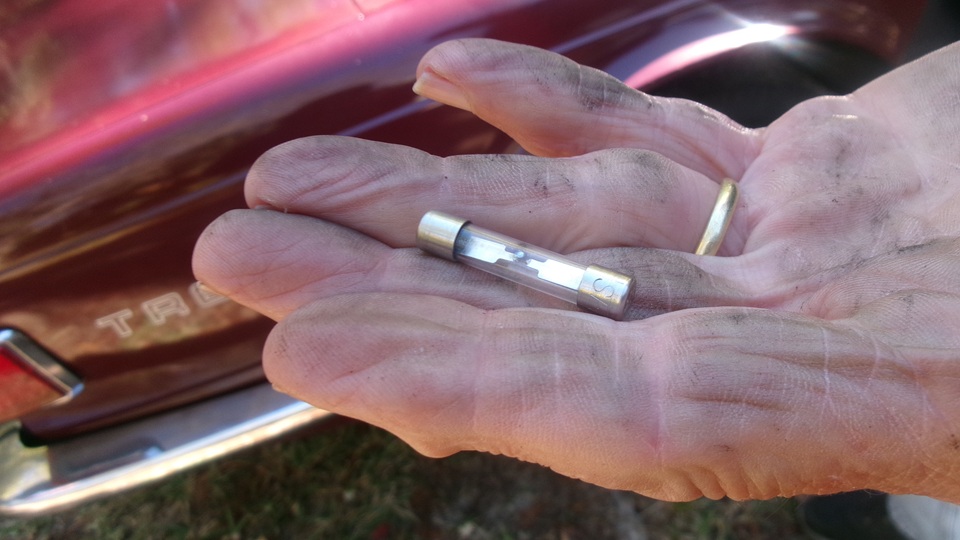
Another TR6, fussing with the boot lamp. Turned out to be a blown fuse, but so far nobody knows why. More work later.


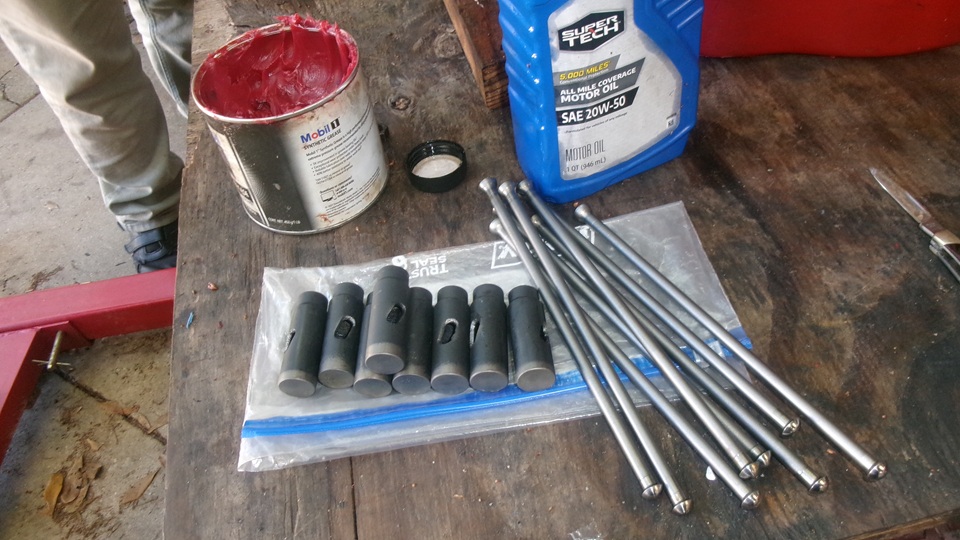
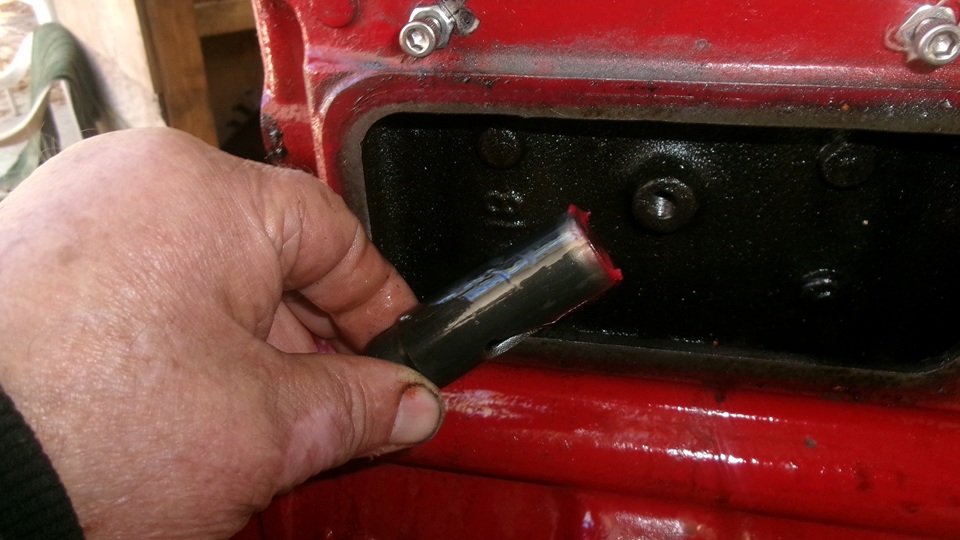
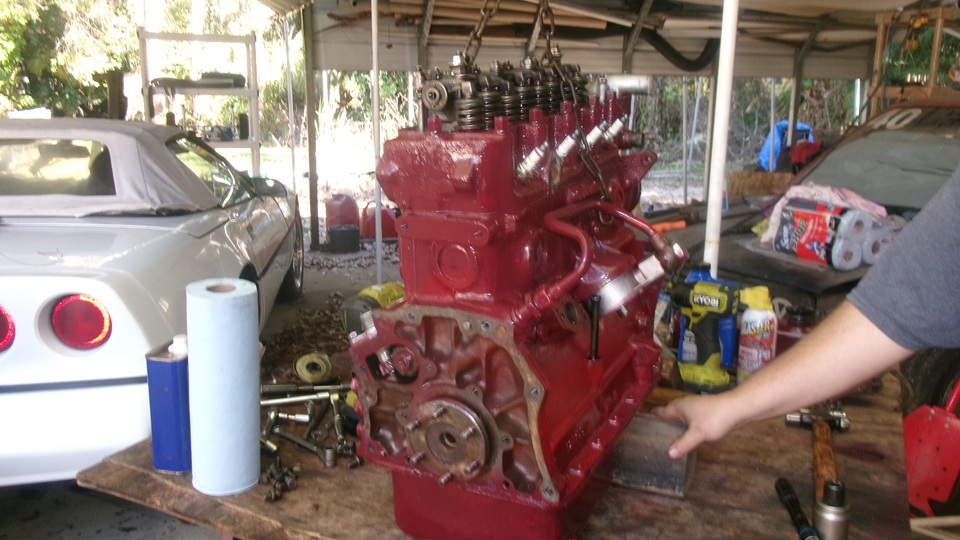
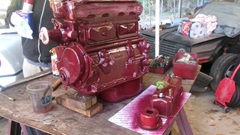
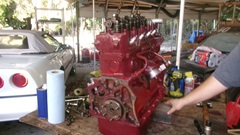
 When everyone bailed out after lunch, we got back to working on the 1800 engine, starting with new tappets and pushrods, installing rocker shaft assembly, torquing down the head and setting valve clearance. Each tappet got dab of grease, a dip in oil, and drop it down the bore onto the camshaft. Drop in the pushrods, drop on the rocker assembly, install the hardened steel washers and nuts. This is where we took a short pause to check and verify valve timing, to be sure the timing chain had been installed properly. Then torque everything down, adjust valve lash all around, and install the side covers. Now it's beginning to look like an engine again.


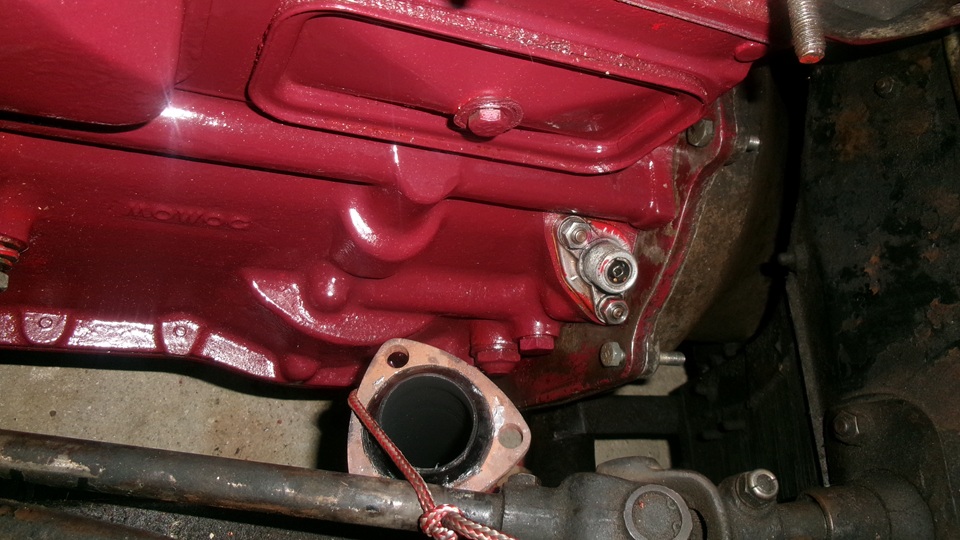
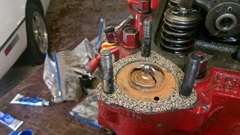
Apply thread sealant on the thermostat studs before installation, since two of those holes go through into the water jacket. Drop in the thermostat blanking sleeve, and the "Chevy" thermostat with small vent hole.
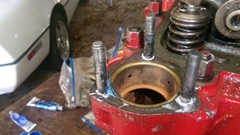
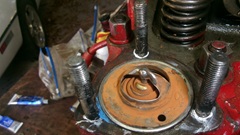
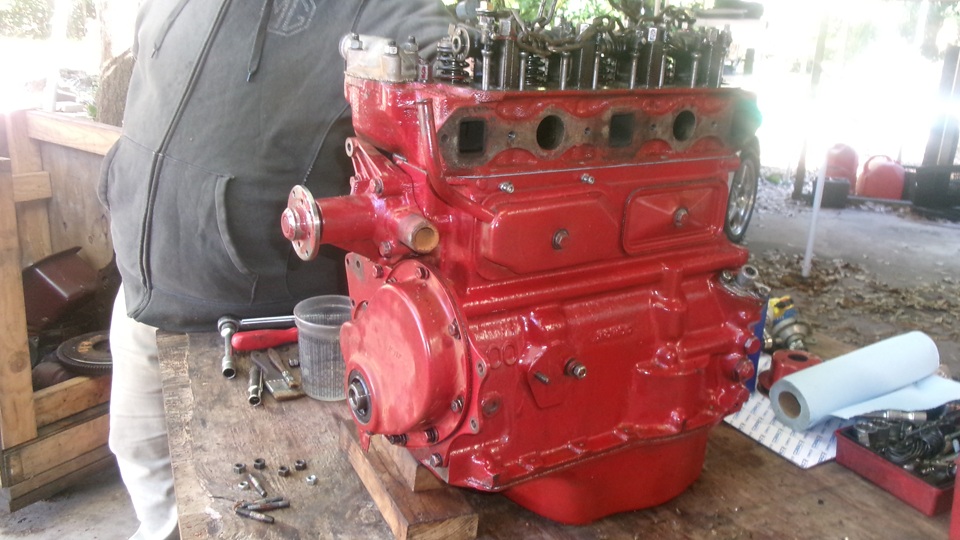
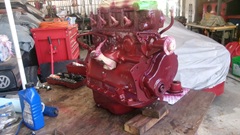
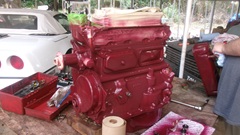
Drop on a nice soft cork gasket, followed by the thermostat cover, torqued down, and the water pump with a new gasket. Once more around to be sure we hadn't missed anything, like the dip stick tube not there yet, and it must be ready to paint.
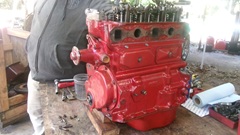

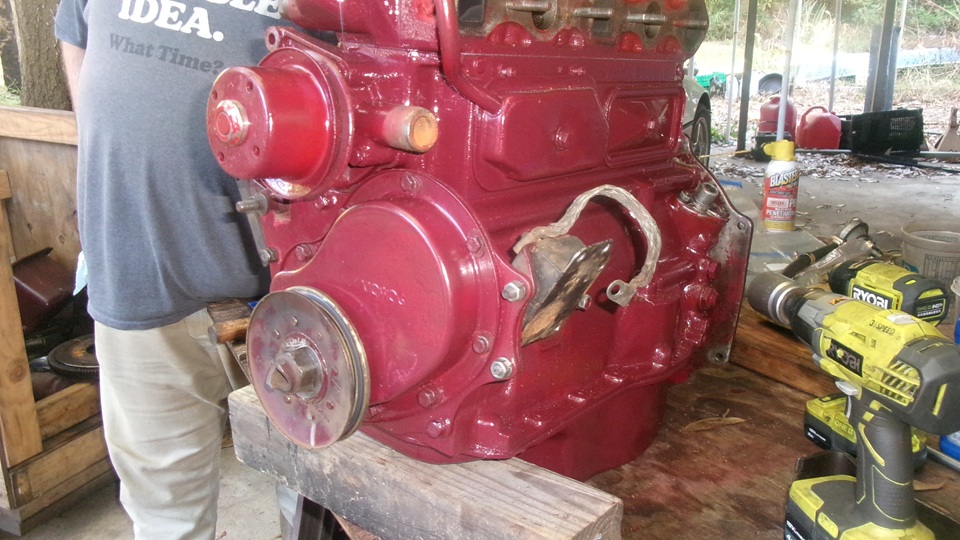
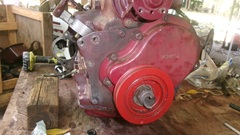
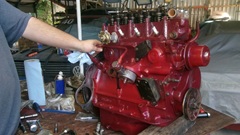
It got a good scrub down with lacquer thinner,followed by immediate pat dry with clean paper shop towels, and a few minutes to blow dry in the ambient breeze. A little bit of masking and hole plugging before a quick spray with Krylon "Gloss Burgundy".

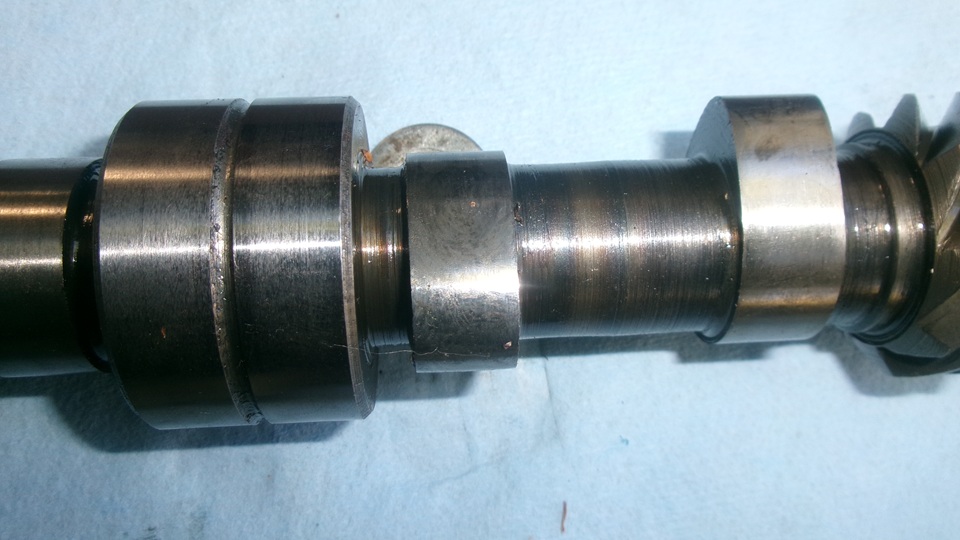
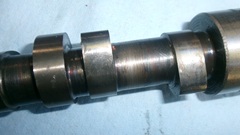
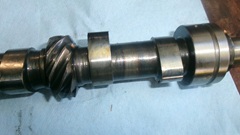
While the paint was drying, we pulled up the camshaft we had removed from this engine. Last Sunday night before taking the block and head to the shop, navigator had spotted some bad tappets, especially #5 which was concave and badly pitted, and
a couple more with small chip on the bottom ends. Sorry we didn't get the tappets picture, but maybe later. Seeing the bad tappets, we jumped to the reasonable conclusion that as goes the tappets so goes the cam lobes. In the interest of keeping up a timely schedule, we ordered the new cam and tappets the following morning. Now in retrospect, if we had taken the time to measure and
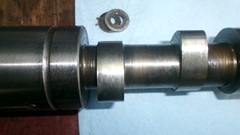 inspect the old cam first, we would not have ordered new cam, but only the new tappets. This cam is in amazingly near perfect condition, nothing like the beat up tappets. Now we are trying to remember why. When we were rebuilding this engine a year ago in November, we bought and installed the new cam. But as a matter of expediency at the time, we were doing some creative swapping of matched sets of tappets and pushrods, due to back order of some parts. I think these tappets were from the prior 1600 engine rebuild in August 2022. That might explain it. In any case, the old tappets are now trash, and the old cam that looks exactly like new will be a spare part (or maybe available for sale if someone needs one).

 BR>
In any case, done for the day, so clean up, pack up, feed the raccoons, and get off for a WiFi spot and dinner. It was only 3:30-pm, still fairly warm and sunny. Who would have thunk we could be done early for a change? Anyway, we want to let the paint dry for at least 24 hours, so we will have tomorrow off. BR>
In any case, done for the day, so clean up, pack up, feed the raccoons, and get off for a WiFi spot and dinner. It was only 3:30-pm, still fairly warm and sunny. Who would have thunk we could be done early for a change? Anyway, we want to let the paint dry for at least 24 hours, so we will have tomorrow off.
Saturday, January 17, 2026:
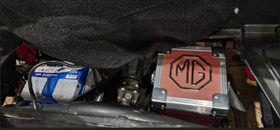
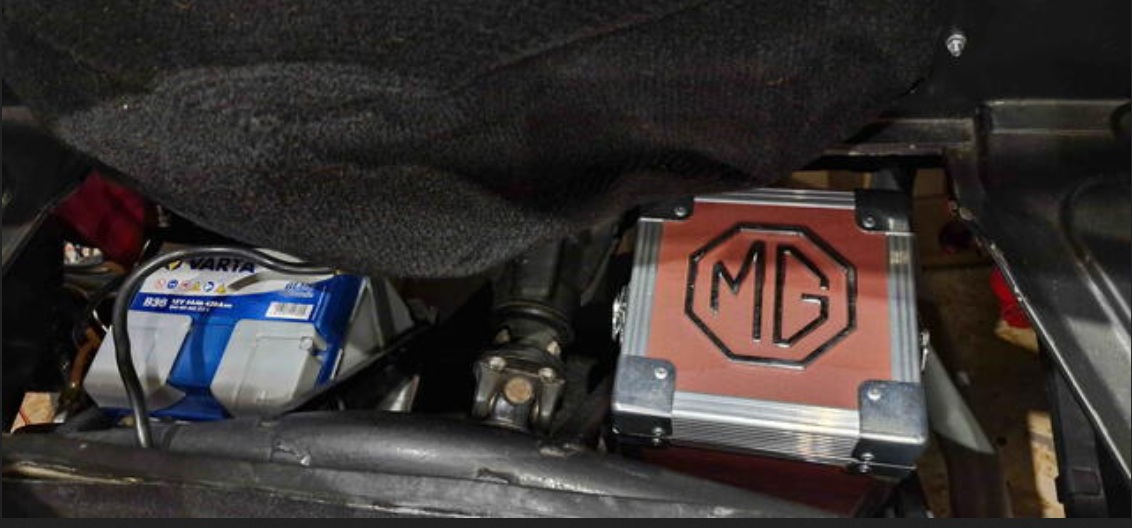
Day off? Hardly. This little project may have taken longer to post the new Accessories tech page than it did to create the original hand made accessory. It is a fancy Storage Box built to fit into one spare MGA battery carrier after converting the car to a single 12-volt battery. The tech page is simple. Making German language special alpha characters appear in the browser screen page required back flips to find the appropriate ASCII character codes do be embedded in the HTML code text page. Custom built things are always time consuming. Enjoy the pictures.
Sunday, January 18, 2026:
Warm and humid today. Could be time for the next engine swap, but no rush. Might rain, maybe. Destined to be cold and windy
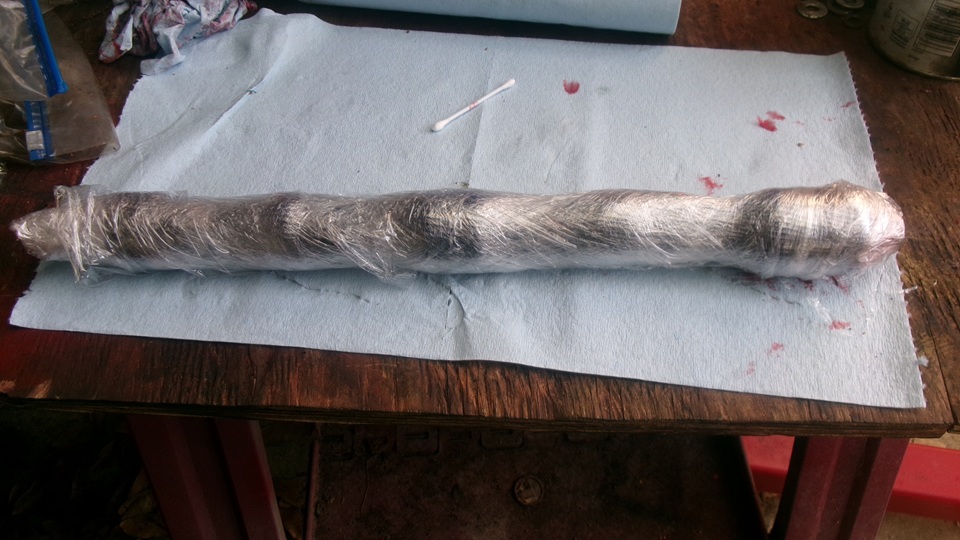
 tonight and tomorrow, so not great working weather. Need to get the good camshaft packed for storage. We slobbered grease all over it, into every nook and cranny including threads, key ways and gear teeth. Then we covered it with the factory supplied expanded plastic mesh, and wrapped it in plastic stretch wrap to be sealed up. Finish by covering it thick tan masking paper, taped on tight, and letter it with a Sharpie felt pen. "Austin B-Series Camshaft, standard grind, as new, wanting new tappets. MG ZA-ZB MGA MGB". Then it got stashed in the Tech Central work shop attic with other serviceable spare engine parts.
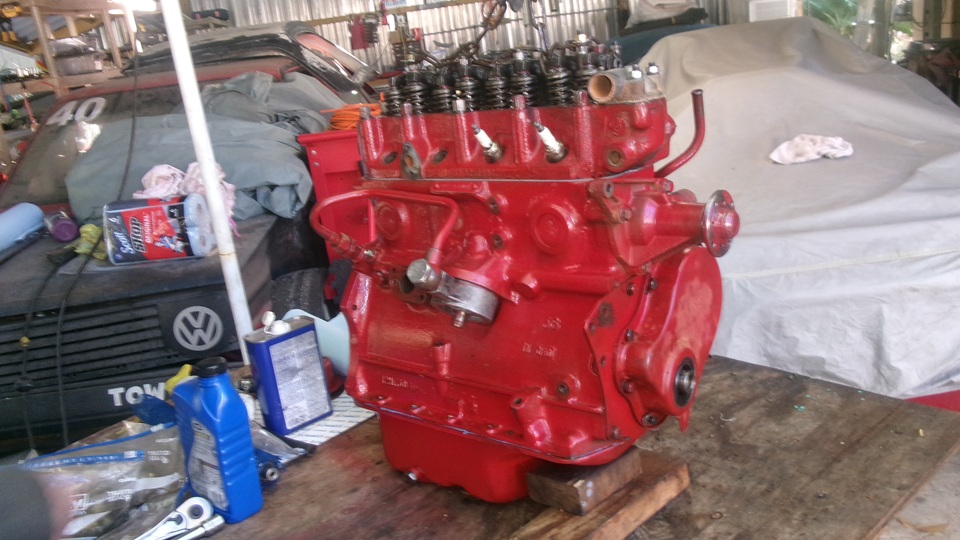
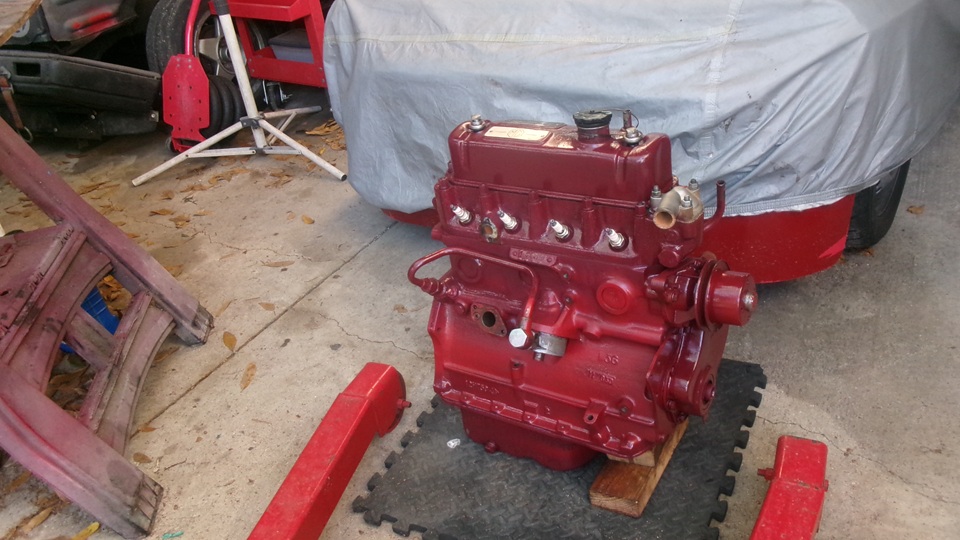
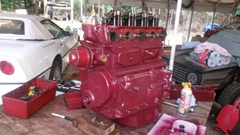
 The 1800 engine paint has been drying for a day and a half, good to touch. Remove all the masking tape, install some threaded studs, get it off the work table and set it on a rubber mat for security.Finished by 10-am, time enough to get to WiFi spot while we can still order breakfast. Considering weather forecasts, we plan to do the next engine swap Tuesday and Wednesday. The 1800 engine paint has been drying for a day and a half, good to touch. Remove all the masking tape, install some threaded studs, get it off the work table and set it on a rubber mat for security.Finished by 10-am, time enough to get to WiFi spot while we can still order breakfast. Considering weather forecasts, we plan to do the next engine swap Tuesday and Wednesday.

Monday, January 19, 2026:
Cold and windy all day, not a good day for working outside,m so we won't. Did little more work on the threaded studs list, but difficult to determine length of studs without measuring them, so a lot of hours went for little results.
Tuesday, January 20, 2026:
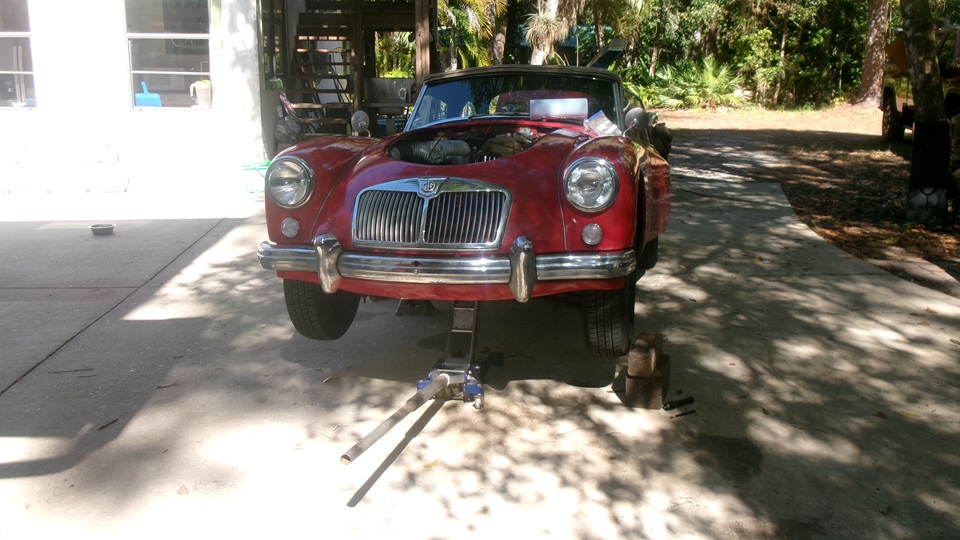
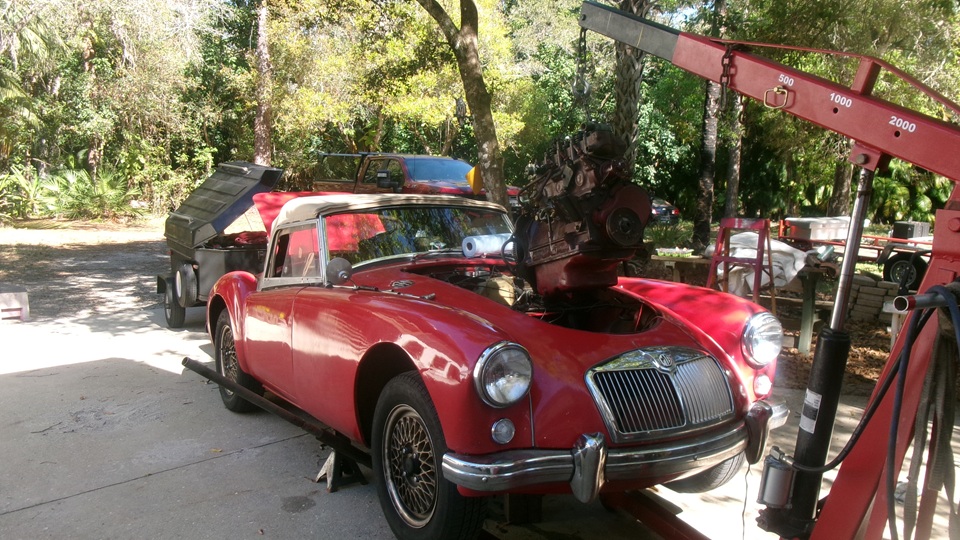
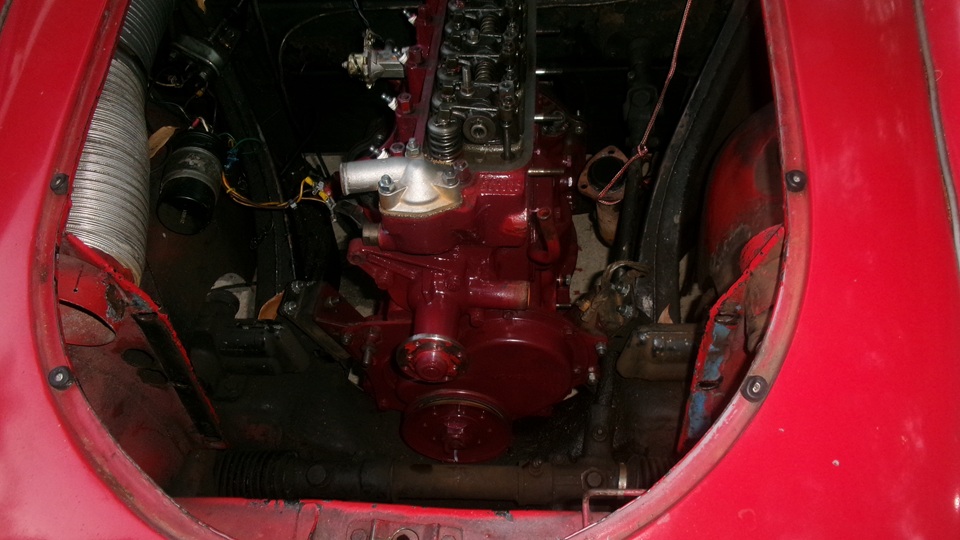
Cold overcast and windy giving way to cool , less windy and sunny all day, looks like a good work day. Two sweat shirts at 10-am, one sweat shirt by 11-am, and short sleeves by noon, and we had the Magnette engine out of the MGA by 1-pm.
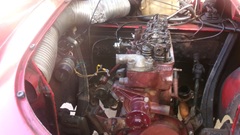

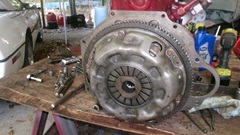
From the front, pull off the engine mounts, alternator adjusting stud, crank nut, sheet metal front pulley assembly, timing cover and oil thrower ring (because we are currently missing one). Reinstall the timing cover without the oil thrower ring, and put on the old harmonic damper pulley (just to seal it up for storage). Pull off the temperature sender adapter (because we couldn't buy another one at this time) .Leave the heater valve, spin-on oil filter adapter and oil pipe. Reinstall the oil filter to seal it up for storage. At the rear, remove the MGB clutch and flywheel, and the low starter engine rear plate. Set the Magnette engine aside, and pull up the MGB 1800 engine.

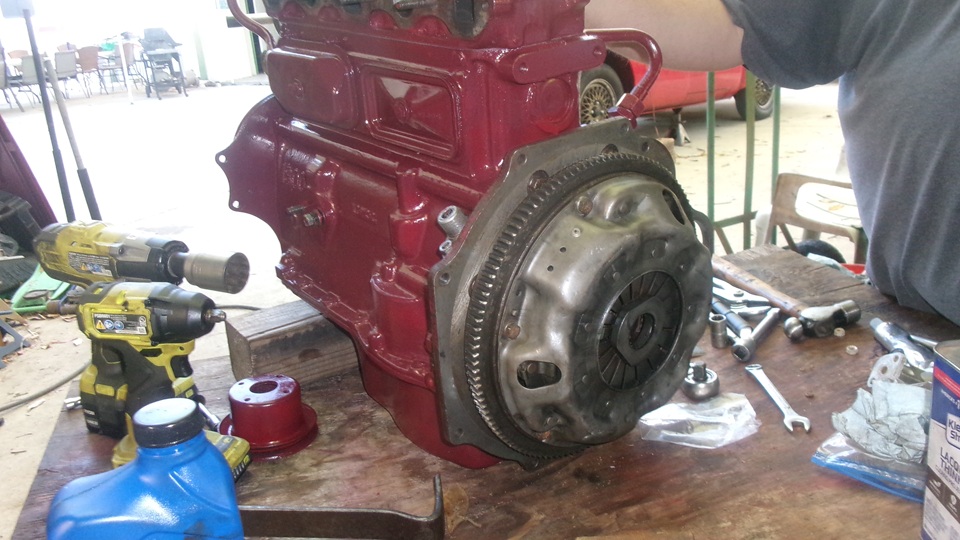
Install the low starter rear plate with new gasket, and install the MGB flywheel. About to install the clutch when we noticed a slightly worn spigot bushing. Not sure how we missed or passed on that one, as this is the replacement reground crankshaft we recently installed. Time to pull out the old spigot bush and install a new one.


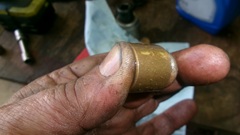
A hook attachment with the slide hammer does a quick job of pulling the old bushing. Fill the new porous sintered bronze bushing with oil, give it a squeeze, and see it sweat.
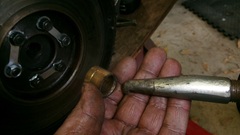
Gently tap the new spigot bushing into place, and use the clutch alignment tool to assure a clean bore. Install the 10-splin e MGA clutch disc with MGB clutch pressure plate assembly.


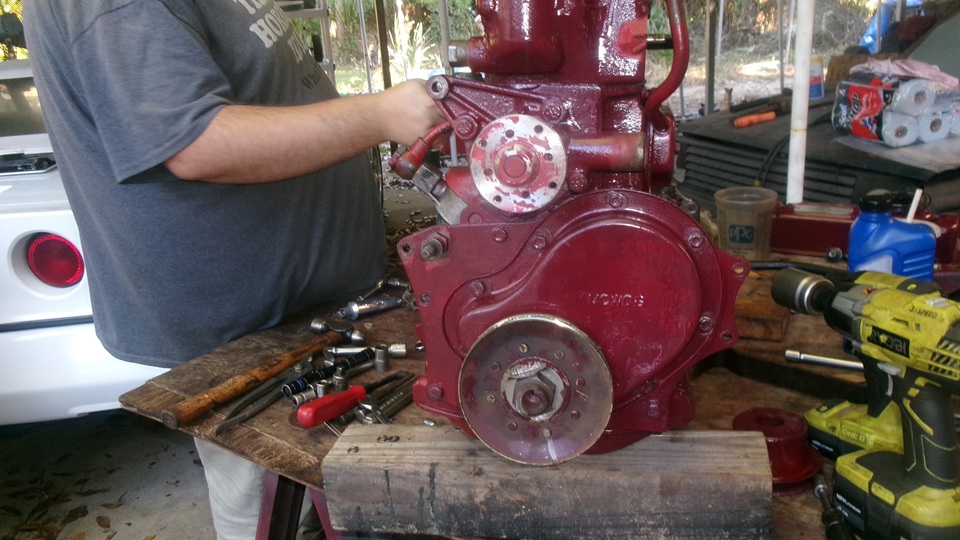
Around front, R&R the timing cover to install the missing oil thrower ring, and install the favored sheet metal crank pulley and dog nut with a new locktab. Install the MGA (and early MGB) engine mounts. Reinstall the heater valve, as that was removed when the head was resurfaced. Peachy. Ready to drop into the car.

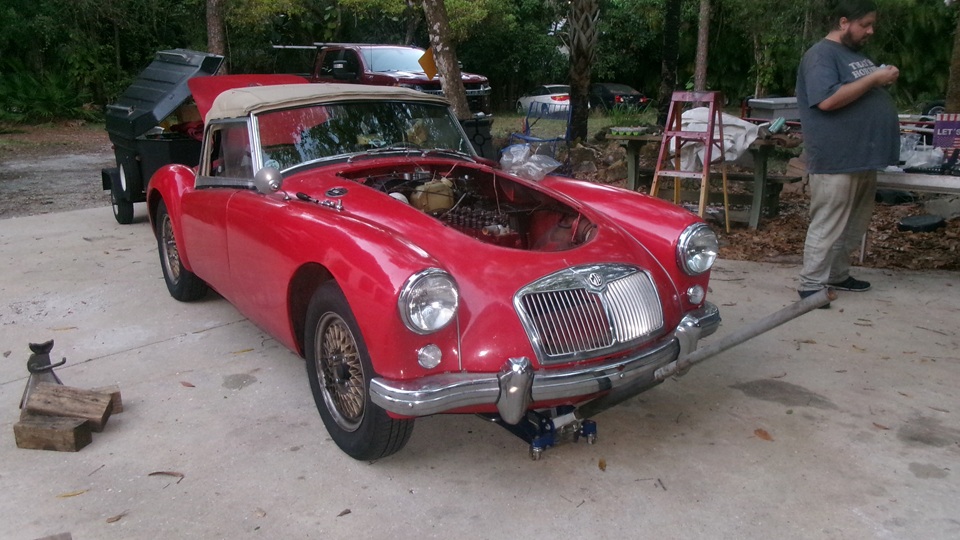
Getting pretty good at this by now. Slip the engine into the bay, finesse the thin crank pulley past the steering rack, align the clutch with the gearbox input shaft, snuggle it up to the bellhousing, install two close fitting alignment bolts for rear plate to bellhousing. Remove floor jack under gearbox, set the engine down and install the engine mount bolts.


 About an hour late for our expected schedule, not sure why. Losing the light after 6-pm, so good place to stop, clean up, grab some late lunch, and take the rest of the evening off.
Wednesday, January 21, 2026:
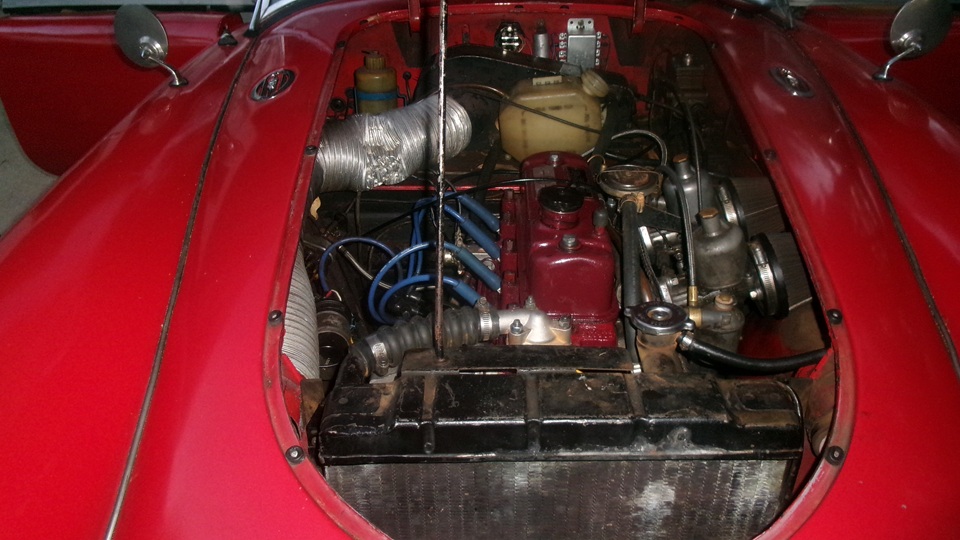
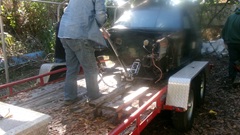
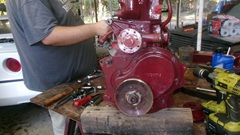
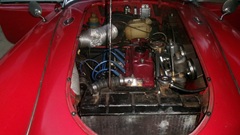
We thought we had this in the bag today, so slightly later start close to 11-am. Install the starter motor and a few bellhousing bolts, manifolds, carburetors, other peripherals, oil and filter, radiator and water, and fire it up. Things were going quite well, until we tried to install the new radiator, and it didn't fit.
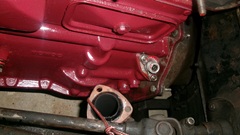
To begin with,we knew it was not a cell core radiator as original. It is a tube and fin radiator with three rows of thin tubes, and paper thin fins that can be bent by touching with your finger. In fact we had to straighten some bent fins as received, right out of the box. The new radiator is also several pounds lighter weight than the original cell core radiator. We transferred the drain cock and did some careful measurements of mounting flanges and captive nut locations, and it looked like it would fit okay. Navigator noticed the bottom tank was thicker front to back than the prior part. Apparently the additional width was in front. When we tried to install it, the front solder flange of the bottom tank landed on top of the rear edge of the air pan. We had the original radiator shimmed forward 1/4-inch, because the 18GA engine water pump is slightly longer than the MGA water pump. But even with shims removed, and no packing strips,the new radiator still landed on top of the air pan, so it would not drop down far enough to install the mounting bolts. Bummer.
Running out of daylight, we had to re-install the old radiator. I suppose we will have to return the new radiator. Give us the night to think about it, and we may take tomorrow off to discuss it and call the vendor. Meanwhile we continue to run the old slightly leaky radiator with no pressure cap.
Thursday, January 22, 2026:
Had to call Scarborough Faire to report the new radiator that cannot be installed in the MGA due to oversize bottom tank interference with the" X-panel" (horizontal air panel in front of the radiator). The phone call was okay, but now have to wait for investigation on their end, and hopefully a call back sometime.
Another repeated tech question prompted me to post a new tech page on Lubrication of the MGA rear axle wheel bearing.
Friday, January 23, 2026:
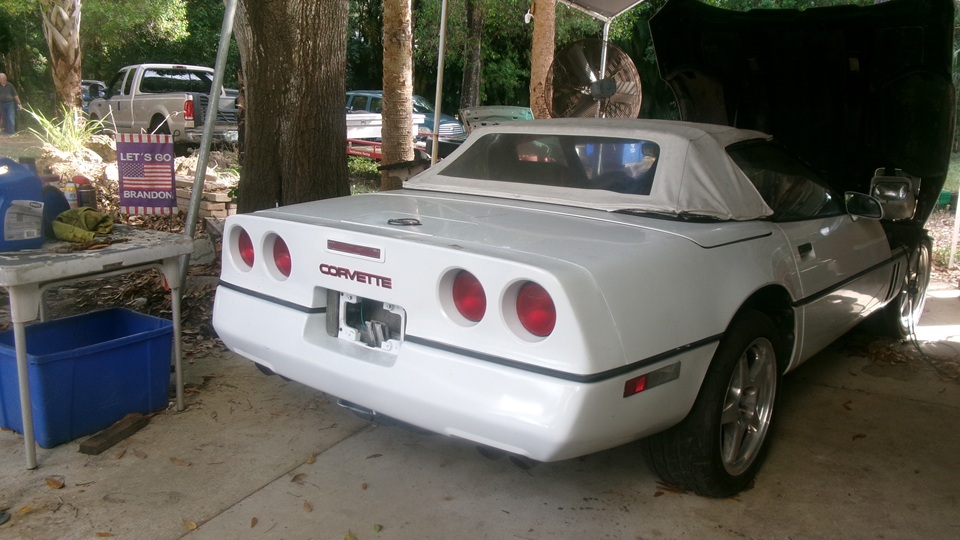
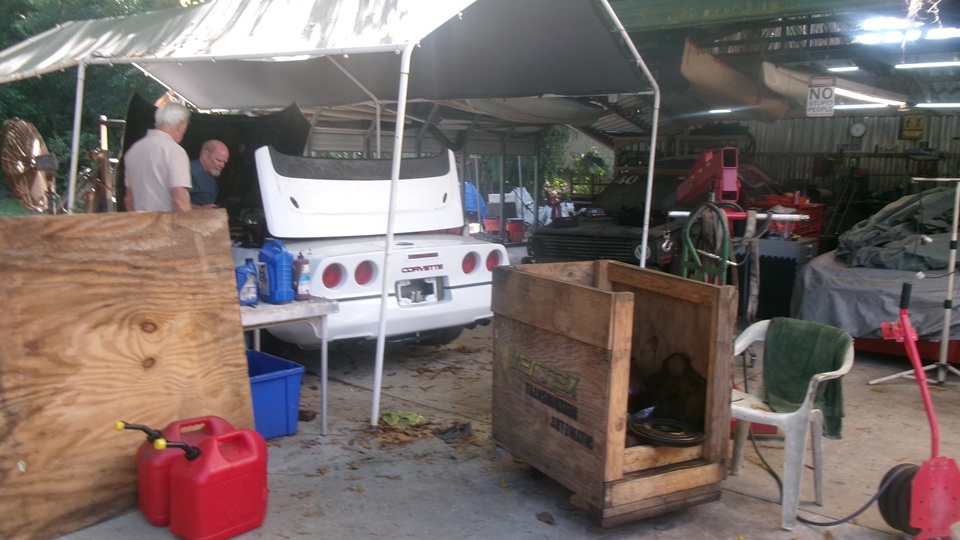
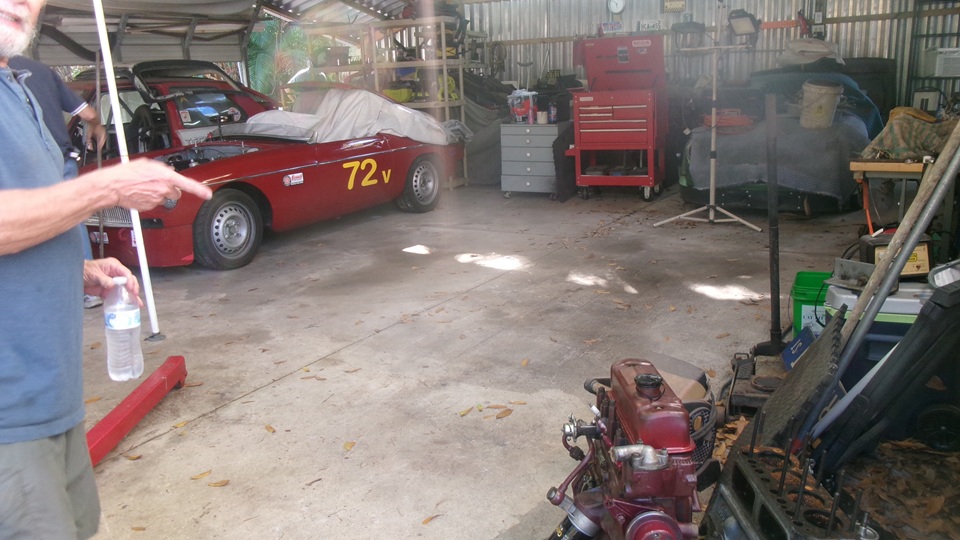
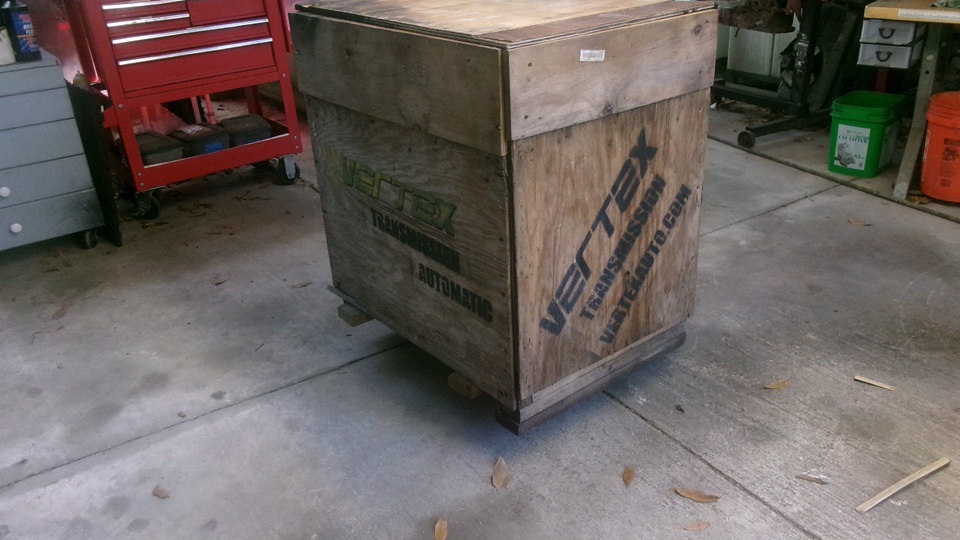
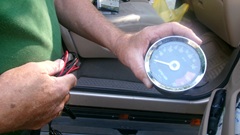
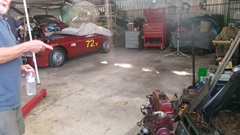
Nice comfortably warm work day at Tech Central with a nominal set of nearly a dozen people teaming up. Still cleaning up the covered patio work space. The Corvette fuel problems are sorted out, and the engine starts and runs properly. The wooden box for the Magnette engine still sits there, although the work table has been moved away. Taking a short break to test a late model MGB speedometer, we connect three jumper wires for power, ground and signal to the ignition coil on my MGA, and give it a whirl. The tach works, but registers only 4000 at engine speed of 5000 rpm. Close enough, they can adjust to calibrate it later.

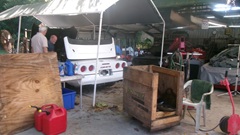
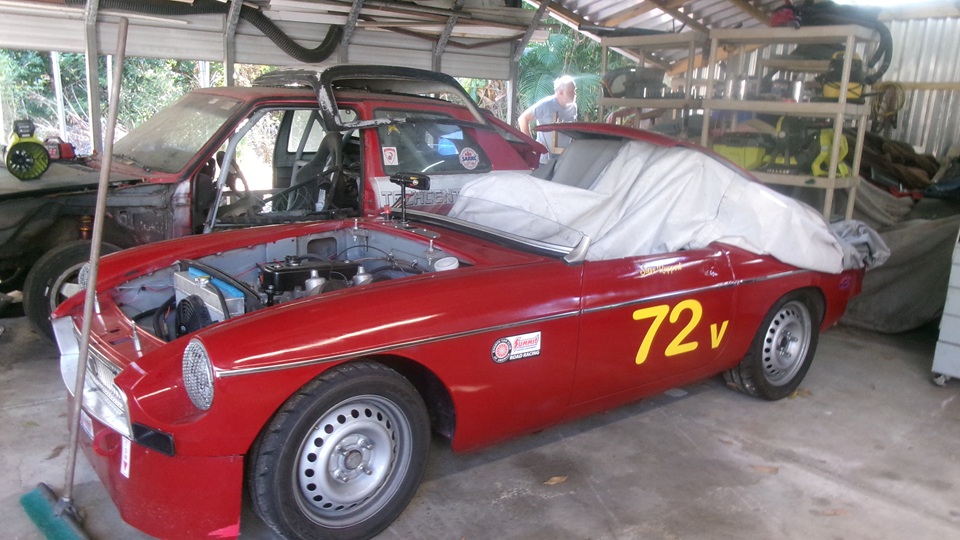
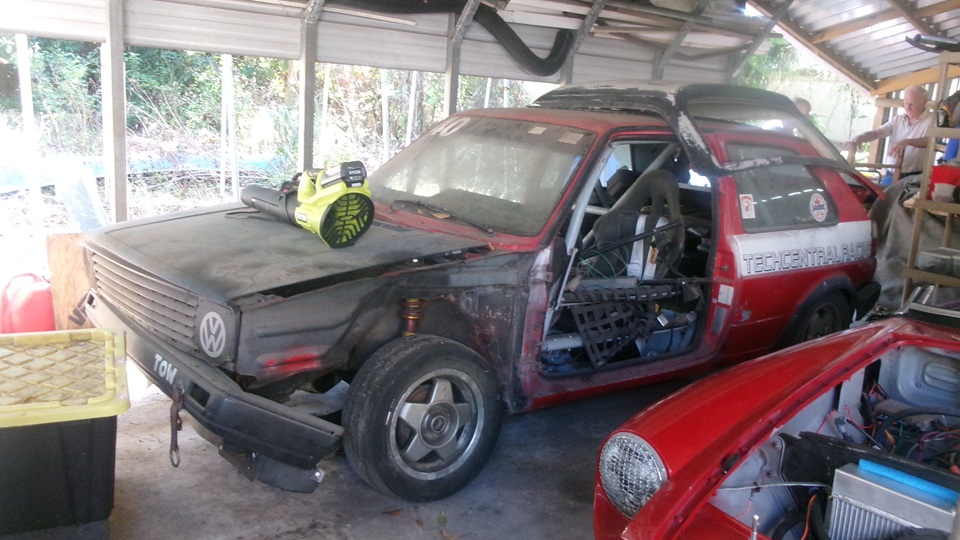
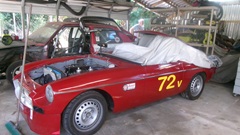
Now at the left side of the work space is the second VW race car, waiting for engine installation. "Tina" the MGB race car (mostly stock issue MGB configuration) is temporarily up on wheel roller dollies to shove it over a few feet from the VW. That leaves another full work space, right behind the Magnette engine, intended for temporary short term projects. Does MGA/Magnette engine swaps come to mind?
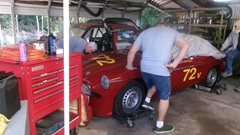

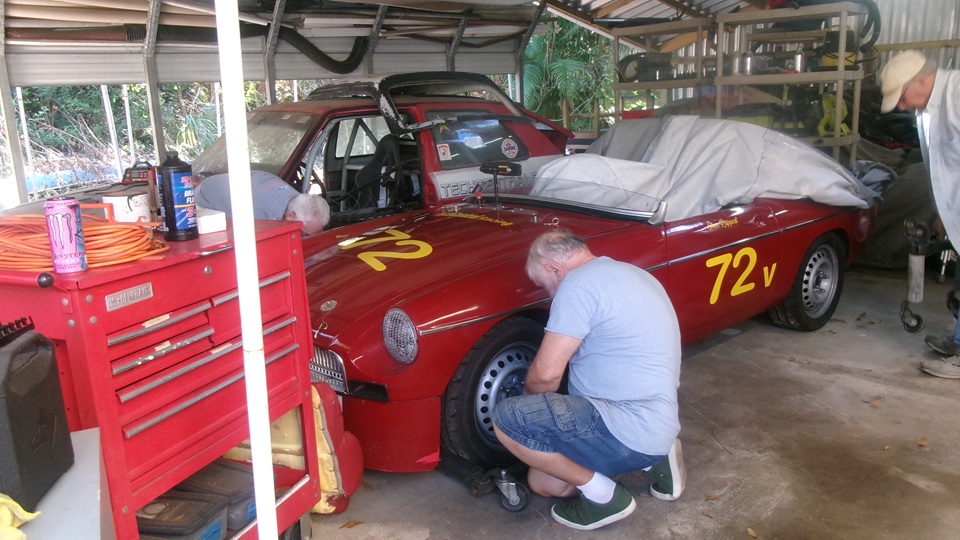
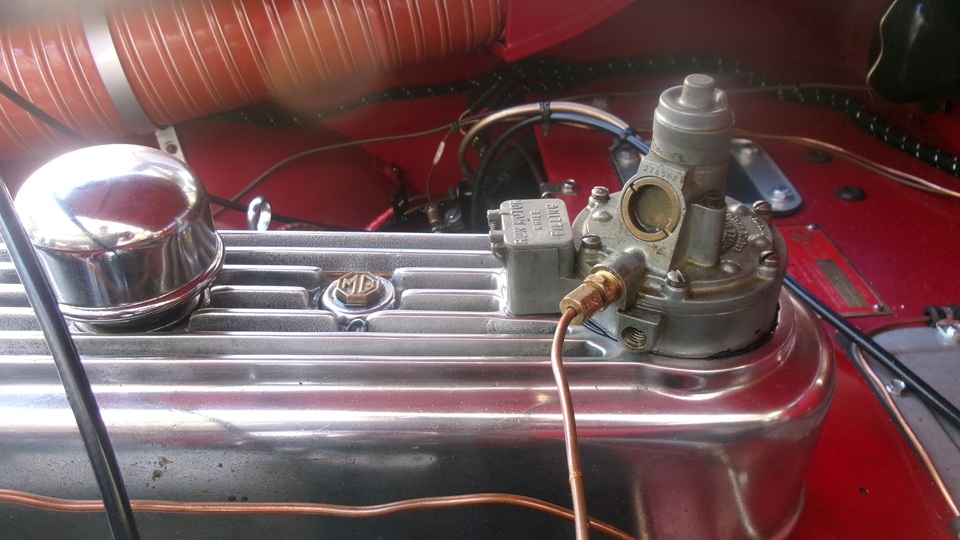
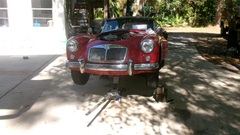
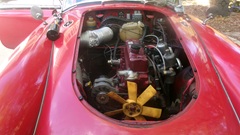
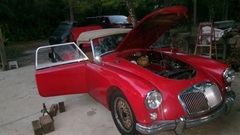
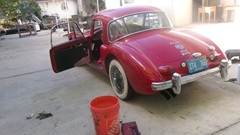
Still thinking the shelving units might find a better or less obstructive location, but they want to keep this shelf space handy to the work spaces. Behind the shelving units is the Mercedes Excalibur kit car, with too much "stuff" around it. Just to the right of that, mostly out of frame and under a tarp, is a Triumph GT6 race car that is looking for a new home (wants to be sold and gone). -- Then this MGA 1600-MK-II Coupe from Fort Myers just pulled in, expecting to get the rear brake cylinders replaced today.


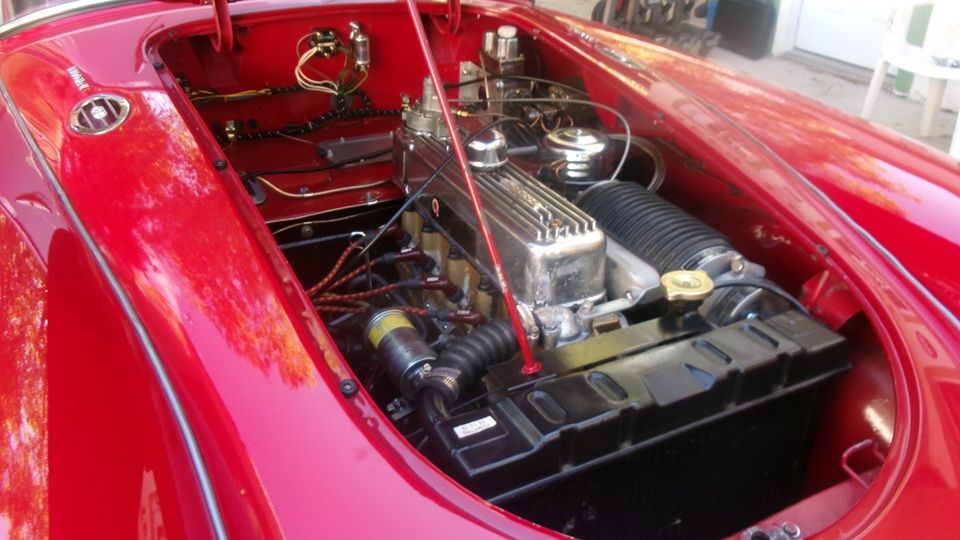
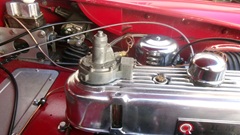
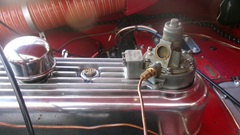
It has a neat period correct Judson supercharger under the bonnet, complete with very original alloy valve cover incorporating the drip oiler to service the vane type blower.

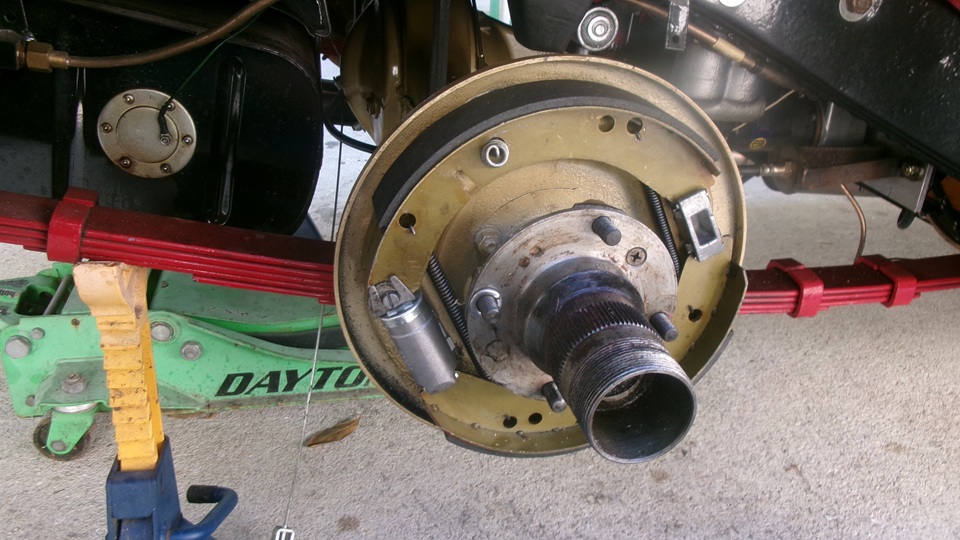
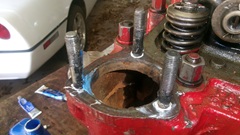
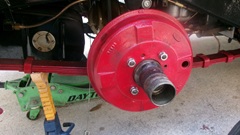
Jack up the rear of the Coupe, and start at right rear to replace the slave cylinders. Immediately find the brake drum full of gear oil coating the brake shoes. Okay, need to replace the hub seals, so disassemble shoes and springs, clean everything in petrol, and rinse that clear with lacquer thinner to save the brake shoes (which otherwise look like new). We pulled the halfshaft to remove the bearing hub. Not particularly surprised when the large octagonal bearing retaining nut was loose enough to unscrew with fingers. We used a slide hammer to pull the bearing hub, and took kit to the bench vice to remove the large ball bearing and oil seal. The seal was hard as a rock, so if you hit it with a hammer it would likely break. Not long to replace the seal with a new one and put the bearing back in the hub. By that time someone else had replaced the slave cylinder, but had problems with the hydraulic fittings. Bit of a fiddle to reinstall the brake shoes and springs and adjuster parts. Then a much harder fiddle to install an ill fitting aftermarket rubber dust excluder boot on the handbrake lever, followed by the banjo fitting with banjo bolt and copper seal washers. All back together in the end, brake drums installed, brakes adjusted and fluid bled for good working brakes.


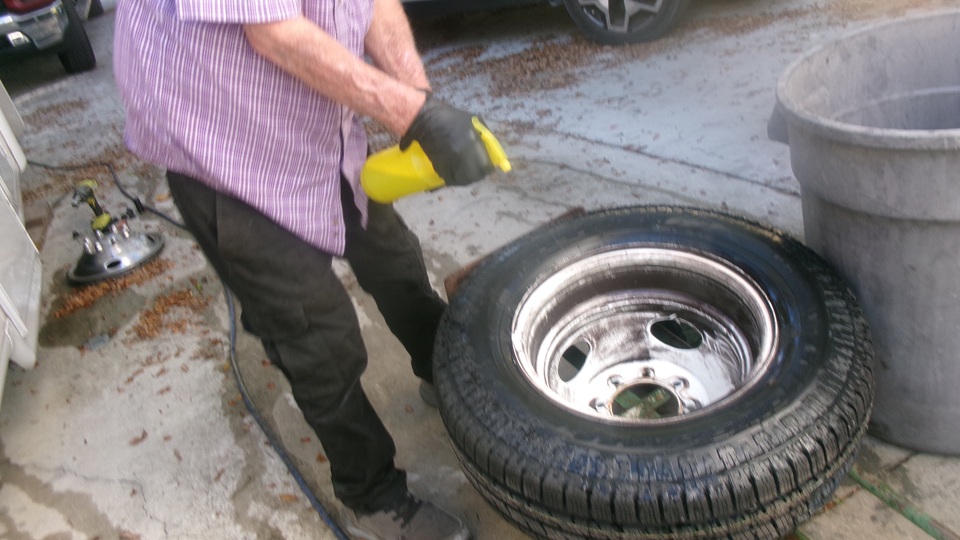
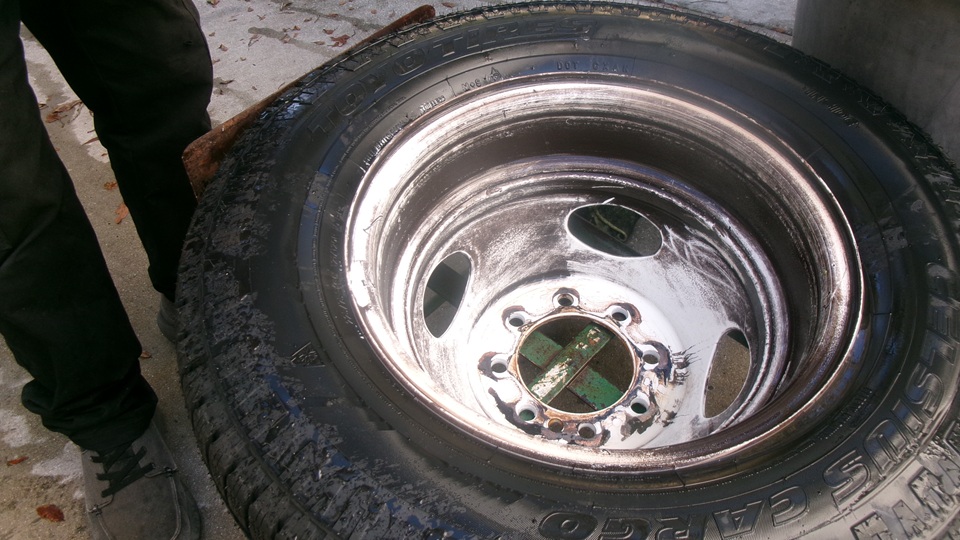
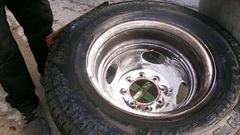
Late afternoon the Coupe was on its way home, likely to come back next week to do brakes on the other side. A little time to relax and chat a bit, then a helping hand cleaning up a wheel for our host's motor home.

Saturday, January 24, 2026:

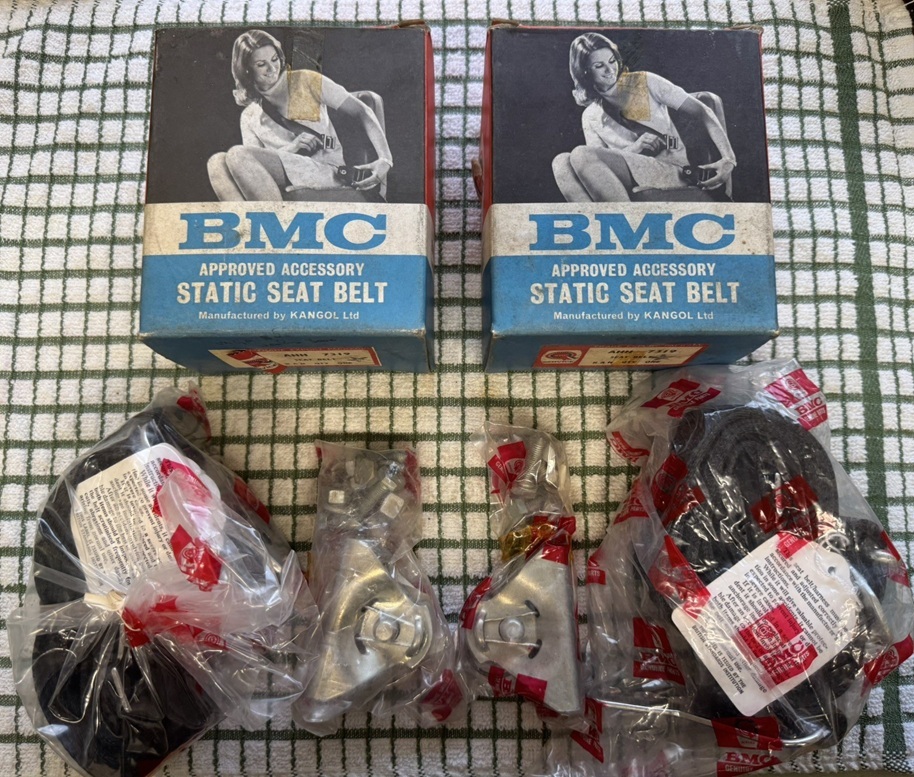
Something to do over morning breakfast. There was an eBay auction ad for New Old Stock seat belts, Kangol original issue for MGA (and AH 3000), all parts still sealed in original packaging with instruction sheet and Kangol factory literature showing which model cars these parts were used for. I snatched a dozen very good detailed pictures from the ad to append onto one of my Interior Tech pages for the original seat belts configuration. For as long as the ad might last, see the original eBay ad here:
www.ebay.com/itm/376739143379.
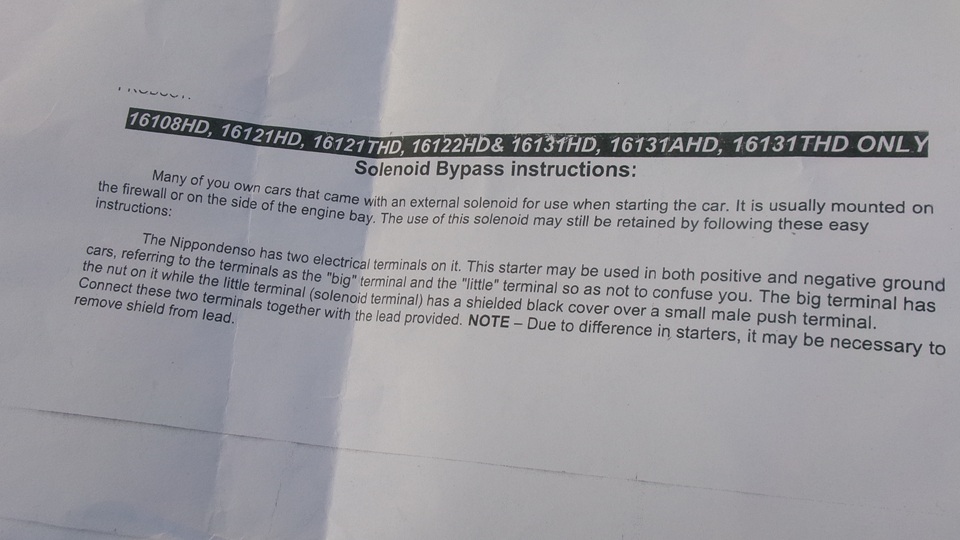
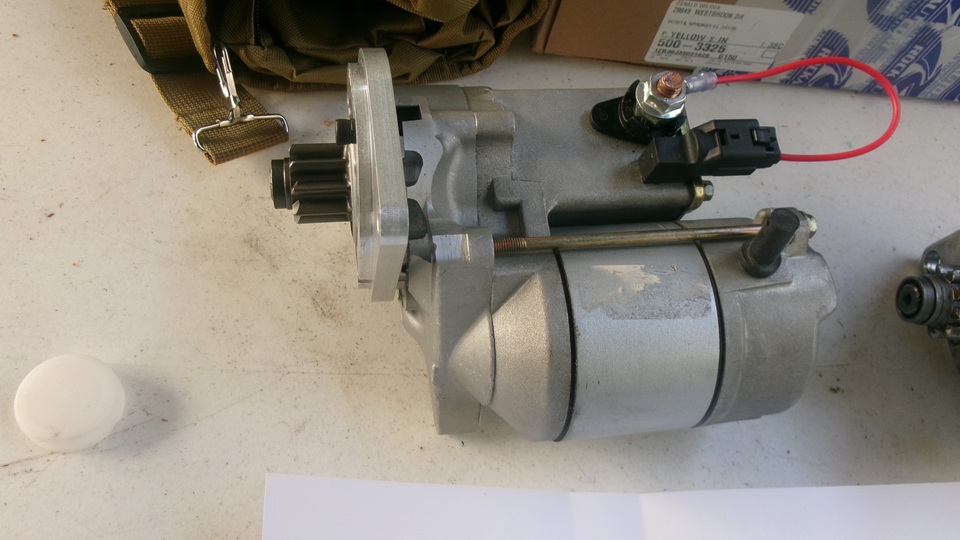
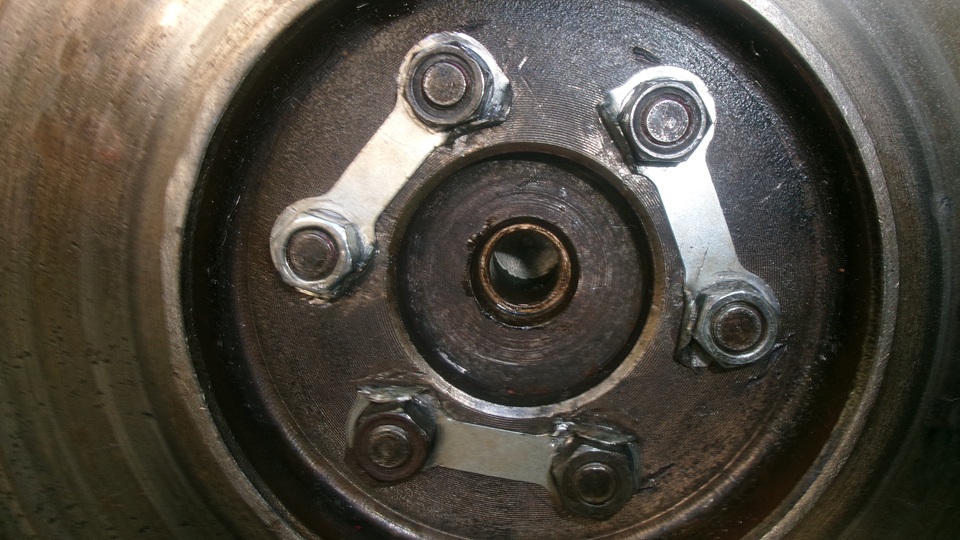
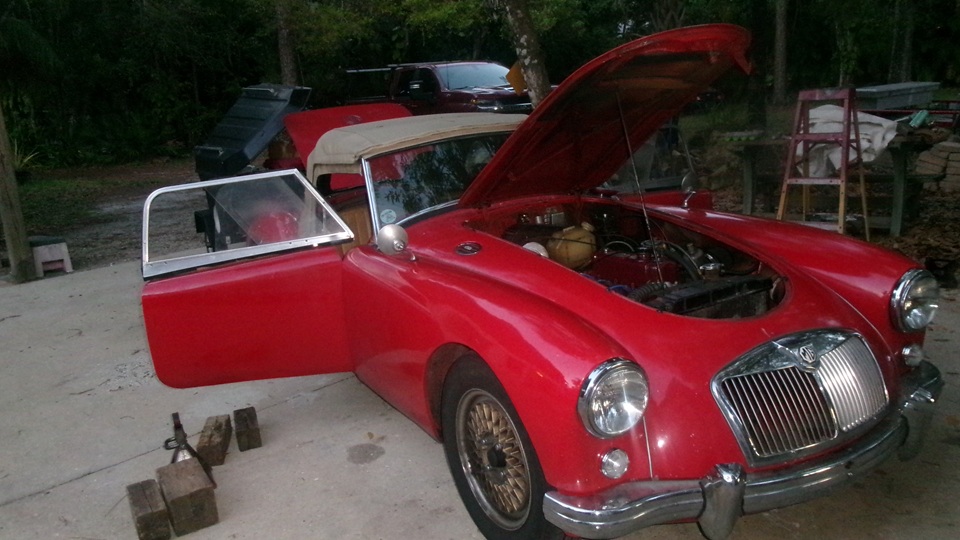
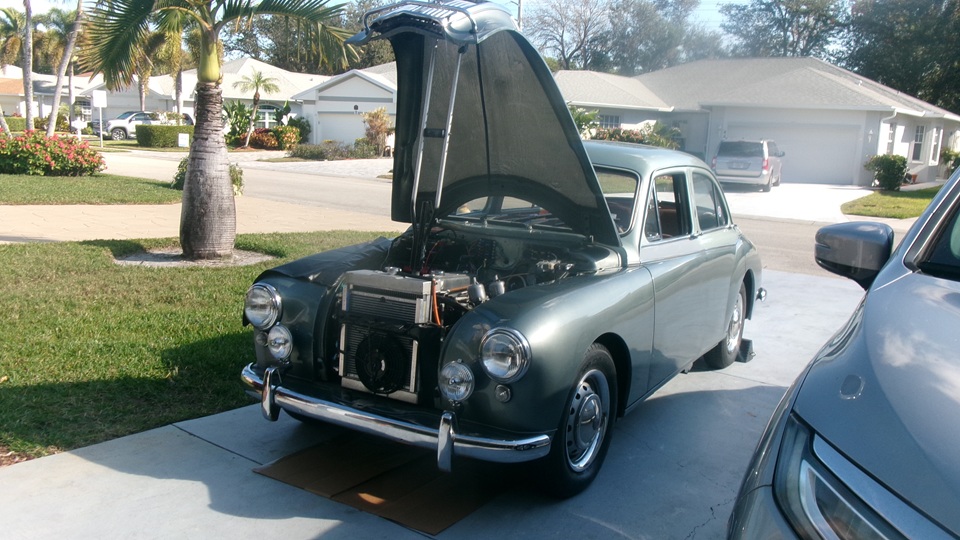
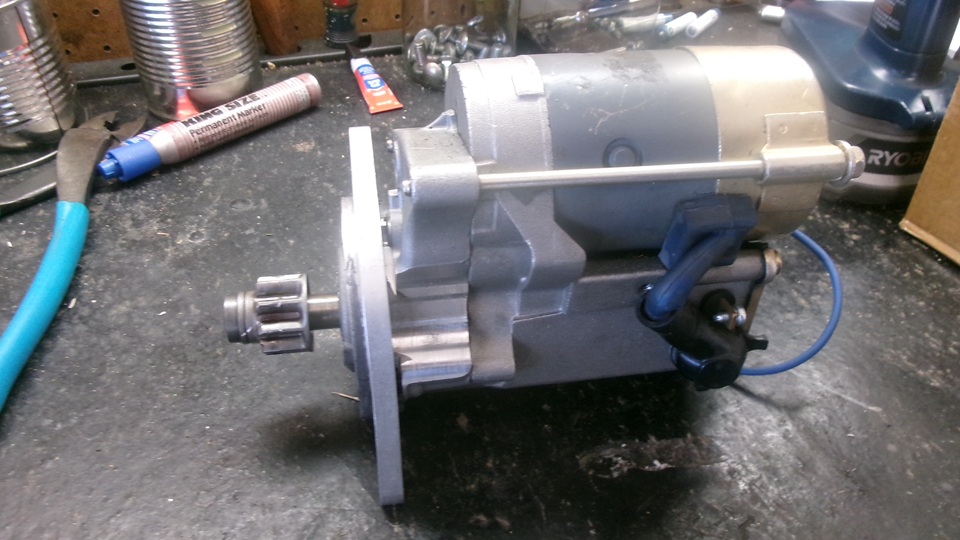
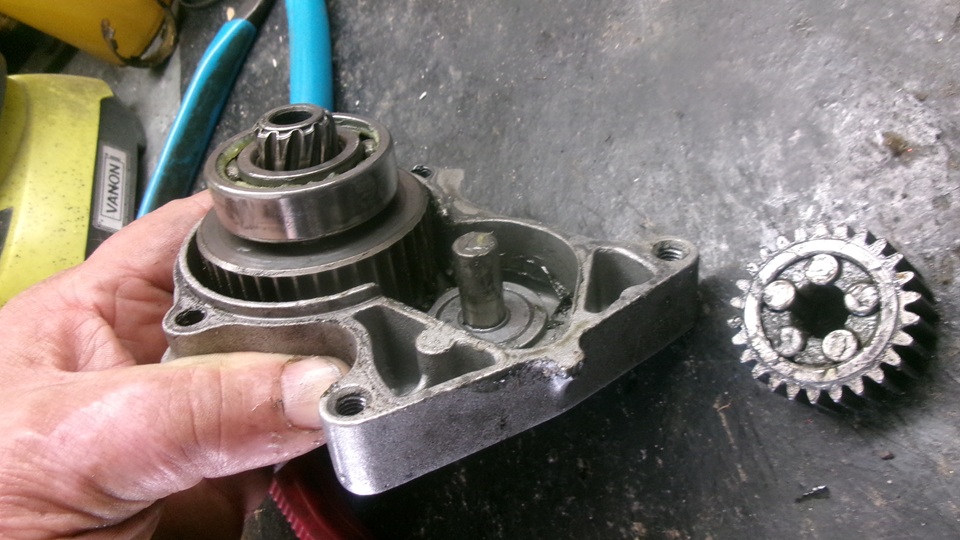
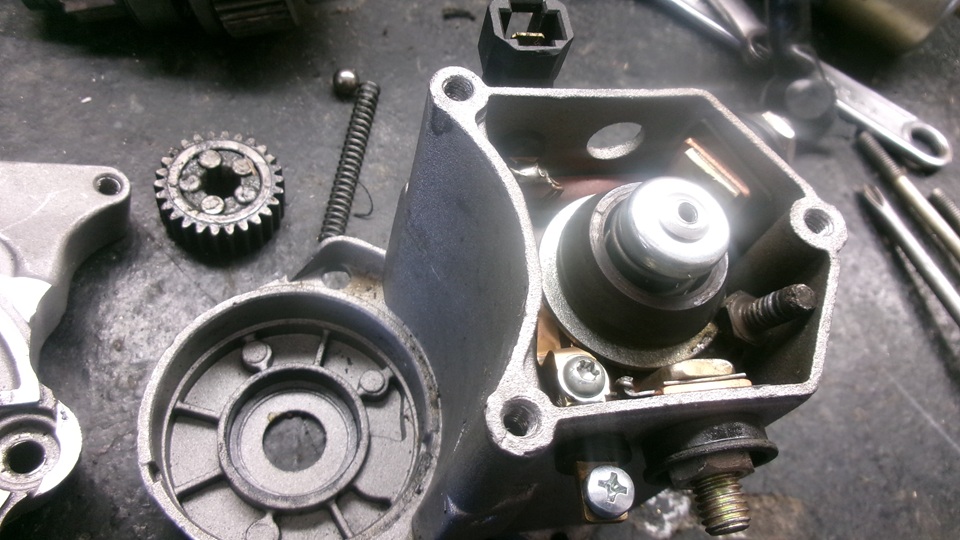
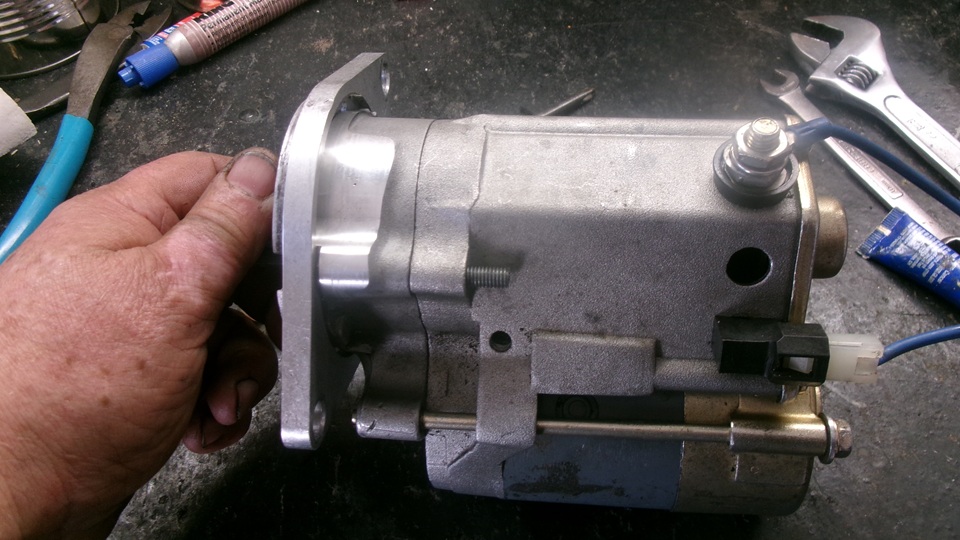
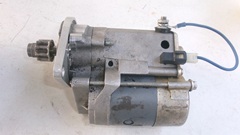
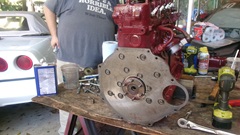
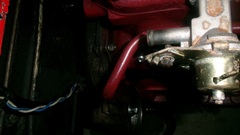
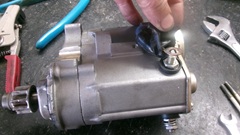
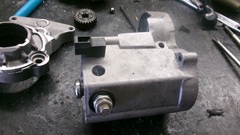
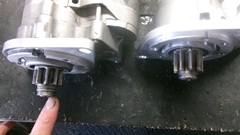
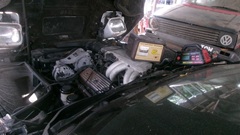
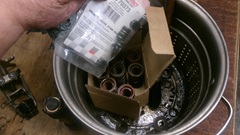
By 10-am we were headed to south Naples, Florida, to visit our friend John Shoemaker who had a problem with the starter motor in his modified MG ZA Magnette (with 1800 engine, 4-speed overdrive gearbox, and Air Conditioning). The gear reduction starter motor had been in use for a few years, working well, and then one day it wasn't. The starter was removed, and it was brought to Tech Central a week ago Friday. There are a few pictures in this travel log on the `16th, but we didn't have time to do anything with it. Then yesterday on Friday the 23rd we were busy with brakes on the MGA Coupe, and still no time for errant starter motor. So today we made the phone call and drove 10 miles to John's place to see what we could do. In the meantime, John had purchased and installed another starter, but there was a different problem there. That one sort of works in a pinch, but the gear mesh is very noisy when cranking. So now there were two starters with different problems. We will start with the first failed starter, since it is sitting on the work bench. -- The issue with this one is that the pinion gear that will engage the flywheel ring gear is extended and will not retract when the starter is at rest (pictures below). It will make some noise like it is spinning, but does not turn the engine. Nothing obviously wrong on the outside (other than the extended gear), so let's dig in.

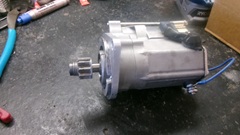

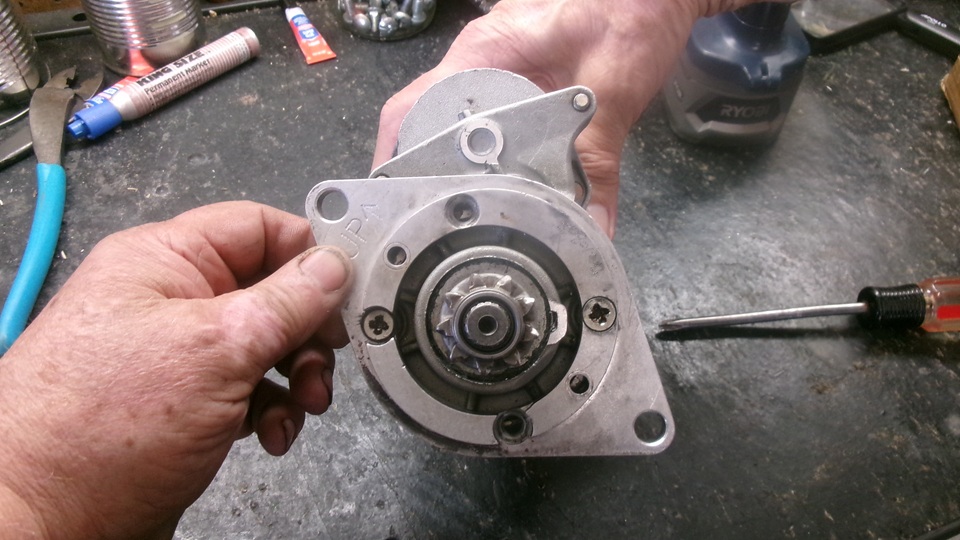
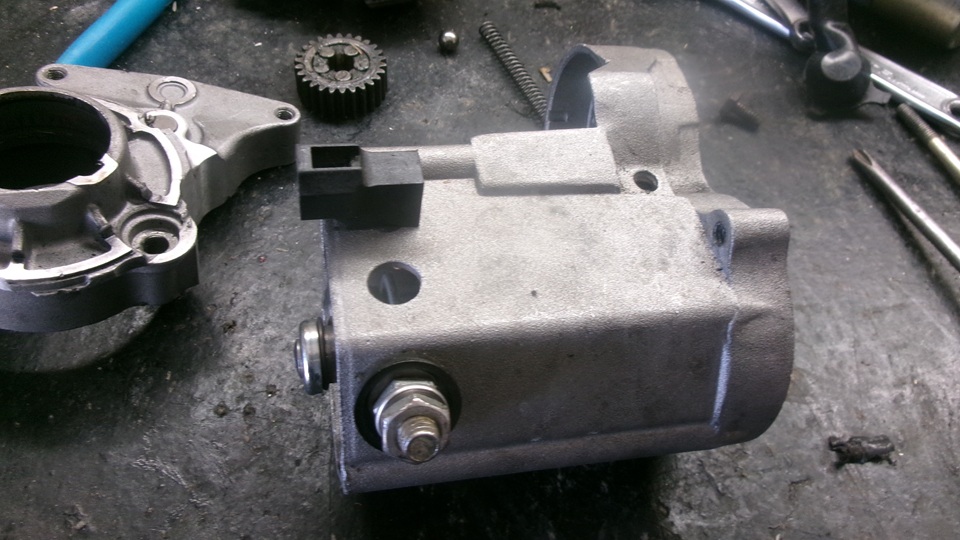
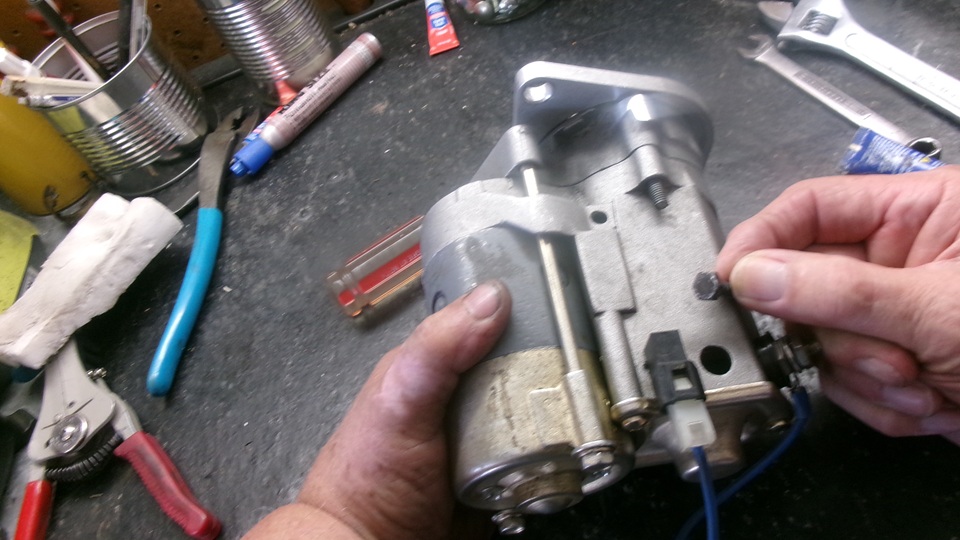
Two flat head screws holding the output end mounting plate to the gear housing, easy off. Two long screws on the other end holding the motor to the gear housing, and also holding the two-piece gear housing together. One thick wire from the solenoid to the motor, and the motor pulls away easily. With a little bump and wiggle, the two-piece gear housing pulls apart, being careful not to lose some little bits that will inevitably fall out.The small gear is the idler gear between the motor shaft pinion on the much larger output gear. It rides on five bearing rollers in a plastic cage. Looks okay, set that aside.


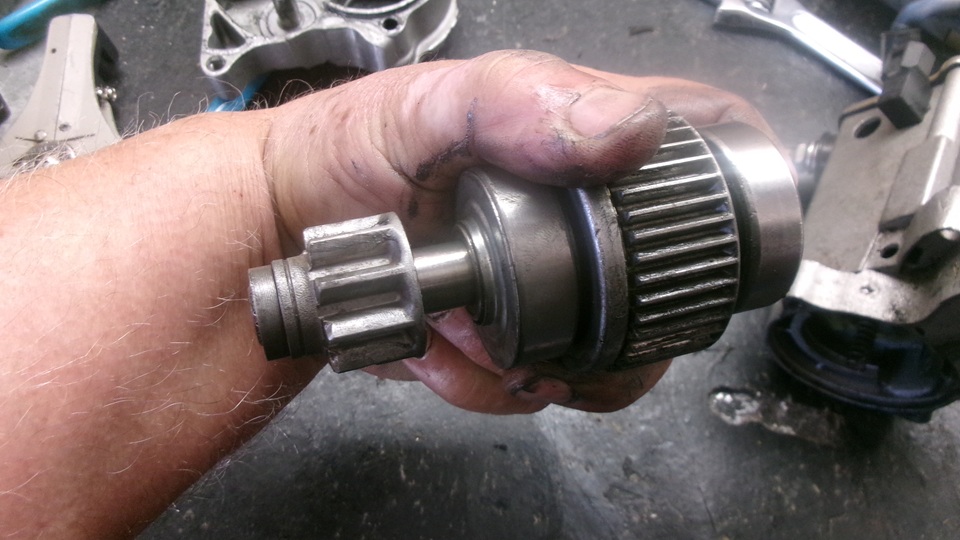
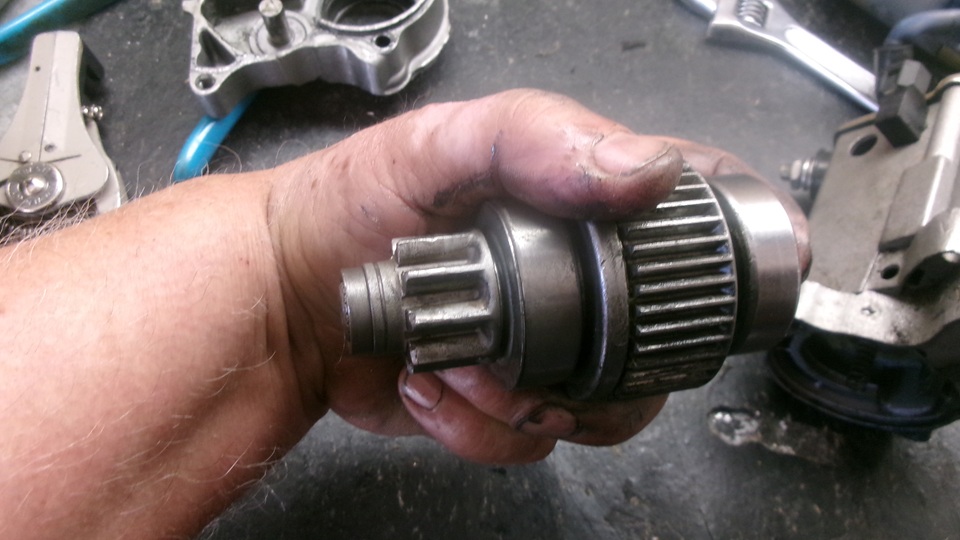
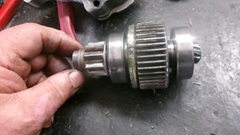
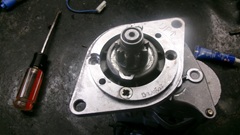
The output shaft assembly is extracted with a gentle pull and wiggle. This has the output pinion gear secure and one with the shaft, followed by a ball bearing and a one-way clutch next to the bull gear. The other side of the bull gear has a ball bearing support. inside the bearing end of the bull gear is a female helical spline, mated to the male helical spline on the shaft. This looks like a Bendix drive that might push the gear shaft out when the bull gear accelerates, but that is not its function. When the starter is energized, the solenoid pushes the output shaft out before the motor is energized. When the solenoid and output shaft are fully extended, then a copper contact washer in the back end of the solenoid makes electrical contact to spin the motor. Once the motor shaft pinion is driving the idler gear, and the idler gear is driving the bull gear, and the output pinion is driving the flywheel ring gear, then strong torque of the bull gear will be acting through the helical spline to hold the pinion gear firmly engaged with the ring gear. When the engine starts, or produces at least one power stroke, the ring gear accelerates the pinion gear beyond the speed of the starter motor. This is when the one-way clutch will turn freely to allow the output pinion to spin to high speed without over-revving the drive motor. When the starter motor is de-energized, the solenoid will withdraw (by spring force), breaking the battery electrical contact, and the motor armature slows down. The pinion shaft, by push from the ring gear and by inertia, will drive the helical spline rearward to pull the pinion away from the ring gear, at which time the starter motor can go back to rest.


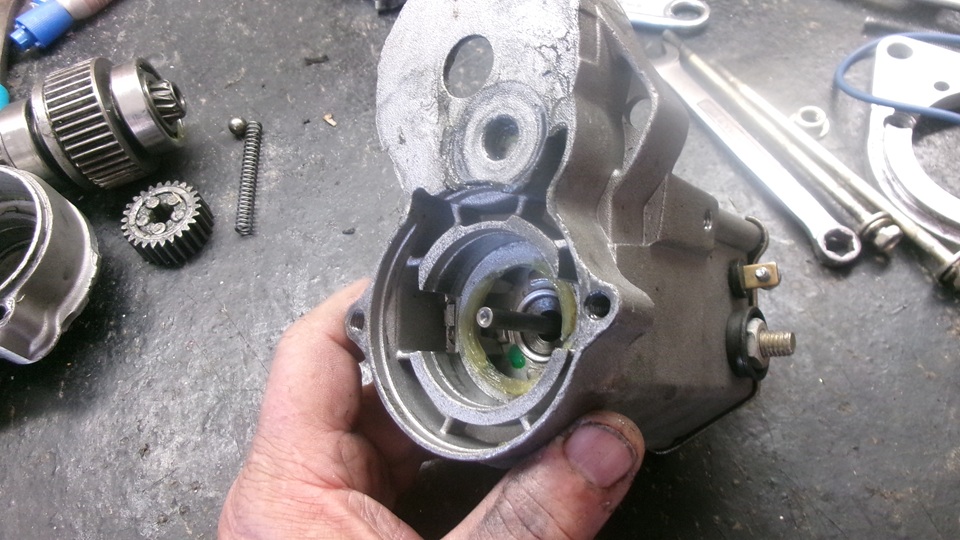
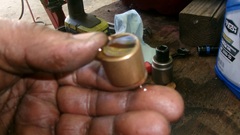
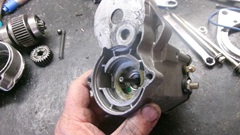
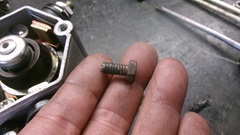
All of that looks good, but the solenoid is still locked in the extended position. So dig deeper. Three screws to remove the solenoid end plate that is covering the electrical power contact. Oh! There's the problem. The little rusty hex head screw is not supposed to be there. It was trapped between the cover plate and the copper contact washer, holding the solenoid mostly extended. But how did the rusty screw get in there? There is an open hole through the side of the solenoid case opposite the power input terminal. In some other application, this might hold some auxiliary output terminal, but nothing there in this application. For sure that hole should be plugged.

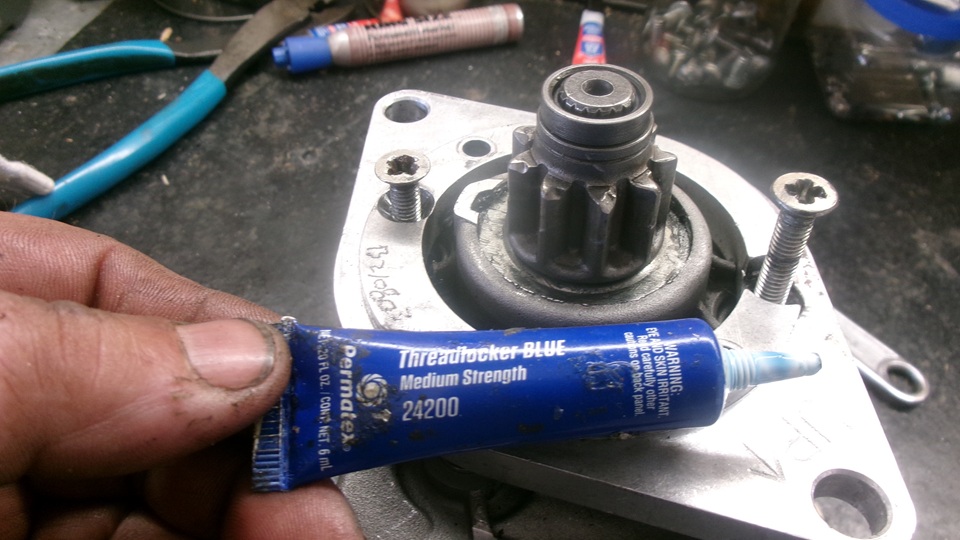
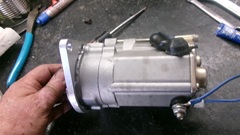
After removing the errant screw, it was fun to reassemble the jig saw puzzle. Put adhesive on the screw threads to lock the screws securely in place so nothing can rattle loose, especially the flat head screws holding the end mounting plate, which were a little loose before we took it apart.

Bottom side, top side, should we put the rusty screw back inside where we found it? I don't think so. We found a small bore rubber grommet to stuff into the hole to close it up. Making plans to pull the noisy starter out of the car for inspection, maybe mid day tomorrow. Would like to see the two starters together for comparison to discover why the one currently in the car is so noisy. Hopefully we can have the good one back in the car tomorrow while the weather is still decent. By Monday morning we expect 40dF and generally miserable for working.


Sunday, January 25, 2026:
Back to John's place by mid day. By this time he already had his Magnette jacked up on stands with the noisy starter motor
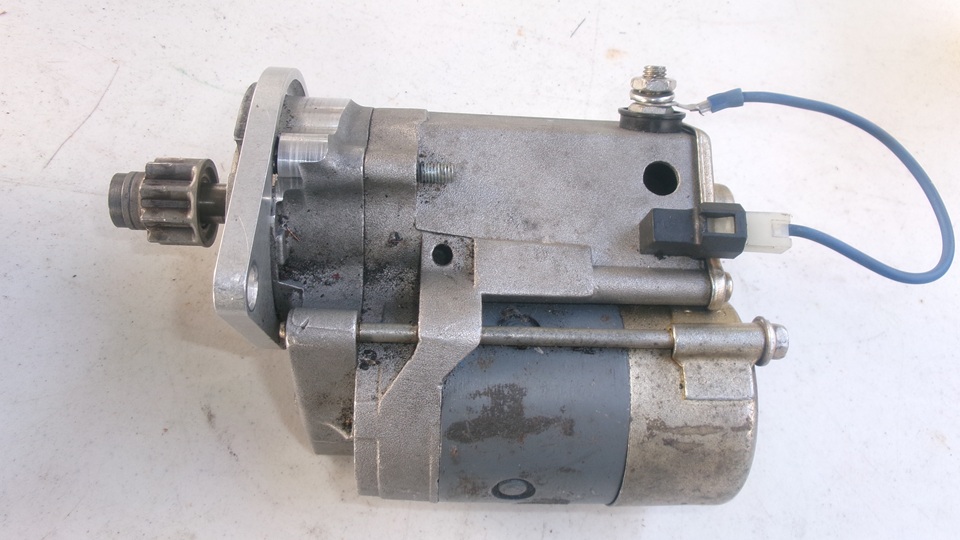
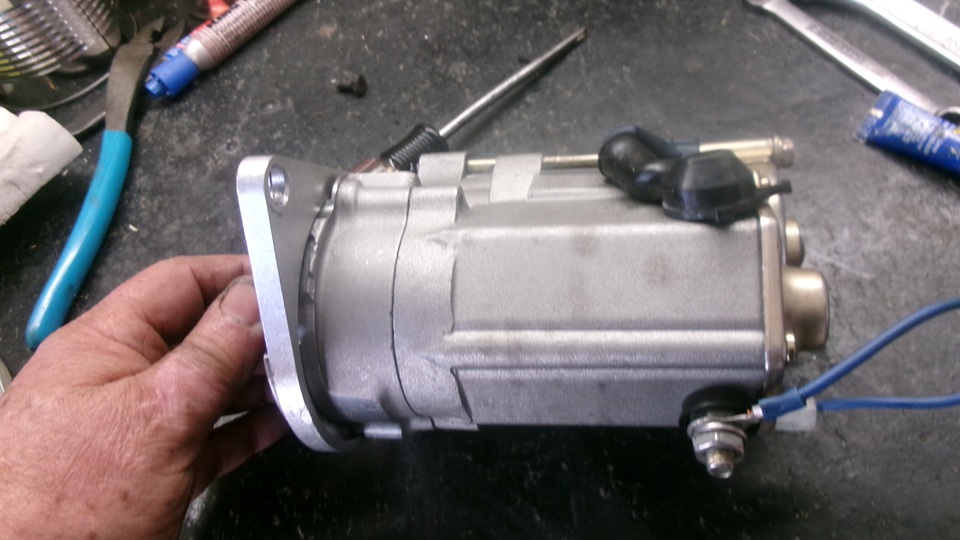
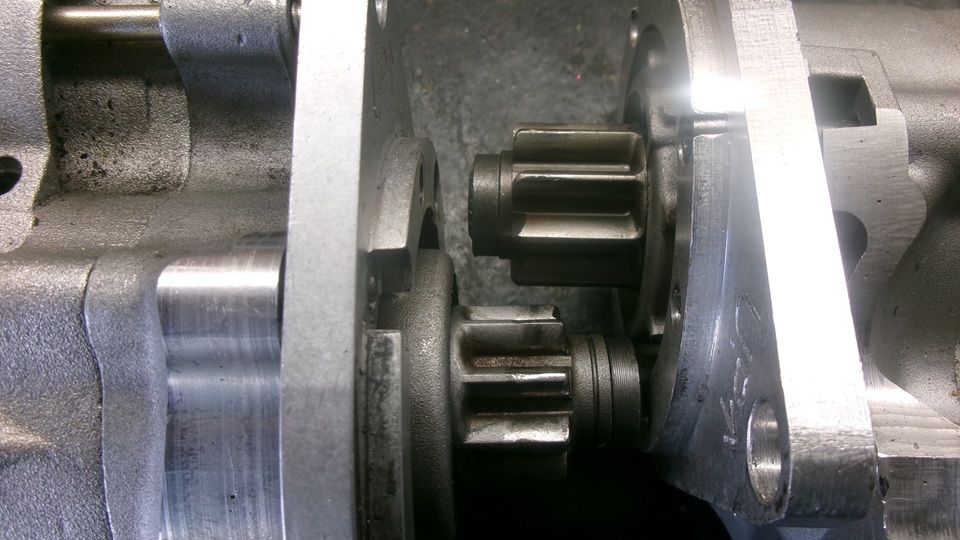
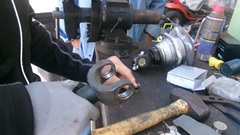
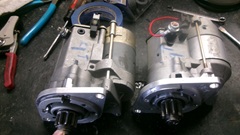
 removed. We began side by side comparisons to see if we could figure out why the newer one was so noisy. The one on left is the good one we just repaired. The one on right is the newer noisy one. Both of the starters will run properly when powered with jumper cables. Both have 9-tooth gears of same diameter. They seem to be same length to end of the pinion gear shaft, and both extend the same distance when energized. the one on right seems to have slightly longer teeth, but the difference must be all in the root area where he flange seems to be thinner. We still have no idea why the new one is so noisy. -- John will re-install the one we repaired. He thinks the new one cannot be returned, as the supplier claims no warranty on electrical parts after installation on the car. Bummer.

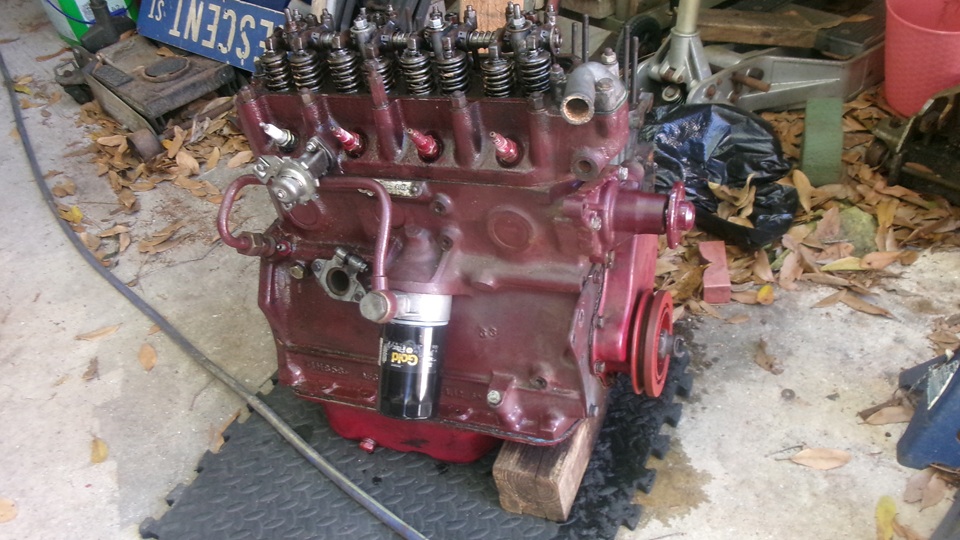
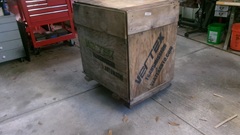 Still early afternoon, so we had time to run up to Tech Central and put the spare Magnette 1500 engine back in the box. We included the engine back plate, flywheel, clutch and engine mounts, as well as intake and exhaust manifolds, starter motor and generator. This time the engine is sitting on the 2x8 box cradle, nice and stable so it won't tip over if the box is pushed around too much. Very nice functional caster wheels on this box, so they can just shove it over if it gets in the way in the work space. No one knows the future for this spare 1500 engine. Maybe they could sell it just to get it out of the way.
Now the bad news. My compact digital camera just crapped out today. First it quit working, like the battery was dead. Then it would work sometimes, but not much. Then the image screen had a light grey translucent background, and the flash quit working. But it still takes a good pictures that can be downloaded to the computer, which is how I got today's pictures on the page above. I thought it got wet, but Navigator thinks the Lithium battery leaked electrolyte inside. This camera was new in May last year, so it only lasted 8 months. Not very good for $140 camera. Must be time to go shopping again.
Monday, January 26, 2026:
Shopping on Amazon to order up a new compact digital camera, which is scheduled to arrive Saturday. -- Called Advanced Distributors to check on the order for a fresh rebuilt distributor. Seems like I never sent in the data sheet, so fill that out again, then call back to request the email address to sent it in. Left a voice message, but no call back nearing end of day. -- Making multiple calls to Scarborough Faire to see what's happening with follow-up on the ill fitting new radiator, but all busy there, no call back yet. -- sat in on a John Twist Zoom tech session this evening, chatting about gearboxes from MG TD through MGA and MGB. Good subject, good attendance, something like 235 people in one Zoom chat room.
Tuesday, January 27, 2026:
Making phone calls for the distributor and radiator issues. Not much news yet. -- Updating Parts Numbers pages for MGA Twin Cam and "Deluxe" cars 4-wheel disc brake caliper mounting shims. Twin Cam service parts list Version 2 shows same part number for front and rear shims.Twin Cam service parts list Version 3 shows same part number for the rear shims.but a different part number for front shims. This difference carries over to the MGA 1600 service parts list related to the "Deluxe" cars (All Round Disc Brake models). So far no one knows what the difference in those part numbers means, just a strange puzzle. -- Since we got to measure a bunch of threaded studs while doing the most recent engine swap, I spent more time updating the dimensions on the list of all "Studs" used in the MGA cars.
Wednesday, January 28, 2026:
Finally got an email address for Advanced Distributors, so I could send them my Distributor Curve Work Sheet, and get the new distributor build in process. Tracking information says my new camera has been shipped, expecting arrival Saturday.
|
Thursday, January 29, 2026:
Was planning on oil change in gearbox and differential today,because it has been put off too long. Should have been done two months ago, but been busy with all the engine problems. Been cold Tuesday and Wednesday, supposed to be nice weather today and tomorrow, before it rains and gets cold again Saturday. With two days nice weather, the oil changes are short chores, so we now intend to do it tomorrow afternoon, after Tech Central tech day. -- Time spent updating spare parts inventory list after messing with two engines for two months. -- Time spent adding a couple of Part Numbers tech pages for 51K245 and 51K246 long and short head studs. The long and short oil pump studs are still driving me nuts, not finding any record of the lengths.
Friday, January 30, 2026:
Friday morning at Tech Central, seemed to be off to slow start with a little socializing in cool weather. The Corvette was on a battery charger for a while, but no-go at all, like it might have very dead battery.


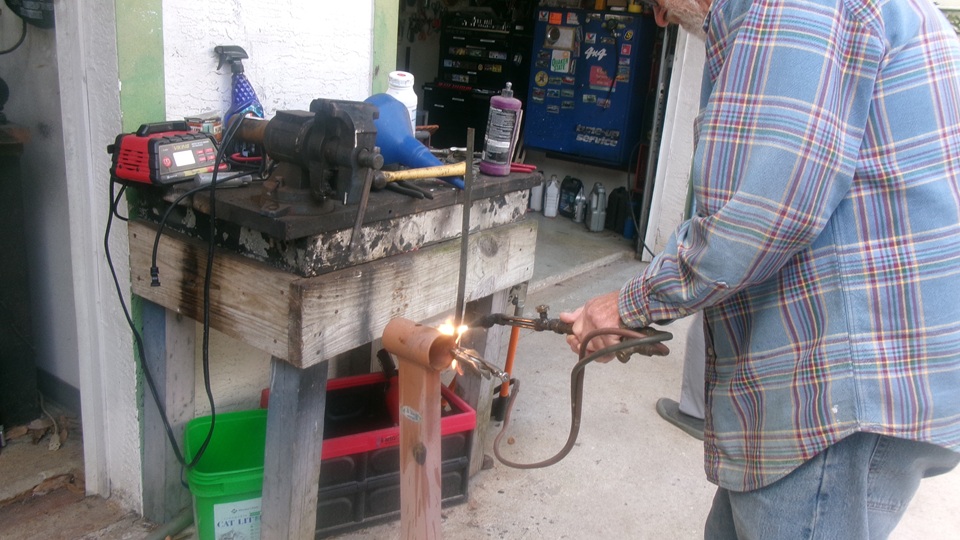
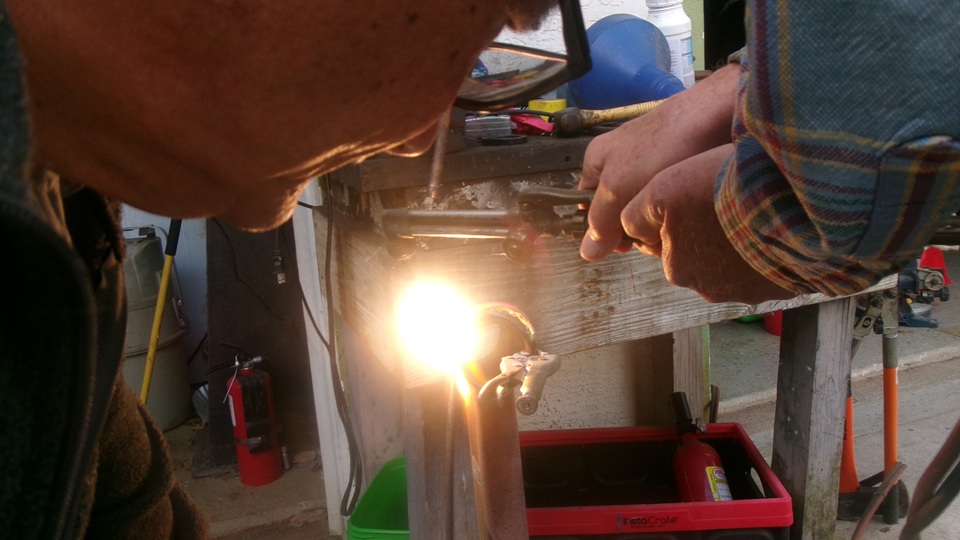
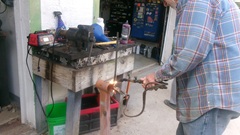
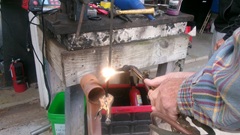
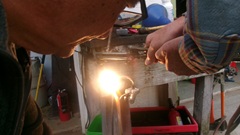
Heat, beat, and bend to suit. A steel strap1/8" x 1" was being bent around he tube pivot of an engine stand to make a neat large radius J-hook. Something for Tina the race car suppose.
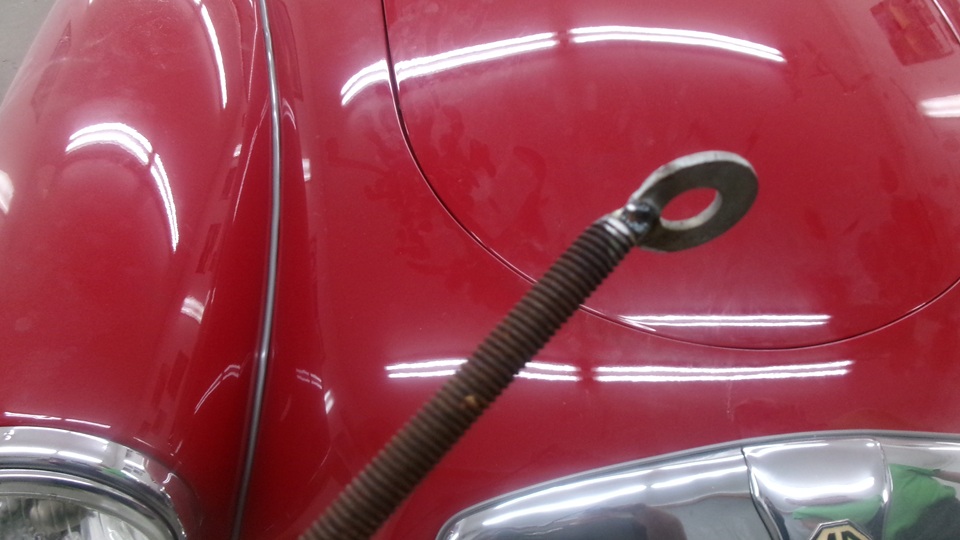
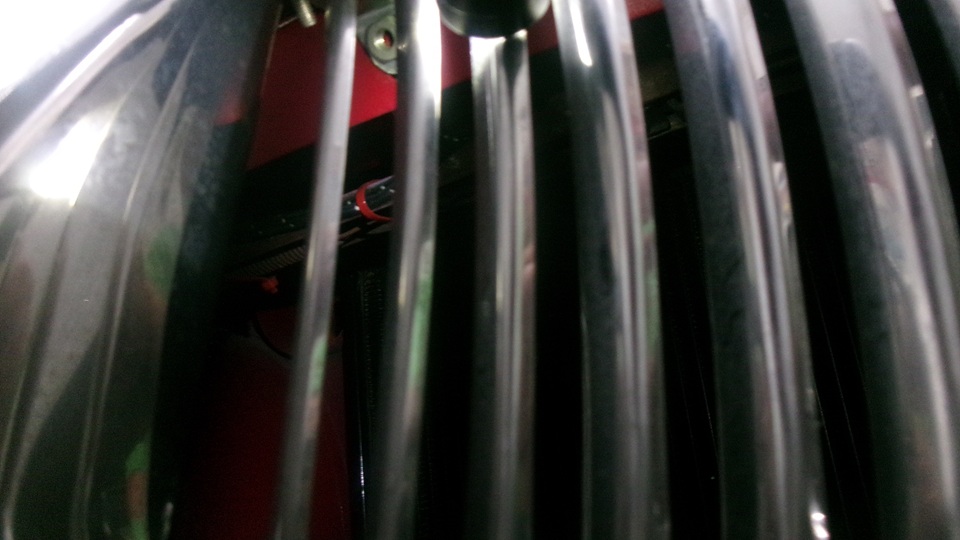
A few blocks away the MGA 1600-MK-II Coupe was in a paint shop for a touch of body work on the left rear wing (minor dent repair). The last time the bonnet was closed it was pushed down too far, the latch pin over-traveled and got stuck under the fixed latch parts, and now cannot be opened. I put together the traditional 3/8-inch steel rod with a washer welded on the end to reach through the grille to wiggle the bottom end of the latch pin to attempt to unhook it. After an hour of frustration we were failing and had to give up for the day. Problem was, the back end of the car was jacked up with the nose end a bit lower than normal. I was lying on my side, almost on my back, with one elbow on the floor, fighting to have two hands on the poking rod while holding a small flashlight and trying desperately to peer through the grill slats to find the target pin inside. Kind of need at least three hands for that maneuver. The latch pin seemed to be quite tight, so it was not moving with the moderate push and shove from the tool. Seems like this effort needs to be postponed until the car gets out of the paint shop and back home where we can get it on a lift for better working elevation.


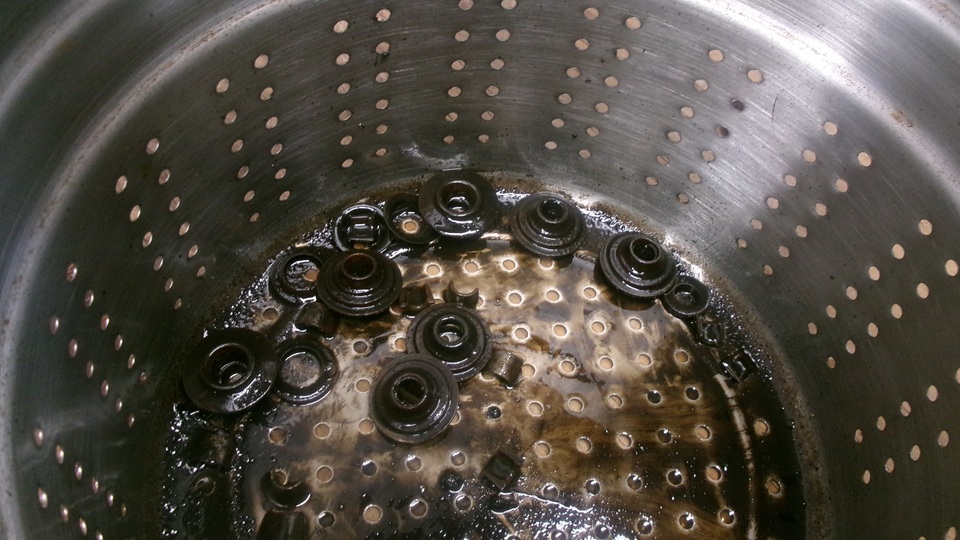
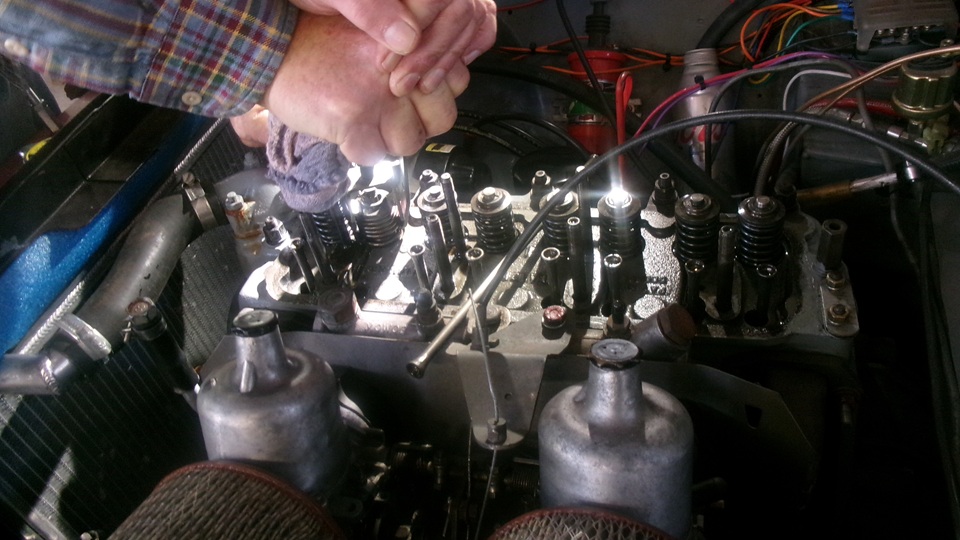
For Tina the MGB trace car, they wanted to change from single to double valve springs and install umbrella seals. They asked if this could be done without removing the cylinder head. Well, you might do one or two that way with great struggle, but to do all eight valves it would be much easier just to change the head gasket, and do the valve springs while the head is on the bench.In spite of the good advice, they decided to try it in situ anyway. Welcome to the School Of Hard Knocks. This needs different spring retainer caps, and maybe different split cotter keepers, and I think they didn't have all the right parts. So they stopped in mid job, and may not get back to it until next week.


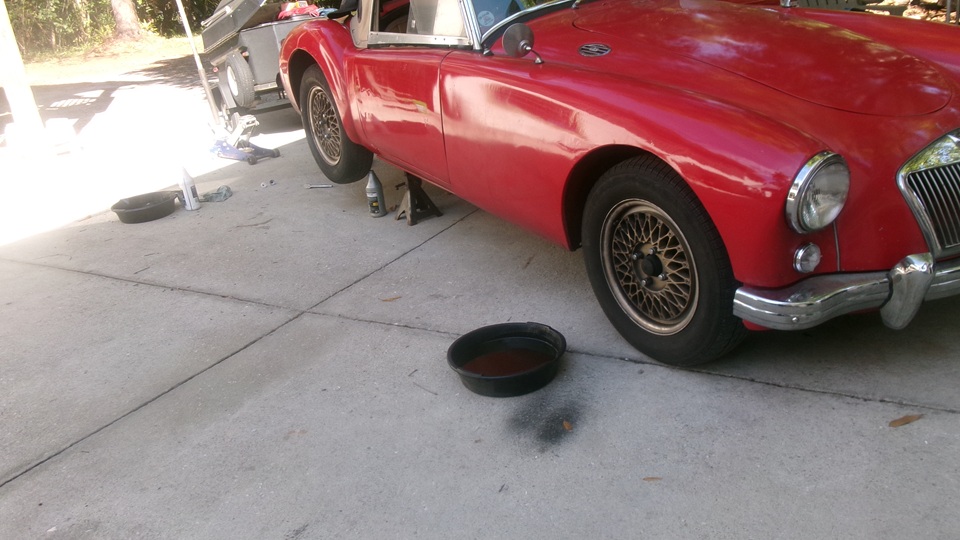
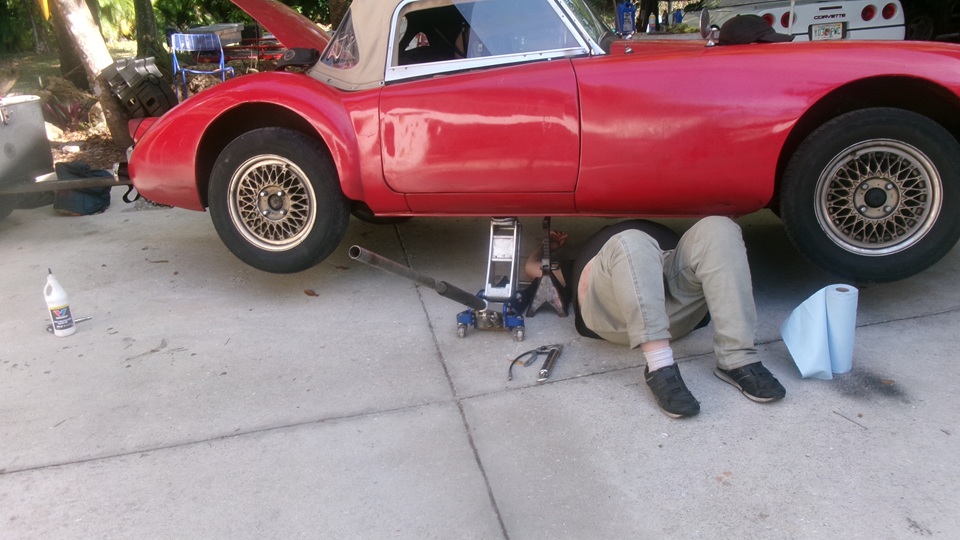
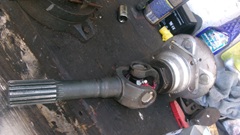
For our MGA. ,it was time to change gearbox and differential oil. Better late than never. Jack up the right side this time to drain both trans and diff at the same time, and replace the drain plugs. The gearbox oil came out clean yellow color, while the differential oil was moderately dark after more than 12,000 miles. For sure the hypoid gears have much higher point pressure on the EP oil, and the differential may run hotter than the gearbox on long haul expressway drives. Then jack the rear to set the frame on stands, and drop the rear axle for better access to the diff fill plug in back. Not long with a hand pump to install three pints of gear oil, replace the fill plug, and set the car down. Then we jacked up the right side again to get under for greasing the propshaft U-joints. Maybe next time we could grease the U-joints and hand brake cable on the same lift as draining the gear oil. Last move was to grease the front suspension, which can be done without jacking it up (if you are a bit of glutton for punishment). Clean up, pack up, and get on down the road.


The The 1800 engine has seemed to be slow starting in the mornings, requiring 3-4 seconds of cranking before first firing. Rather odd, and no idea why, as the Magnette engine pops right off wihin a second of the first pull. We removed the PCV valve for a test, but it didn't seem to make any difference. Not urgent, so we will leave it off until other problems are resolved. The only other difference I know aside from engine displacement is the difference of carburetor needles.
Saturday, January 31, 2026:
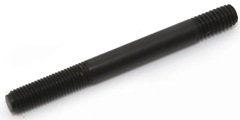
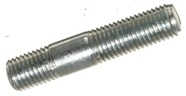
 Posting photos and notes from yesterday's tech day (above). Then created and uploaded a new Part Numbers tech page for the
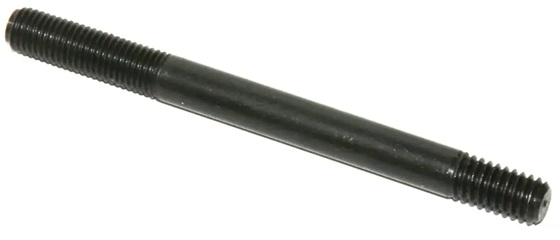
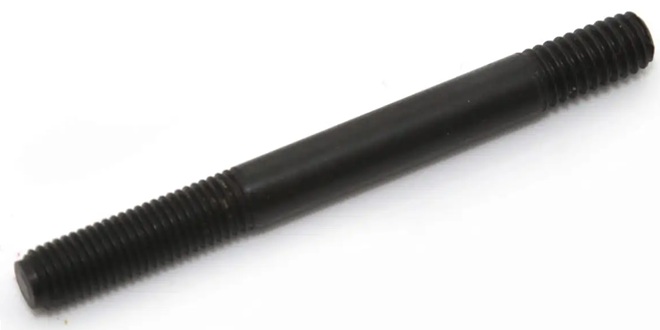
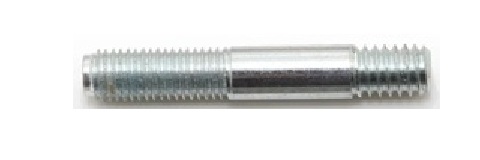
51K531 threaded studs securing the thermostat cover (water outlet elbow) on the Austin B-series pushrod engines. This one is special, as it has UNF thread on the top end and BSW thread on the bottom end.
Posting photos and notes from yesterday's tech day (above). Then created and uploaded a new Part Numbers tech page for the
51K531 threaded studs securing the thermostat cover (water outlet elbow) on the Austin B-series pushrod engines. This one is special, as it has UNF thread on the top end and BSW thread on the bottom end.
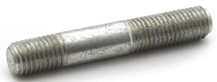
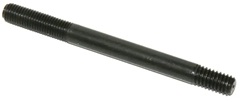
 -- Also posting new Part Numbers tech pages for short and long studs for intake and exhaust manifolds to cylinder head attachment. These are special, because they are fine thread on both ends.
53K486 - Stud -short -- 53K490 - Stud -long
|