The MGA With An Attitude
MGA Guru Is GOING MOBILE - (July 16 - July 31, 2025)
Wednesday, July 16, 2025:
Got the phone call. Brother says the package has arrived, so the new convertible top is now in northern Indiana, waiting for us whenever we might get there. -- Tried calling Scarborough Faire to place an order for small parts.. Too busy to answer the phone, so I left a call-back number. Must be nice to have lots of customers.
 In the evening we had a dinner meeting with British Boots and Bonnets club at Thunder Bay Grille in Rockford,Illinois. In the evening we had a dinner meeting with British Boots and Bonnets club at Thunder Bay Grille in Rockford,Illinois.

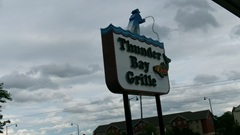
I didn't see any other LBC in the parking lot, but there were some people already in the dining room as we arrived. We have been here before, last pass in September 2019. Ultimately two dozen people present, an hour for dinner and social, another hour for the business meeting. I was called to be the guest speaker long enough to catch up the ongoing story of out travels. All good things must end, so we were heading north again, landing late night in Fond Du Lac,Wisconsin.
Thursday, July 17, 2025:

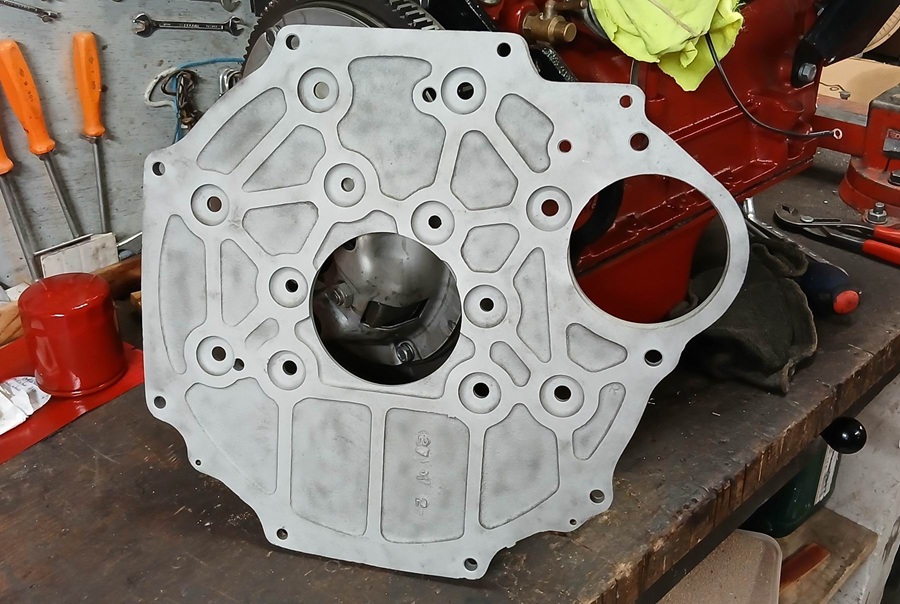
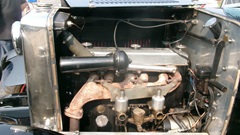
A little time to spare allows posting of some pictures of a cast iron rear plate for engine to gearbox mating. We are still not sure of the production car model for original use of these parts, as I believe all MGA had flat sided flame cut and machined plates.
Friday, July 18, 2025:
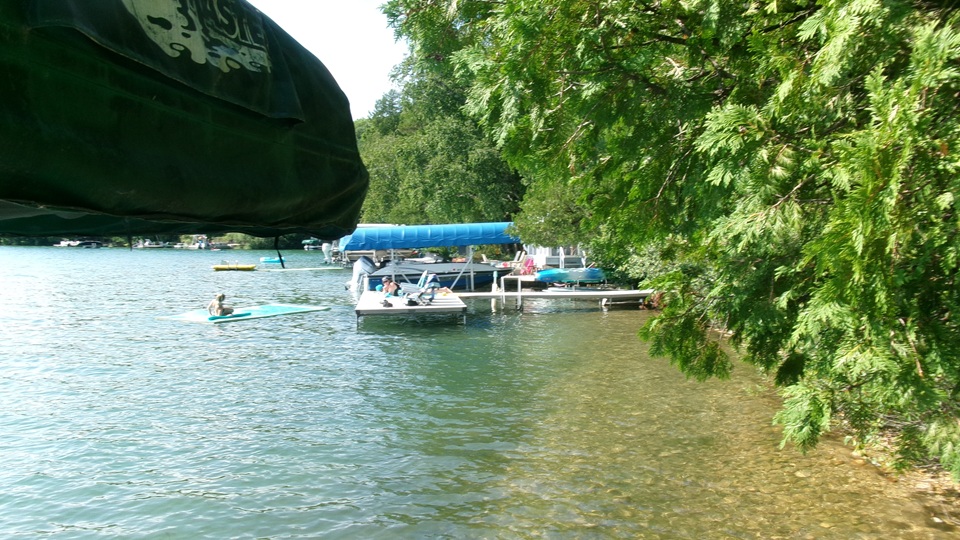
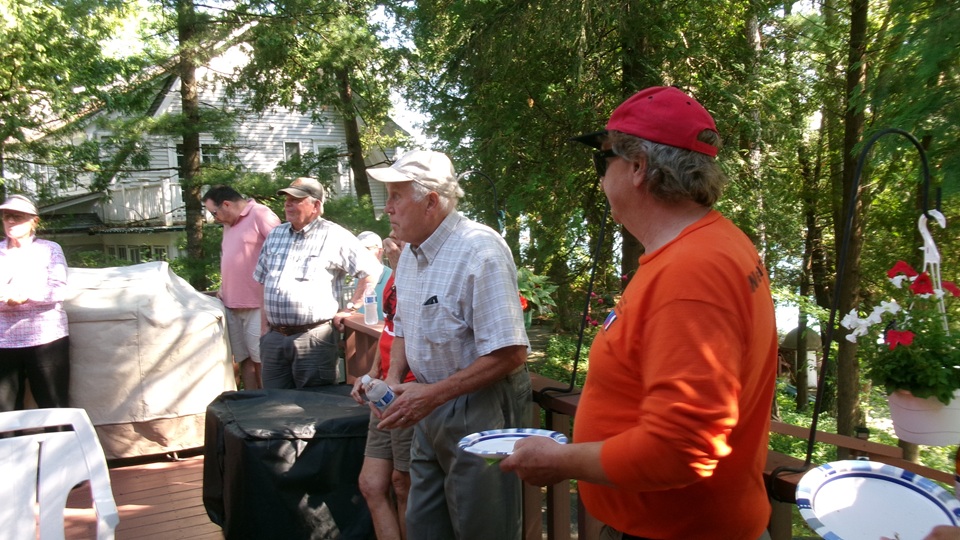
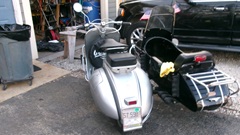
Driving a little north today to Elkhart Lake, Wisconsin. We are meeting with folks from Fox Cities British Car Club,plus more friends of friends, for a Barbecue at the lakefront cottage of Dave Beck and Barbara Brown. Arriving at 3;30-pm, only a few people there before us, but more to pile in later. Good to meet and make new friends all around.

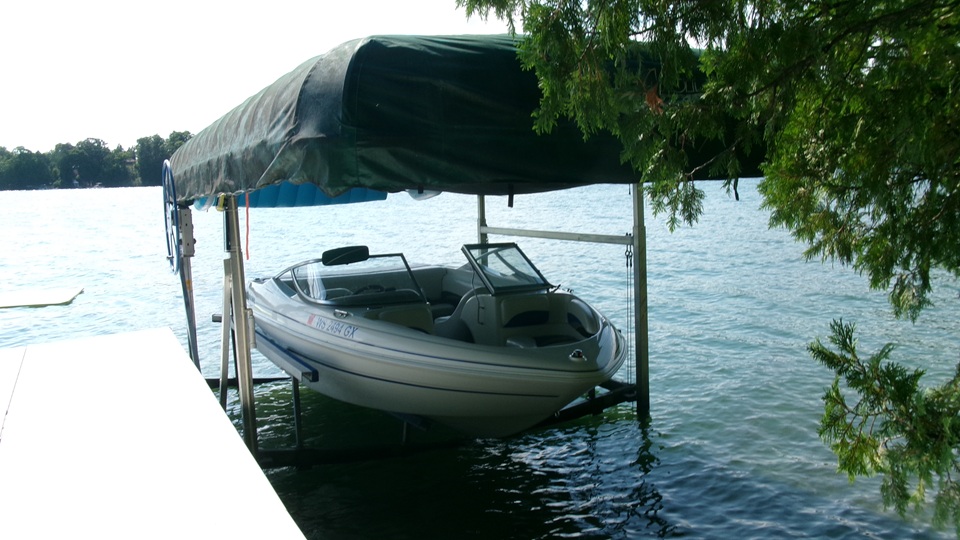
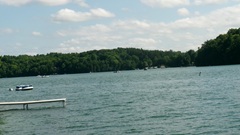
Take a little walk down the hill to the boat dock and get a pictures of activities on the lake.


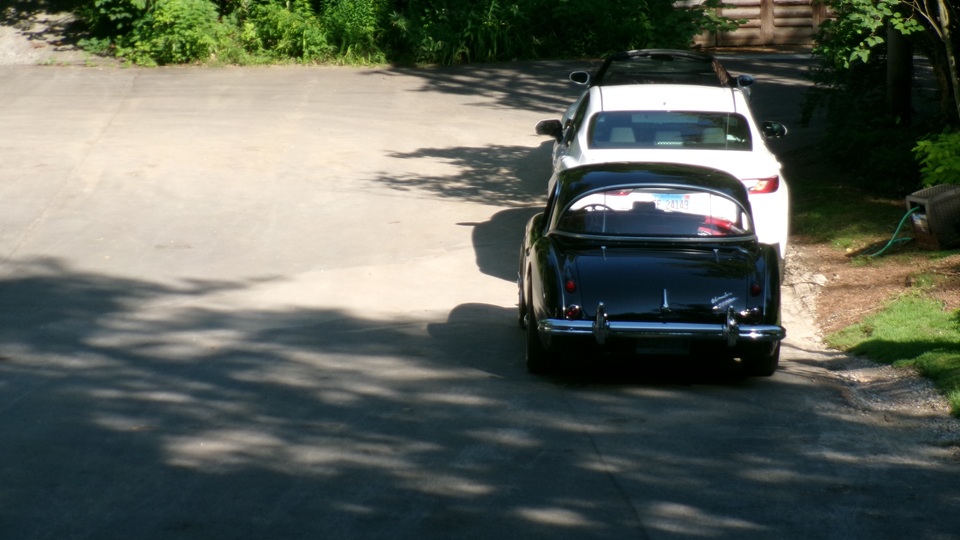
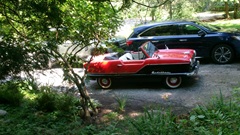
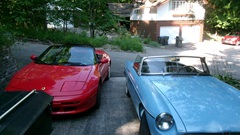
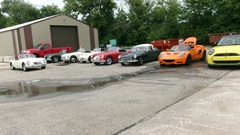
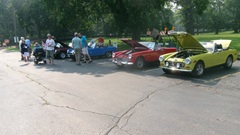
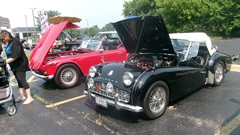
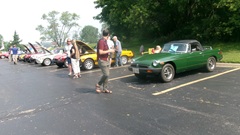
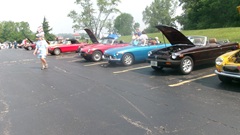
This was vintage car racing weekend at Road America race track. Special event this evening was the street car concours car show in downtown Elkhart Lake, from 6 to 8 pm. Everything about this weekend is publicly popular in the small town, so naturally there will be a parking problem. Best to let our cars sit where they are, and walk a mile or so to the car show location downtown on the lake front. Jolly good fun for most for sure, but we were on a tight schedule. Also been there done that multiple times in prior years, so we would skip the car show this time. The red Lotus was parked in behind us but that was moved out ofthe way before everyone headed off to the car show.

We would be heading west, and not wanting to be driving into the evening sunset, we waited until 7:30-pm to head out. -- Our pressing appointment was in West Des Moines, Iowa at1-pm tomorrow, 400 miles away, so no time to dawdle. A few hours later we had a brief late night fuel stop in Blue Mounds, Wisconsin. At 11-pm we were exiting the southwest corner of Wisconsin, crossing the Mississippi River into Dubuque, Iowa, just missing the northwest corner of Illinois. Making good time, we pressed on, and shortly after midnight we ambled into a rest stop at Cedar Rapids,Iowa. Zzzzzz.
Saturday, July 19, 2025:
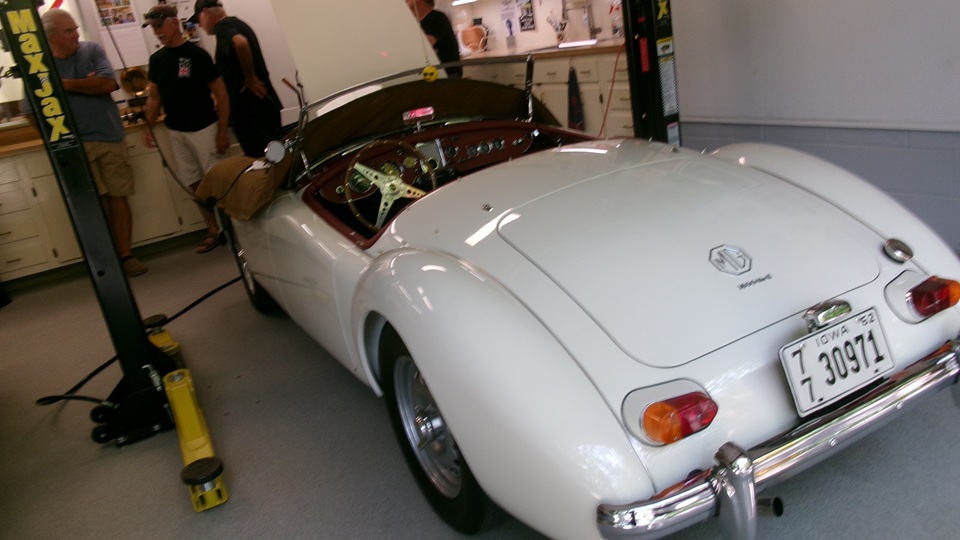
Raining this morning, but we got rolling west again to stop in Newton, Iowa for more fuel and late breakfast. Time to haul out again by noon to make our 1-pm appointment in West Des Moines, Iowa. That looks like 400 miles in 6 hours driving time, 17 hours from Elkhart Lake. Meeting at the home of Lon Smallridge. -- Last time we were here at Lon's place was early June 2019 when we stopped in for a casual visit, but our car fouled a spark plug and sputtered into his garage running on three cylinders. After a compression test and removing the cylinder head for investigation, this turned out to be a slightly burned piston due to a broken compression ring. It then turned into an emergency repair when we did a Friday over-night shipment of a new set of pistons, having them installed and back on the road by Saturday evening.

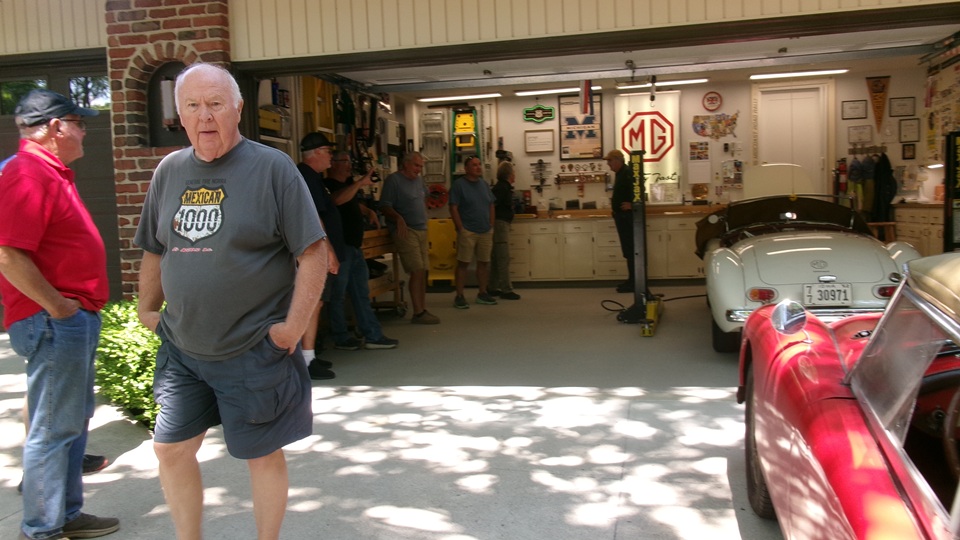
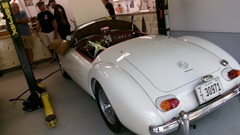
This time our car is running fine, needing nothing, but we are here for a well planned tech session with some friends from Iowa British Car Club. -- For some elusive reason we had never connected with this car club, which is why we were going somewhat out of our way to be here now.
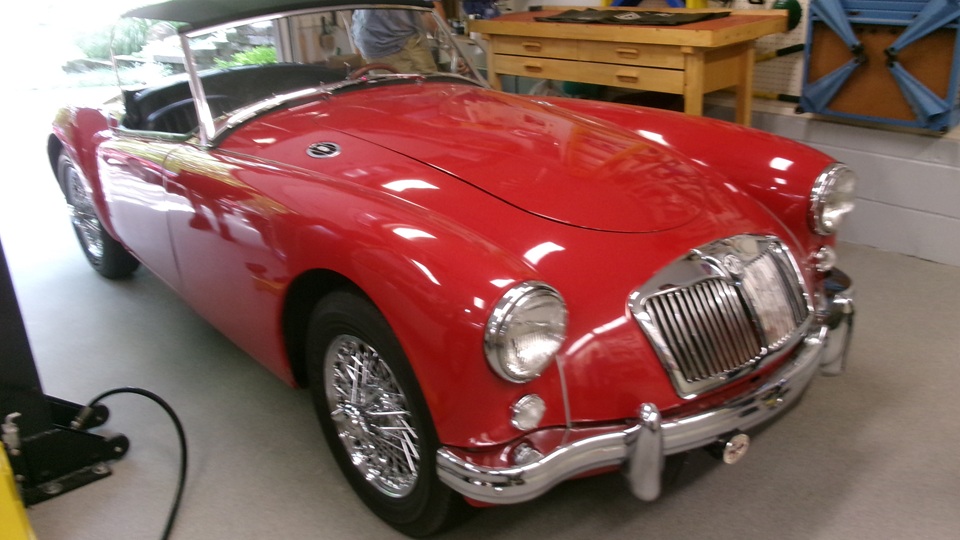
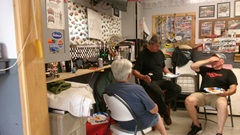
Word was out well in advance, and there were about a dozen guys waiting for our arrival. After half an hour of friendly chat we got to work tinkering with some cars. Kind of surprised there was nothing significantly broken, but there were a number of carburetors somewhat out of tune, mostly running rich and out of balance. Three MGA sputtering a little on the way in, then purring nicely on the way out.
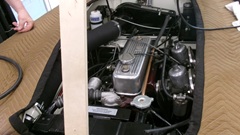

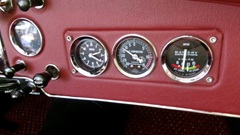

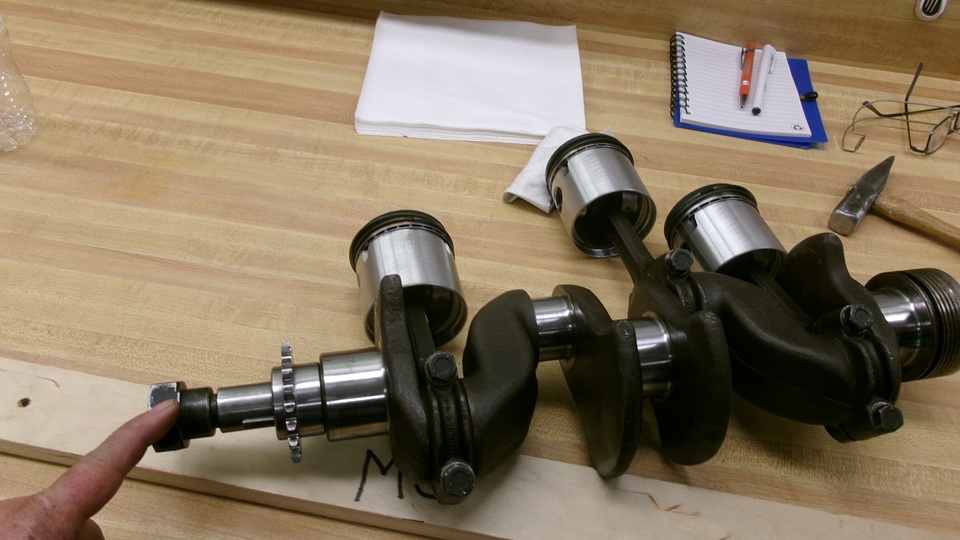
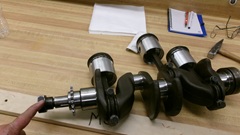 There was a crankshaft from a Triumph Spitfire 1100 engine with some bearing problems. This engine was supposedly overhauled by a "specialist", but some of the bearing journals were ground out of spec, not exactly cylindrical. One of the con-rod bearings was running on a narrow band on the the shoulders , not touching in the middle. Micrometer measurement verifies the journal was hour glass shape, smaller diameter in the middle. Apparently it was finished with a worn grinding wheel that was not straight across the face, We can only wonder how a shop like that can still be in business. This crankshaft will be looking for a different shop to be re-ground again, and a new set of bearings required.
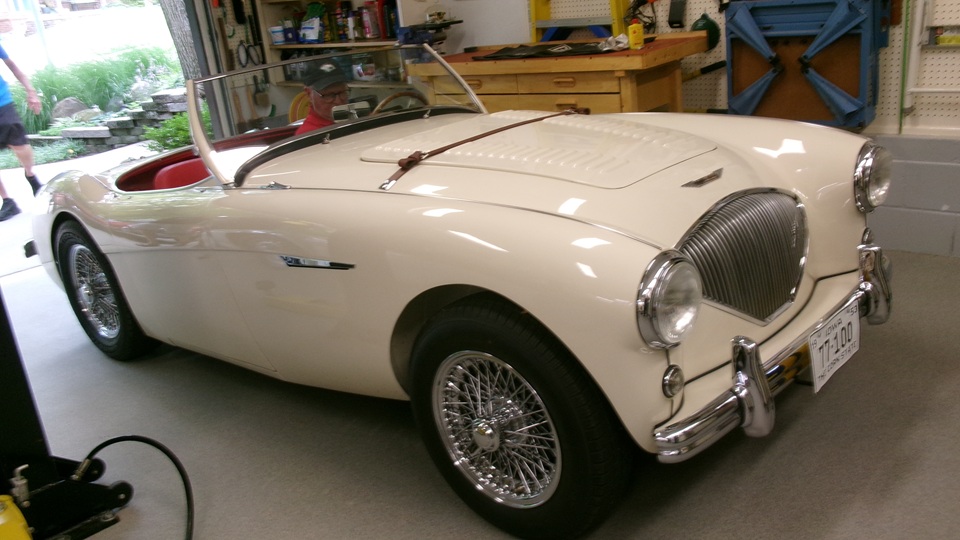
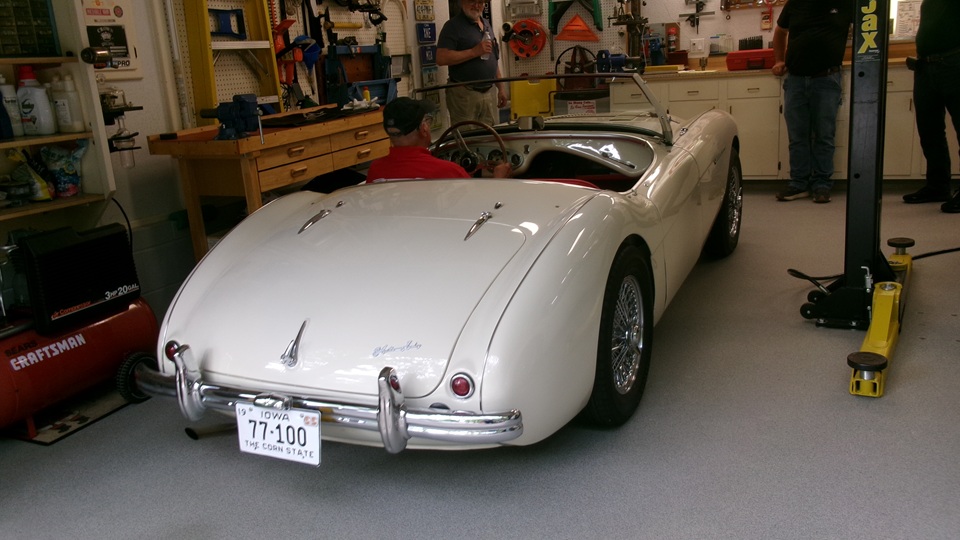
One Austin Healey 100 running significantly over rich on both carburetors. This one was in M-Type configuration with a cold air
 intake box, among other things. Impossible for access to the mixture adjustment nuts without removing the cold air box. I suppose the owner was on his own tight schedule, electing not to do this much work at this time, so we didn't. But by this time I think he knows how to do the mixture adjustment.
Last up was one of the MGA with a non-working horn. That is a fairly simple electric circuit, so grab a test light to see where it has power, or not. No power at the horn fuse, yes power at the control box terminal for the same brown wire. Wires almost never have a disconnect in the middle, so must be a problem at one end of the wire. Sure enough, we found a problem connection at the control box with two brown wires under one set screw. The owner fessed up to admit that he had recently been fiddling with those wire terminals. Not long to re-seat the wires and make the terminal screw tight, and the horn was working again.

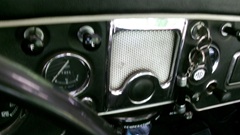
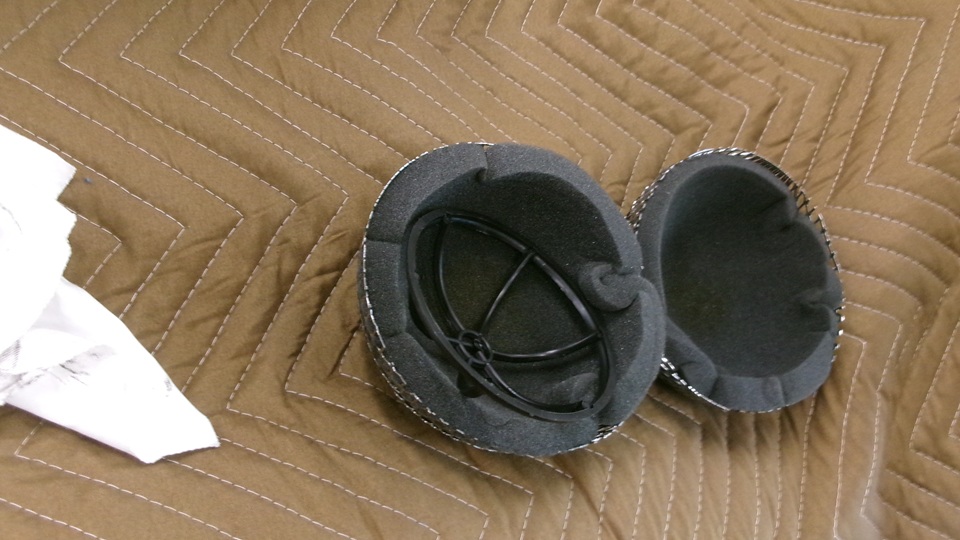
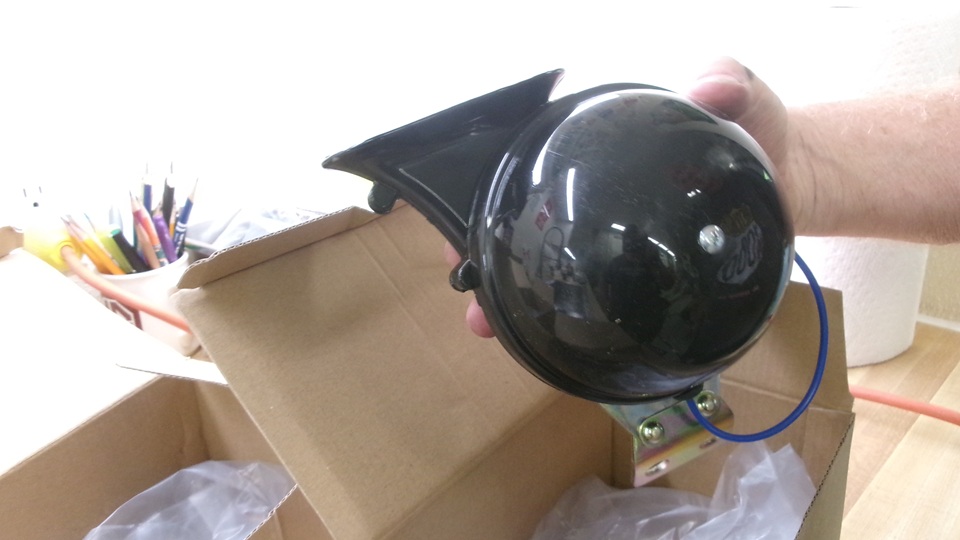
When most of the guys had left, Lon brought out a new set of Windtone style horns that he was intending to install in his MGA. It seemed a bit odd that these horns only had a single wire for connection. Original Windtone horns had two wires., one for power input and the second for grounding through the dash mounted push button. With only one wire, these horns must have a body ground return circuit, grounding on the car chassis, so you have to switch power into the horn to make it work. We tested this on the car battery, grounding the horn mounting bracket and putting power to the single input wire. Yup,sure enough, you cannot directly connect a singe wire horn in the MGA with the original wiring harness. This would require using a relay to switch power into the horn's single wire while using the dash button grounding circuit to trigger the relay. Naturally Lon was somewhat PO'd at the non-standard aftermarket horns, contemplating sending them back for refund and procuring more original type two-wire horns for original style installation. Live and learn, but this was a decent end for a nice tech day.

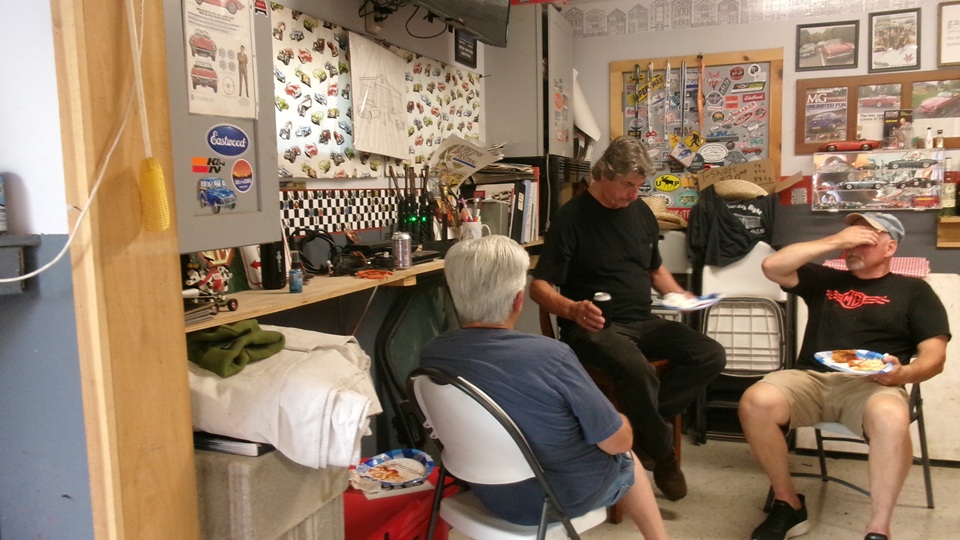
With no need to rush off anywhere, it was a good opportunity to sit down for pizza and drinks and chat for a while before we were off to find a good WiFi spot.
Sunday, July 20, 2025:
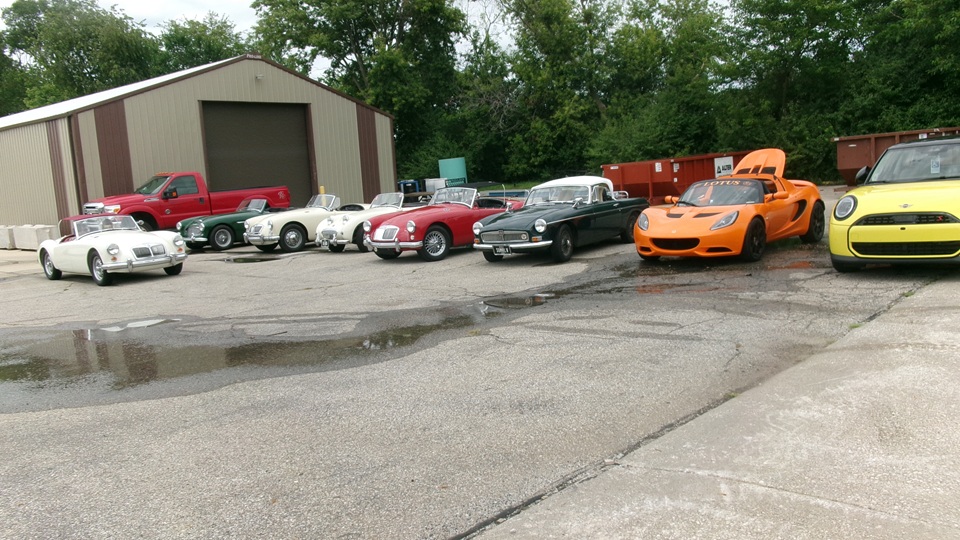
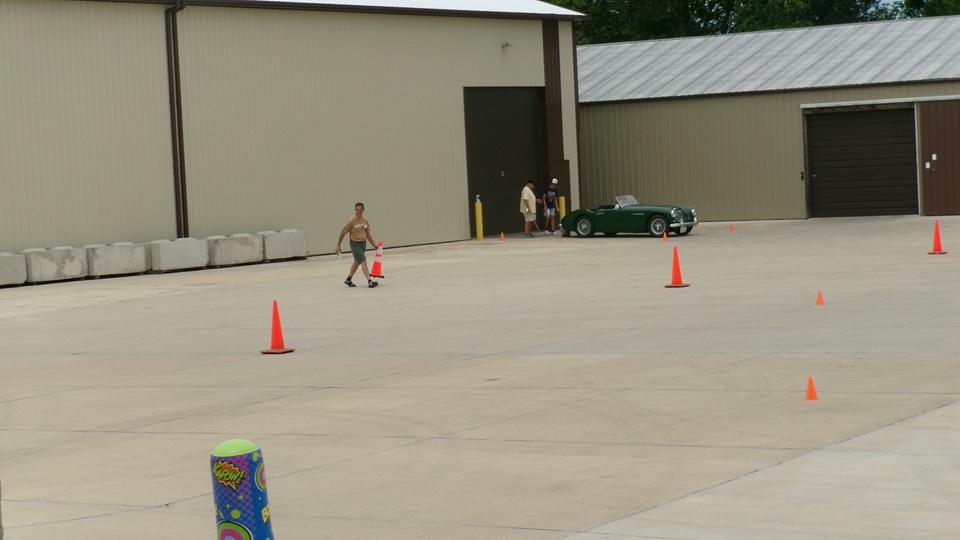
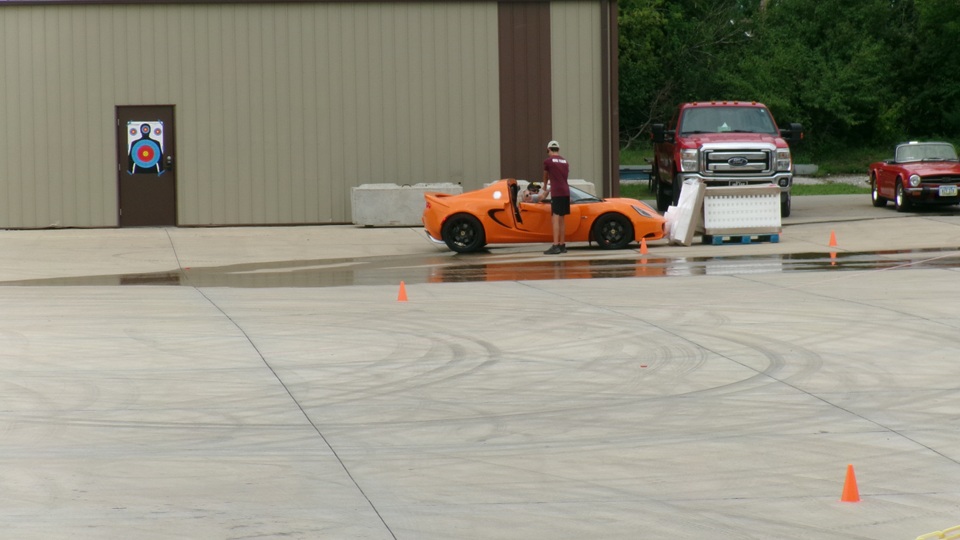
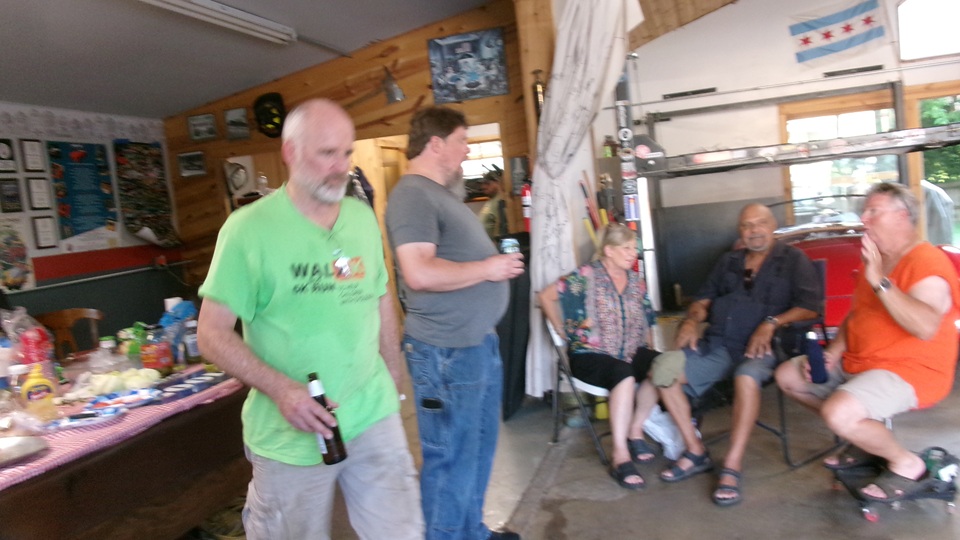
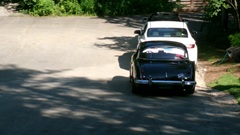
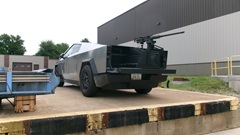
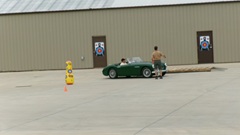
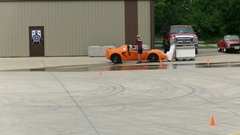
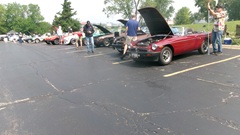
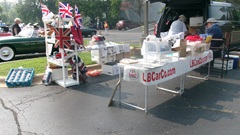
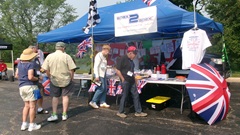
Set out for a bit of fun today with Iowa British Car Club holding a driving Funkhana in Altoona, Iowa (east side suburb of Des Moines). This event was hosted and presented by Albert, Randy, and Deb, at Summit Products warehouse with a large parking lot for events, tables food, drink, conversation and jolly good social fun, beginning at 1-pm. There were nearly a dozen little British cars on site, and twice as many passengers, mostly ready to play. The Cyber Truck with 50-caliber machine gun was a daunting incentive not to be a loser at this event.The shipping doc served as a nice mezzanine with shade and breeze overlooking the play ground with plenty of water to help survive a warm day. Thank goodness for a little overcast and no rain.

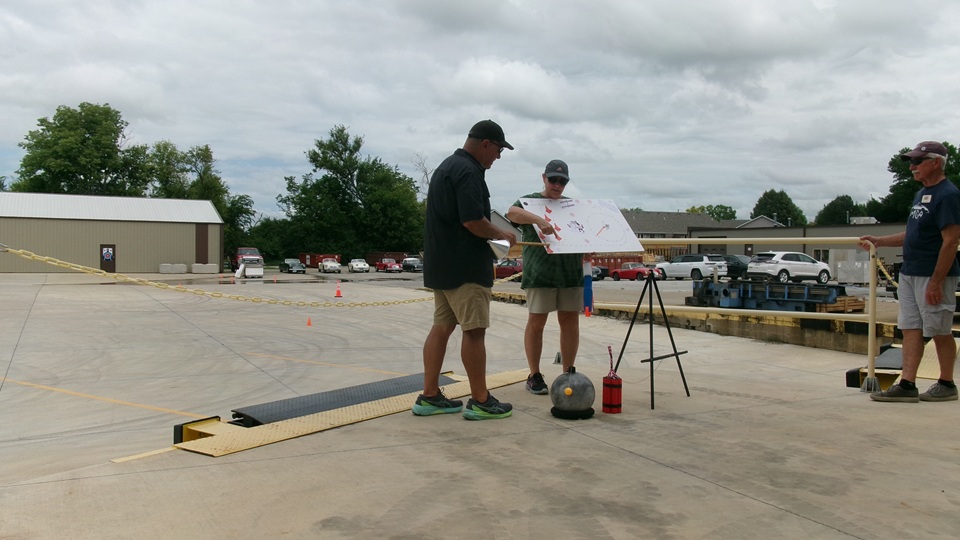
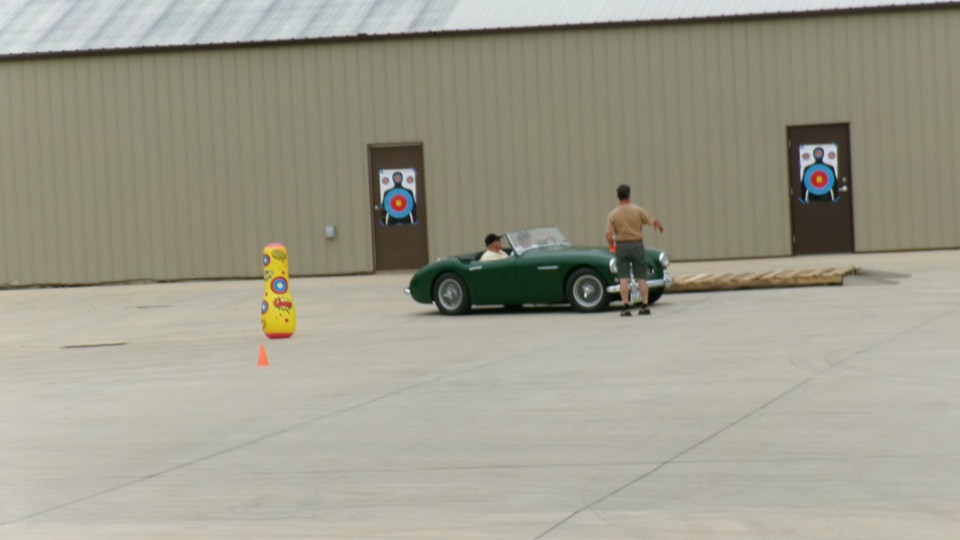
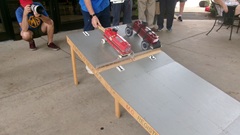
This "Top Secret" event had been advertised for days (maybe weeks) in advance, Now there was a drivers meeting to explain how the "Secret Agents" were to execute their special assignments to foil the bad guys. There was a large bomb with a small ball on top to serve as a fuse. The assignment was to back your car up to the bomb to use the exhaust blast to blow off the fuse. Navigator could get out to hold a small funnel on a stick to direct the blast in the appropriate direction as needed. One driver managed to do this from a foot away from the bomb without the navigator's assistance.
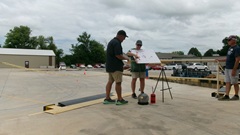

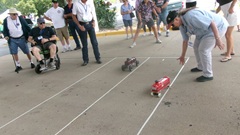
There was a large six-shooter gun with plastic bullets to be used to shoot five villains on the fly. Some villain would occasionally toss a dynamite bomb into the car as a distraction. There was a wood pallet bridge to be negotiated for one of the villain shots. One or two of the cars seemed to have some ground clearance issues with this maneuver. Next was a large circle with a center pylon with long rope attached. The object here was to drive all around with navigator holding the rope, keeping it off the ground while not upsetting the center pylon, Looked like about 50% success rate here. The final challenge was to stop as close as possible to a fixed wall without touching it. Navigator was allowed out of the car to serve as a guide dog.

All good fun, and ice cream to cool everyone down for the awards presentations. Lots of chat with some new friends , but the party was breaking up early, maybe due to more heat than breeze. By mid afternoon we were off to find another WiFi spot with A/C and a late lunch break.
Monday, July 21, 2025:
Processing photos and notes from yesterday's follies, and catching up a few days worth of MG forum discussions and tech questions. Looking forward to future planning.
Tuesday, July 22, 2025:
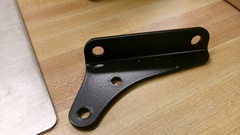
Need to make a pair of brackets for the new Windtone horns. Find the drawing in one of my website tech pages, and attach it to an email message, sent to the local Love's store, so they can print it for me. Sorry, the message never arrived. Tried it again, same results. Give it up to try again later. -- In the evening around sunset, we headed east on I-80 from Newton IA. Two hours on, take the I-280 bypass and make a short fuel stop in Davenport, IA, two miles from the state line. Continuing on I-280, crossing the Mississippi River at Rock Island, Illinois,. Another 35 minutes, rejoining I-80, taking us to another Love's in Atkinson, Illinois by 10:30-pm. Late dinner and a touch of WiFi.

Wednesday, July 23, 2025:
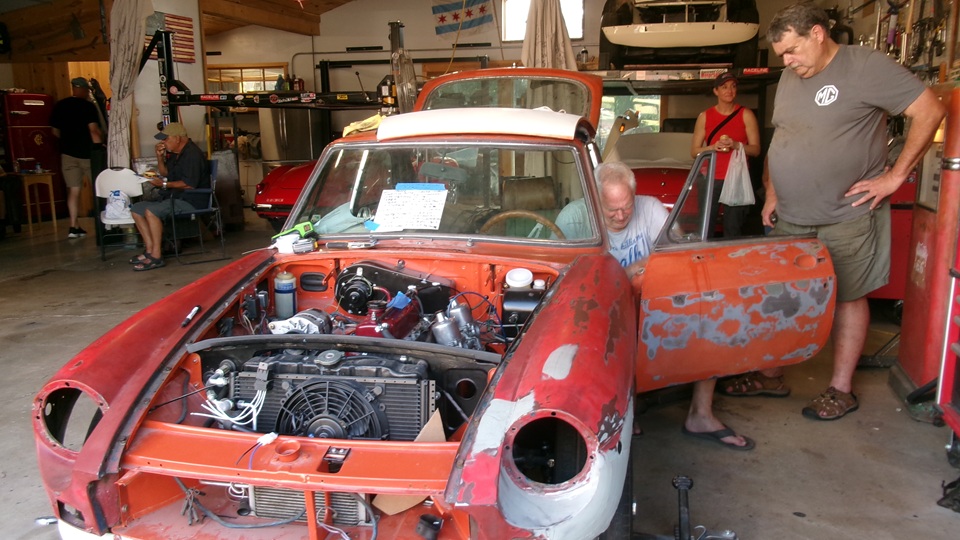
Finally managed to get an email through to the service desk at Loves in Atkinson with the attachment, and they printed it out to give me the paper copy and template for the horn brackets. Stash that for future reference. -- At 3:30-pm we were moving again, heading east on I-80, then north on I-55 with some traffic delays, finally up Joliet Road to 55th Street, arriving at Tommy's garage in Lagrange Highlands, IL at 5;45-pm. Time for Wednesday Night Garage Club. -- Some of the resident vehicles were moved outside to have space for indoor activities.
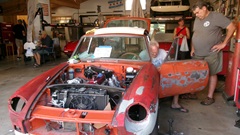
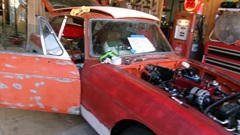
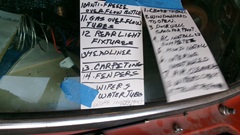
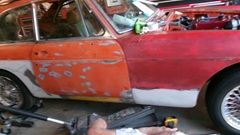
the CMGC project car was up front with multiple people working on it. A list of available work tasks was taped on the windscreen, just pick one and jump right in.
Traditional burgers and dogs from the grille, and brief happy birthday wishes for Sparky. Someone was in need of shims for MGB front wheel bearing adjustment, so a quick trip to the Magic Trailer to retrieve an assortment of shims as anticipated.


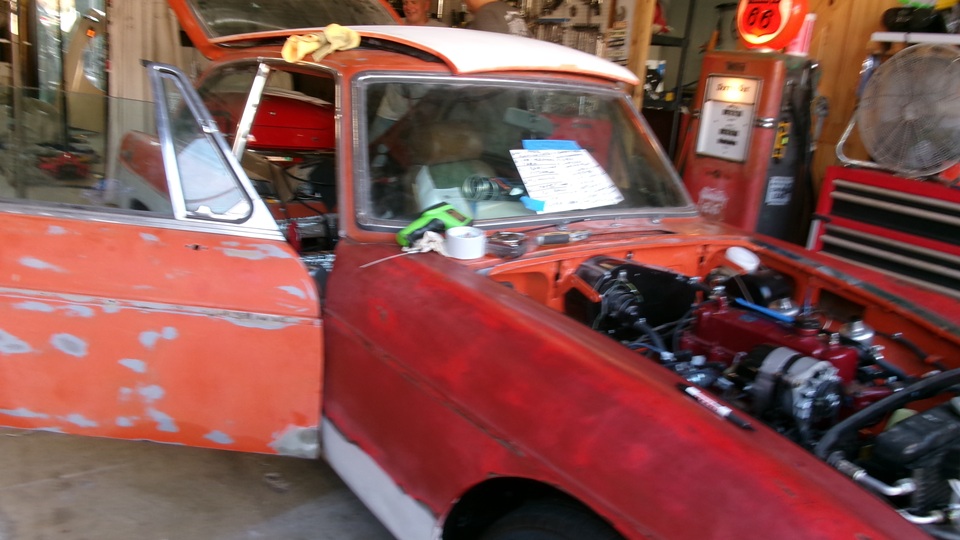
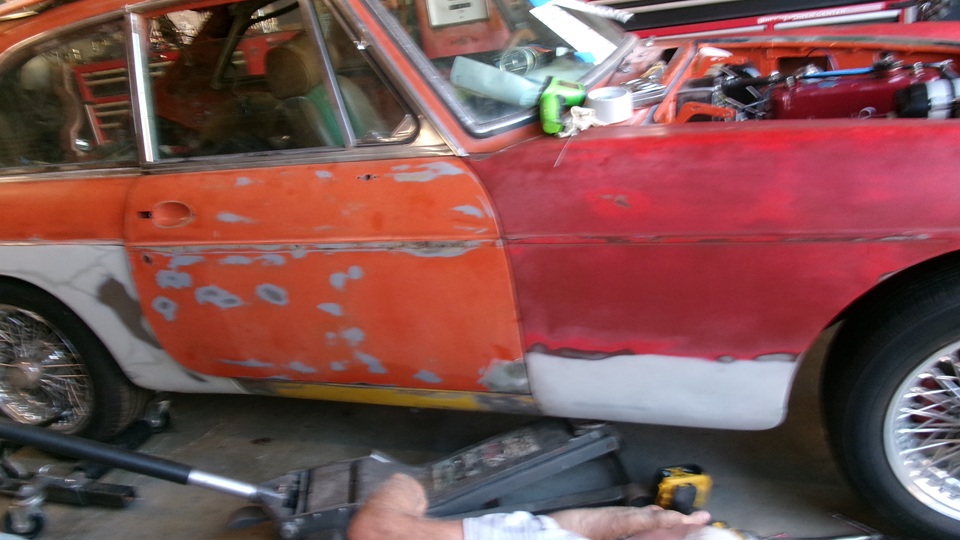
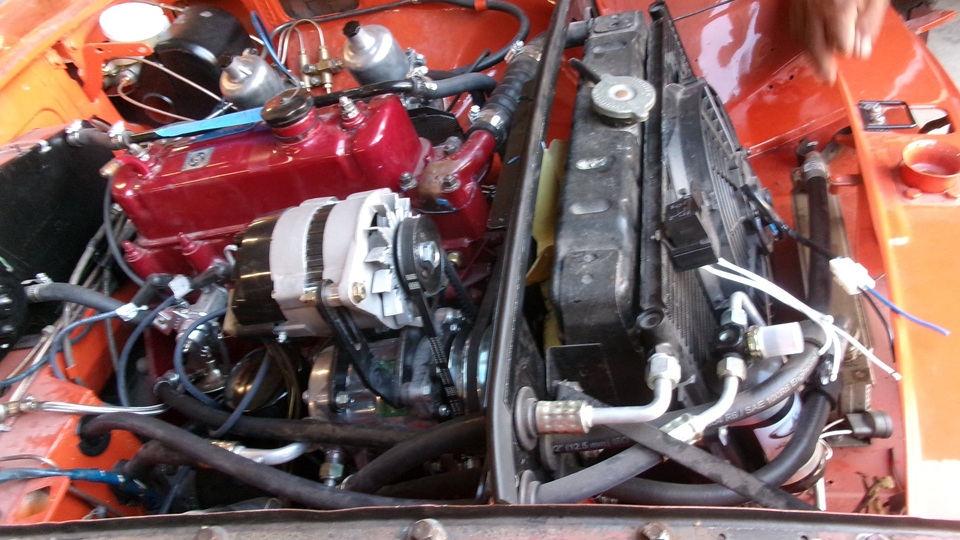
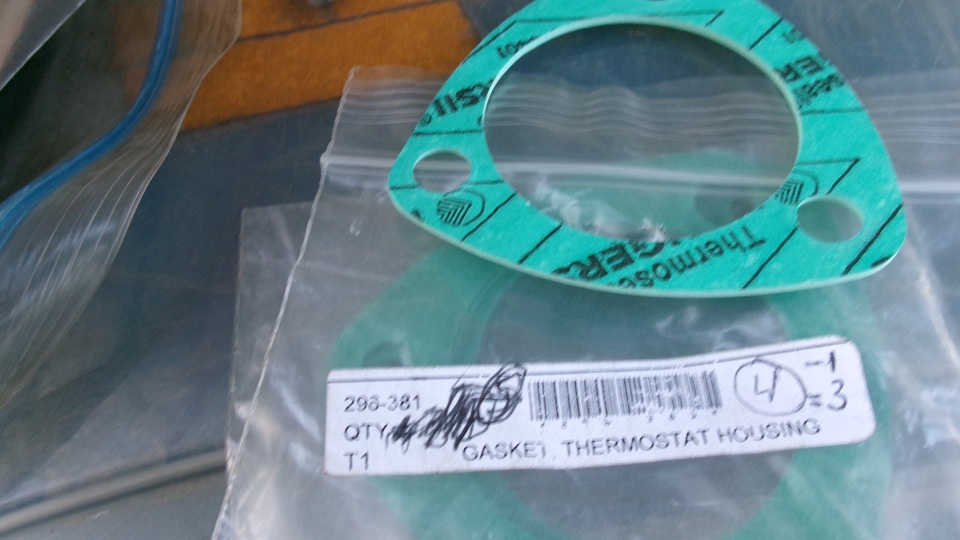
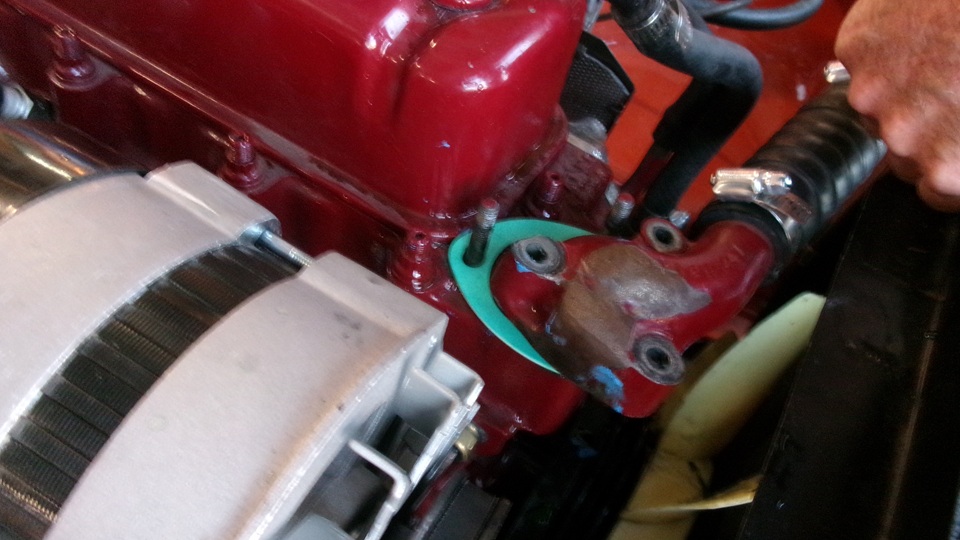
A few screws applied to the project car front wing lower flange, doors properly aligned, just about ready for block sanding. Time to fire up the engine, but that exposed a leaking thermostat gasket. Another quick trip to the Magic Trailer for a fresh gasket.


Remove studs, clean mating surfaces, seal threads for two studs where tapped holes go through onto the water jacket, and reassemble. Fire it up again, tighten a hose clamp to stop another leak, quick adjustment of throttle links, idle speed,fuel mixture add oil to the carburetor dashpots, and it actually runs well. Apparently no one anticipated that, ye of little faith. -- Lots of heat in the garage on a hot day, not enough fans running. Time to call it a night and put the kids to sleep.


Only 9-pm (for a change), navigator opted to head west to Naperville, for a known good WiFi spot (with good A/C).
Thursday, July 24, 2025:
Well bless my soul, I got yesterday's photos and notes processed by early afternoon.
Friday, July 25, 2025:
Mostly taking a day off while watching rain storms. Looks like little or no rain between evening and late might, good time to travel, so we took off from Naperville to land in Hobart, Indiana before midnight.
Saturday, July 26, 2025:
Rain most of the day, so just sitting with a day off. Looking like hot and humid for the next few days.
Sunday, July 27, 2025:
Morning tech question along with breakfast. Someone working on installing the hydraulic pipe from MGA master cylinder to
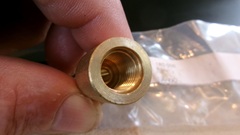 clutch slave cylinder, making proper bubble flares on the tubing, but claiming the mating banjo fitting is not configured to accept a bubble flared pipe. Really? I've never had any problem with this, so we pulled a banjo fitting out of the Magic Trailer for inspection. Sure enough the thing has raised cone seat that looks like it should accept a double flare pipe end. After a little research we conclude that this is likely correct as original (at least we certainly hope so), and it should be assembled with bubble flare tube end. The same would apply to the identical banjo fitting at the slave cylinder (for early 1500 cars only). So he put it together that way, and it works. Score one for the good guys.
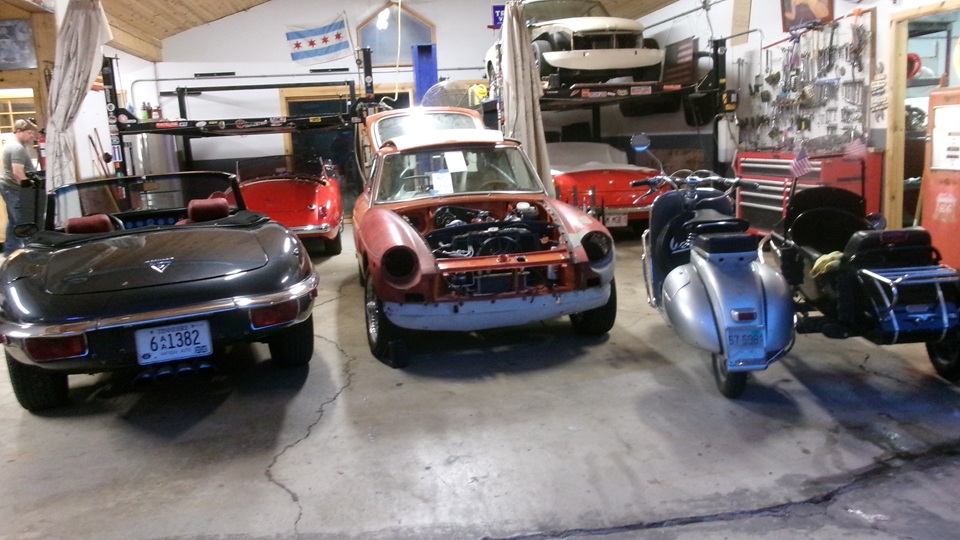
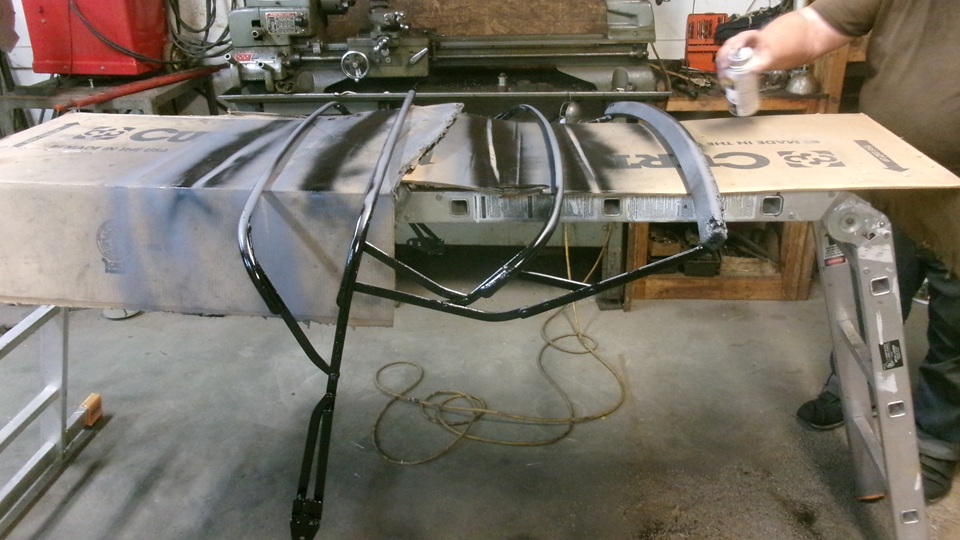
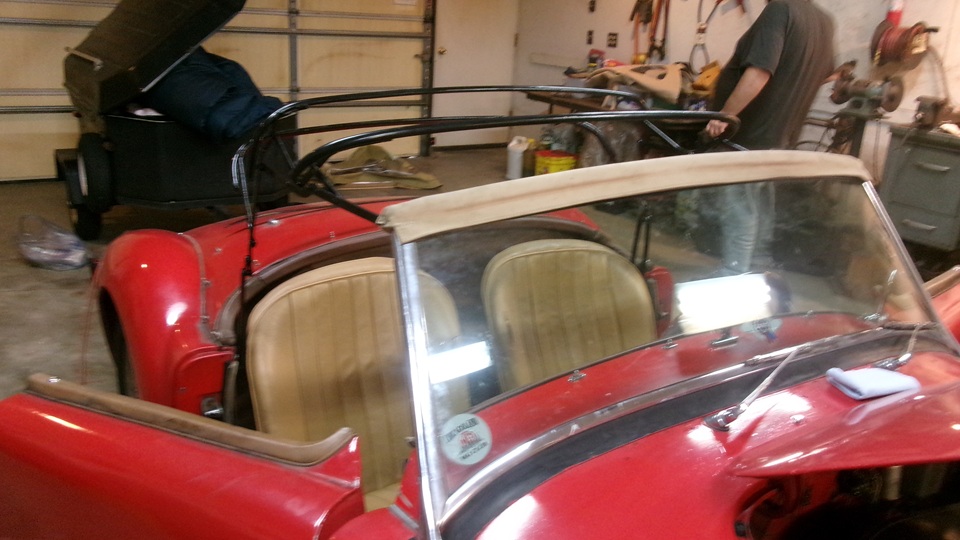
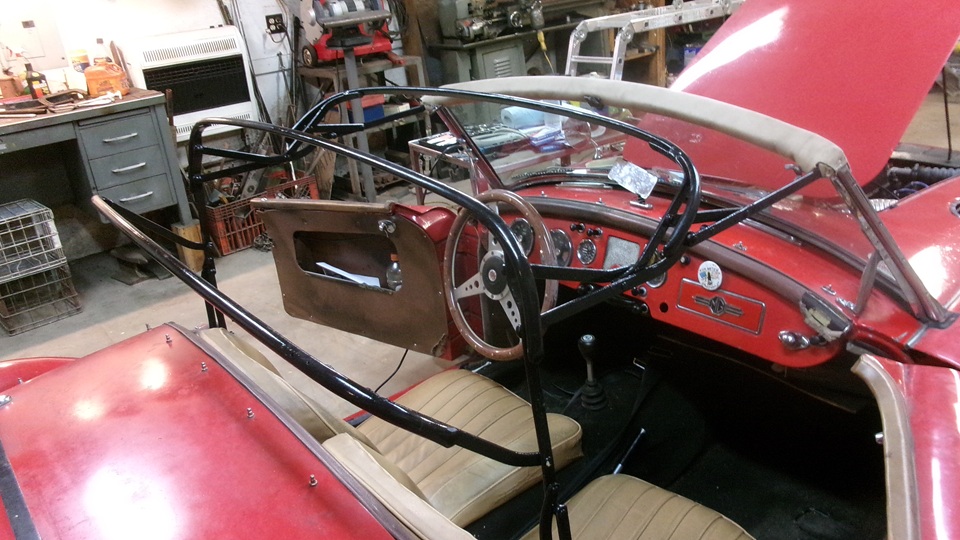
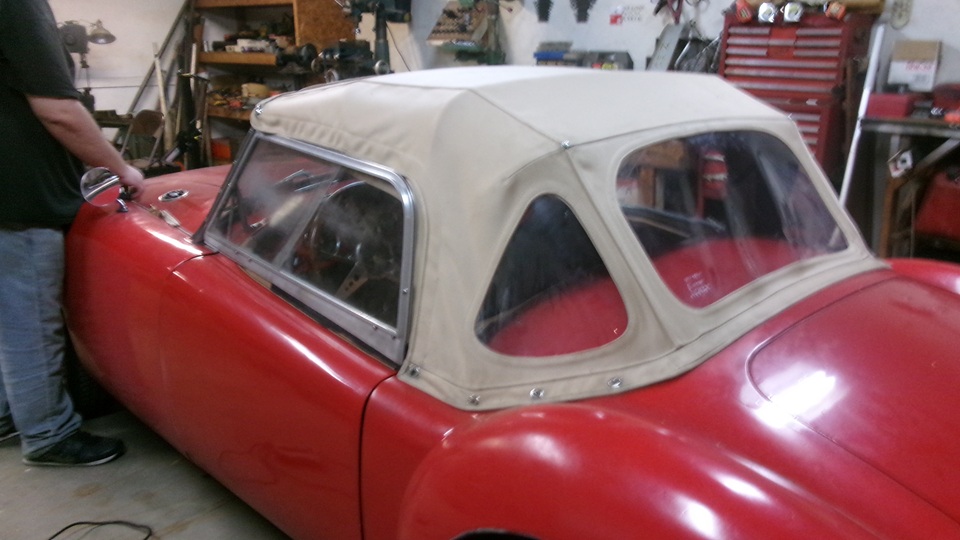
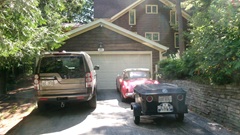
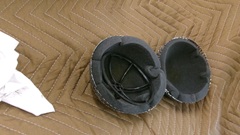
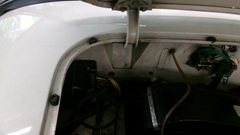
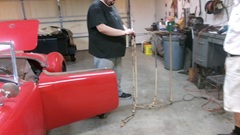
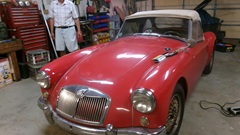
By mid day we were off to visit brother in Hanna,Indiana, where our new convertible top was waiting for our attention. Not long to pull out a hundred staples to remove the old canopy. Two thumb bolts and one center clamp to set the top loose from the windscreen. Pull another hundred staples and and unwrap the front wood bow. Six screws to remove on the inboard sides of the B-pillars, easy going since they were out just a few years ago (and we always use anti-seize on these threads). Half an hour to go over the whole frame with a wire wheel, and then spray it with primer paint. Time for a break from the heat, have late lunch and some A/C time for an hour or two while waiting for the primer to dry.
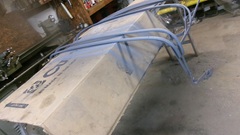
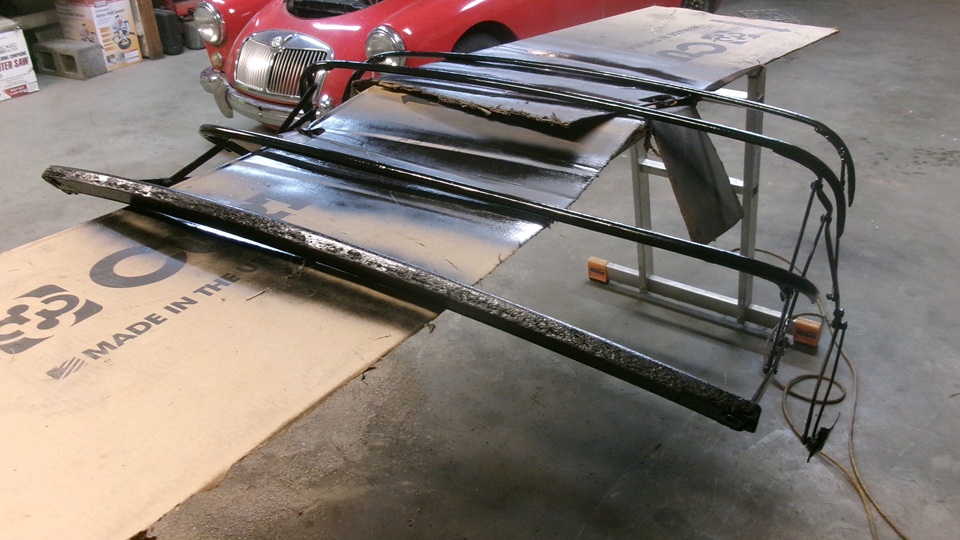
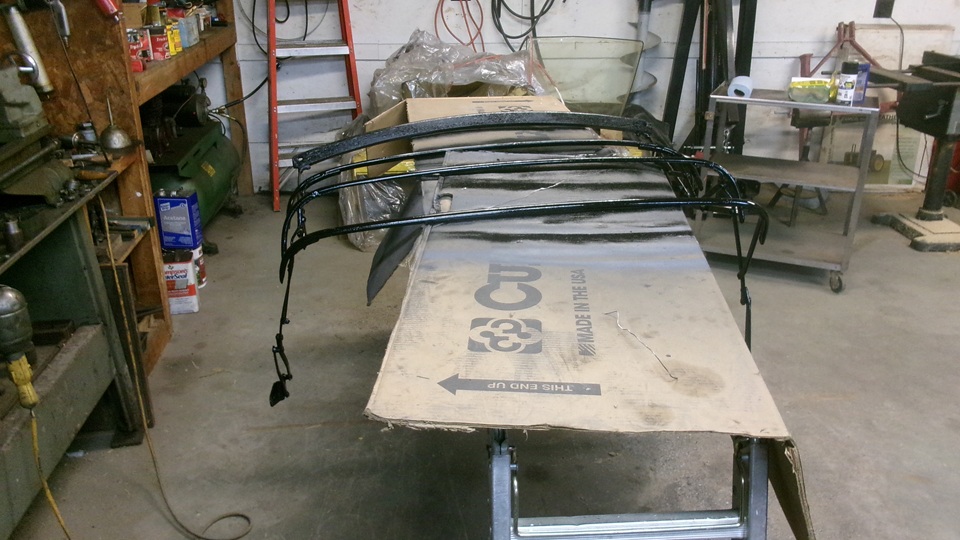
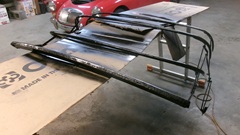
With primer mostly dry, we gave it a generous coat of black enamel, flipping the frame over a few times in the process. I guess we were negligent in advance planning and didn't have the proper tan paint in hand. But inside of the new rag top is black instead of beige, so go ahead and pain the frame black. Hot today, but also humid. Well past sundown it wasn't dry yet, so let it set over night.


Monday, July 28, 2025:
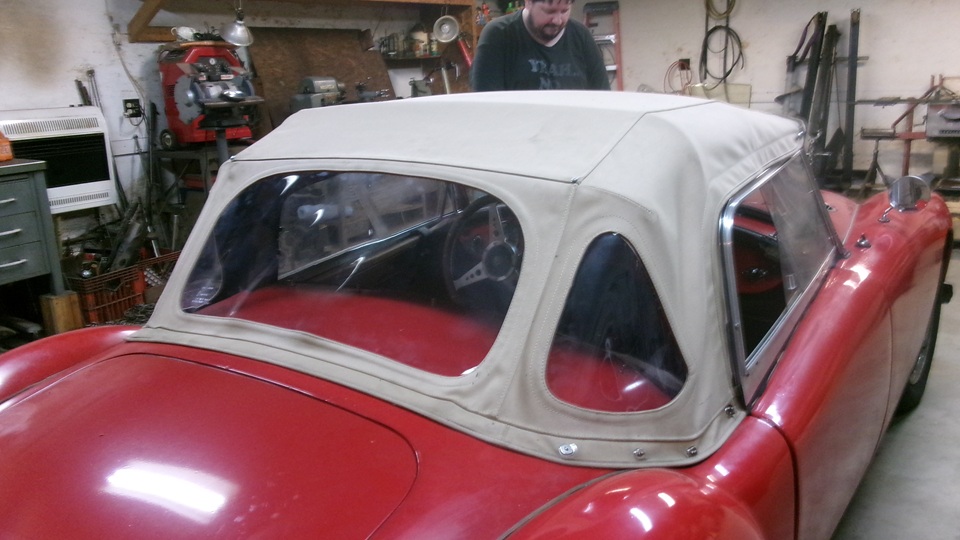
Mid morning start, six screws in the side brackets, drop the front bow on top of the windscreen, and start wrapping the front wood bow. It may look easy, but this is the most time consuming part of the installation. Start with the rain flap hanging in front, and pull the tail behind the bow to pull the flap back firmly against the windscreen frame top chrome rail. Put some staples in front on the face of the wood bow only to secure the desired height of the fabric with the flap tucked up securely under the wood bow. Think and review many times about wrapping over the top or under the bottom first as the last wrap should not have any staples showing other than in the very front face of the wood bow. Where the wrap comes around the thumb screw welded sockets, make a vertical slit in the fabric, and fold the edges over slightly to hide the cut edges as you pull the fabric upward to be stapled in front. Fold edges, pull up and wrap repeatedly until you get it right before stapling in place. Always keep in mind which wrap goes last to hide the prior staples. For wrapping over ends of the wood bow, you get to carefully trim and overlap, like wrapping a sandwich in wax paper. If you do too many layers you get lumps and the staples won't hold. You can use a tack hammer to gently tap down the layered fabric to be flatter with tight creased folds. You can have a couple of staples in the outboard ends of the wood bow. if you keep in mind where the finishing ends of the final canopy cover and hidem strip will ultimately cover. It is a mental challenge. The final layer will be underneath fabric coming behind and up over the top to be stapled in front. Then trim off below the staples, just above the lower front corner of the wood bow.

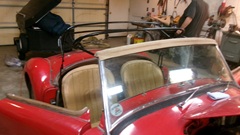

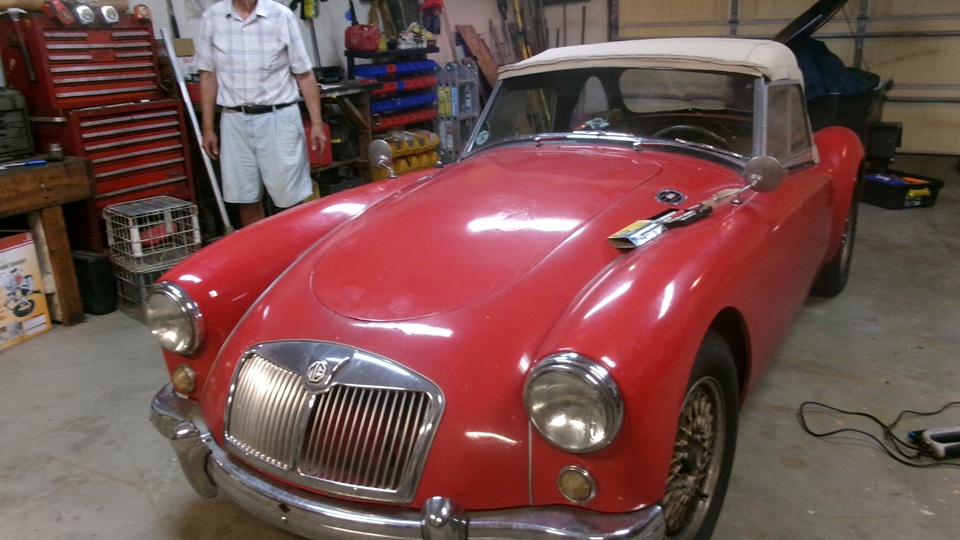
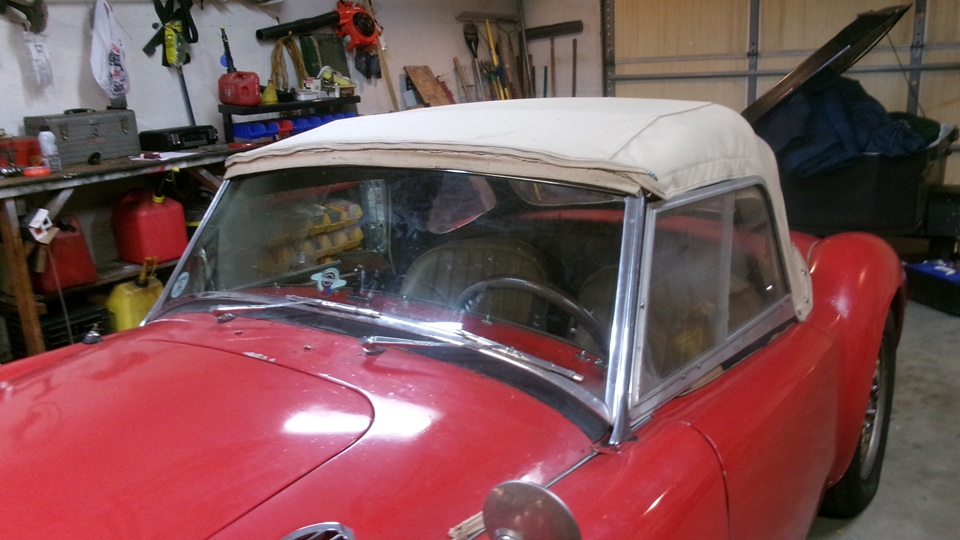
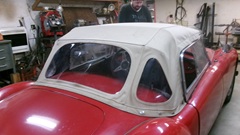
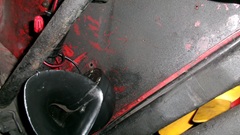
Installing the canopy is easier, by comparison. Slip the rear steel retainer bar into the slot at rear of the canopy and center it. Clip the bar onto the chrome teardrop hooks on the body tonneau, center it and push full forward to be fully seated. Pull fabric both sides left right and forward with no slack, and check again to assure it is still centered. Pull canopy forward snugly over the windscreen, measure between the sewing seams and across the windscreen to get the canopy centered. Pull hard forward at canopy center, and install a few staples in front face of the wood bow to hold ii in place. Check again to assure it is centered. Then working from center out on both sides equally, pull fabric forward and outboard to tension it and eliminate wrinkles as you staple it in front. Once nearing the outboard ends, you might like to pull out a few staples in the center to re-tension and re-staple the center of the canopy. You might bounce a coin on the top when it is properly tensioned. At the front corners, you get to trim and do the sandwich wrap again.


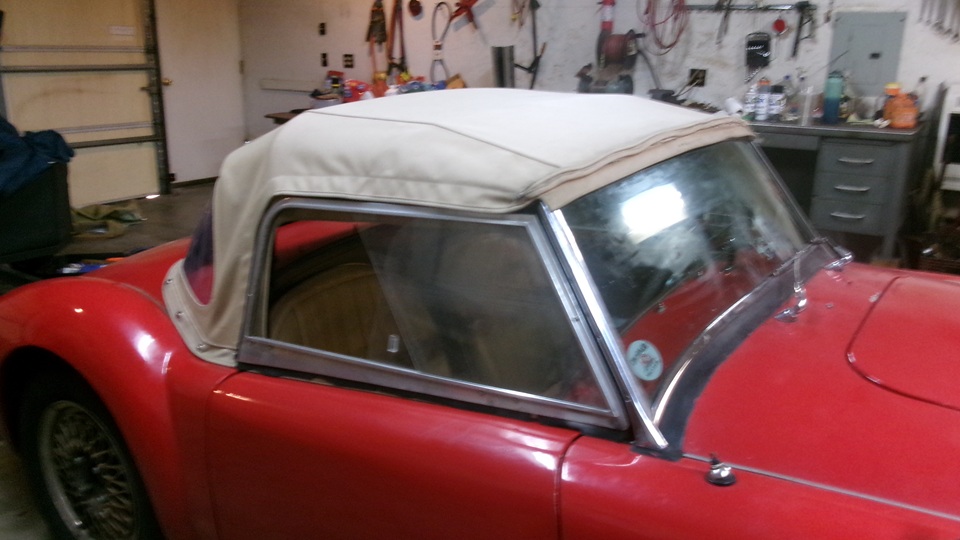
You can have a staple or two in the outboard end of he wood bow, where they can be covered later by the hidem strip. The canopy fabric is to be trimmed slightly above the bottom corner of the front face of the wood bow. There will be a long free-hanging hemmed strip on the side near the front corner, to be trimmed to length as needed. The rear end gets dressed to stop where it might be hidden by the end cap on the hidem strip, or possibly wrap slightly under and behind the end of the wood bow. The front end is to go around the front face of the wood bow, extending inboard and upward where it will merge underneath the hidem strip. -- Finally install the hidem strip to cover the staples in front, as well as the cut edges of the fabric. The hidem strip turns downward slightly across the end of the wood bow where it gets trimmed to length to be covered with the chrome end cap, which is to be secured with a long thin wood screw.

The Lift-The-Dot and turn-button fasteners are installed last. Start with the rear fastener on one side. Pull fabric firmly downward and forward, and mark location for the fastener. Lift the fabric to punch or cut the holes and slots to install the fastener. The LTD dot should be facing forward, not downward. Snap it in place when finished, then do same for the mirror LTD fastener on the other side. Working forward, do the same for the second LTD on each side, then the third fastener each side, and finally the turn button fasteners. Enough for one hot day.
Tuesday, July 29, 2025:
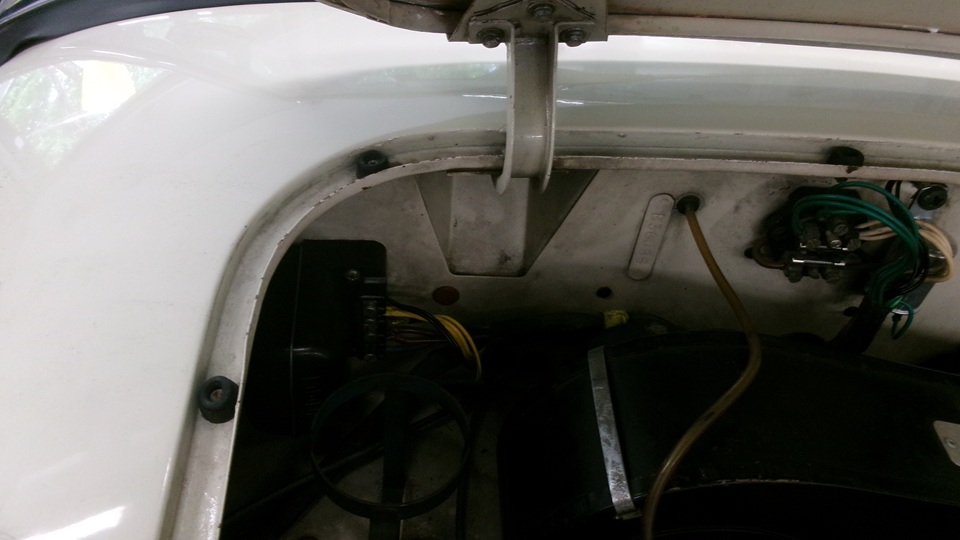
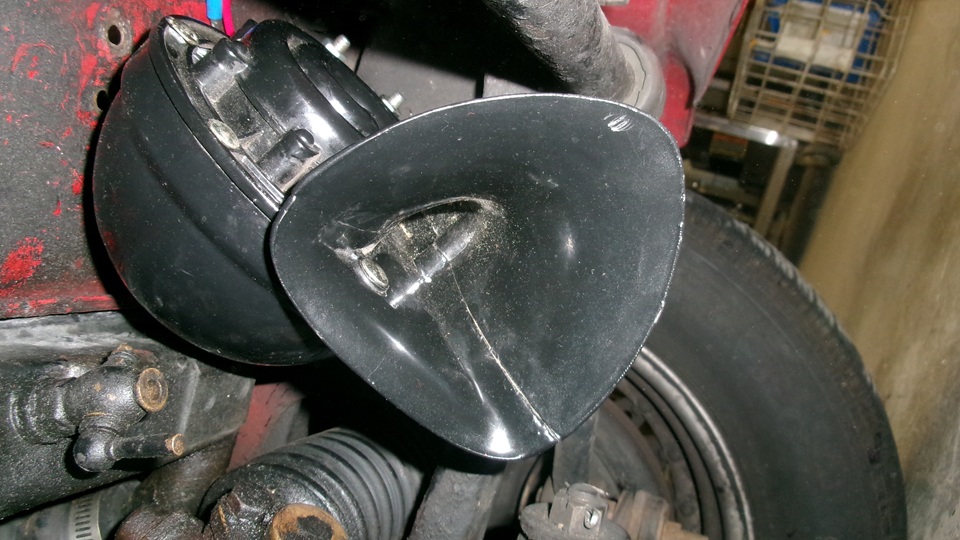
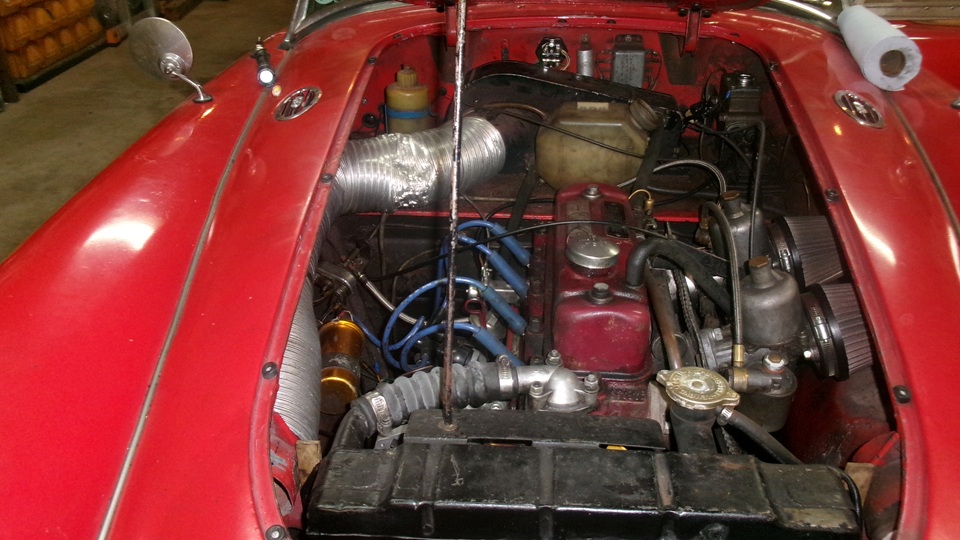
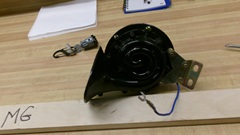
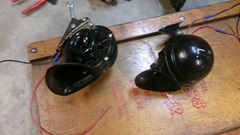
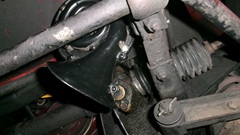
We get to install the new Windtone horns today, easier said than done when we have a low mounted sway bar in the way. Start by removing the old horns that were installed above the air pan in front of the radiator, and re-route the harness wires to run below the air pan. -- Brother was making new original style horn mounting brackets (from my drawings) while Elliot and I were installing the new rag top on Tuesday. We temporarily connected the two horns together to original harness wires, switched on power and hit the horn button to be sure twin horns would work well on original wiring without a relay. I recon the factory boys got it right using 14-gauge wires for this circuit.
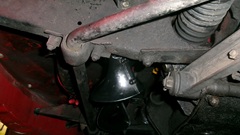
The horns are located not exactly but close to original position. Wires on the horns are in the tightest corners, of course, so we cut the bullets off and extended the Red and Black wires 27" for left side and 15" for right side (long pigtails). -- Left side first, had to mount it then remove it to bend the bracket another 3 degrees. In the end the hemispherical cover clears the underside of the air pan by 1/4-inch, clears the radiator drain cock by 1/4-inch, and the open end clears the sway bar by 1/4-inch (tight fit). -- We bent the right hand bracket to match the left one, then installed the RH horn, which hit the sway bar again. I suppose the sway bar is installed a bit askew. So remove the RH horn and bracket, bend that bracket another 3 degrees, and reinstall everything. No drain cock on this side, fortunately. The right side horn dome then clears the air pan by 1/8-inch, while the open and clears the sway bar by 1/4-inch. We did it, but it was a bitch of a chore in tiny access space to get the fasteners installed (cursing for an hour over skinned knuckles and dropped fasteners and tools).
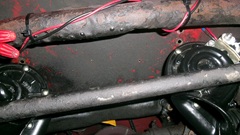
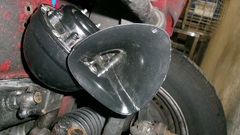
The wiring wasn't too bad. I was going to remove the additional heavy power wire that was installed years earlier for an air horn instant-on compressor, , but decided to leave it in there for possible future use, so we capped the live output end, coiled it up and tie-wrapped the coil somewhere out of the way. Pulled the two original horn harness wires off of the air shelf, back down through the rubber grommet, re-routed back underneath as original. Enough length left on the original wires to reach 1/3 of the way across the front frame. Plenty of length on our pigtail extenders, so wrap those around the round cross tube, and bring all the wires together half right of center. All 14-gauge wires, cut length to suit, join two Reds to Brown/Green power, and join two Blacks to Brown/Black return. Make final 3-wire connections with best quality twist nuts (2x). Finish it off with half a dozen plastic tie-wraps to attach all the wires securely to the frame cross tube. Test again. Hoot-Hoot in harmony, very nice, sounds like a Cadillac.

 We had time, and enough energy left, to change engine oil and filter and do a lube job. Clean the place up, pack up tools, re-stuff the trailer, get the rig outside so brother could get his own toys back in the shop space. Still hot and humid in he evening, so time for a shower and change of clothes before dinner and some well earned sleep.
Wednesday, July 30, 2025:
Sitting in Hobart, Indiana again, day to cool off and catch up photos and notes. A little rain, hot and humid for one last day, should be cooler after sundown and a nice day tomorrow. We bailed out of Hobart at 9-pm heading northwest with intermittent rain, noticing a leak under the front bow of the new top, reminding us it still needs under-bow weather strip to be installed. Landed in Algonquin, Illinois late night.
Thursday, July 31, 2025:
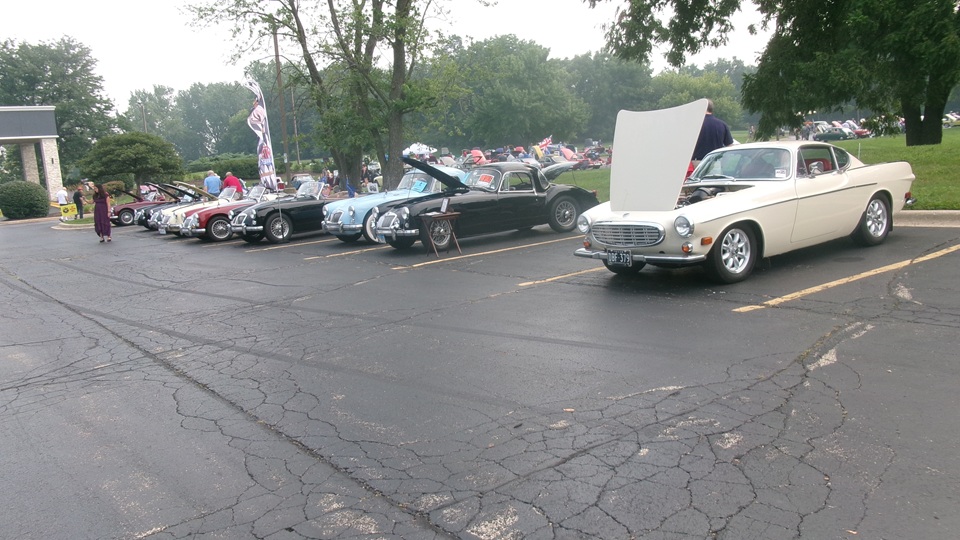
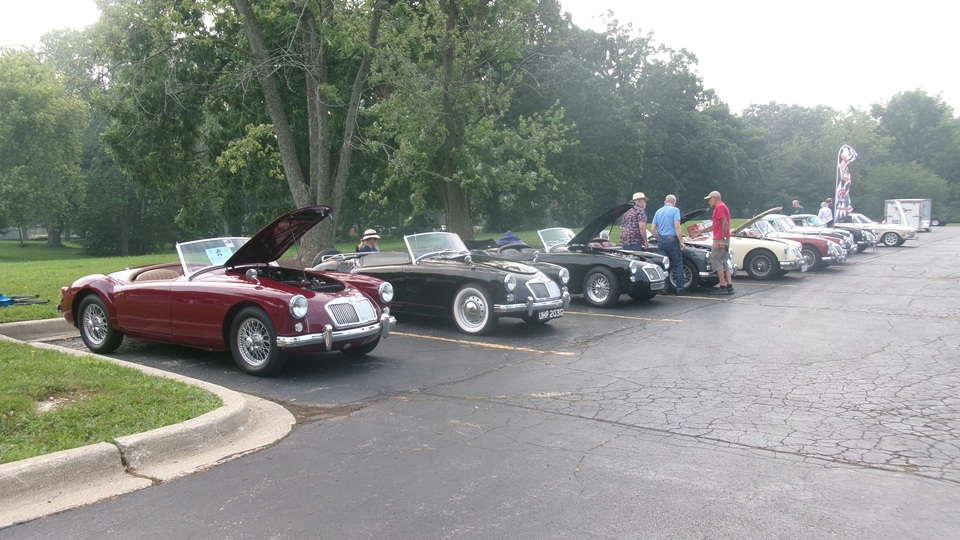
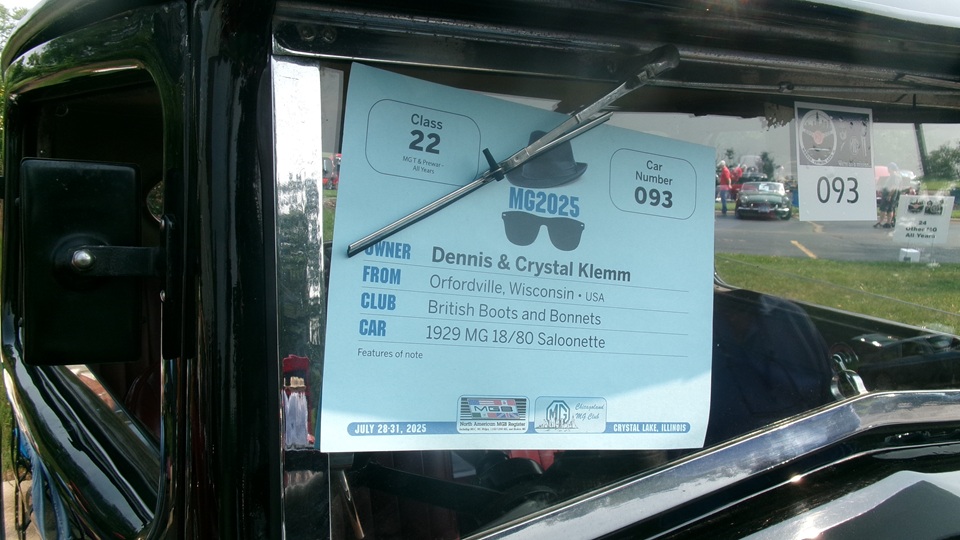
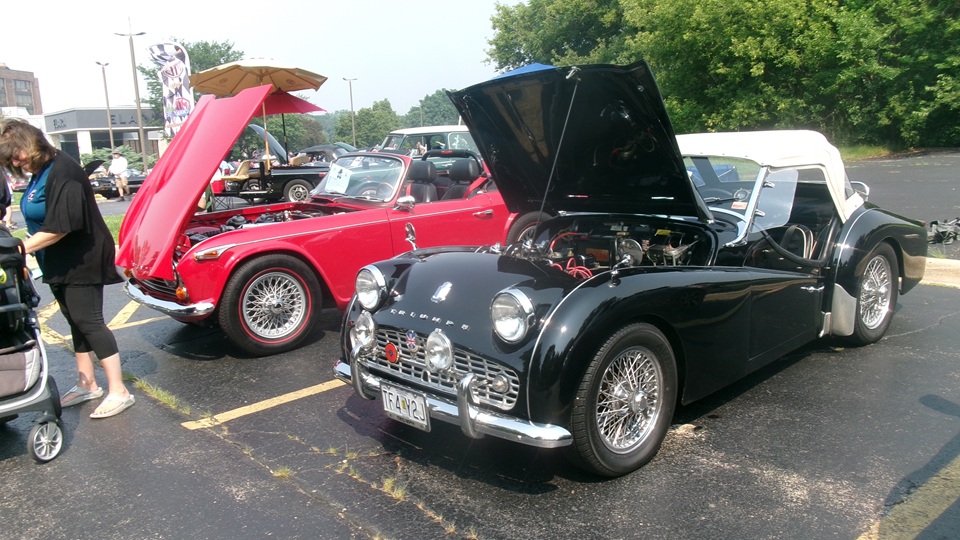
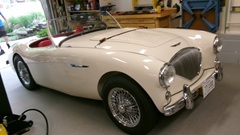
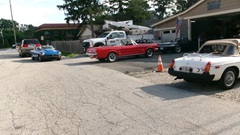
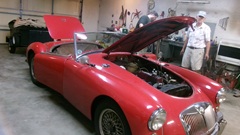
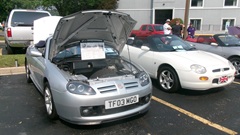
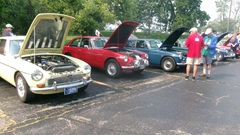
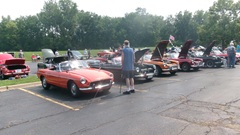
Up early for breakfast and a reality check, then heading off to Holiday Inn at Crystal Lake, IL for the car show at NAMGBR (National MGB Register) MG-2025 convention. Not registered this time, so we get to be visitors today. Park in the visitors lot in front of the hotel. Not a bad deal, as just a step over the curb I find the first of the show cars, including a nice Volvo P1800 and several MGA.

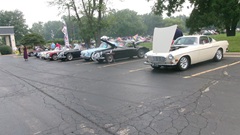
Right across from the MGA there was a row of MG MG F. Four or them, 1995-1998 vintage, old enough to be imported into the States. But the fifth one looked a bit different. After I looked twice and asked, that one turned out to be 2003 MG TF model, owned by a Canadian resident who drove it down here for the show. Bully for him to provide us with the treat.
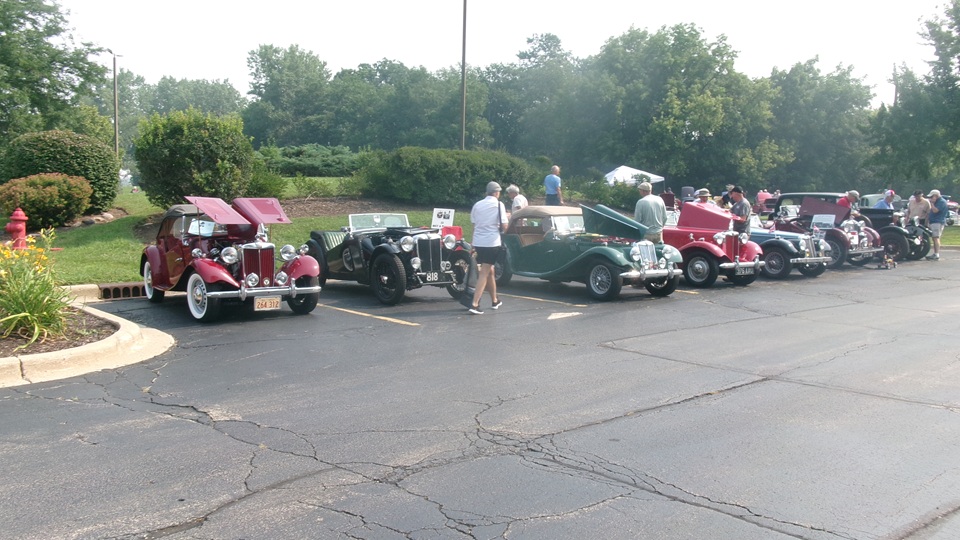
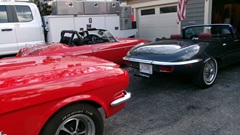
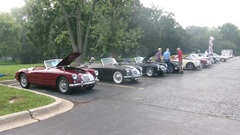
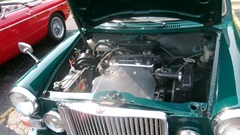
There was a long line of vintage MGs, and I was surprised to find they were not all T-Types. The red one with "for sale" sign is a 1937 model. The darker red one with bonnet up is a 1937 MG VA Tourer.
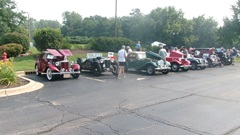

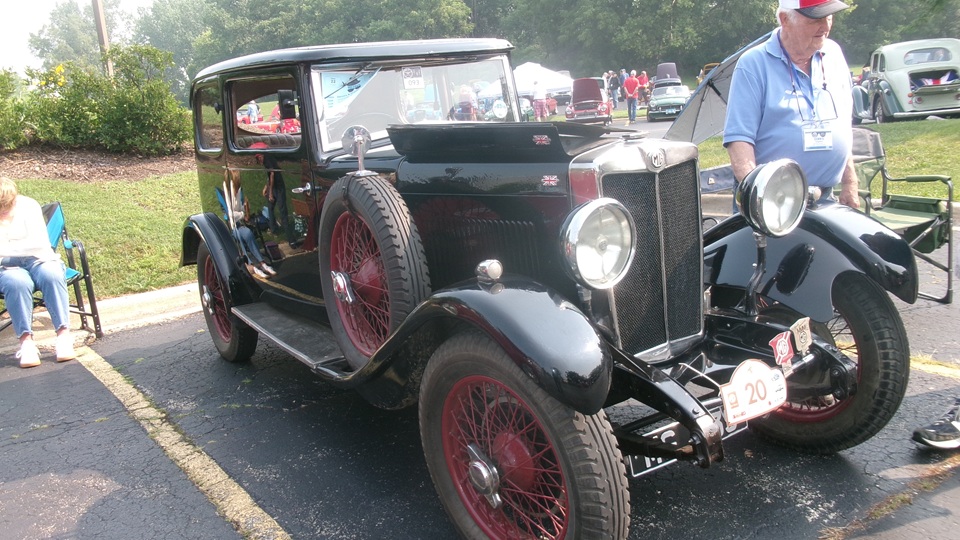
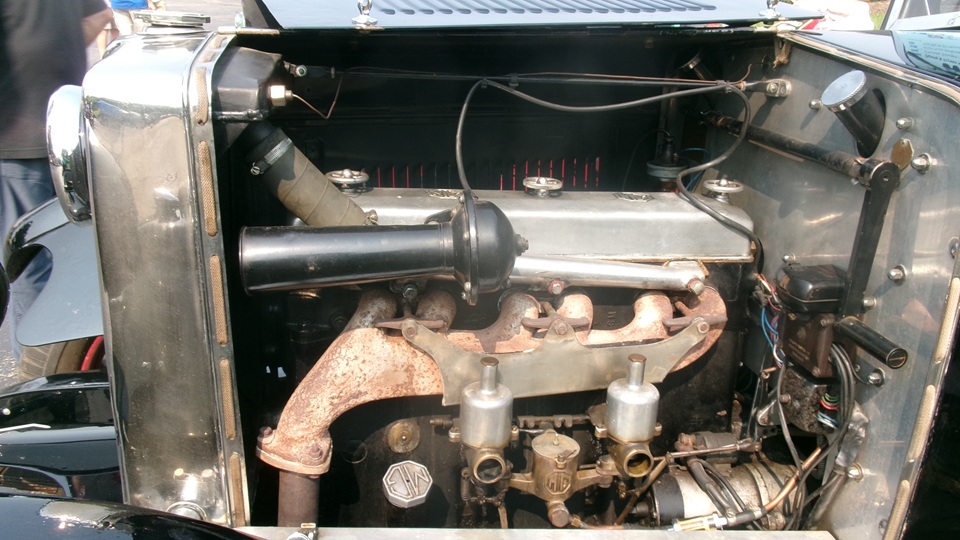
 The tall green saloon car is even older, 1929 MG 18/80 Saloonette, which we have seen before.


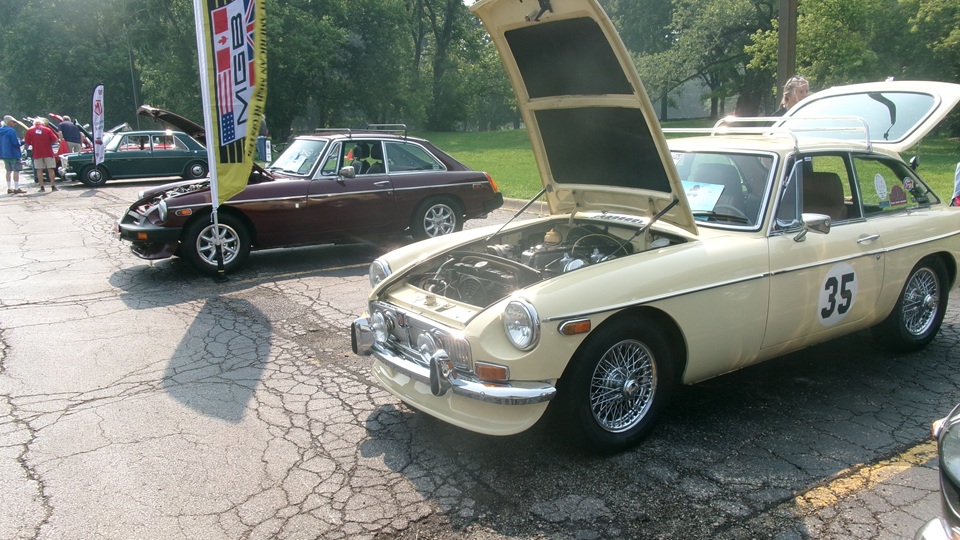
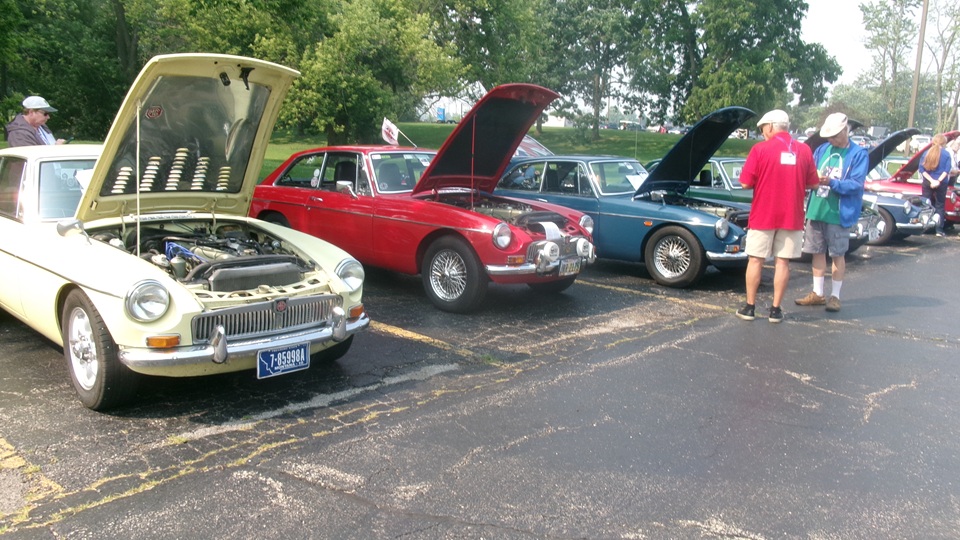
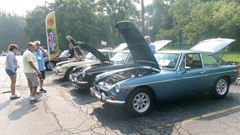
Then we come to MGBs, and since this is the MGB National convention, there will be a lot of those. Start with a line of MGB GT, at least half a dozen.
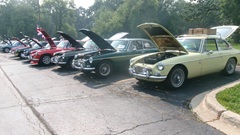

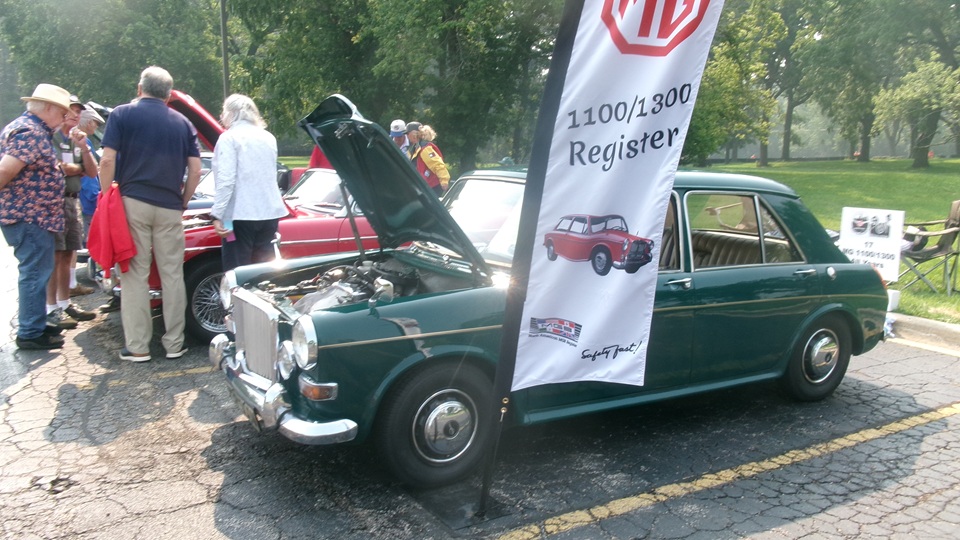
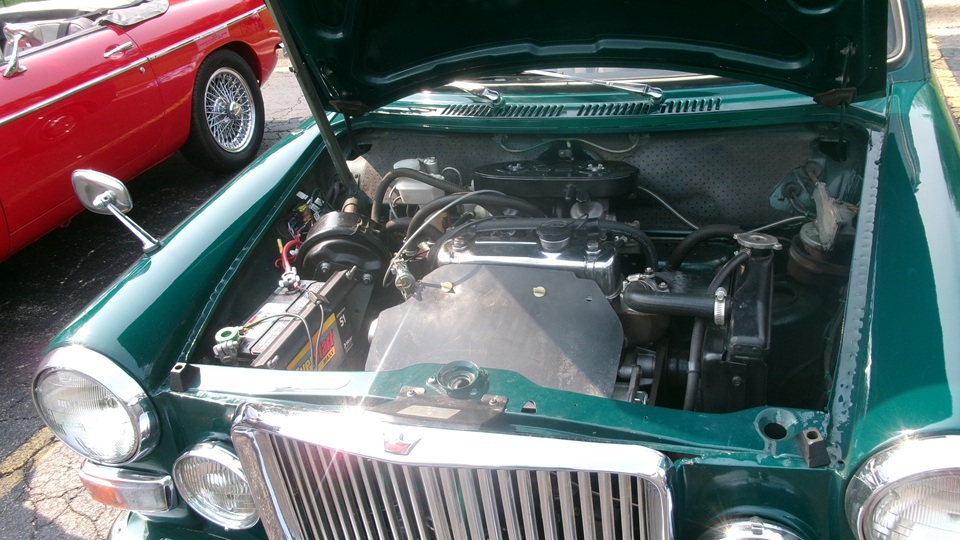
Along the same line there were a few MGCGT, and one lonely MG 1100 sport sedan.

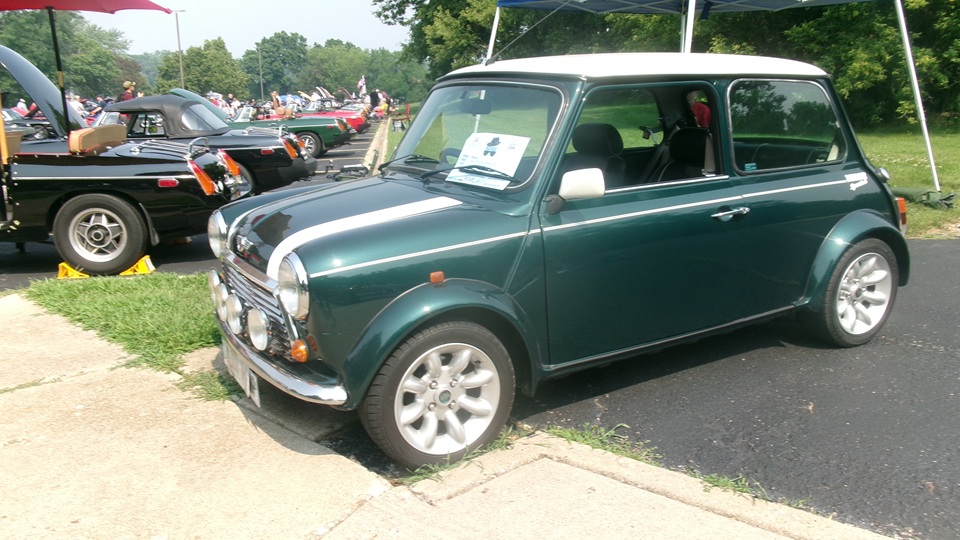
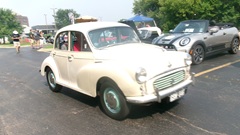
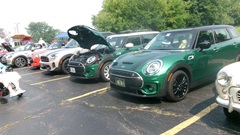
there was one Morris Minor cruising in past several modern Minis, and one vintage Mini.

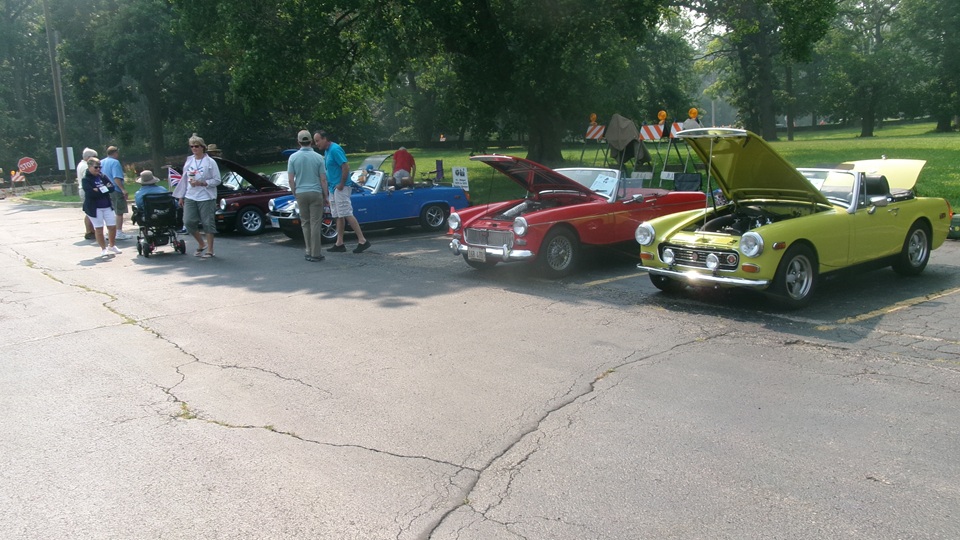
There were a number of MG Midgets, one TR3 and one TR4.
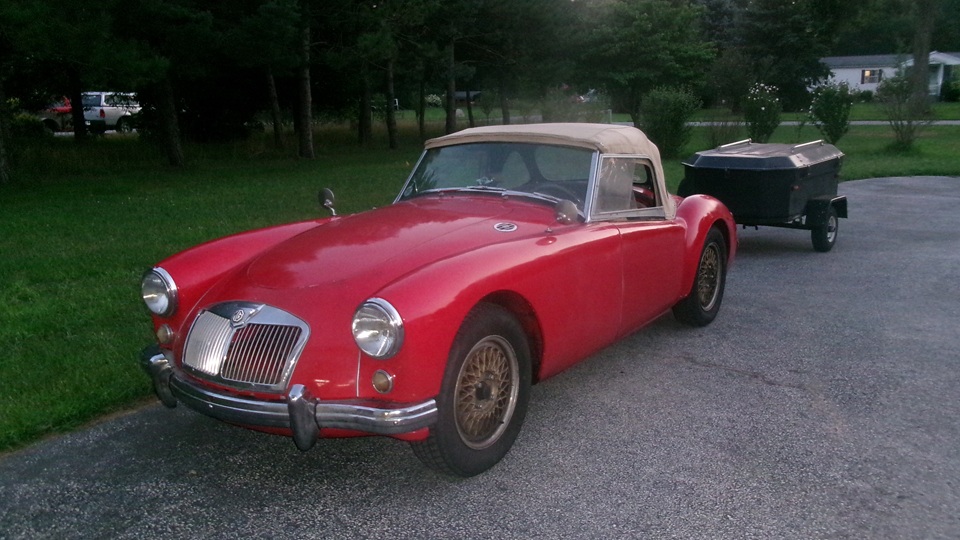
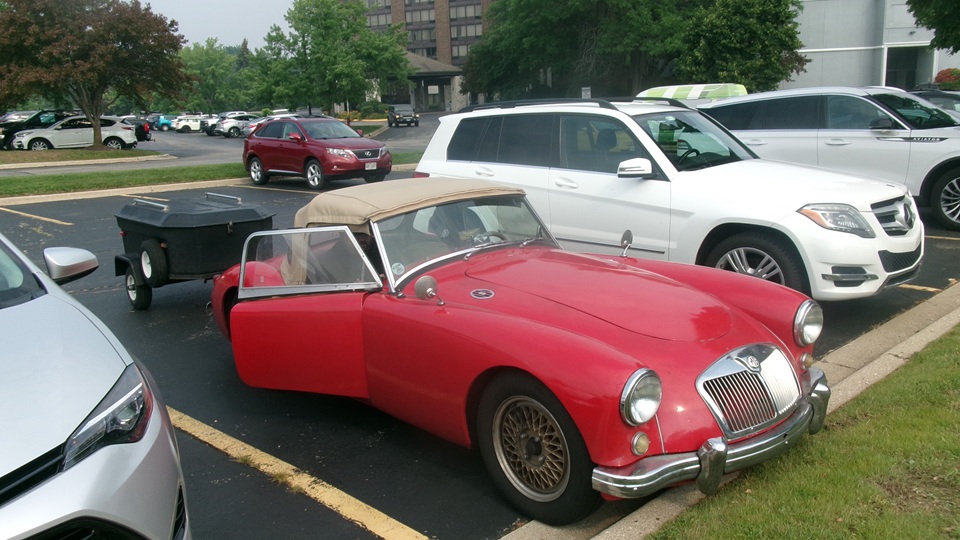
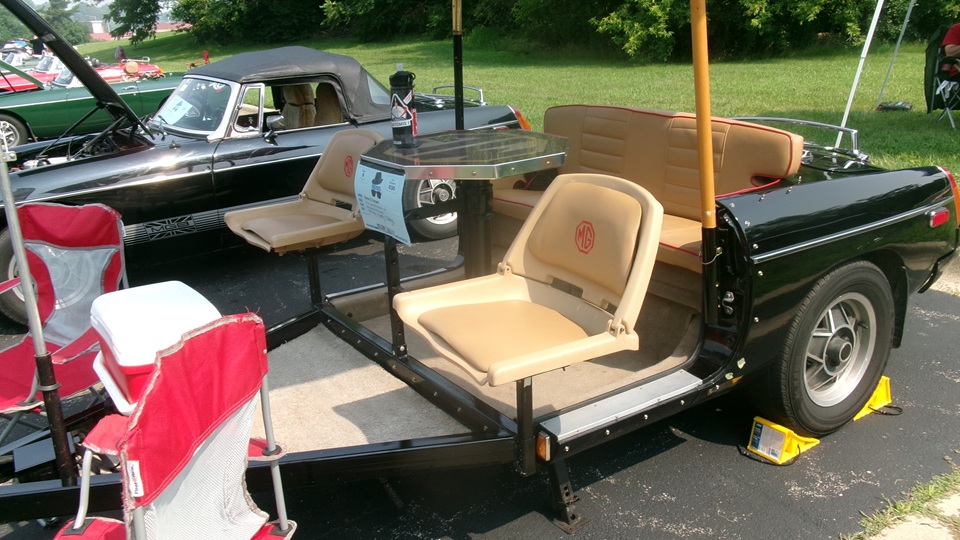
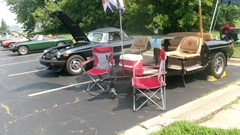
Meet the MGB party trailer with matching tow car. You an comfortably seat four adults around the octagonal cocktail table.

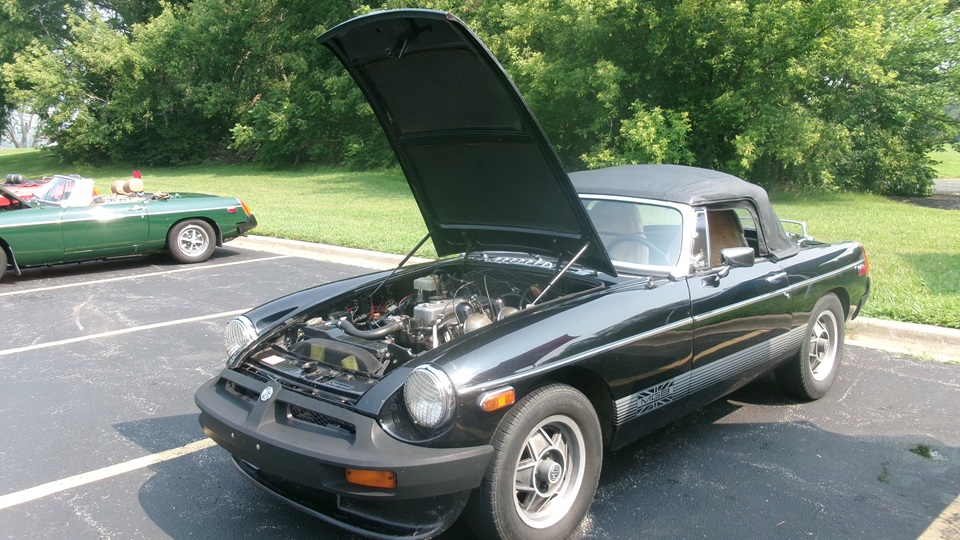
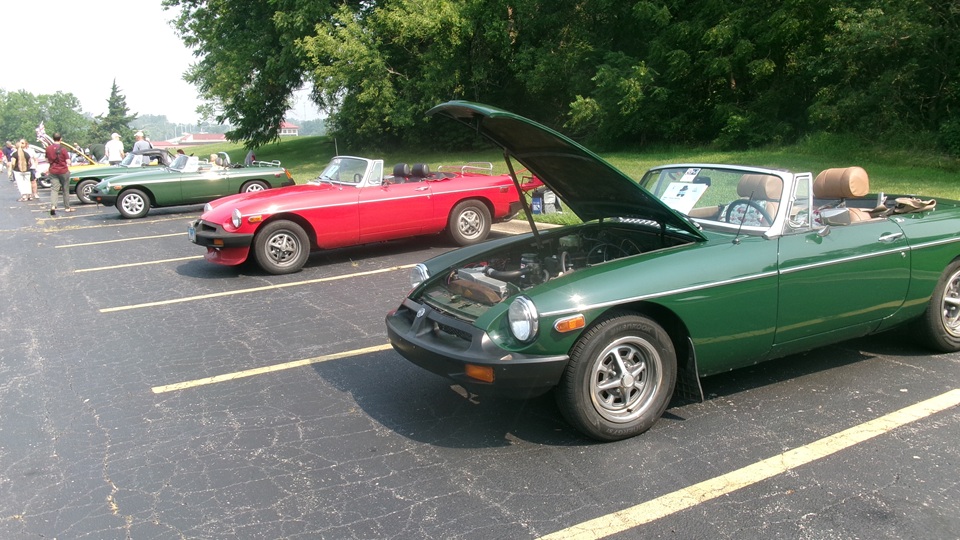
You get a slew of rubber bumper MGB, some with slight nose mods.

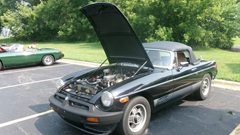
And one late-comer MGA 1600.


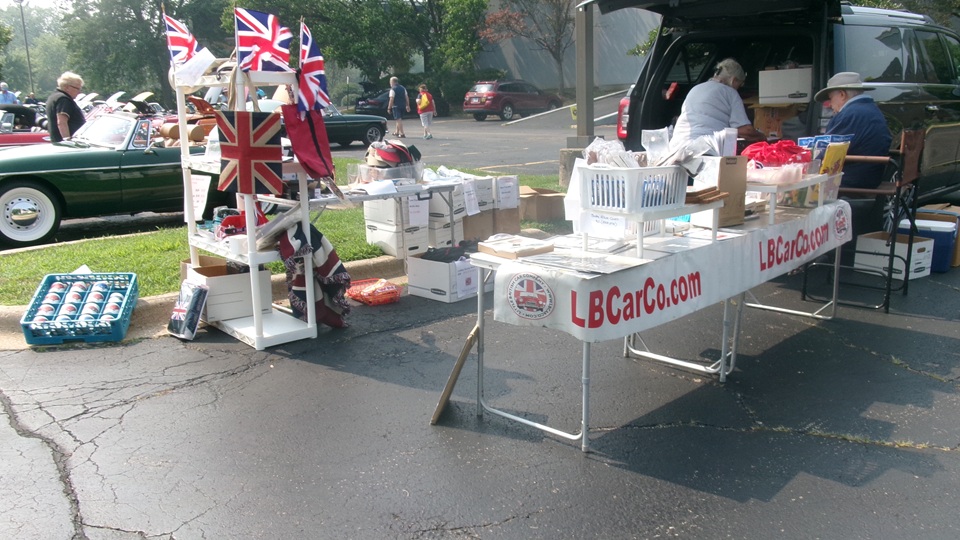
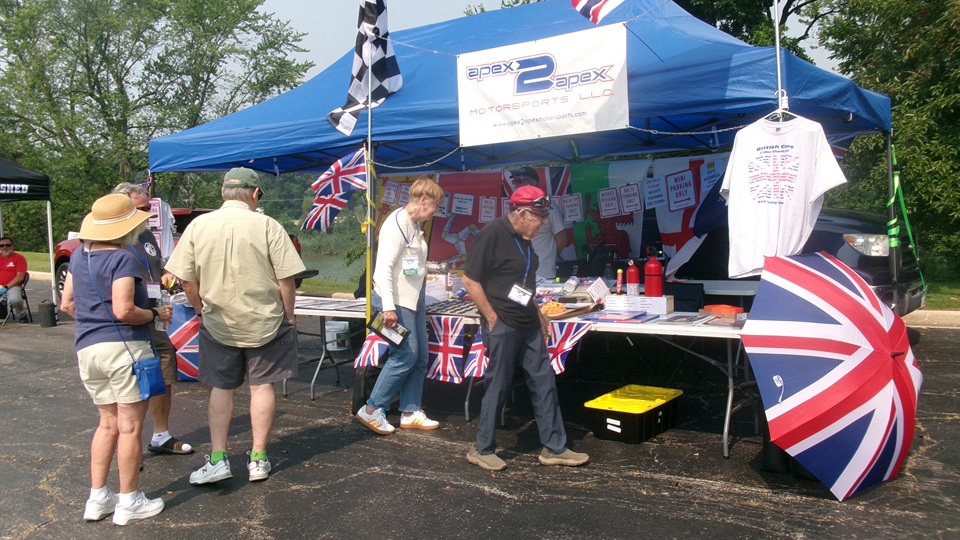
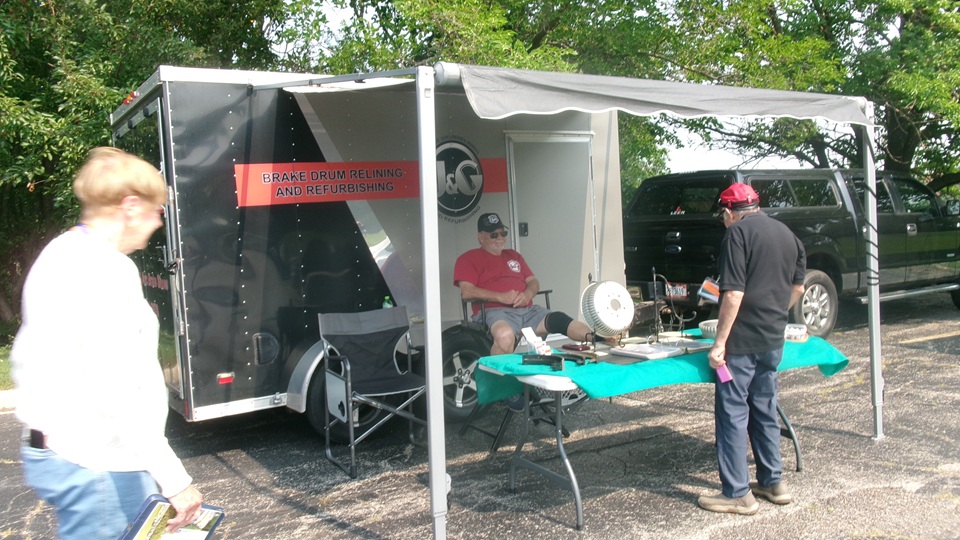
A few vendor tables.

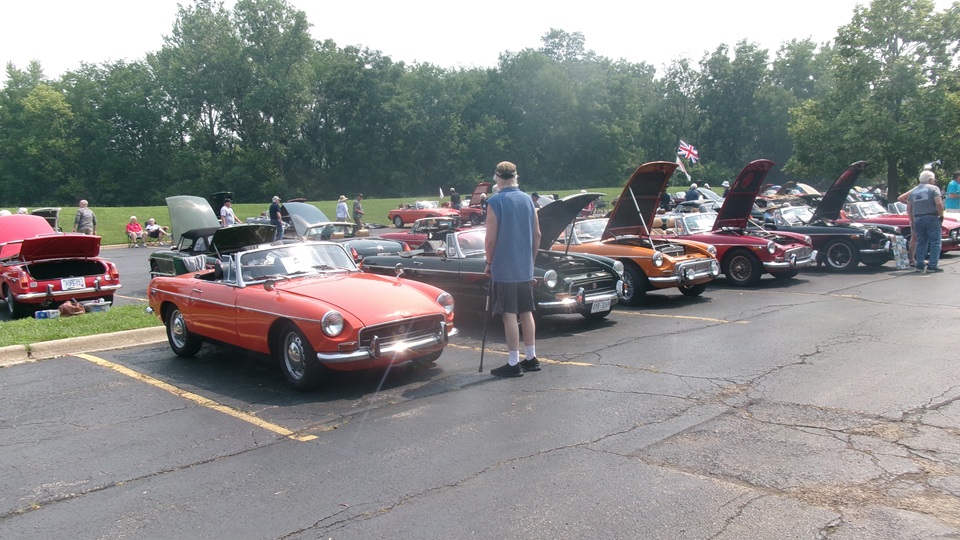
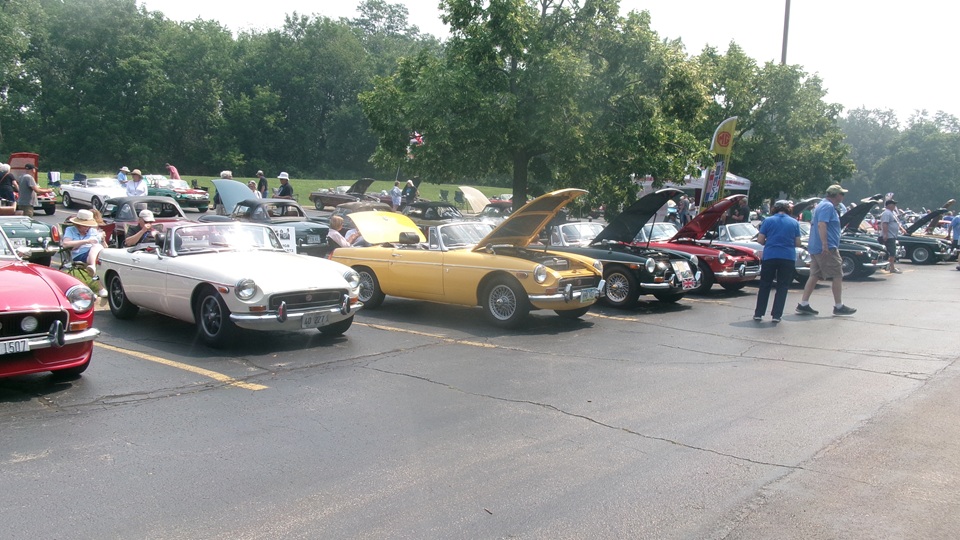
Of course lots of chrome bumper MGB.


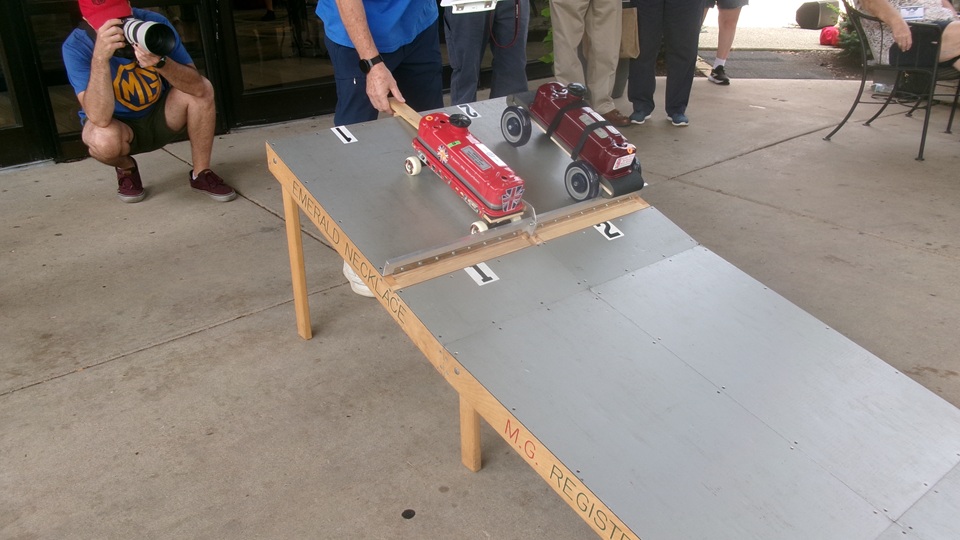
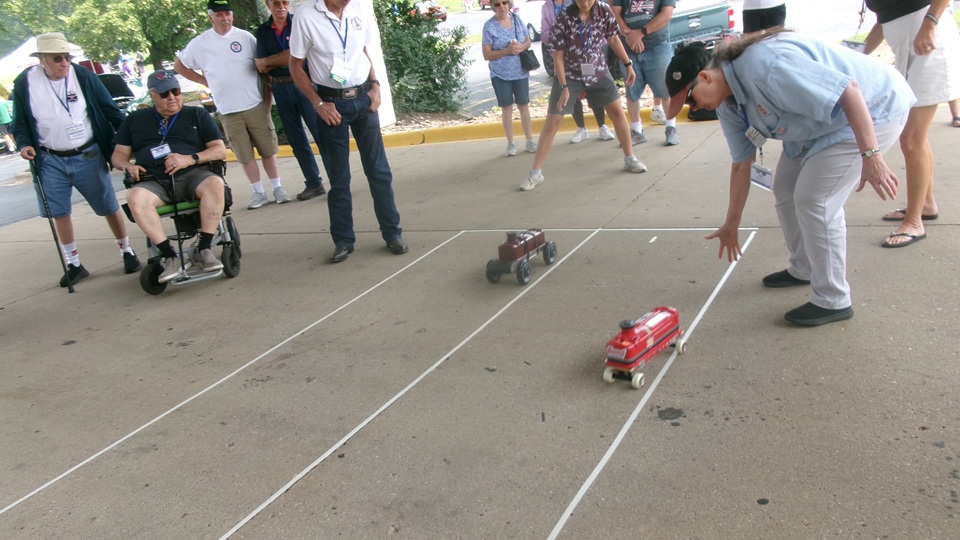
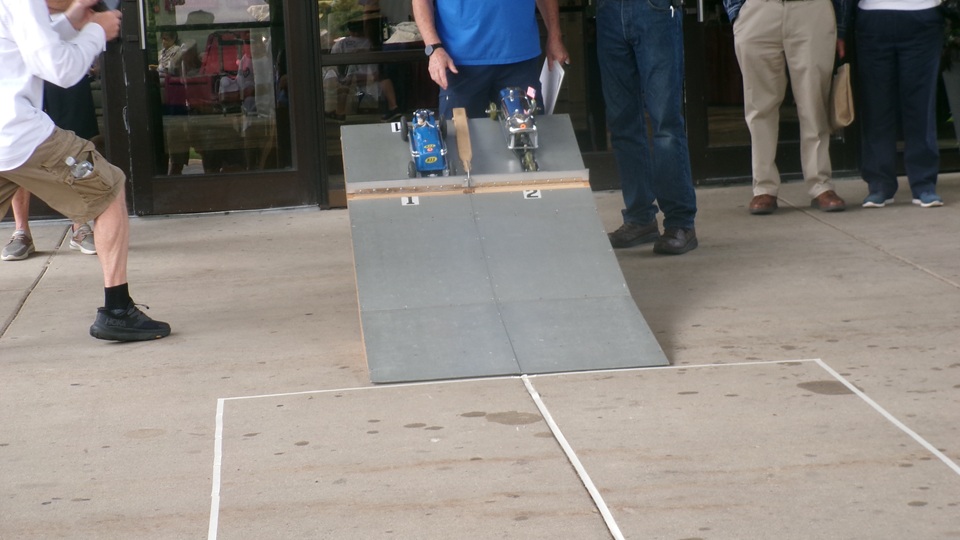
My first time actually watching valve cover racing.

We met a lot of friends here, but we only came for the MG-2025 car show. We soon headed south from Crystal Lake to Sycamore, Illinois before sun down for WiFi time. Late night driving farther west and south to a rest stop on I-39 near Paw Paw, IL.
|