The MGA With An Attitude
MGA Guru Is GOING MOBILE - (February 16 - February 28, 2025)
Sunday - February 16, 2025:
Catching up Saturday's MG Midget tinkering review photos and notes. Reviewing some issues with an MGA with recent clutch hydraulic failure. It seems to have lost fluid in the clutch side of the master cylinder, likely swallowed an air bubble up top. Topping up the reservoir and pumping the clutch pedal did not get the clutch to work (yet). No signs of wet fluid under the master cylinder, even though no fluid had been added in a long time of normal working service. Maybe the fluid leaked slowly over a long period of time. Likely need to eliminate the air bubble before it will work, or before we can figure out why it doesn't work. This will be an interesting e-mail exchange.
Monday - February 17, 2025:
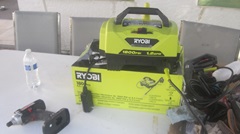

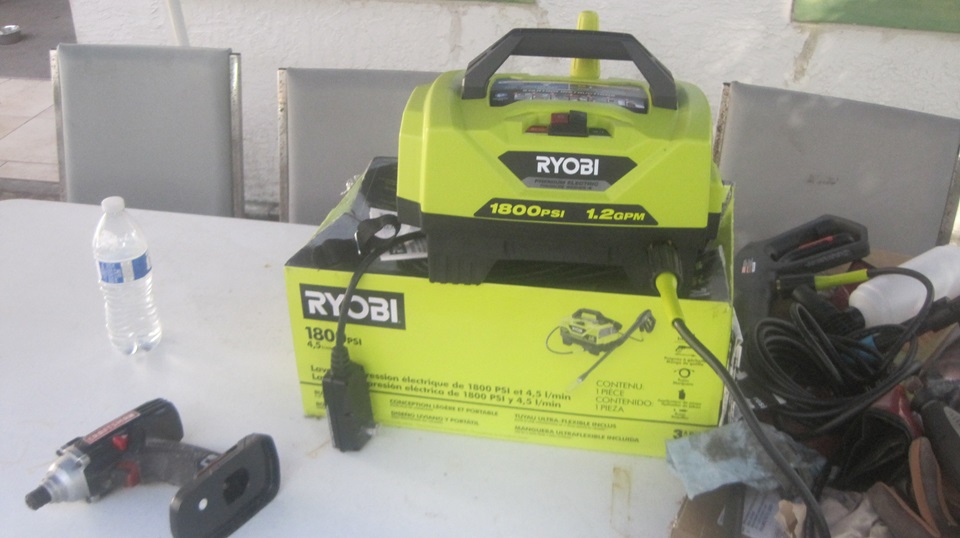
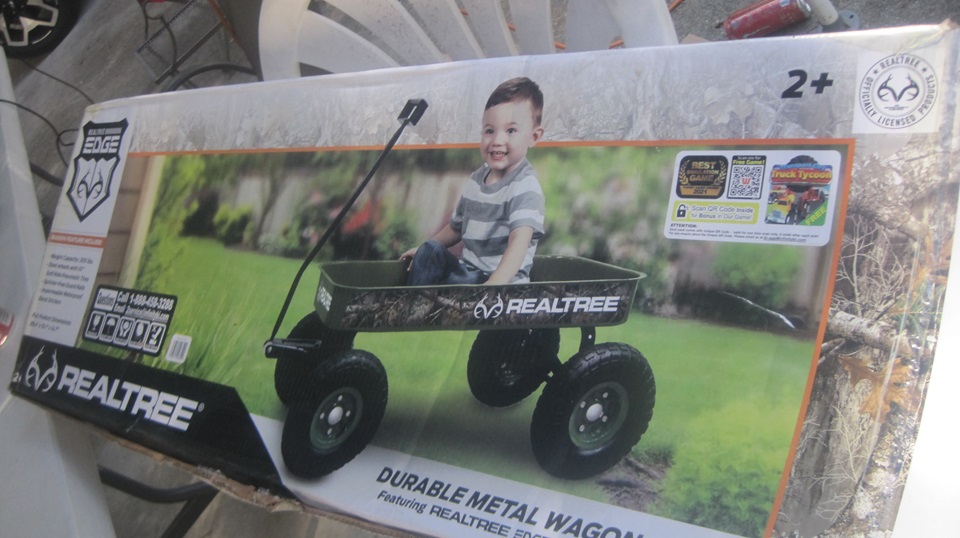
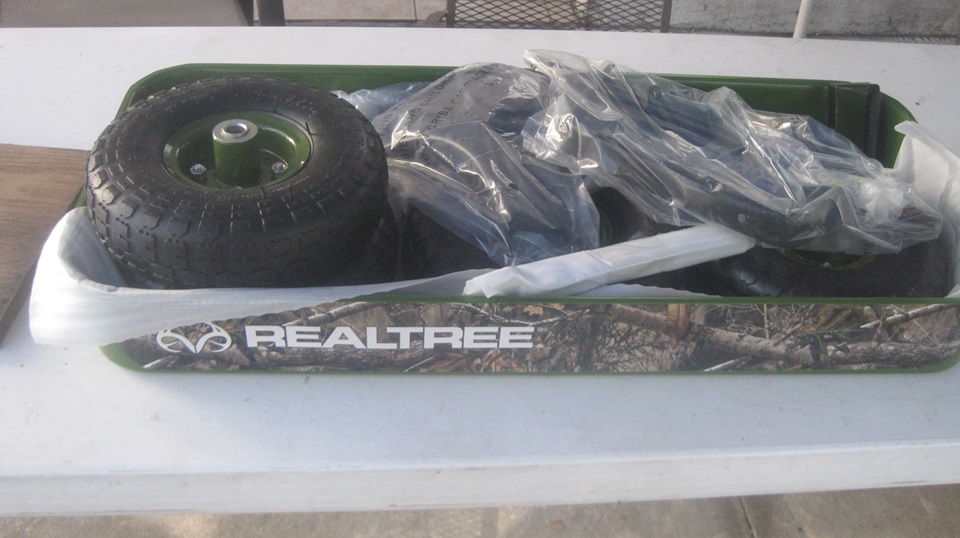
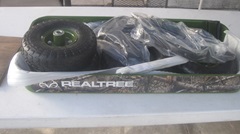
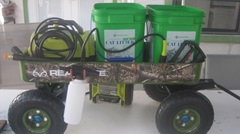
Somewhere between morning work session and lunch we had a little diversion. A cross between a jigsaw puzzle and an erector set. The little green wagon will be future home of the portable pressure washer and organizer for the car wash supplies.
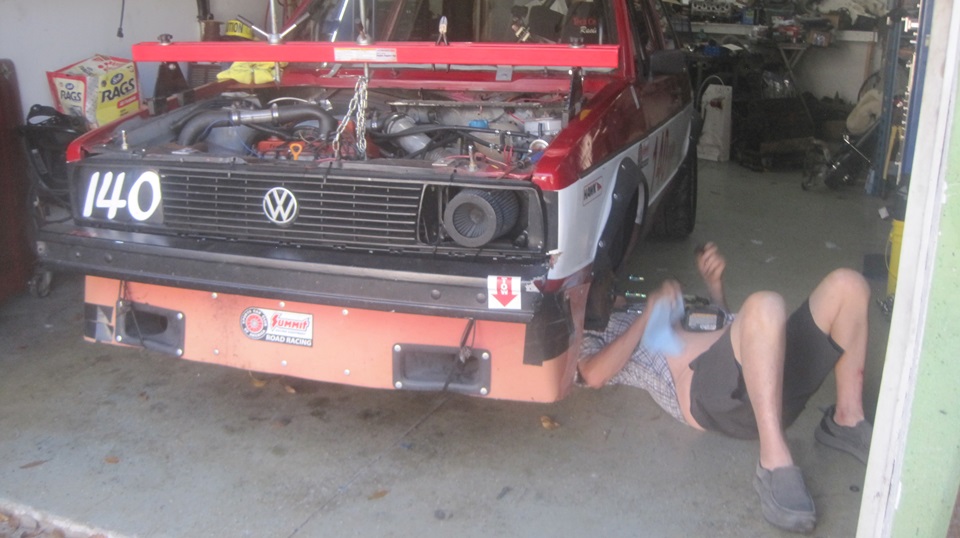
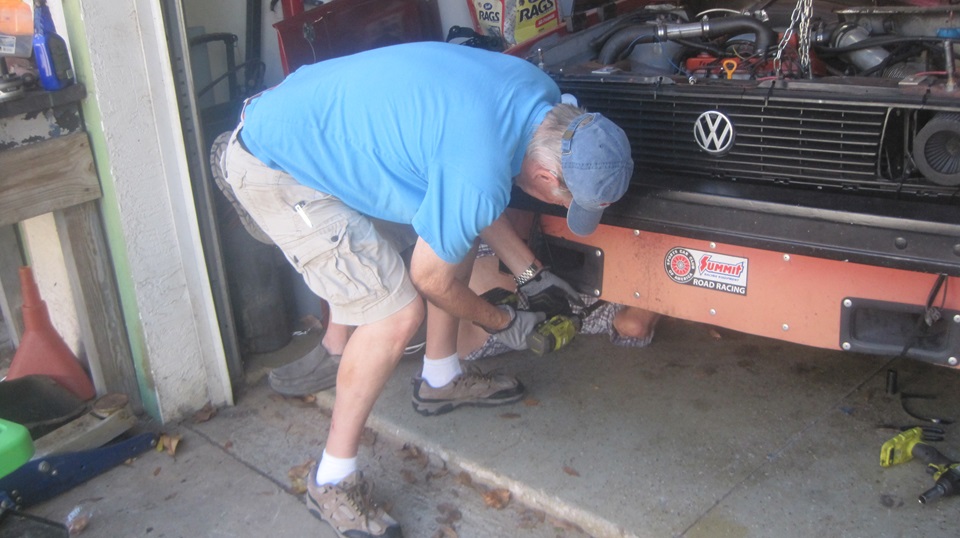
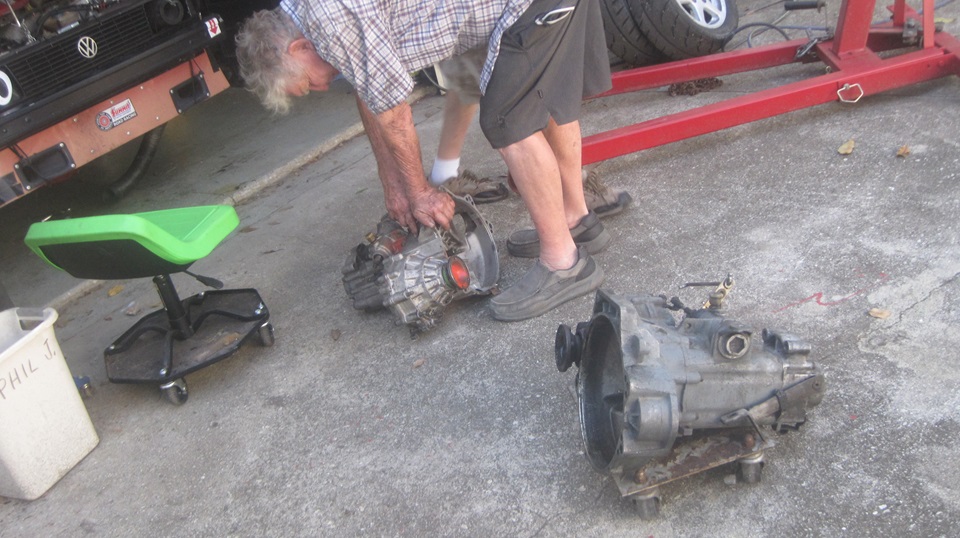
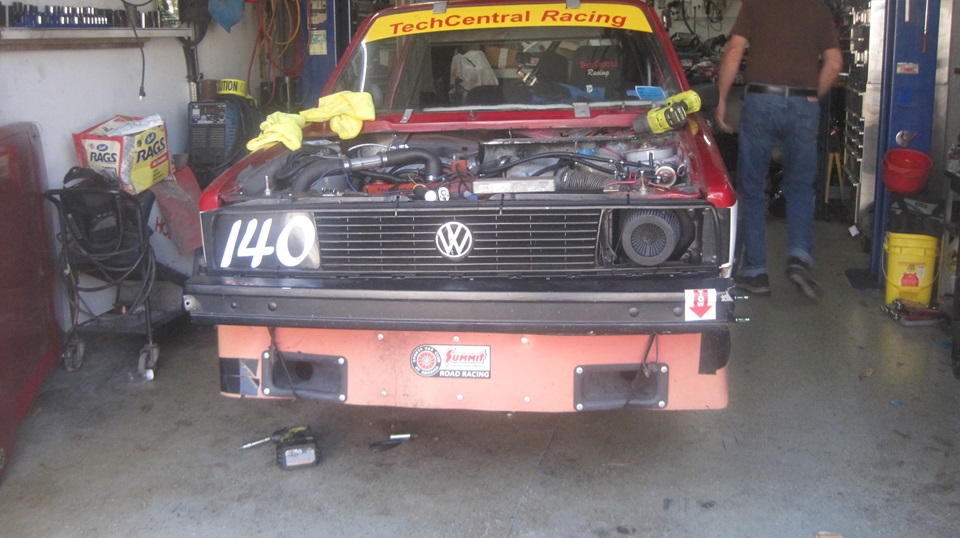
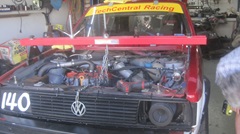
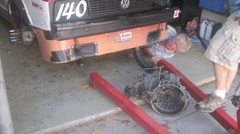
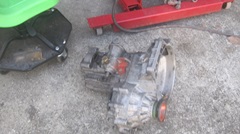
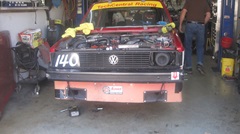
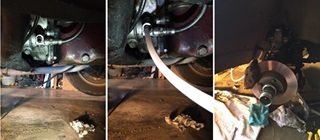
Time to attack the racing Rabbit that was stuck in 3rd gear. Attach the sky crane that sits in the gutters along the front wings. Only one lift chain required to support the rear of the engine just above the gearbox bellhousing. Car on stands, remove the front wheels, start disconnecting things underneath. Been here before, and the experienced team work is good. Disconnect inboard U-joints from differential, and tug on the brake rotors.
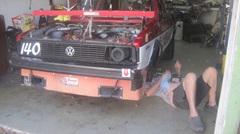

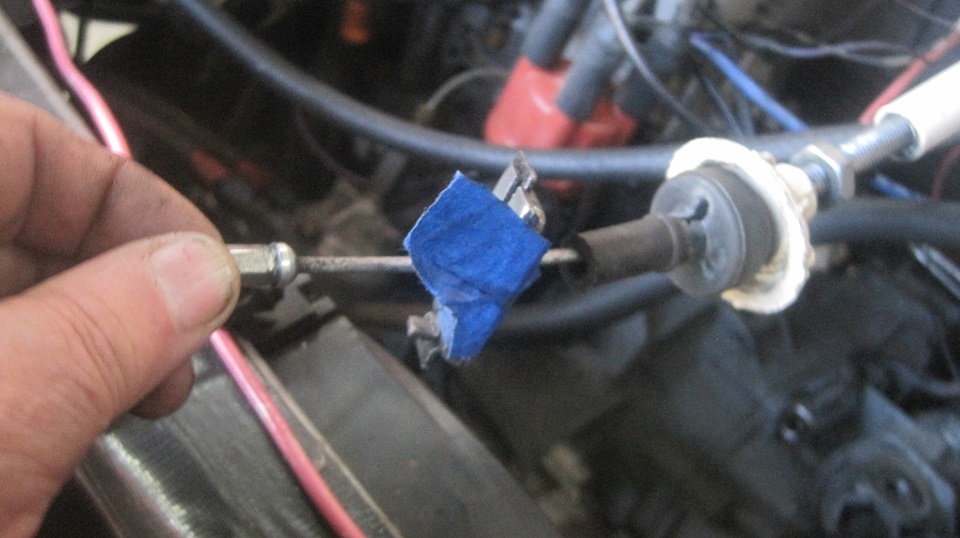
Disconnect shift cable(s), save the loose parts. Disconnect battery ground cable. Remove starter motor. Remove the transmission rubber mount and frame bracket. Remove all but one bellhousing bolt, then lower hook on the sky crane to lower tail of engine.

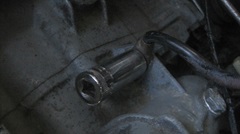
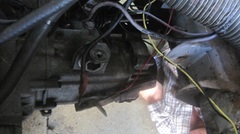
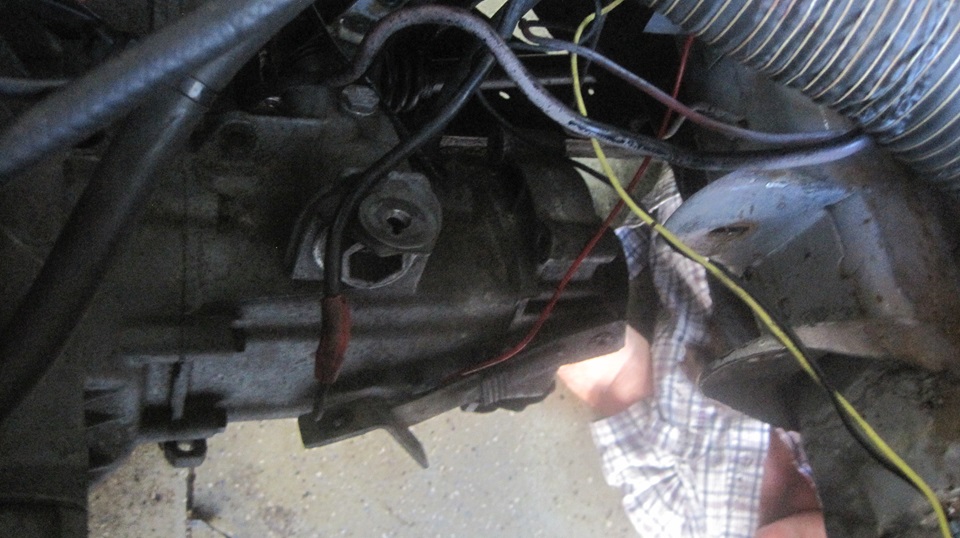
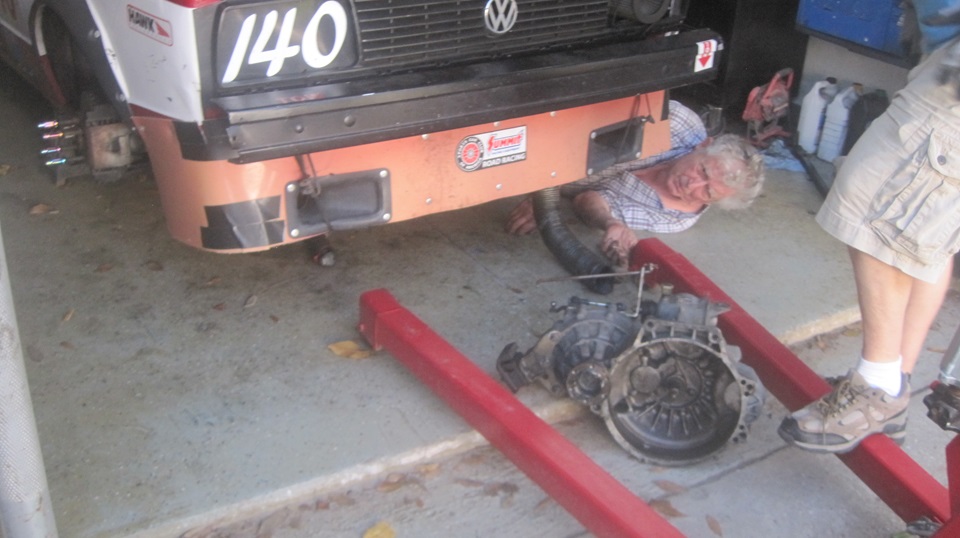
Use engine hoist with one chain to take weight of the gearbox. Remove the last bellhousing bolts, pull gearbox away from engine,set it on the floor and slide it out the front. There is a spare gearbox ready to install, but that can wait for another time.

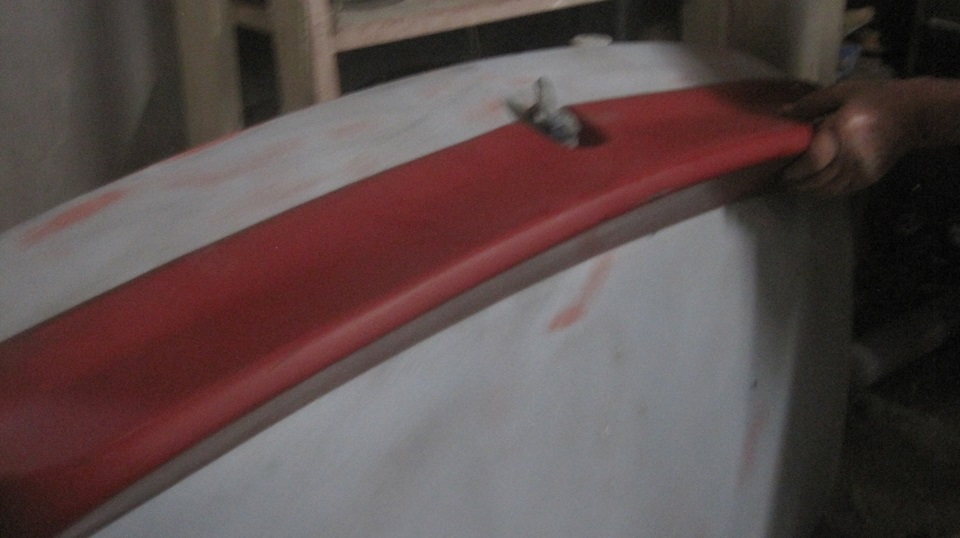
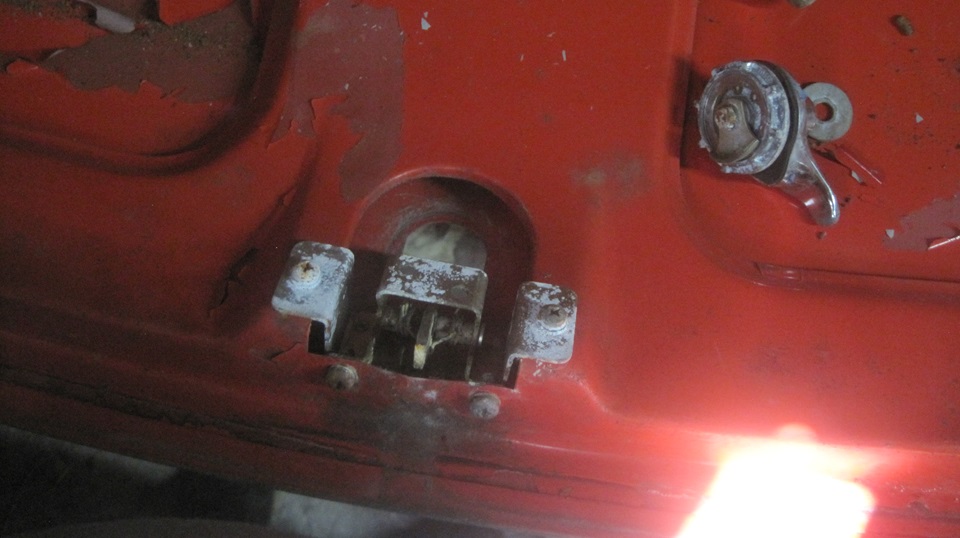
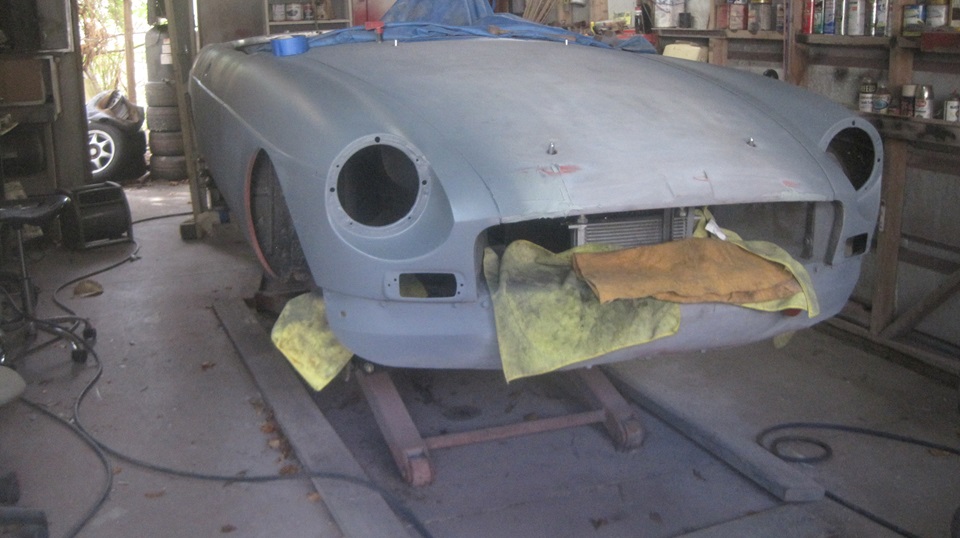
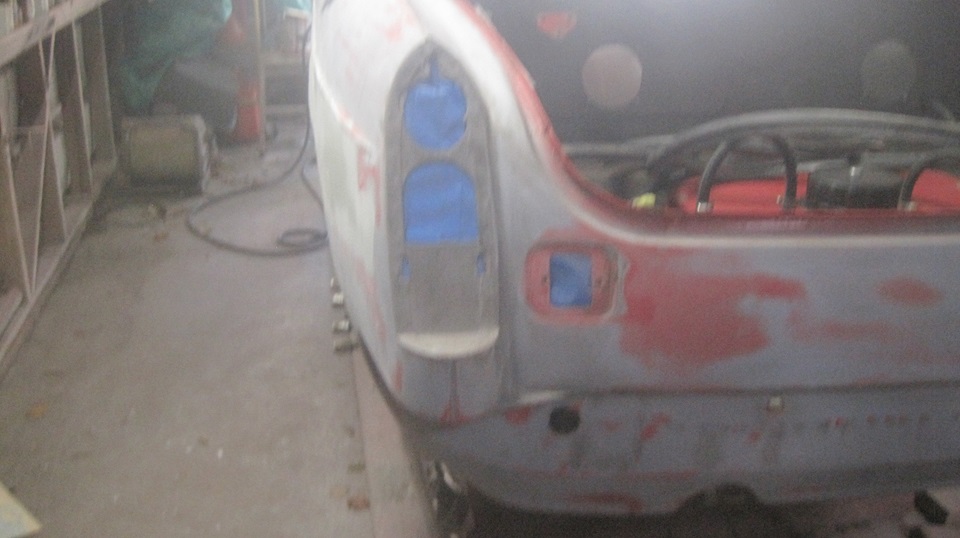
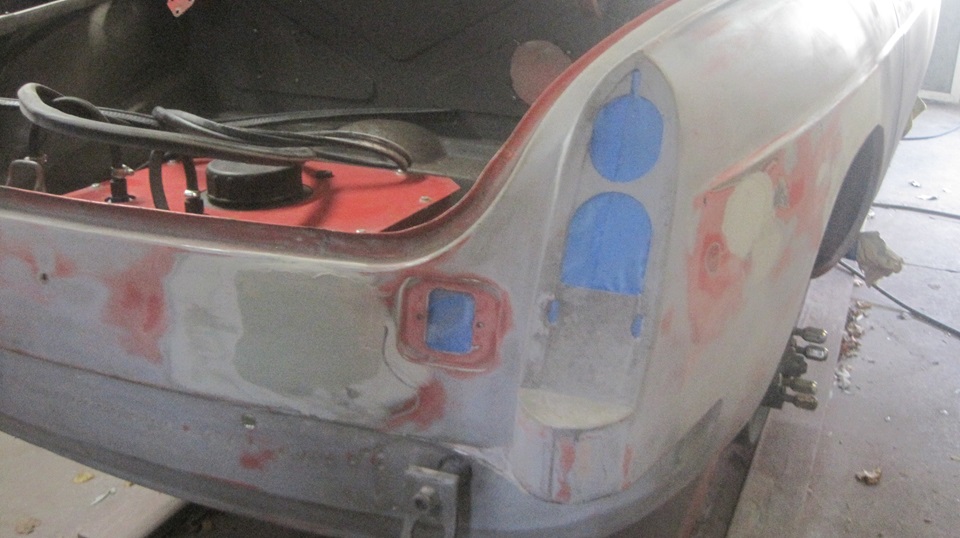
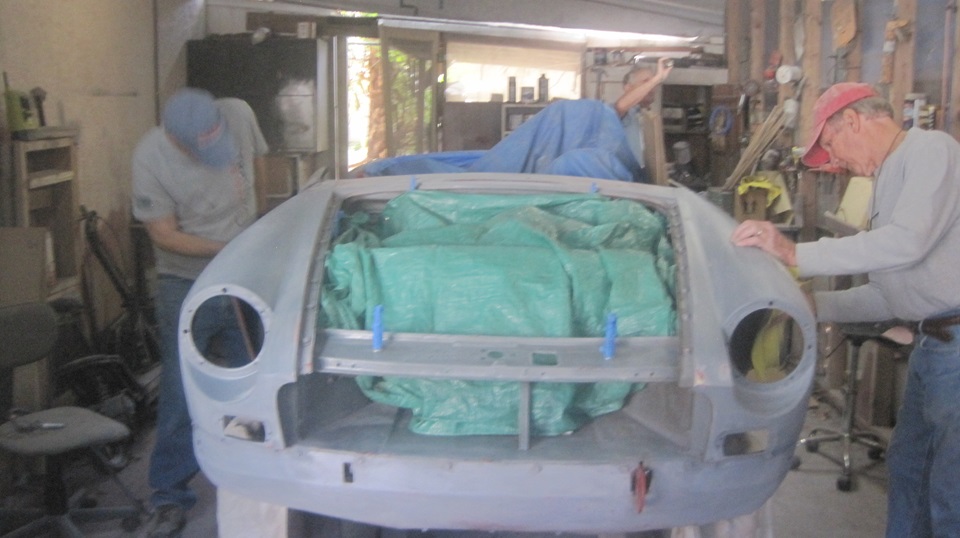
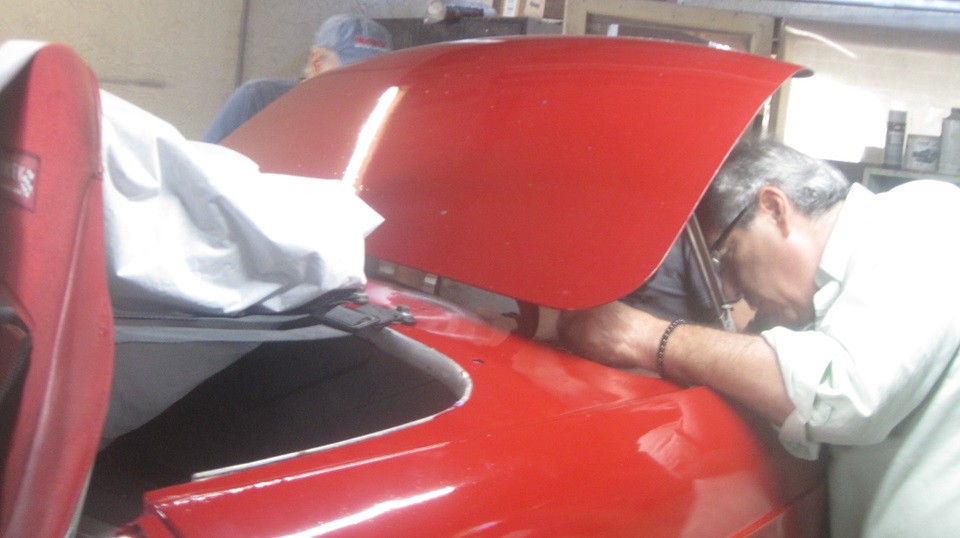
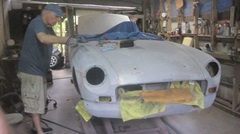
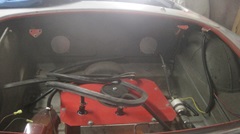
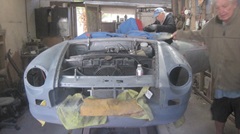
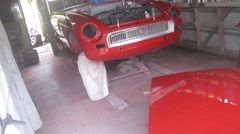
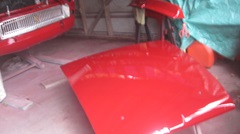
Another look at Wanna-B Tina in the paint booth, following last Fridays primer coat. Notice a couple more small dents and blemishes that still need to be smoothed over. Remove boot lid and boot seal, tape inside tail light openings in preparation for more paint. Playing with a nice fiberglass duck tail spoiler for the boot lid. Not sure anyone knows where it came from, but it's here, so might as well install that on the new race car. Remove the boot latch key-lock and press-release button in preparation for painting. Out of time today, make appointment to come back on Wednesday.


Tuesday - February 18, 2025:
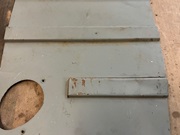

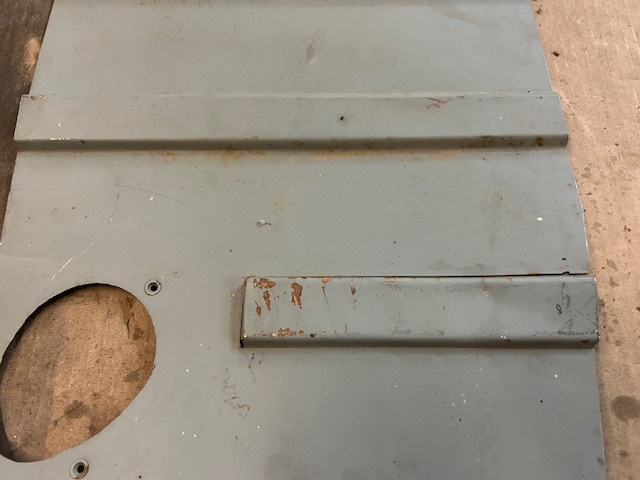
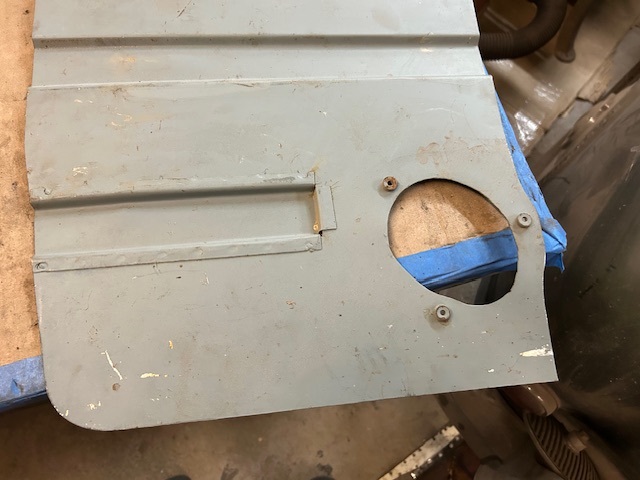
Catching up Monday's photos and notes. Updating some Restoration Tech pages for MGA boot floor replacement panels (some poor quality). RT422m1.
Wednesday - February 19, 2025:
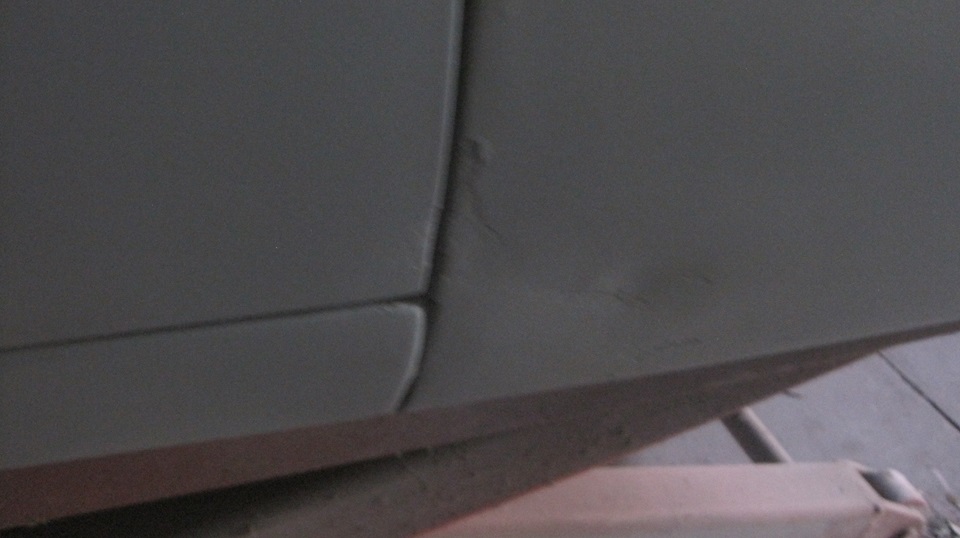
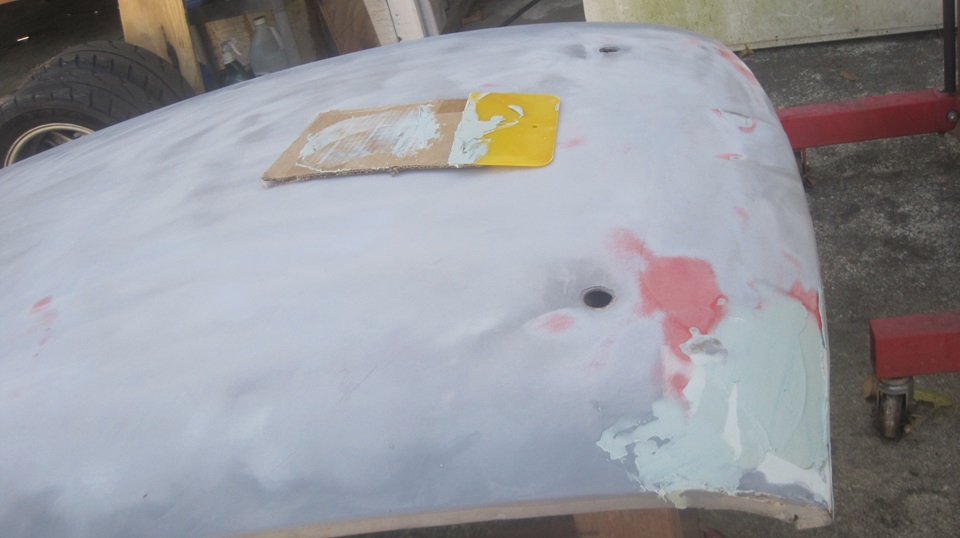
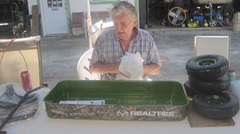
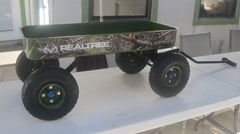
Daily progress news. The little green wagon got some air in the tires, and has acquired it's first load of pressure washer and a couple of cat litter buckets to accommodate car washing supplies and wash water (or whatever). -- A little work on Tina, drilling out some rivets to remove a cover plate from the air intake vent fore of the windscreen. A decent picture of mild dents low on the RF wing (which we will not mess with today).

Some time fiddling with sand paper on the rear duck tail spoiler, otherwise get away, low priority.


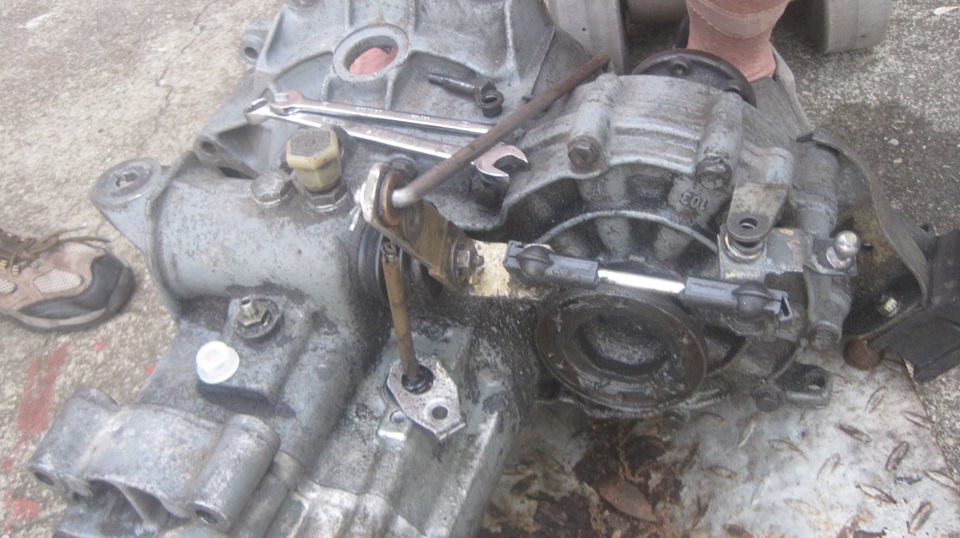
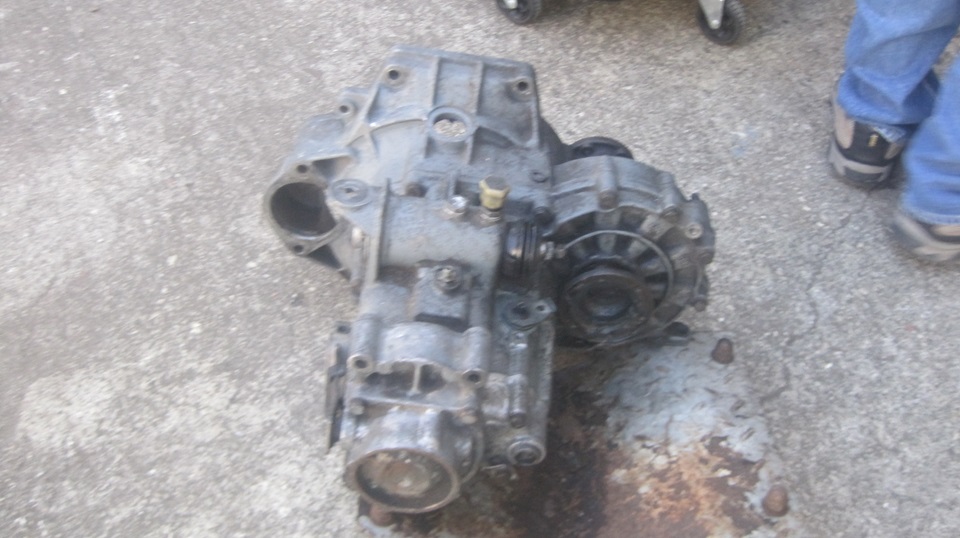
 Higher priority is the intent to get the replacement gearbox into the racing Rabbit. Story here, this gearbox came out of another Rabbit and had about $1000 poured into it for some internal repairs (hoping it was worth it). The chore today was to transfer some external parts from the removed gearbox onto the new on. You know, a couple of those 15 minute jobs that turn into an hour. A few new plastic bushings, and the bell crank parts are done. One screw to secure the speedometer cable stripped the threads and was tapped out from 6-mm to 7-mm, but now someone has to find and buy a 7-mm bolt. Don't laugh, that's what turns 15 minutes into an hour.
Thursday - February 20, 2025:
Seems like we took the day off, but not everyone did. At least the racing Rabbit got its new gearbox installed.


Friday - February 21, 2025:
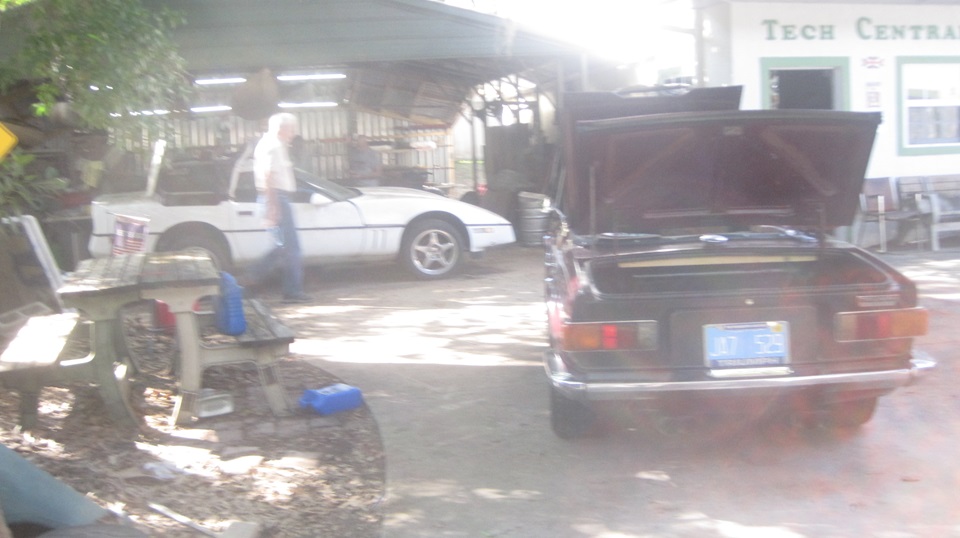
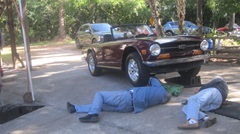
Open tech Friday at Tech Central. Plenty of cars there before us, and some people got an early start.


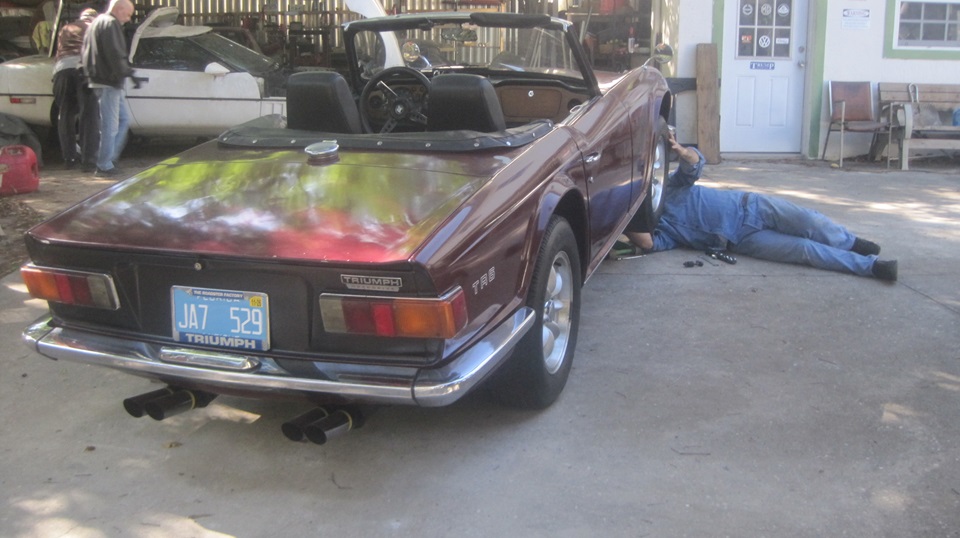
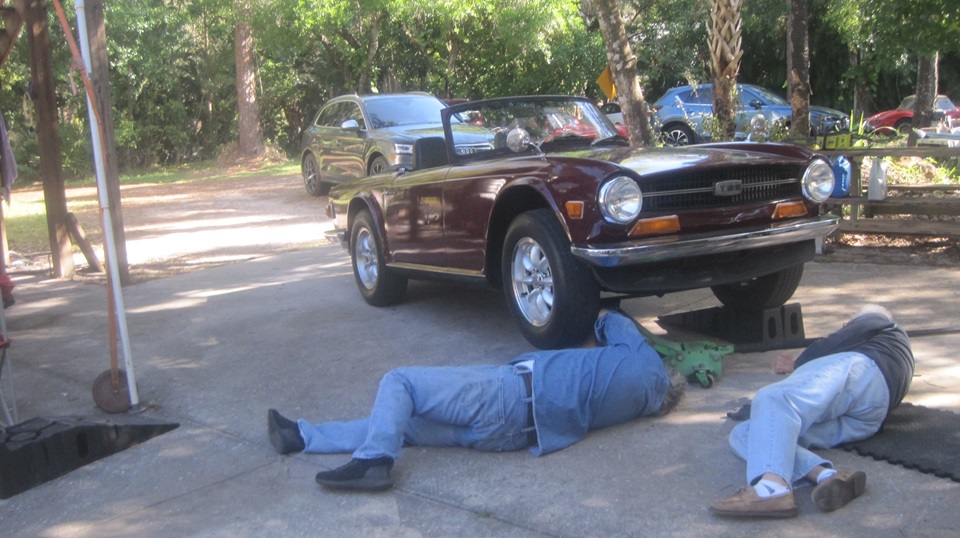
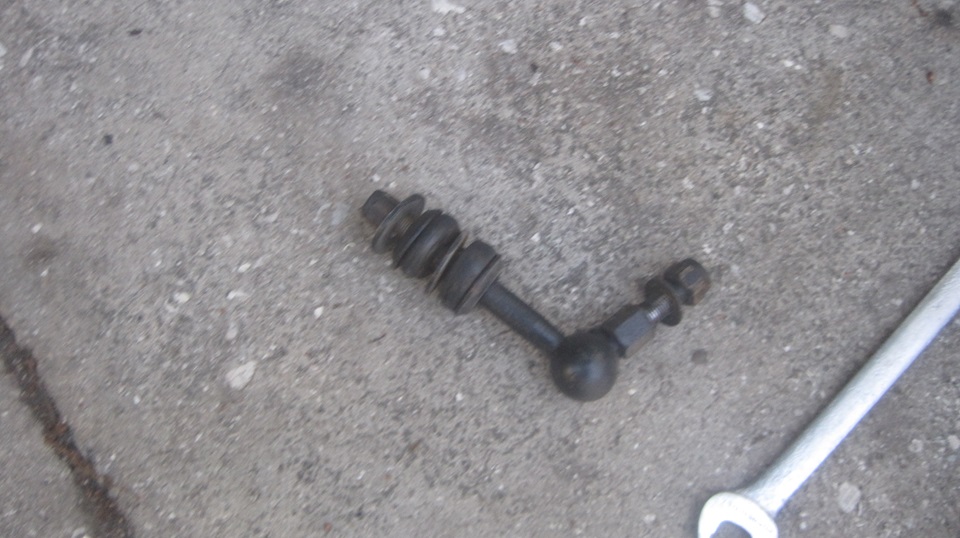
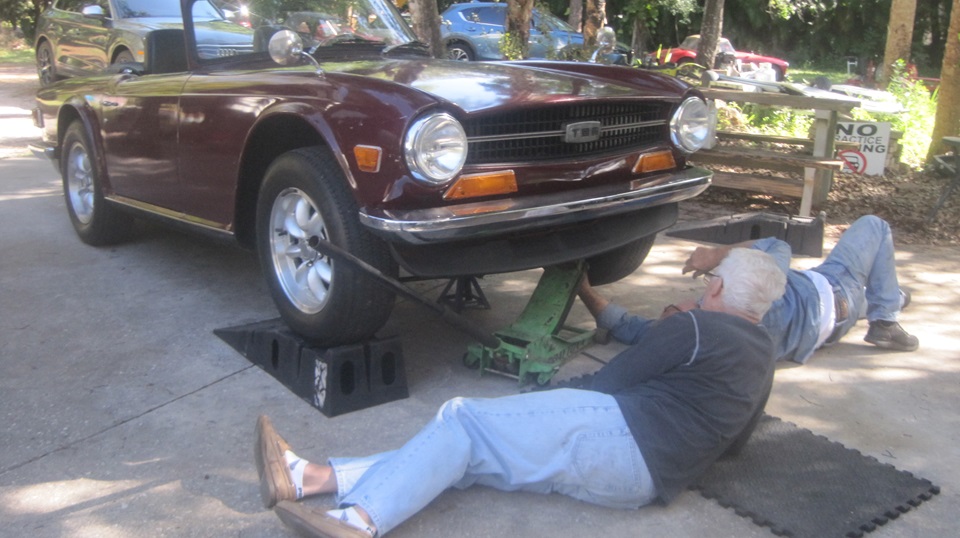
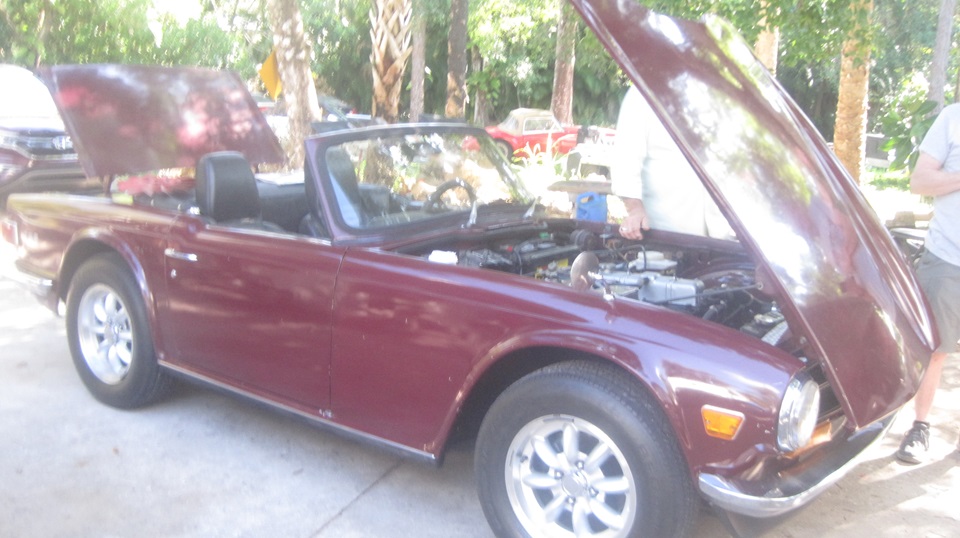
 The TR6 was having new sway bar links installed.


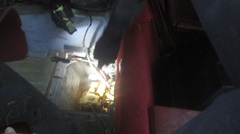
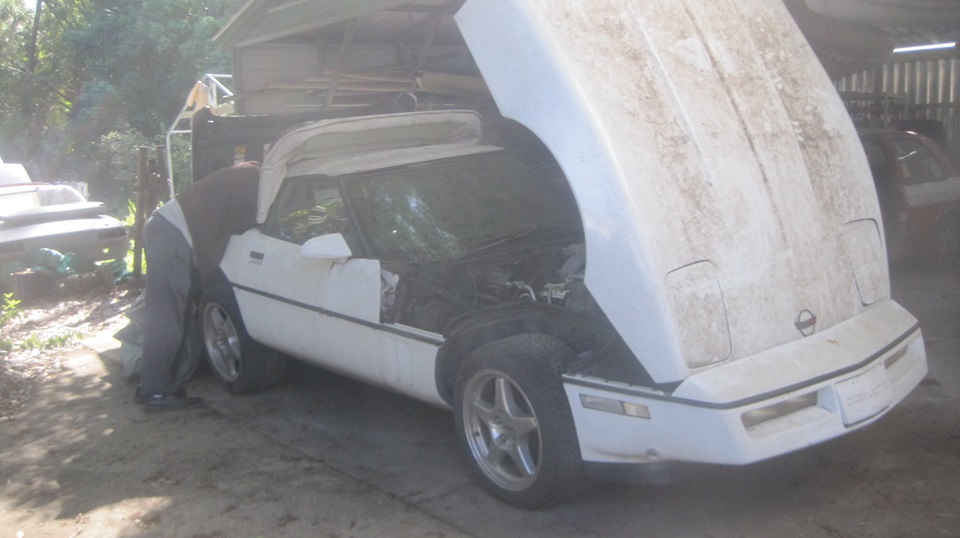
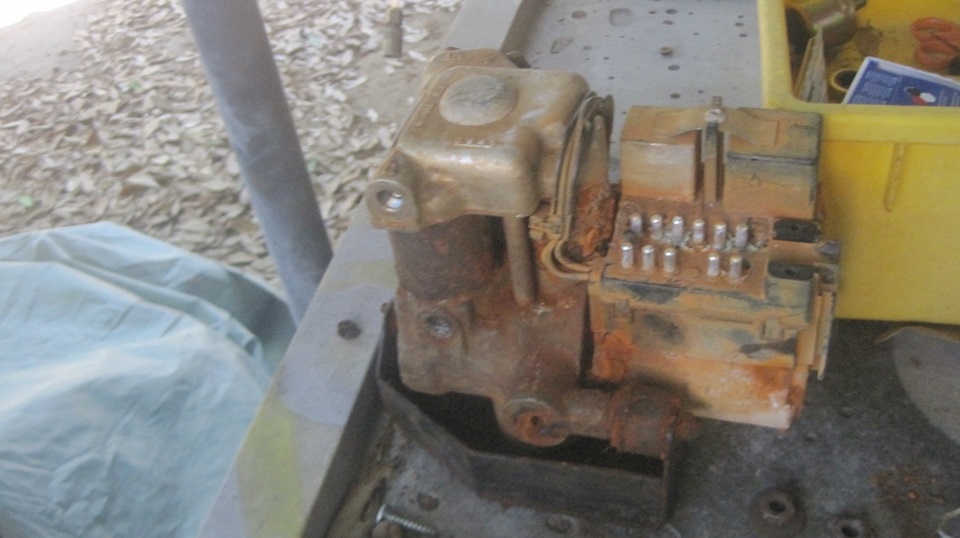
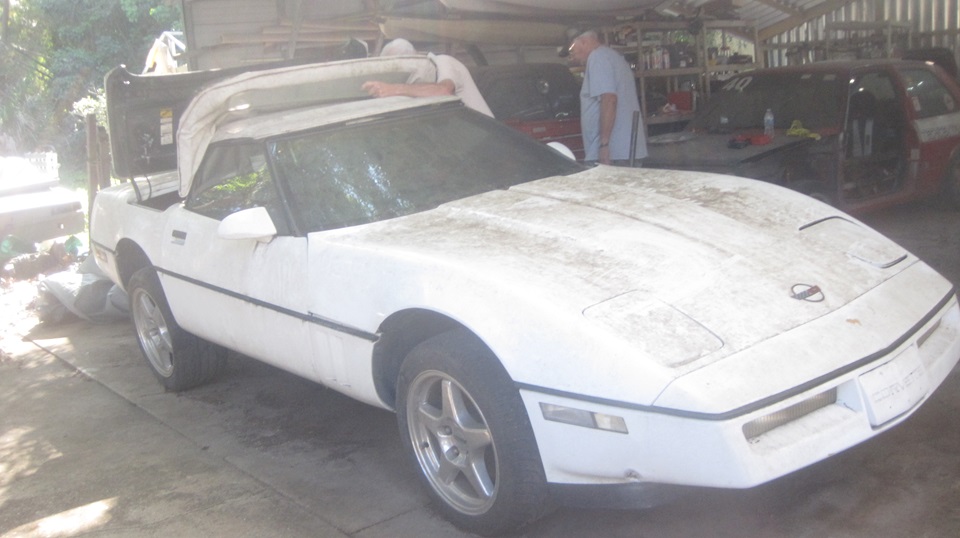
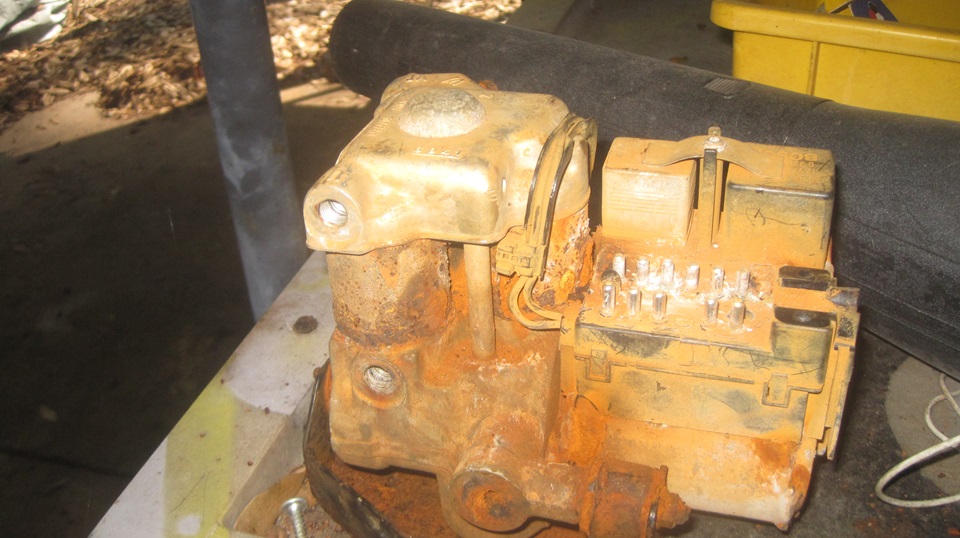
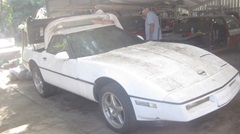
The Corvette is still wanting its ABS unit to be reinstalled. It looks a little crusty after cutting ll the pipes to get it out. Forming and fitting new pipes today, but slow going. Too many failed forms on the double flare tube ends.
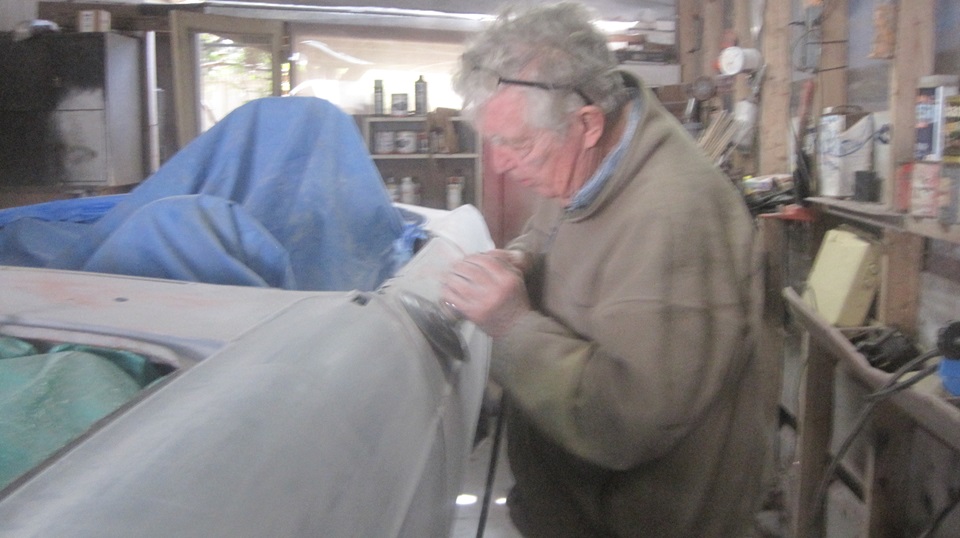
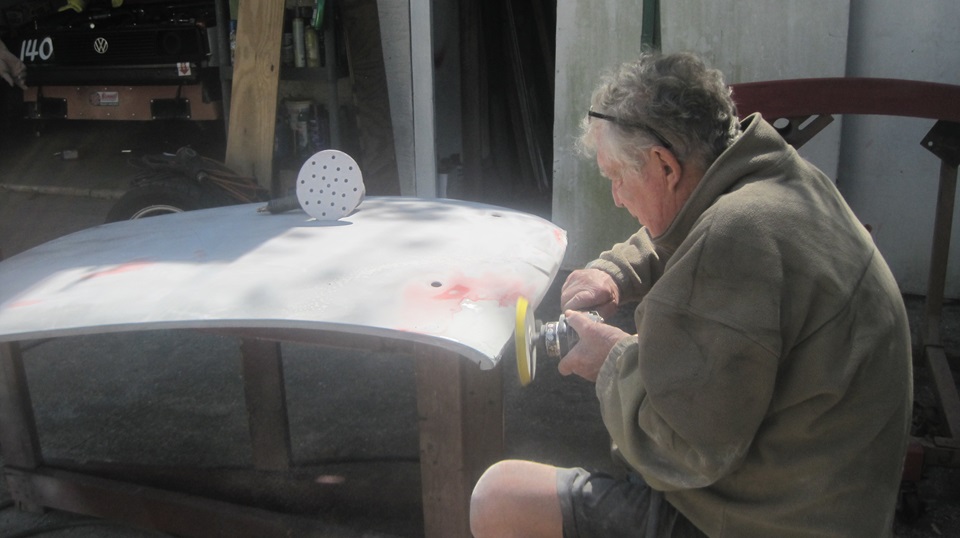
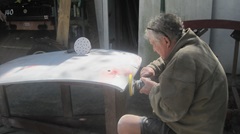
Tina the Wanna-B race car was sitting patiently for skin care, filler, sanding, priming.


More small dents than anticipated, so there go a few more hours.


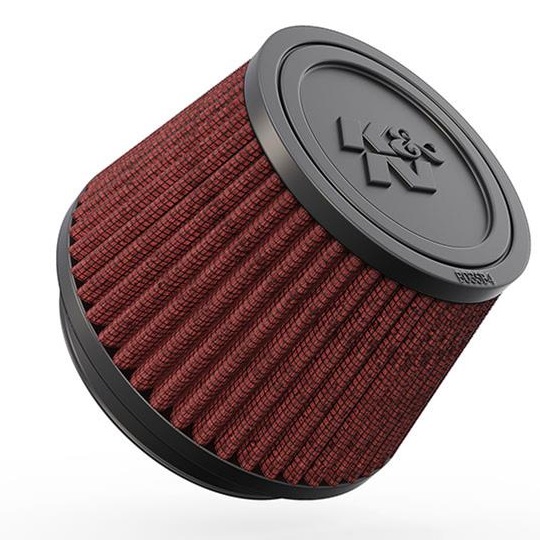
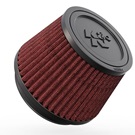
Evening text message. I think our MGB air filter adapter plates arrived in the post. Now we can spend some money on K&N conical air filters we hope to install on the MGA.
Saturday - February 22, 2025:
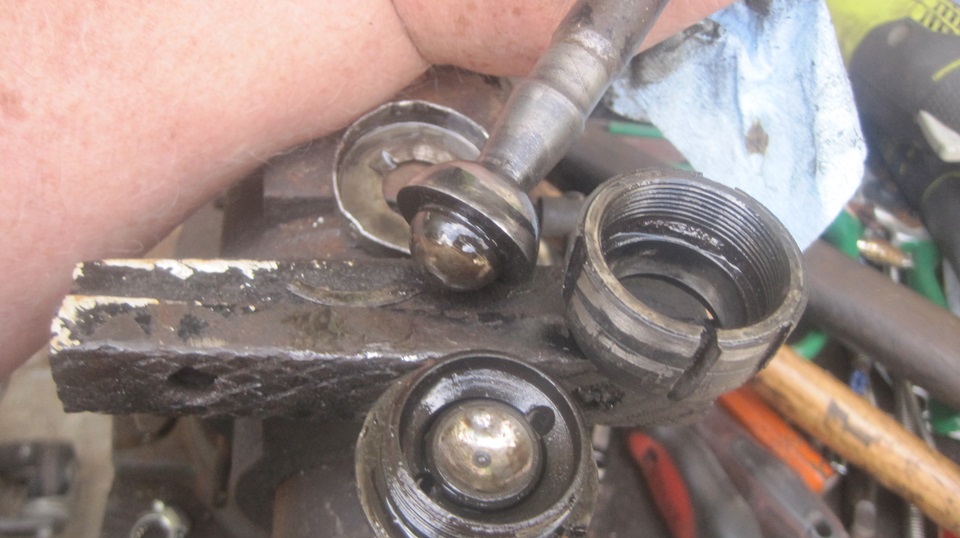
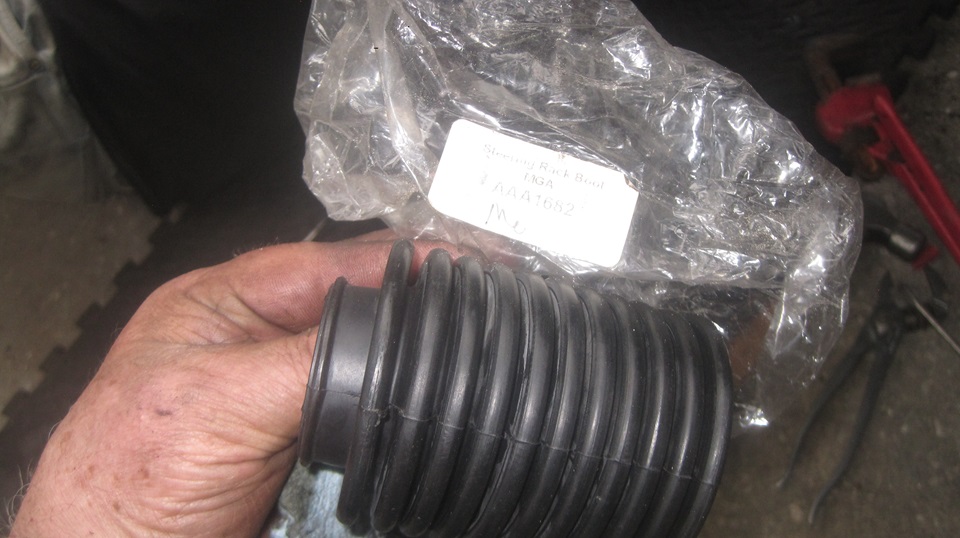
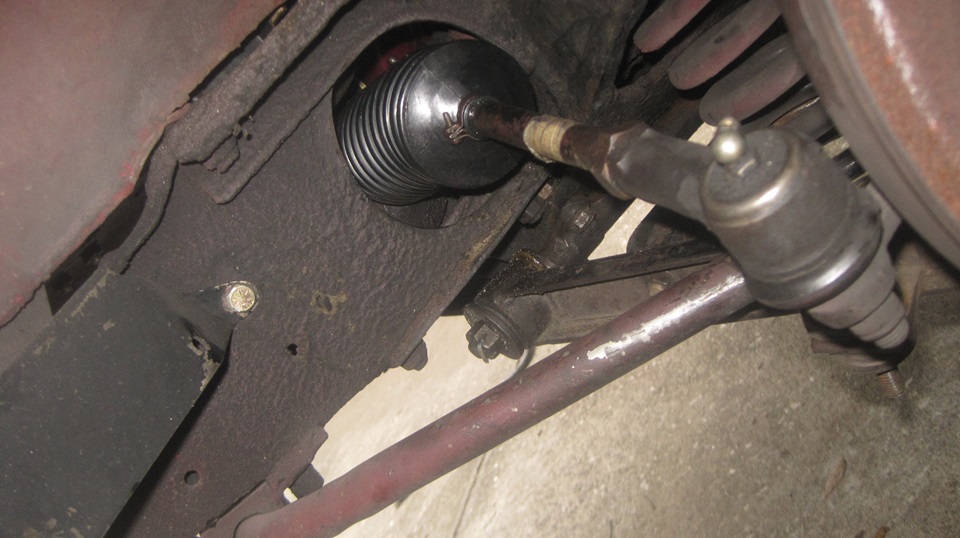
No appointment with anyone else, so today we would do a little work on our own car. There was a bit of looseness at the left side inboard tie rod ball joint, the one screwed into the end of the steering rack and sealed with the rubber gaiter. We changed the one on the right side three years ago, but 50,000 miles later it is finally time to do the other one. We bought all the parts at the same time,so no special order required. --Jack up the car, get the wheel off, disconnect clamps at both ends of the rubber gaiter, and pull the boot away from the rack housing. Tape around the tie rod with a mark on it to know which side is up. Crack the jam nut loose from the tie rod end, then unscrew the tie rod while counting turns until it will disconnect. Record 18.5 turns for reference. -- Use a thin screwdriver and hammer to knock back a lock tab cup around the big end of the inboard ball nut, and unscrew the ball joint assembly with a pipe wrench.
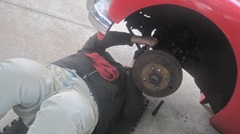
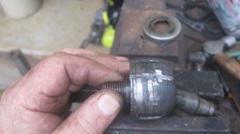
We know from prior experience that these things are impossible to unscrew after decades in service, so we don't bother to try. Clamp it in the vice, cut it down one side with a thin grinding wheel in an angle grinder, smack it with a chisel to split the nut, and unscrew it easily. Install new parts, and shim the joint to zero clearance. -- Having done this before, I don't bother fiddling with shims. The new joint is very tight before fettling. Take the small spherical seat button from inside to the bench grinder, and grind a bit from the flat rear surface to thin out the button to loosen the joint. If the joint gets too loose, then grind a bit from the face of the acorn nut housing to tighten the joint. With a fewm ore minutes of fettling you can get it to tighten up with zero clearance, no shims required. -- Reassembly is the reverse of disassembly, but in this case, easier. -- We tore the old rubber boot, but of course we had a new one handy. After fitting the inboard seal clamp, open the small end with a fat screwdriver to insert a small hose, in this case 1/4-inch clear vinyl tubing. This tube is part of a small hand pump that fits on top of the oil bottle making it a cinch to inject the gear lube for filling the steering rack. Then pull the hose out and reinstall the small end clamp. You know it has enough oil if it will gurgle when turning the steering from lock to clock.


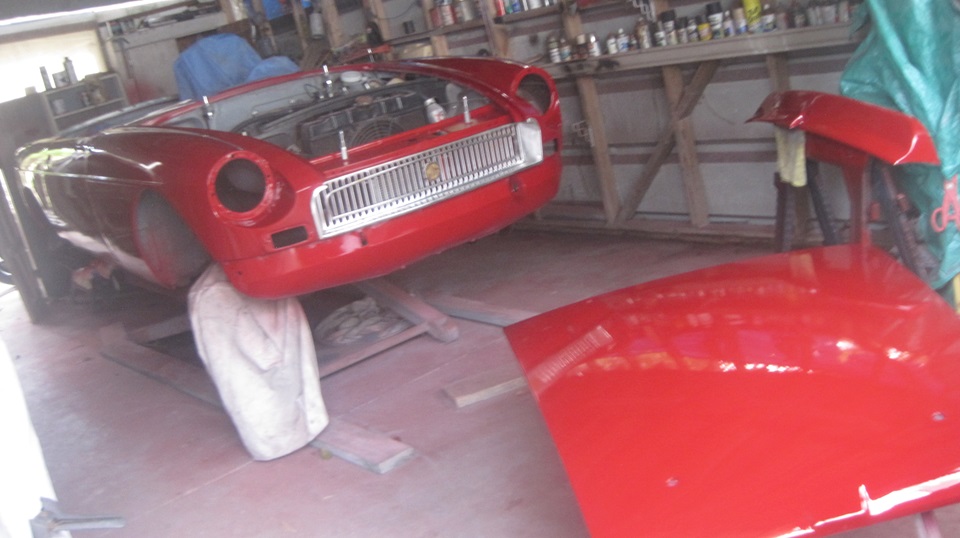
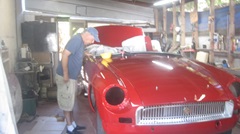
While putting the wheels back on, we found one lug nut that would not tighten up First thinking it was a loose stud, we had the bearing hub removed before we discovered it was only a stripped thread in the lug nut. And we had a spare lug nut in the Magic Trailer, so just put it back together. -- While we were cleaning up and putting tools away, I happened to walk past the paint booth, and whaddayaknow, Tina is Red! The guys were sanding on it this morning before lunch break. I recon they sprayed it red in mid afternoon when we were too busy to notice. Jerry said if he hadn't insisted they were doing it now, it might not be done for weeks, or even months. Good move.

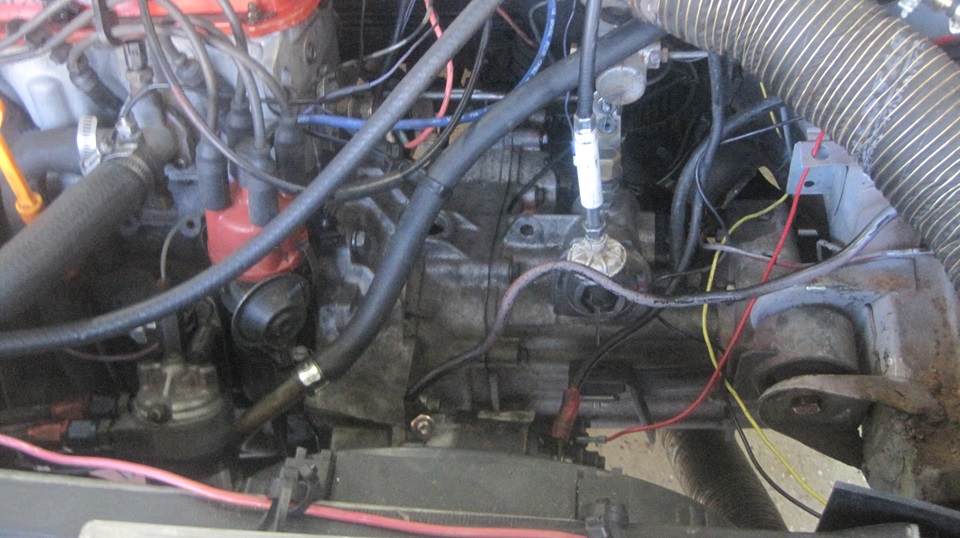
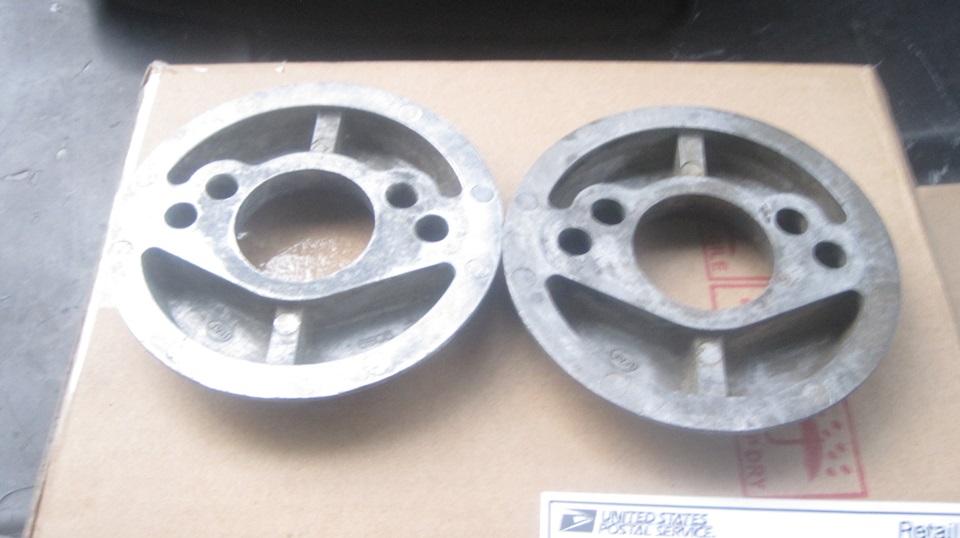
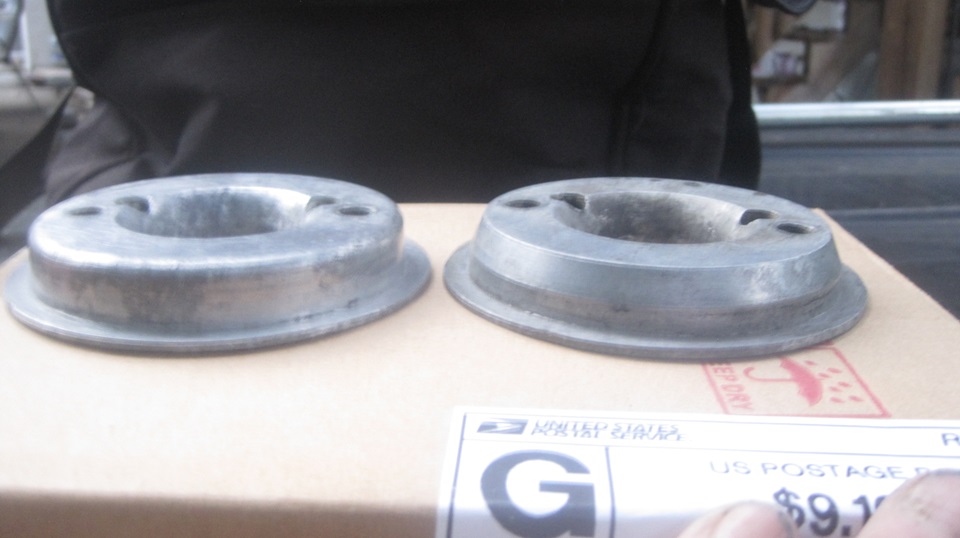
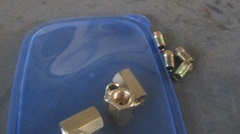
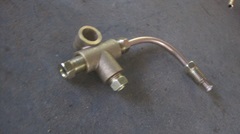
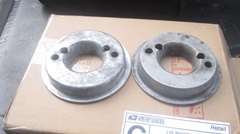
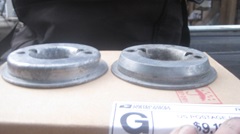
Hey, we got a mail pack late yesterday. The good news is, my air filter adapter plates are here. The bad news is, one of these things is not like the other. One has a nice cylindrical edge ready to accept a band clamp. The other has a taper angle about 30 degrees, and no way that one will take the same clamp. I had no idea there were two different flavors. And they both have the same maker's brand symbol and the same 4-digit casting number, JVM 6506. Now what?

Sunday - February 23, 2025:
 Raining most of the day in southwestern Florida, so it was a good day to stay inside. A friend sent some photos and notes to post a new Hydraulics tech page on Reverse Bleeding the stubborn Clutch. -- Trying to get a parts order organized, but wasn't happening, too many phone calls and other diversions.
Monday - February 24, 2025:
More rain today. Still looking for another MGB air filter adapter plate, and an MGB water pump pulley. My MGA seems to be gradually morphing into an MGB, and it would be nice to have a service Parts List for MGB, so now looking for one of those as well. Someone is sending me a PDF copy of some MGB parts Catalog, so maybe I can see what I can do with this document.
Tuesday - February 25, 2025:
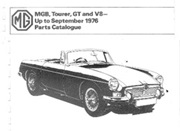
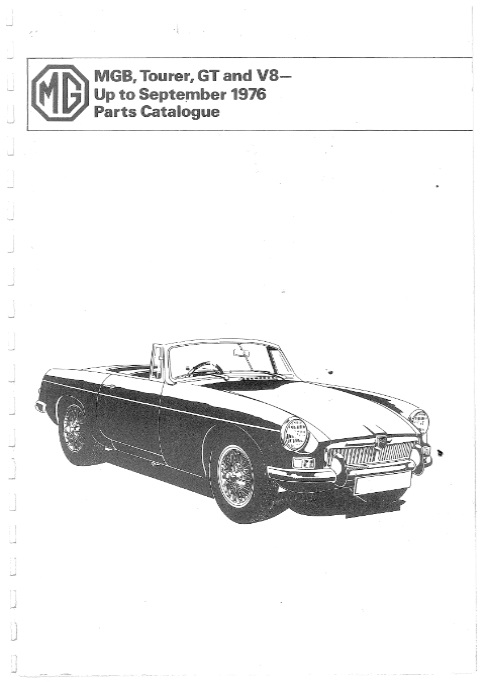
Okay, we have enough time to do this, so I put together a new Books Tech index page for the MGB Tourer, GT and V8 (up to September 1976) Parts Catalogue, linking it to 25 PDF files for the 25 chapters of the 446 page document. Having finished that, I quickly discovered the one part I was looking for, "17H2545 Adapter for Air Cleaner" is not in the catalog. All the other parts of the air cleaner assembly are there, just not this one part. Bummer. But at least I have the part number so I can search for it, and there is one more catalog on line for all to use.
While I was at it, I also uploaded a new Part Numbers tech page for the 17H2545 Adapter plate I was looking for. Guess I did fairly well, managed to use up the whole day doing something useful.
 Wednesday - February 26, 2025:
Managed to order a pair of K&N conical air filters with 3-1/2-inch mounting bore. Summit Racing had them for $44 each. Also ordered some 4-inch hose clamps, and a few long reach radiator caps, 7-psi with fluid recovery seal at the top of the neck. Special order from Summit Racing, to be delivered in about three weeks (if we are still in Florida by that time). A friend also bought the same part number K&N air filters from Summit Racing, a couple days earlier, and he paid $55 each. I guess I was just in the right place at the right time to catch a clearance sale.
Thursday - February 27, 2025:
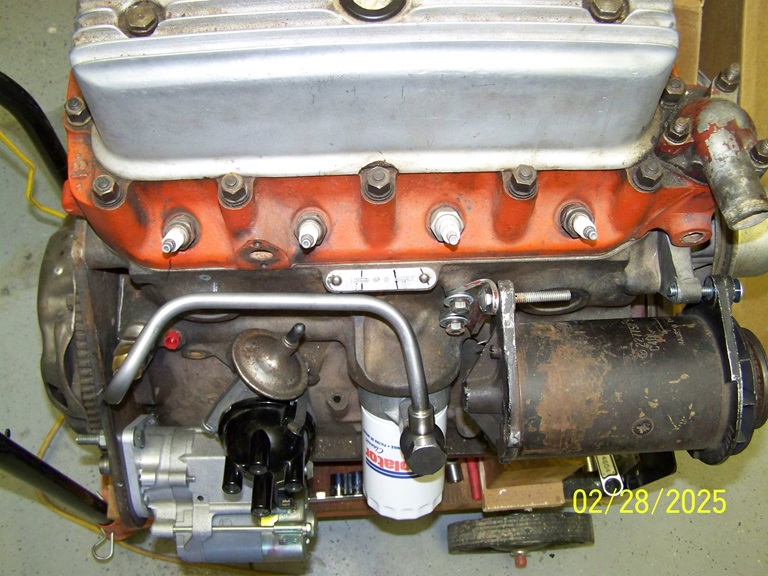
Busy day. Placed a parts order with Scarborough Faire including another MGB air filter adapter plate (used), a pair of MGB air cleaner mounting brackets with captive nuts, an MGB water pump pulley (used), a hanging spin-on oil filter adapter, an MGA cowl vent grille,and a bunch of smaller parts to replenish inventory. Also a small order with McMaster-Carr to procure #10 screws and plastic caps to assemble 50 sets of thumb screws for attaching MGA bonnet and deck lid (for quick change). We did this three years go, assembled the thumb screws, stowed them in a nice zip-lock bag, and then promptly misplaced them. Bummer. $19 worth of small parts plus $21 shipping charge to replace the lost parts.
Friday - February 28, 2025:
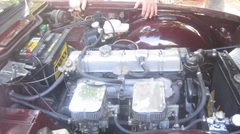
Tinkering day at Tech Central. the TR6 seems to be a never ending tinker toy. Today they were enriching fuel mixture to get rid of a severe hesitation with throttle from idle speed.


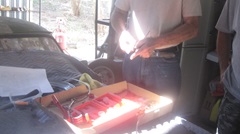
Guys finally got the filed ABS unit out of the Corvette last week. They had to cut some corroded brake pipes and a few rusted mounting bolts. Now a it's out they are making up half a dozen new brake pipes, slow going with a few steps backward. This will be continuing more next week.

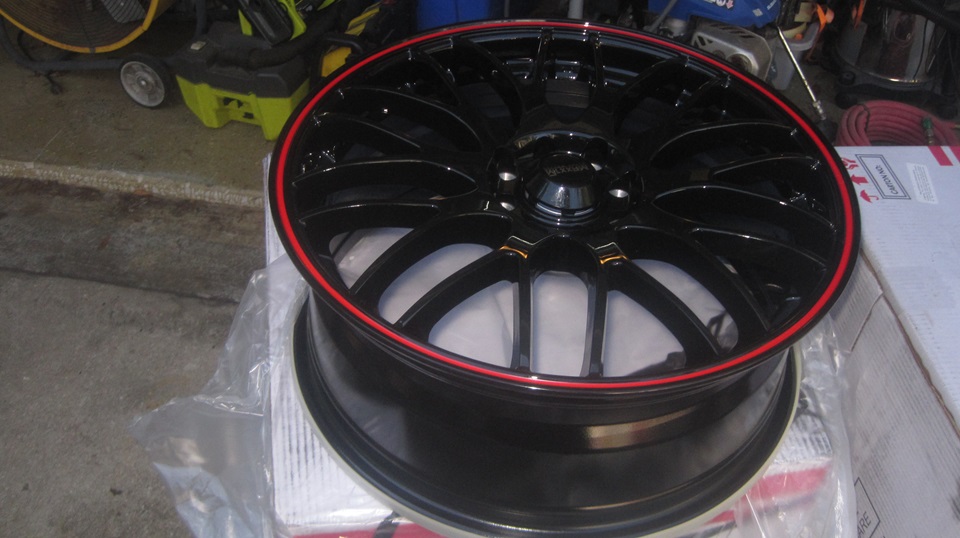
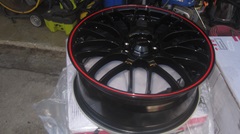
Tina the new race car got painted last Saturday. Now it has some freshly painted new alloy wheels, very nice. Today they were installing the boot lid hinges and strut and latch parts, still needing to install the rear spoiler. The neat cut-down windscreen has been installed, and working on a few more screws for the front grille. I was going to offer them a full set of oil filter spin-on adapter, hoses and oil cooler, but those are already installed (and there may be more in the attic).


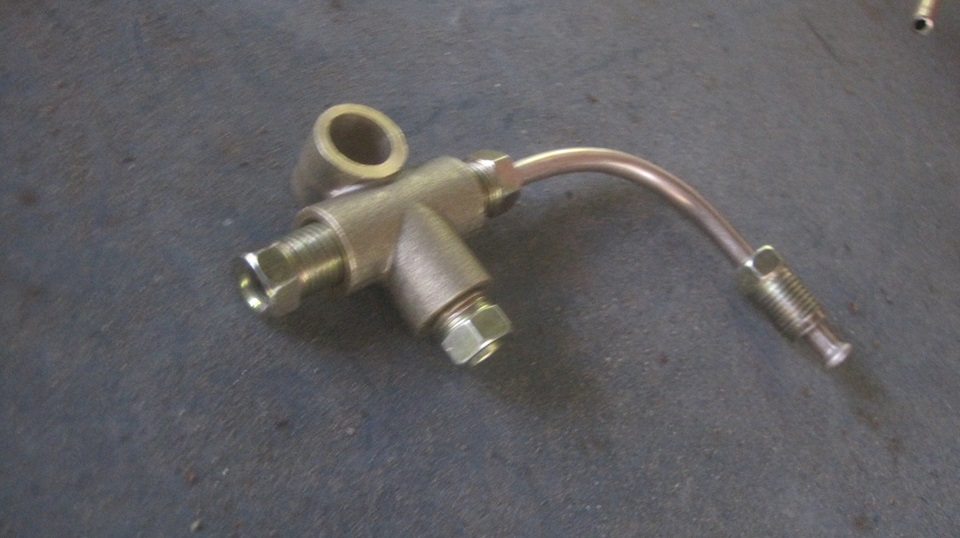
Took a little shopping trip after lunch, picking up a few more quarts of 20w50. The turn signal flasher has failed again. These things are up to about $25 each now, and they seem to consistently fail in about a week (worse than brake light pressure switches). I think we have bought up every one in the local auto parts stores in the last month. time for shopping on Amazon, maybe. -- Got a phone call in mid afternoon. A friend in Arizona has just made up a new oil pipe assembly, and will be mailing that out today. Things are coming together for some installation work late next week. Add to shopping list a matching hanging spin-on oil filter.
|