The MGA With An Attitude
MGA Guru Is GOING MOBILE - (April 16 - April 30, 2021)
Friday April 16, 2021:
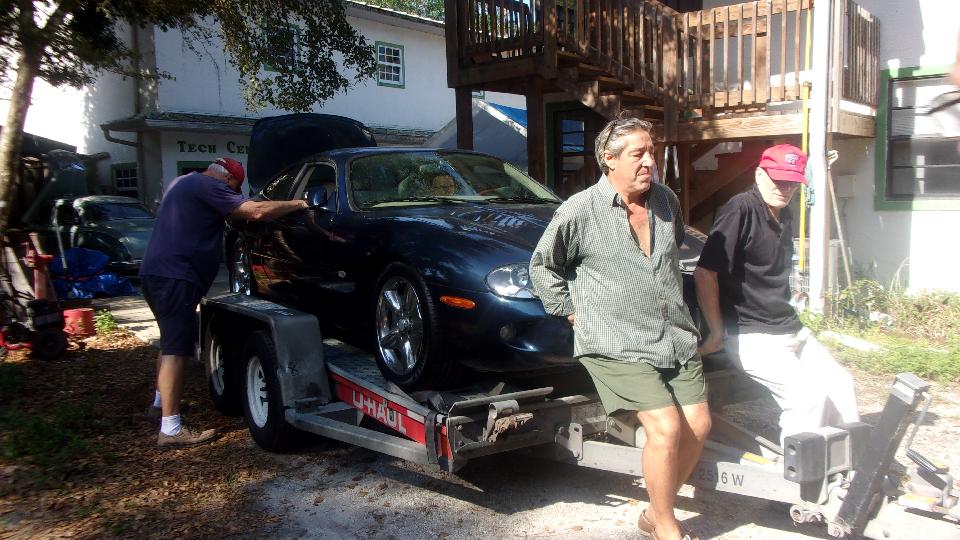
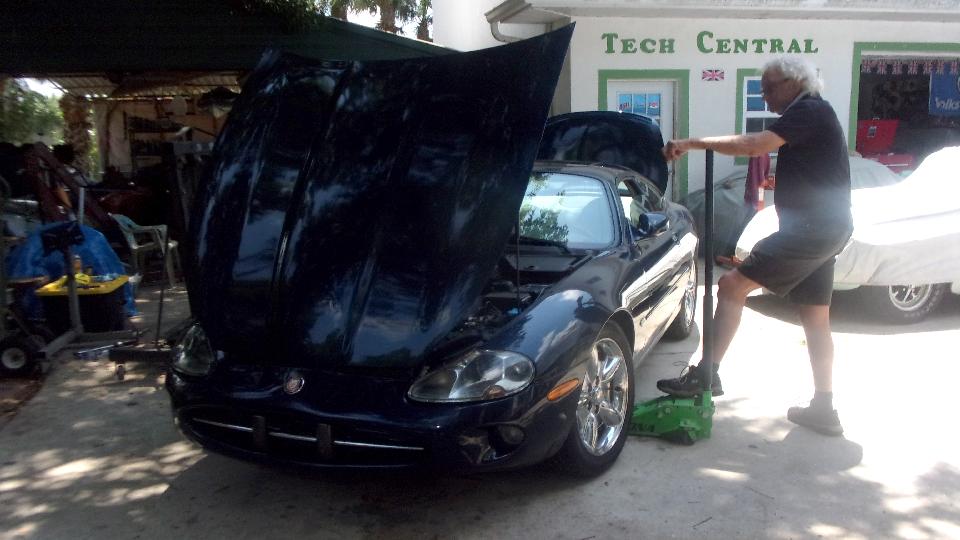
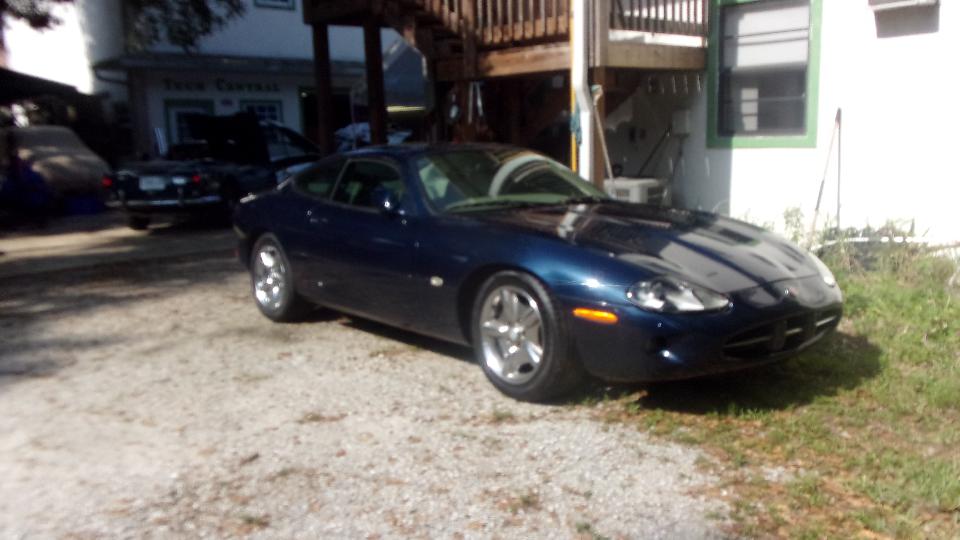
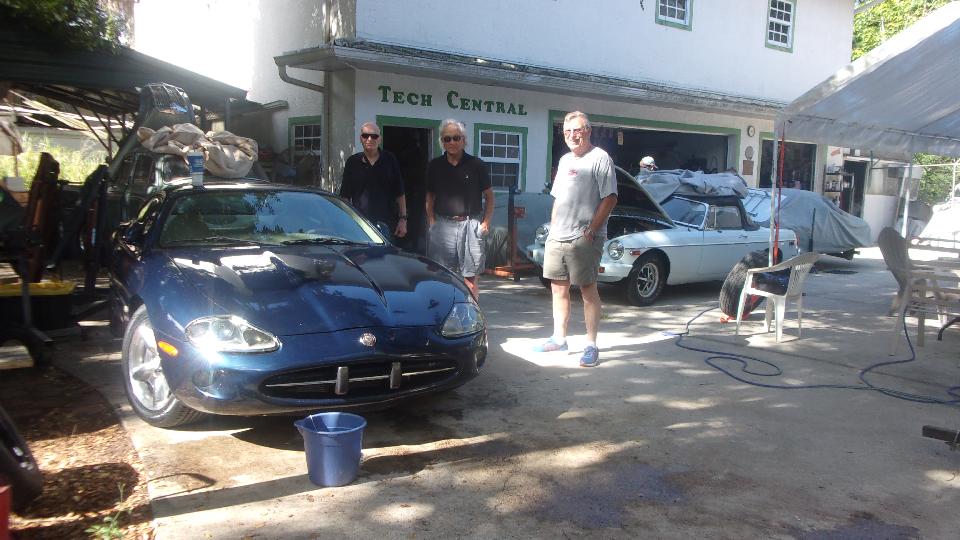
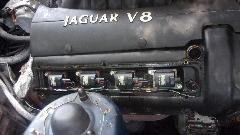
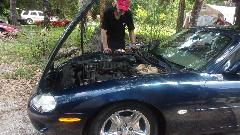
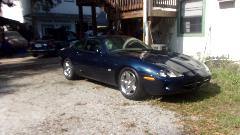
Ah, a feel good day, time to play with some toys at Tech Central. A Jaguar XK8 came in on a trailer today from the other coast. Hasn't run for two years, suspect failed fuel pump, and stale gas of course. Surprise, the fuel pump does run, and it has plenty of pressure at he fuel rail up front. New battery, engine cranks over but does not fire, not even with a sniff of starting fluid. This implies no spark.

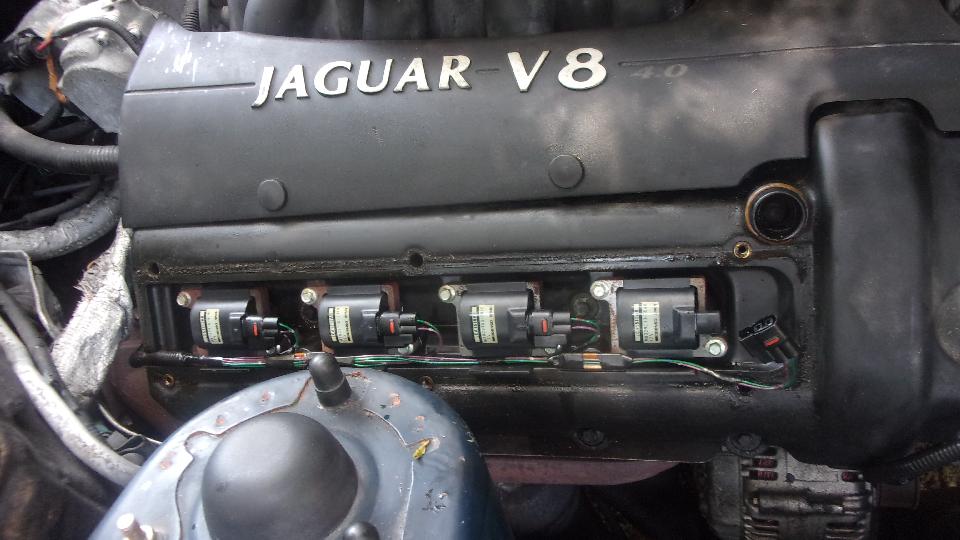
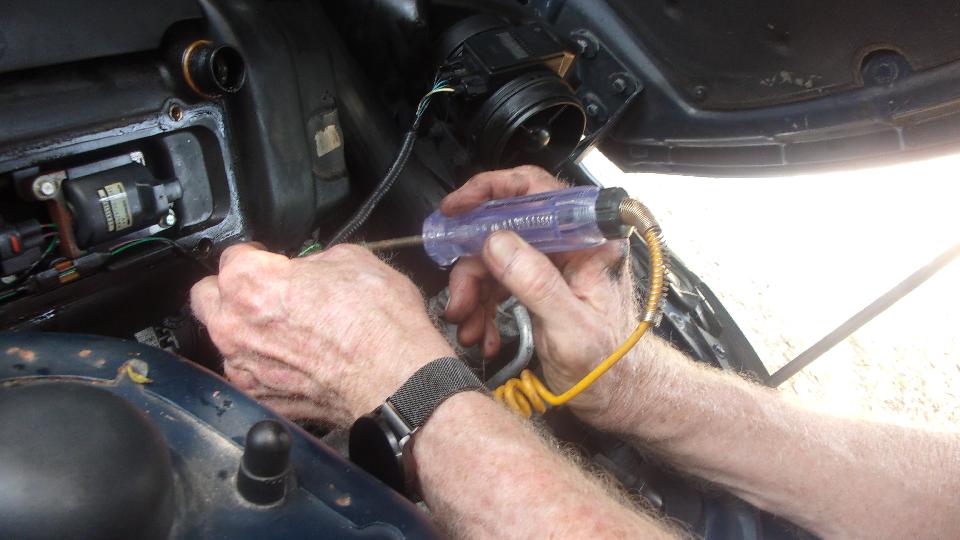
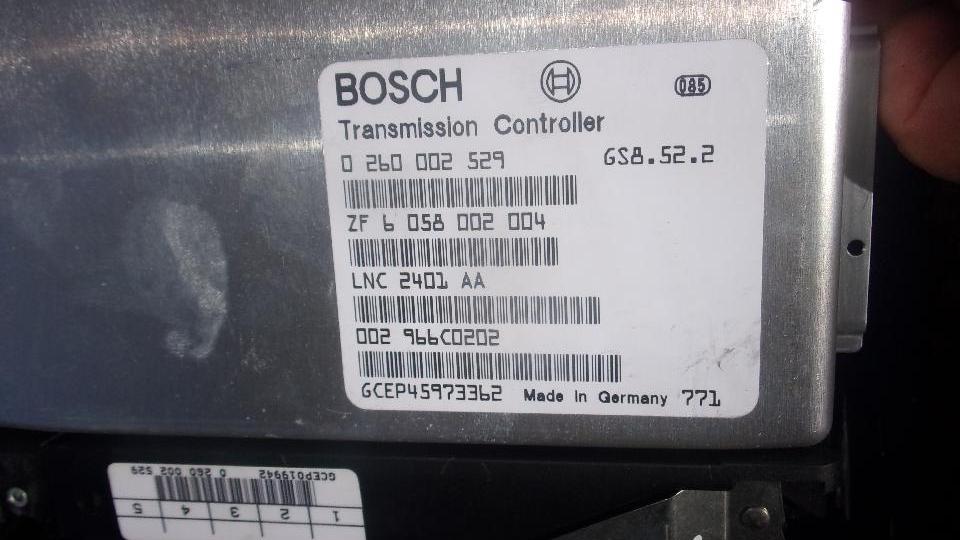
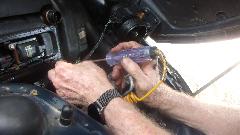
Remove the coil cover on right bank to reveal four ignition coils, one for each spark plug, very neat. Pull one coil connector, hook up a test light, crank over. No flashy, no power to coil. Plug in a OBD2 scanner, and the only code displayed is "P1000". Look it up on the net. Appears to mean the battery was disconnected, which makes sense since the battery was dead flat and had to be replaced. Thinking we need to reset the engine control computer, need a workshop manual, none here, look on the net, none found. One guy has one on a CD at home,and will bring it in tomorrow, so put the car back to sleep for now.
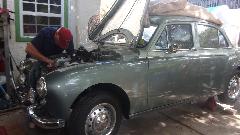
The Magnette has the gearbox rear mount all properly aligned and welded, engine and gearbox out to attach all the rubber bits and rear mount. Shifts through the gears okay, but no connection for the reverse light switch. Some parts missing for the link between the remote shift rod and the switch, so put that away while we look for the required parts. Put the 1800 engine and overdrive gearbox back into the car, for the last time we hope.


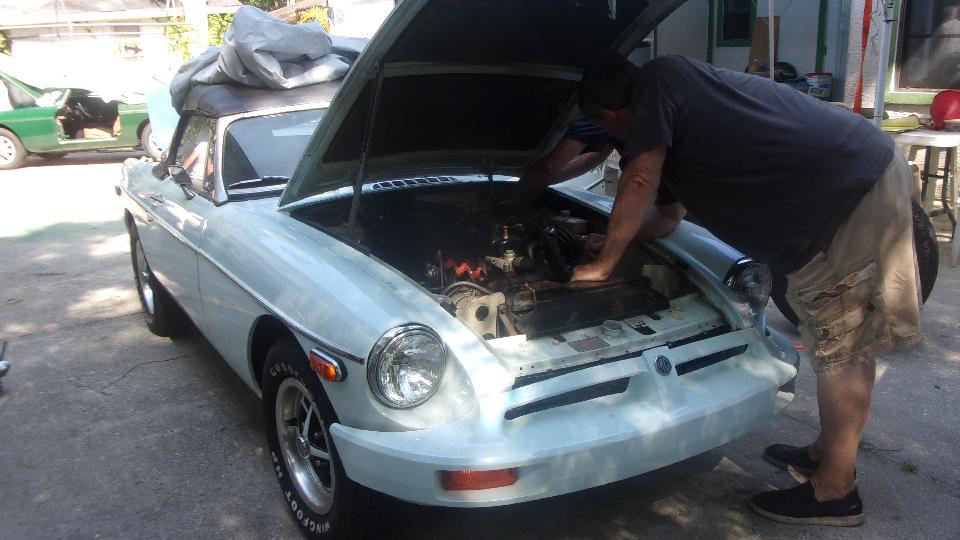
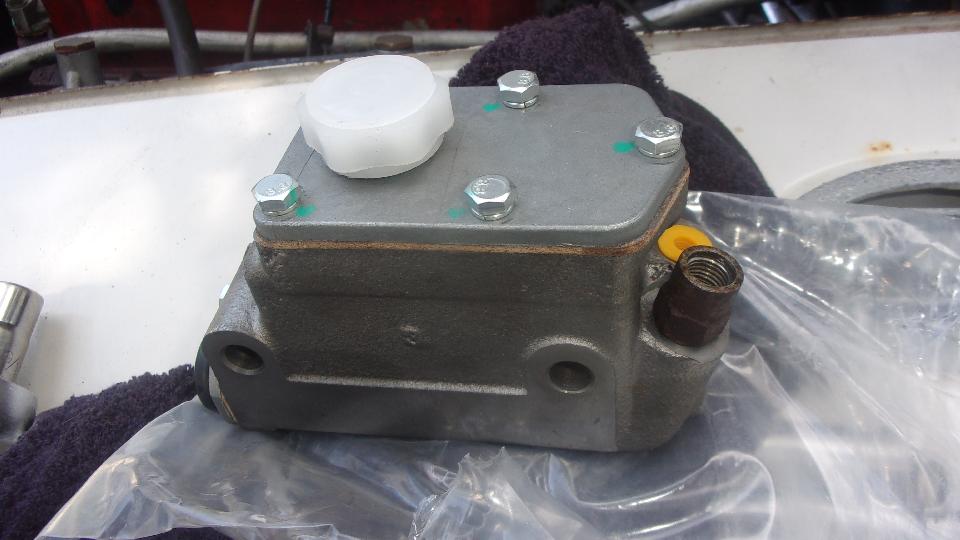
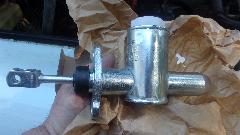
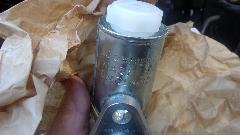
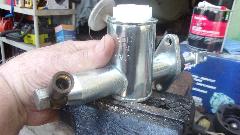
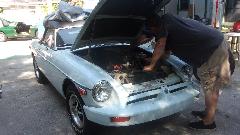
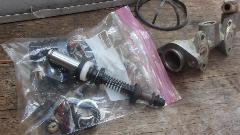
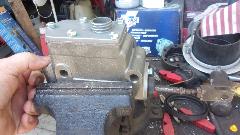
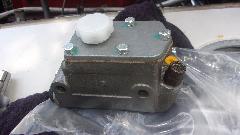
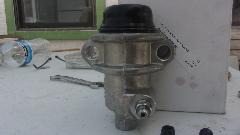
The white rubber bumper MGB is getting a new clutch master cylinder today from Moss Motors, a spanking new Lockheed UK unit (a Liberty Company), looking very nice.

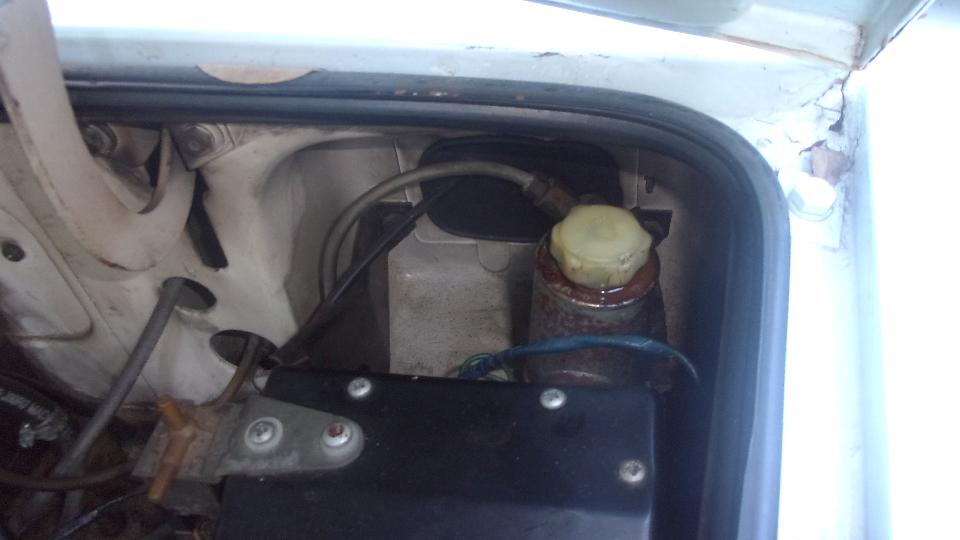
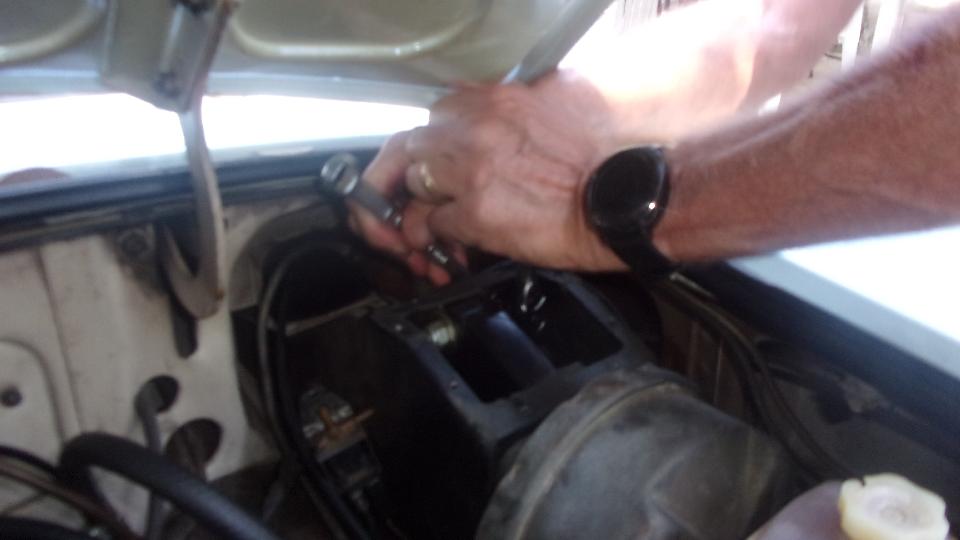
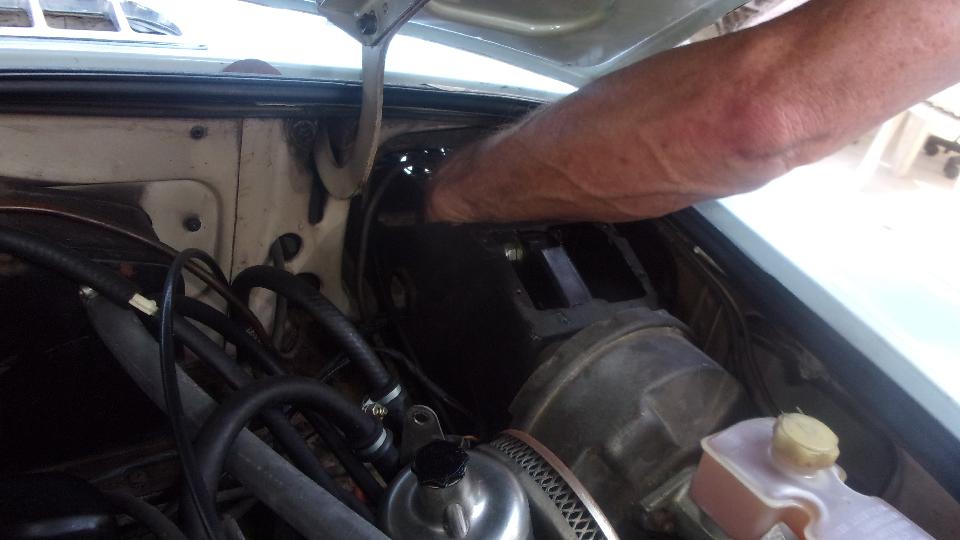
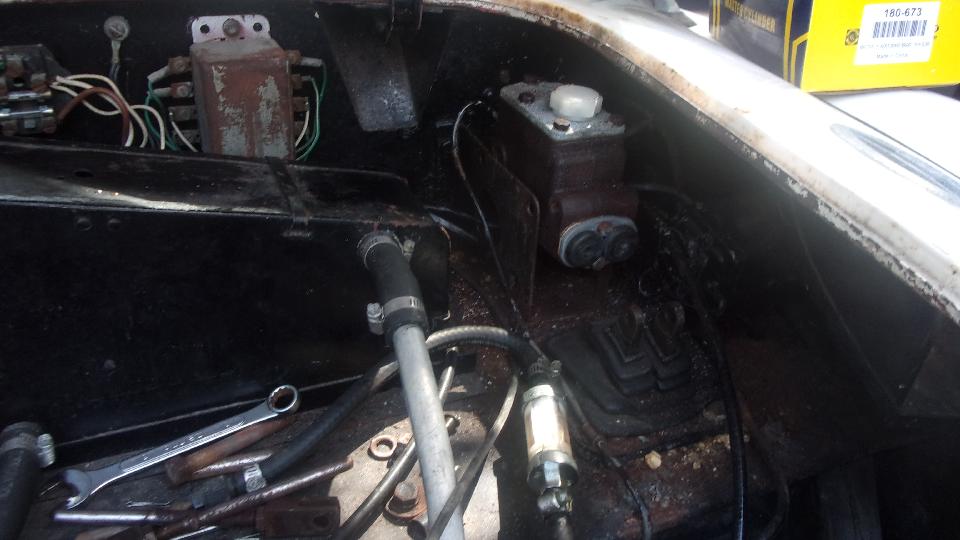
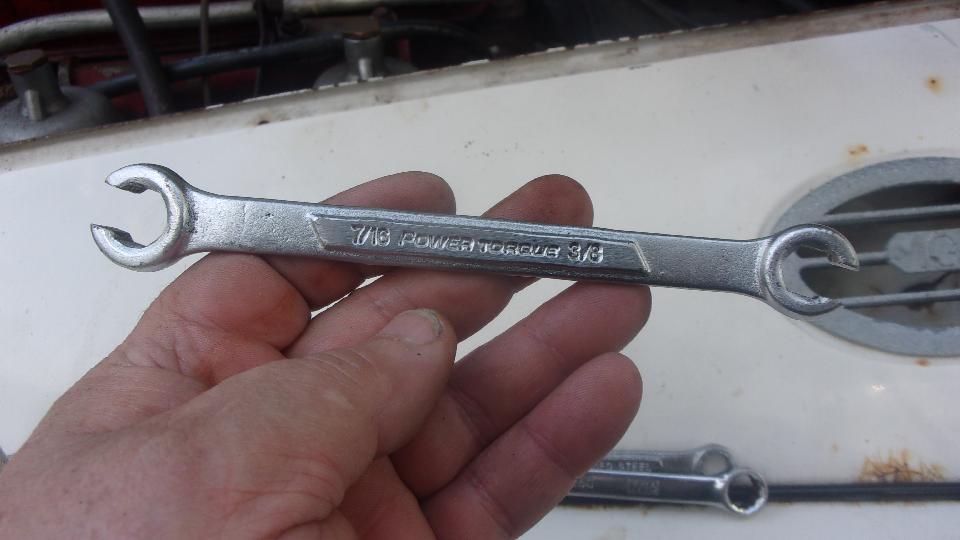
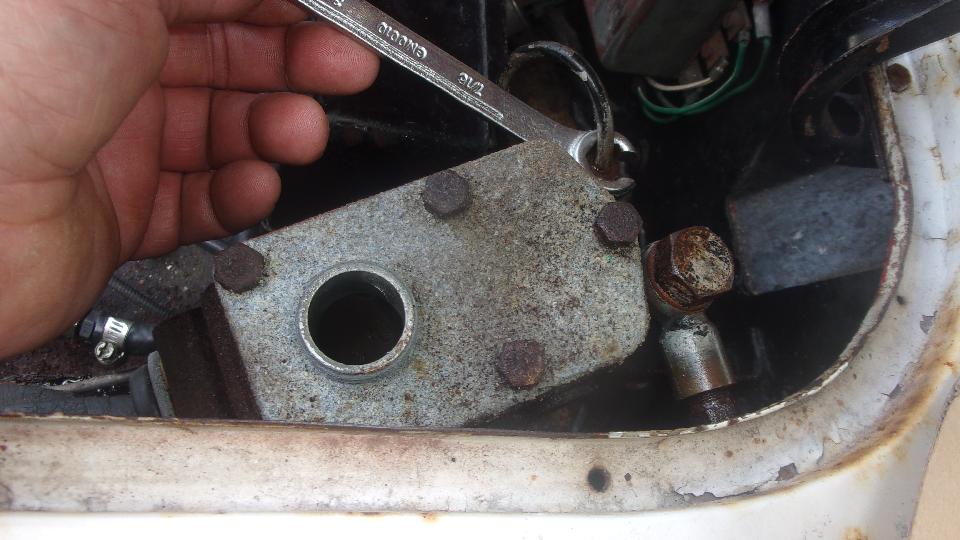
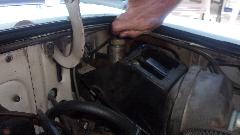
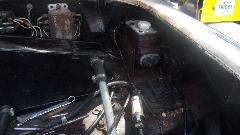
 The late MGB with power brakes has difficult access to the master cylinders. Remove the brake master to get it out of the way before attacking the clutch master. Two wrenches on the top bolt. Long extension and socket wrench through the firewall for the bottom bolt. 7/16-inch flare nut wrench for the brake pipe fitting, after pushing the master cylinder back an inch to make space to swing the wrench handle.
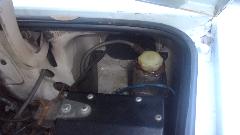
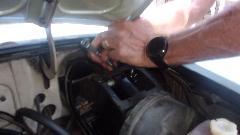
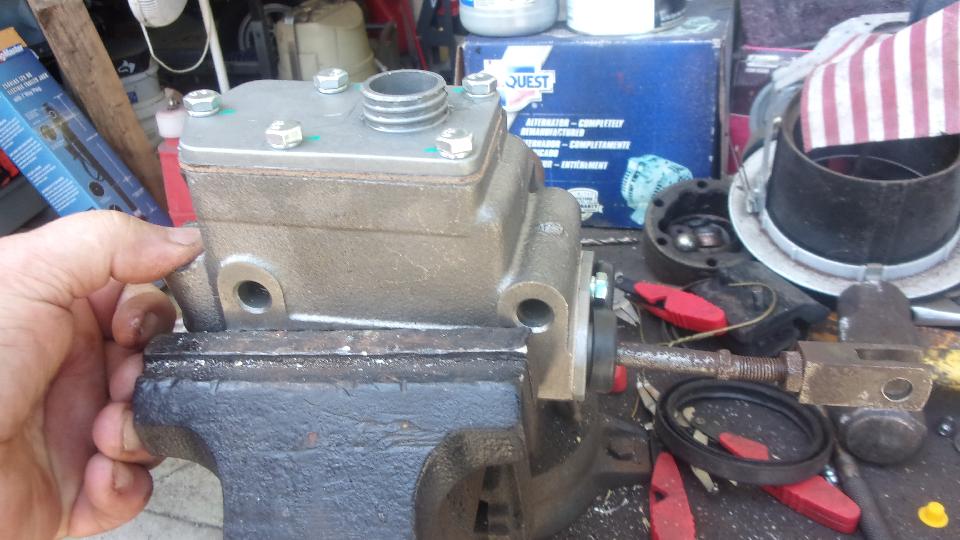
 Finally got the old one out, transferred the banjo fitting to the new cylinder, quick bench bleed, and assembly is the reverse of disassembly. Back together and bleed, but not driven away. Must be more work to be done yet.

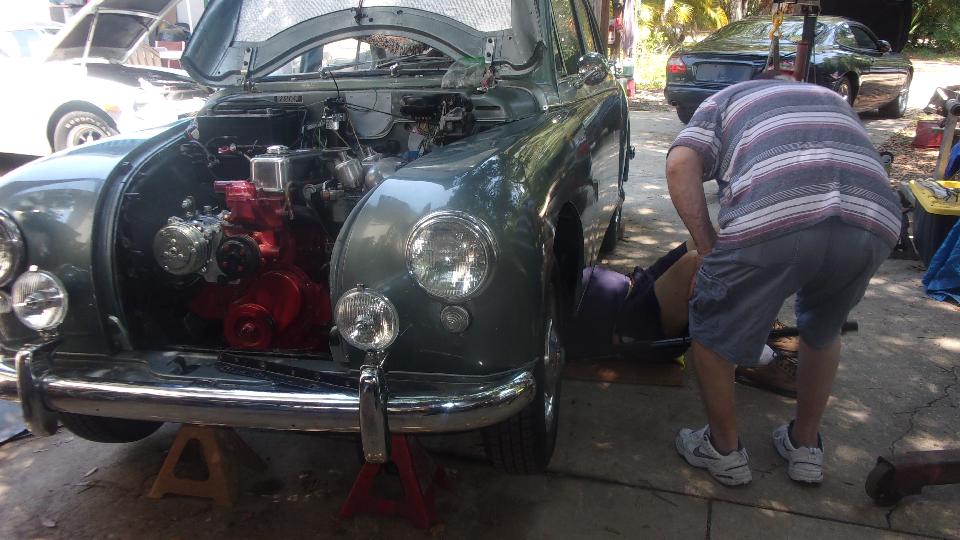
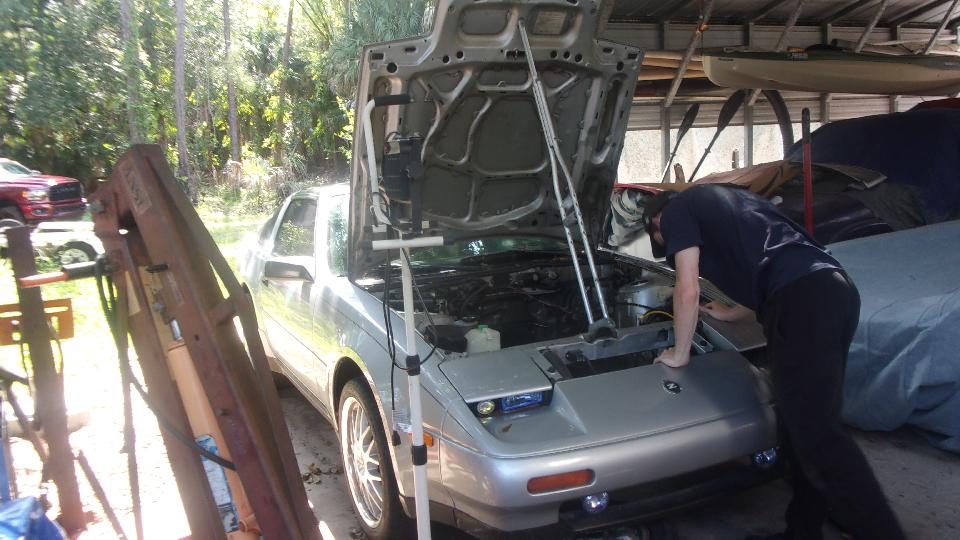
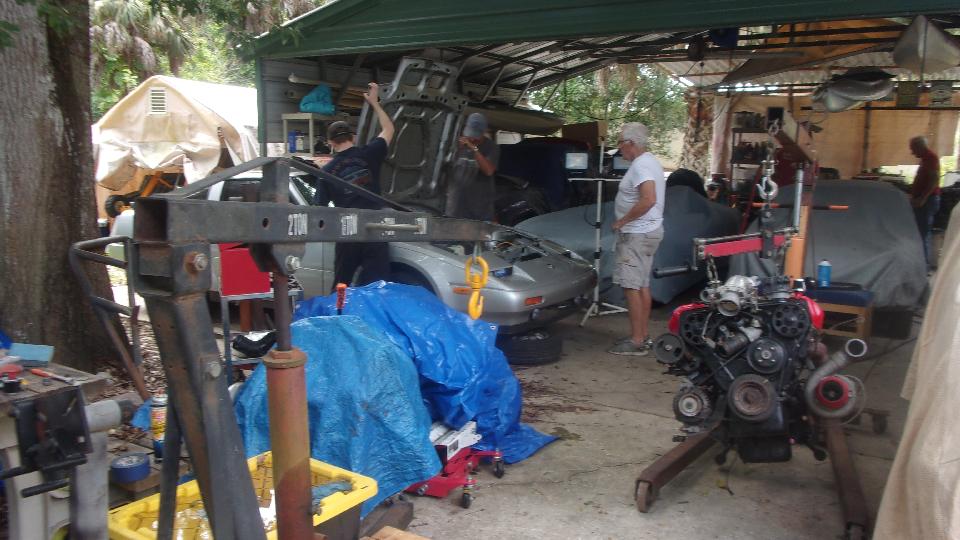
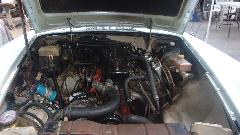
The Nissan 300ZX engine was being mated to the gearbox. Some trouble with bolt hole alignment, soon fixed with a rat tail file. In the end all bolted together, but left the starter motor at home. Be back tomorrow with that part, and hopefully get a good start at installing the power unit in the car. Nice to be young and full of energy.
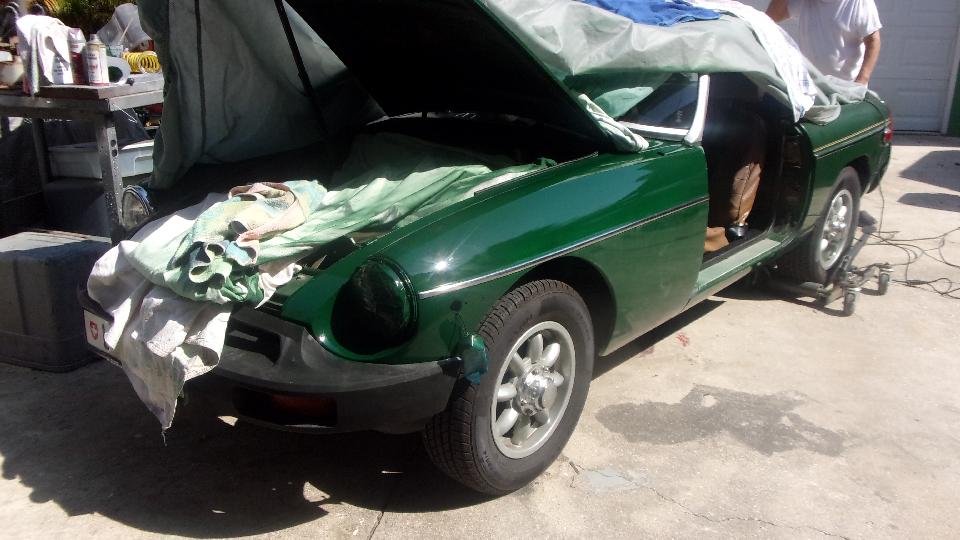
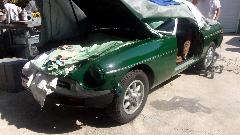
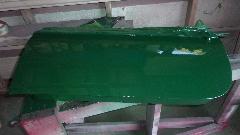
The green MGB had the freshly painted door off again for more hammer and dolly work, re-sanding, more primer, and I think it was repainted again by day's end. Sorry no picture there. Jerry and wife with truck and trailer and race car were off for the week end to go racing on east coast south of Miami.They'll be back Monday. I recon a few of us have more work to do tomorrow.
Saturday April 17, 2021:
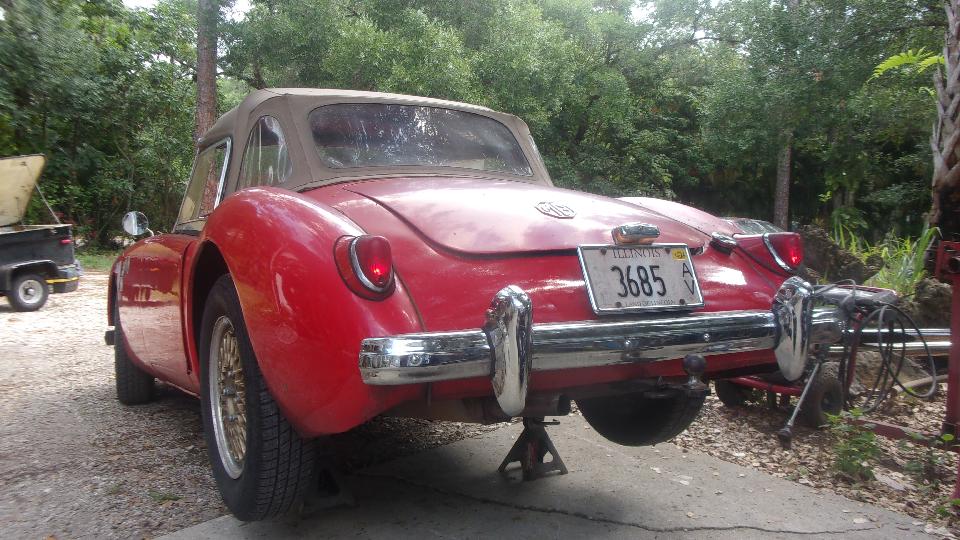
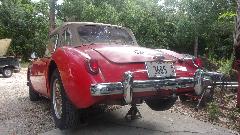
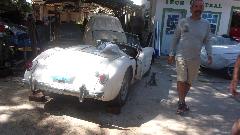
This would be maintenance day, so we took the MGA back to Tech Central for a nice place to work. We were expecting a few more people to be there, but no one there when we arrived at 10-am. The starter switch had been giving increasingly worse problems for the past couple of weeks, so we would change the switch, but not while the engine was hot. The other small task was to change the rear bumper overriders, for which we have been carrying new ones around in the boot for a full year (mostly taking up space and getting in the way as a daily reminder that it should be done).
 There is another story here. Yesterday when we were leaving Tech Central I carefully backed the trailer in between two trees to turn the rig around. Apparently not careful enough. I also backed the car into one of the trees in the same motion. Not much damage, not touching body work or paint, but it compressed the rear bumper enough to put a tweak in the supporting spring bar, leaving the bumper an inch closer to the car body on one side. I always though this car has a friendly failure mode. This time it happened in the same place and at an opportune moment when we were about to remove the bumper to change the overriders, so the fix for the little collision was quick and easy. There is another story here. Yesterday when we were leaving Tech Central I carefully backed the trailer in between two trees to turn the rig around. Apparently not careful enough. I also backed the car into one of the trees in the same motion. Not much damage, not touching body work or paint, but it compressed the rear bumper enough to put a tweak in the supporting spring bar, leaving the bumper an inch closer to the car body on one side. I always though this car has a friendly failure mode. This time it happened in the same place and at an opportune moment when we were about to remove the bumper to change the overriders, so the fix for the little collision was quick and easy.
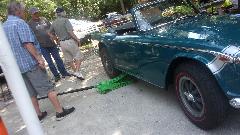
So we did the bumper job first while the engine was cooling down. Got pretty busy there, so just one
 picture when it was finished. Jack it up first for easier access. Then disconnect two wires from the number plate lamp, and remove two large hex nuts to remove the bumper assembly (not like we hadn't done it a dozen times before). On the bench, remove just four bolts with a variety of spacers and washers to separate number plate bracket and the spring bars. The one bent bar went to the bench vice with a large adjustable wrench for leverage, and in a few minutes it was restored to same shape as the undamaged bracket. Then R&R two bolts with a few washers to install the new overriders and toss the old ones (serviceable but rusty inside). Another 15 minutes or so to reassemble spring bars, number plate bracket, spacers, rubber washers, steel washers and nuts. And about 10 minutes to bolt it back on the car while navigator was reconnecting the wires and reinstalling the tag lamp covers. Piece of cake.
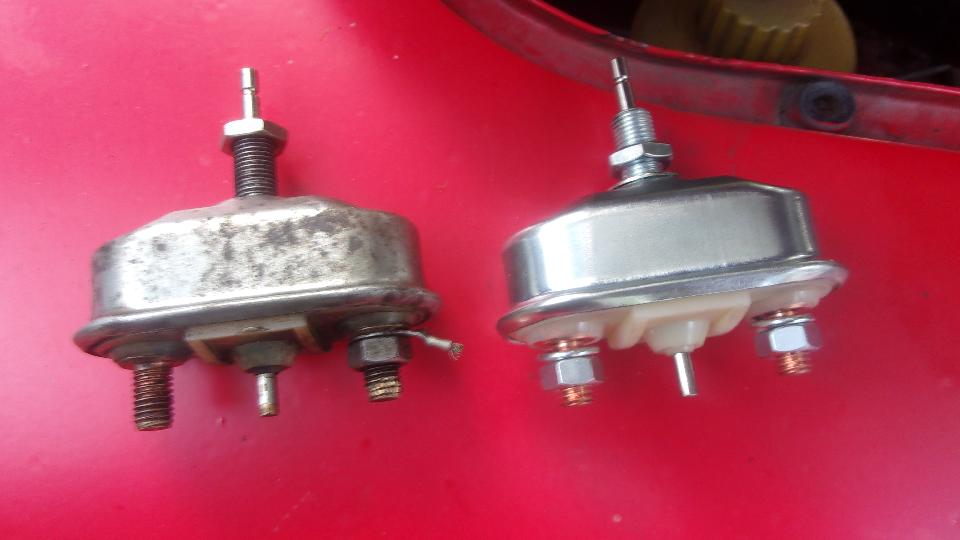
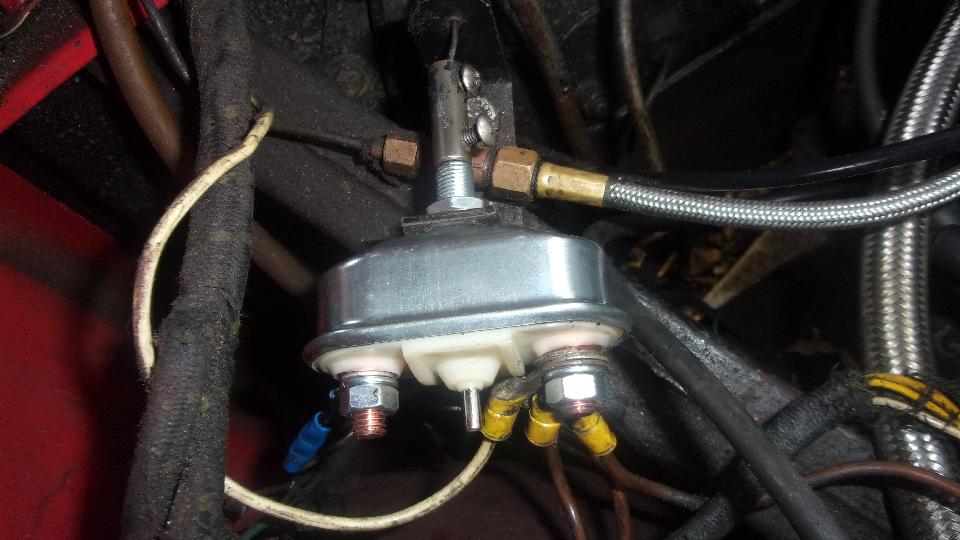
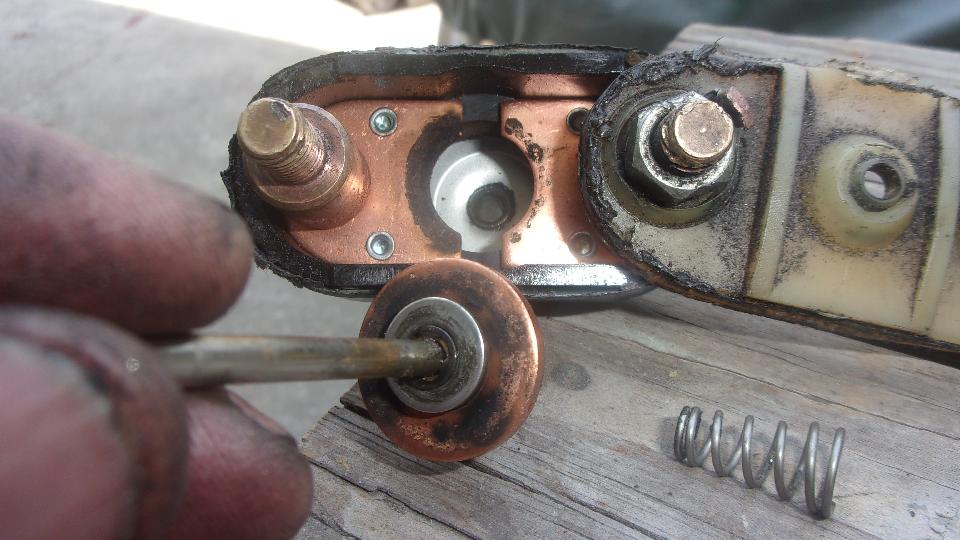
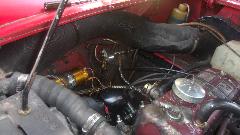
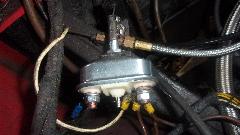
Then on to the starter pull switch swap. Pull out the 4-inch heater air hose first to clear the space, and get navigator to punch it back into round condition while I was working on the switch and wires. These are really crappy Chinese switches from Moss Motors. You have to fight with them for an hour, because the threaded mounting barrel is free to rotate in the housing, and the terminal studs are also free to rotate in the internal plastic body, so you can't assemble it and can't disassemble it with a wrench. You end up holding the wire terminals with a thin nose Vice-Grip while wrenching on the nuts. The one remaining wire I just cut and installed a new wire end, because I couldn't get the nut off.

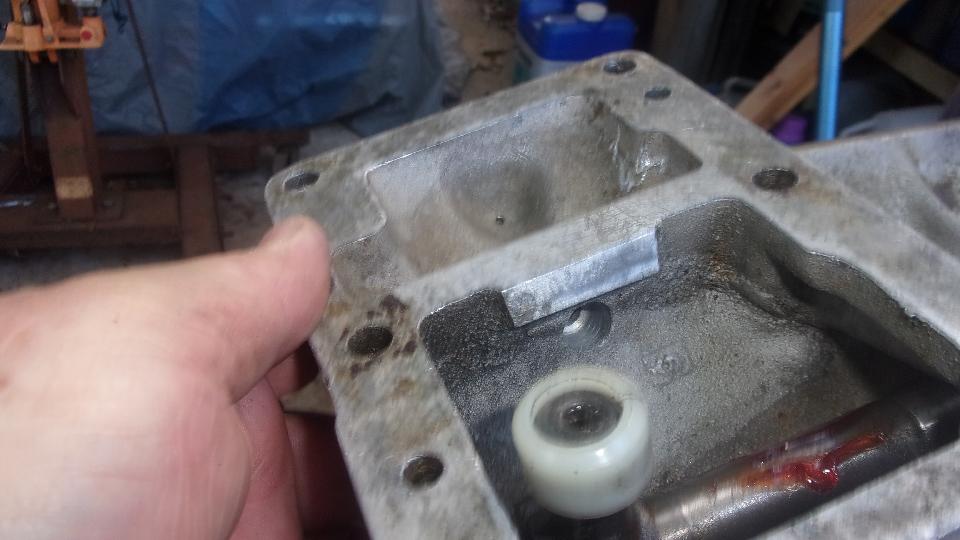
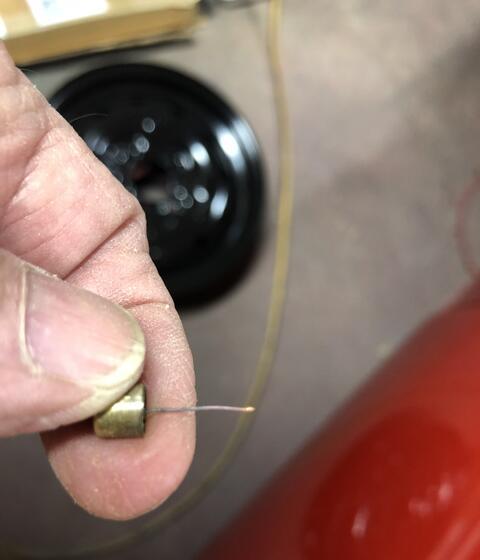
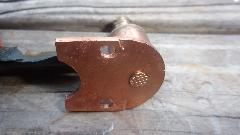
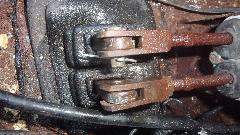
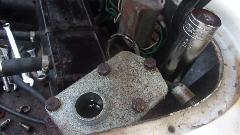
Finally I cut open the old switch just for kicks (seen all this before). Everything about this switch is bad design
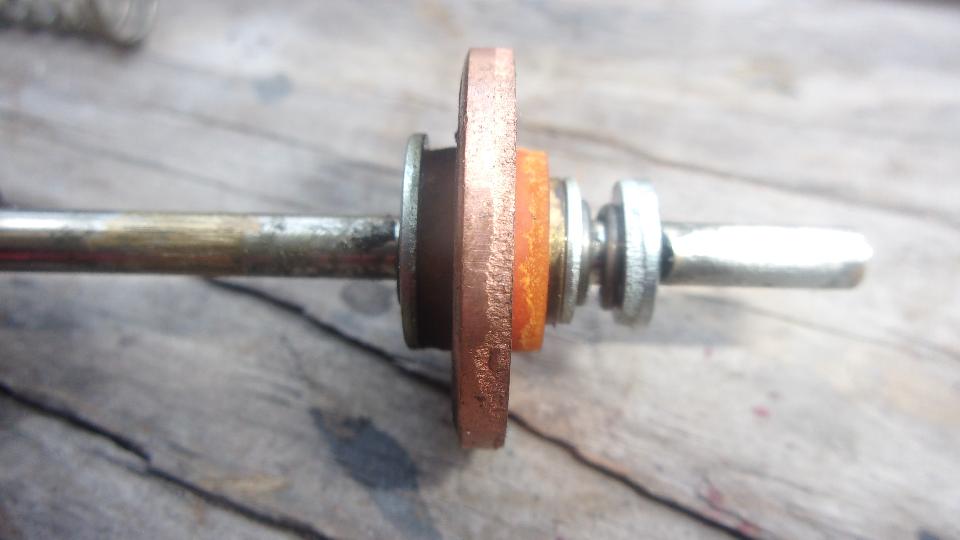
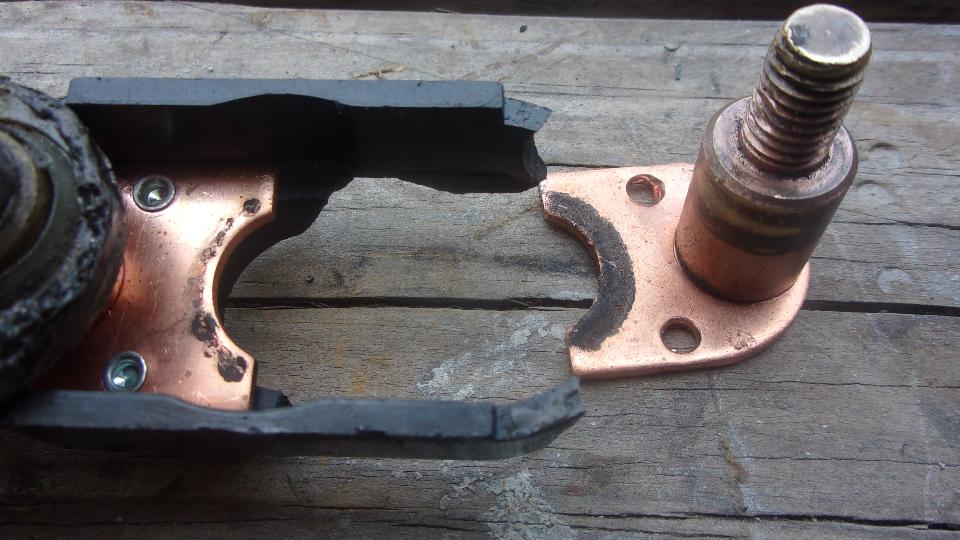
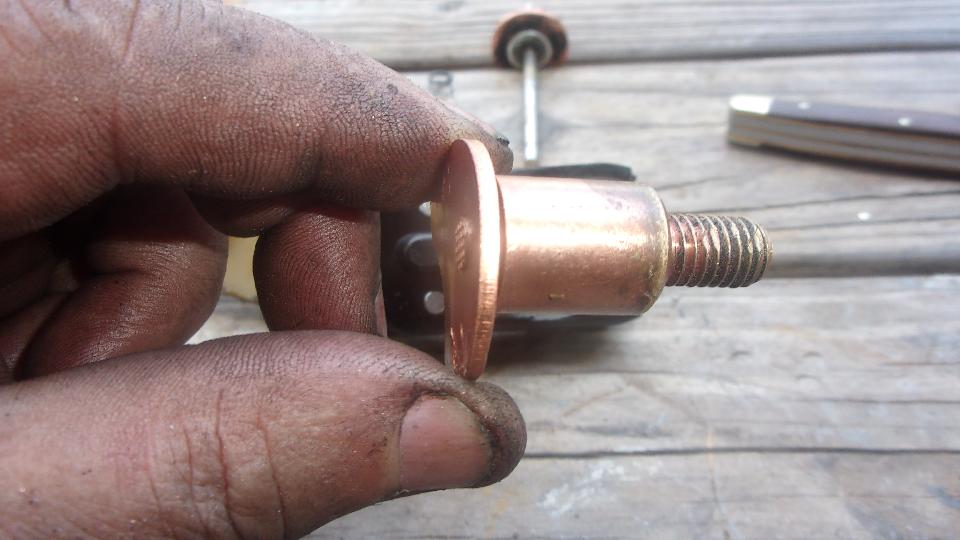
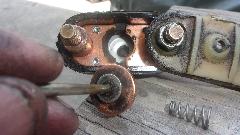 and poor manufacture. I punched out two rivets to extract one of the side contacts. The worst functional problem here is the round post is secured to the flat plate by a tiny round shank peened over like a rivet, and there is no way to prevent that from turning and coming loose to break the electrical connection while trying to tighten the terminal nut. This should have a square shank in a square hole to prevent rotation (or be welded together).
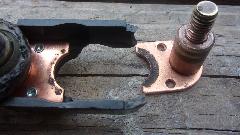

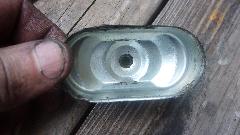
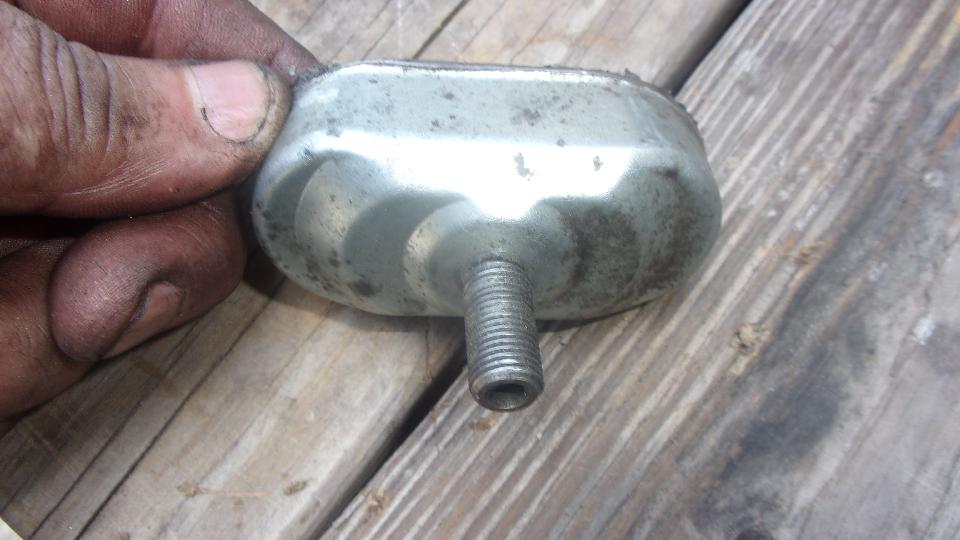
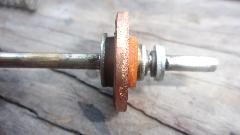
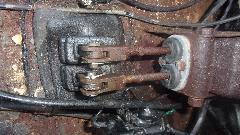
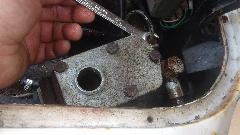
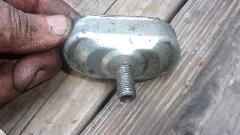 On the steel cover in front the threaded mounting barrel is similarly round and peened over like a rivet, also free to turn with trying to tighten the mounting nut. Impossible to install, and impossible to remove from the mounting bracket. This too should have a square shank.
 As we were finishing the switch installation two guys showed up to try again to get the Jaguar XK8 to run. They did have the CD with workshop manual this time, and were trying a few things to reset the ECU computer. They also spent some time on BBS reviewing the same problem. One suggestion was to let it sit for half and hour before cranking it again, which they did, but that didn't work either. Still no spark, and still there tinkering with it when we left. But they have lots of time and patience, so sooner or later for sure, they will learn the tricks and get it running.
Sunday April 18, 2021:
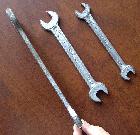
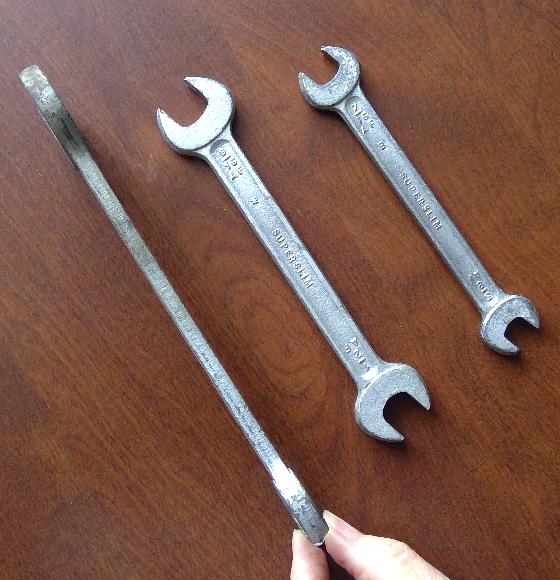
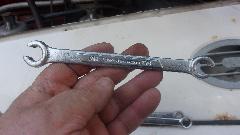
Added a new tech page for Superslim wrenches that might occasionally appear in the factory tool kit for MGA. So far it looks like speculation and may be hard to prove, but possibly these more expensive forged tools may have been supplied if/when the factory ran out of the cheaper stamped King Dick wrenches.
Slow day, so a good time for data backup, which is way overdue. This is likely to kill the rest of the day.
Monday April 19, 2021:
Added a tech page for part numbers for Pistons and Connecting Rods for Austin B-series engines for MGA and MGB, showing wrist pin sizes and conditions when you need to change to Twin Cam type con-rods for performance upgrades. Got an evening phone call from my brother, carried away there, and missed the CMGC monthly Zoom club meeting. Such is life.
Tuesday April 20 2021:
Some questions on vintage Halda Speedpilot rally instrument, the poor quality of Moss Motors leather seat kits, gearbox rear seal, and some comments on E10 motor fuel.
Wednesday April 21 2021:
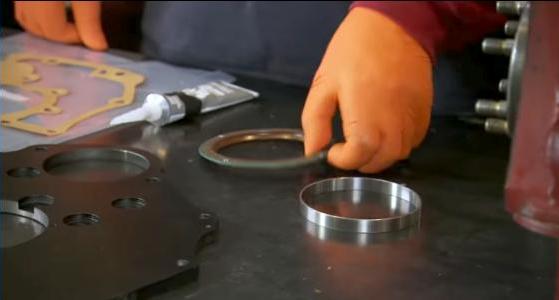
Added a picture and a link to another YouTube video for installation of the rubber rear crankshaft seal for Austin B-series 3-main bearing engines.
Got confirmation today the Kent Prather (Prather Racing) is now supplying this parts kit for this rear seal installation.
AnotherCMGC web site committee meeting tonight, did not go as planned. Representative for the Wild Apricot web server was a no-show, apparently a miscommunicaton on the intended date of the Zoom meeting. With some time suddenly available, they conceded to look at the survey results. This got as far as the 2nd or 3rd survery question before they ran out of attention span and pushed it aside, going back to chatting about setting up a new web site on a new server, with total disregatd to the members' opinioins, and total disregart to fiscal responsibility. Now four months passed with nothing accomplished.
Thursday April 22 2021:
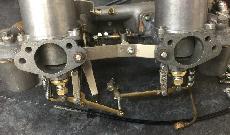
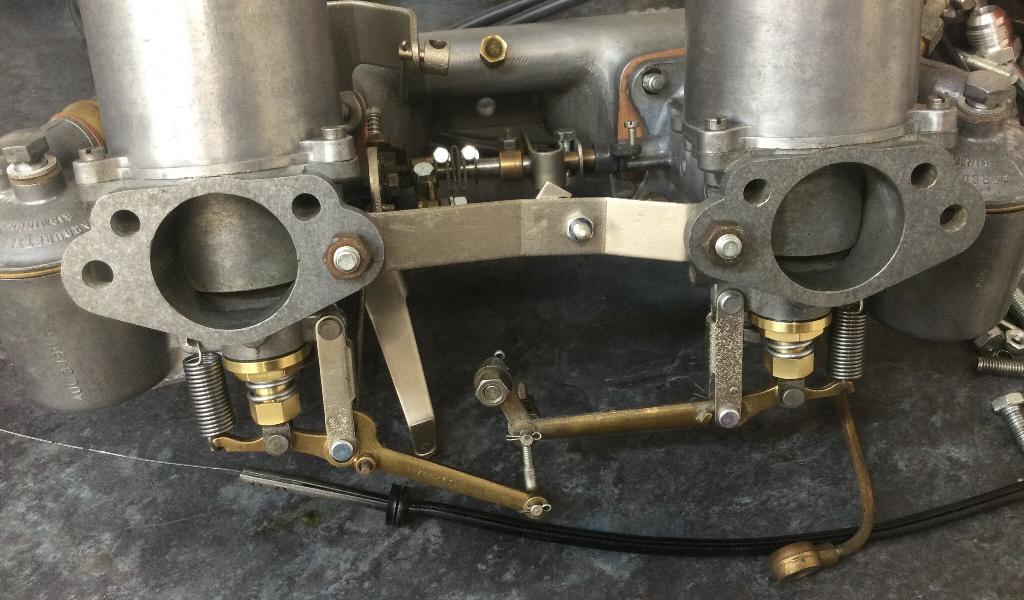
Posted a new tech page with pictures for Carburetor linkage setup for the MGA Twin Cam standard SU HS6 carburetors.
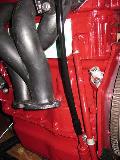
 Posted another new tech page with pictures showing two different styles of crankcase vent pipes for the Twin Cam engine, associated parts, and a suggestion for dual vents to reduce crankcase pressure and oil leakage.
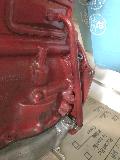
Another new tech page concerning dipstick markings and oil level in the sump for the Twin Cam engine. Looks like an error in the Workshop Manual and/or Drivers Handbook making the oil level too high. Fixed a man's choke linkage via email, got his car started, feels good.
Friday April 23 2021:
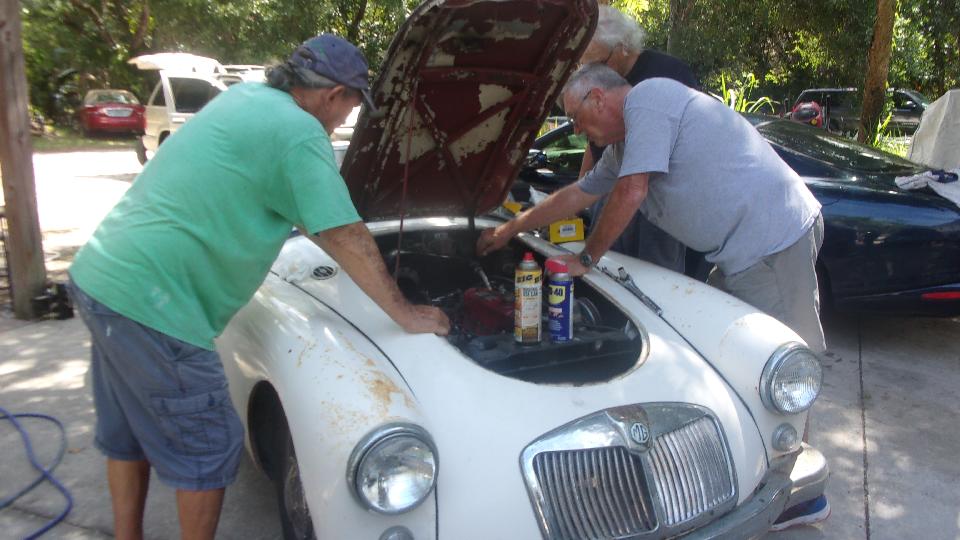
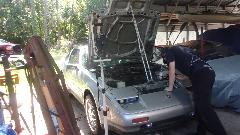
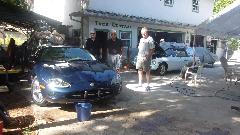
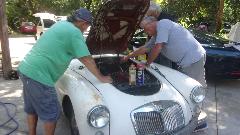
Yeah, it's Friday, and we're still in Florida, so back to Tech Central. Looks like they didn't get the Jaguar running yet, suspect a bad engine control computer, so schedule a trip to the bone yard to pick up a good used one. No one wants to admit defeat and haul it off to a Jaguar shop to pay a big service bill. The green MGB is still getting more sanding and repaint work, and surely this is not the end of it..
The white MGB hasn't moved for a few weeks. Now trying to get the lower bolt started in the new clutch master cylinder. If that's all they get done today, it might be considered a major accomplishment.


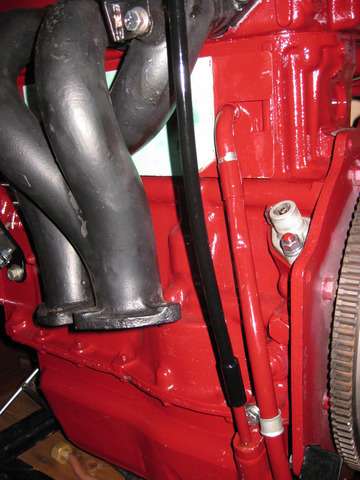
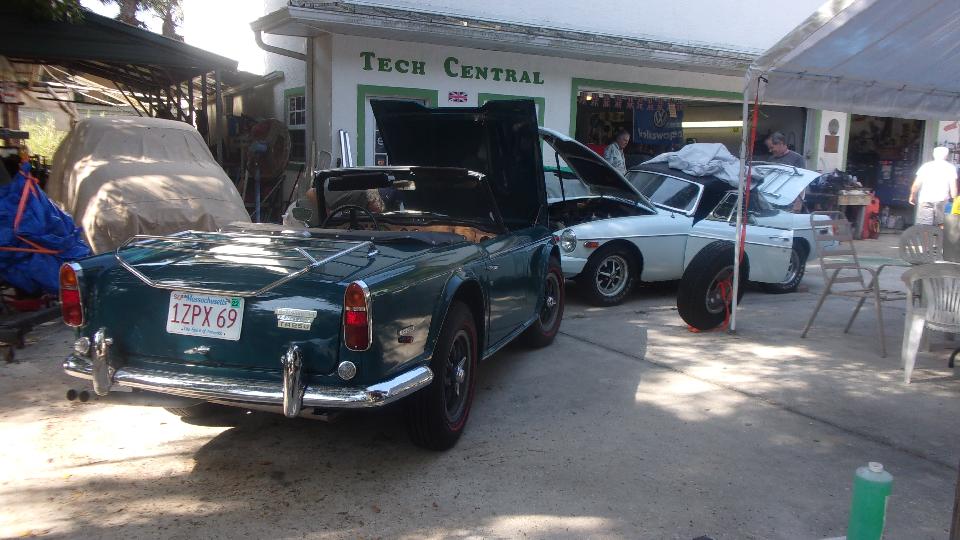
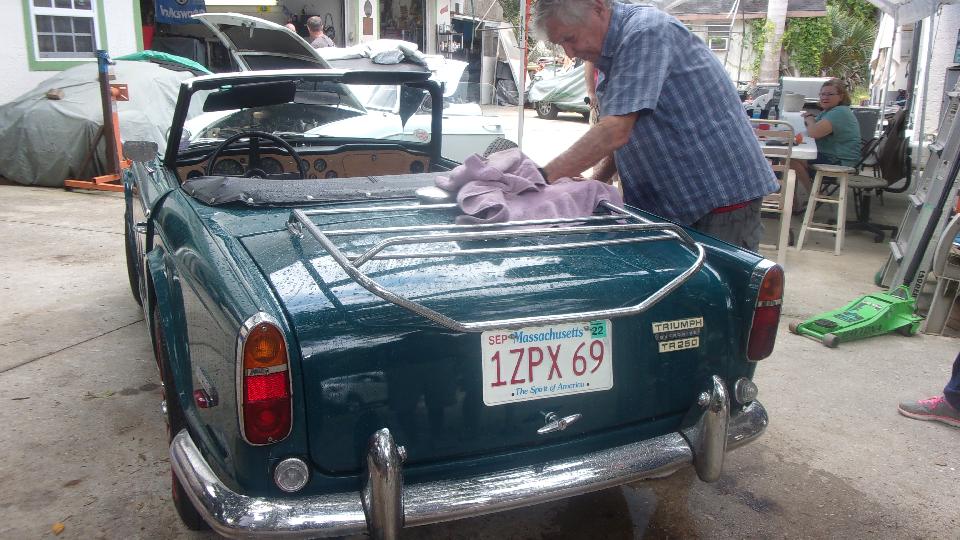
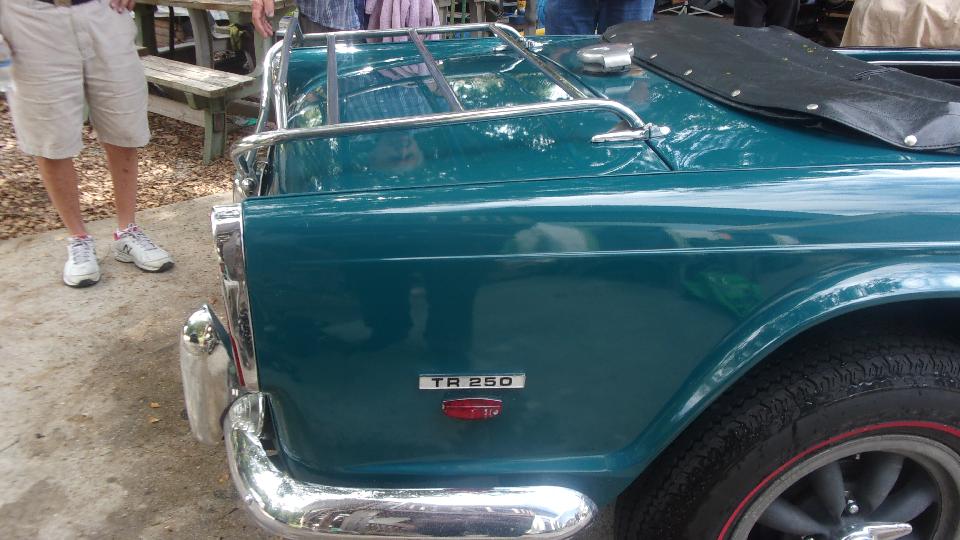
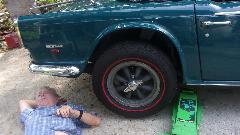
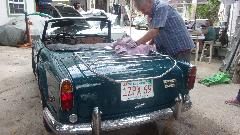
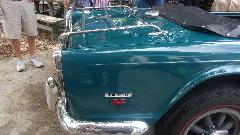
The TR250 comes back almost weekly, still concerned about a lot of oil leakage on the left side of the engine. First thought was timing cover seal leaking, but it actually looks pretty dry up front. Valve cover nuts were only finger tight, so we cranked those down a couple of turns and spray cleaned the engine some. Will be interesting to see what it looks like next week. Adjusting the rear drum brakes, we found a loose wheel bearing (wobbly wheel) in the right rear independent suspension. Get to ordering parts, and that might be next weeks job.
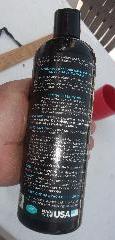
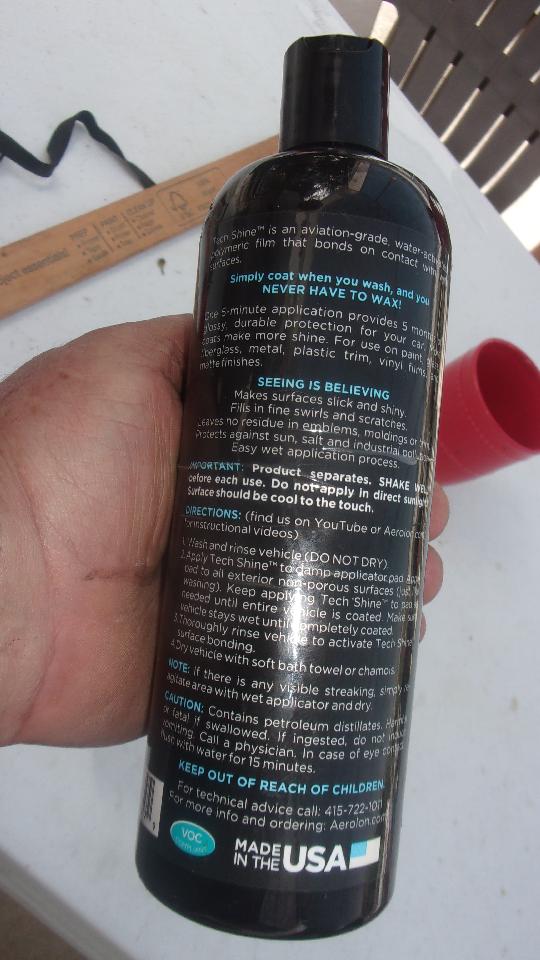
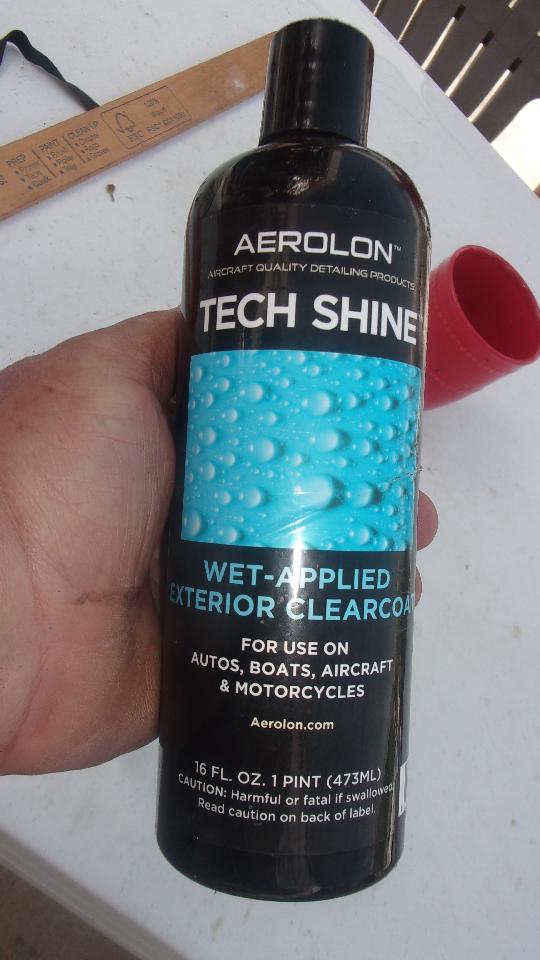
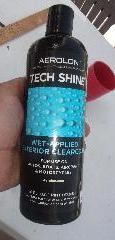 Then they were trying a little spit shine and polish on the TR250 with a nice product called "Aerolon Tech Shine". Spry it on and wipe ot off, and it's done. Dump water on it, and it beads up and runs off. Nice trick with very little work. It costs about $30 a bottle, and no one knows what's in it, but it might be a decent value for the money.
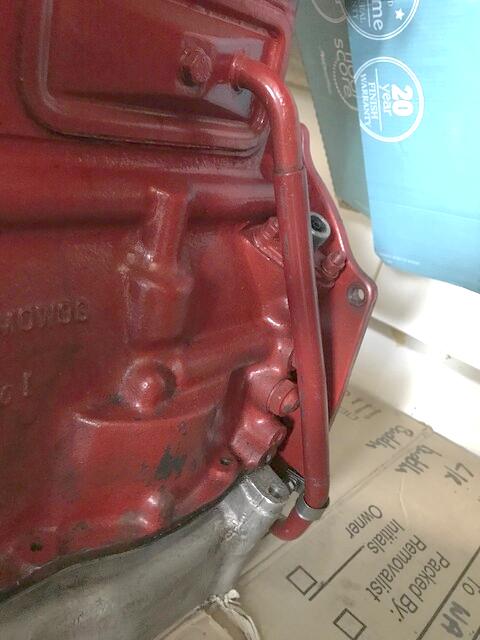
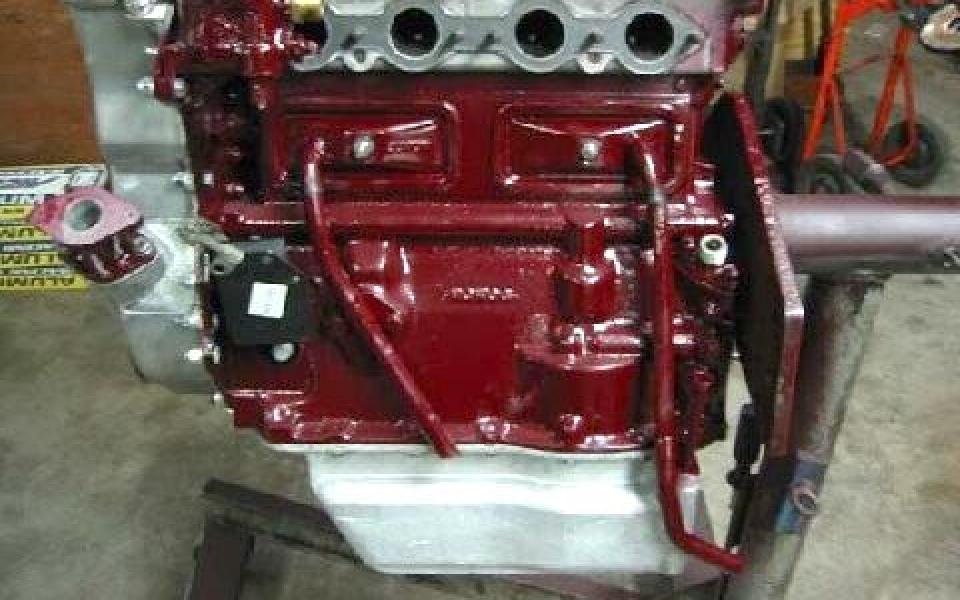
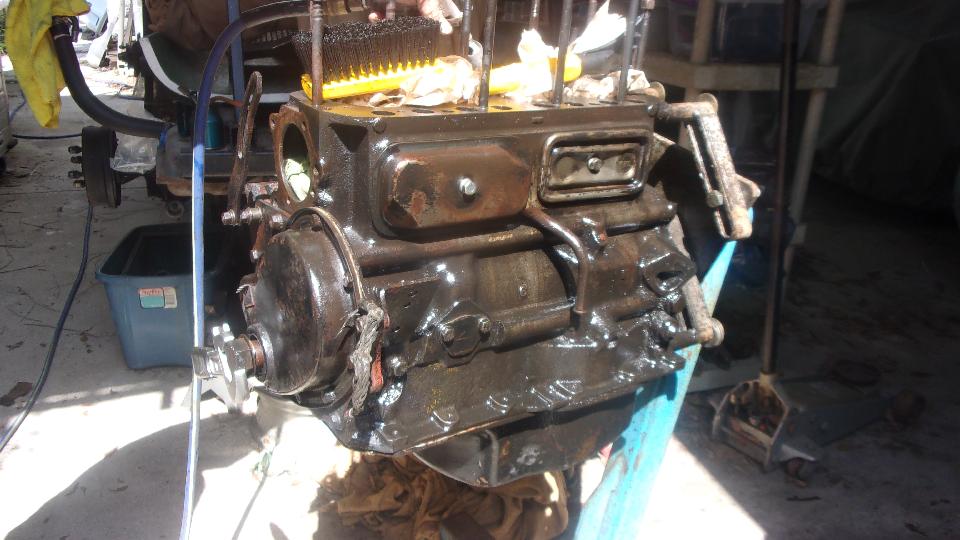
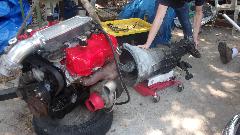
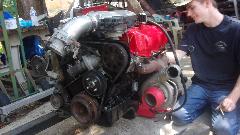
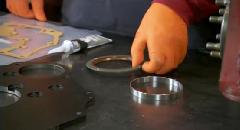
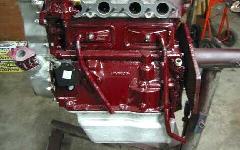
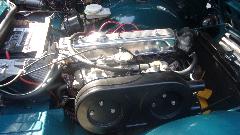
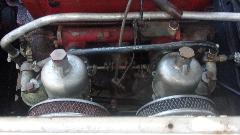
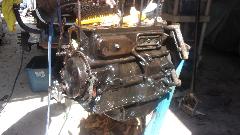 Cleaning up the 1800 engine, getting it ready for paint. This one will be mated to the newly ported cylinder head, ultimately to be dropped into the MGB wannabe race car (the one that was salvaged after being in a flood).
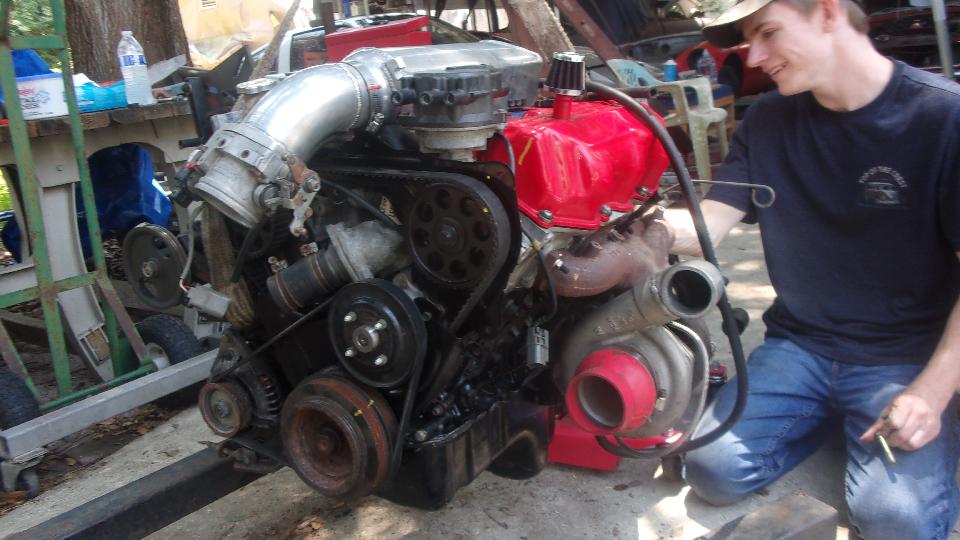
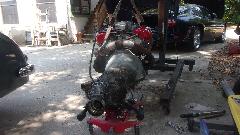
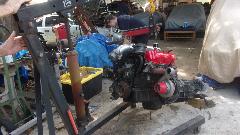
Engine and gearbox for the Nissan 300ZX have been mated and are ready to drop back into the car. After changing engine hoists for a longer reach, it seemed prudent to make a trip to the store for a bit of 3/4-inch coolant hose to connect a difficult to reach spot on the turbo-charger, so there would be a short delay. Most people had left before the hose came back, but I think Kyle and out host Jerry were going to try getting the power unit onto the mounts in the car before quits.
Saturday April 24 2021:
Posted a new tech page discussing orientation of the notch in the piston in disc brake calipers. MGA says point it down. MGB says point it inward toward the bearing spindle. There never was any stated reason why. Lots of fun to speculate over beer and crackers with friends.
Sunday April 25 2021:
Don't remember what I was doing, so it must have been a day off. John Twist cancelled his UML Monday night Zoom tech session (big disappointment). Catching up a little clerical work on the web site.
Monday April 26 2021:
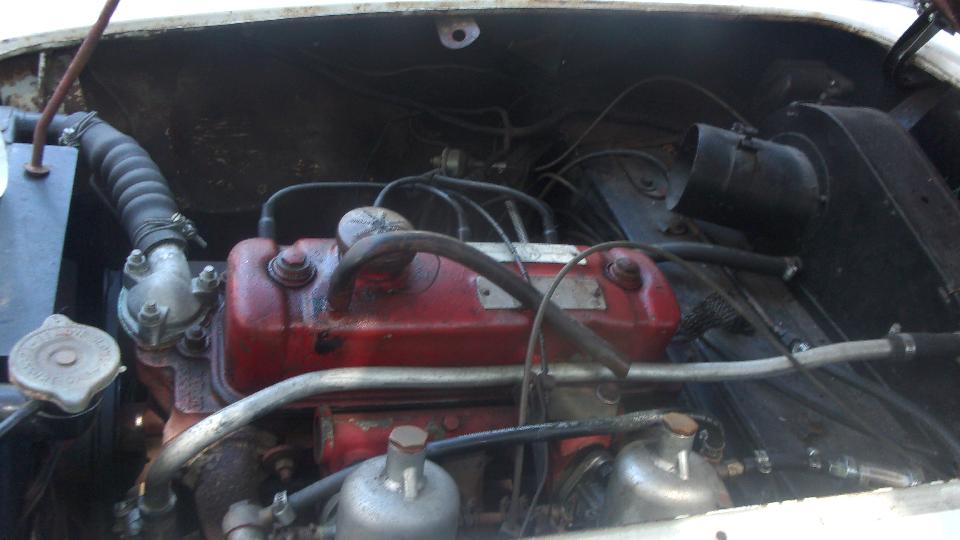
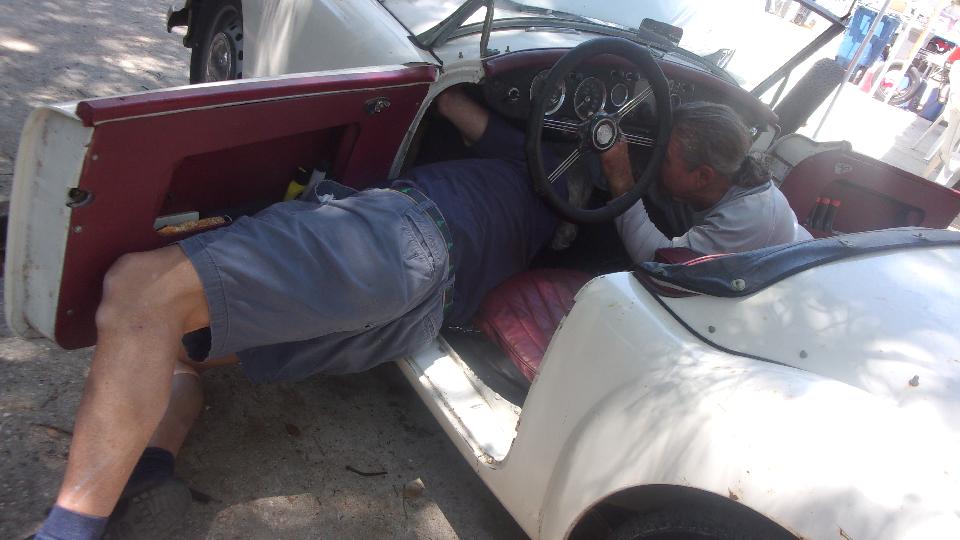
Added a few pictures on some tech pages for MGA Coupe interior trim, especially pertaining to trim piping. Then got a phone call beckoning us back to Tech Central for assistance with an MGA that just drove in with troublesome clutch and/or hard shifting problems. Good stories here, as the car has been circulating around among local friends for 30 years, and about 30 years since it was last repainted. Parking brake not working, missing all the 4-inch air hoses, misaligned bonnet latch, valve cover vent hose not connected to the aftermarket air cleaners, tail pipe touching the bumper overrider and rattling. Missing Car No. tag, and cannot read the chassis number on the frame, but the engine number looks original and makes it late 1958 production.
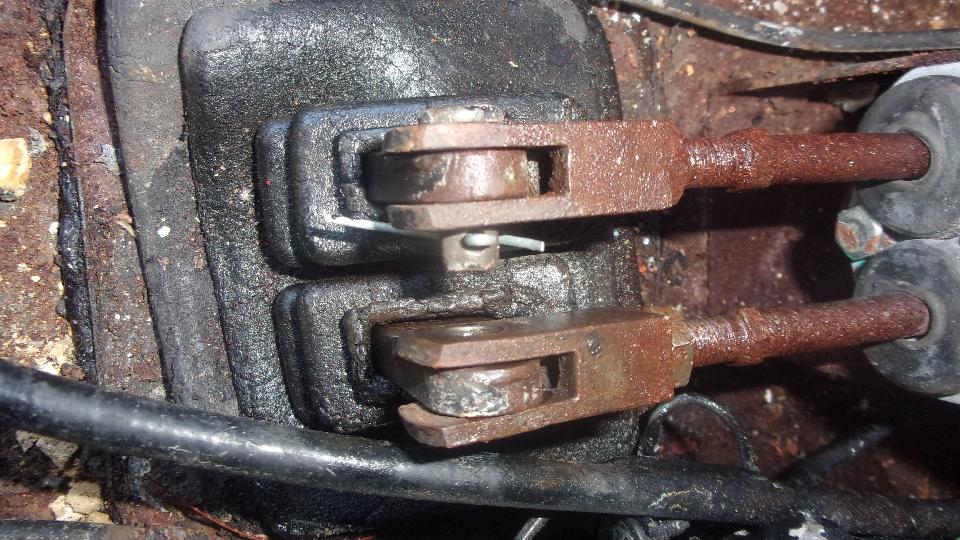
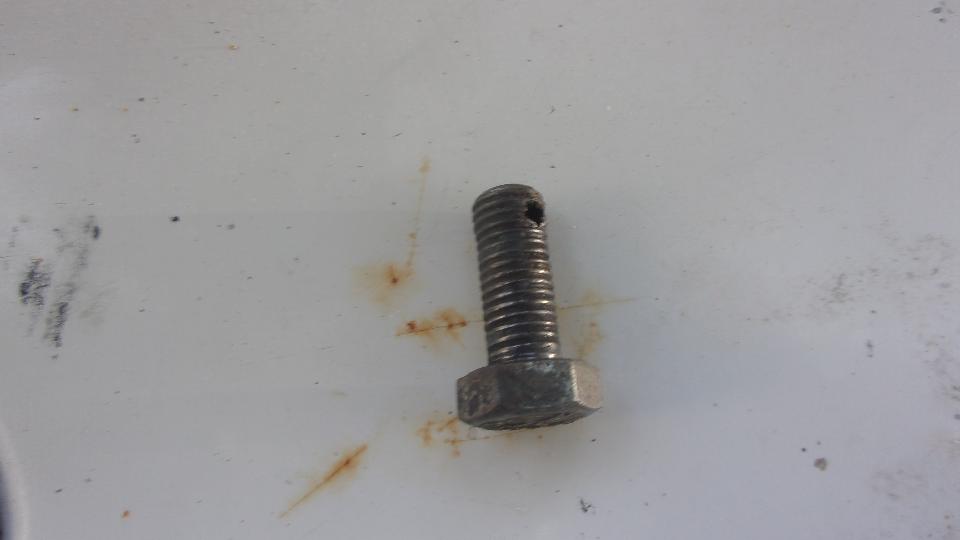
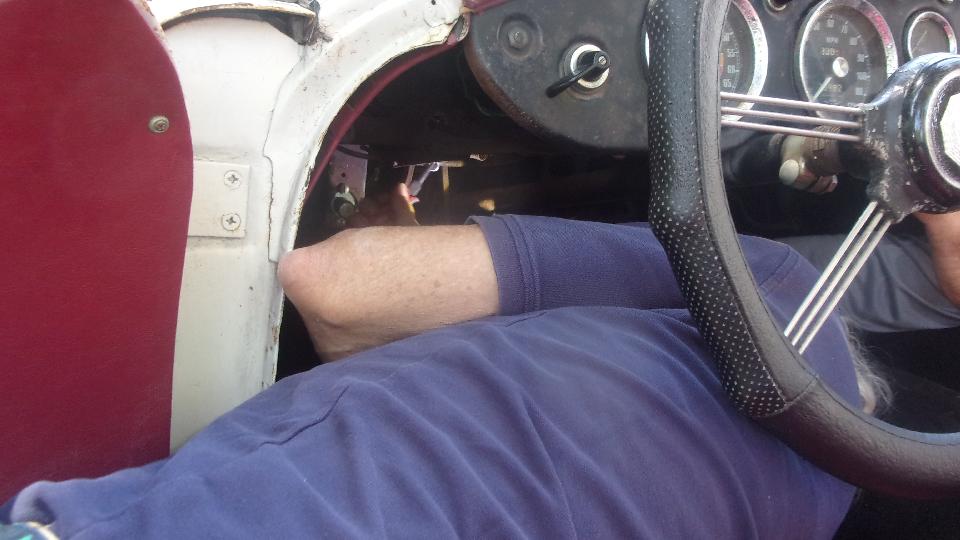
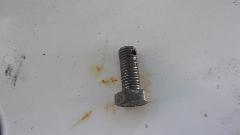
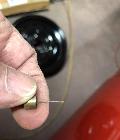
Cursory check of clutch pedal and shifting action revealed lots of pre-travel in the clutch pedal, so check the master cylinder pushrod. First replace the makeshift 5/16-inch bolt with a proper clevis pin, then unscrew the pushrod about 5 turns to take up the slack and leave minimal clearance at rest. That made a big improvement in reduced pedal travel, not having to bury the clutch pedal in the carpet to shift.
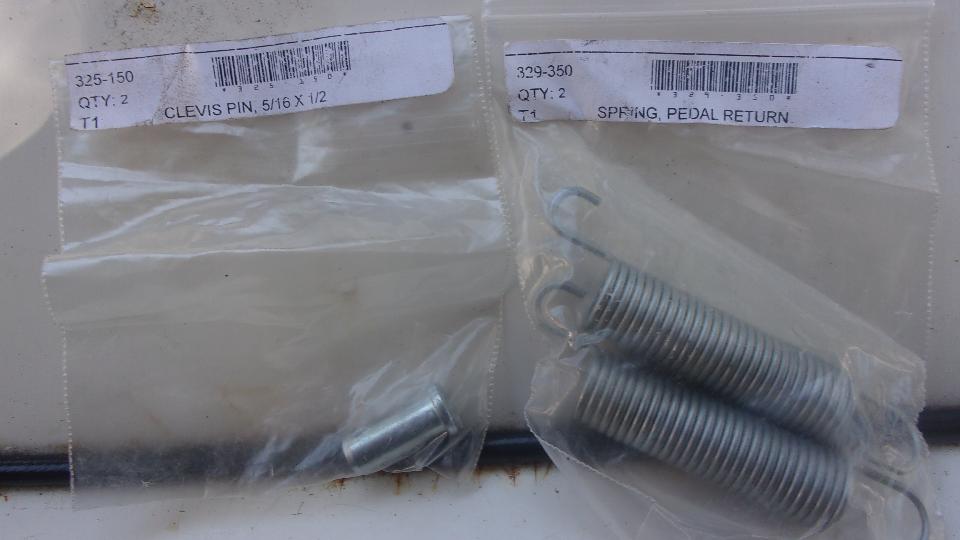
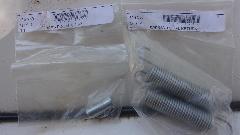
Got the clevis pin out of the magic trailer, along with a pair of pedal return springs. Everyone should know what a PITA those are to install while crawling under the steering column.


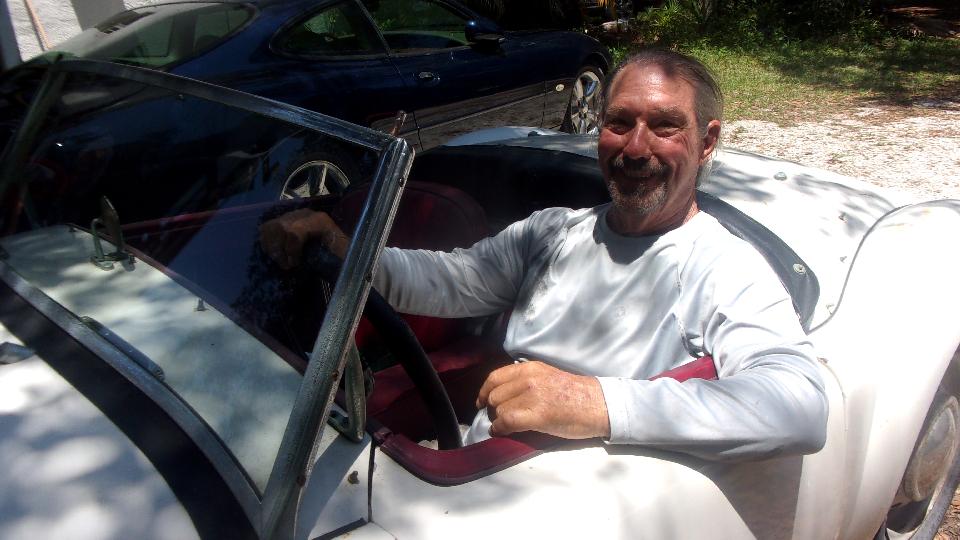
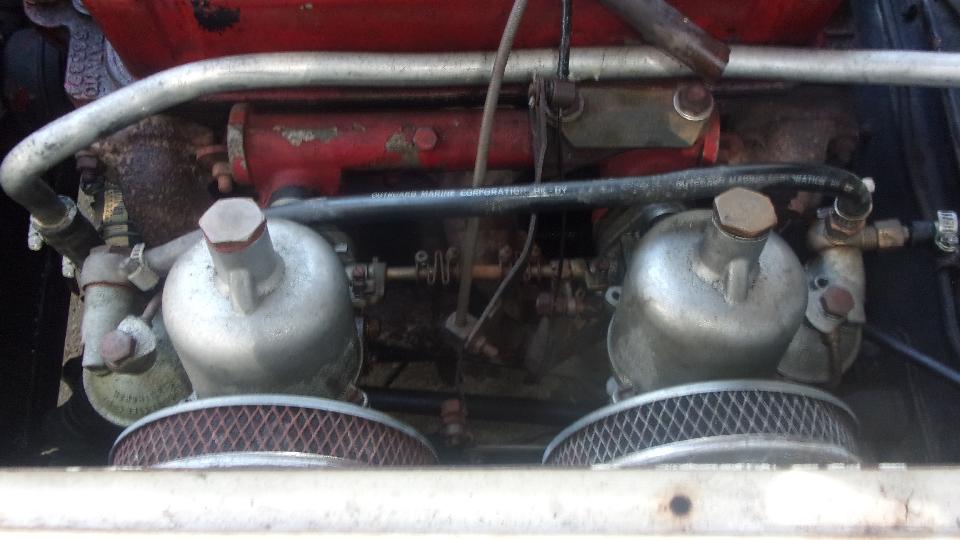
Then it was running rich with a pronounced gallop at idle, easily fixed with a quick mixture adjustment (but the

 fuel jets are still sticking with coke on). First trip out came back with a big grin. He was going to head home, but had another problem with clutch no-release at a traffic light, so came back for another check. Master piston had not returned all the way. Suspect internal leakage in the master cylinder, and maybe a partially clogged clutch slave hose, so put some parts on order, and we may get back to this one next Friday.
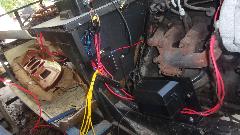
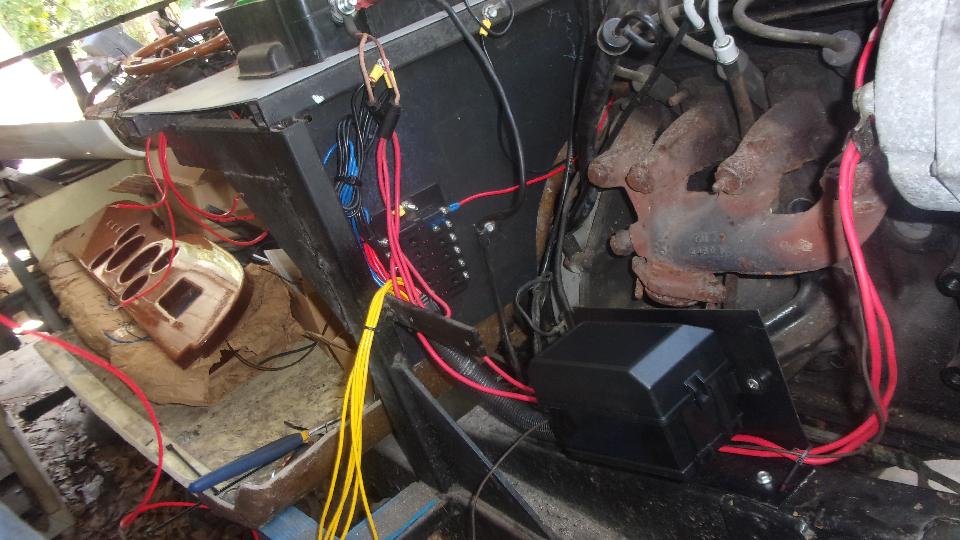
Couple guys tinkering with the Excalibur kit car (having misses last Friday's work session). Getting into electrical wiring,which will take a while to wire up the whole car. And then everybody knocked off and went home, while we headed back to our WiFi spot.
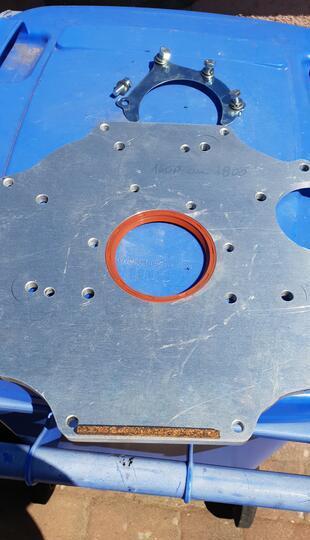
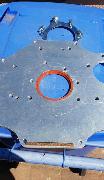 Uploaded a new tech page for a custom machined engine rear plate to adapt an MGB 5-main bearing engine to an MGA 1600 type gearbox.
 Another new page for Fuses (and when not to trust them). Yuck.
Then get busy with the grunt work so you can enjoy the day's photos and notes (above).
Tuesday April 27 2021:
Spent a lot of time updating my parts inventory list, after finding a list of 29 recently purchased parts that had not been added to the list. Boo, hiss, but must keep the parts inventory list up to date and accurate if it is going to be any help at all.
Wednesday April 28 2021:
Added pictures and another tip to a tech page for removing the steering wheel. Got busy and missed the evening Zoom meeting with CMGC website committee. I'm sure they did okay without me, having scheduled a guest representative from Wild Apricot to answer questions about what their service can do (and what not), and what the billing might be (based on number of email contacts), and data space limits.
Thursday April 29 2021:
Updated a tech page to include a part number for very early production Twin Cam radiator. This lead to the idea that early Twin Cams (the first 500 or so) were slightly different than later cars. Searching for the part number for the early production radiator led me to the December 1958 version of
"The MG Series MGA Service Parts List" with Twin Cam Supplement. This suppliment was just a text list of the parts (38 pages) without any explosion drawing illustrations, and it was tacked onto the end of the MGA (1500) SPL.. It is only now that I am realizing the differences of this list from a later Twin Cam SPL, and that the early information was not included in the later dedicated MGA Twim Cam SPL. This then gives me another future project to add the early Twin Cam SPL information to my MGA Parts Index tech section (and when I might find a free week or so to do that).
Friday April 30 2021:
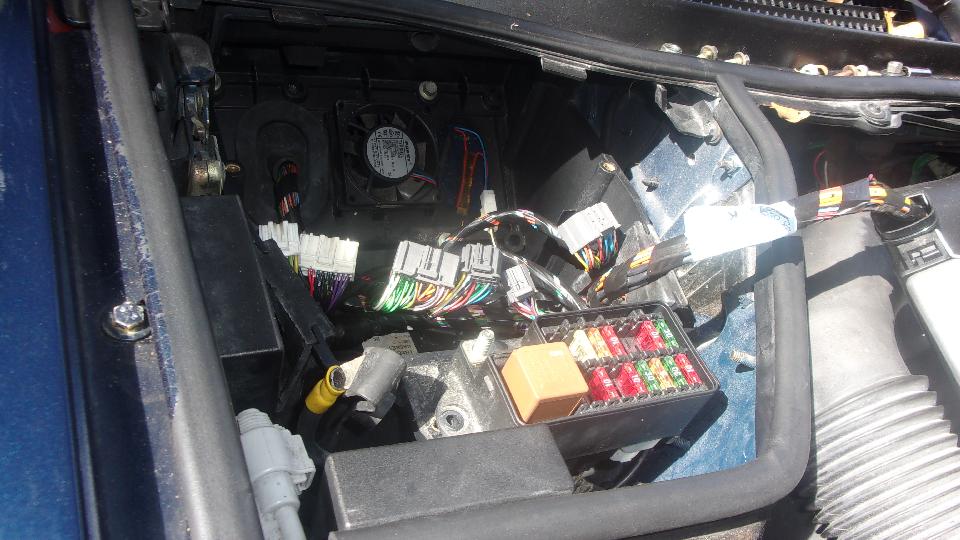
Not sure yet if this may be our last week in Florida (until next winter), but we get at least one more visit to Tech Central. Guys working on the Jaguar, after checking a bunch of power and ground connections, decided no-spark had to be a failed engine contol computer, so they bought a good used one via Ebay. With that plugged in, the computer cabinet cooling fan as not running, so pull that out for testing.
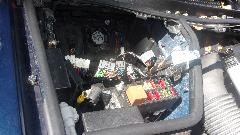
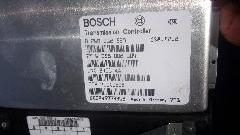
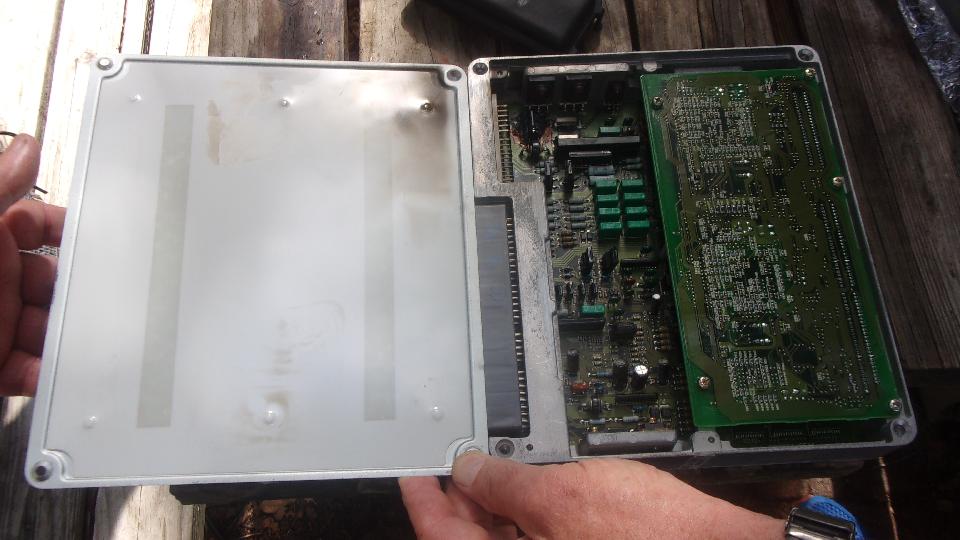
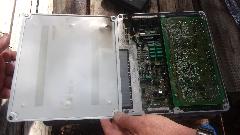
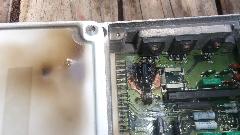
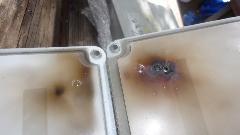
They opened up the old engine control computer, and found one corner of the board totally fried, so hot that it notably burned the metal covers on both sides. It looked like an electrolytic capacitor shorted out. They found a broken wire on a resistor in series with the muffin fan, figured the resistor to be bad, and laid plans to buy a new resistor at Radio Shack (30 miles away whenever someone could drive there). That may be tomorrow's chore.
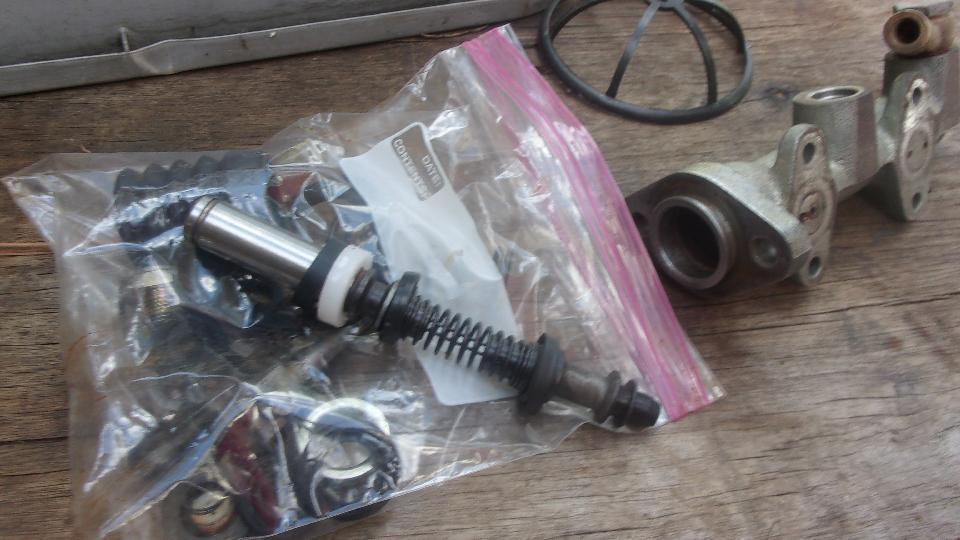
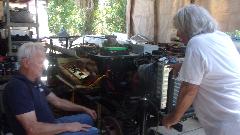
On quick review, the white MGB finally had its clutch and brake master cylinders and power servo reinstalled, and they were bleeding all the hydraulics. The ZB Magnette had the new 1800 engine and overdrive gearbox and propshaft all bolted down, radiator and carburetors installed, now getting the ignition parts hooked up, very neat to start and test driver. There was a late model MGB dual circuit master cylinder, I think for the MGB wannabe race car, It was disassembled for rebuild, but they had the wrong re-packing kit, so asked me if I could put it back together using the old parts. After referring to the Workshop Manual and Service Parts List and explosion drawings, I had all the parts laid out in sequence, only to find two parts missing. One was a rubber seal cup that would be part of the next new repacking kit. The other was a thin metal washer next to the missing seal cup, and that part is listed as "included with the master cylinder", meaning you can't buy the washer by itself. Will have to look around some, or otherewise scavenge one from another used master cylinder. No sense reassembling it with missing parts, so bag it and tag it, and toss it into the boot.
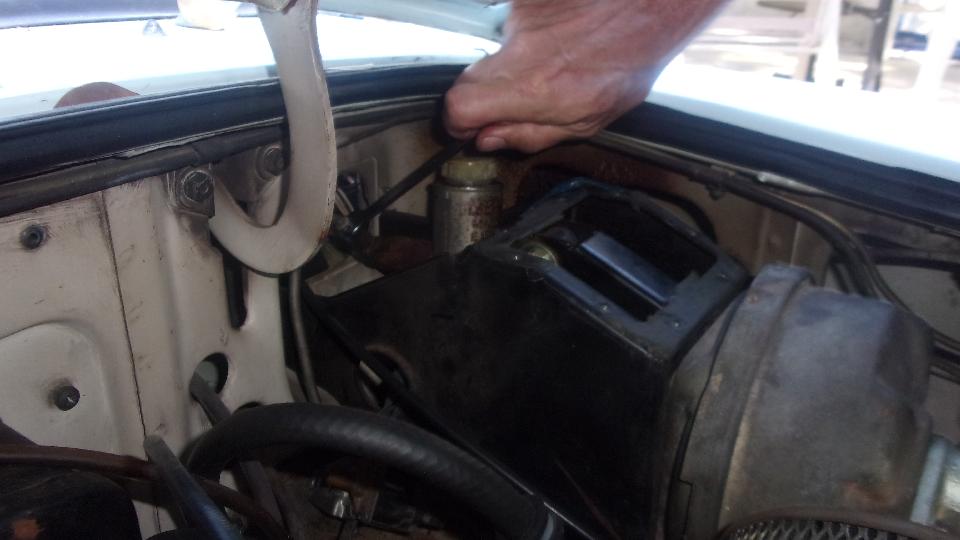
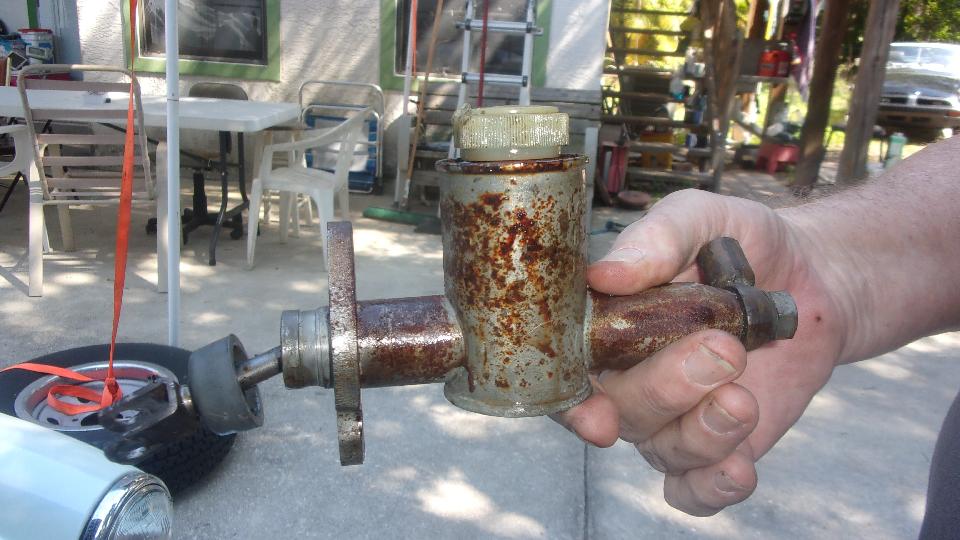
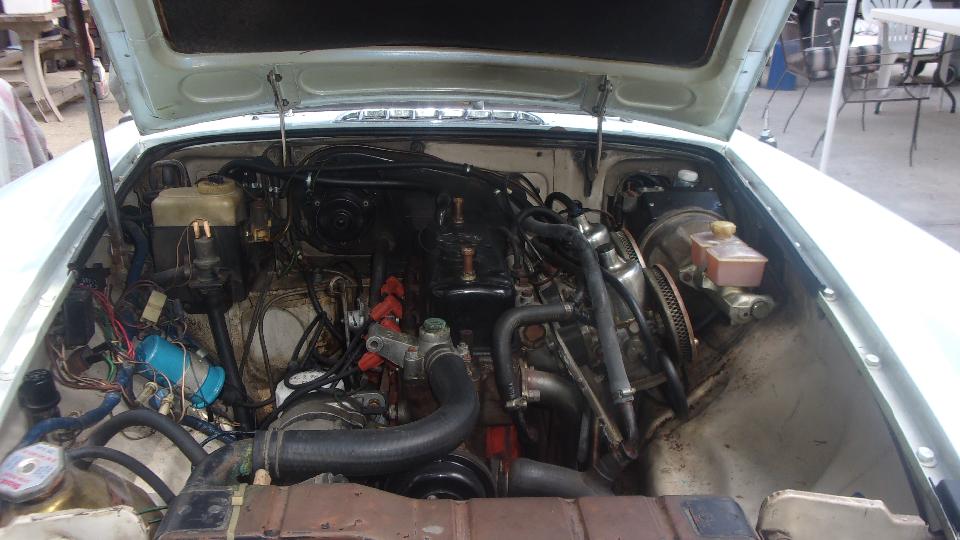
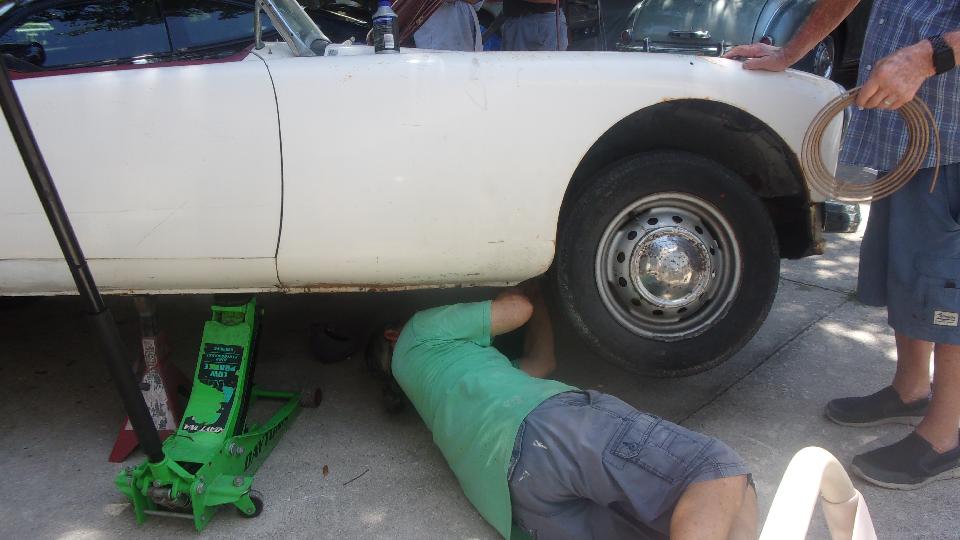
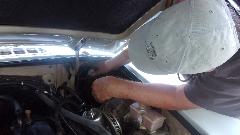
Then cam the big challenge of the day, which would get worse as the day wore on (with lots of sun and heat). The white MGA 1500 that got the clutch adjustments last week was back with a new master cylinder to be installed. Okay, unbolt the old master cylinder and pull it forward for access to the hydrulic pipe connections on the back end, Get the right flare nut wrench out of my tool box to do this job right.
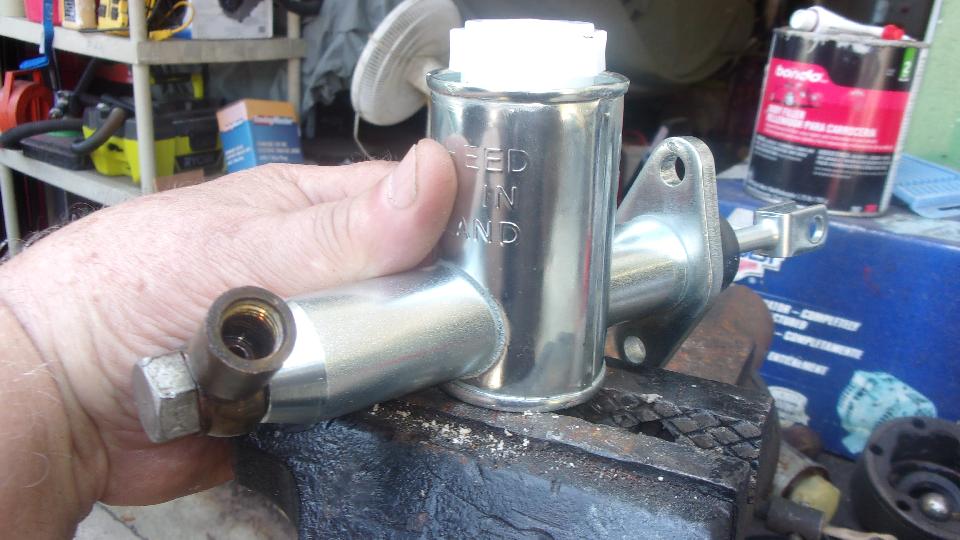
And an 18-mm socket to work the banjo bolt on the clutch side. Seems to have come apart okay. Get the new master cylinder in the vice long enough to bench bleed it for fluid fill and no air inside before installation.
To much rush and impatience I think, so during installation they twisted a banjo fitting and broke the clutch pipe. Not able to re-flare a pipe with a tight bend, they cut off about 3-inches of the pipe, re-installed the flare nut, and re-flared the pipe, Then not able to relocate the pipe to get the missing length back, it was time to pull the pipe out and make up a new one. With new cupro-nickle steel pipe from inventory, it didn't take long to measure, cut and flare the pipe to install the flare nuts. And the cupro-nickle pipe is lots easier to bend by hand than the original steel pipe, so not too long to get the plumbing hooked up again (just a bunch of skinned knuckles).

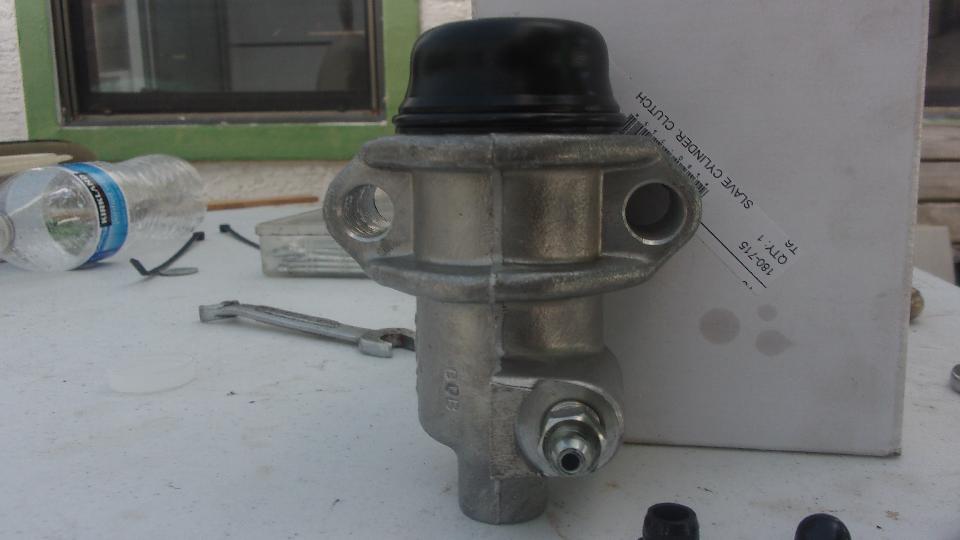
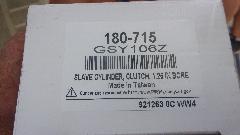
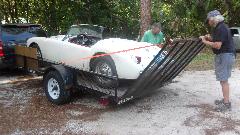
After 20 minutes of futility trying the bleed the clutch circuit, it was obvious the new master cylinder was causing a bit of suction on the return stroke that was pulling air in past the seal cup in the slave cylinder. So owner's choice, to repack the slave in situ, or pull it our for replacement. These are now so cheap that we just replaced it with a new one out of the Magic Trailer, and keep the packing kit for a better opportunity (like side of the road repair). Some issue with socket head cap screws and no space to swing an allen wrench, so replace the screws with proper hex head bolts as original, and life is much easier. The prior screws were a bit too short, and one of them had stripped out the first three threads in the bellhousing. But the longer bolts reached far enough to bite well, and no need to install a Helicoil this time. In the end, good clutch, good test drive, and driven back on the trailer to go home. But it was a nice trick to put a 13-1/2 foot car on a 12-1/2 foot trailer.
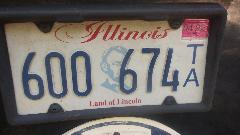 The new registration sticker for my trailer had arrived in the post, so I got to stick that on during the (mandatory) lunch break. A few more minutes of cool drink in the shade and light breeze, and we locked up and headed off to find a WiFi spot to process these photos and notes.
Got a late night email saying "you're slacking", because the last update to this page was after the Monday session with the first round on theis white MGA. Nice to know that some people still read the travel log, even when we are have not been traveling much lately.
|