The MGA With An Attitude
MGA Guru Is GOING MOBILE - (August 1 - August 15, 2020)
Saturday-Monday August 1-3, 2020:
Most of what I remember was much of three days working on the Part Numbers Index.
Tuesday August 4, 2020:
Killed most of the day posting the CMGC August newsletter on the club web site.
Wednesday-Sunday August 5-9, 2020:
Mostly working on the MGA Part Numbers Index. Done with the 1500 SPL parts a few weeks ago, now half way through the 1600 SPL list. Slow going, tedious, and boring.
Monday August 10, 2020:
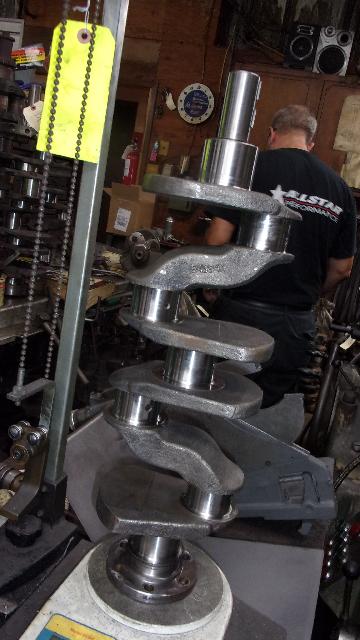
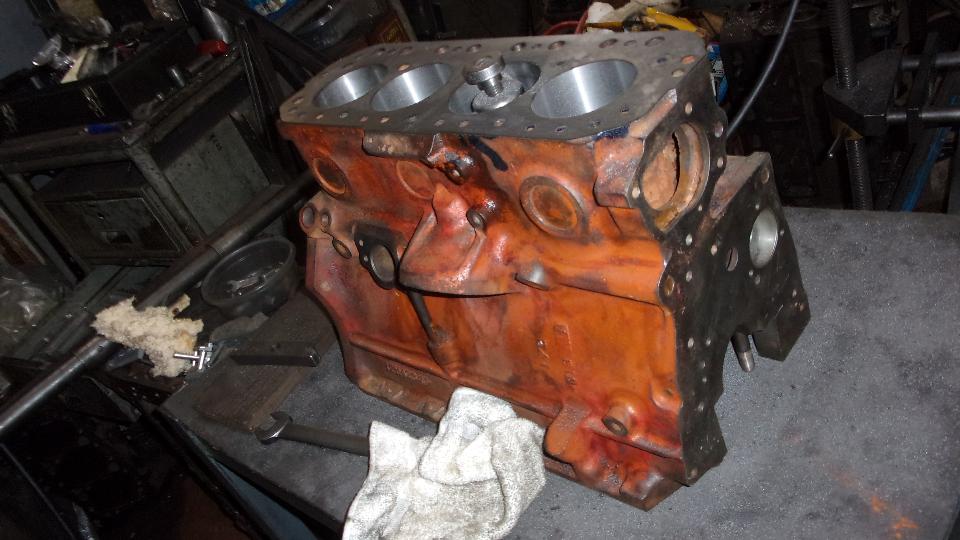
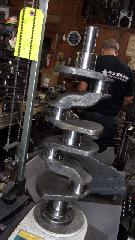 Ah, finally a chance to get outdoors and do something other than vegetate. Took a trip to the machine shop with Marc, expecting to pick up his engine stuff, but I thiink there was some miscommunication, and it wasn't finished. But it is in process and we have a tentative appointment to pick it up Wednesday. We know the block has been bored 0.040" o/s, and the crankshaft is 10/10 u/s, so we can order the new pistons, rings and bearings.

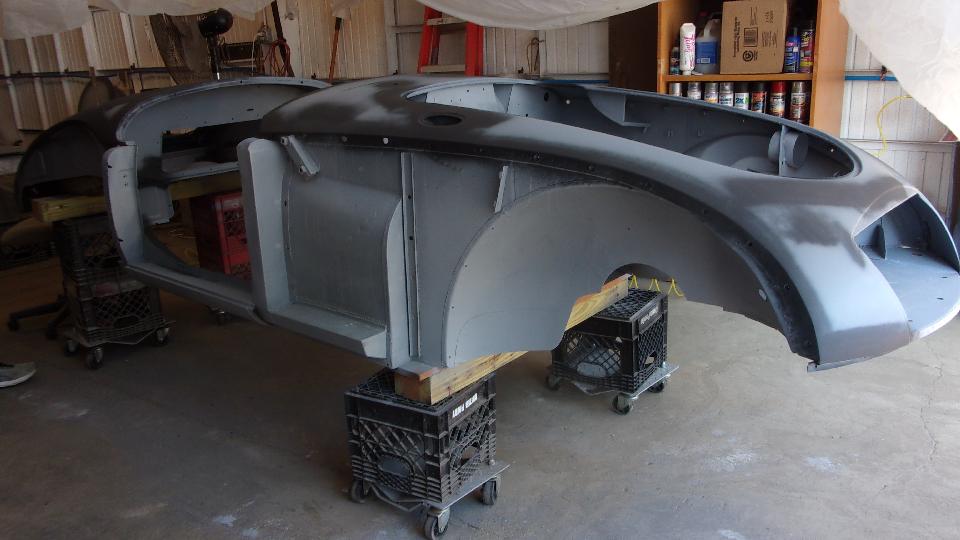
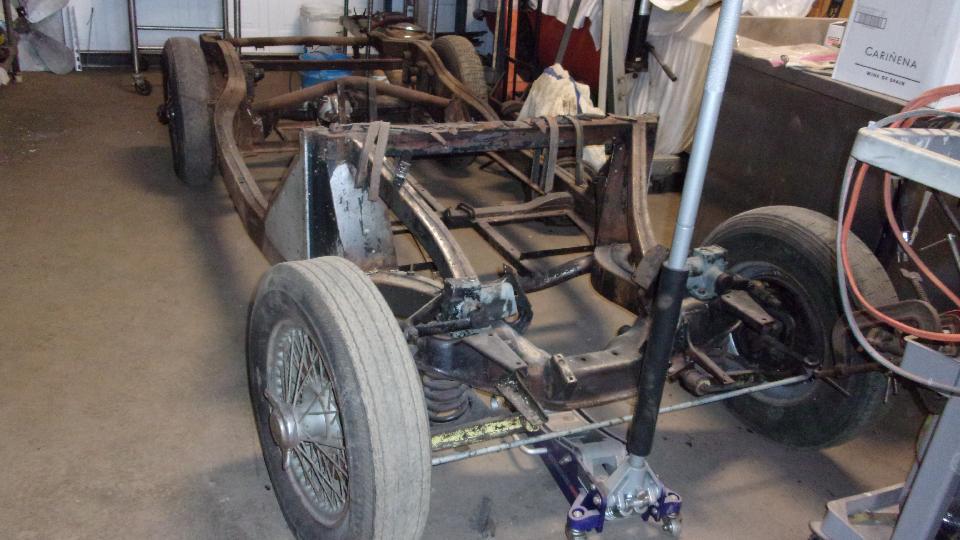
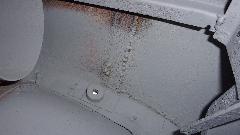
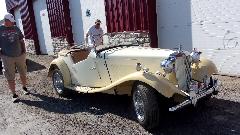 On the way back we stopped to visit a new shop that has been on my North American Shops list for a year. This is Mike's MG Service in Delaware, Ohio. We dropped into a club meeting a year ago, and got this shop contact information. We didn't get to visit it then, because it wouldn't be open for another week, but now we got here. Mike came rolling up to meet us in a nice MG TD. Inside we got a tour of the MGA he is currently restoring. New body sills inside and out.


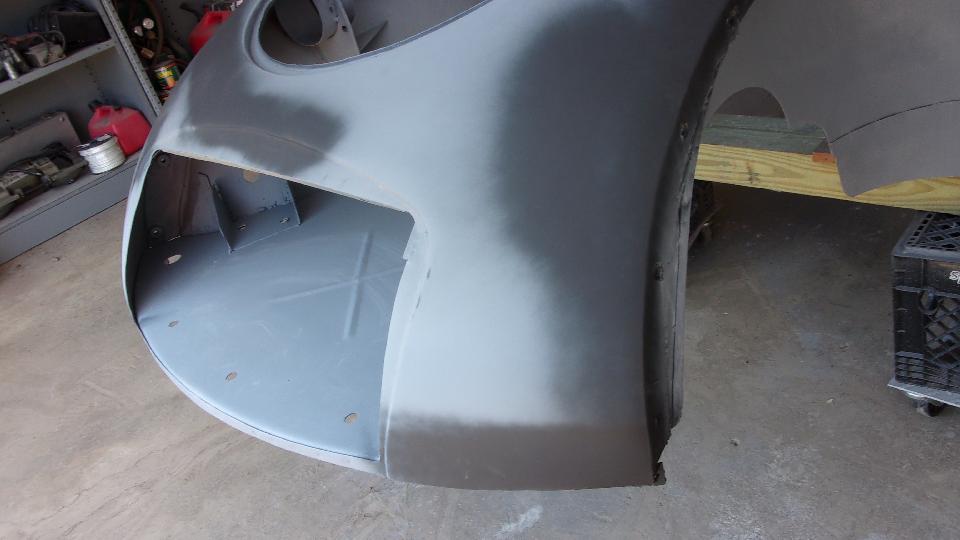
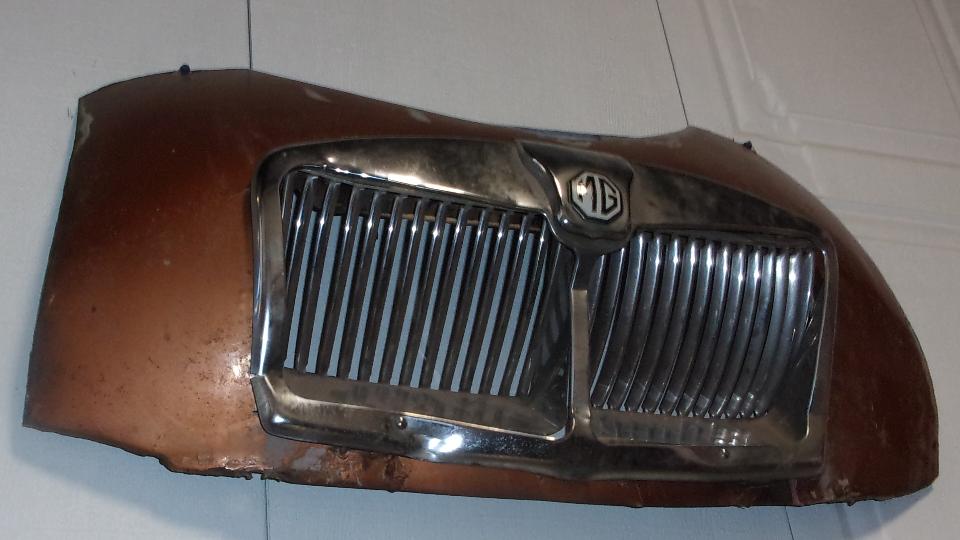
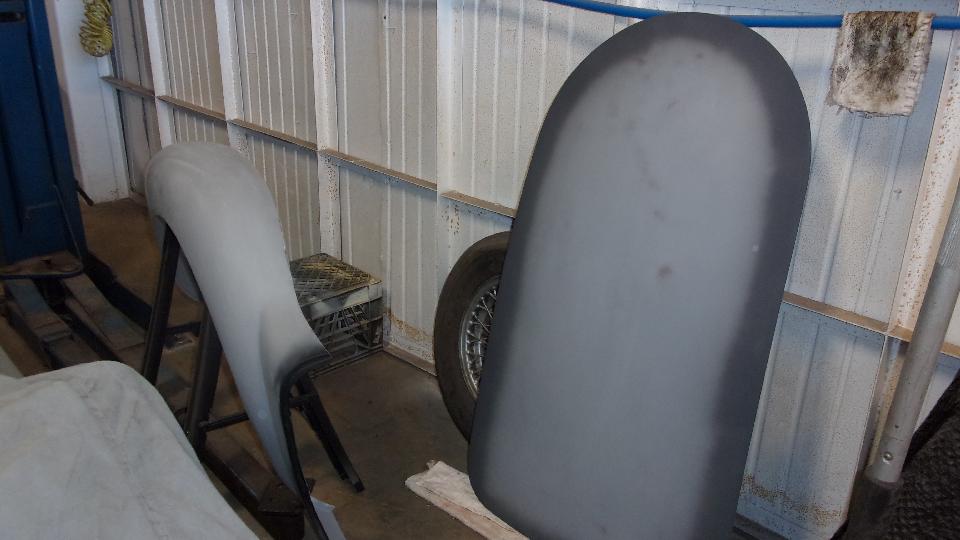
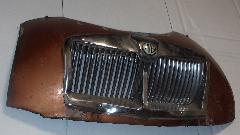
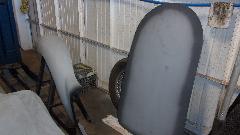
New body nose up front with nice but welds with zero distortion. That's the original nose hanging on the wall.
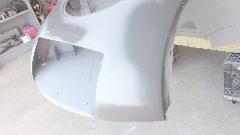
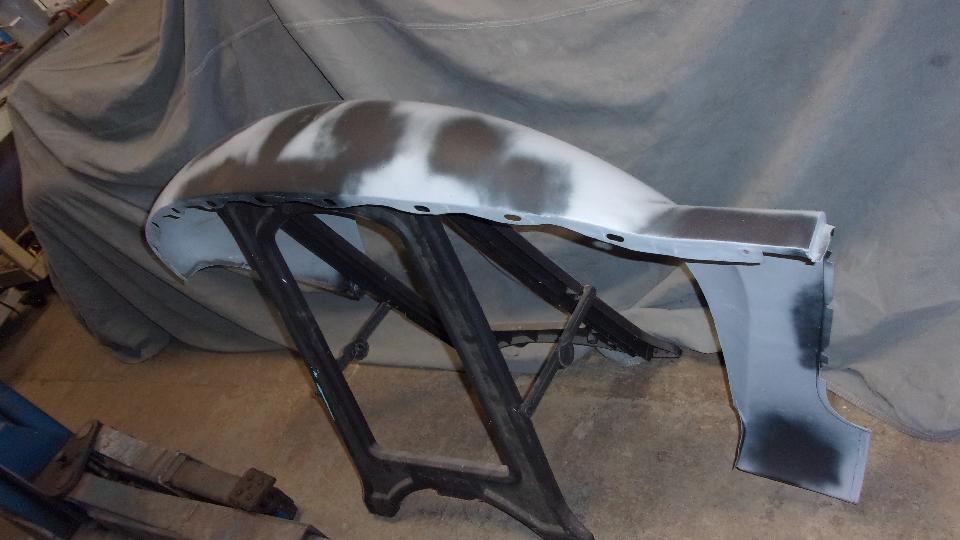
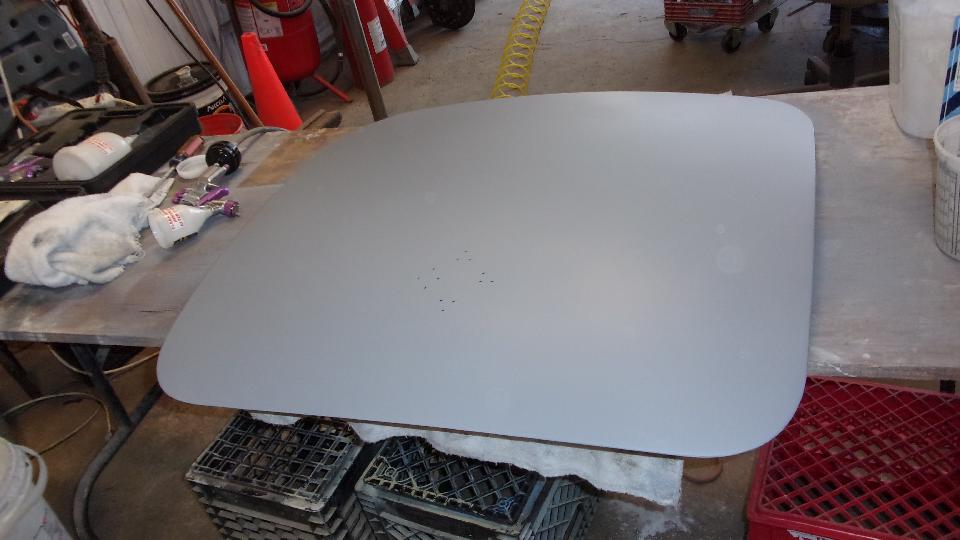
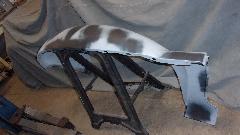
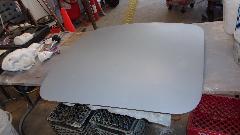
The loose body panels are very close to ready for finish paint.
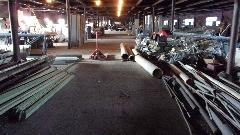 Just when I was admiring the size of his shop, maybe 30x60 feet or so, we took a little hike up stairs. He has access to the entire second floor here, something on the order of 60x280 feet. What could you do with an exta 16,000 square feet of storage space?
 Oh by the way, there is another MG-TD here, looking for a new home (sorry no pictures). It had a top notch restoration about 15 years earlier, low mileage and still in very good condition. Medium red with tan interior, in case anyone might be interested. Oh by the way, there is another MG-TD here, looking for a new home (sorry no pictures). It had a top notch restoration about 15 years earlier, low mileage and still in very good condition. Medium red with tan interior, in case anyone might be interested.
Tuesday August 11, 2020:
I dunno. Typical email, tech questions, BBS, and a few hours working on the Parts Index List. Short inspection of a rocker shaft assembly for the engine Marc is currently having machined. Yes it needs a rocker shaft, but the bushings are good as-is. Two stuck pedestals, but expect not much problem there. Did a voltage test on a BMW Z3 that has an intermittent battery discharge problem. Didn't find anything wrong with battery or alternator, so if it happens again, he may have to hook up a data logger to record the problem whenever it happens farther down the road. Guessing it may have something to do with a new stereo system recently installed, may have a parasitic power draw when parked.
Wednesday August 12, 2020:
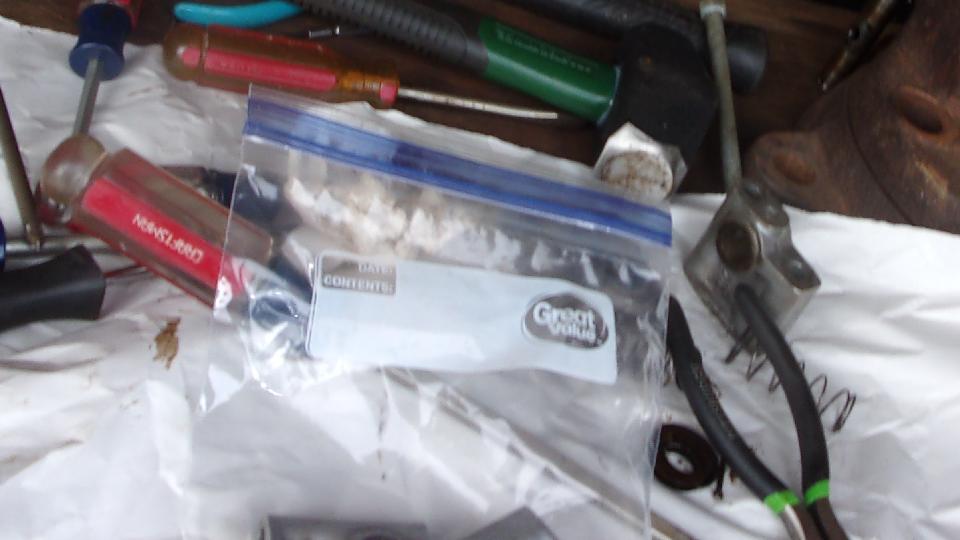
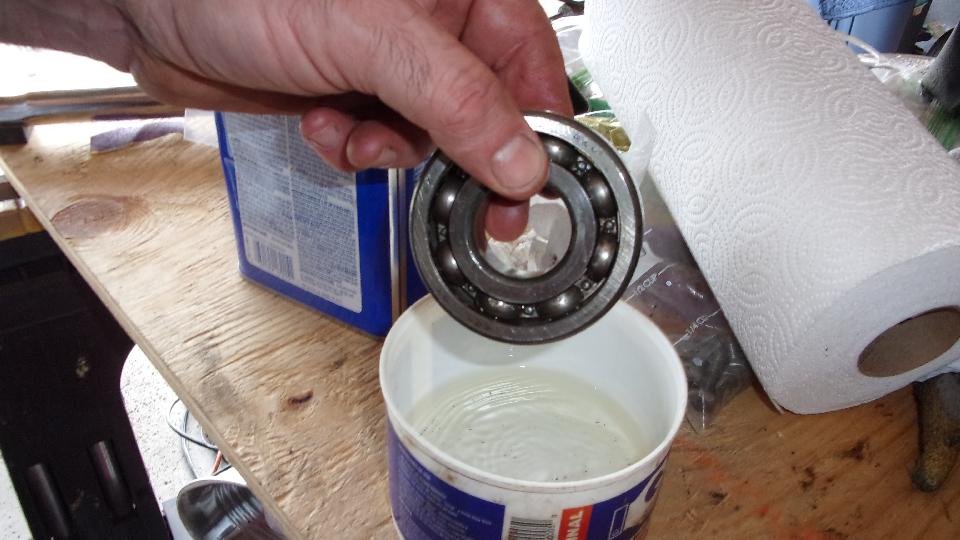
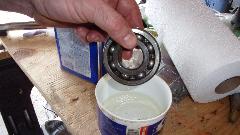
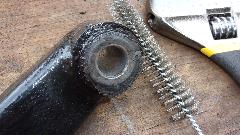
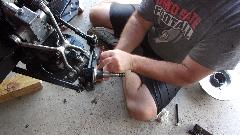
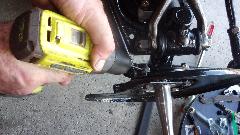
Long and busy day. High-tailed it over to Marc's place 10-am. Began with disassembling the rocker shaft that had two stuck pedestals, not a very good picture, kind of missed the frame. Then about 10 minutes clearing up a sticky inboard wheel bearing, just a matter of soaking it in lacquer thinner and spinning it for a while.

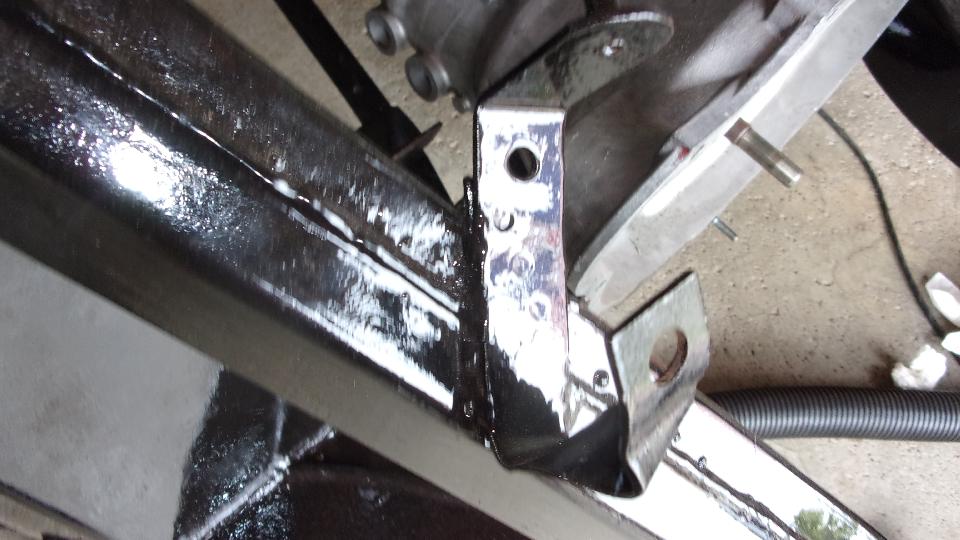
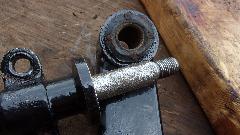
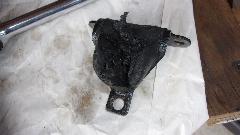
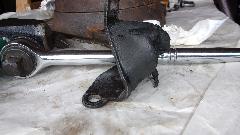
Then one of the tricky problems, straightening out a badly twisted starter switch bracket. Looked at the one in my car first to see what it should look like. Then some time working with two large Crescent wrenches, and a half minute of dinging with hammer and dolly, and it was good to go again. Then it was time to stop long enough to place another Moss parts order, about $500, mostly big ticket engine parts this time, as the engine was about to break out of the machine shop.

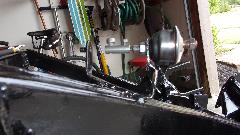
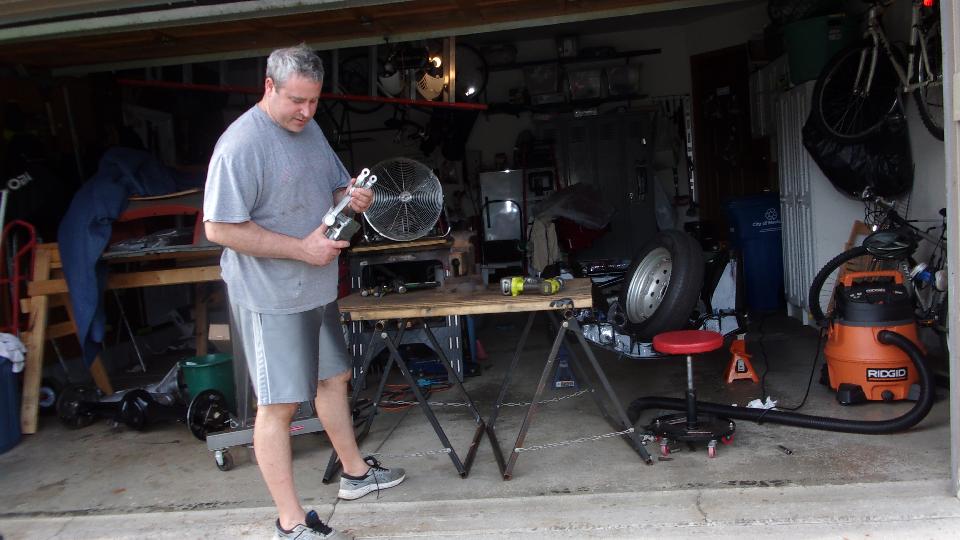
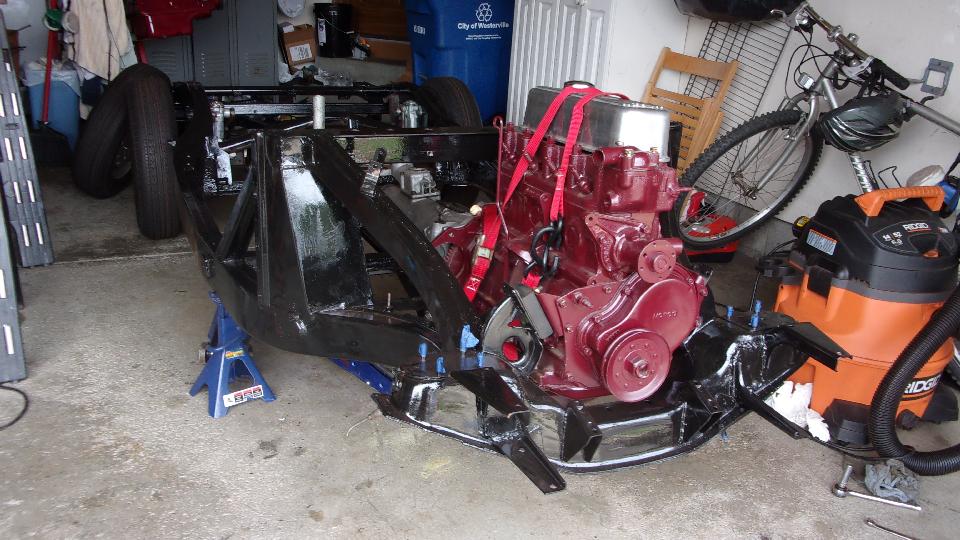
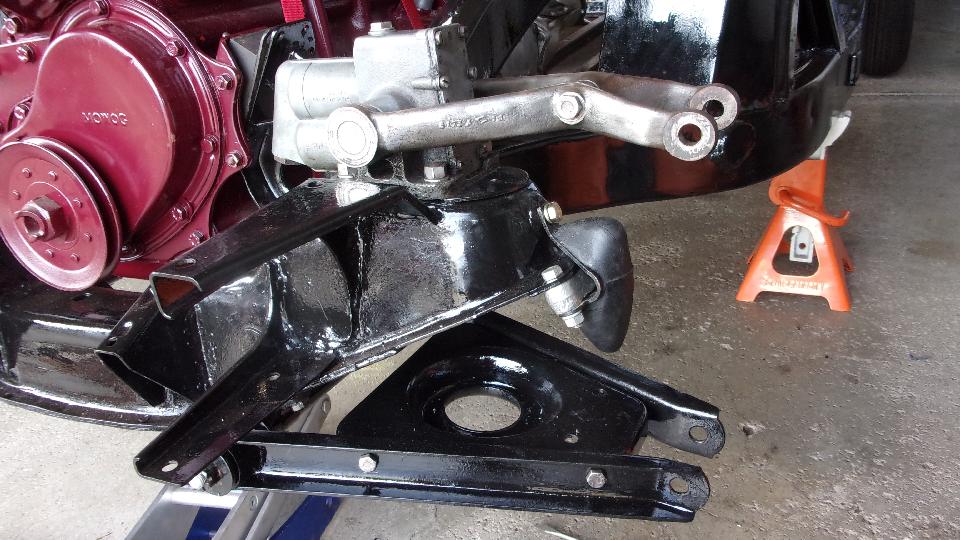
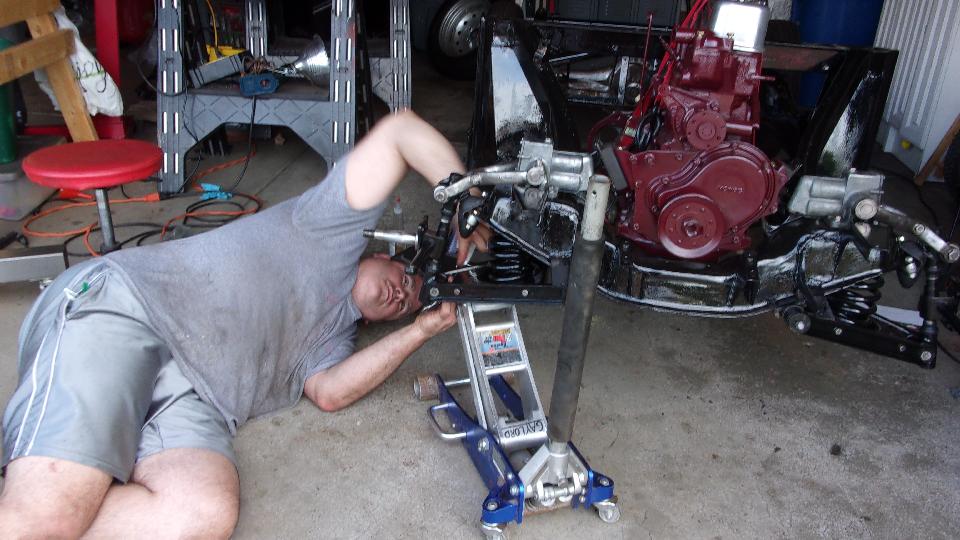
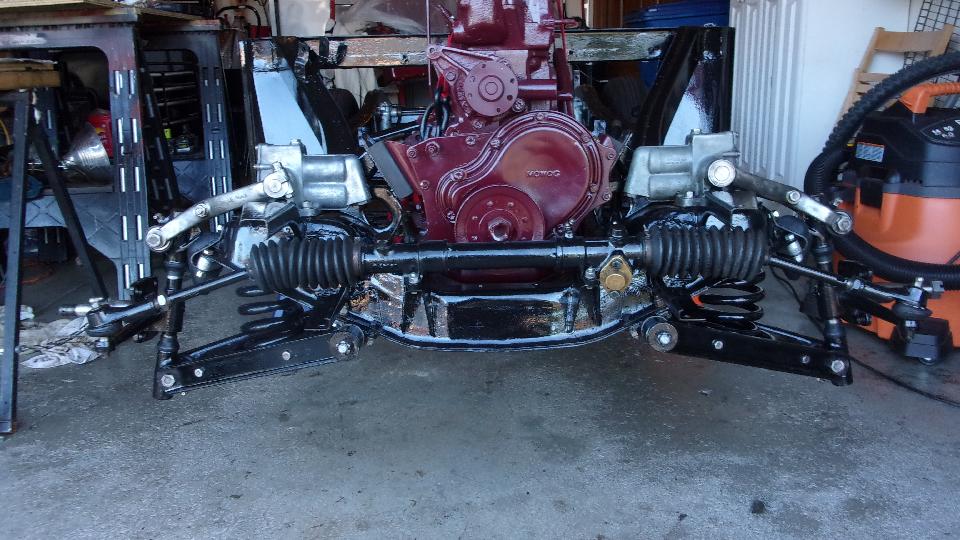
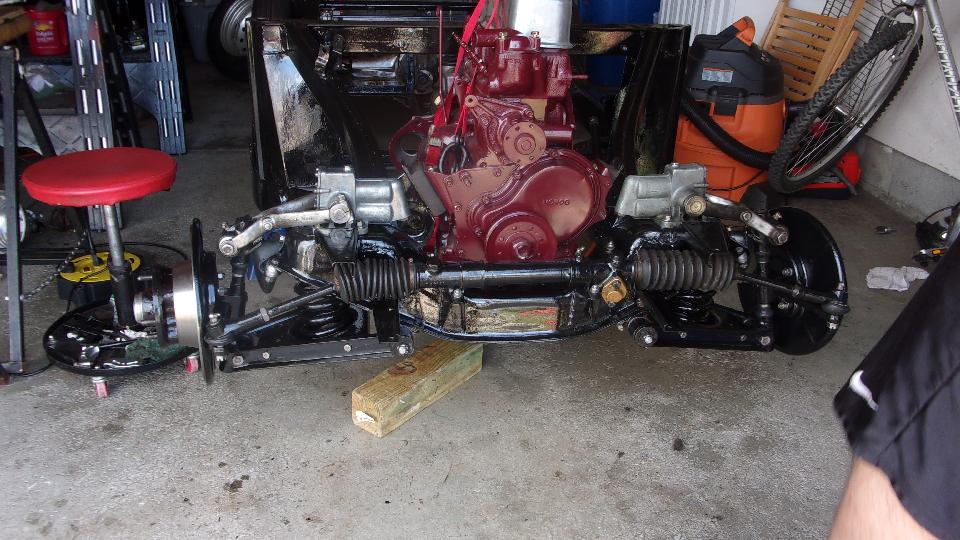
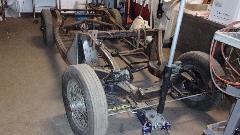
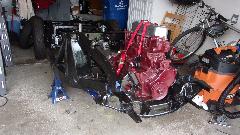
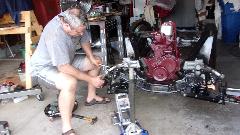
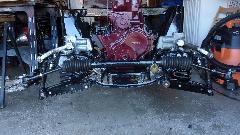
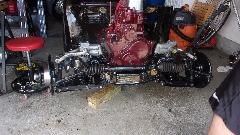
Marc had been cleaning and painting front end parts for the last week. We put the gearbox back in the chassis, again (one bolt), and attached the engine (two bolts), and set it down on the mounting pedestals (no bolts). This was to give the chassis enough ballast to reassemble the front suspension. We had to disassemble the A-arm brackets from the pivot shafts, intending to replace the inner arm bushings with MGB V8 bushings. Surprise, the existing bushing were already MGB V8 type, and they were in very good condition. Considering mine have been in service for more than 30 years, we figured it was a good bet to leave them alone and put them back in service (nice shortcut). We did clean some rust from the bore of the bushings steel sleeves, and from the pivot shafts, and reassembled them with a dab of anti-seize this time.
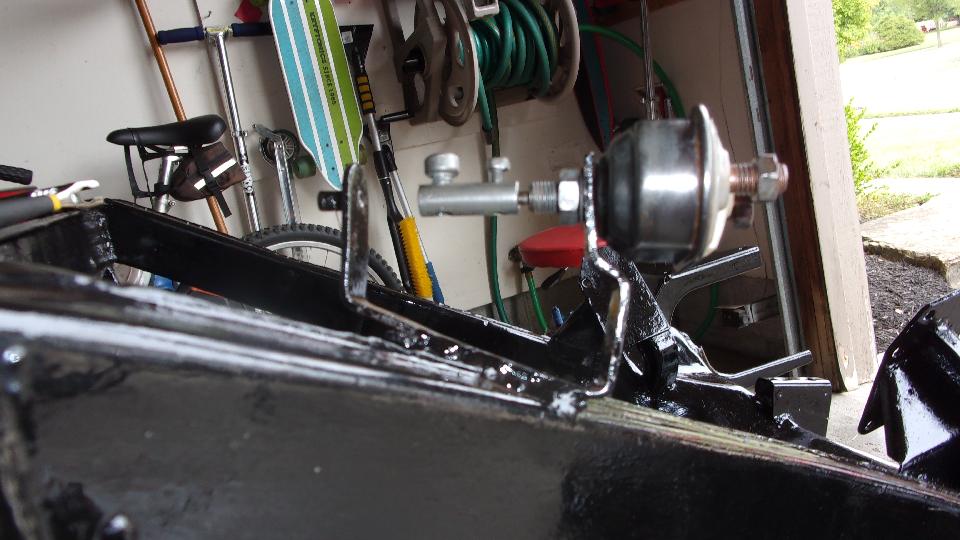
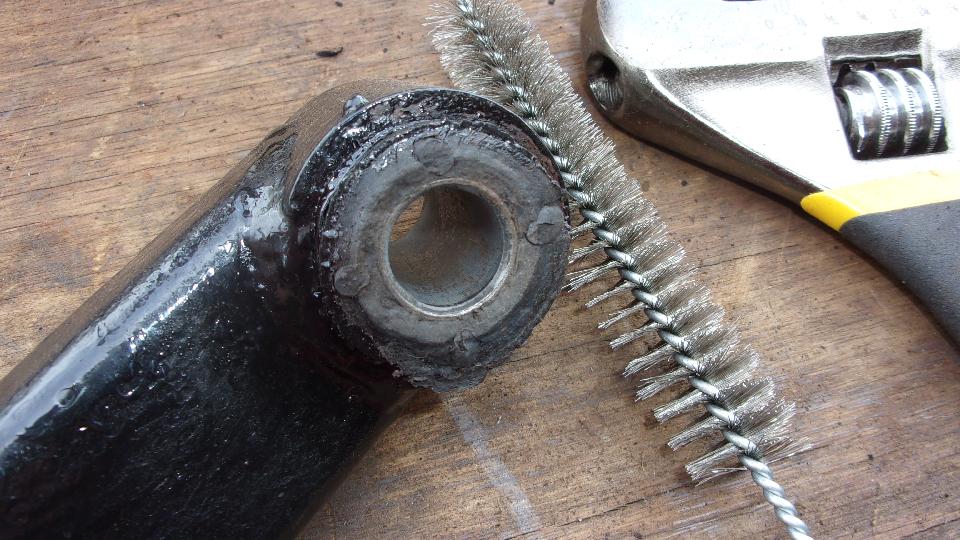
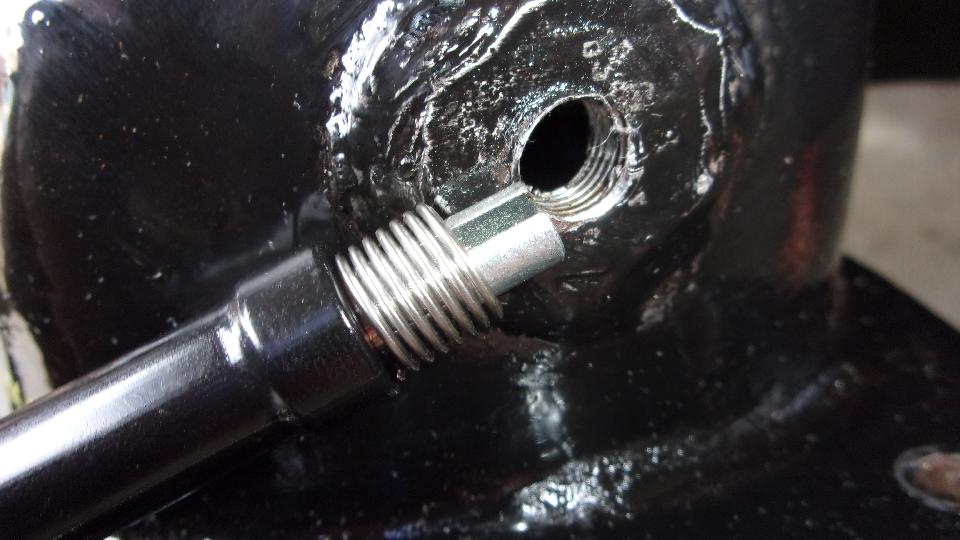
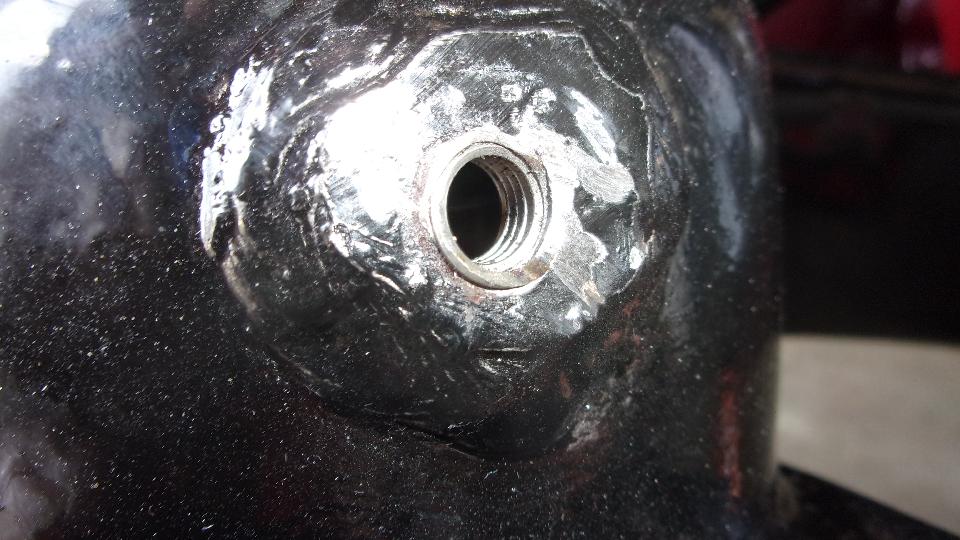
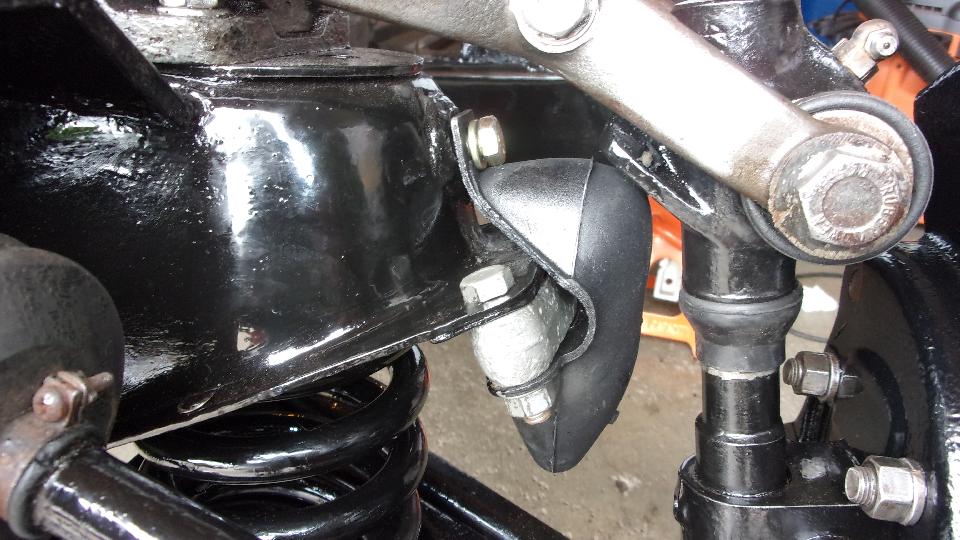
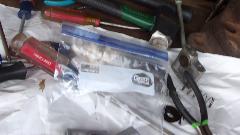
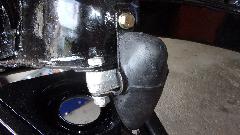
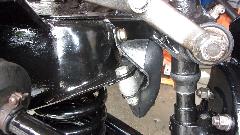
We had a bit of a delay when the top bolt of the L/H suspension snubber stripped out of the frame. Stuff was about to hit the fan, because I haven't been able to find a replacement 5/16-24-UNF Heli-Coil kit for several months, and this was time to find it or hang up the jock. I know the Harbor Freight and HoOme Depot and Advance Auto and AutoZone would not have the fine threaded inserts or the required tools, so we called the nearest Napa store. They didn't have it either, but the Napa warehouse did, so Marc's father took the trip and came back within an hour with the cherished parts in hand. We soon had the stripped hole drilled out, tapped oversize, and the new threaded insert installed. Score one for the good guys. That was a little tricky, because the metal there is less than one thread diameter thick, so had to cut about half the length off of the insert. Must have been a short lunch break about then.


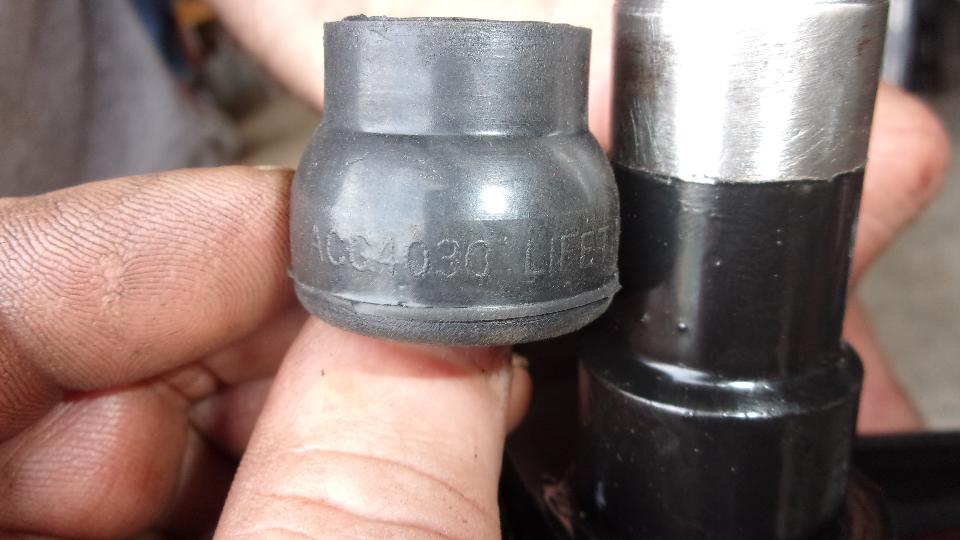
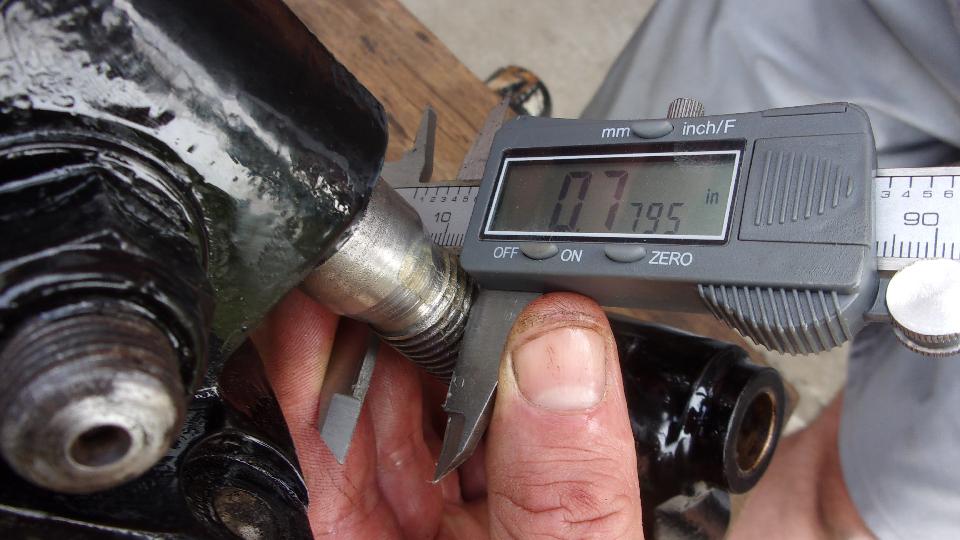
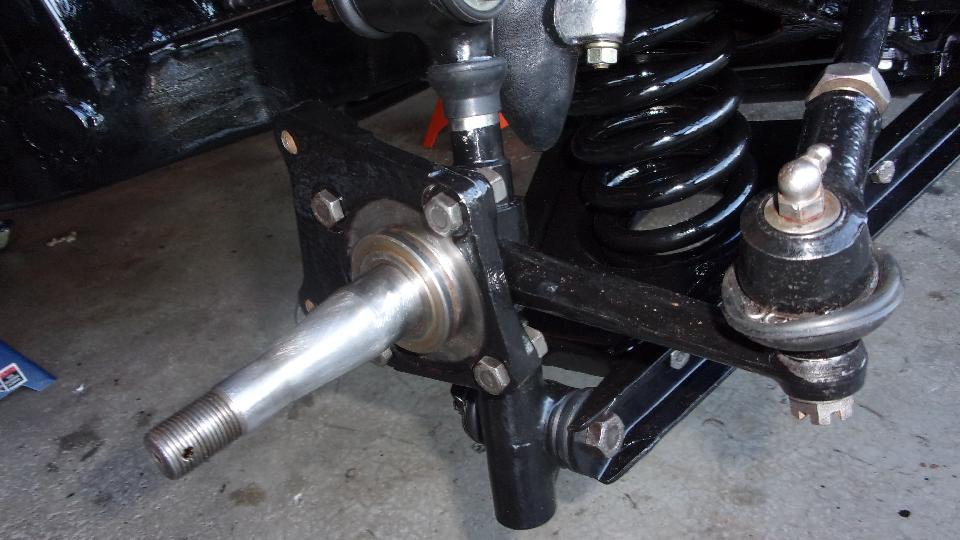
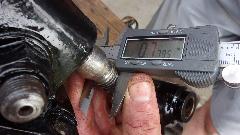
Not long to get a shock absorber installed (all tight), and lower A-arm (frame bolts tight, others loose). I did most of that while waiting for the Heli-Coil kit to arrive. Marc pulled out some suspension seals that he got from some old stock dealer close-out. The swivel pin seals were molded with "ACG4040 LIFETIME", the original factory part number. I'm guessing these were decades old original parts, and they were is absolutely excellent condition, pliable, stretchy, shiny clean, and good to use. I wish I had a hundred more like these. Then I noticed the swivel links would screw onto the swivel pins with the steel bearing tubes in place, which is very much abnormal, so we stopped long enough to measure diameter of the swivel pin thread, 0.7795-inch if I read read the digital caliper right. Original swivel pin threads were 0.784" diameter, so the was pretty close. Things screwed together and worked okay. Maybe I should have gotten my mechanical micrometer out for this one
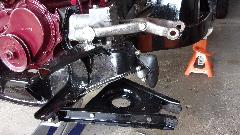
We slapped the rest of the suspension together with lots of grease and anti-seize compound, all bolts finally tight except the A-arm inner pivots. Someone said "Food", so time for a dinner break, which turned out to be pretty much end of the work on Marc's car for today.

Since Marc's garage was still tied up, approaching dusk, we headed over to the parking lot at the city park less than a block away. Here we had flat pavement to jack up my car to drain and change oil in the gearbox and differential, barely over 12,000 miles, right on schedule. Gearbox oil came out clean and notably yellow, almost like new 20W50 oil. I am happy to report that the gearbox now has 65,000 miles in 27 months since the last overhaul (and still doing very well), which I think is a substantial improvement from earlier experience. Credit this to the properly hardened layshaft (60 Rc minimum hardness) that finally became available a few years ago. We will keep an eye on this for future mileage reports.
Thursday August 13, 2020:
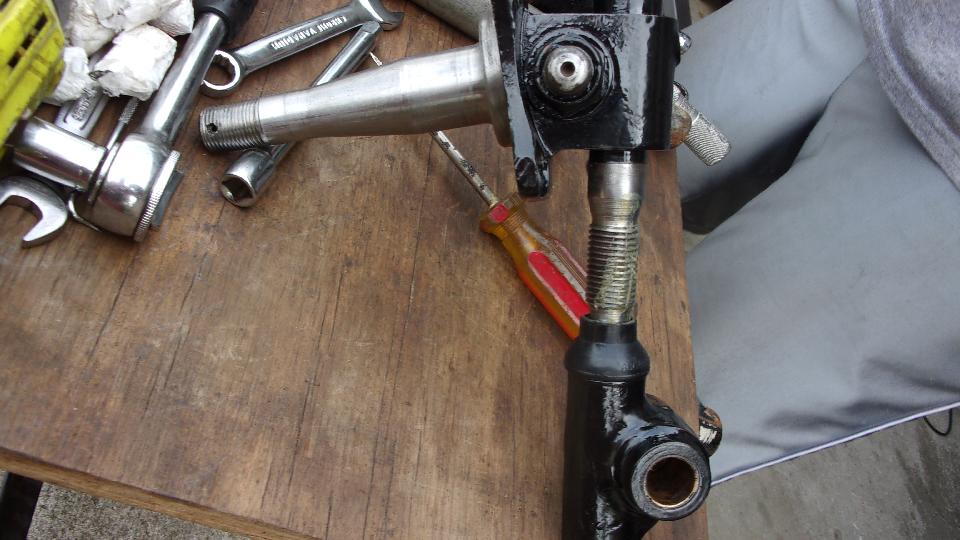
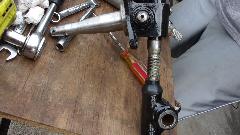
Back to Marc's place for a late start. Beginning near dinner time, only a few hours of daylight left, and the urgency is showing, because we are "going away" in a couple of days. First thing was to install the steering rack, mostly straight forward, except fitting a new rubber seal on one of the tie rod ends. We had the caliper mounting brackets installed, plus lubed the wheel bearings and installed those and the seals into the hubs, ready for installation.


That was about the time I asked if he had dust covers for the disc brakes, and apparently he did. They were not original on this car, but he had procured the parts at some close-out sale. So we got to remove the caliper mounting brackets again, find longer bolts and the special spacer washers. We had one dust cover installed before it got too dark to work comfortably, close to 9-pm. That left Curt still looking for the rest of the spacer washers as I was heading back to the motel.

Friday August 14, 2020:
We were planning on checking out of the motel this morning, but decided to stay over one more day. It was one very long day, mostly working on the MGA Part Numbers Index (half way through the 1600 SPL). Now close to 4-am, and we have a 10:30-am appointment, so I am going to be short on sleep.
Saturday August 15, 2020:
Pack everything up and stash it all back in the car and trailer as we check out of the motel in Dublin, Ohio by 11-am. This will be a little disorganized for a while until we get everything back in the right places, or get used to the new organization.
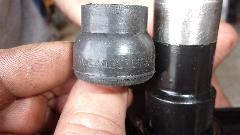
Then we were off to visit Mark Chapman in Westerville for one last tech help day before we blow town. First business was to replace two front rubber bump stops. A few days ago I thought those parts didn't look like new, and I was right, because one them had totally disintegrated.
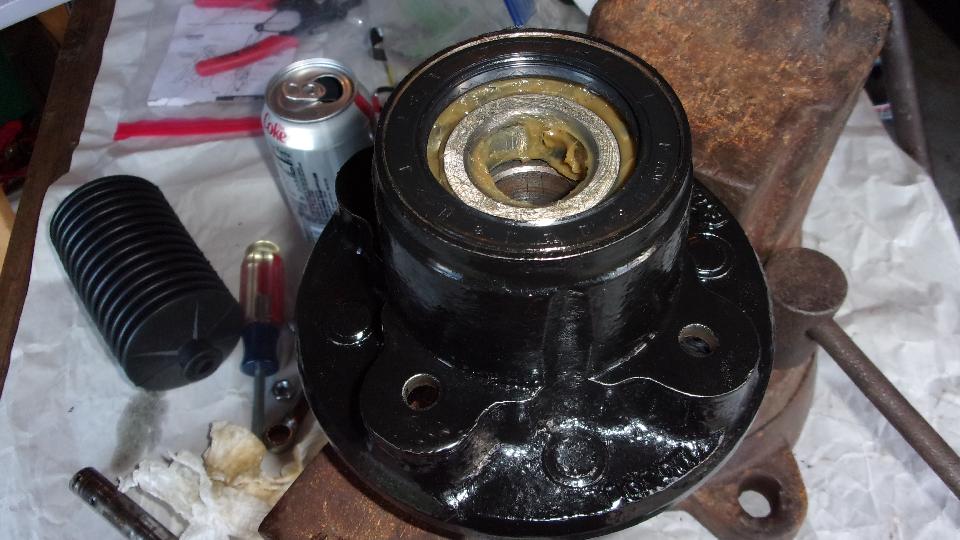
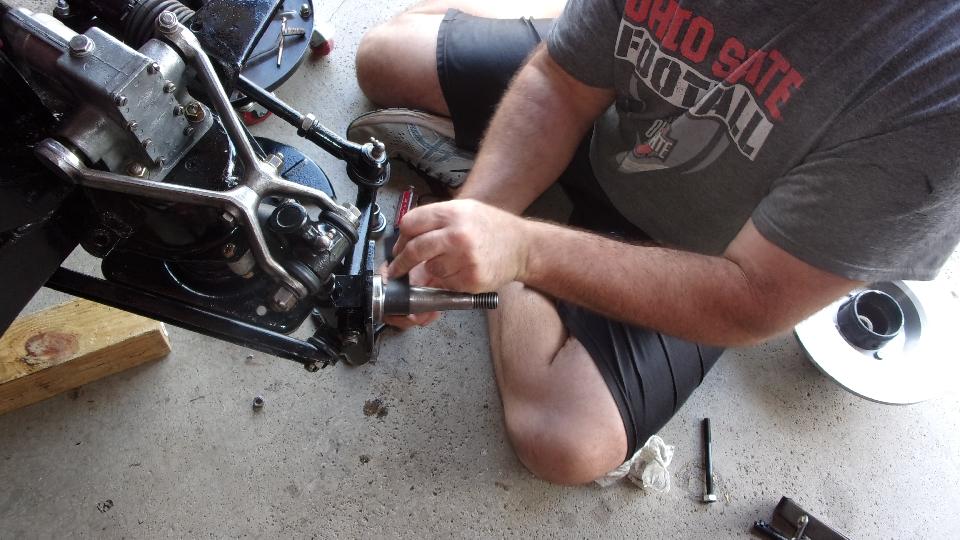
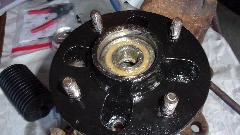
 We just wanted to put the bearing hubs (with brake rotors attached) reinstalled so we could get the wheels on and make the chassis a roller again. But you now nothing is as simple as it sounds. The left side went to together okay, but the right side decided to pick a fight. Push the hub onto the spindle, pop it a few times with a rubber mallet, install the washer and castellated nut, and pull it up tight with a wrench. But the tighter it got the more resistance it had for turning, until the bearings seized up tight, which is supposed to be impossible. And before you ask, we did not omit the inner race spacer.
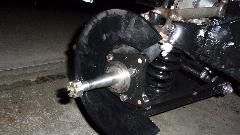
The bearings did not press all the way onto the spindle, and we had no idea why, but it was going to have to come apart again for inspection. Pry here and there, and it came out a little before it stuck and would move no farther, and we noticed the hub seal was out and the large inboard bearing was part way out of the hub. Partly disassembled, we could remove the bolts holding the dust shield, but still could not pry things apart. So we took a short detour to buy a $20 8-inch three legged puller, and then it came off easily, leaving the inboard bearing stuck on the spindle.
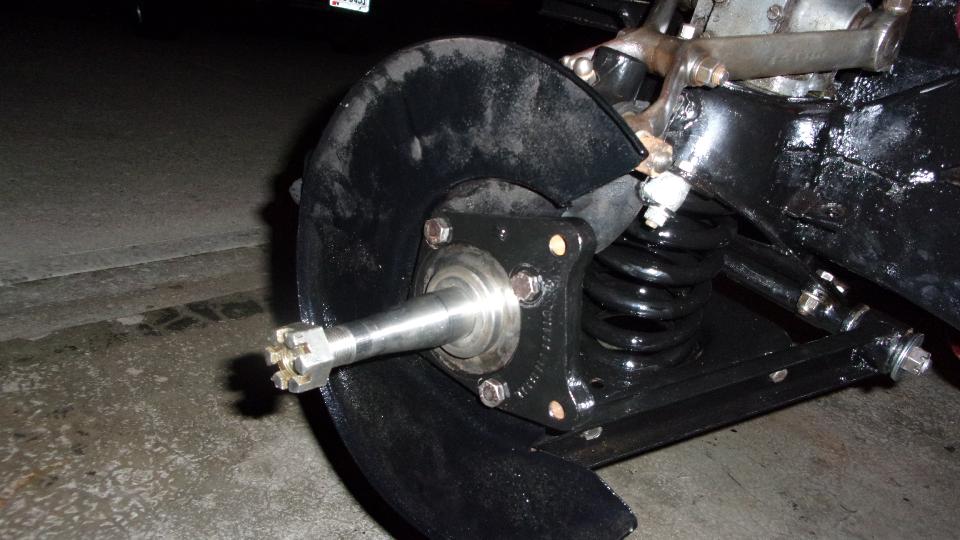
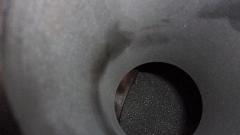
 With hub and rotor and dust shield removed, we could then pry enough to finally remove the stuck bearing from the spindle. That left exposed some axial scratches and skid marks on the spindle where the bearing was jammed up. We fixed that by polishing the spindle with emery paper and oil, after which I could push the inboard bearing all the way onto the spindle by hand. Then put the big bearing back into the hub, and just to be sure, install the bearing hub without the dust shield (successful), then pull it off again to install the dust shield.
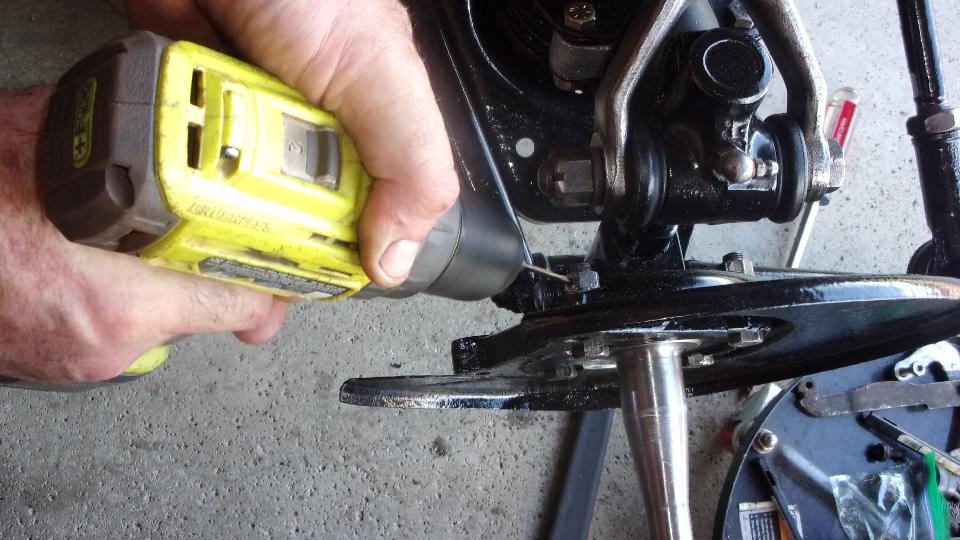
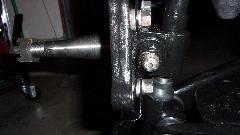
 Then the next fight. While installing the dust shield and spacer washers and caliper mounting bracket, one of the nuts stripped threads on
 the bolt and would not go tight. The nut would then also not unscrew from the bolt. So we drilled through the nut in a few places to remove the stripped nut, and installed another bolt and nut, finally winning that fight. And then the bearing hub was finally installed without further incident.
Late enough in the day, and we had a few hours driving to do, so call it good a roll out heading northwest. By 10:30-pm we were across the state line and sneaking up on Fort Wayne, Indiana, crash in a rest stop for the night.
|