The MGA With An Attitude
MGA Guru Is GOING MOBILE - (March 1 - March 15, 2020)
Sunday March 1, 2020:
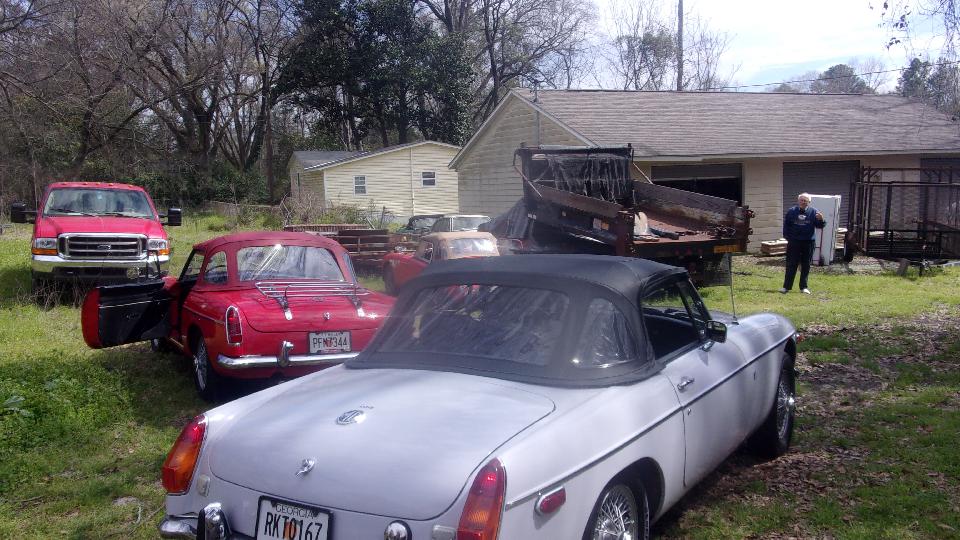
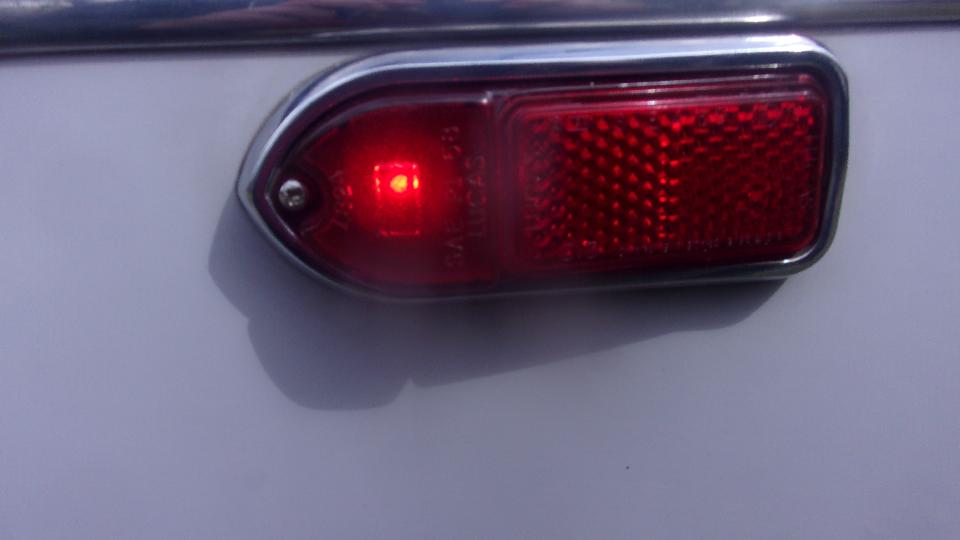
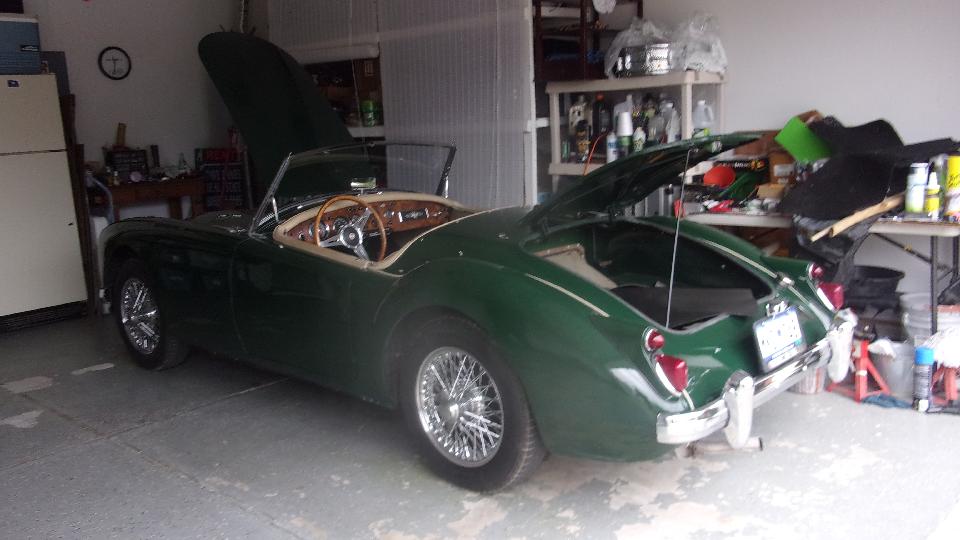
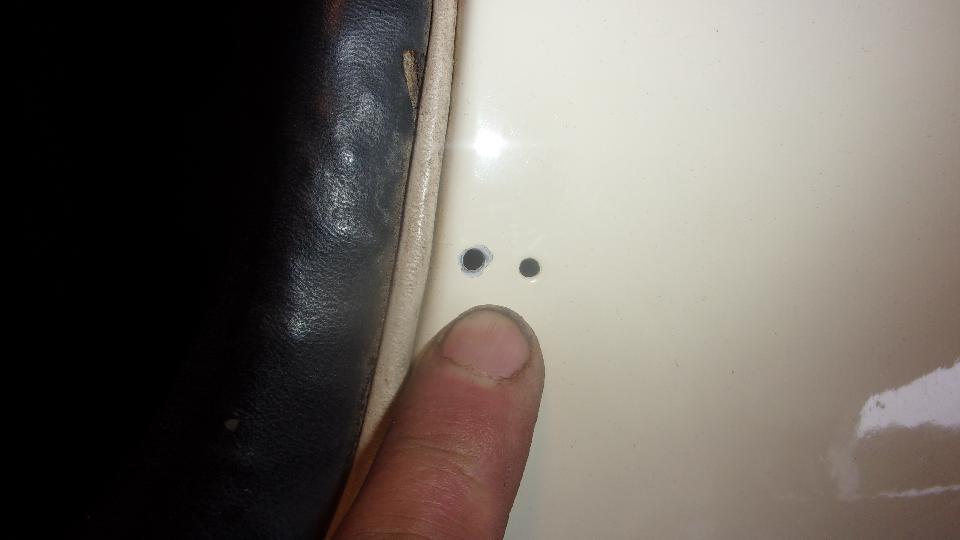
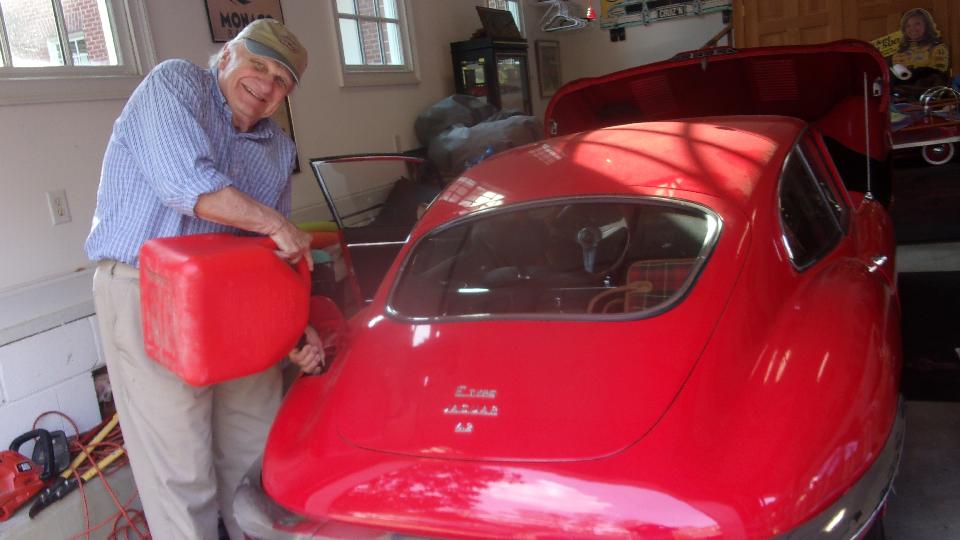
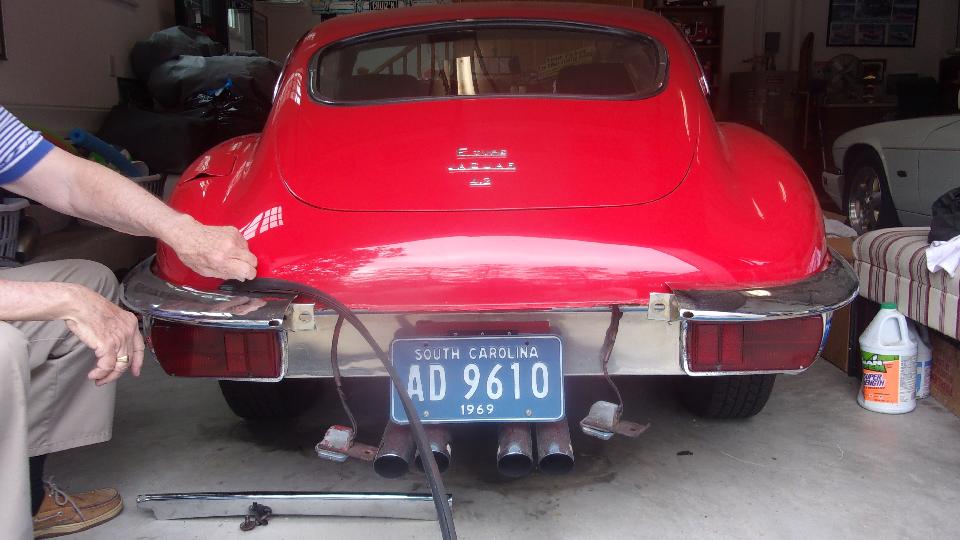
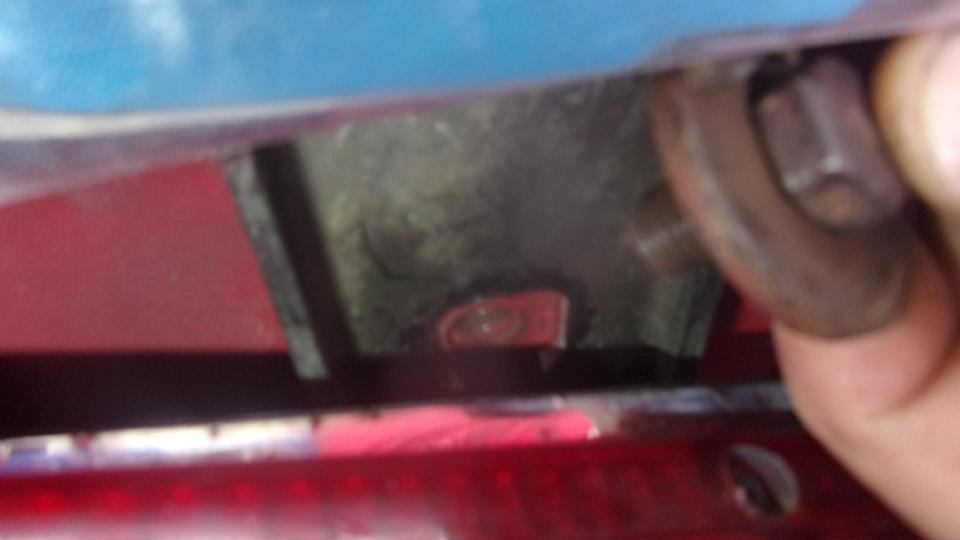
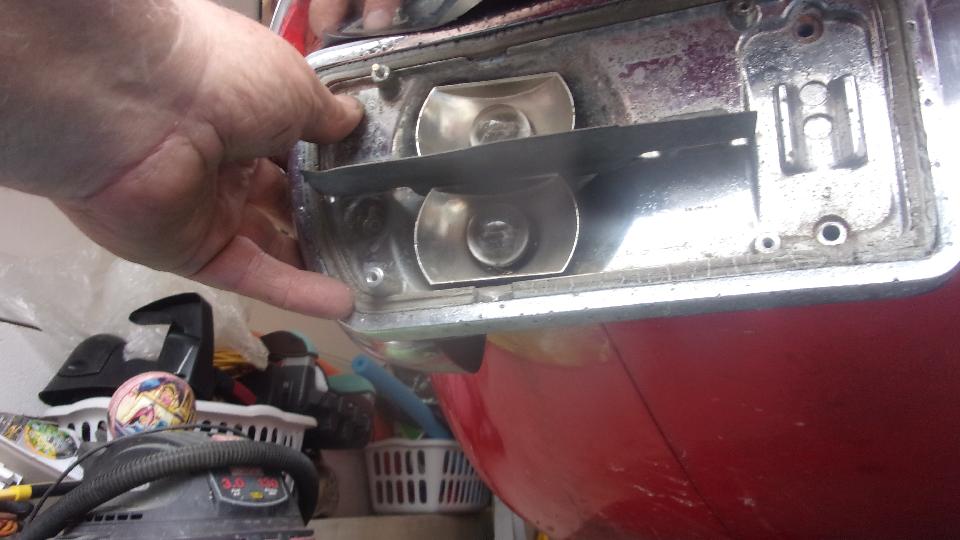
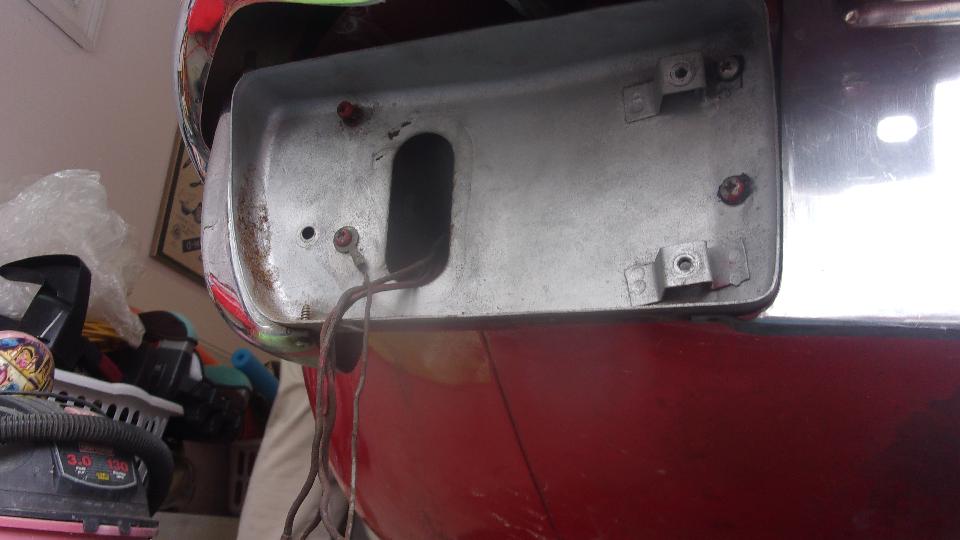
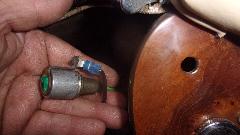
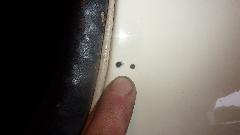
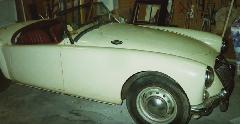
Appointment changed from late am to early pm in Columbus, Georgia, and only two cars here to tinker with today. The owner of the white car, Steve Bettes, had purchased a new side marker light and was beginning to

 remove the old one that didn't work. I got silly and finished removing it before testing the harness for power and ground, which were okay. Then reconnected the old lamp, and it worked, so we reinstalled it. Just a loose bullet connector I suppose. Maybe he can return the new one.
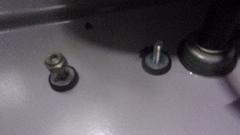

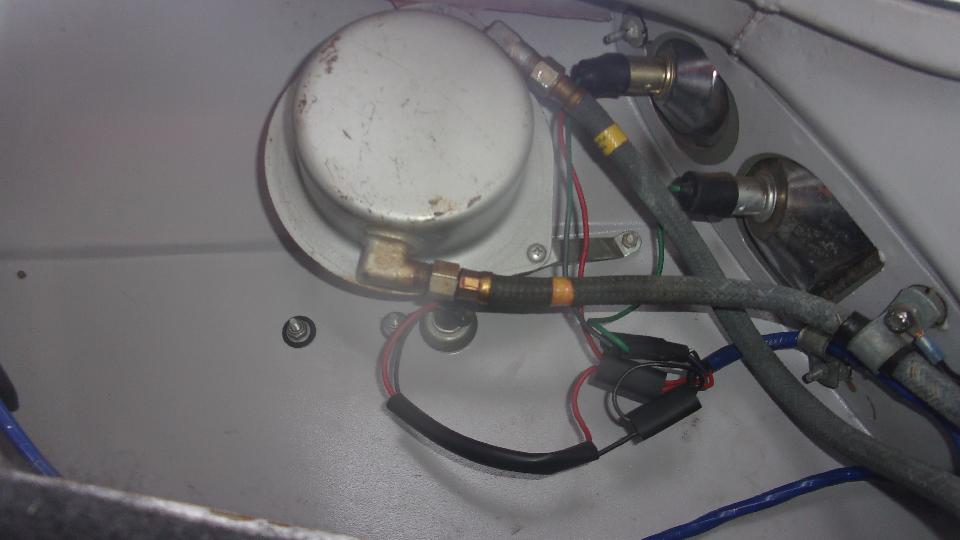
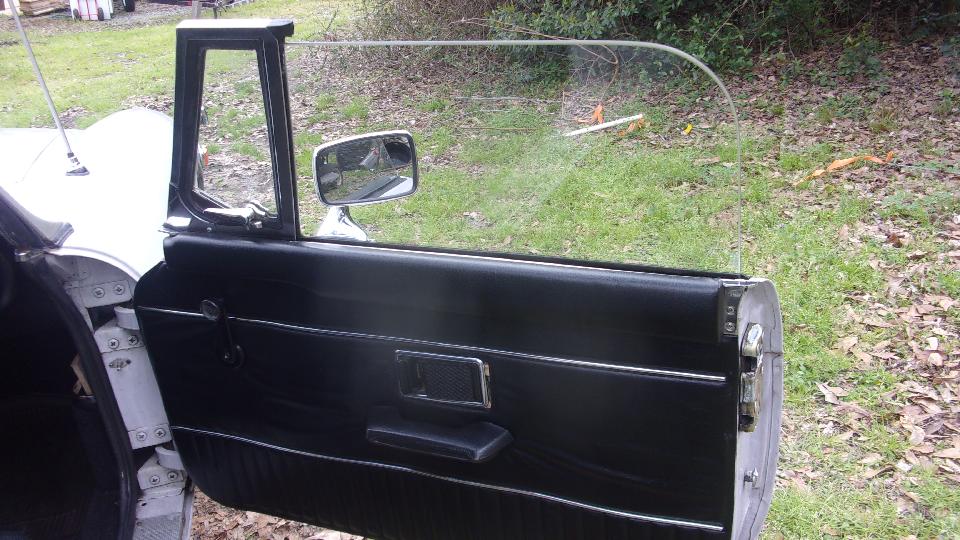
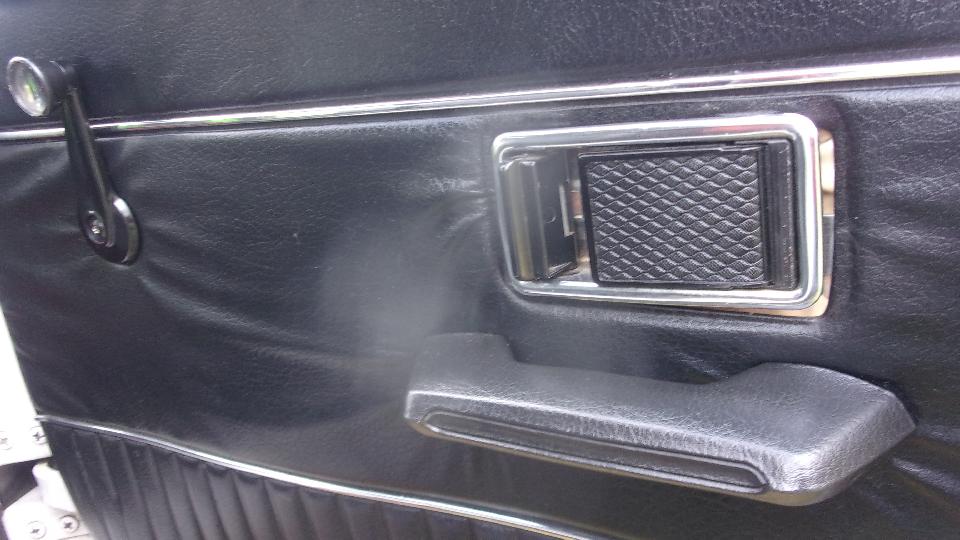
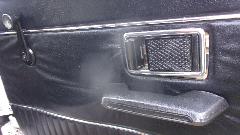
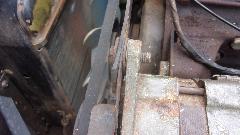
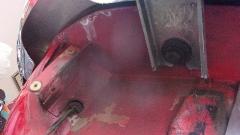
Then we had a look at his right side door window which hit a mechanical stop nearly an inch before full up. This had to be something inside the door needing adjustment. After removing the inner panel and peeling back the plastic weather sheet, the mechanical works was mostly hidden inside the door shell. Not being intimately familiar with this assembly, we put it back together. Time to consult the BBS and forums for some advice while looking up information in the factory Workshop Manual (whatever we can find). Job for another day.
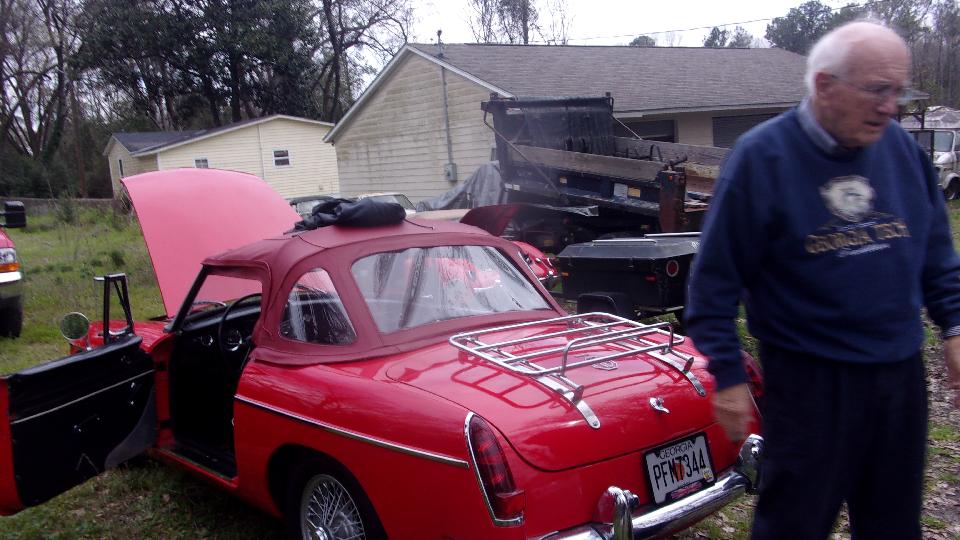
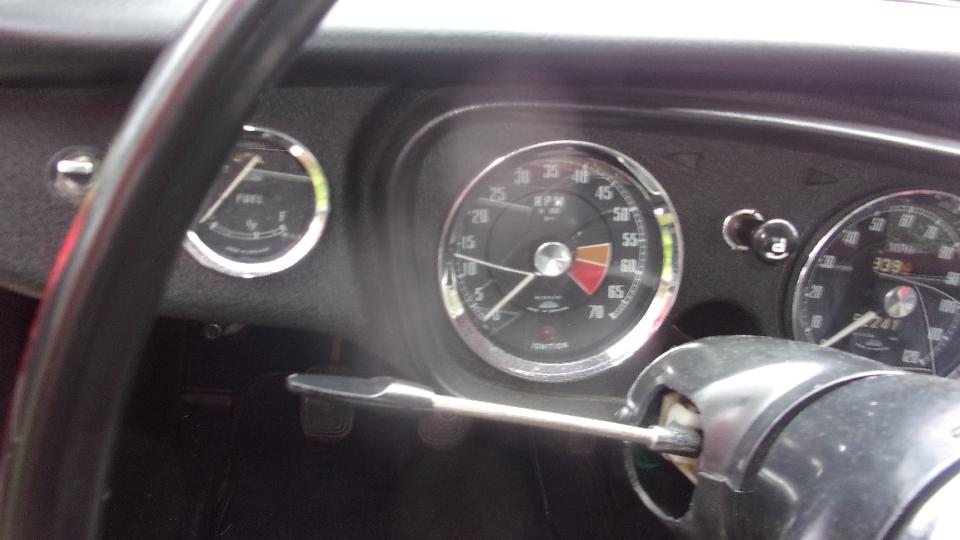
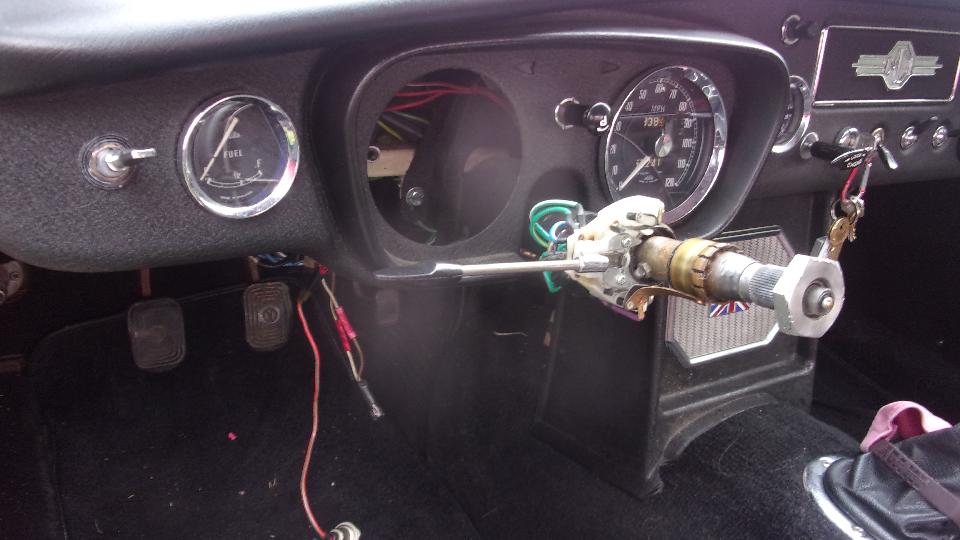
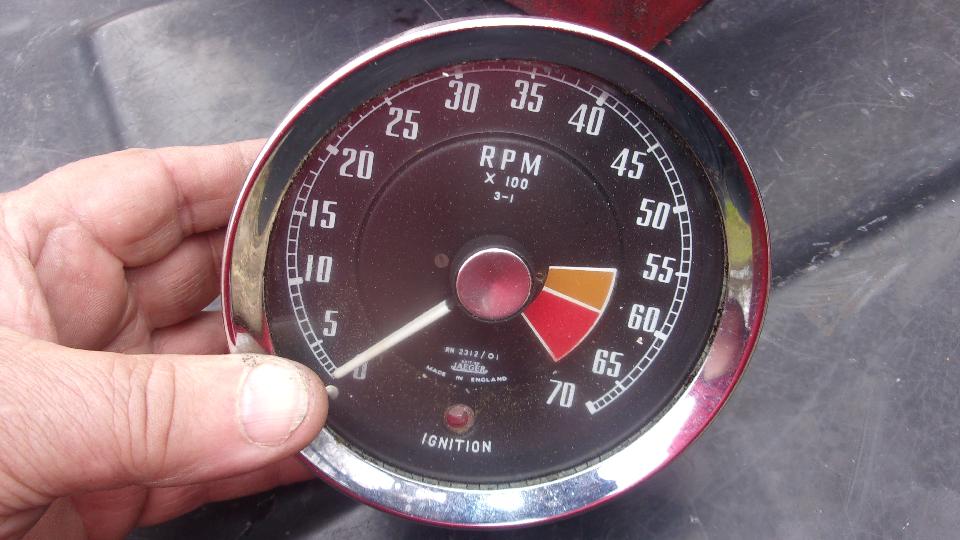
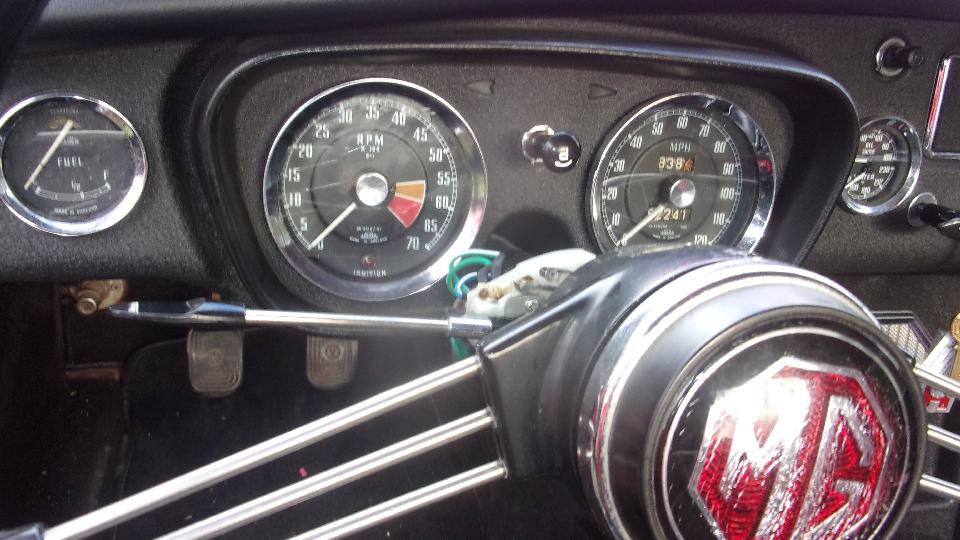
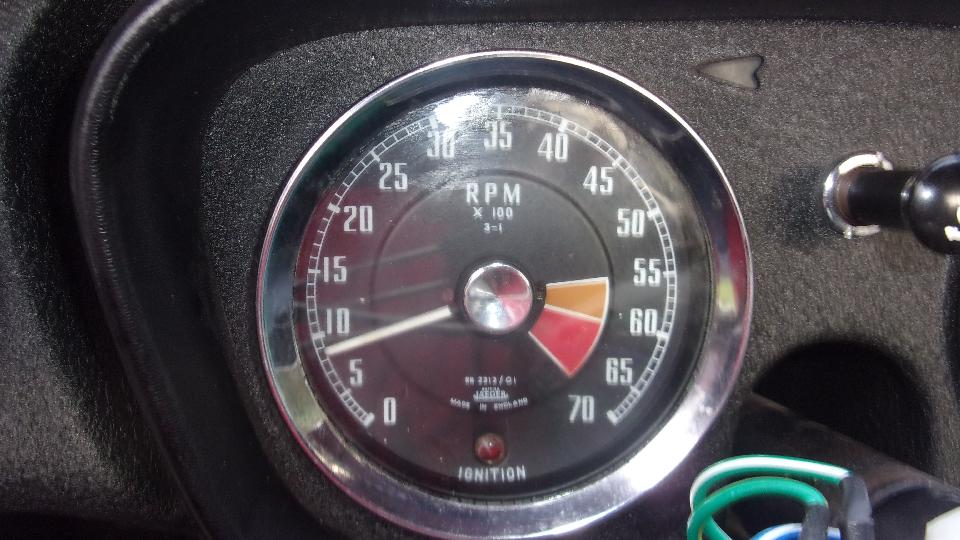
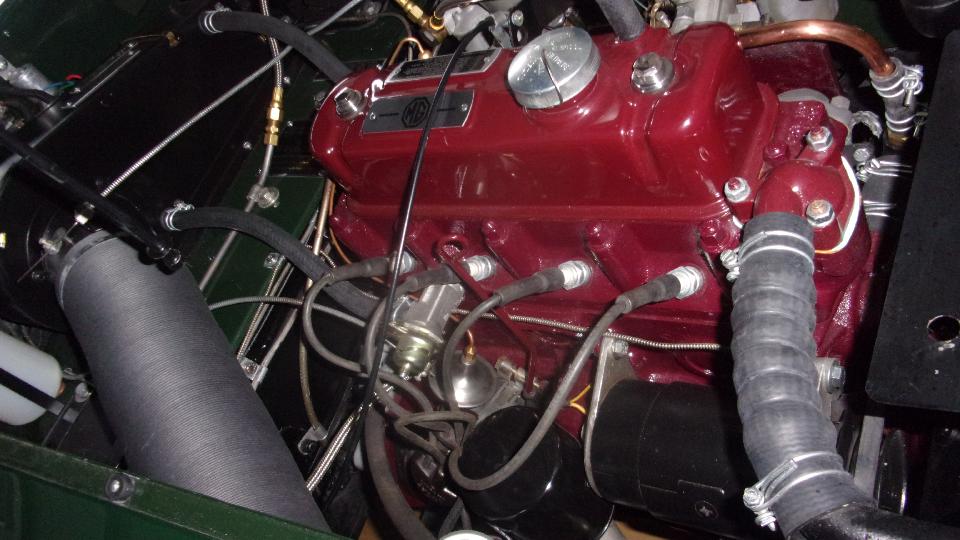
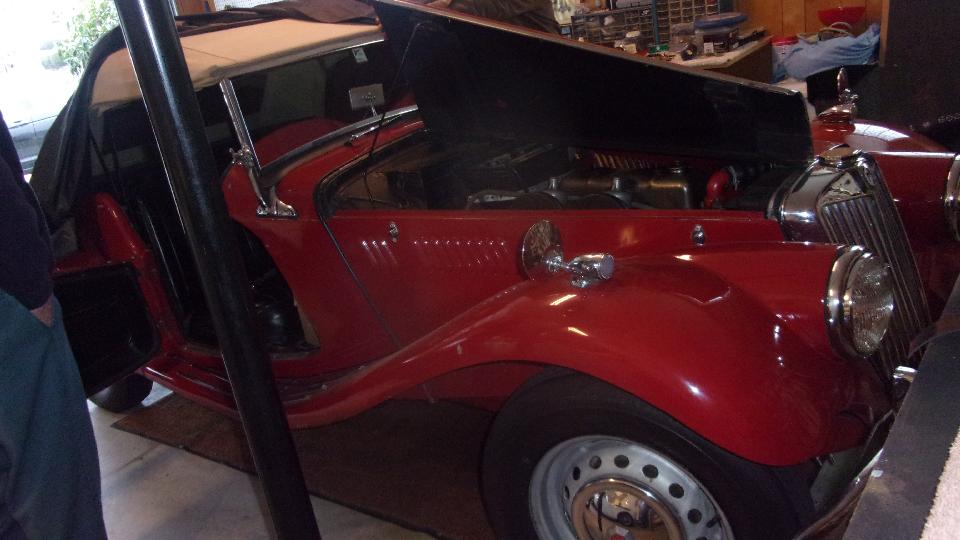
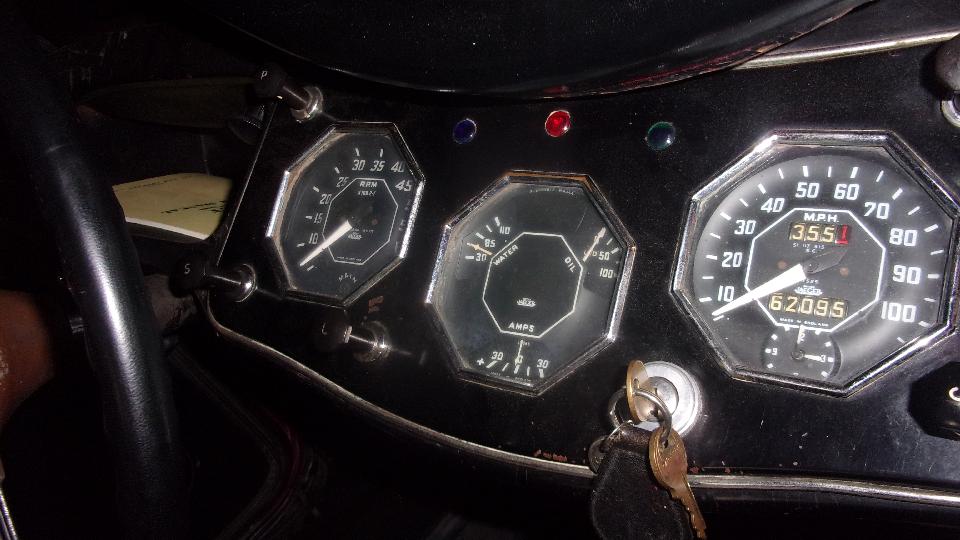
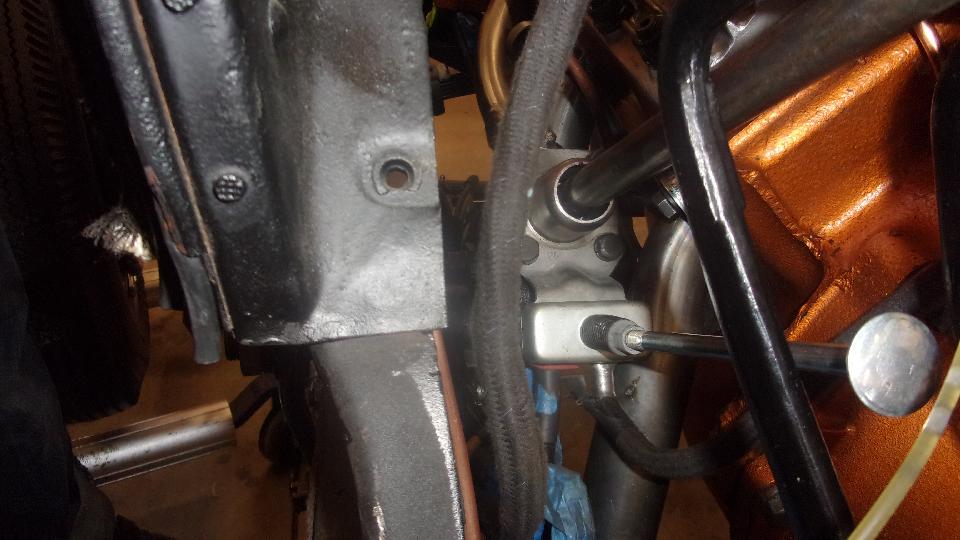
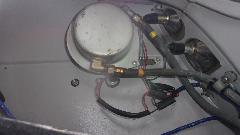
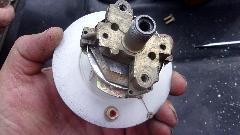
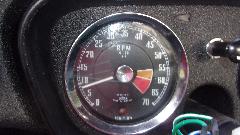
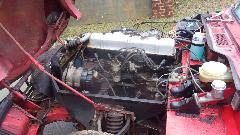
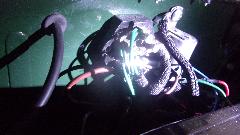
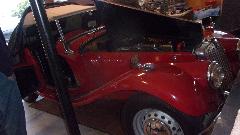
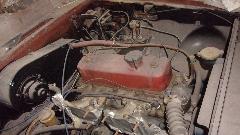
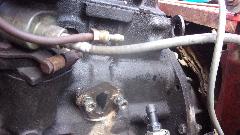
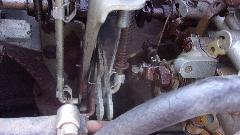
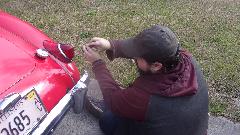
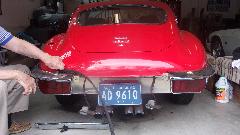
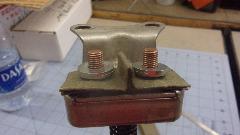
Then on to the tougher job for the day. The red pull handle MGB belongs to Jim Walton. Problem here was a mechanical tachometer that wold scream like crazy, especially when cold, and then it quit working. Okay, check the drive cable first. Too much trouble trying to work under the large original steering wheel so we paused briefly to remove it. Getting the cable unscrewed and dropped below the dash where we could see it, we started the engine, and the cable was rotating. So it looked like a good cable, and time to remove the instrument. Nearly there when we found the plastic cowling around the turn signal switch was in the way and had to be removed before the tach would come out of the dash, but such is life.


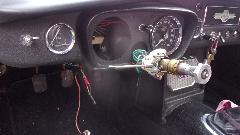
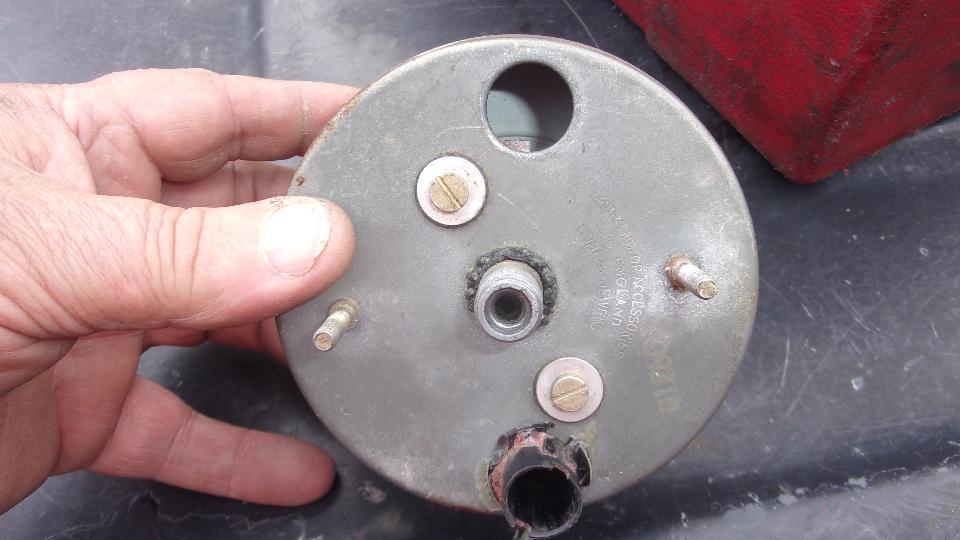
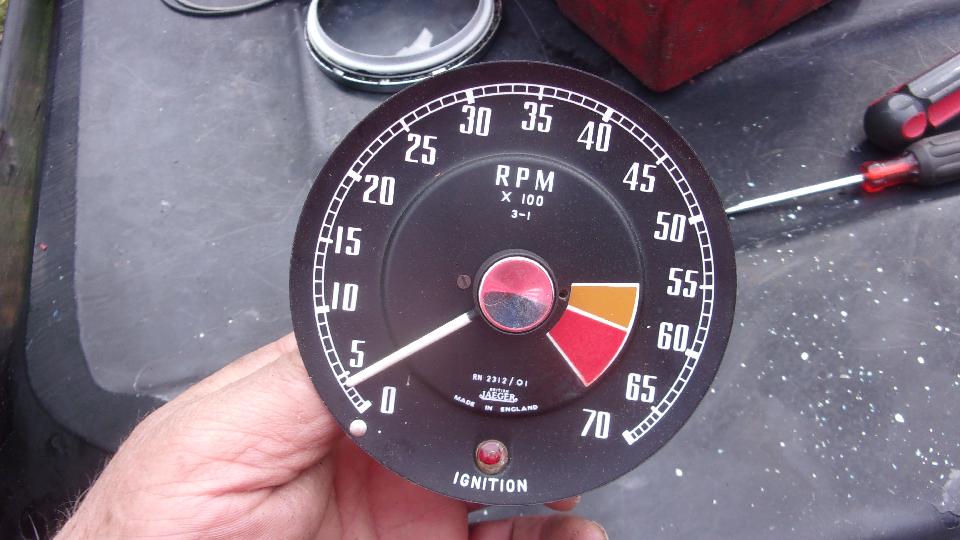
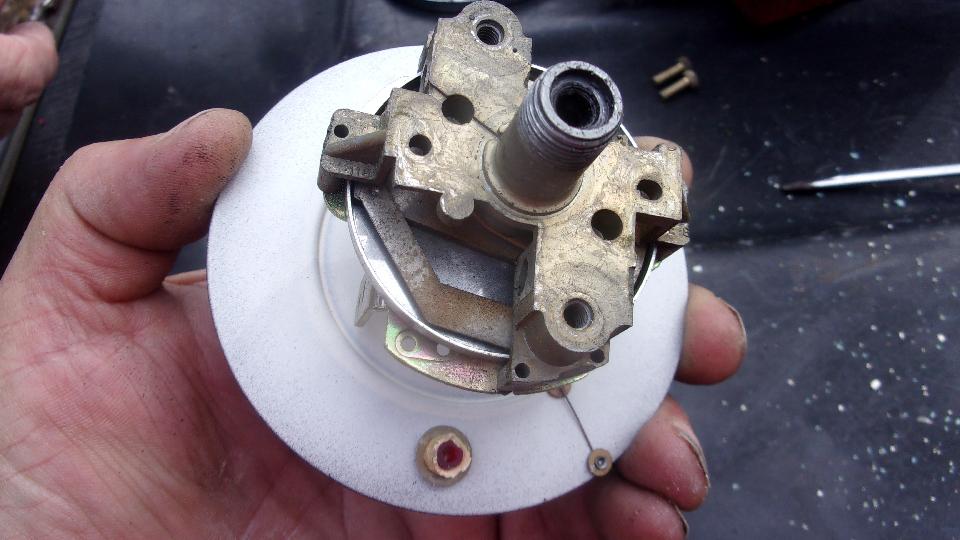
Turning the input with a small screw driver created a notable squeaking noise. We could have tried oiling the input shaft sleeve and put it back in the car, but after all this effort it seemed prudent to open the instrument to oil a lot of little joints inside. Tough time getting the trim ring to move, but ultimate success. Face trim and glass removed, two screw out of the back, and the works drops out the front (with a little encouragement).
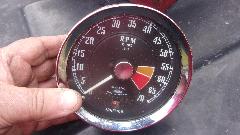

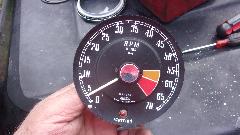
A drop at a time of light machine oil here and there in every joint that moves, spinning the input shaft with every move. Then reassemble the works with two screws in back, light guard ring in front, clean the glass, and install trim ring and thin O-ring seal for the dash panel.
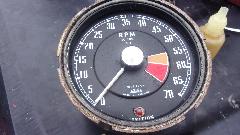
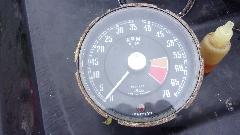
Easier to reinstall than it was to remove. Tuck it into the dash and reconnect the cable first. Fire up the engine to assure that the tach actually works and runs quietly. Then install the mounting bracket with ground wires and knurled thumb nuts, and reinstall the illumination lamp and ignition lamp. All in, run it again to verify mechanical and electrical function, then reinstall the steering wheel. The plastic cowl for turn signal switch can wait for later. Good time to knock off, clean up, put tools away, lock up the shop, and head off for a late lunch (or early dinner).


Found time to post a new tech page on crankcase ventilation for the MGA Twin Cam, adding an intake vent.
Monday March 2, 2020:
Looks like the MGA found another friend with Big Bird this morning. in Newnan GA. Rain pretty much all day, and looks like it will continue four days through Thursday. Bummer. Tech questions on restoring an MG Midget vs MGA (buy the MGA), and fitting side curtains on the MGA. Got out of Georgia to Graniteville, South Carolina by evening, then on to Lexington, SC by late night.
Tuesday March 3, 2020:
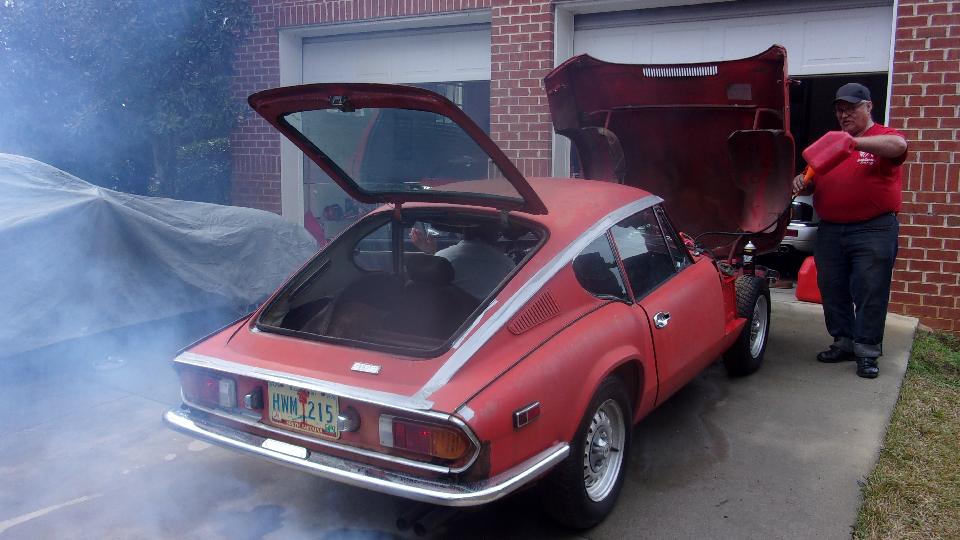
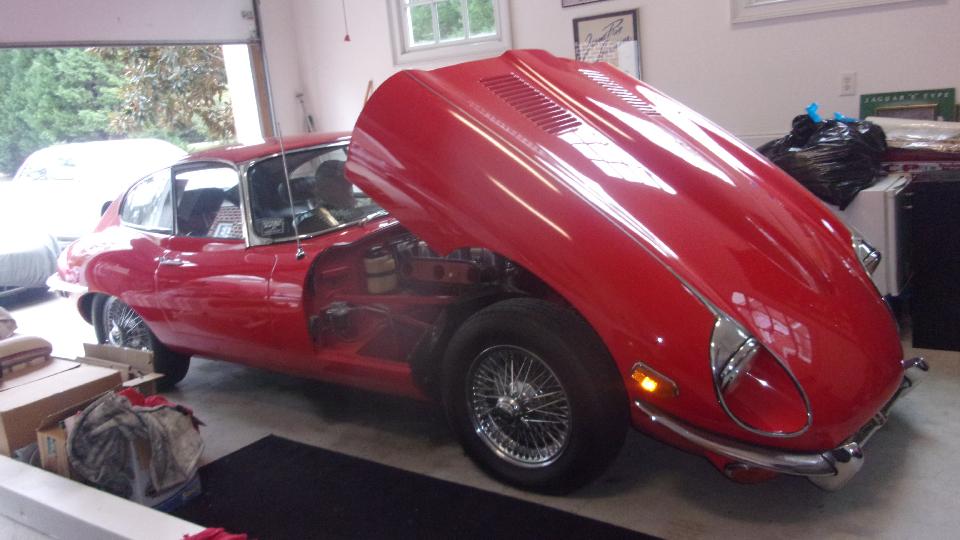
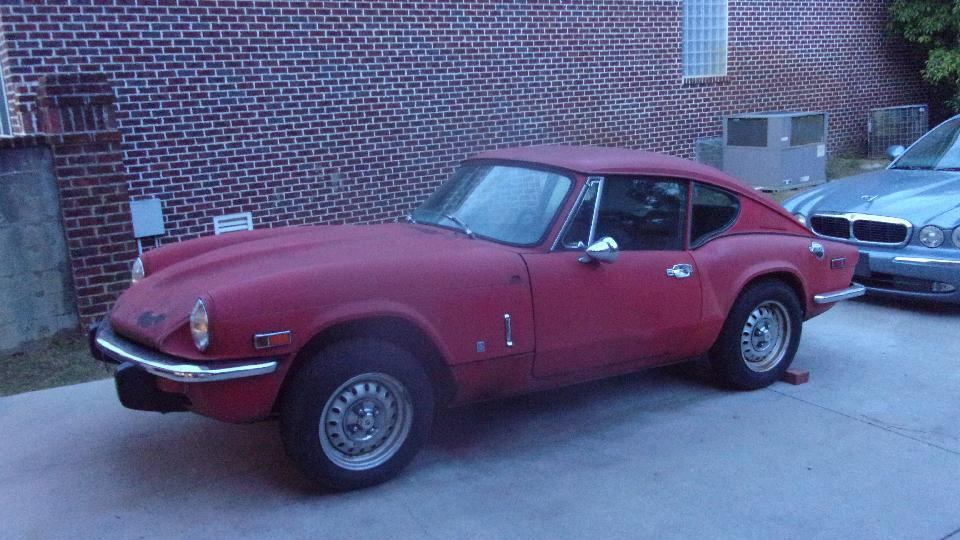
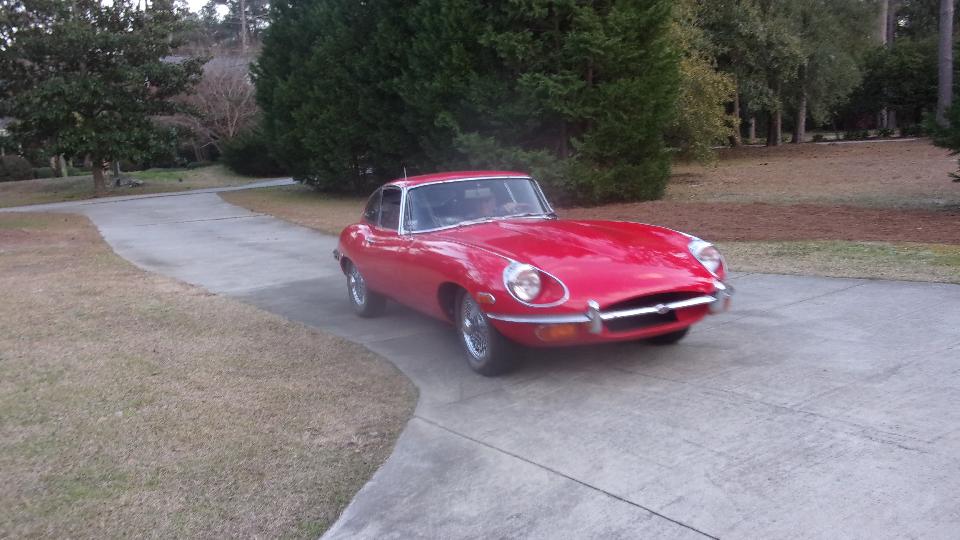
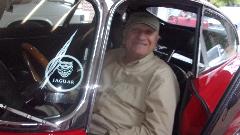
Sitting in Lexington, SC. Got a bit of reprieve from the rain this morning, at least until noonish when the next storm front will move in. Now the new phone was going nuts. For any phone call incoming or outgoing I could talk and be heard by the other guy, but I could not hear any incoming voice. Super bummer. Revert to email messages for communications. We finally got contact for morning appointment, and did a quick 25 mile sprint to see Elliot Cox at the far east end of Columbia, SC. Been here before, and you might recall he likes Jaguars, an E-Type in the garage and four sedans in the driveway (two looking for a new owner). He recently procured a Triumph GT6+ that likely needs more work than he anticipated, since it has been dormant for a dozen years since there was any shop work done on it. More to the point, I think the latest license sticker was from 1986, maybe off the road 34 years.
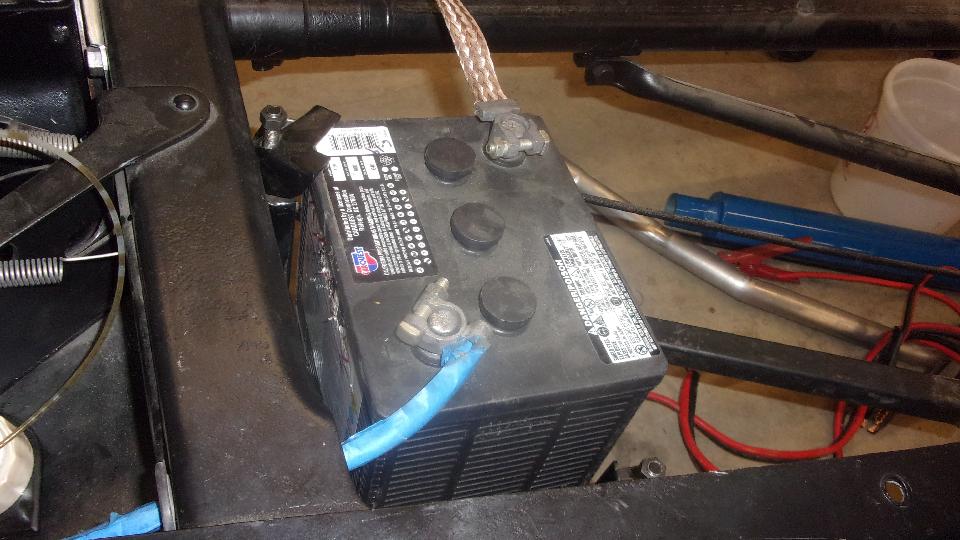
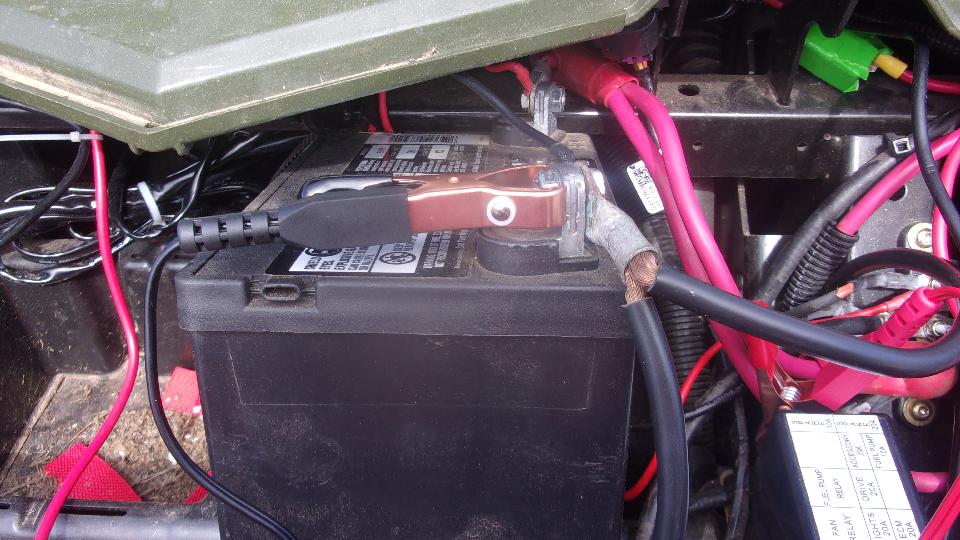
There was a new battery, and after getting the cable clamps tight it cranked the engine over okay. First cheer. Disconnect the fuel line from the fuel pump input so it couldn't pump stale fuel into the carburetors (breaking the brittle fuel hose in to pieces). Gave it a shot of ether while cranking, but no go, no spark. Cleaned and adjusted the ignition contact points, gave it another shot of ether, and it fired up and ran a little bit. Second cheer.
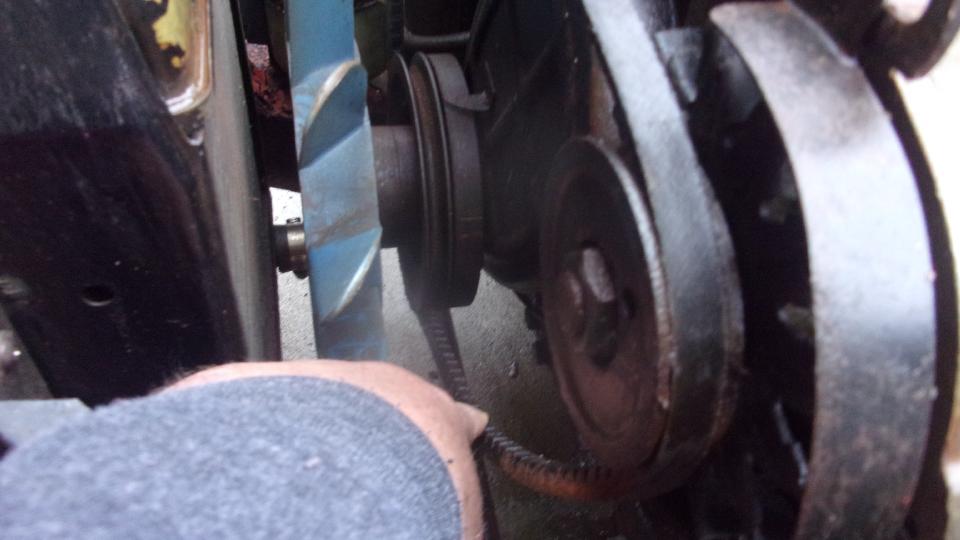
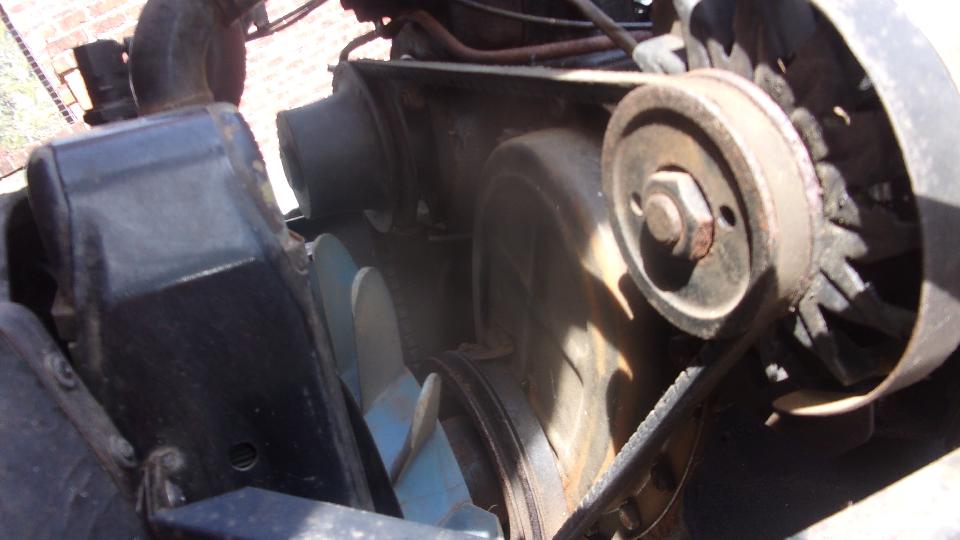
Fan belt was loose. Some DPO had installed a coarse threaded bolt and stripped out the threads. Not too long to install a Heli-Coil for a fresh thread, after which I got the belt tightened. With a little more cranking the belt was squealing like crazy, water pump frozen solid, not turning, so put that on the shopping list (and loosen the fan belt before going on).

Dave Daniels from Lexington, SC and Tim Melton from Gilbert, SC dropped in to chat and rubber-neck for a
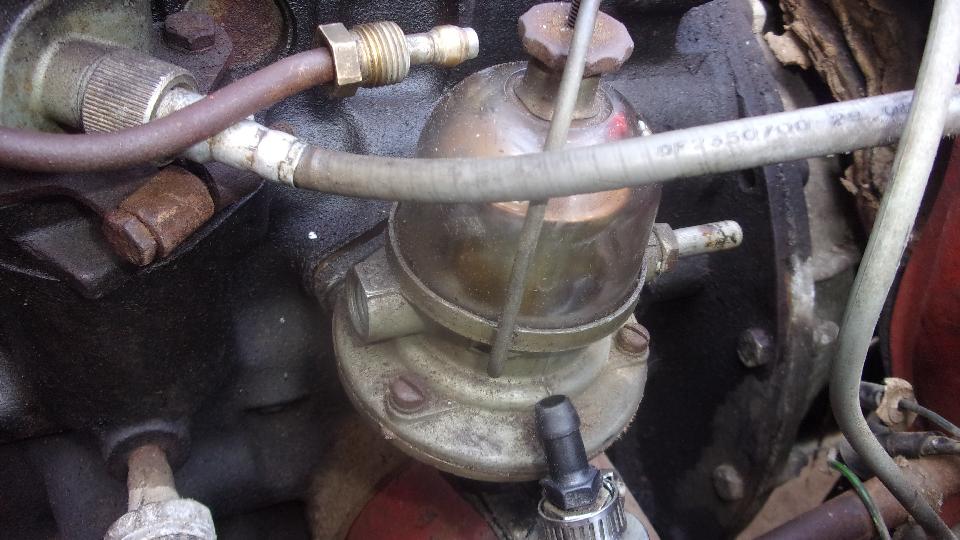
 couple hours. I tried gravity feeding fresh fuel to the fuel pump, but no-go, no fuel to the carburetors. Disconnected the line before the carbs (breaking up another hard rubber hose), but still no fuel when cranking. Disconnected the pipe from pump outlet port, blew through the pipe, and it was clear, so back to the pump. Manually operated the mechanical pump hand lever to fill fuel into the top side filter glass bowl, but still no pump output when cranking, so put a new fuel pump on the shopping list.
 Then I did a gravity feed of fuel directly to the carburetors using a hose and funnel, and it started and ran for a few minutes while fogging all mosquitoes in the neighborhood with exhaust smoke from burning off the preservation oil in the cylinders. Once most of the smoke cleared it was actually running fairly well. Third cheer. Then I did a gravity feed of fuel directly to the carburetors using a hose and funnel, and it started and ran for a few minutes while fogging all mosquitoes in the neighborhood with exhaust smoke from burning off the preservation oil in the cylinders. Once most of the smoke cleared it was actually running fairly well. Third cheer.
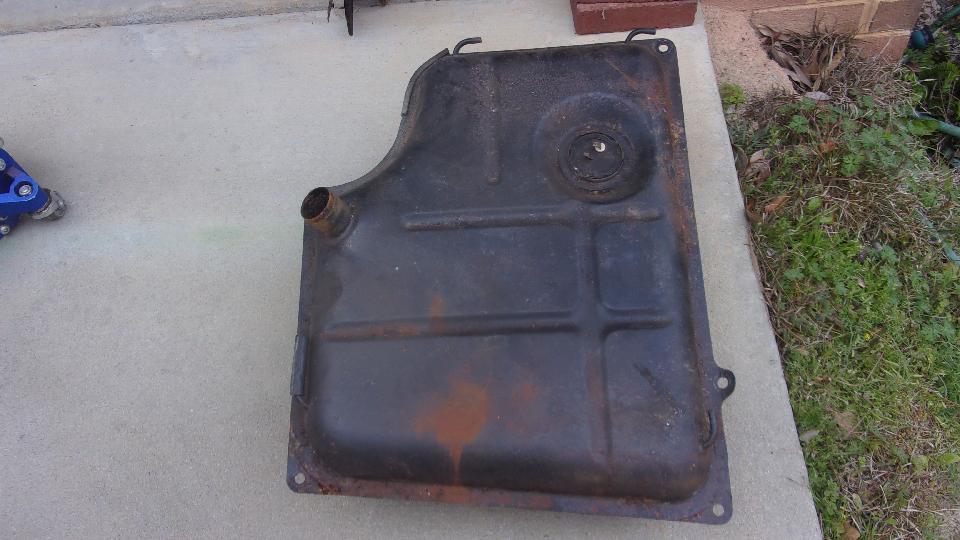
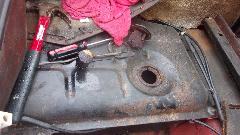 Checking out the fuel tank, removed the fuel level sender unit to find it all rusted up and seized solid, and fuel dribbling out of a hole in the plastic float, so put a new sender unit on the shopping list. Less than an inch of slime in bottom of the tank smelled like turpentine, and the inside of the tank was all rusted like the sender unit, so the tank will have to come out and go to a radiator shop for boiling out, or maybe buy a new tank (job for another day).
The brake master cylinder had fairly clean fluid in it, and pedal pressure implied that the brakes might actually work. The clutch master cylinder was filled with dry corrosion grit, so put a clutch master and slave cylinders (and slave hose) on the shopping list. We knew the rear brakes were seized (and clutch not working), so put it in reverse and hit the starter to see if the brakes could break loose. There was a bit of rear suspension wind up, but not budging the frozen brakes. Tried it in 1st gear with the starter with similar results, still no go. Now the big job of removing the brake drums will have to wait for another time.
 Then we had a look at the E-Type. This one is not driven much recently, but was run occasionally to stave off rheumatism. Report was that it was pouring fuel out of a carburetor overflow this morning. So we switched on ignition to run the electric fuel pump, and low and behold, no dribble. I suppose the float valve had cleared itself out and was working again. It started up and ran okay after a little warm up time, only wanting a little idle speed adjustment. That was not a surprise, since I had given this one a tune up a few years earlier. Smiles all around.


Running out of daylight and now raining again, so it was time to run over to the Verizon phone store to see about getting my new cell phone fixed (or replaced). The customer service guy was monkeying around with it, then on the phone with Verizon to see if the "no incoming voice" might be a Verizon data link issue. There were a lot of test calls made inbound and outbound, sucking up an hour and a half before they got it working. They were about to do a hardware reset (which would loose all data including Contact List) when they discovered a setting called "Advanced Calling" was switched on. I don't know what it is or what it does, and maybe the folks at Verizon don't know either, but when they switched it to "Off" the incoming voice was working again. Go figure.
Wednesday March 4, 2020:
Update of a tech page on Twin Cam engine crankcase ventilation before power went off. Some truck hit power pole and knocked down a transformer a block away.
Then we were off to visit Dave Daniels in Lexington, SC. By now his MGA is
 familiar, as I was helping revive it from long dormancy in 2014, and more tinkering with it almost annually. Not a lot today, mostly a friendly check up. Turn indicator dash lamp was ailing because the wood dash panel was a bit too thick, and the plastic jewel had stripped its threads and fell apart. Fuel gauge was intermittent or not working, but also turn signals and heater blower, so poke the lower fuse to fix the dirty connection, and it all works again.
Dave gave us an escort several miles to visit George Lawson also in Lexington, SC. Been here before too, first in
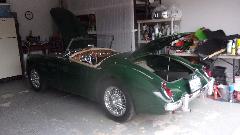
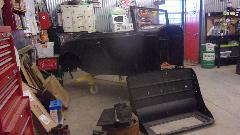
 2014, and several times since. This is his MGA undergoing restoration since, well, maybe 1990. We finished up enough details to get it running in 2014 (for first time in 25 years). This time George has a new fual tank for it, as I think he felt there was too much trash in the old one. I immediately found a small difference, a non-standard design change for the new one, where the spot welded guide brackets for the mounting straps are wider than original issue. This might be a good thing, and may be a reaction to some prior complaints about misalignment. With recent issue replacement tanks the filler neck would interfere on one side of the clearance hole in the boot floor. The wider brackets allow for some sideways realignment of the tank. The new rubber packing strap is also wider to match the brackets. Pretty sure the Moss part number has not changed, so they must now be supplying the non-original wide packing strap for original replacement part.
Had a look at the boot floor where the filler pipe grommet and cover plate screws go. Some trouble with screw threads, so I found so suitable new screws in the magic trailer. The rubber seal for boot lid was always too thick, being a late 1970's issue part. George has been systematically sanding down the thickness of the rubber seal to get the boot lid to sit flush with the body. Lots of elbow work, and I don't think he got there yet. George is still fussing over what to do about some odd holes in the rear body tonneau where there should be single holes for machine screw LTD studs for the tonneau cover.
Then we had a quick look at Dave's MG TF which is still parked in George's garage (as a matter of friendly convenience). It gets driven occasionally, and started a least once a month to banish the bugs. They thought it was getting to be hard starting, but maybe just the way they were using the manual choke. And the choke cable is a bit frayed at output end, pulls okay but doesn't push back to rest. Considering adding a return spring here. The ignition light will stay on when idling, but goes out as soon as the engine picks up from idle, so that's okay. Seems like this car is as healthy as can be expected when not being driven much.
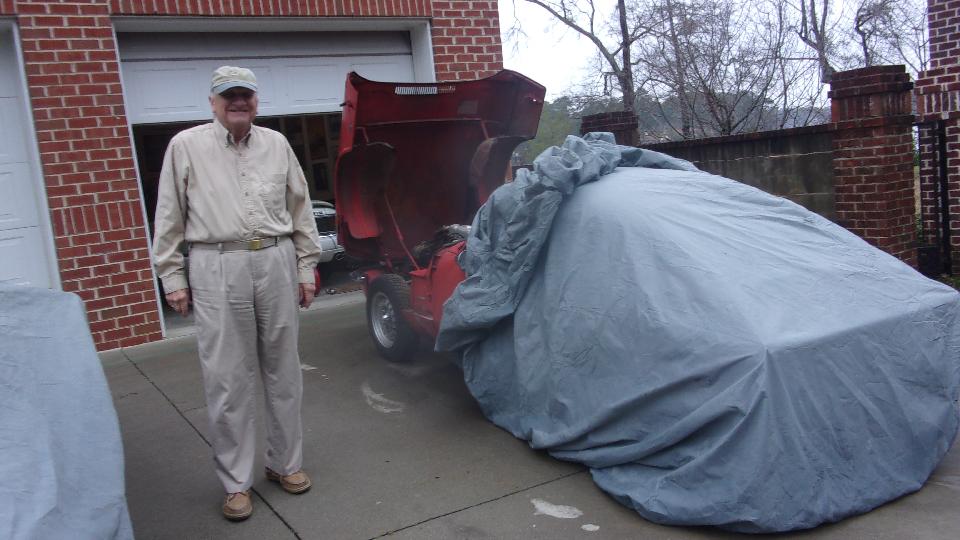
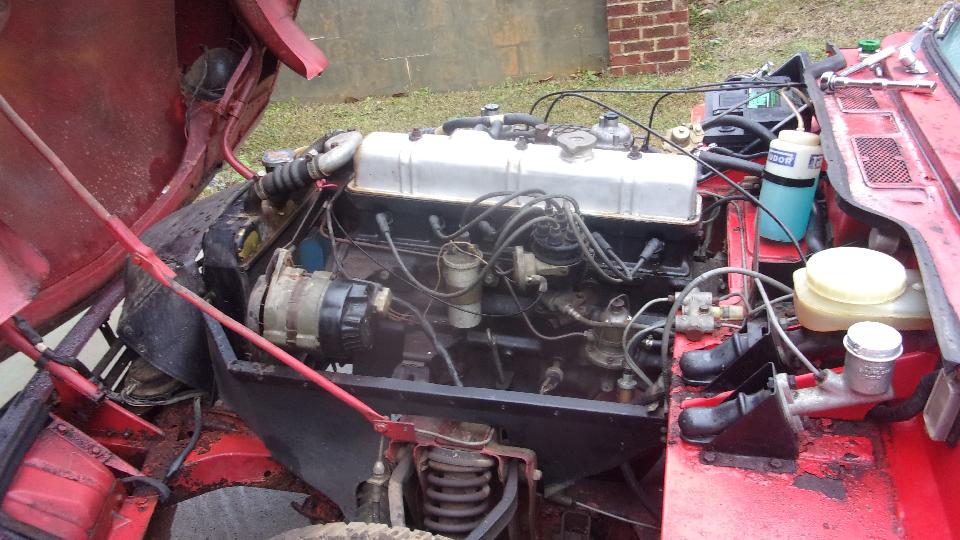
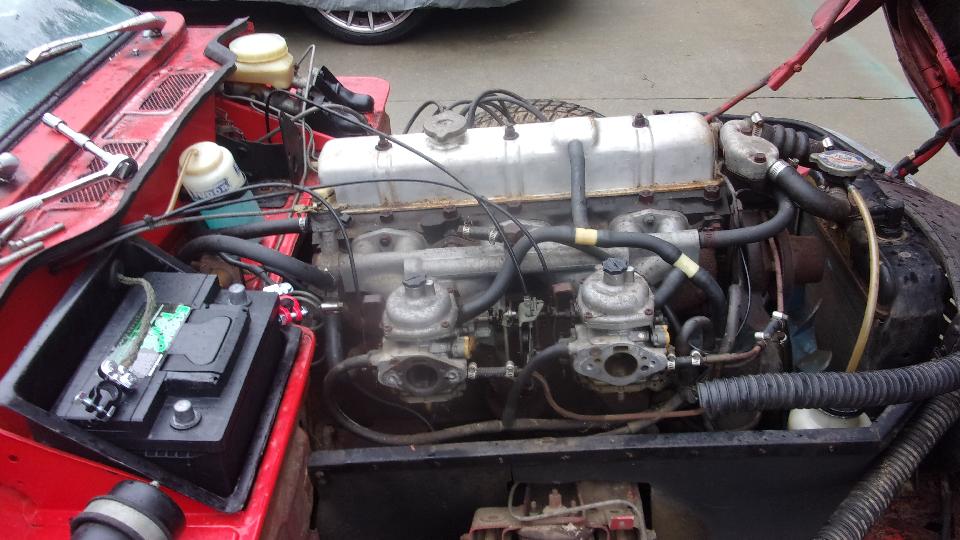
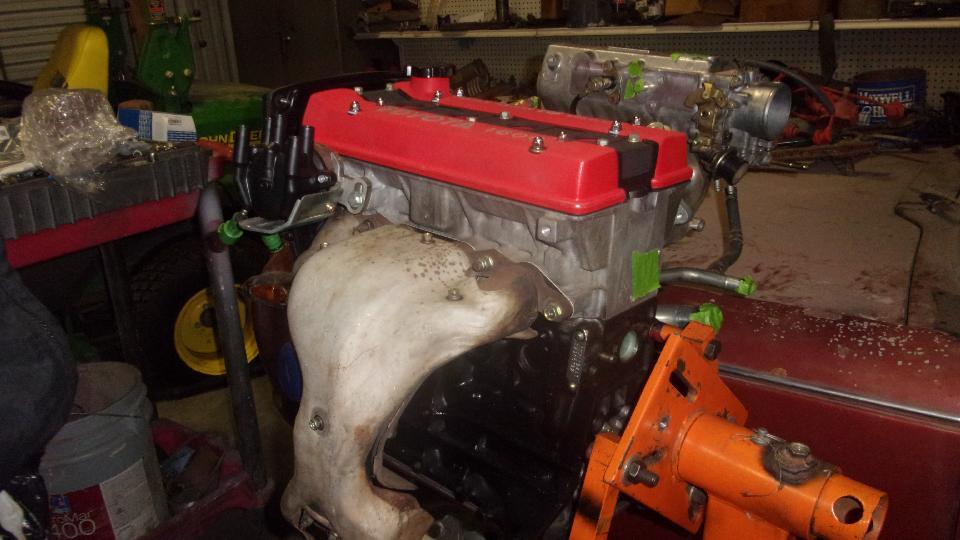
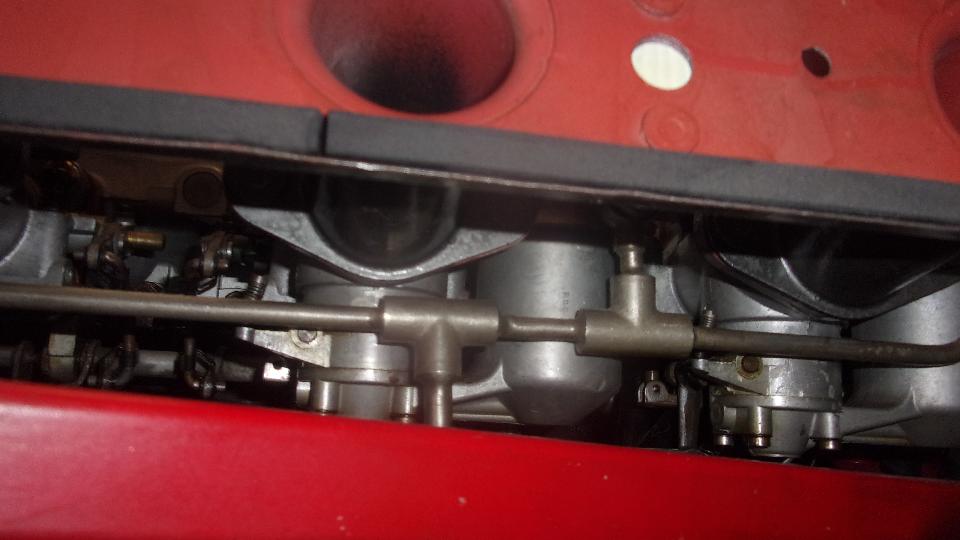
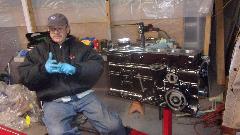
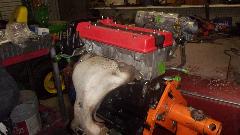
Then we followed Dave several miles farther west to visit Tim Melton in Gilbert, SC. Nice workshop! Nice British vehicle outside, too (the Ferguson). Tim was busy assembling a TR6 engine. And we come to find he has too many toys, mostly (but not all) Triumph stuff.


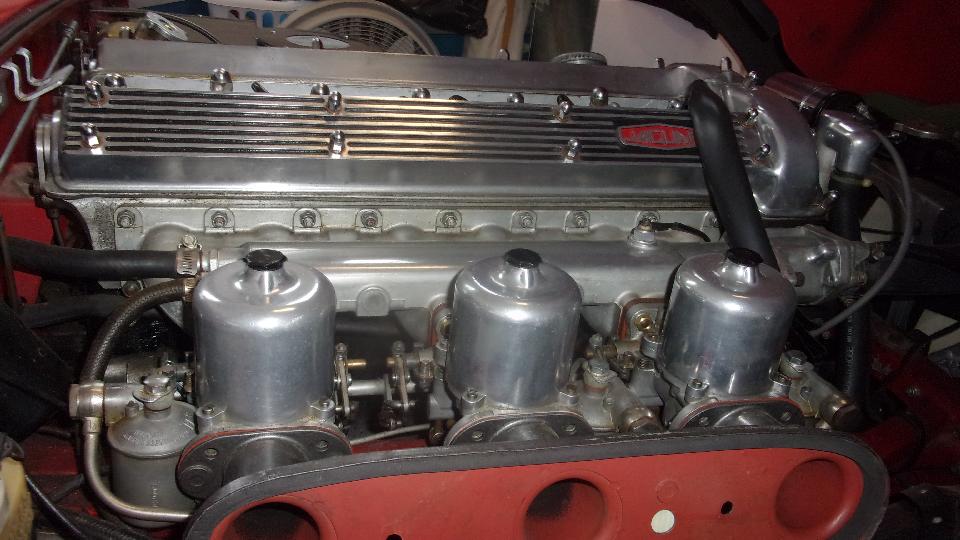
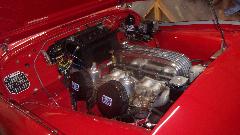
There was this very nice TR3, a little cold blooded for a while after cold start, but runs like a bandit once it warms up. And I dig the vintage Offenhauser valve cover.

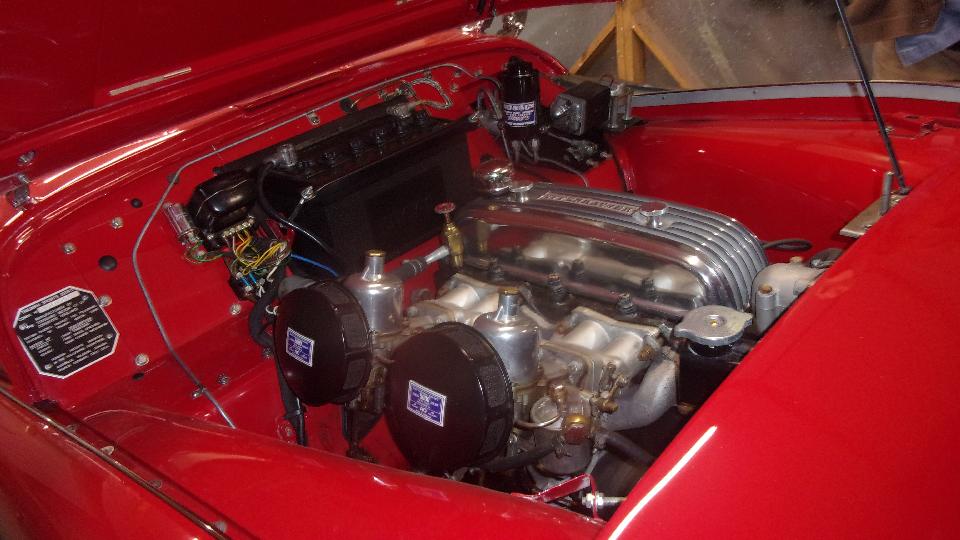
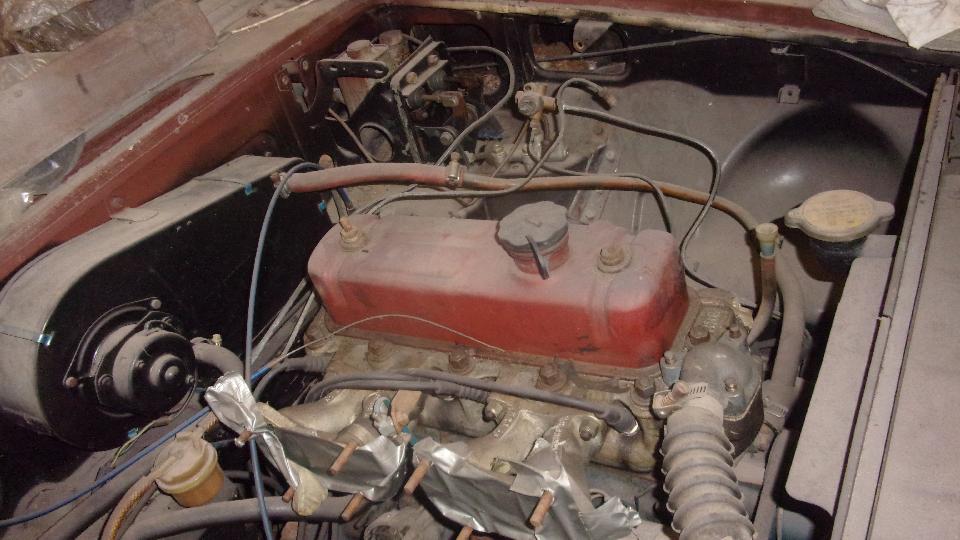
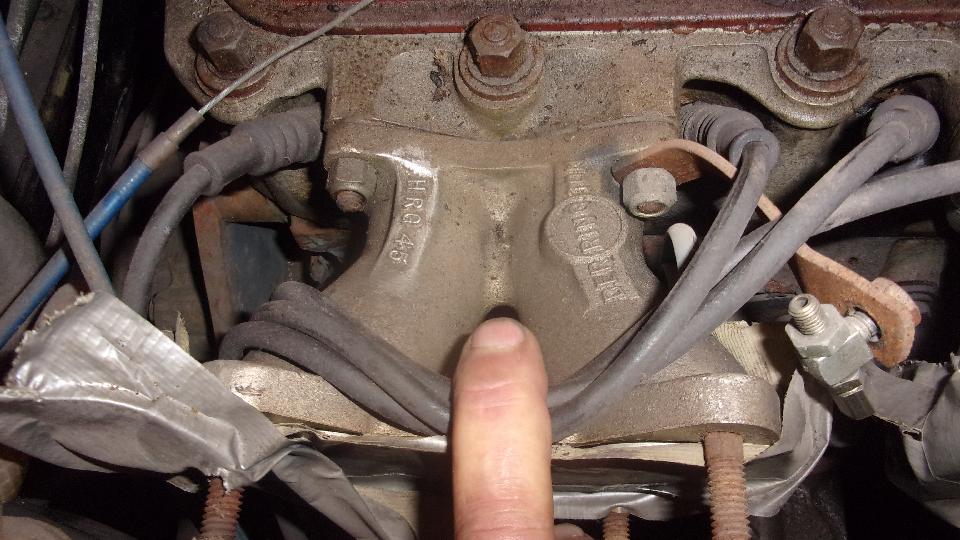
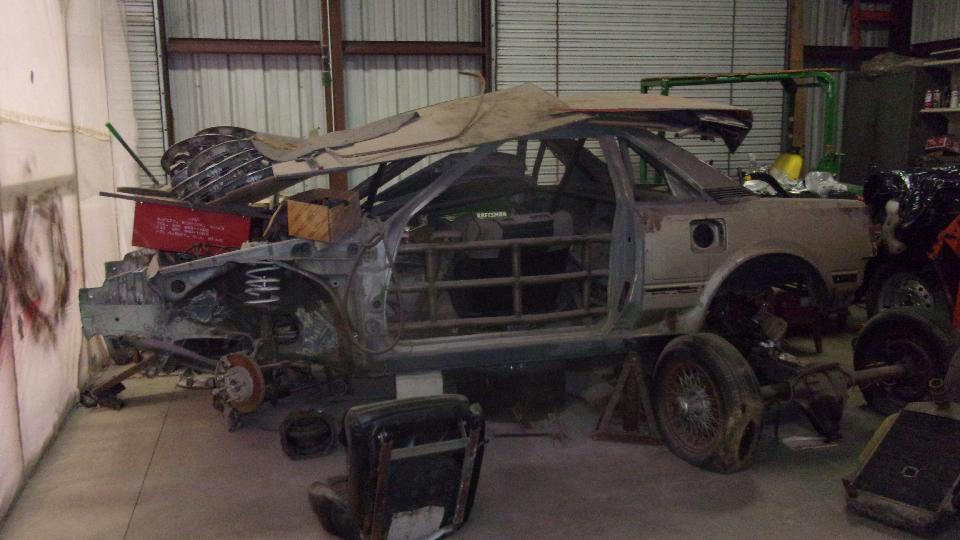
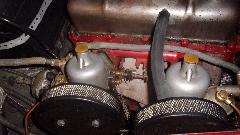
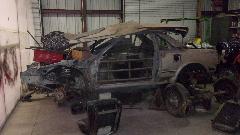
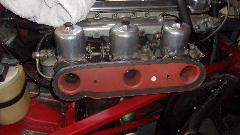
 Also an MGB race car with bolt-on hard top, very wide fenders, and I think maybe no roll bar (from back in the day when it may not have been a requirement). It has a vintage HRG cross flow cylinder head and matching HRG intake manifolds for dual Weber side draft carburetors. This is one of Tim's earliest cars from a much younger age when he was on the learning curve for racing. It is predecessor to his TR addiction, a beloved family member never to get away.
Not done yet. There was a TR6. I think this is the one he is building the engine for. Also a Toyota MR2, not as forlorn as it may appear, as the engine for it is sitting close at hand.
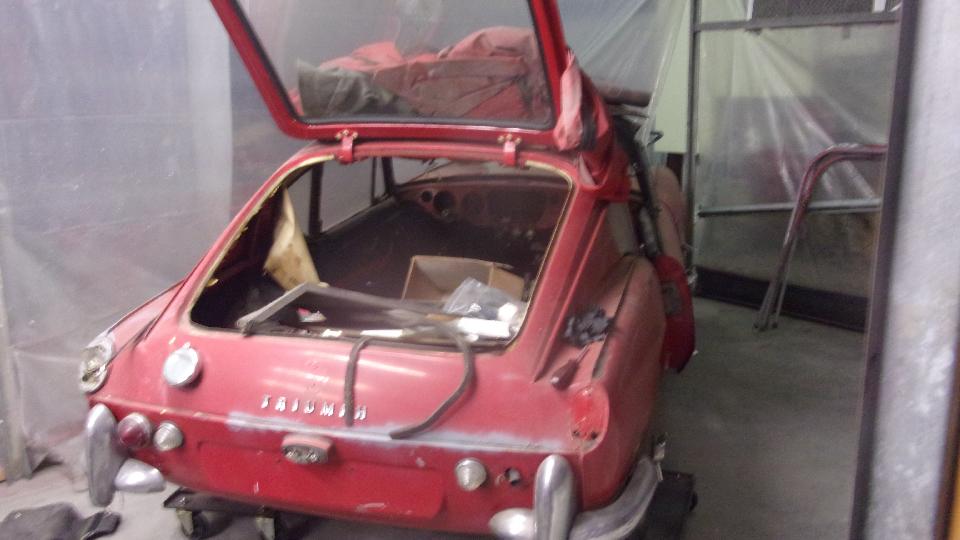
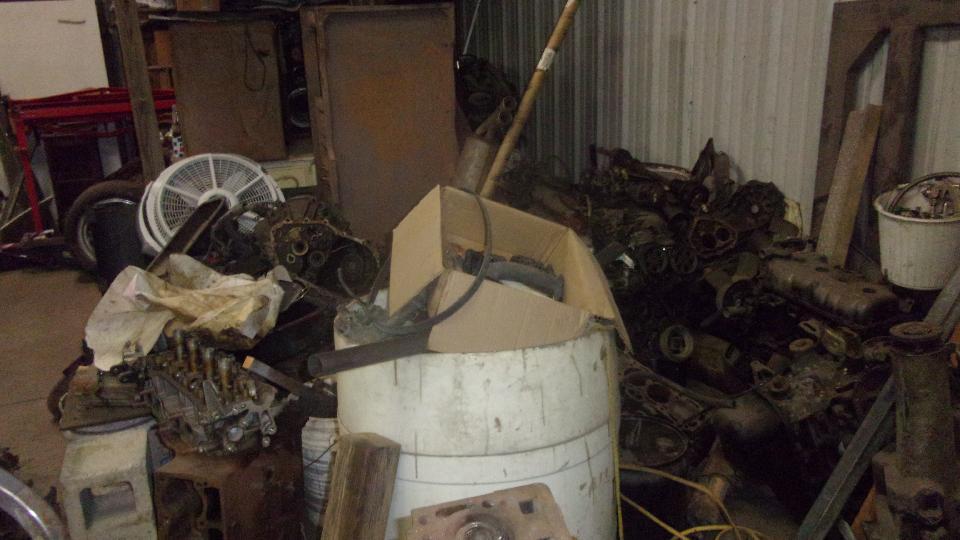
There was a GT6+, and I'm sure he has plans to get it restored soon, as he is very persistent at such things (definitely not a foot dragger). There was not a derelict car or parts car anywhere around. But ther was a rather large stash of spare engines and gearboxes (of which he may have lost count), and other spare parts.
He thought he might have a used fuel pump for Elliot Cox's GT6+, but that turned out to be a lost cause. He did have a good used water pump for the GT6+, so we snatched that to take back to Elliot. He also a good used water pump for my MGA (no picture). No idea where he came across that, but I tossed it in my car anyway.

Thursday March 5, 2020:

Rain for the 4th day running, so time to sit. A full work day answering email and tech questions. Posting extensive addendum to tech pages for high torque gear reduction starter motors and MGA Twin Cam crankcase ventilation intake filters. Oh, and late in the day I received the electronic copy of the CMGC March newsletter, which will require many hours to reformat for the club web site (whenever I can find time).
Friday March 6, 2020:
Elliot and Dave and Tim were heading off to Amelia Island concours show today, so this is grunt work day. Most of the day spent catching up posting photos and notes from the prior three days. At least it quit raining, but now kind of cold in South Carolina.
Saturday-Sunday March 7-8, 2020:
Spent a large part of two days formatting the CMGC march newsletter for the club web site. It's March in South Caroline, but we woke up to frost Sunday morning.
Monday March 9, 2020:
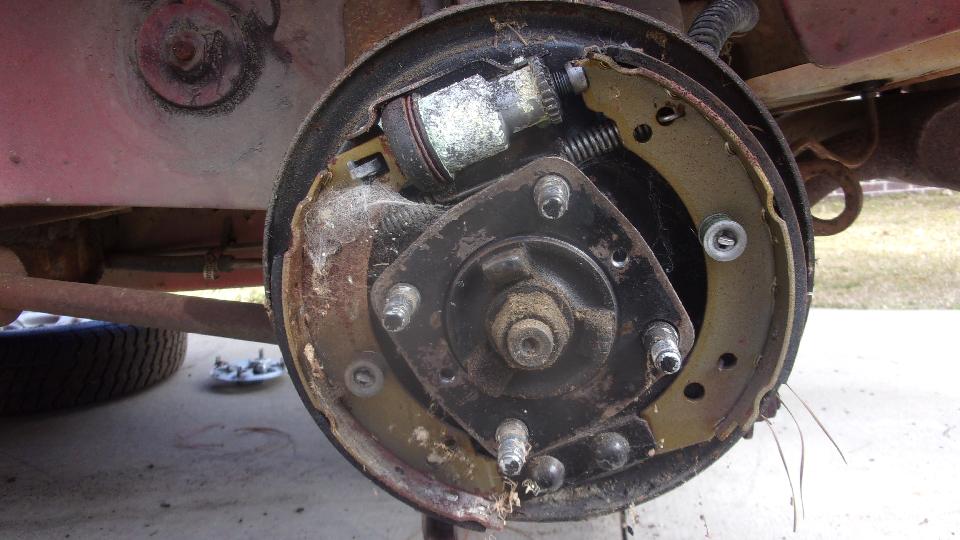
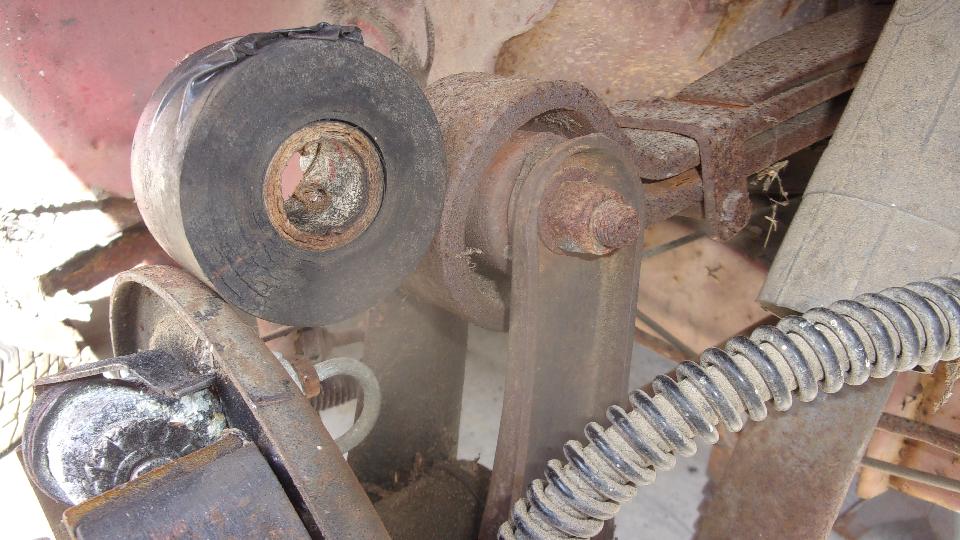
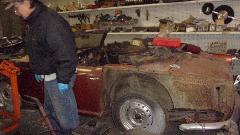
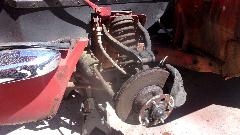
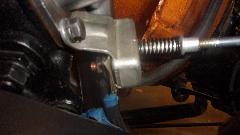
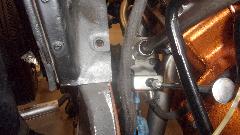
Guys are back from Amelia Island, and I'm mostly caught up with internet and web site grunt work. Back to Elliott's place for some more work on the GT6. Started with the worst sounding job first, get the brake drums off and get the car to roll. While it was a general pain, it wasn't as bad as anticipated. Forced torque, hammering and prying didn't work, but a slide hammer with a good hook did the trick.
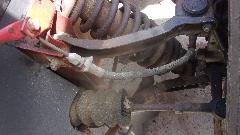
Yes, brake shoes were rusted to the drums, but otherwise both shoes and drums were in pretty good condition. Coarse sanding for the linings of the shoes, and fine sanding inside the drums, call it good to put back in service. Wheel bearings good, and no leak at the bearing seals (yet), so skip those issues. Self adjusters work when the hand brake is pulled, and the hand brake relaxes when released, all good, just wind the adjusters back a turn or two. Hard on the brake pedal, slave cylinders do not move. Open bleed nipple, and fluid does escape, so put new rear save cylinders on the shopping list (and also rear hoses since we have a good idea how old they are). Rubber bushings in the rear spring eyes are non-existent (common problem), so put those on thr shopping list. Elliott thought he saw a new rubber bushing in the boot, found it and pulled it out. It turned out to be a roll of wide electrical tape, good for a laugh, but a possible lead-in to another Grapes Of Wrath repair.

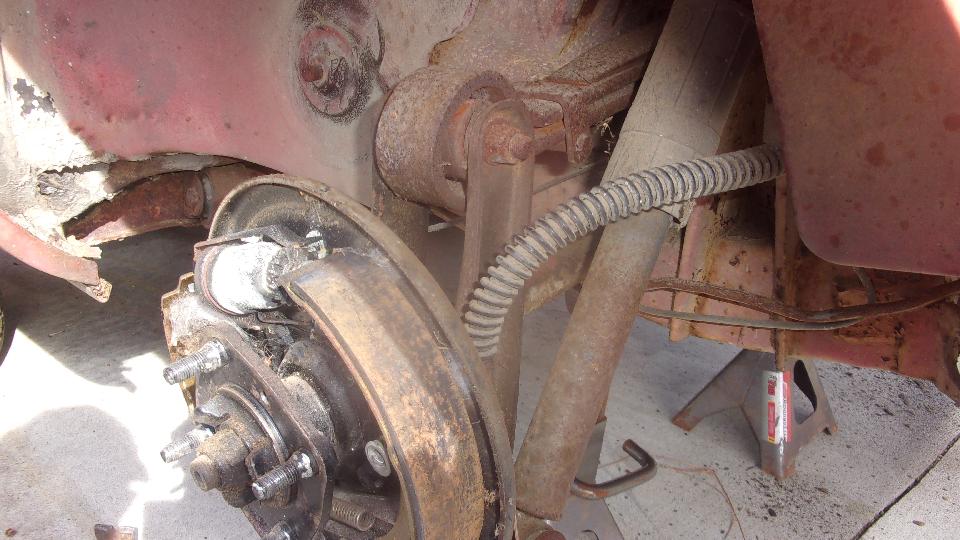
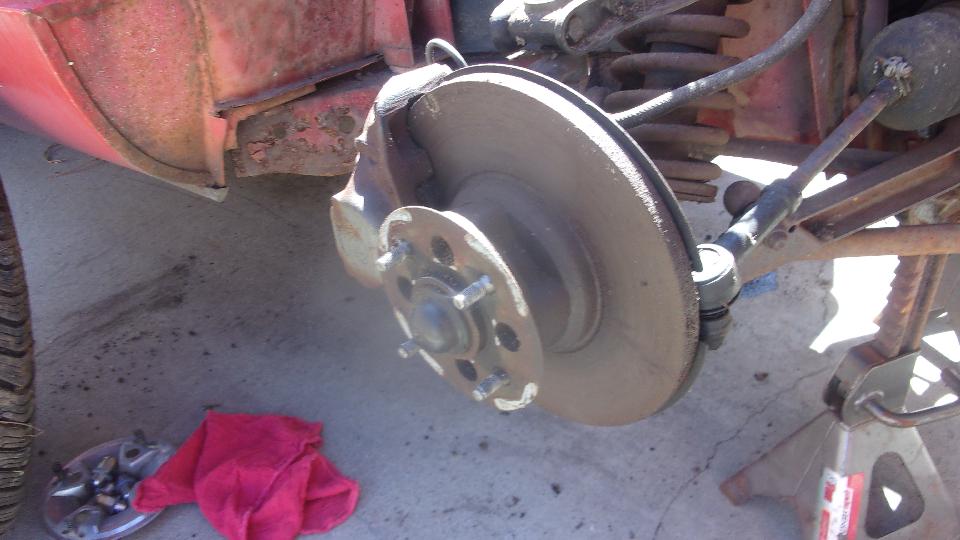
Brake drums and wheels back on so it will roll, drop the rear and hoist the front. Elliott swears the front wheels turned when the car was towed in and moved around a bit, but they sure don't tun now. Thin screwdriver and hammer used to separate brake pads from rotor, and the wheel turns. Step hard on the brake and release, and it seized up again. Open bleed nipple, little fluid released, brakes still stuck, so add caliper rebuild kits to the shopping list. Front brake hoses were blistering on the outer cover, not only old be obviously failed, so put those on order Steering rack gaiters were shot, so order up new ones.

 BR>
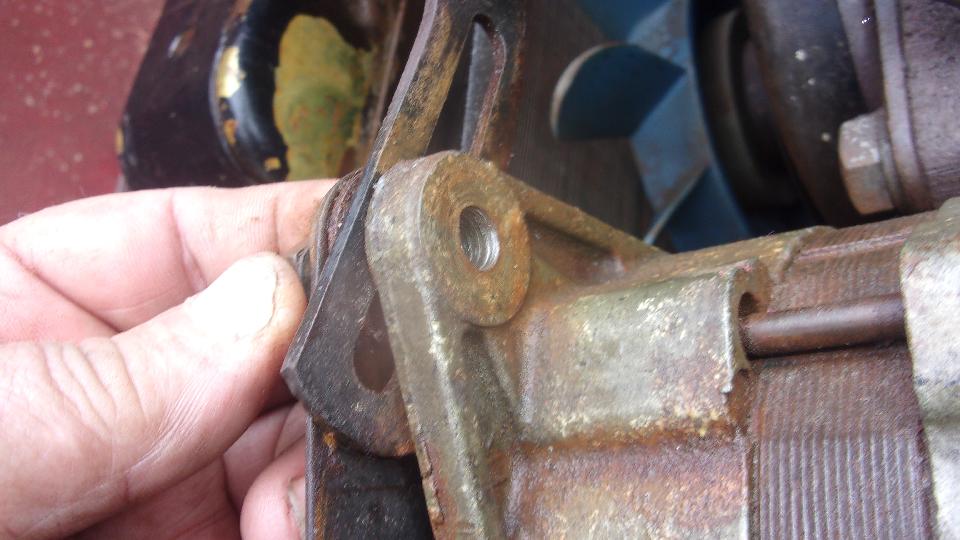
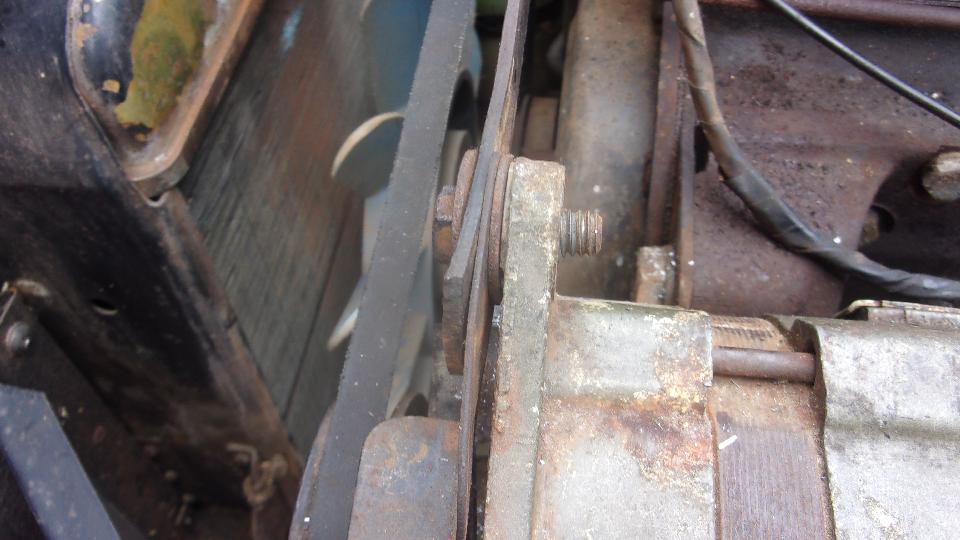
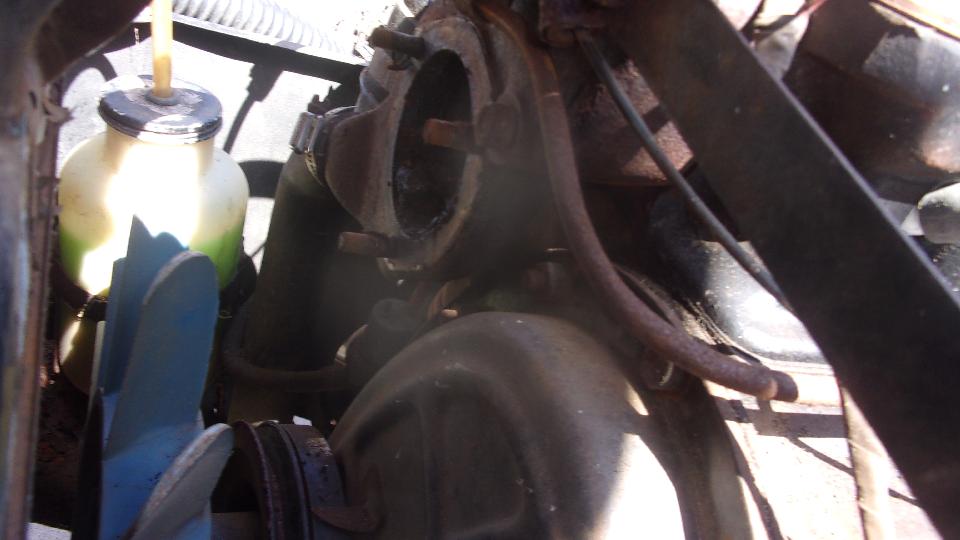
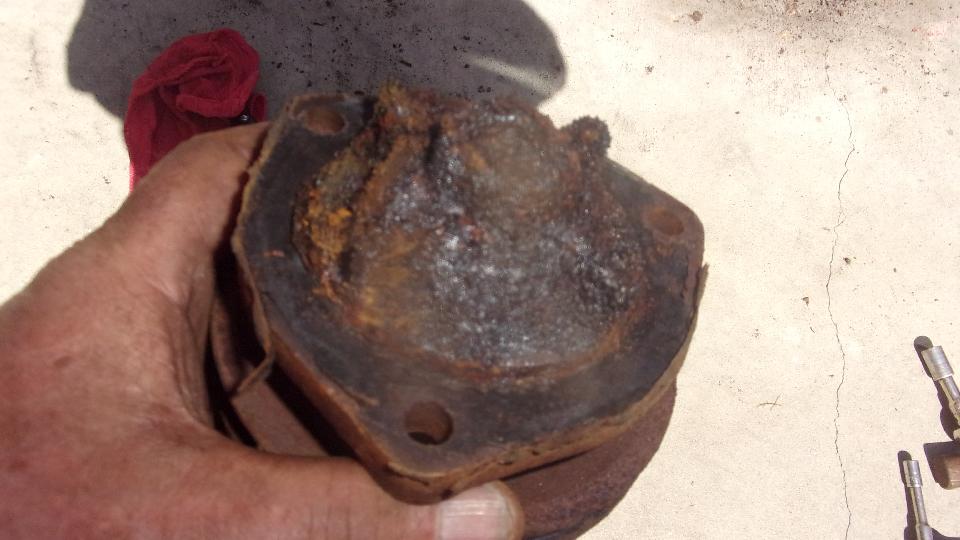
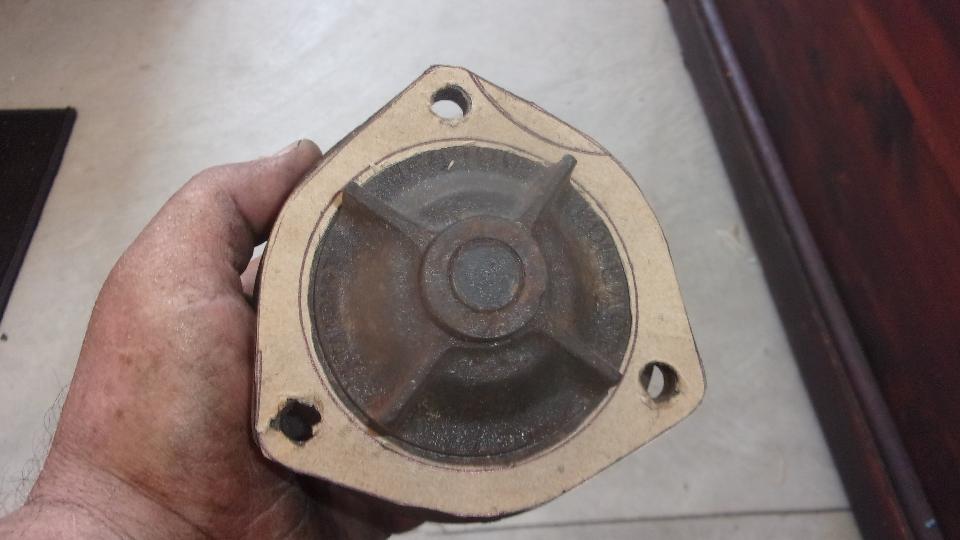
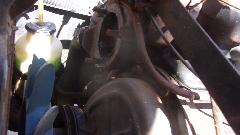
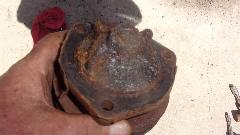
Then on to installing the good use water pump, donated by our friend Tim Melton last week. Relatively easy chore for a change, don't even need to remove the radiator for this one. Remove three nuts and give the pulley hub a good whack with a hammer, and the old one was off. Rather ugly rust accumulated there, dug a small hand full of the stuff out of the cavity around the pump impellor. Cleaned off old gasket residue, made a new gasket from some thin cardboard, and the replacement pump was install in quick time. BR>
Then on to installing the good use water pump, donated by our friend Tim Melton last week. Relatively easy chore for a change, don't even need to remove the radiator for this one. Remove three nuts and give the pulley hub a good whack with a hammer, and the old one was off. Rather ugly rust accumulated there, dug a small hand full of the stuff out of the cavity around the pump impellor. Cleaned off old gasket residue, made a new gasket from some thin cardboard, and the replacement pump was install in quick time.
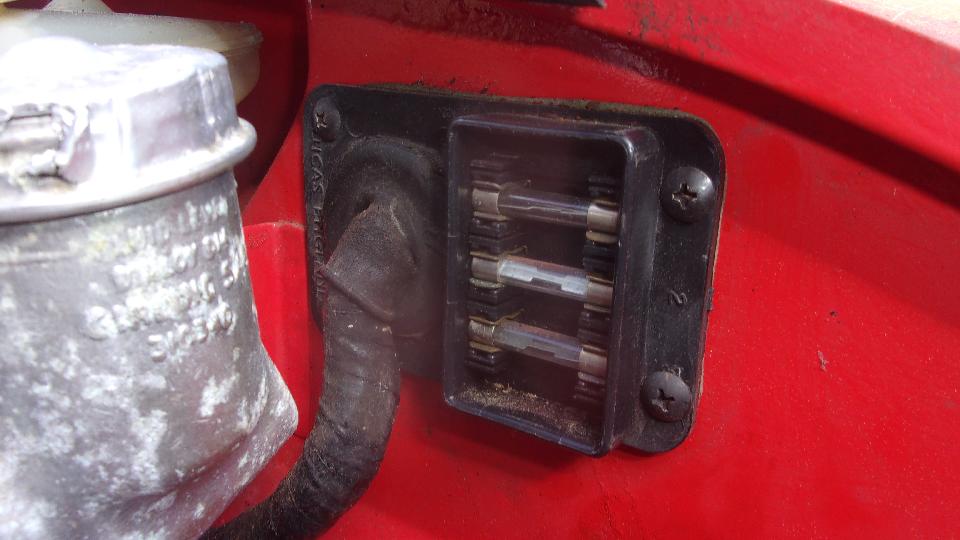
A few quick electrical tests, fuses look good, wipers and heater blower work. Interior light works as well as and high and low bean head lights, Parking lights and side markers both sides okay, but no turn signals (could be a failed flasher unit).
Don't know what Elliott was doing under there, just cleaning and general inspection I guess. Removed the failed fuel pump, one pipe, one hoes, and two bolts (open end wrench access only).


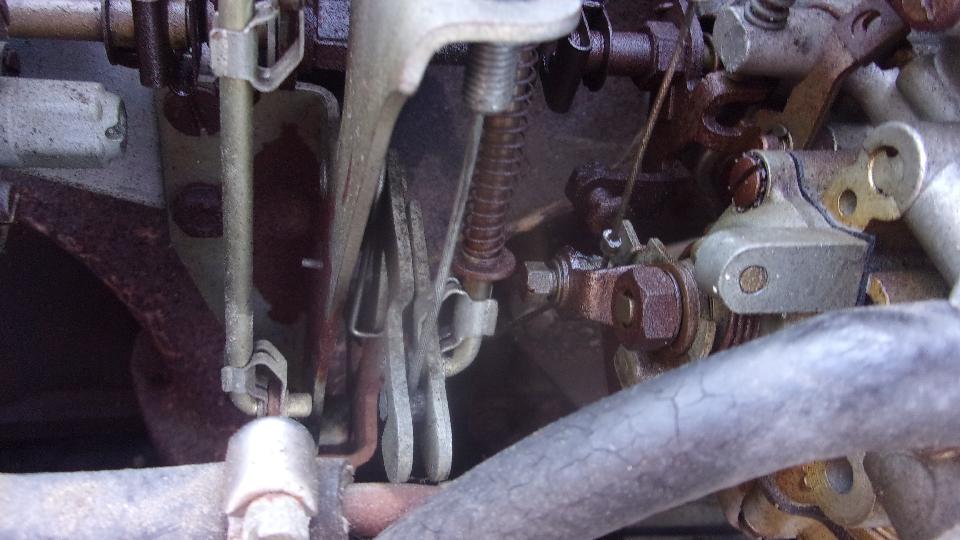
Casual inspection of throttle linkage with an odd mechanism to reverse direction from pull to push, and manual choke with one knob pulling two cables. Only a little tussle to extract the fuel tank, three mounting bolts right on top, one fuel pipe on bottom, and three vent hoses (air bubbles not not be allowed). Gawd that half gallon of crap left in the tank smelled horrible, not to mention all the rust inside, but it looks like a good solid tank, so see if we can find a radiator shop to boil it out (and put a new fuel level sender unit on the shopping list).

GT6 wheels on, back on the ground and rolling, don't let the brick behind the rear wheel fool you, the parking brakes does work now (and will release).
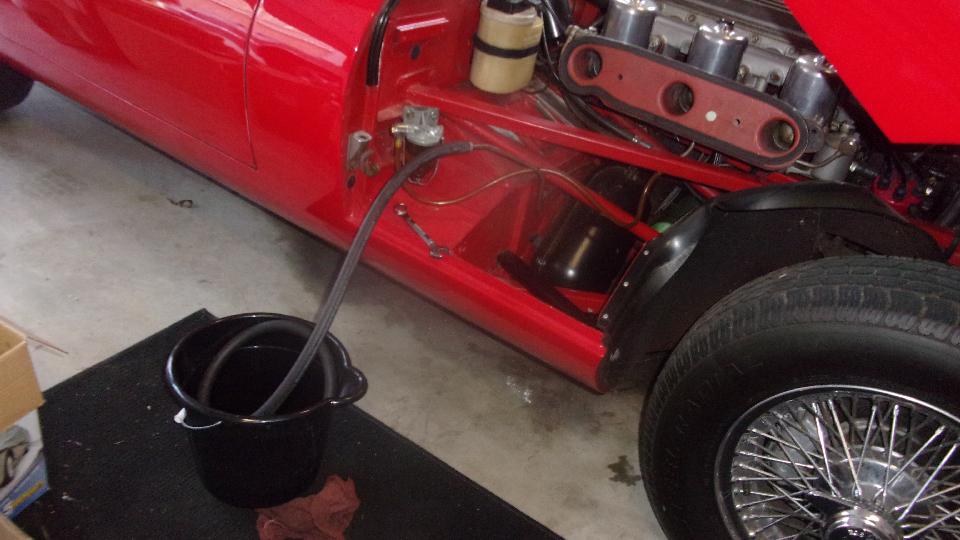
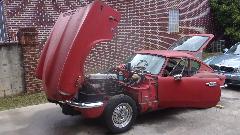
Time for a look at the E-type to see why it won't start. Crank, crank, pop, crank, no fire. Lots of choke, crank again, still no fire. Give it a little sniff of ether (starting fluid), and it fired to life for a few seconds, then died. We could keep it running the periodic shots of ether, but died immediately without it. Electric fuel pump works fine, and plenty of fuel flow at the filter before carbs. So I asked Elliott when is the last time he put gas in it, and he didn't know, but apparently a long tome ago. Okay, so it must be very stale gas.
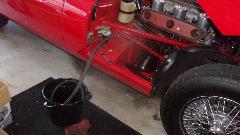
Get a bucket, put a hose on the fuel pipe, run fuel pump to empty the tank (two buckets full). Quick trip to fetch fresh gas and refill a few gallons. Another sniff of ether to get it running again, continue a little ether for a couple minutes until fresh fuel got to the engine, and it was running on its own. That was the worst case of stale fuel I have seen in years, considering it is supposed to be a driveable car. Settling down to a purr after a few minutes, and out for a short run around the block, back with a big smile. Got a different job for tomorrow.

Tuesday March 10, 2020:
 Uh-oh. Caught navigator working on the car again. This time he was fixing a failed ground connection in a tail light.
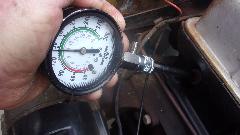
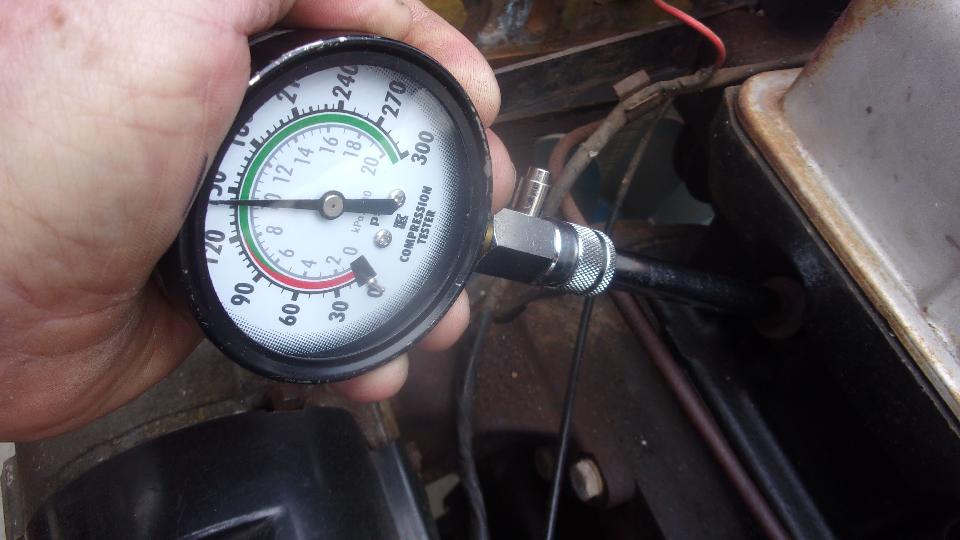
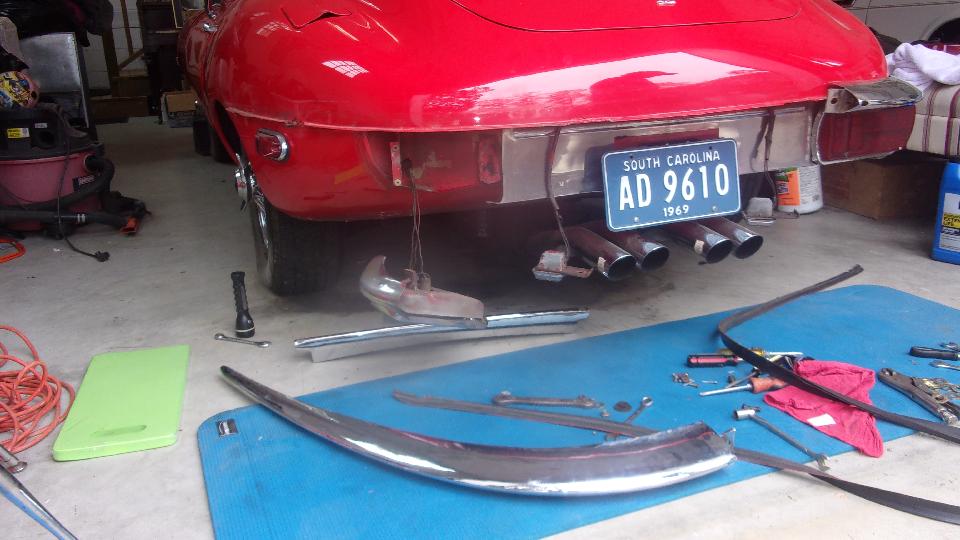
Back at Elliot Cox's place today. First business was doing a compression test on the GT6. 140-psi +/- 3% on all six cylinders, so that's good, and another question put to rest.
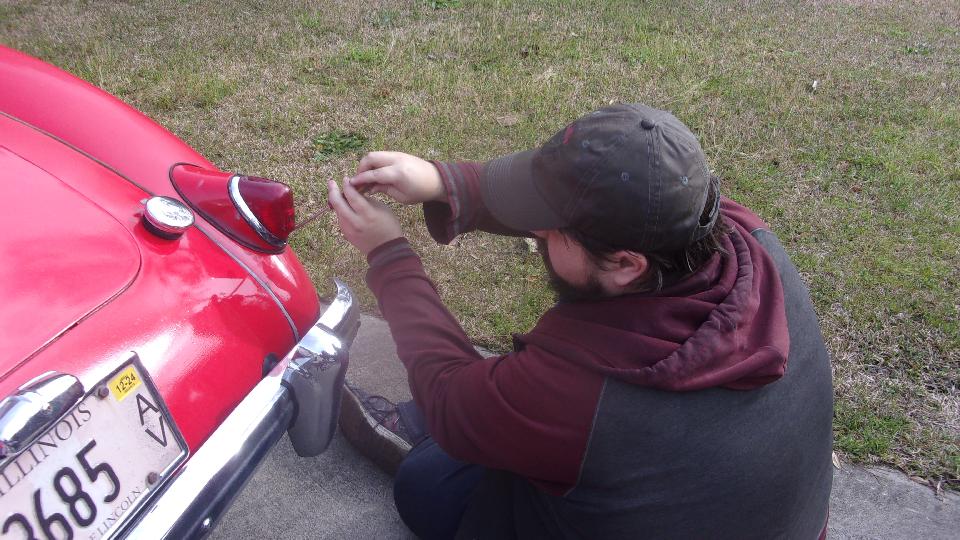
Then we got on to the primary task for the day, to install the rubber seal at top of rear bumper on the E-type. I wasn't expecting this to be particularly easy, but this just kept getting more ridiculously difficult as the day wore on. The parts were only loosely bolted in place, so we removed the center bumper section (and back-up lights) first, in order to push the rubber packing piece into place starting inboard and pushing it around the bend. That was easier than expected, until I ran into a cross threaded bolt with incorrect thread at the end of the bumper around left side at the wheel arch. Also the primary attachment bolt at the back was above the tail light where it was inaccessible for any wrench without removing the tail light.

So out came the tail light assembly (in four pieces), and ultimately off came the left bumper section to repair the damaged thread up front. That's about the time it dawned on me that these are British Standard fine thread fasteners, and I don't have any spare bolts or a thread tap. Since the thread was already buggered, I (we) decided to use a 5/16-24-UNF tap to clean up and re-tap the thread to use a standard UNF bolt. Follow a couple hours of cursing and swearing when I couldn't get the tap to bite and begin cutting, even though I had the pilot hole drilled out 1/64 inch larger than the designated size for a tap drill. There was some creative grinding of a taper lead-in on a new bolt, some forced wrenching, more fail of the tap to work, and more forced wrenching. Keep repeating, "Failure is not an option", and some time later the left bumper section was reattached.


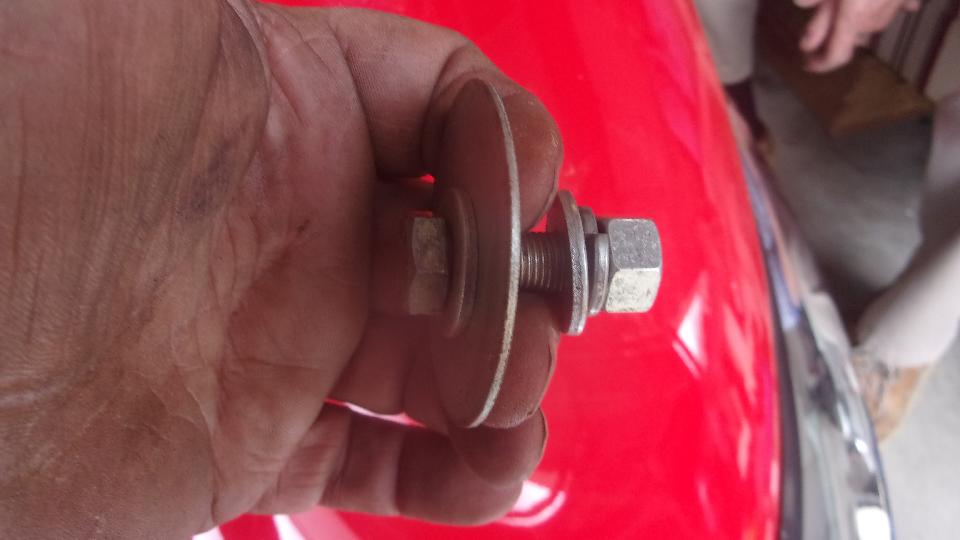
Then on the right side the midway captive stud was missing (actually broken), with the spot welded reinforcing plate broken away from the inside of the fender. Solution here was to install a bolt with a large fender washer inside. I wanted to bond it in place with JB Weld, but was over-ruled as time expediency, so Elliott was holding the bolt and wrench inside as I was installing the washer and nut outside. The right side tail light had to be removed as well, and the side bumper sections bolted up tight and rubber seal installed before installing the center section. Then a little tussle with the overriders and packing strips. Also bolt on the back-up lamps, and finally tighten all of the bolts, and the bumper looks great (always better after it is finished). Then more head scratching for installing the right side tail lamp, a piece at a time, and working in the chrome trim cap on the outboard end. Some masochist designer must have been working overtime on that one, figuring out how to screw the field mechanics, but we finally won that battle as well.

It got late, and we were pretty well pooped, so it was time to knock off and leave the other tail light for tomorrow. Hard to believe we were working more than eight hours on the rear bumper, when it started out just to install a plastic trim strip.
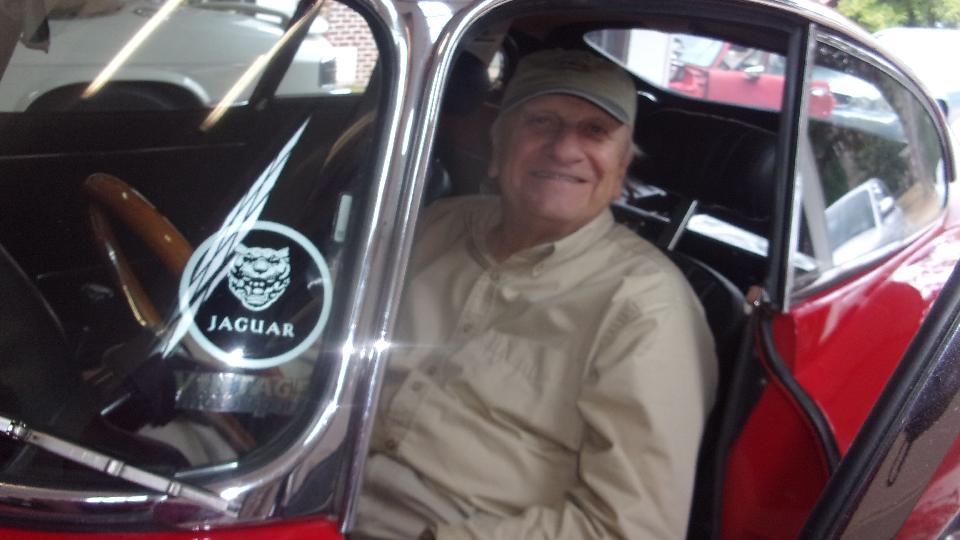
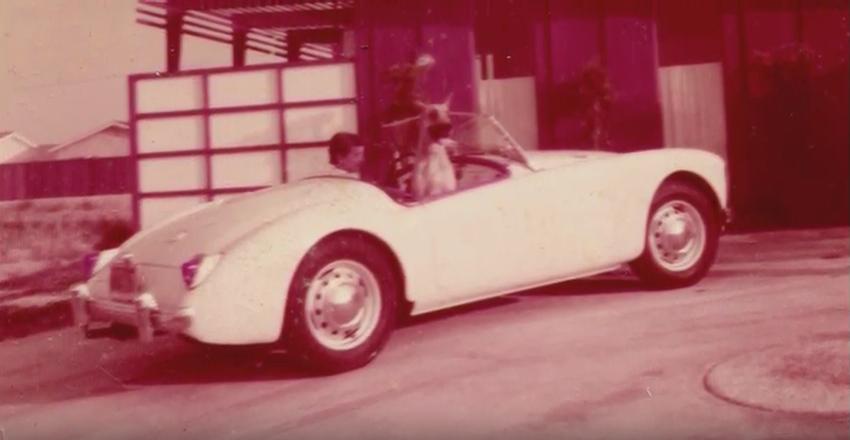
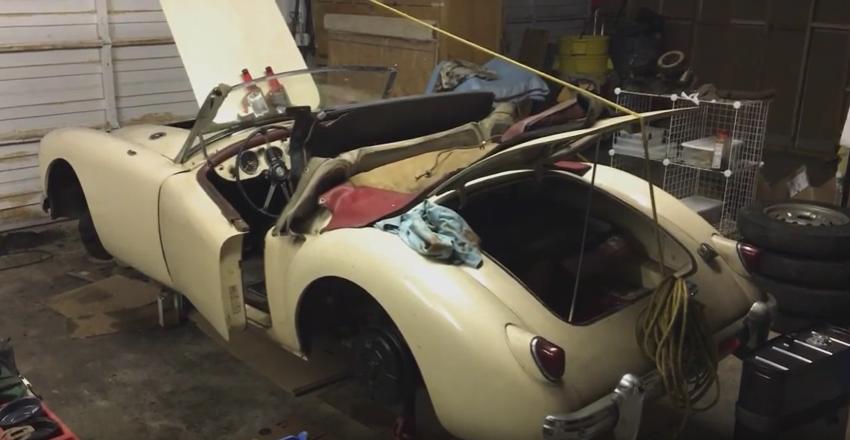
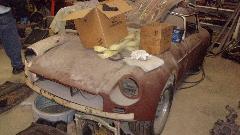
 Sitting on WiFi later evening we had a walk-in, Mark Adams in Lexington, SC. Good story here. He has an MGA that his mother bought new when she was young (before he was born). She got married, then Mark was born After a while the MGA became "not a good family car", so it was parked for a long time. Then his mother died. His father was trying to sell it or pass it on to someone else. There were a lot of new parts purchased, and the car was partially disassembled, and more time passed.


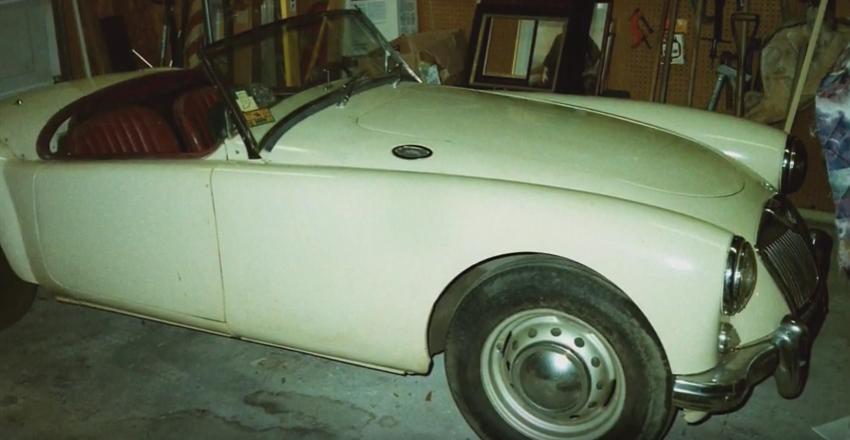
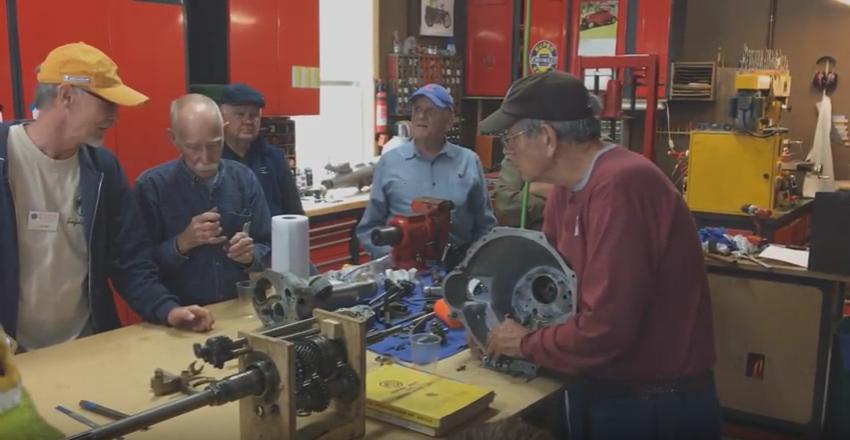
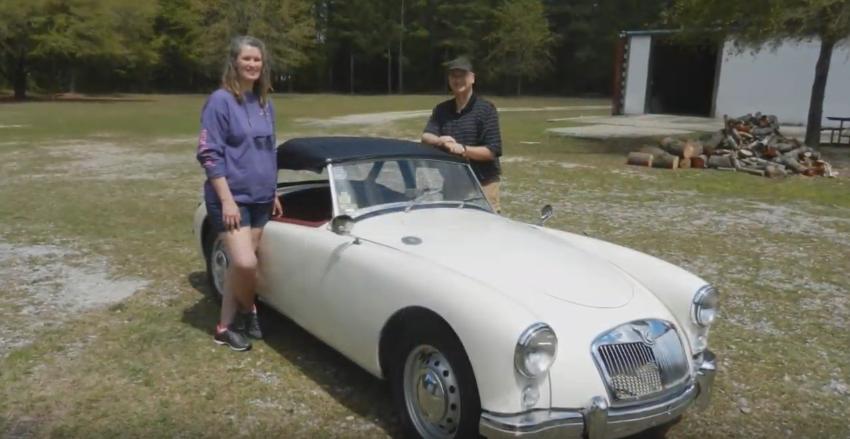
A few years ago someone decided it was time to get the car running again, so it went to a service shop where was repaired to be road worthy. Then it was decided to do a frame-on restoration, paid professional work finished in due time. There was a nice leather seat kit that came with the car along with a lot of other new parts. During restoration the gearbox rebuild was subject of a tech session for the local car club. Now it's back on the road to be enjoyed by Mark and his wife. We like to think of this as a one-owner car, in the family since new.

There is a nice 20 minute video about this car from new through current day. See here on YouTube
Wednesday March 11, 2020:
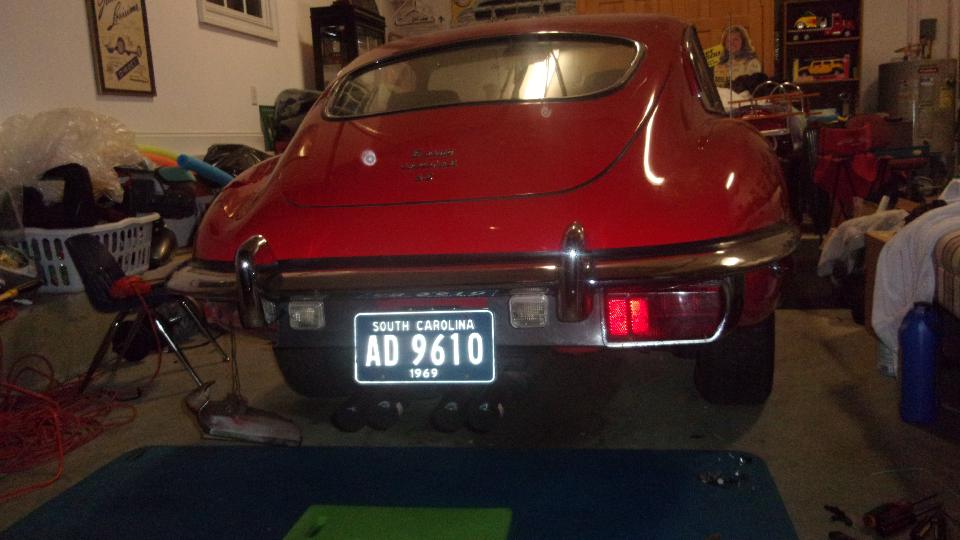
Back at Elliott's to finish installing the last tail light on the E-type. Knocked that off in two hours, including hunting up a few replacement screws. Electrical checks, brake lights and turn signals work, so at least safe for daytime driving. No parking lights or headlights or hazard flashers. Elliott is pretty sure it is fuses or a wire disconnect or a switch failure behind the dash, easy access with two screws to tilt a panel forward (did they really do something right?). So that was it for now, we were excused (he actually had something else to do). Sorry I didn't get the final picture, but that rear bumper and tail lights look real good (especially good feeling after it's all done).
We had a tentative appointment for lunch with Mark Adams (story above), but that fell through when he got a call for a business meeting. But we got another call, skipped lunch and drove 35 miles to the west and of Lexington back to see George Lawson again. His MGA was reported to have an oil leak after installation of a spin-on oil filter adapter. We put paper on the floor and ran it a while for a drip test. Looked like one drop per minute. The filter was a little loose, tightened it up and did another drip test. Still looks like one drip per minute, so next guess is the filter adapter is not tight enough on the engine block. We left that for George to touch up later. Then onto some WiFi work, and late night headed northwest for an hour plus.
Thursday March 12, 2020:
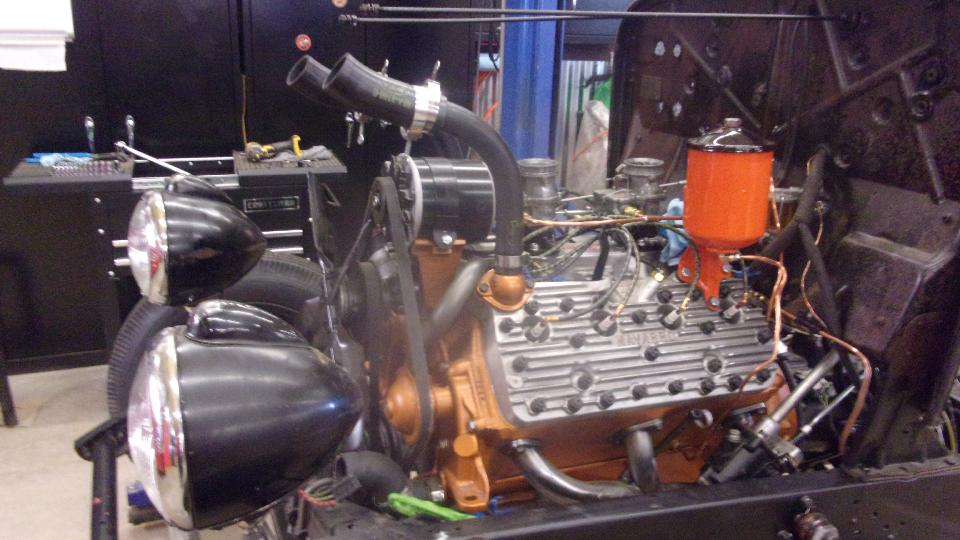
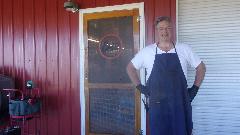
Some days may be more interesting than others, and it doesn't need to have anything to do with British cars. Since we had most of one day leeway in our schedule, we stopped in to visit Don Turner in Roebuck, SC. He is a large scale tomato farmer (nothing to do with the rest of this story), and he runs an auto shop "Sparkle City Speed Shop" primarily dedicated to vintage American cars (and trucks).
 We came here to check out his 1932 Ford Cabriolet with flat head V8 engine (with some performance upgrades). He contacted me some months back because of some problem with a very vintage Mallory Dual Points distributor (as he found some Mallory information on my website). With some email messages and pictures at that time, we solved an issue with miswired points and condenser, restoring spark to the system. But since then he has not had it running due to other problems.
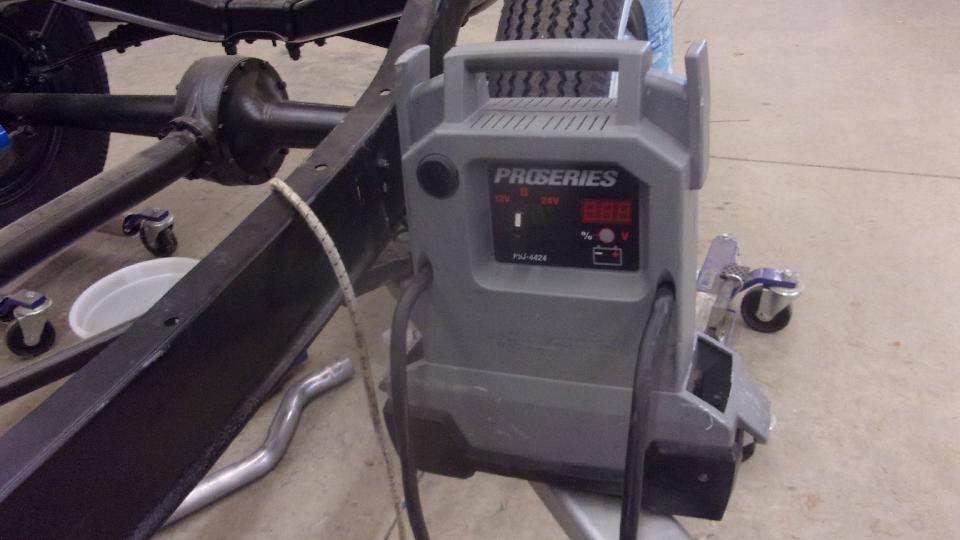
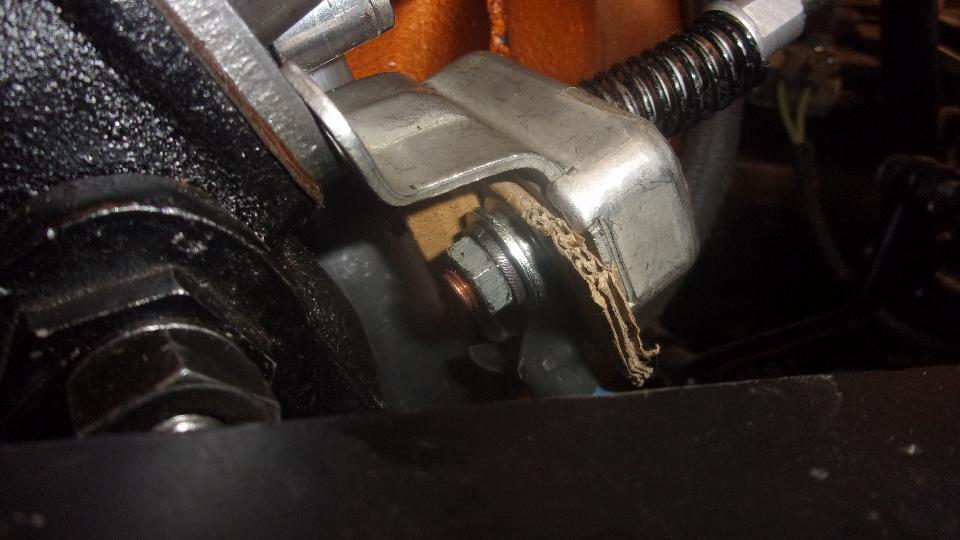
First problem today was lack of cranking starter motor. Attempted cranking using a large jumper battery box for power did nothing, with power supply voltage dropping from 12-volts open circuit to near zero as soon as the load was connected. Set that gadget aside, and hook up a real battery. Voltage check says the 6-volt battery is likely okay with at least 5 volts output when cranking, but only seeing 3.5 volts at the starter motor. A bit of circuit tracing with the volt meter soon revealed a loose cable connector at the starter switch, due to attempted use of corrugated cardboard for an insulator sheet. No, no, that has to go.


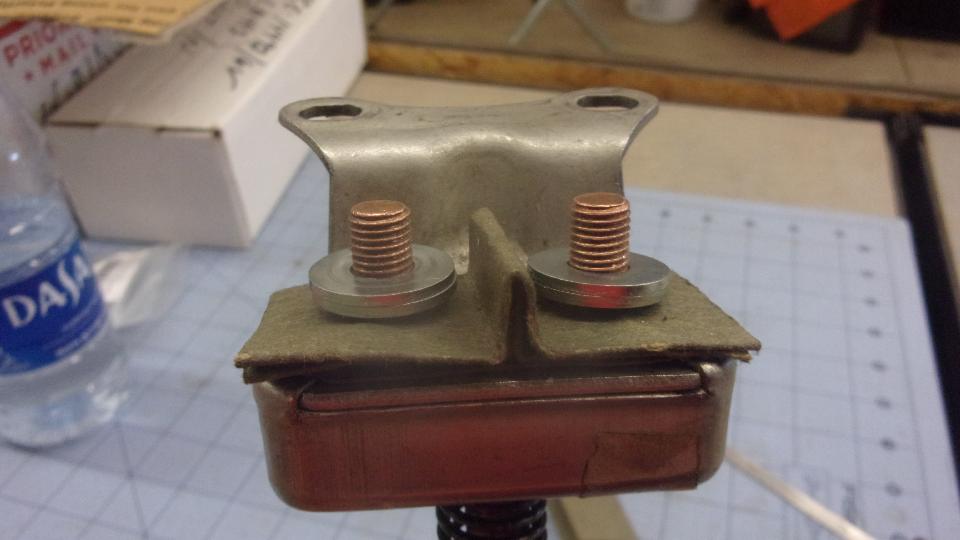
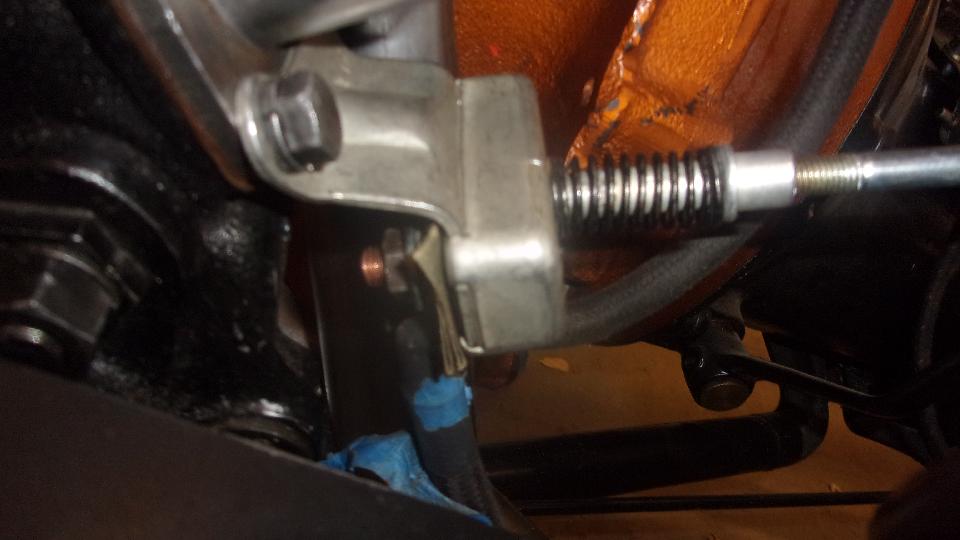
We soon improvised a nice replacement insulator using hard paper from a hanging file folder. Installed and connected, cables looking good. Attempted cranking resulted in sparks and red hot spring, a result of internal short from contact washer to the steel push shaft, routing battery power through the spring and switch housing to chassis ground. So toss out the defective switch and install another new one (with the red insulator paper), solving that issue.

 Then step on the starter gave a mild click at the starter motor, but no cranking. Don mentioned having installed two flat washers between the starter motor and engine back plate, not sure why, but he then R&R'd the starter motor to remove the flat washers. Through bolts holding the starter end plates are also mounting bolts, and he managed to let the starter fall
 apart when dismounted, so spent some time getting the brushes realigned during reassembly. Another step on the starter gave about 4 volts across the motor, but still no cranking. Duff starter. So we pulled it out to test with jumper cables, still no go, and installed another new starter that did test good (nice to have extra spare parts). Then it cranked over okay, but still no fire. Also the front carburetor was gushing fuel all over, so we pinched off the fuel hose while we were investigating lack of spark.
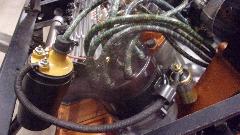 Now we get back to the vintage Mallory Dual Points distributor, and spark timing was not right. Clockwise rotor rotation, turn body clockwise until one cap clip hit the cylinder head. Turn body anti-clockwise until the condenser hit front of the engine. Half way between, the rotor was pointing at wrong spark wire. So pull all HT wires out of the cap and move them around one position until the rotor points at #1 terminal with crankshaft at Top Dead Center. Then with a periodic sniff of starting fluid, we got an occasional pop, but no start.
Get out the timing light, get one flash and then nothing. Not long to figure out the 12-volt timing light doesn't work on the 6-volt battery. So fetch a 12V battery, set it on the floor, connect the timing light to the 12V battery, and connect a thin jumper wire from 12V battery positive terminal to the car frame to provide common grounding for the 12V and 6V (positive earth) batteries. Think about that for minute. Not sure, but it may have worked without the common ground connection between batteries.
Then we found intermittent flash, meaning intermittent spark. Connecting the HT inductive coupler to the coil wire revealed four flashes and four pauses, meaning four of the HT wires (or spark plugs) had no spark. Putting the inductive coupler on one spark wire at a time would reveal which ones had spark and which not. One of those wires pulled out of the cap with no mechanical attachment, so that was a good place to proceed. That was when we ran out of time, or patience (or both), and Don thought he could handle the spark circuits from there, so it was a good time to quit for the day.

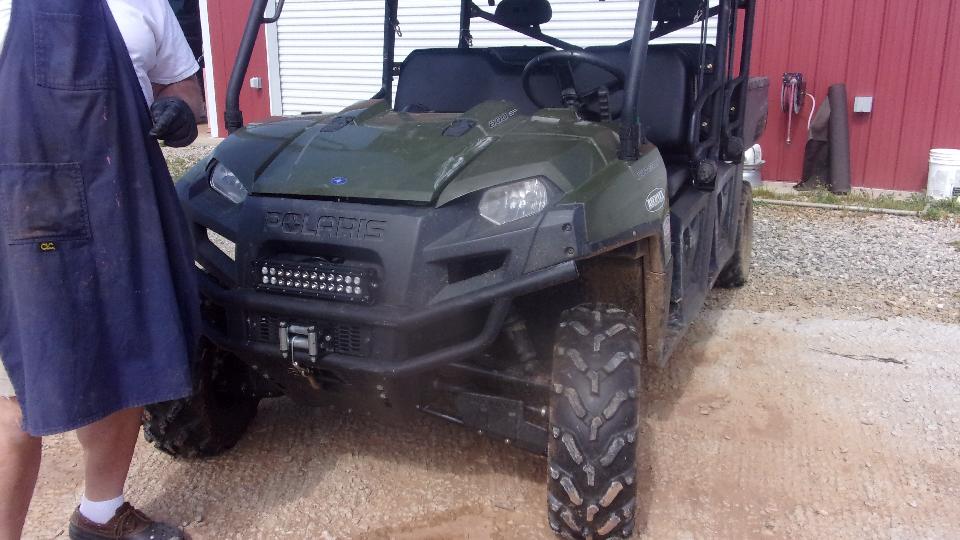
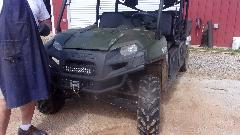 One final request was a quick look at a Polaris ATV to see why it was barely cranking over (or not). Going to do a battery test when we discovered a very loose battery cable terminal. Holding that snug by hand made it crank well, so that was quickly solved.
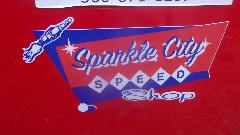 Packing up the toys and tools, we picked up a Sparkle City Speed Shop sticker for the car fender, and we were off to find a WiFi spot for the evening. By late night we were out of South Carolina, across North Carolina (with one stop for dinner), and into eastern Tennessee.
Friday March 12, 2020:
Out of Tennessee, across Kentucky, Long lunch break in Shelbyville, KY catching up documentation and making a Hotel reservation. An hour more late night into southern Indiana. Think we have five hours to drive tomorrow.
Saturday March 14, 2020:
Top up the fuel and head north again. Two hours to Indianapolis, another 3-1/2 hours to western suburbs of
 Chicago. Got stuffed by sticky wet snow for most of an hour, mostly north of Indy. Wipers not doing the job, had to stop twice to knock ice and snow off the windscreen. Approaching I-80 before it tamed down enough to drive at speed near the speed limit. Otherwise normal heavy traffic in the Chicago area, and we got an hour back with time zone change. Arrived in Lisle/Naperville, Illinois area with enough time to spare to stage a laundry day. Checked into a motel, ordered a pizza, had time to wolf down a couple of slices before heading out again.
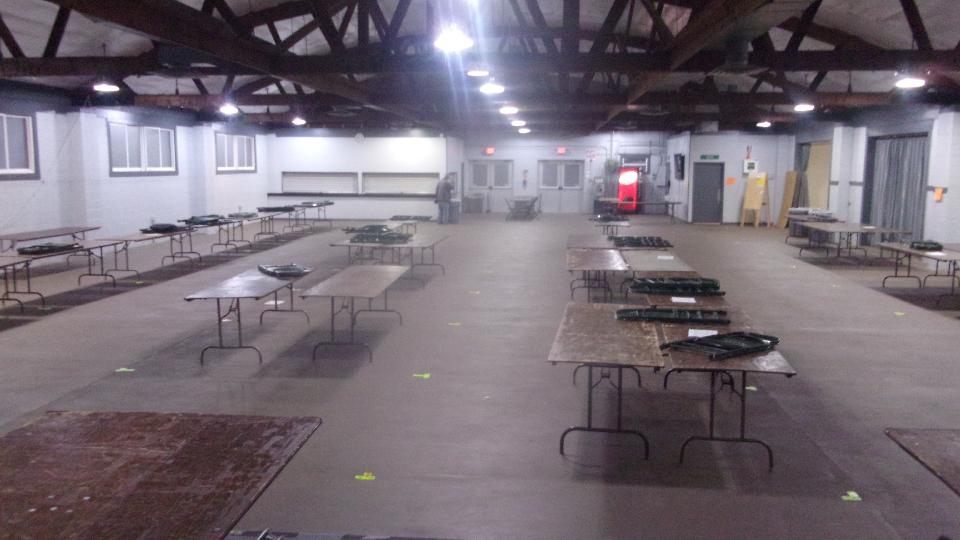
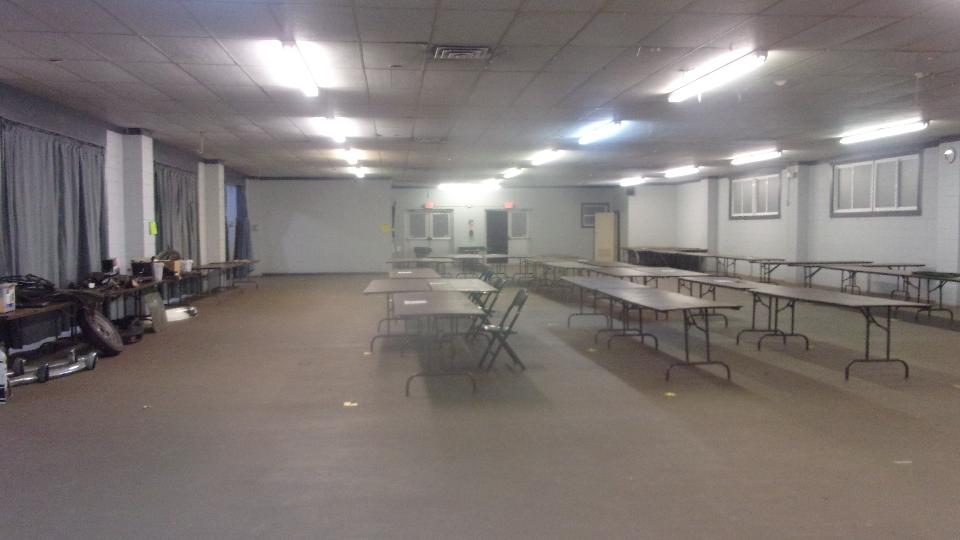
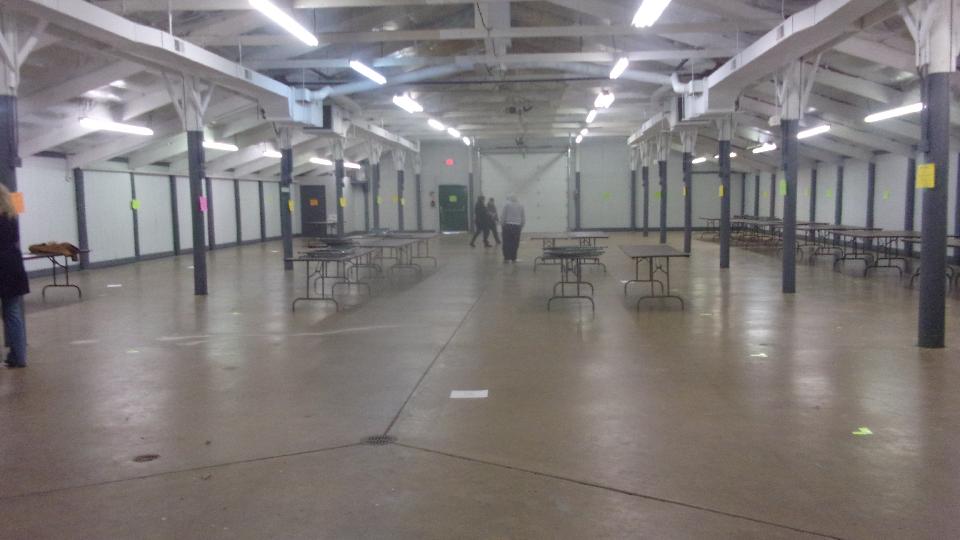
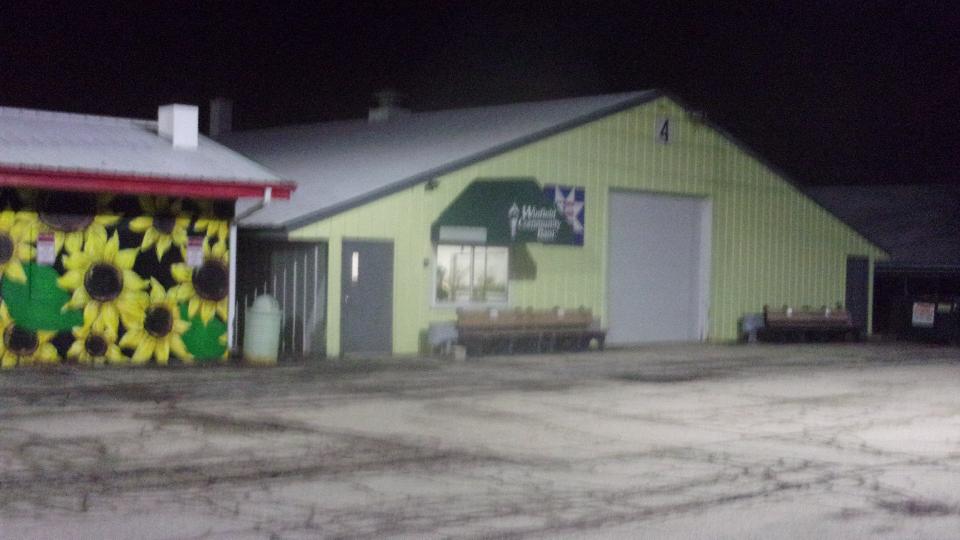
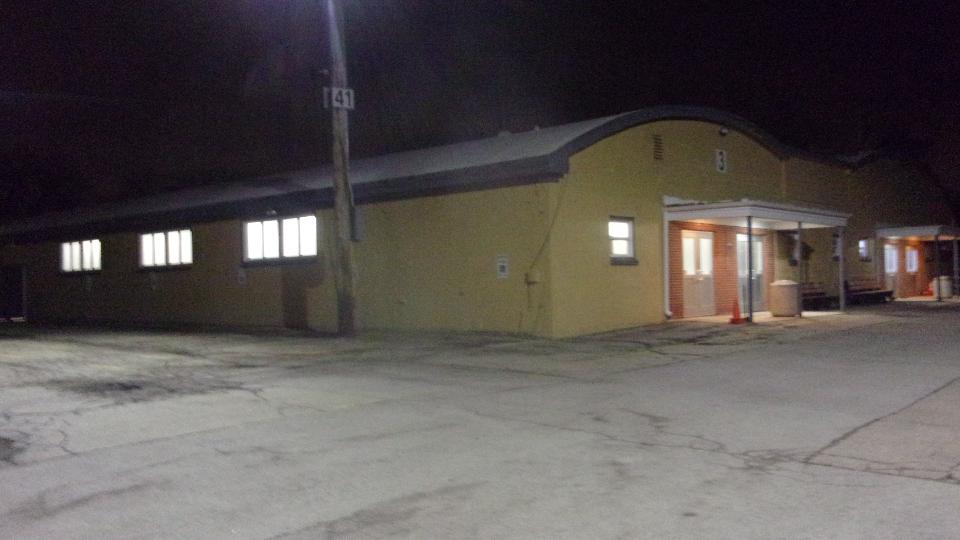
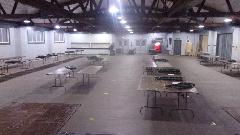
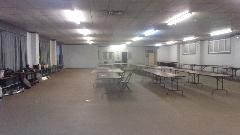
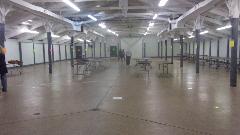
Had an appointment for setting up a couple buildings for the All British Swap Meet and Autojumble to be happening tomorrow. Dropped into the DuPage County Fairgrounds complex at 5:30 pm, had a short delay while some other show was still clearing out of one of our buildings. Otherwise taping out floor spaces and setting up tables and chairs went pretty much as planned. Good start to see the place ready to accept vendors and visitors in the morning. Three halls with an echo. Wait till you see what it looks like by mid day tomorrow.
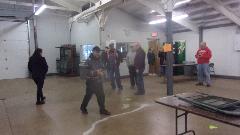
 There were a few new members who hadn't done this before, so good training session. Then it was time for most of the work crew (dozen people) to head over to Alfie's for drinks, dinner and chat. Then turn in early, as some of us have to get motivated quite early tomorrow.
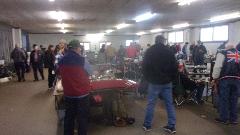
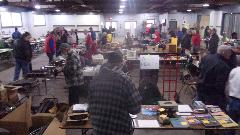
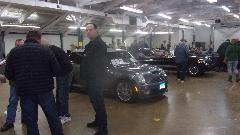
Sunday March 15, 2020:
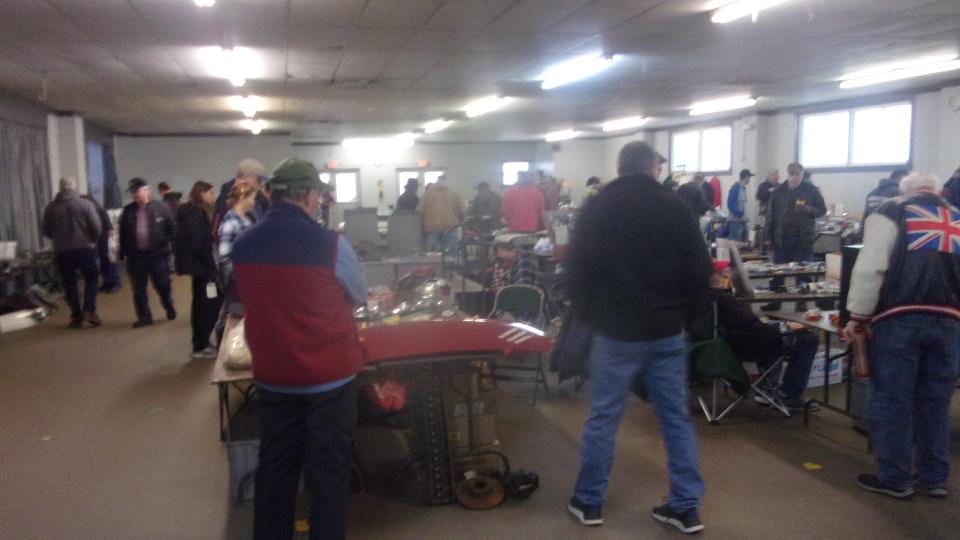
Swap Meet day. Short sleep, up early, opening doors at 5:45 AM, checking in vendors at 6 AM.


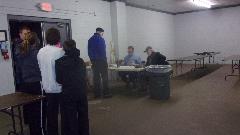
Visitors beginning 8 AM, and things got busier by 10 AM. Traffic was somewhat thinner than normal (due to the Covid-19 virus concerns). As such, it appeared that shoppers and vendors had less interference and got their business finished quicker, so we all managed to close it down an hour earlier than usual.
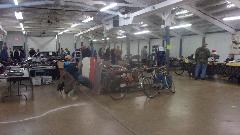
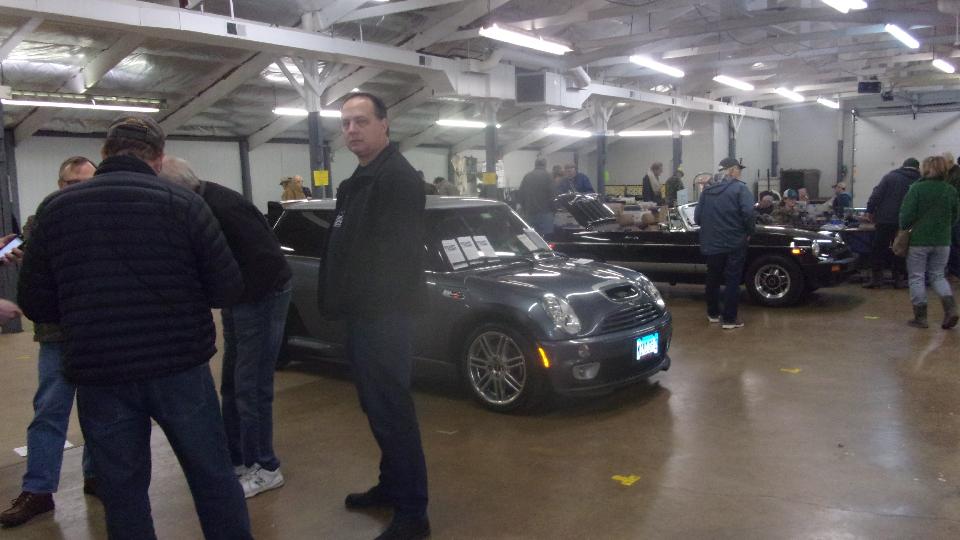
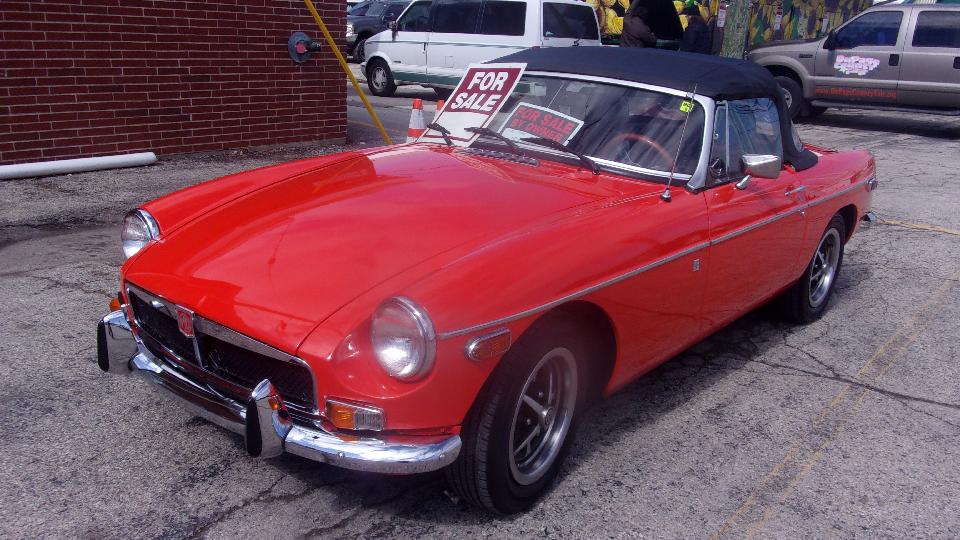
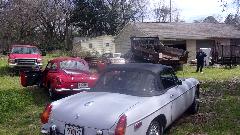
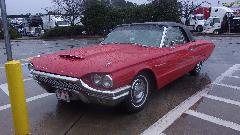
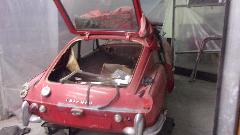
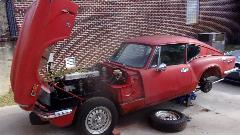
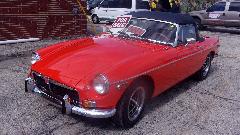
The "modern" Mini in the car corral was one of a limited edition factory rally car. The red MGB outside was for sale, "$10K OBO".
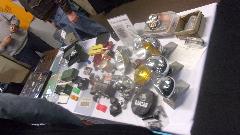
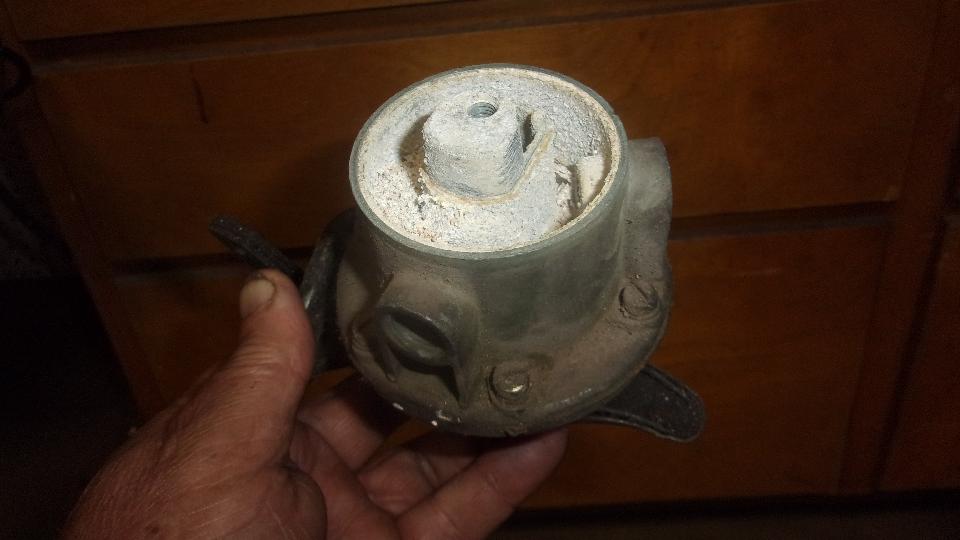
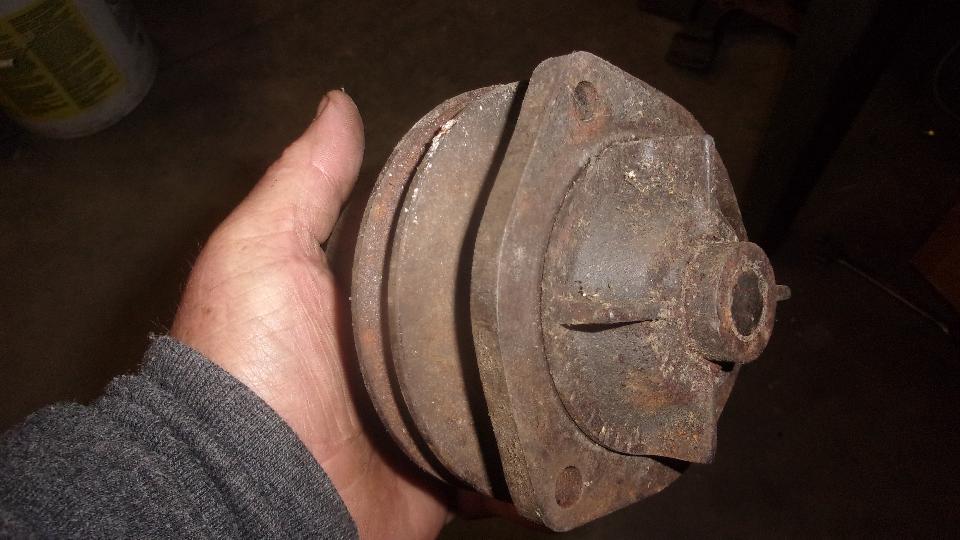
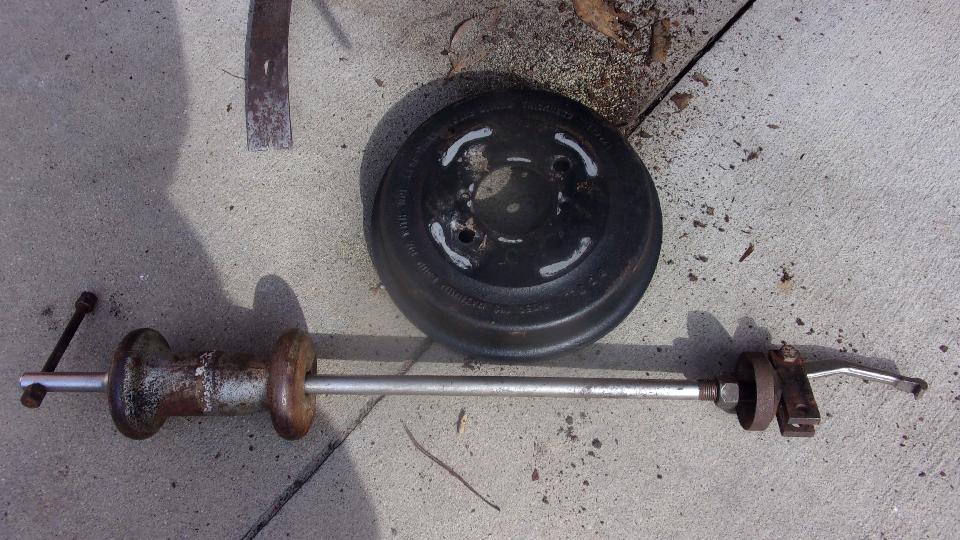
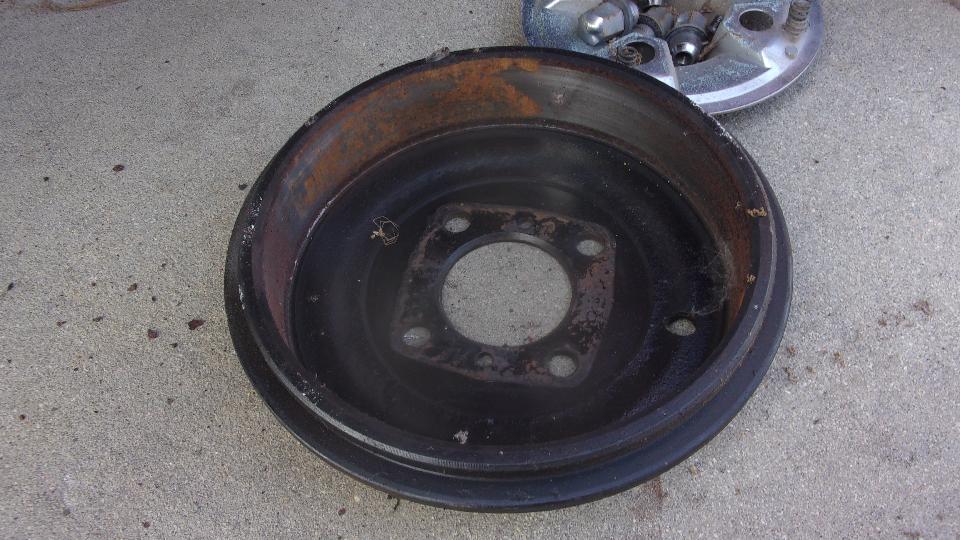
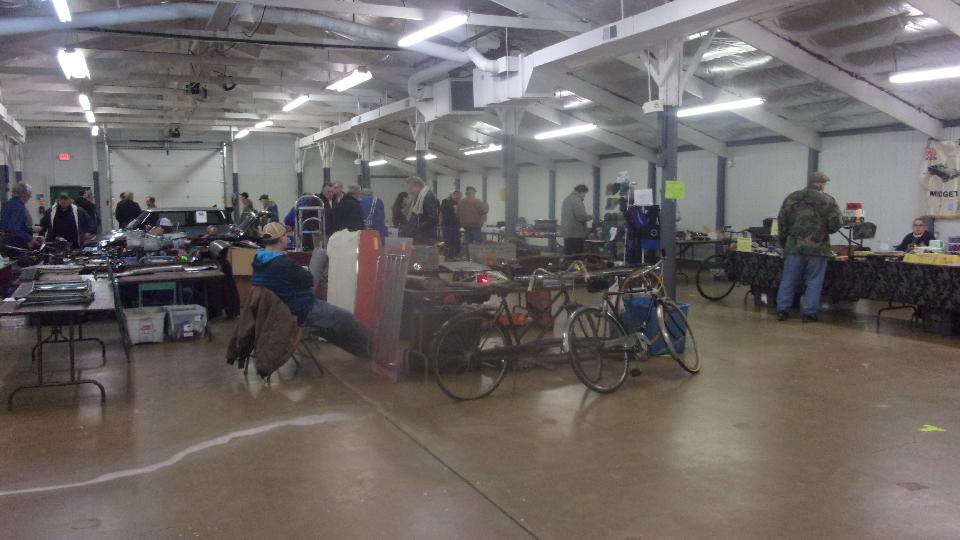
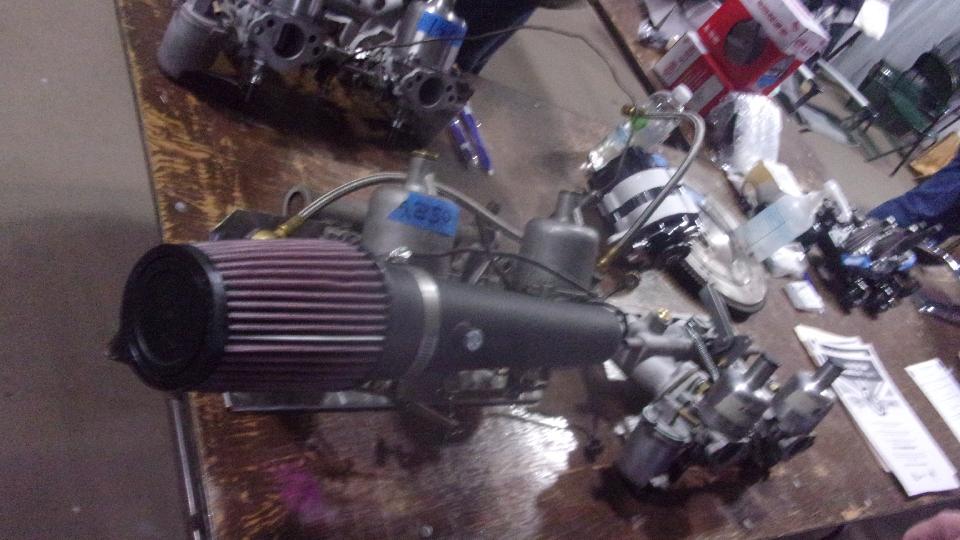
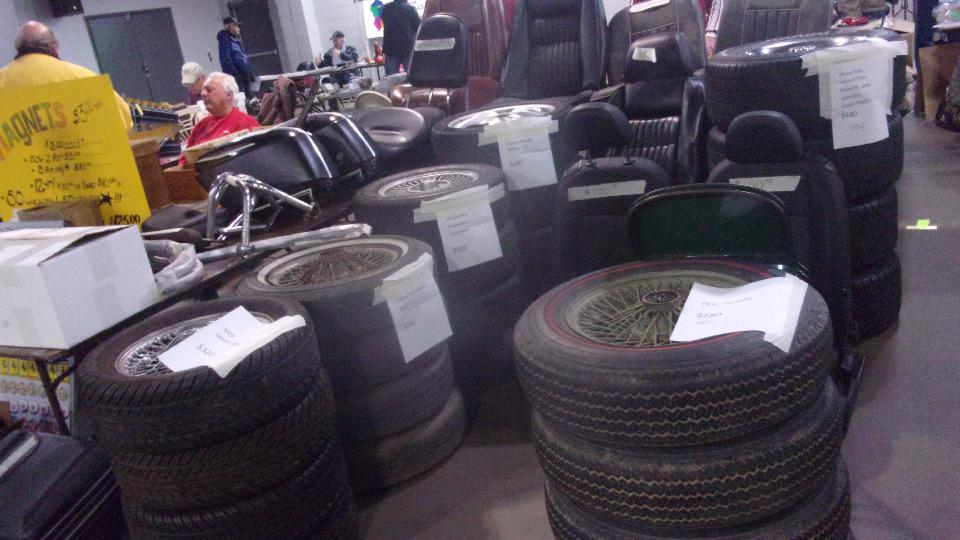
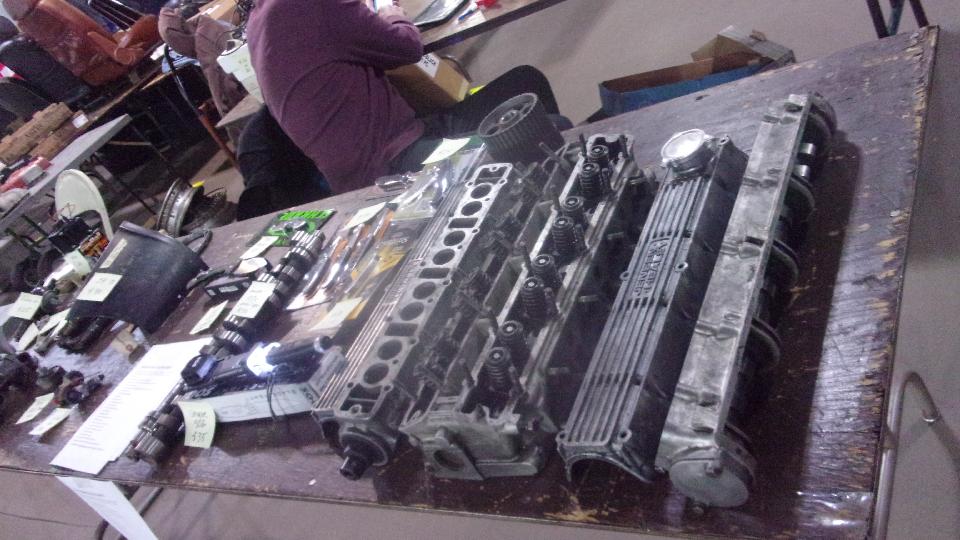
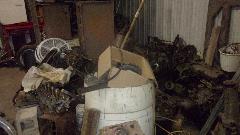
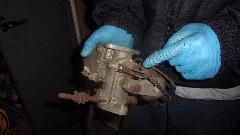
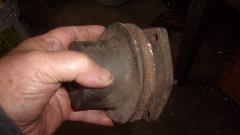
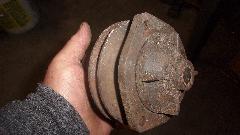
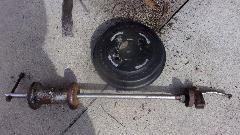
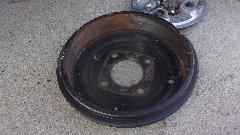
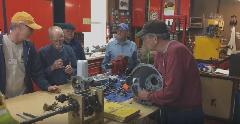
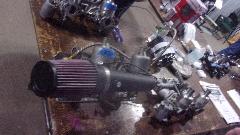
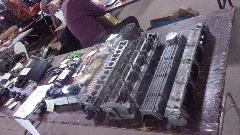
And then the fun started with parts, parts and more parts.

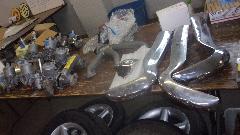
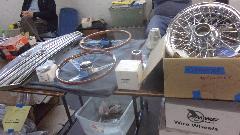
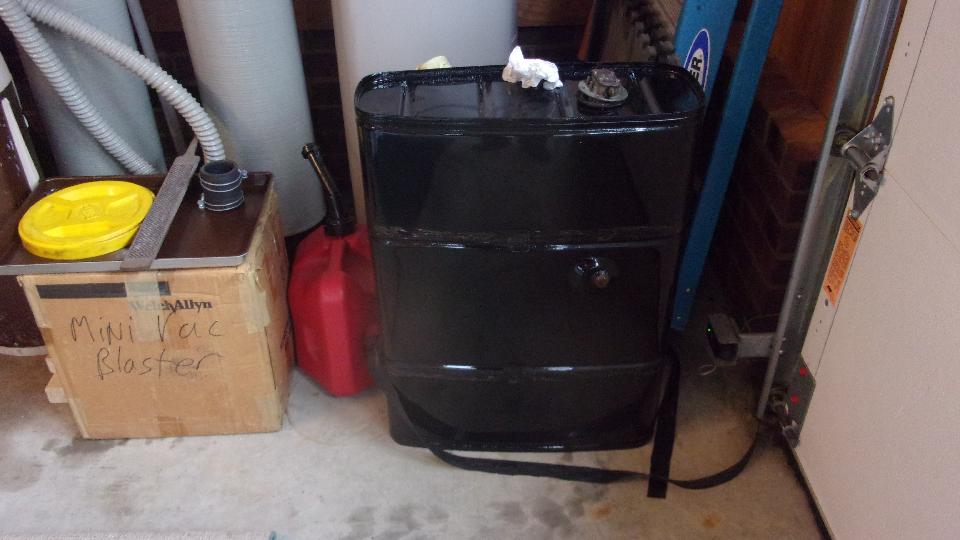
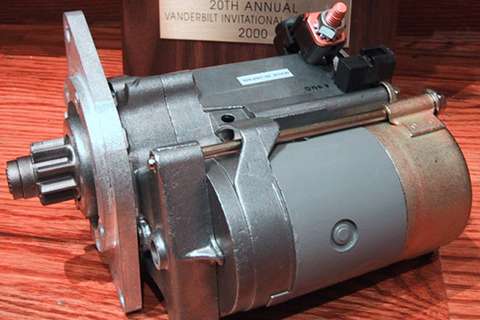
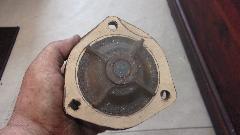
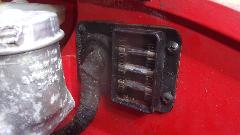
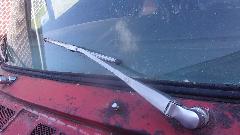
See how many you can identify, and treasure the mysteries. I picked up a late model MGB wiper motor, 2-speed permanent magnet type, which I intend to transplant into my MGA.

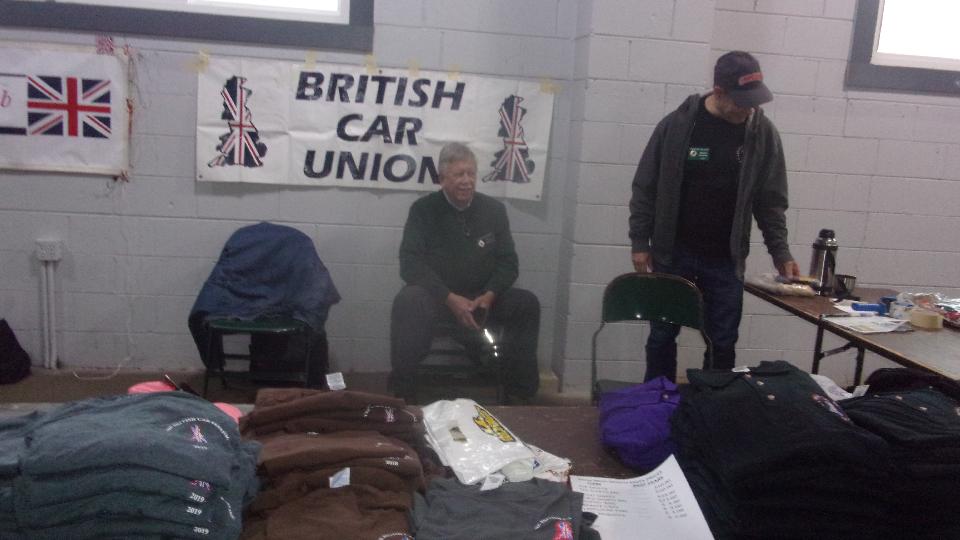
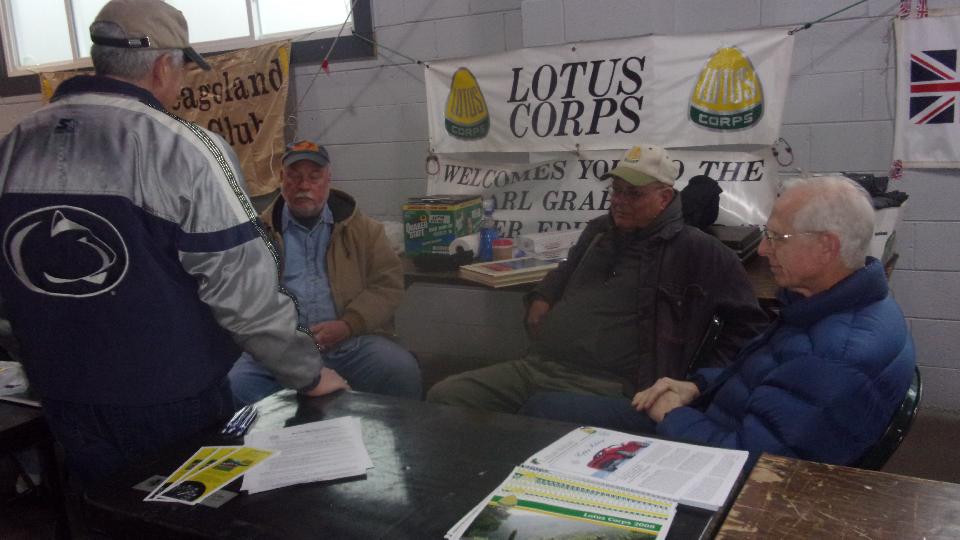
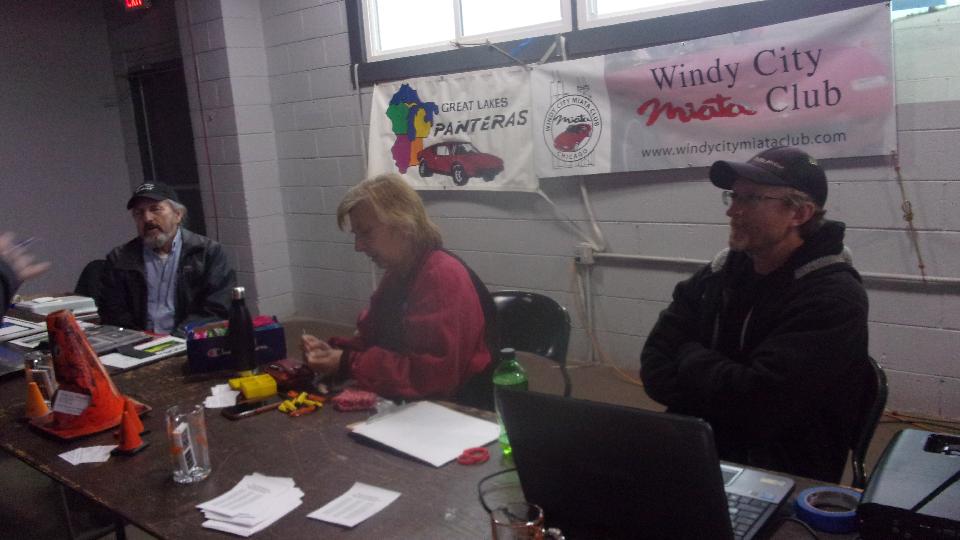
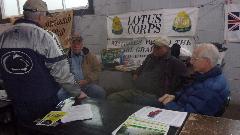
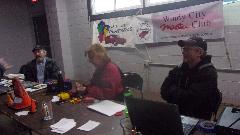
Several car clubs were represented, including an appearance by the Windy City Miata club, who happen to dig what we do. I picked up a couple T-shirts and a simple duffel bag from the British Car Union.

Rest of the day spent processing the photos and notes. See lots more photos of the goodies on the club web site at: http://ChicagolandMGclub.com/photos/swap2020
|