The MGA With An Attitude
REBUILDING LEAF SPRINGS 2 -- RS-108B
On Dec 20, 2020, Ahmed EL Abasiry in Calgary, AB, Canada wrote:
"Just finished refurbishing the leaf springs on my '58 MGA and thought of sharing the details and some tips I gained along the way. Before attempting a rebuild, I checked the springs for two aspects to determine if I should proceed or not:
 1- The free height, this came to be 6-1/4" on both. A bit lower than the 6-3/4" on mgaguru but since both are similar and the car height looked alright before disassembly, I figured I'd go ahead and rebuild them. 1- The free height, this came to be 6-1/4" on both. A bit lower than the 6-3/4" on mgaguru but since both are similar and the car height looked alright before disassembly, I figured I'd go ahead and rebuild them.
2- The wear "steps" between the leafs. If it was excessive I would have abandoned the springs, but luckily in my case the wear seemed acceptable and not severe.
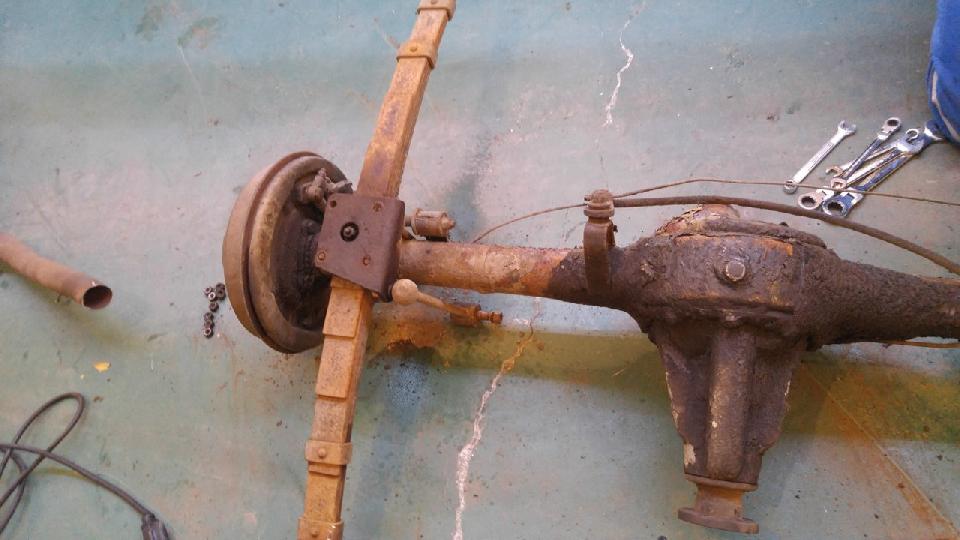
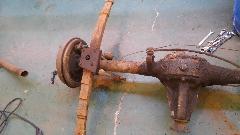
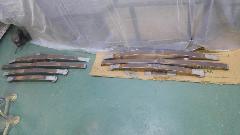
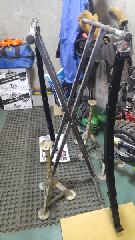
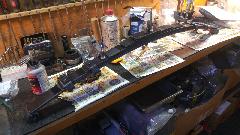
First, a "before" photo. Disassembled all the leafs. The center bolt was seized and had to be cut on both springs. And pried open the clamps.

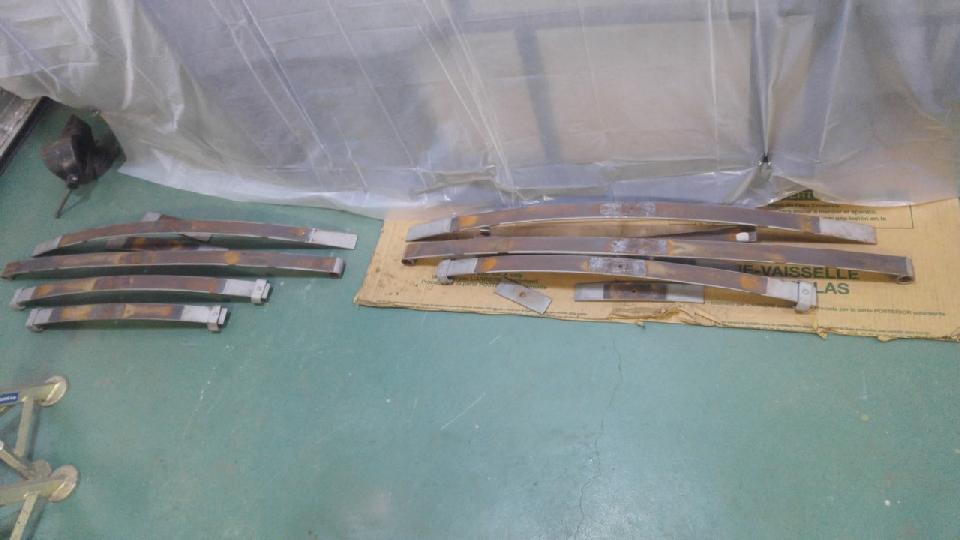
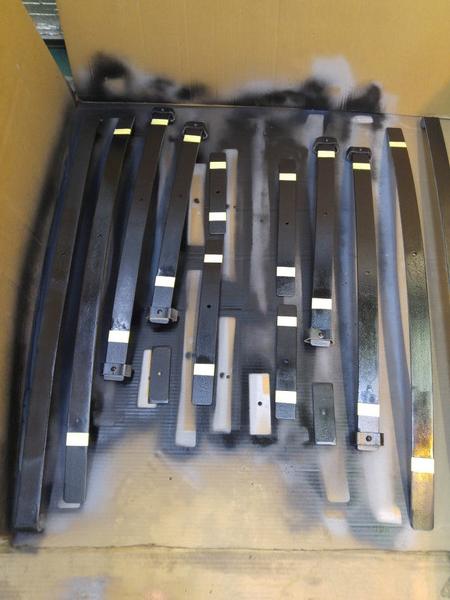
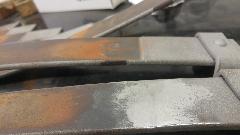
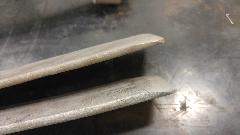
 Keep each set together and don't mix them up. I used a zip-tie to group them. I located the wear steps and ground/polished them to remove the sharp edge. The sharp step creates a stress point and can lead to leaf fracture, Here's a photo for one leaf with a step and one after polishing. I wondered why the factory left the ends with a sharp edge. Looks like a recipe for failure, and excessive wear. So I decided to chamfer the edges so the ends won't rub against other leafs. Pay attention so you grind away the correct side of the edge. When the spring in its normal service position, the TOP-FACING side of the edge is what need to be ground.

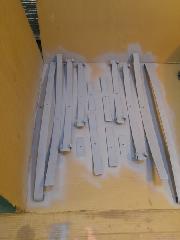
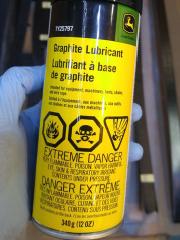
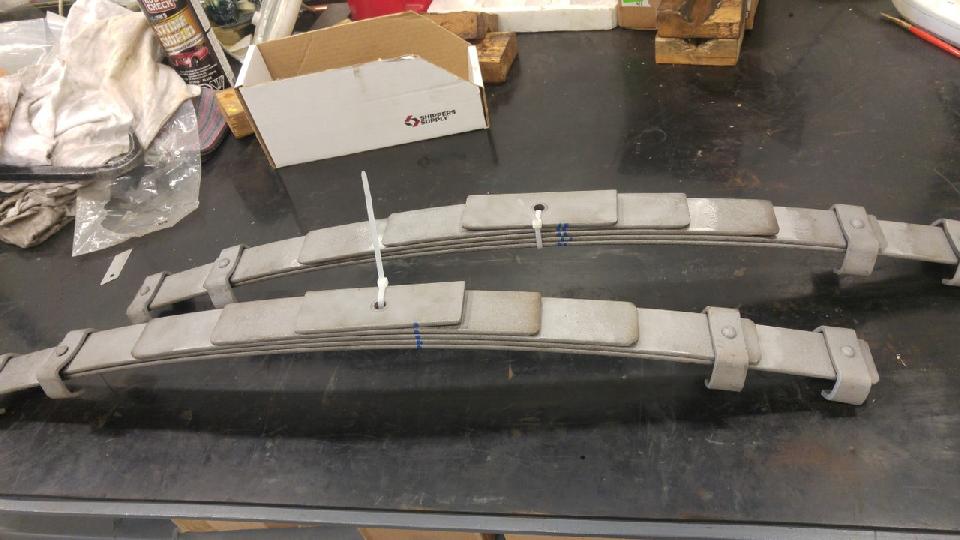
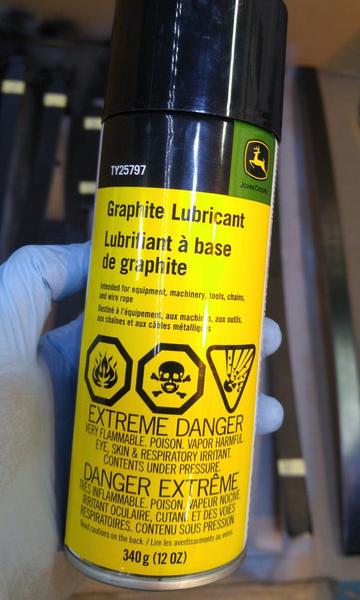
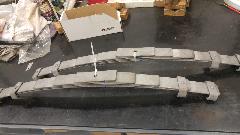
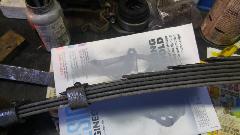
 Painted in etch primer. I know it's suggested not to paint between the leafs but since I don't have any inter-leaf liners to reduce friction, I decided to paint them with a graphite lube/paint. I put a bit of masking tape at the edge of each neighboring leaf and painted them with the graphite paint. This is a paint that leaves a slippery and smooth surface which helps to reduce friction. You can see it is a bit gray'ish after application. I picked it up from John Deere dealer. Here's a photo of the can.

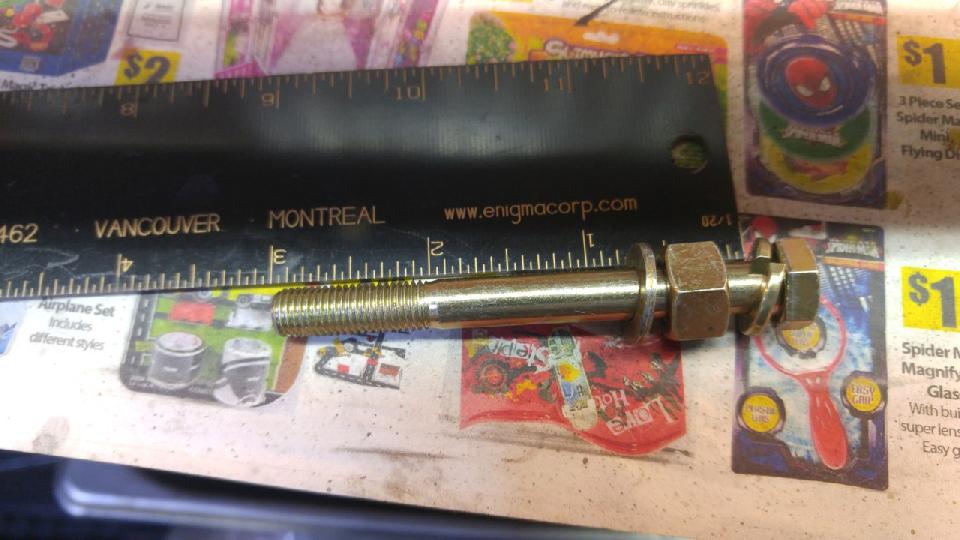
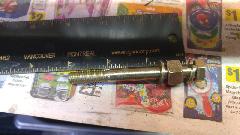 Since I didn't have a replacement bolt I bought a Grade 8 bolt and Nylock nut. I reused the original round spacer at one end, and installed a 3/8" nut as spacer on the other end which came to give an overall height as the original arrangement.
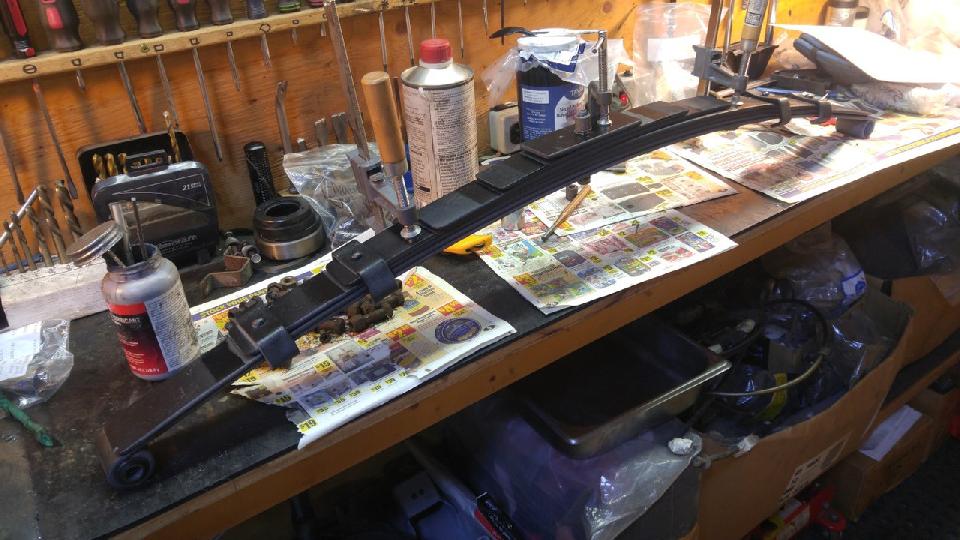
Assembled the lot: a photo to show the chamfered leaf details. Painted a final coat of black.
|