The MGA With An Attitude
REBUILDING LEAF SPRINGS -- RS-108
The first issue for rebuilding leaf springs is to assure that your existing springs are in relatively good condition. They must have no broken leafs, and must retain the correct ride height. For a quick check of ride height, place your hand flat with fingers resting on top of the rear tire, and your knuckles should touch the fender arch.
Given that it passes the touch test, the next chore is removing the springs from the car. Then before you spend more time and/or money on the project, turn the spring upside down, and measure the free height at the center. Complete specifications for the MGA leaf springs can be found in article RS-105. If the spring is within 1/4-inch of specified height it is most likely good to rebuild. If it has sagged as much as 1/2-inch, you might want to do something about that before before the rest of the rebuild.

The Silentbloc bushing must be pressed out of the front spring eye. You might punch it out with a fat punch and a heavy hammer. With enough grunt work you could run a hacksaw blade through the bolt hole and saw through the bushing from inside to out, being careful not to cut into the spring eye.
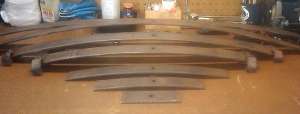
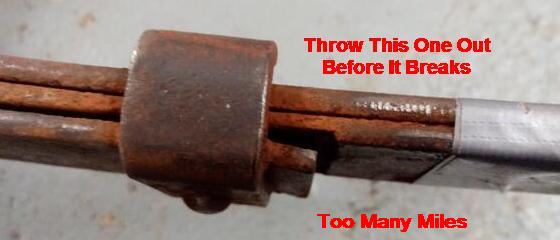
 To disassemble the leaf spring you need to remove the center bolt. If it is rusty you might consider replacing it. You also need to open up (un-bend) the wrap-around straps just far enough to release the primary leaf, after which the spring falls apart.
Inspect the bottom side of the leafs for wear at the points where the shorter leaf rubs on the longer one. The wear step is a stress riser that can promote future stress cracks and a broken spring. You should carefully sand or grind the high side of the step be leveled out flat. If this smoothing out process results in a significantly thinner leaf, the spring (or at least that particular leaf) should be discarded.

You can clean the parts in your favorite fashion, wire brush, sanding, sand blasting, or chemical cleaning. Media blasting is recommended, as it stress relieves the surface to discourage stress cracks.
You can then paint the parts, with a few words of caution. As a general rule, you should not paint the surfaces between the leafs where they rub together in operation. Paint there would screw up the friction properties resulting in degraded ride quality. It is better to reassemble the springs first and paint them afterward. Do not paint inside of the front spring eye where the new Silentbloc bushing will be press fit. This bushing can be installed before painting.
There is an exception to this rule. If you install inter leaf anti-friction liners, then painting the mating surfaces is okay, as the liners slip and slide okay on the paint. But you should decide first where you will install the liners and where not. Each liner is about 0.040-inch thick, so installing five liners can increase thickness of the spring up to 1/4-inch (including paint coats). This might be a problem for the center bolt or for the wrap-around straps. Consider installing the liners for only the three longest joints which would add only 1/8-inch to the assembly stack height. Once you decide where you intend to install liners, then you can paint those surfaces prior to assembly. The unpainted surfaces that will rub together can be coated with graphite or molybdenum-disulfide dry film lubricant before assembly.
Note that the spring leafs are asymmetrical. When reassembling position the longer end of each leaf to the rear. The springs can be painted (or second coated) after assembly. Once again, do not paint inside of the front spring eye where the new Silentbloc bushing will be press fit (but you can paint the bushing after installation).


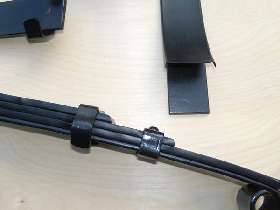
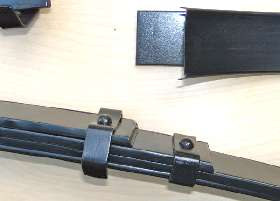
These photos show polyethylene spring liners being installed. The neat ones will have small flanges on the sides to keep them aligned. Position the liners with the flanges down so they will drain. Here is a source for the the poly liners:
www.speedwaymotors.com/Leaf-Spring-Liner-with-Lip-1-3-4-Inch,2079.html.
|


