The MGA With An Attitude
Body Sill Replacement - RT-628
Outer Body Surface Finishing
If you have been wondering why no pictures or report for a few weeks, it is because pictures do not show much change during this period. I have been hard at work doing surface finishing with some hammer and dolly work, a little filler, sanding, high build primer paint, sanding, a little more filler and spot putty, sanding, primer, sanding, a thin film of glazing, sanding, primer, sanding, primer, sanding, primer and sanding (and I suppose I neglected to list a few steps). You may notice foot prints in the dust again, as the entire shop and I have been covered top to bottom in sanding dust for the past few weeks. For the record, So far to date 17 quarts of mixed primer have gone through my spray gun, about 80% of it on the outside body surfaces, and perhaps 3/4 of that ending up on the floor (along with a lot of filler and glazing and spot putty dust).
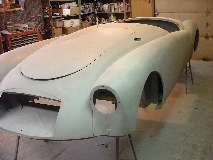

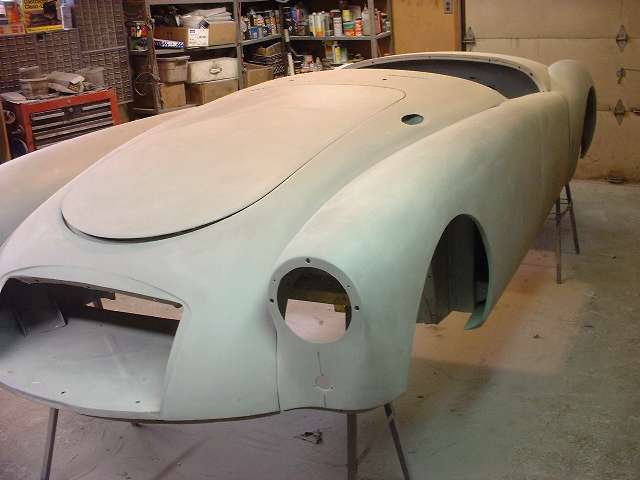
Sorry I pulled a door off before I remembered it was time to take pictures, but it all looks the same now. Fenders, doors, bonnet deck lid, nose and tail of the main body are all finished. Front valance panel is clamped on the workbench nearly finished. Splash panels are still dirty red and hanging on the wall, but not for long. The left door was replaced with a good used one, as it was cheaper (actually free from a friend) than replacing a door skin (which was peeled loose at the bottom). I am particularly pleased to have restored the appearance of the vertical seam through the corner light mount on the left front fender, as the bloke who worked on dent removal 10 years ago had it bondoed over. Also all of the "wavies" from the prior guard rail impressions (and poor repair) on the left side are gone. Surface finishing of the left side fenders was a lot of work, especially the left rear fender which looked like the prior bloke had bumped it out with sledge hammer before loading it up with bondo. But all is well that ends well. Thirty minutes after these picture were taken the outer panels were all hung back on the shop walls leaving the main body bare again. .... (19 May 08)
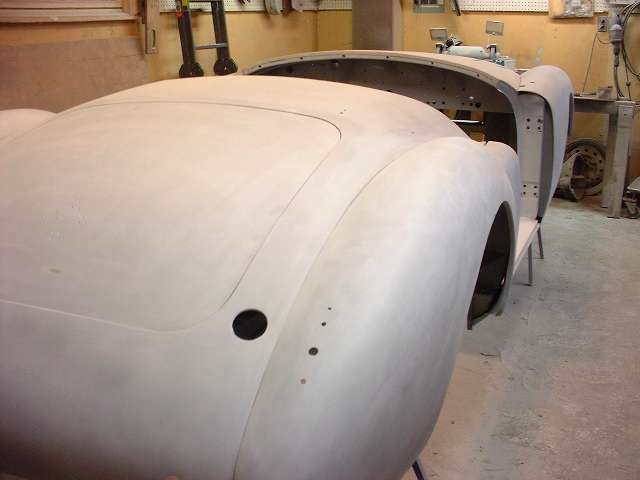
Where has the time gone? The body got a little orbital power sanding to remove multiple layers of top side primer near the fender joints, followed by a couple passes of priming and block sanding for final smoothing. The front fenders needed the touch up along the fender to body joint (just aft of the head light) for the same reason. All fenders needed a little outer smoothing along the bottom (where no one ever sees it anyway). The front valance panel needed a little surface finishing (but not much). Getting very close to final painting time. .... (20-22 May 08)
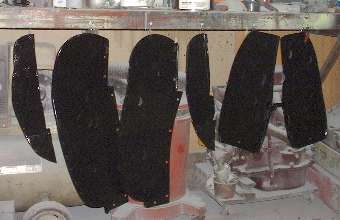
So what's this? The six splash panels had been languishing on the wall, and it was time to catch up. Remove rivets and rubber seal from four of them, One of the small ones needed a two inch patch on the bottom end. Then wash them down with petrol, clean with liquid/air pressure blaster, power sand some chipped paint and a wee bit of surface rust, and brush on some Chassis Saver black, all in a few hours. .... (22 May 08)
Next day the splash panels got their gray primer, not that it was actually needed between Chassis Saver and top coat enamel, but I was just being consistent. After the edge finishing of the main body shell and the fenders seemed to drag on much longer than anticipated it got one last coat of high build primer and more sanding, but was finally completed. .... (23 May 08)
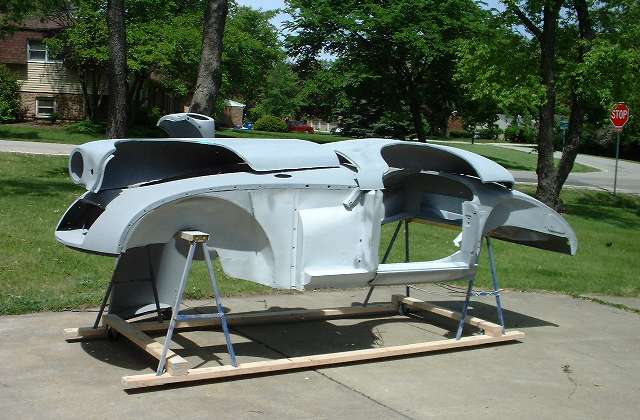
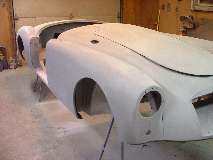
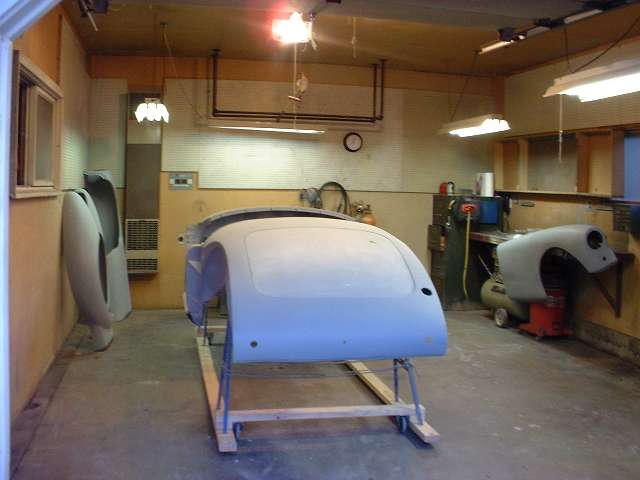
Ah, there it is! - Six months to the day after start of disassembly the body sees the light of day again. The surface finishing is done and primer is sm-o-o-o-o-o-th.
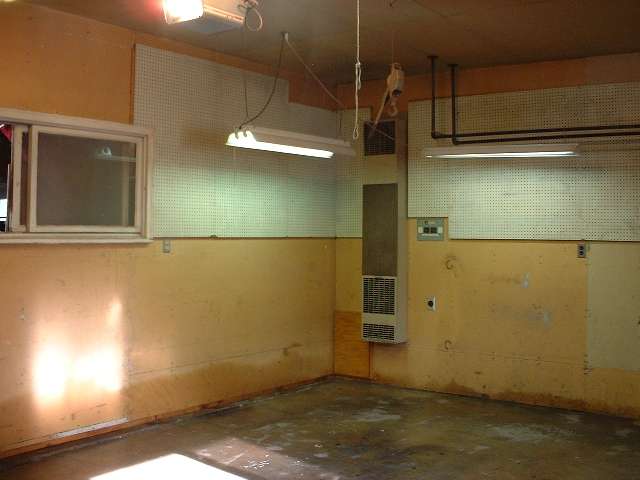
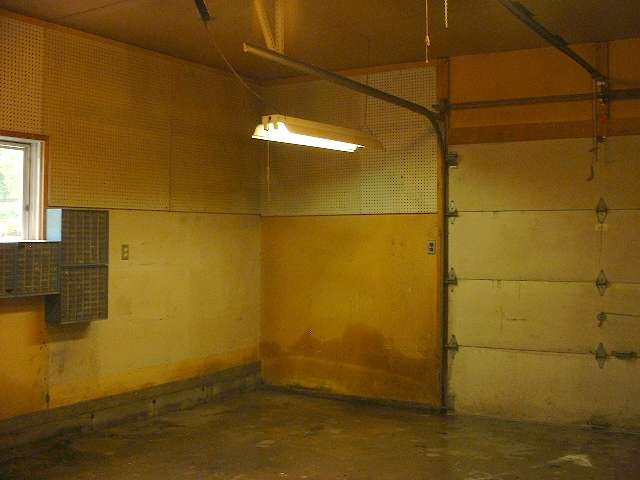
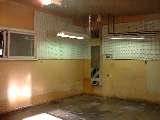
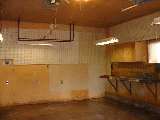
Today I built a simple wheel dolly, shoved the car body outside, and proceeded to clear out the entire shop to the bare walls and floor (with a little help from a friend). We brush dusted everything from the light fixtures to the peg board and window frames, swept the place out a few times, blew it out with the high pressure air hose a couple of times, wiped everything down with a wet rag, hosed out and scrubbed the floor, squeegeed it and dried it out with a box fan. Now here's something I may never live to see again. The place is almost white gloves and stocking feet clean tonight, hasn't been that clean since I built it 1980. Only the bare minimums will be moved back in.
The car is so proud of its freshly cleaned room, would hardly recognize it from the morning before after months under heavy dust. This evening I bought the furnace filter(s) and a box of ten new fluorescent tubes for the big lights. .... (24 May 08)
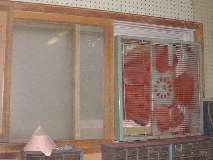
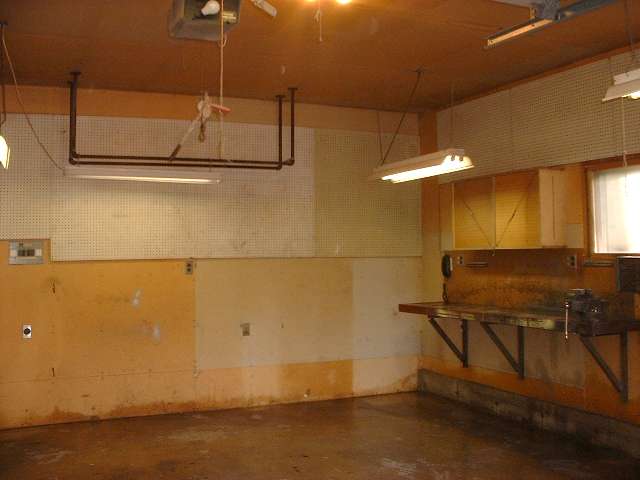
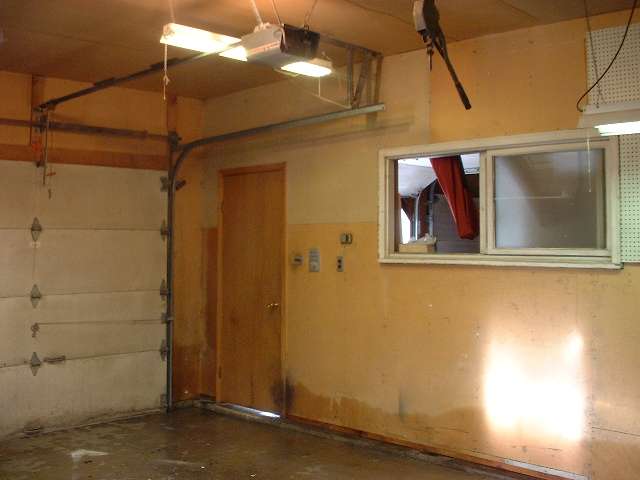
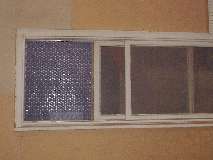 First thing next day (okay, after noon on Sunday) the clean shop got the filter in one window for air inlet and box fan in the other window for exhaust, officially becoming a paint booth. I also rolled the air compressor outdoors long enough to drain the condensate water from the pressure tank.
Then I got to play with the hard" primer. First surprise was that the one quart was half liquid and half nearly solid (wondering how long that was in inventory before I bought it). I poured off the liquid, then took some time to dig out the stiff stuff and "massage" it somewhat with a mixing stick (which I nearly broke in the process). Once the "putty" was slightly workable I put half of it back into the can along with the liquid and went after it with a paint mixer paddle (clover fan type) in an electric drill, followed by the rest of the putty and more power mixing. I finally poured half of the quart into a mixing cup along with half of the matching hardener for final mixing. After at least an hour of fiddling and mixing this batch was definitely going through a paint filter on the way into the spray gun canister. Then I mixed up the other half of the brew before starting to spray.
The "hard" primer was sprayed on the top side surface of the main body and outside surfaces of nine separate outer body panels, fortunately finishing it all just as the paint ran out. Instructions say 2 to 2-1/2 hours cure time before sanding, but it was late and getting dark, and forecast was for warm and sunny the next day. Last business for the day was disassembly of the paint gun for a good solvent soak and cleaning before changing to top coat paint. In the end I'm not sure the hard primer layer was worth the extra bother, but I thought it might be worth a try. .... (25 May 08)
|