The MGA With An Attitude
Body Sill Replacement - RT-623
Weld Touch-up, Cleaning, Underbody Painting
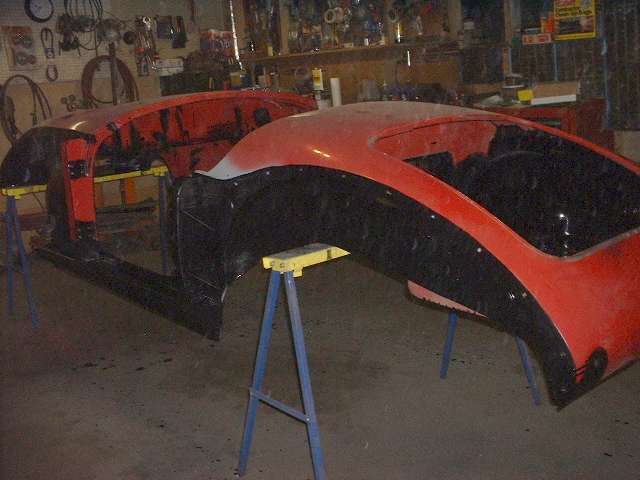
For the curious, I weighed the bare main body shell with a bathroom scale under the support points on the sawhorses. A bit of tape measure and calculation tabulates the total and distribution. It weighs right on 200 pounds, an even 100 at front and rear ends, putting the center of gravity midway about 4 inches aft of the front cockpit rail. Total weight will depend some on how many coats of paint it carries.
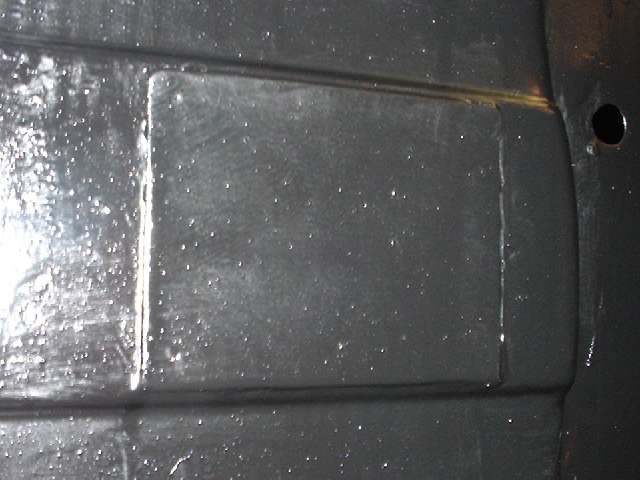
Next move was to spend a day doing inboard weld touch up and grinding to make pretty, seal all the seams, and do a couple more small patches. One notable sore spot was a 3-inch square reinforcement panel under the boot floor where the spare tire hold down bolt is anchored. Sorry I didn't take a picture of this before repair, but the piece had HUGE blisters underneath with rock hard rust in between the sheet metal layers, none of which was apparent from inside the boot. The piece obviously had to be removed to clean out the rust, so I diced it into little squares between the spot welds using the 3-inch cut-off grinder, dropping out the loose pieces, then removing the remains with the angle grinder. The underside of the boot floor was surprisingly almost unaffected and ground out mostly smooth and solid with just a couple of pinholes.
 Not wanting this to ever happen again, I installed a new reinforcement panel as a slightly larger rectangle of sheet metal, and I soldered it in place. This was a bit of a pain and killed at least an hour. I had to grind and tin both of the mating surfaces first using low torch heat, tinning fluid (liquid soldering acid), some acid core solder, and burning up a couple of cheap acid brushes in the process. Since the new flat sheet wants to bow with the heat, I attached it temporarily to the boot floor with four sheet metal screws. The rest was easy enough, just heat and apply solder at the edges until it ran underneath the whole surface. It helped that the body was standing on edge at the time. End result is a double layer panel with complete solder adhesion and no air gaps anywhere. Inside the boot a bit of solder was even visible sneaking through the prior pin holes. That repair is going to outlast all of the rest of the car body.
Next came most of two days cleaning the beast. Any dirt or grease that was thick enough was scraped off (which wasn't a whole lot). Then I spent some time with a clipped off stiff bristle paint brush and a small pot of gasoline scrubbing off the remaining oil and dirt. I was delighted to find that gasoline was also a decent solvent for carpet adhesive, so I took the initiative and spent half the time doing that as well. This involved a couple of passes with petrol and a scraper, followed by a final scrub with wire wool, rather like the industrial version of washing caked on dirty dinner dishes, but I guess it was worth the effort. All this was followed (and sometimes in between) by a few hours with the (cheap) liquid/air pressure blaster using water spiked with Mr. Clean floor cleaner, 2 ounces per gallon, and going through several gallons of the mix at about 20 minutes per gallon, with the 2-HP air compressor running continuously. It does a really nice job of removing the dirty gasoline and leaving the surface clean enough to paint (even without rinsing). This might have been a little easier with a steam cleaner.
The following photos will be a sharp contrast to the prior page. I must say it is not easy to get satin black paint to jump up and wave for a weak flash indoors at night, so these shots required a substantial lightening to make the black surfaces visible. The paint is "Chassis Saver", which is similar to "POR 15". Satin Black is the appropriate color for the frame and suspension parts, but the black color is irrelevant on the body because it will ultimately be painted over with the finish color. This illustrates one of my favorite messages, "Paint is a preservative". I bought a gallon of Chassis saver, and it is half gone by now.


Everything inside the fenders and below the belt line is getting two hand brushed coats of Chassis Saver for the anti-rust factor. The first pass is a bit of a pain as I spend time poking the brush tips into every nook and cranny trying to get the paint to penetrate the weld joints best as possible. After one coat the stuff looks flat and slightly porous and not certain of sealing the weld joints. After the second coat it looks like solid plastic and perfectly sealed. It works best over a little rust or some old well adhered paint. For bare sheet metal it is recommend to lightly sand blast the surface for best adhesion. I chose the easier method of chemical cleaning bare steel with acetone and applying the zinc-rich primer, then applying the Chassis Saver over that (same as I did inside the sill box sections). I wonder if I will live long enough to see the results of the (nearly pure) zinc primer.
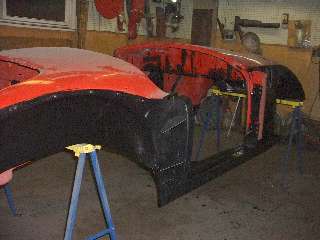

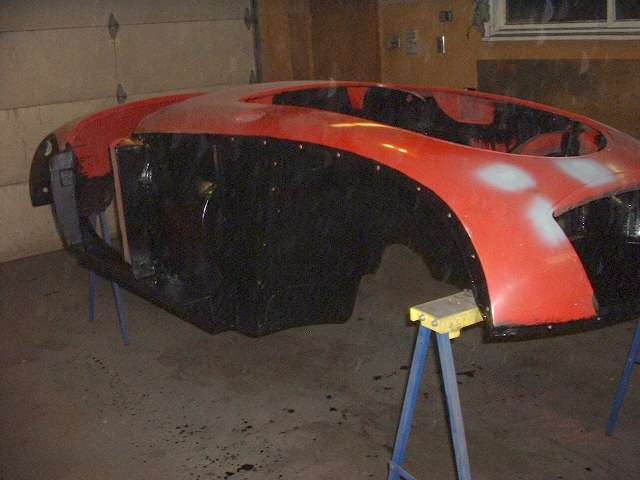
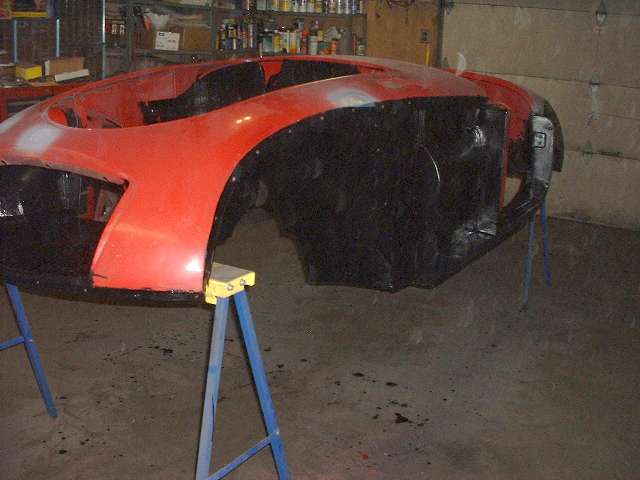
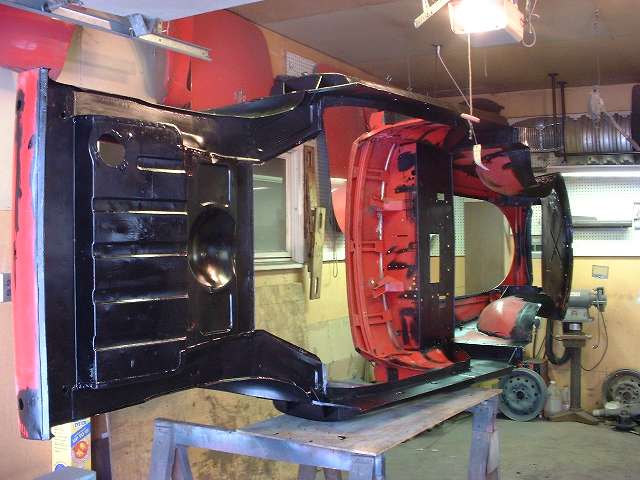
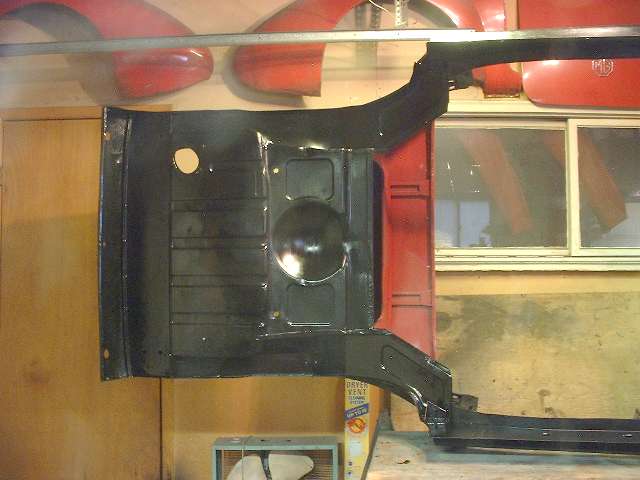
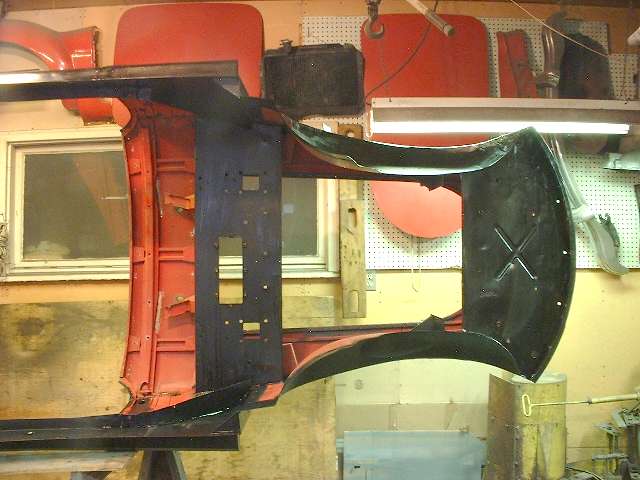
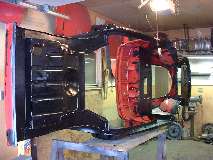
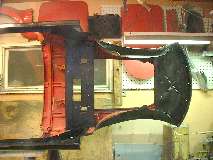
This started with the body tipped up on its side, sitting solidly on the door posts (no rocker panels yet). That allowed easiest access up underneath the top cowling (including inside the boot) for the first part of the black painting. Most of the under side of the top body cowling will not get the Chassis Saver paint, as the 30 year old Pettit PolyPoxy is holding up quite well under the 30 year old red lacquer. I did make a point to clean out and re-paint all of the lap joint edges as they seemed to be a common starting point for rust. Then the body came down flat again for best access to the outside. I also decided to give the wheel wells another coat (2 coats) of Chassis saver, just because it was quick with easy access, and it may make for better long term gravel resistance.
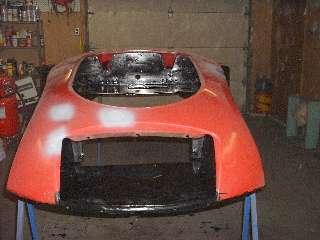
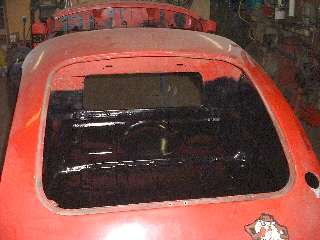
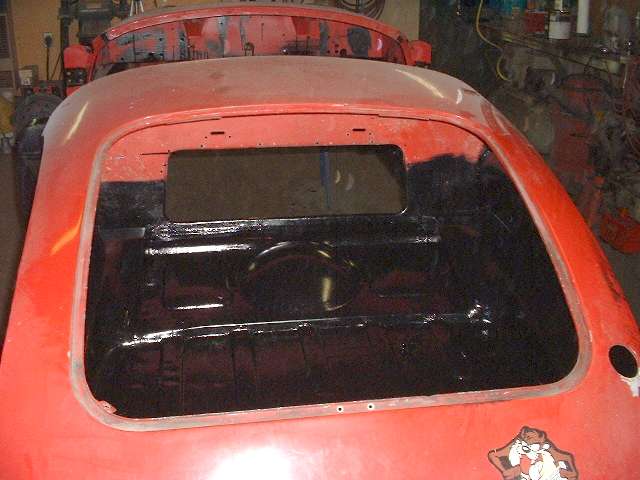
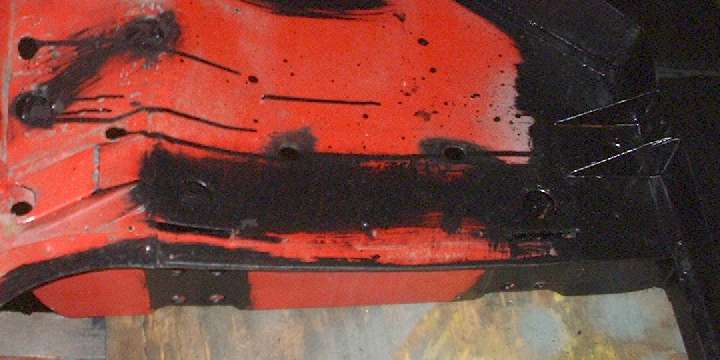
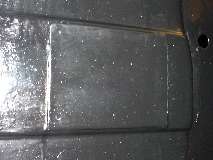
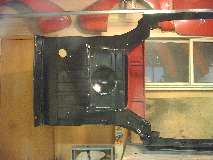
Most of what you see in these pictures has only the first coat of Chassis Saver. Inside the boot (the last picture) has two coats and should be noticeably smoother (even in these web photos). Switch between pictures to compare the boot to the front end. I have another day of this sticky black stuff to go, then when it is cured I will spray the whole thing with gray primer (for consistent undercoat color), and all the black will disappear. When that's dry (very quickly) it will be time to install the new rocker panels (already test fit) and marry up the doors and fenders.
The rocker panels will be similarly painted on the inside with Chassis Saver. I haven't decided yet if they will ultimately be installed with pop rivets (like last time) not to disturb the paint, or if they will be spot welded. For spot welding I would need to mask and sand blast the mating surfaces along the flanges, treat it with zinc-rich primer in the joints prior to welding, and touch up the paint afterward. This time around I think I will spray some top coat red on the sills and inside the rocker panels before installation, just so the next person who may look inside there some decades later might wonder how it was done. I have that sort of sense of humor. (19 Mar 08).
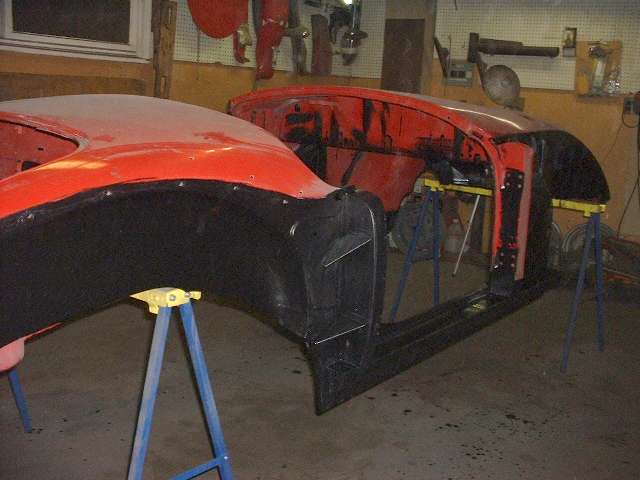
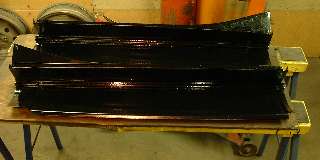
I "adjusted" the new rocker panels to fit neatly at the end flanges and around the edges, and had then fixed in place with small clamps. Then I hung the doors temporarily with the old hinges and latches and inserted the old rubber buffers to be sure all was well with the sills. I am happy to report that these rocker panels fit perfectly on the first try. With the hinges and striker at normal height (midpoint of adjustment range) the gap between door bottom and the step in the rocker panel was enough to insert one finger to the center of my fingernail (about 5/16" gap) and constant gap along the entire length. Moving too fast to get a picture there, but I will have a picture later after reassembly. Meanwhile I removed the doors and rocker panels and applied the first coat of Chassis Saver inside the panels (photo below left), and also the second coat on outside of the sills and posts and inner fenders.
After overnight drying I applied the second coat inside the rocker panels, then tipped the body on its side again for a special endeavor. There are two horizontal bulkhead plates inside the hinge post, one just below each hinge position, dividing the post into three cavities. You may recall I painted inside the bottom of the posts before attaching the sills. There are two 1-inch holes in the inboard side the hinge post giving me access to paint inside the other two chambers. I twisted a length of 1/8-inch welding rod around a thick cotton swab, bent the rod into a generous arc, and proceeded to swab the inside of the driver side A-post with Chassis Saver paint. This worked at least as well as I expected. After due diligence and considerable persistence swabbing, I can't swear I covered every little nook and cranny inside, but certainly everything I could see (photo above right). Tomorrow it will get a second coat inside, then flip over for the same treatment on the right side.
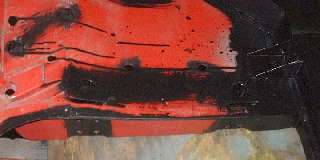
I had decided to give all of the normally inaccessible underside surfaces the Chassis Saver treatment, even though the surfaces other than sills were still holding paint from 30 years earlier. I just want to be sure it holds up for at least a few more decades without having to remove the body again. So I gave the boot floor its first full coat of Chassis Saver along with the underside of the heater shelf and the front air pan. I also painted the full inside of the nose back to the radiator mount two coats of the black stuff by now. With a certain amount of time to kill I may also treat the inboard side of the front inner fenders the same. As fate would have it, a limiting factor for progress these days is time required waiting for multiple coats of paint to dry. (21 Mar 08).
|