The MGA With An Attitude
Body Sill Replacement - RT-619
Sill and Pillar Welding onto Body
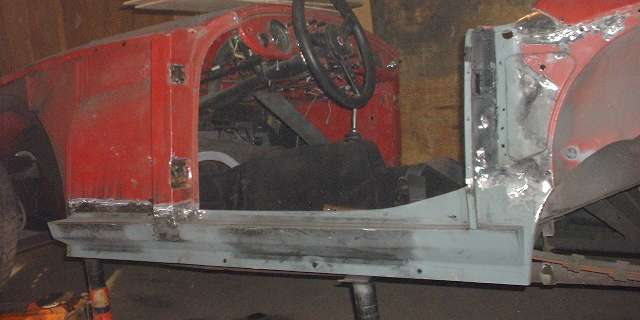
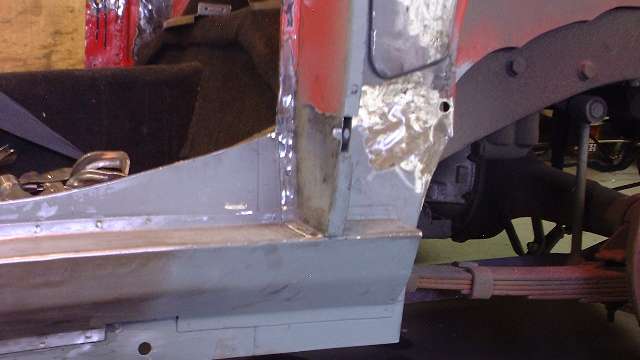
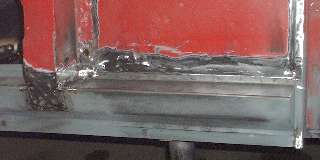
 It feels very good to have this job done after weeks of anticipation. The first move here was to paint up inside the bottom of the A-post with that sticky black Chassis Saver paint, then spray the weld flanges and mating surfaces of the box sill with the zinc-rich weld-through primer, and give it some time to dry. The first two pictures below show full length of the left side sill after welding and grinding. All butt welding fore and aft of the door is done as well as plug welding of pillars to the sill. The front box flange will not be spot welded until after the body comes off the chassis, it is still not welded to the L-plate along the door opening, and the B-post is still open for a good look at the dogleg area welding.
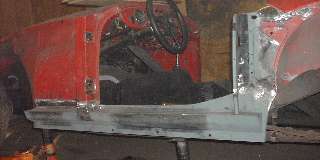
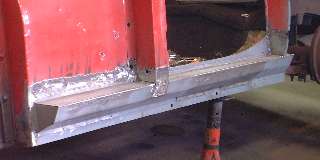
One trick here is to slip the new rocker panel into place temporarily to set the space between the bottom of the door posts before welding the front of the B-post to the sill. This of course assumes that the rocker panel is the correct length between flanges, which certainly bears checking in this time of sometimes awkward replacement panels.
I am not going to try to teach anyone to MIG weld via a web page. I'm still not great at MIG welding, but I am getting a little quicker, and at least I don't burn holes through solid sheet metal. The truth here is that I have lots of patience with the grinders, so I can make mediocre welds look good after grinding, and there is not much point in showing you what the welds looked like before grinding. I killed an entire day on the right side. For the left side I did the clamping and welding in an hour, then spent three hours grinding. Fortunately it didn't require any touch-up welding; well, not much anyway. I did close a number of extra sheet metal screw holes in the process, mostly left over from prior multiple installations of interior kick panels.


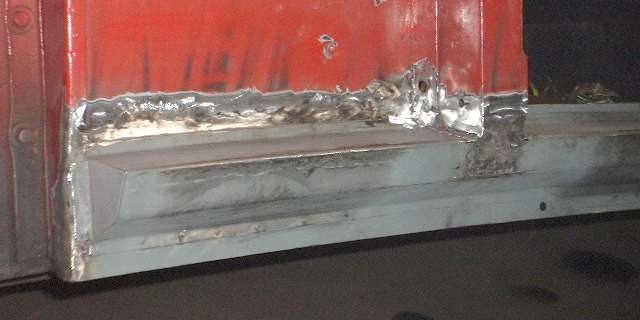
Here are front of left sill and bottom of the A-post. The front bottom corner was plug welded, because there were holes left in the body flange from drilling out spot welds. The box front flange is not yet welded, waiting for the body to be removed to take advantage of spot welding (three layers at that point). There is flush ground butt welding between the sill inner panel and main body panel, and mostly plug welding to attach the A-post to the sill box.

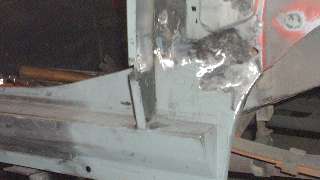
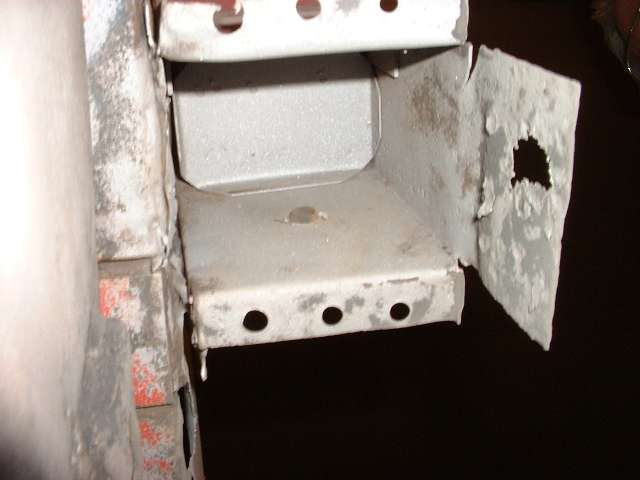
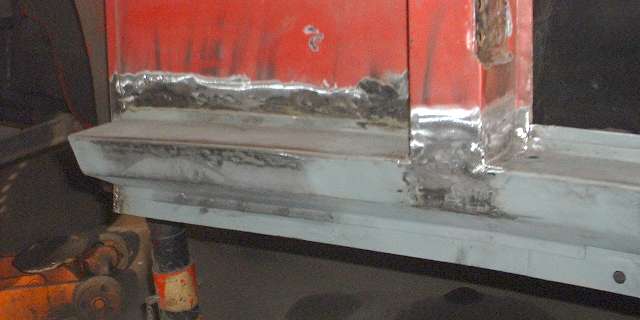
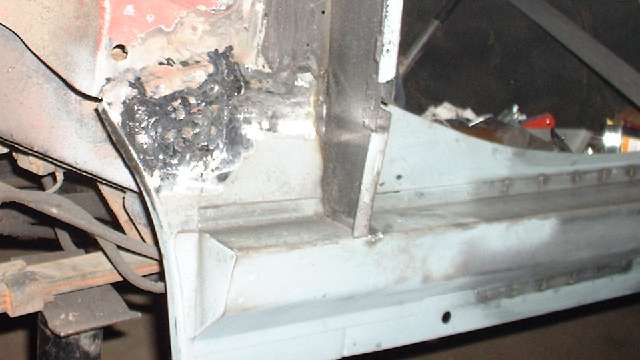
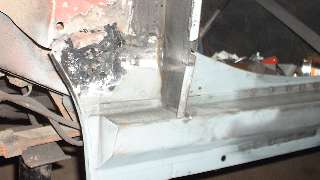
Here are back of left sill and bottom of the B-post (what there is of it). If you want to kick it now you could break your foot, as it is already solid enough to lift the body off the chassis with no distortion, but I will be closing the B-posts next. Notice the large ground area aft of the B-post. This is where the vertical panel is welded to the frame mounting bracket. There were several 1/4-inch holes drilled through the panel for plug welding to the frame mount bracket. I did the butt welding and ground that flush first, then clamped the panel to the bracket for intimate contact while plug welding through the panel holes, followed by grinding flush again.
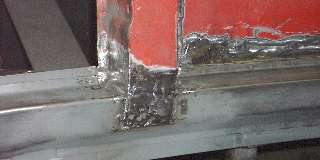
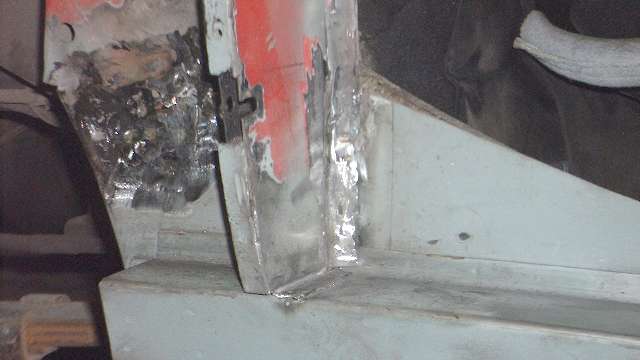
Here are the similar joints on the right side sill. The bottom front corner here has a couple of spot welds, because it is all new metal, and there is just enough space to get the spot welder tongs behind the panel at that point. Again the inner sill panel to body side panel joint is butt welded and ground flush while the A-post is mostly plug welded to the sill box and ground flush.

The B-post has similar treatment, plug welds in the flanges ground smooth. In the dogleg area on this side the new sill inner panel steps down going below the frame mount bracket with butt welds all around. I did finally grind a couple more holes through the original outer panel to remove some more rust from between the panel and the frame mount bracket, followed by plug welding and grinding flush. (6 Mar 08)
|