The MGA With An Attitude
BODY REPAIR, Front Shroud To Inner Fender Panels - RT-226
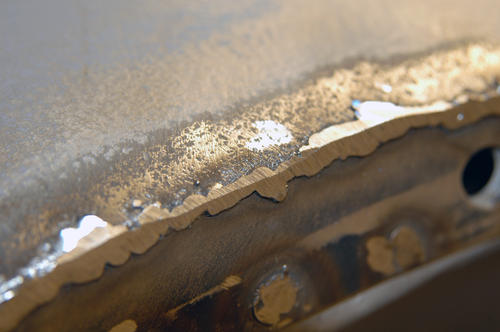
On March 02, 2012, H. Landon Hunter in central PA, USA, wrote:
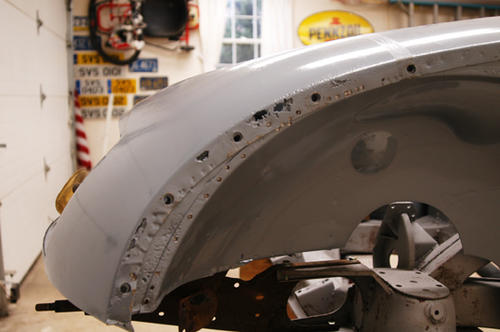
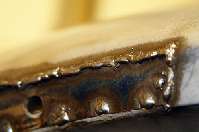
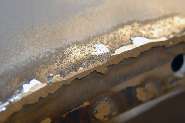
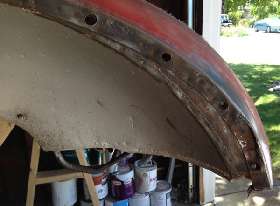
"The crusty stuff ended at the hoop that is for the fresh air intake. Scary at first, but studying the situation a bit revealed a fairly straightforward series of layers. I know some others have had it much worse".


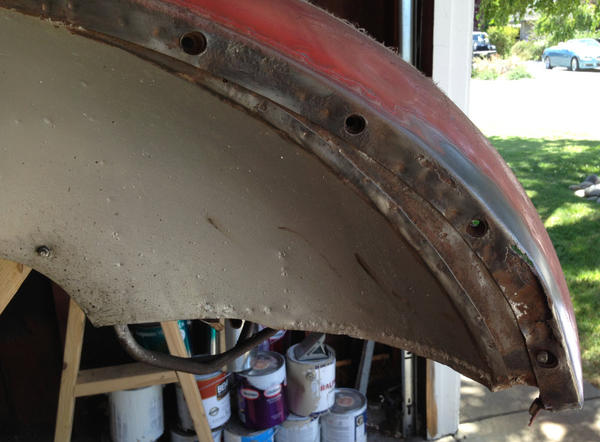
On June 03, 2013, Mark Cox in San Francisco Bay area, USA, wrote:
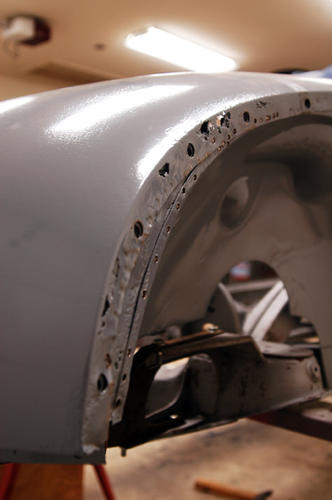
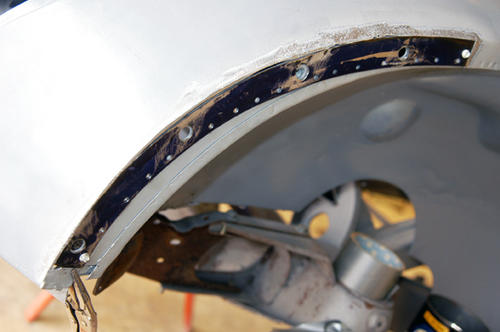
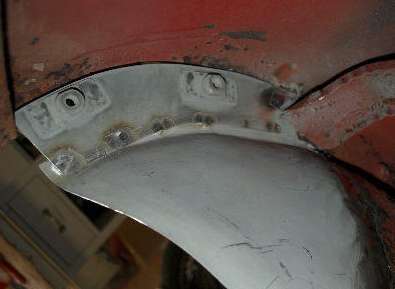
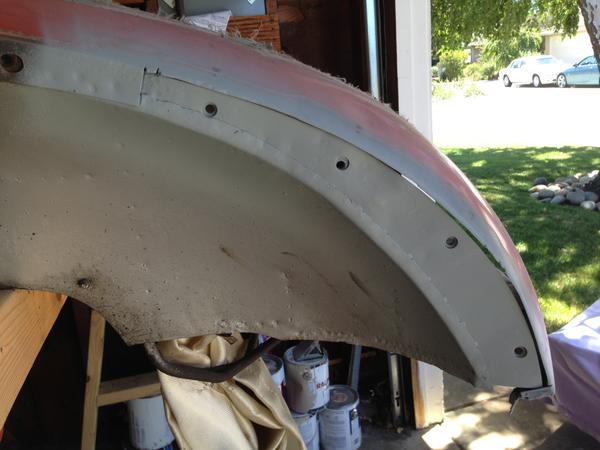
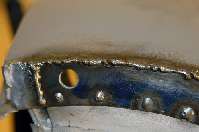
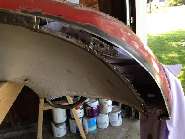
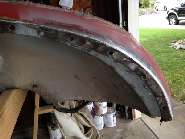
"In between the inner-fender and the front shroud there is a vertical piece of metal which goes from the duct panel and arches back up and over to the rear of the inner fender. I suspect this piece is prone to rust. I have seen photos of people doing something similar but they have removed a pretty large section of the front shroud giving easy access. My plan-of-action is to drill out as many spot welds as I can find (preserving the inner fender section as that looks OK) but:
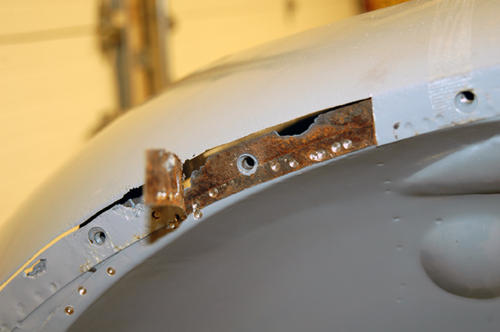
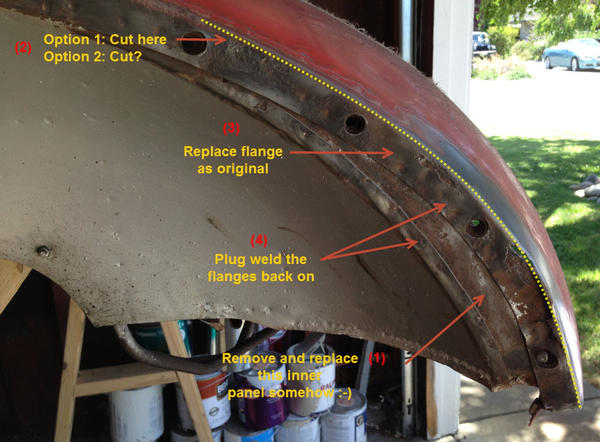
Is there a logical part of that curved piece to go back to in replacing it? It vertically spot welds to the rest of the inner-fender quite a way back but should I go all the way back there? (There isn't much/any rust back past where you can see in the photo). I was considering cutting the front shroud flange along the 90-degree bend and trying to form a flat-arc replacement piece to butt weld vertically in. Is this logical or should I try and make a patch that goes a little way past where the bend is and shrink/stretch it to fit? The second way might be better, but the nose section is so visible on the car it sorta terrifies me.
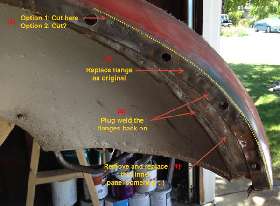
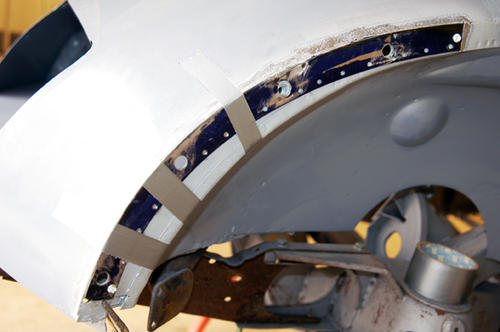
Here is a stab at some photo-editing. My aim is to make this look just as original... but with the multiple metal overlapping parts and tight space inside the shroud I want to make sure I am going about this the right way before I start cutting anything.
Eric Russell in North Carolina, USA, wrote:
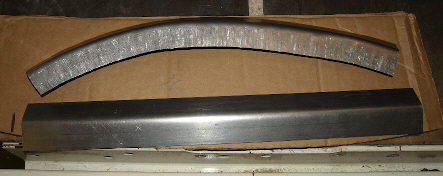
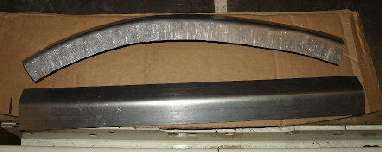
"I made a new piece to replace a rotted edge. I used a Harbor Freight Shrinker/Stretcher. I started with a piece of 18 gauge steel that I bent in a brake to a little less than 90 degrees. (eyeballed the angle to approximate the angle at the edge of the front shroud). Then I used the shrinker/stretcher to make it match the edge of the shroud. Before cutting off the rotted area I made a cardboard template of the bolt hole locations so I could locate them once the new part was installed".
"I used a MIG welder. Cut back to solid, full thickness steel. Weld with widely spaced short tacks. Grind the tack welds almost flush, then hammer/dolly to get everything back into good alignment, then add more short tacks - grind - hammer/dolly - etc, etc, etc. Before I cut anything off I like to make cardboard templates of the original shape. If one side is damaged I'd make a template of the opposite side. By placing the template over the area I'm working on I can more easily see if the shape is coming out OK or which way it needs to move to correct it".
"I did replace the item you labeled #1. And the new support bracket I made for the radiator duct panel. For that part I made a simple hammer form with some scrap hardwood.


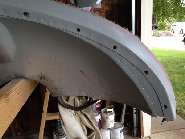
On June 24, 2013, Mark Cox wrote:
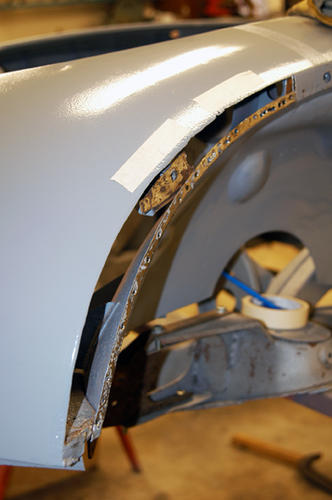
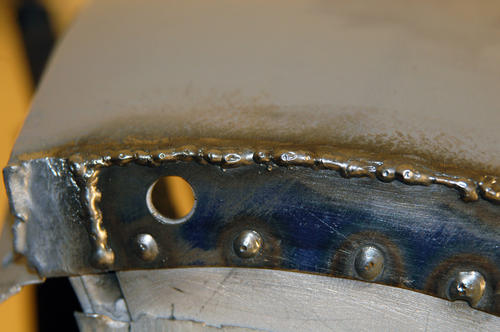
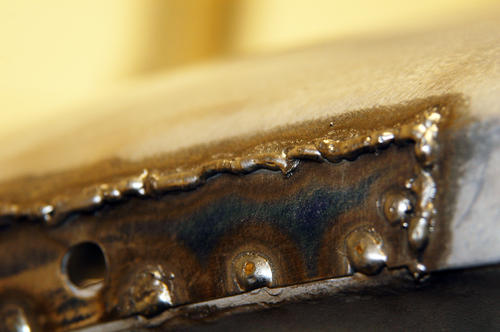
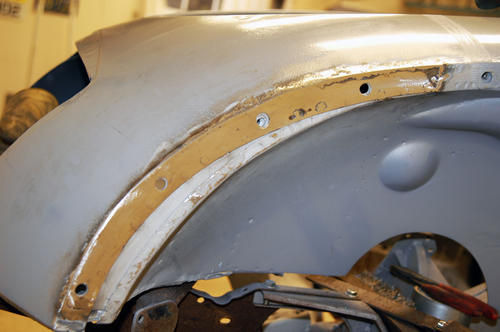
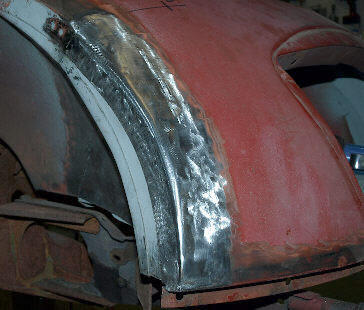
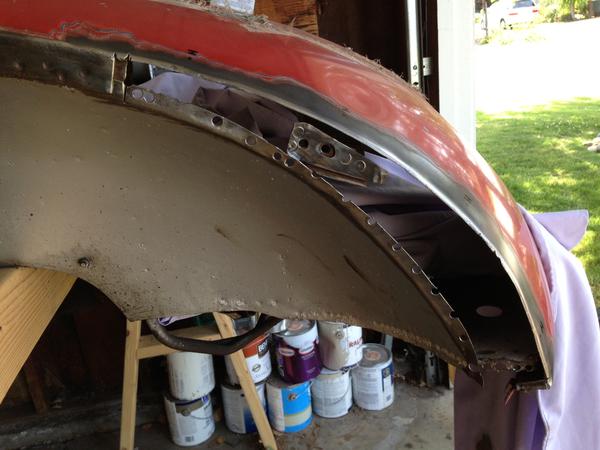
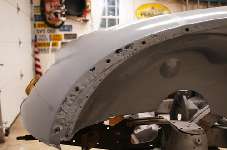
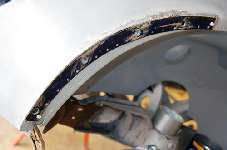
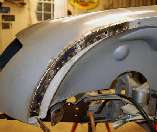
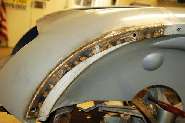
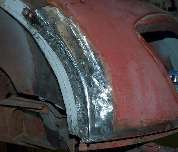
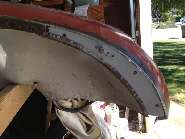
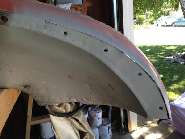
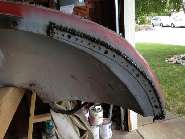
"I thought I would post some update pictures of how the repair actually turned out. It wasn't as bad as I was expecting but did take quite a while due to being ultra-careful.
|