The MGA With An Attitude
RING And PINION GEAR Adjustment #2 - RA-122
If you read the prior page you might think, "What's that guy talking about? That doesn't sound anything like the procedure in the MGA Workshop Manual". And you would be right. That page was for an intuitive idea of how the gears line up, and how to do it of you don't have any special tools for measurements.
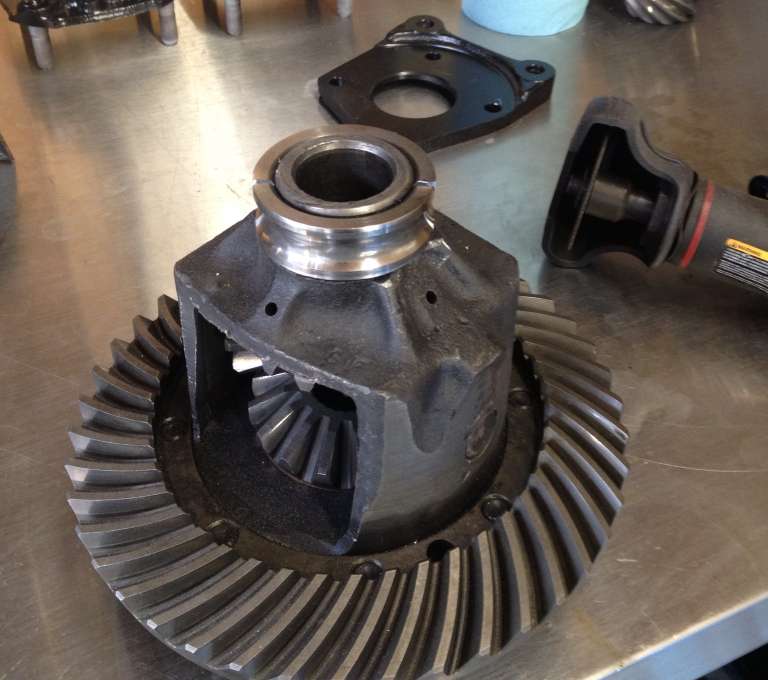
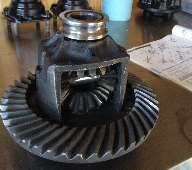
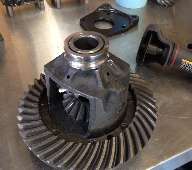
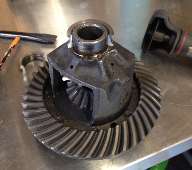
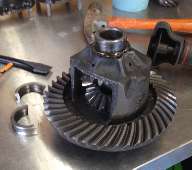
You can change differential thrust washers, including dismounting and remounting the carrier assembly with the large ball bearings, as long as you don't try to remove the ball bearings from the carrier. The shims are inboard from the ball bearings and stay in place as long as the bearings are not removed.
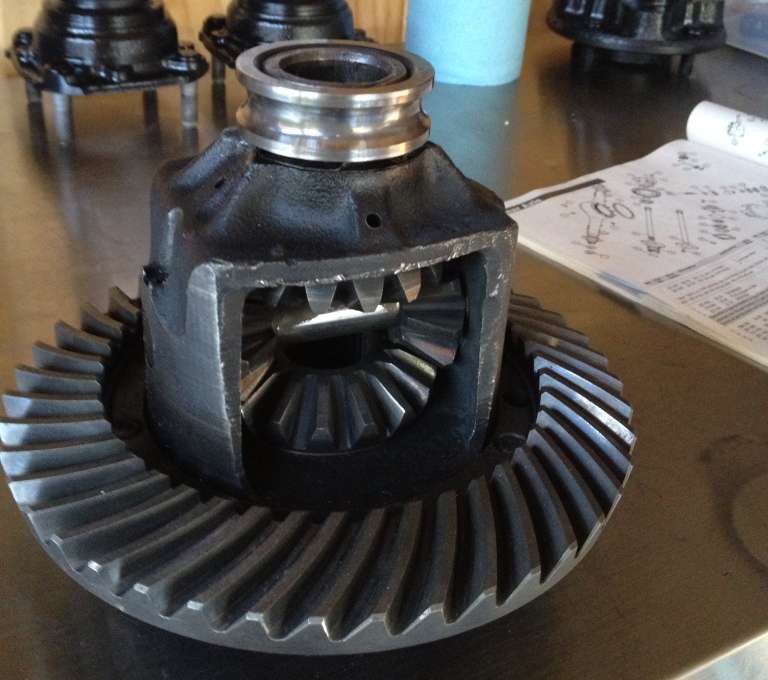
If you ever change the ring and pinion gears, or if you want to replace the ball bearings, then you have to go through the setup procedure to get position of the ring gear carrier right for correct mesh of the gears, and to apply the proper preload to the bearings. Before you attempt this you should read the Workshop Manual Section H. See Section H.7, step 3, Setting the crown wheel position. By the book, you would need a special set-up gauge to determine exact shim stack required for each bearing. If you understand how this works, it is possible to use standard measuring tools in place of the specified special factory tools. If you don't understand how it works, or you don't have the right tools, then the job is best contracted to a pro shop.
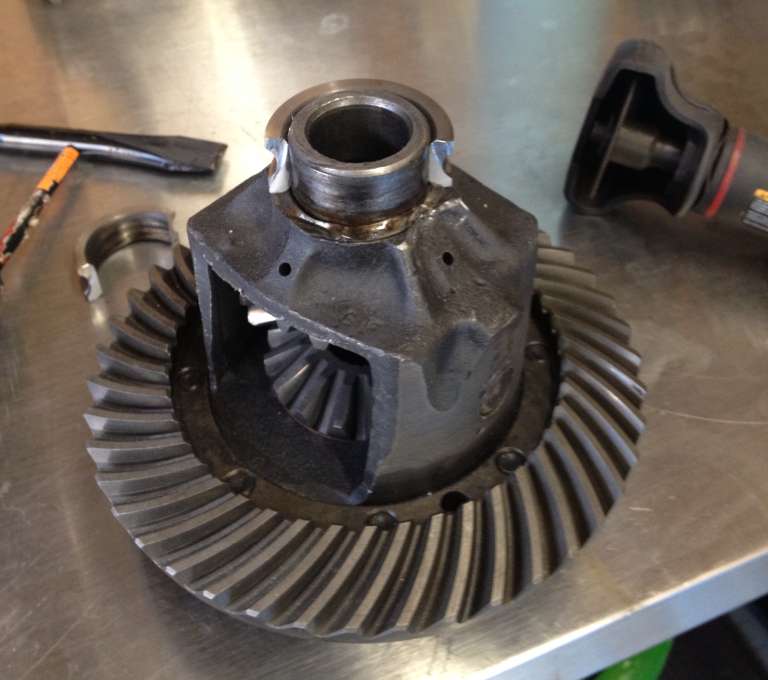
 The problem is that the bearing inner race is press fit, and once assembled it is not meant to come apart. You could use a bearing separator to pull it off, but this will likely destroy the shims and might damage the bearing balls or races. The home mechanic's method of removal will destroy the bearing. You can use a high speed hand grinder to grind the heads off of the rivets holding the cage together. Once the cage is removed the balls can be pushed together in one side of the bearing, and the outer race can be removed. Then you can cut most of the way through the inner race on one side with an abrasive cut-off wheel. Then hold a cold chisel in the kerf and smack it with a heavy hammer to break the bearing race, after which it can be easily removed.
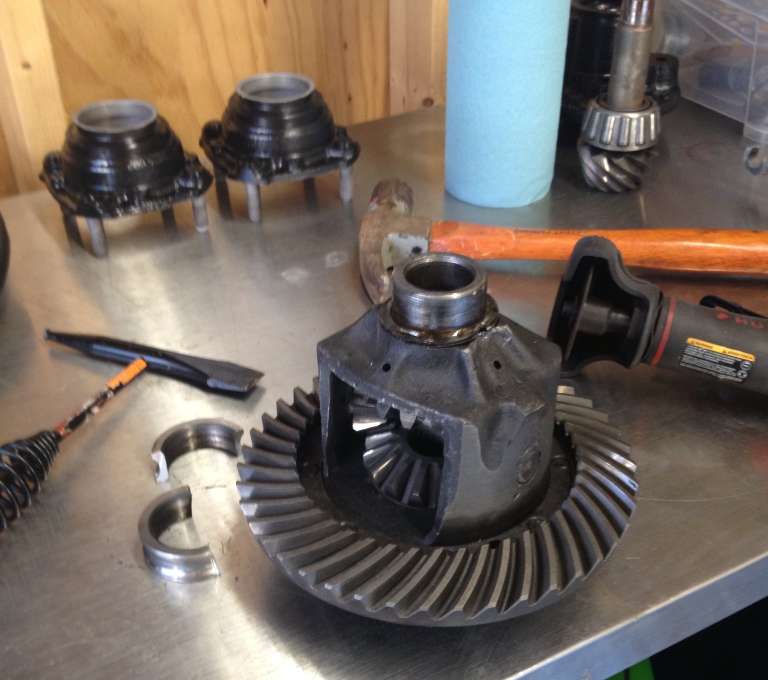
Cut mostly through, hit it with a chisel, and remove the broken bearing race.
You only need to cut through and break it on one side.
One of the things to be done with the special measuring tools is to measure the amount of internal clearance of the new bearing. Inner and outer bearing races will be exactly the same width, but there is a little internal clearance in the bearing. Lay the bearing on its side, and support it on the outer race only, and the inner race will move slightly out of plane due to the internal clearance. A new bearing will likely have different offset in the races due to different internal clearance. You need to add enough shim to make up for this axial offset in the bearing races. Once you get the ring gear offset correct, and the differential width plus bearings plus shims equal to the inside width of the carrier housing, then you need to add 0.002" to shim thickness to apply preload to the bearings. Do the precision measurements as many times as you need to. Get it right the first time so when the bearings are pressed into place so you don't have to pull it apart again to do it over.
|