The MGA With An Attitude
|
| MGAguru.com |
|
MGAguru.com |
MGA Seat Belts - LAP BELTS #2, Retrofit -- INT-121A
This article submitted by Mike Lupynec

I bought the Moss 2-point vintage belts (<$50) 38+30 inch version 222-235, (better longer than short). I also chose to locate the anchor points lower and further back than the shop manual recommendations for better ergonomics, and the lower rear corner of the tunnel is less likely to buckle. I upgraded the tunnel attachment to 8 machine screws and a backing plate. In effect this is a close replication of the shop manual recommendations using only the Moss hardware.
Inboard anchors -
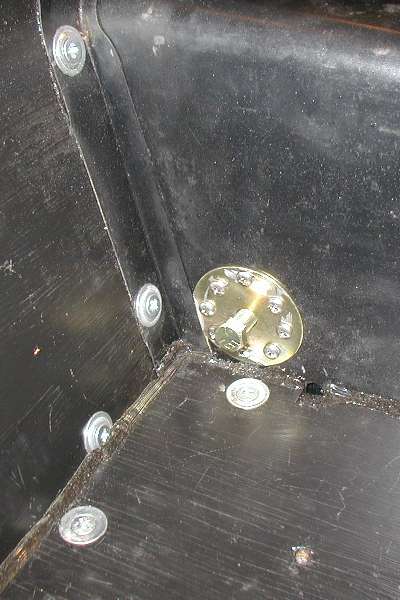
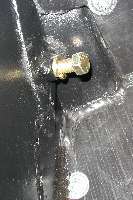
On the rear tunnel I used 2 large thick washers on each side (4 total) that came with the belts. Start with stack drilling the 4 washers to accept eight #10 by 1/2 inch long stainless machine screws, keeping the hole diameters very tight to the machine screw OD. It's a good idea to drill one hole out of 8 deliberately out of position so that later it's easy to match up pairs of washers. If you position the outside washer lower and more to the rear
 than the the shop manual calls for, make sure the washers flush up perfectly flat to the tunnel sheet metal by verifying that the inside mating washer will not interfere with the drain hole cover flange while at the same time the outside washer does not overlap the rearmost tunnel joint flange. On one side, this required grinding a small flat spot on the outside washer at the rear edge (see pic 10). Then using the outside washer as a pattern, drill 8 holes through the tunnel, pop in the 8 screws while mating up the inside washer and tighten up the #10 stainless nuts and lock washers. Drill the tunnel for the anchor bolt and shorten the bolt to clear the drive shaft. Secure with the anchor nut on the inside, after the carpet and belt are in place. Recheck that the bolt does not protrude past the nut.)
Outboard anchors -
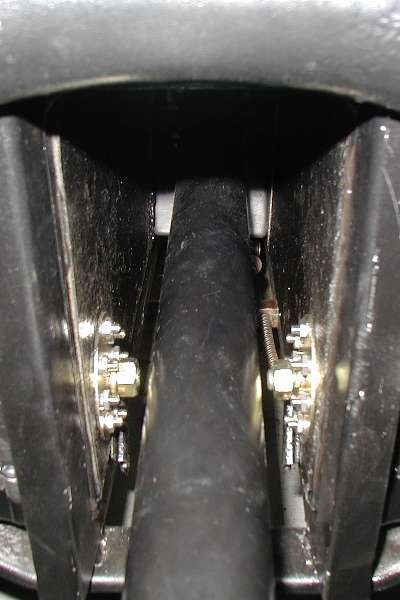
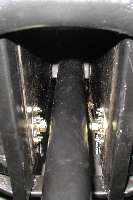
On the inside frame rail just ahead of the vertical rear floor board there is a strengthening gusset. My 1600 had a 3/8 hole in the gusset that did not penetrate the frame. First, drill a 25/64 hole through the gusset hole into the frame and tap a 7/16 x 20 thread to match the anchor bolt. Screw a new anchor nut halfway onto a 7/16 disposable old bolt, screw the bolt into the frame till the nut lightly snugs up to frame. Weld the nut to the frame, unscrew the old bolt and repaint. Replace carpet and position the belt and secure using the kit anchor bolt. My belt end hardware just clears the vertical chassis member. -- Mike
I find the shorter 38x20 belts work out well, even for a slightly chubby driver with the seat pushed moderately forward for autocrossing. The shorter belt goes to the outside where it can lay on the doorsill when not in use, and hopefully will not drag on the ground much if it falls out the door. -- Barney
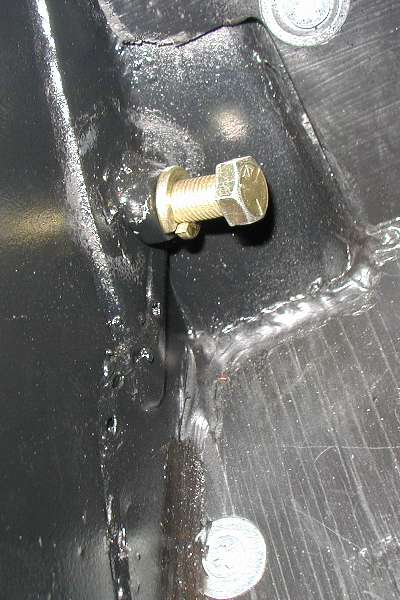
On further review, I would judge this inboard belt anchor to be "less than desireable" due to the close proximity of the large anchor bolts to the propshaft. OEM fsctory design uses flanged and domed anchor plates that extend into the passenger compartment and have a welded nut that does not ptotrude into the tunnel. -- Barney
|