The MGA With An Attitude
Worn Pedal CLEVIS PIN HOLE REPAIR - HT-110
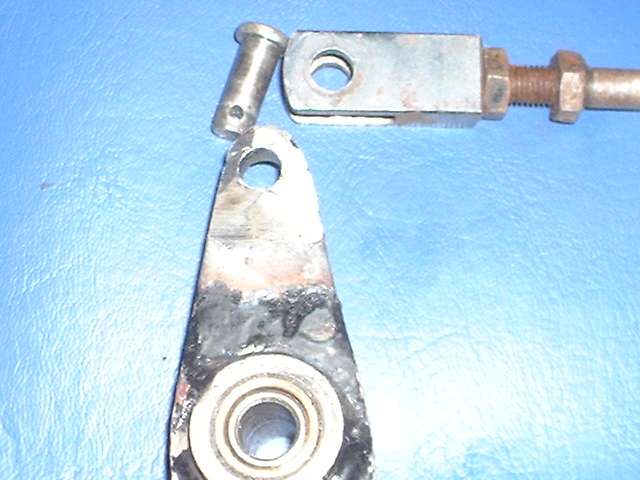
 Worn clevis pins and mating holes are common problems on the MGA. The smaller parts are readily available, generally cheap, and easy to replace. Clutch and brake pedals are expensive (if/when available), so it is most often desirable to repair these.
At 04:29 PM 1/4/05 -0500, Chuck Jackson wrote:
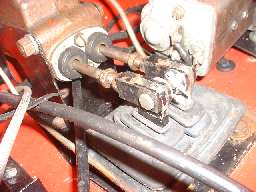
>"Just for fun I thought you like to see my clutch pedal's pivot point.
 This must be a common problem...."
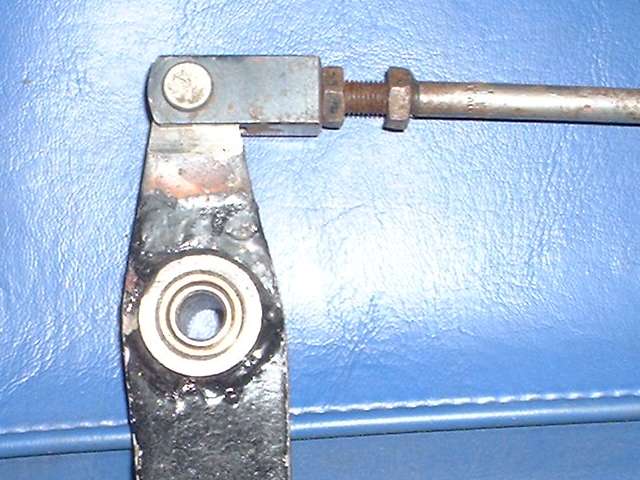
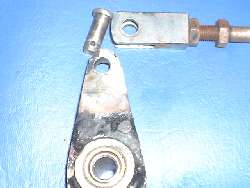
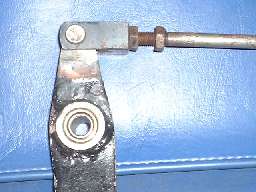
Yes, this is a common problem with the MGA. The proper fix is also common practice any time the part is rare or valuable enough justify a little labor to save it. Weld in the hole to restore the material worn away. Grind the weld flush on the sides, and drill the hole back to original diameter.

If the weld is minimal on one side as shown here, it would be appropriate to use a fixture with a drill bushing to guide the drill bit to restore the hole in original location. If you do not have a drill fixture handy, it may be easier to weld the hole completely closed and solid, grind it flush on the sides, then follow up with a center punch and drill a small pilot hole before the final drill size to put the hole back in original position.
If you use a hard surfacing welding rod, the finished part can be more wear resistant and more durable than the original part. It is easy enough to replace a worn clevis pin occasionally, but more time consuming to repair the worn pedal.
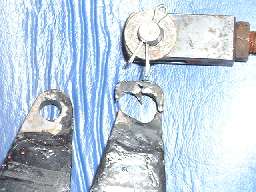
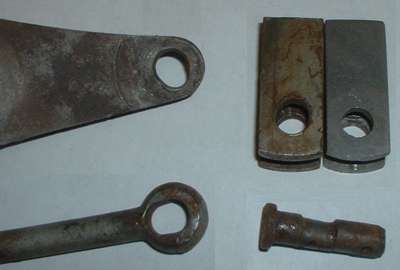
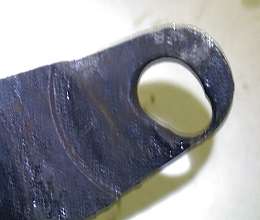
Here is one that wore through far enough to break away. Solution here was to grind off the remaining sharp corners, then build up the top end of the part by welding. I prefer the electric arc stick welder for this operation using a fat welding rod and high current. I welded a wide bead directly on top of the broken end, covering the full width of the part (and a little wider) in a single pass. I let it cool for several seconds for the puddle to solidify, then ran another weld bead on top of the first. After several passes I ground the sides of the weld near flush to the original pedal thickness. Then I did more welding and grinding as needed until the part was built up to the original size. This one took half the length of a 3/16" (5mm) welding rod for sufficient build up. I followed this by grinding to the original profile and 1/4-inch thickness, then drilling the 5/16" diameter hole.
|