The MGA With An Attitude
REPLACNG THE MGA GEARBOX REAR MOUNT #2 - GT-105A
On 4/2/2015, Alan Wiedie wrote:
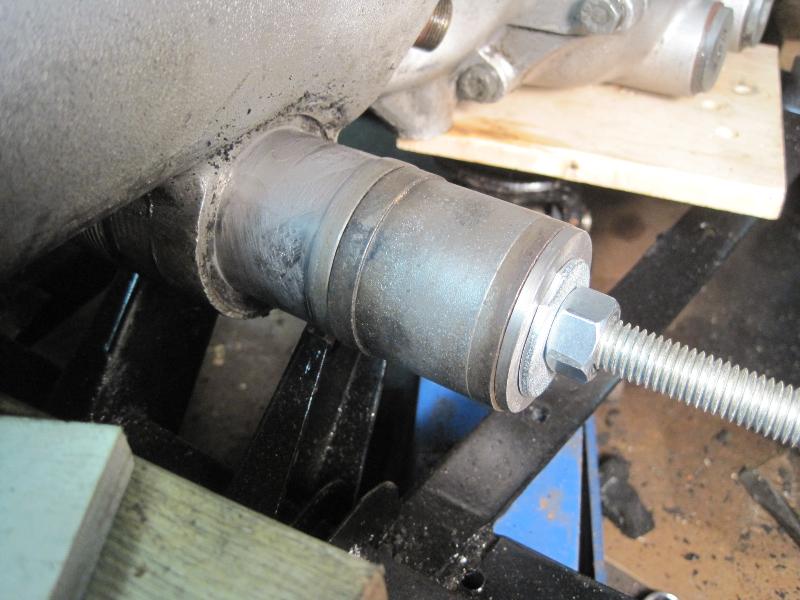
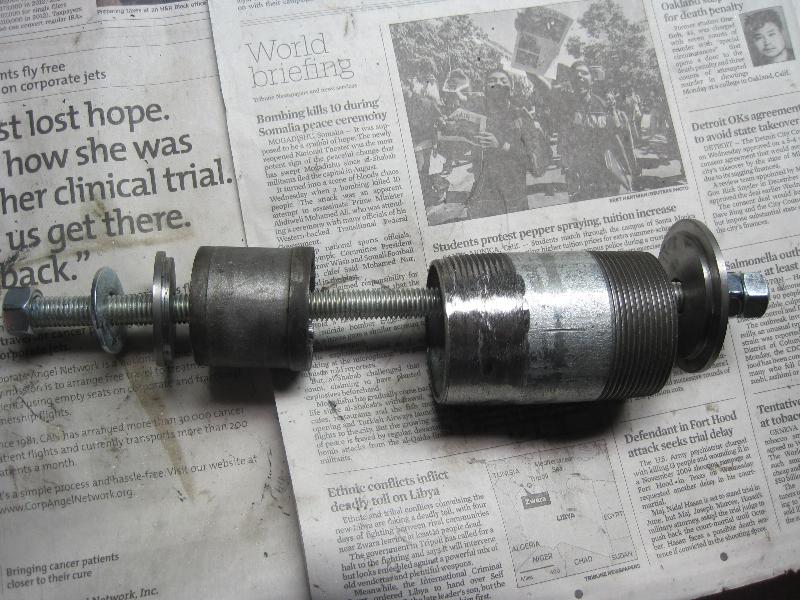
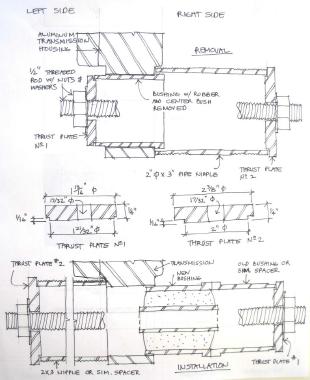
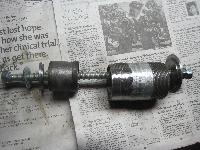
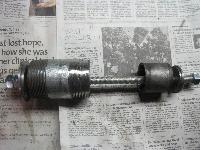
"These photos show how I removed a failed rear transmission mount in situ while I had the floor boards out as I was replacing these. I made a special tool comprised of two stepped thrust plates, a 2" Dia x 3" long pipe nipple, and a 1/2" threaded rod with various nuts and washers.
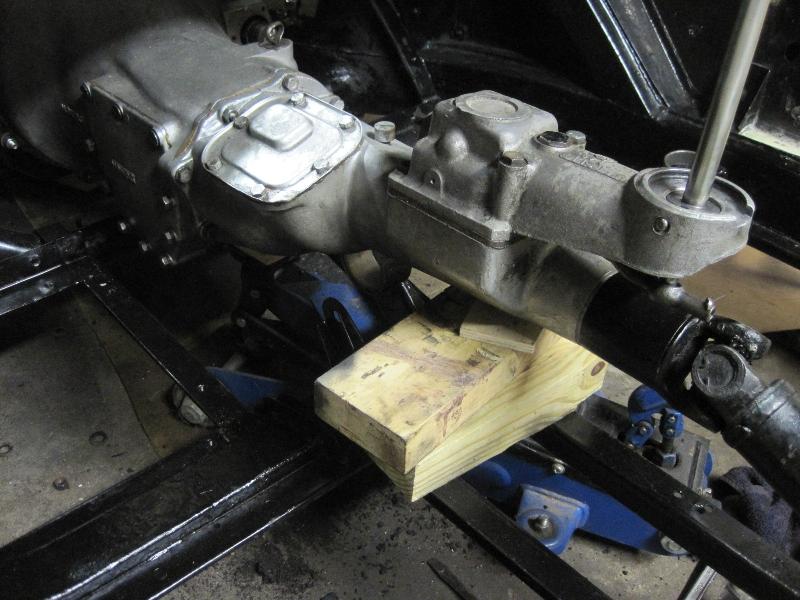
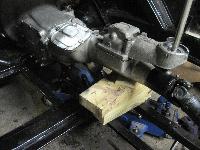
| Remove the rubber mount bolt and jack up the transmission, supporting it on blocks resting on the floor board frames.
Drill out the rubber bushing from its metal sleeve.
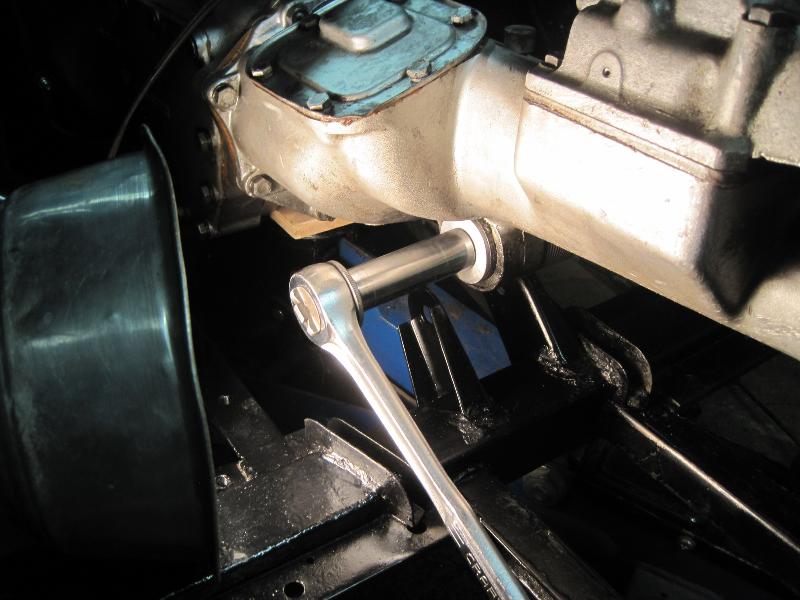
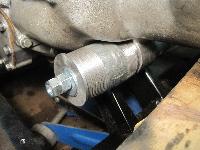
Place thrust plate No.1 on the left end of the old mount, the pipe nipple on the right, followed by thrust plate No. 2, and insert the threaded rod through the assembly.
|
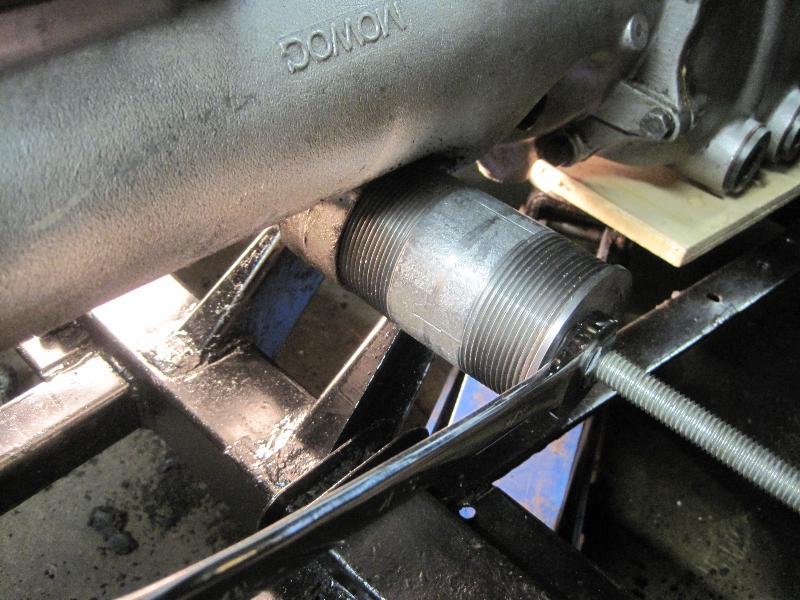
Tighten the nuts, drawing the mount out of the transmission and into the pipe nipple.
Clean the hole in the transmission and the outside of the new mount. I lubricated both surfaces with grease but I don't think that did any good.
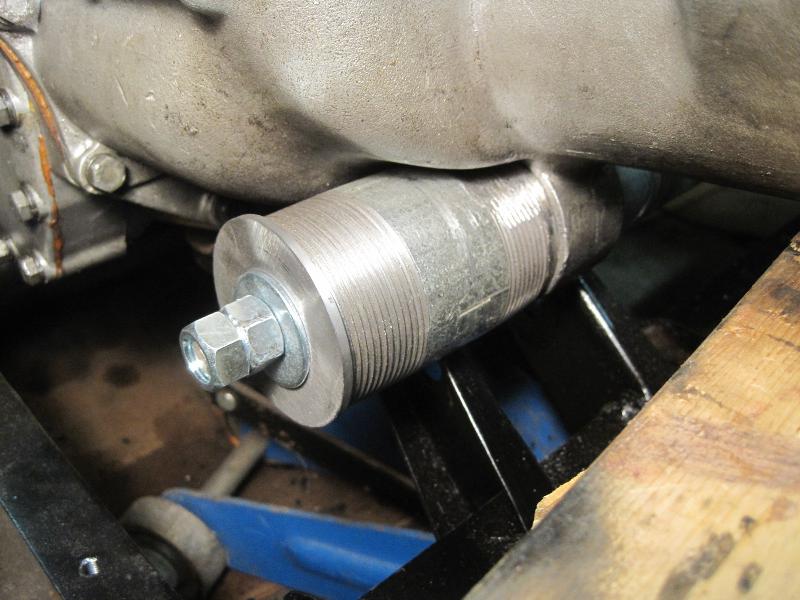
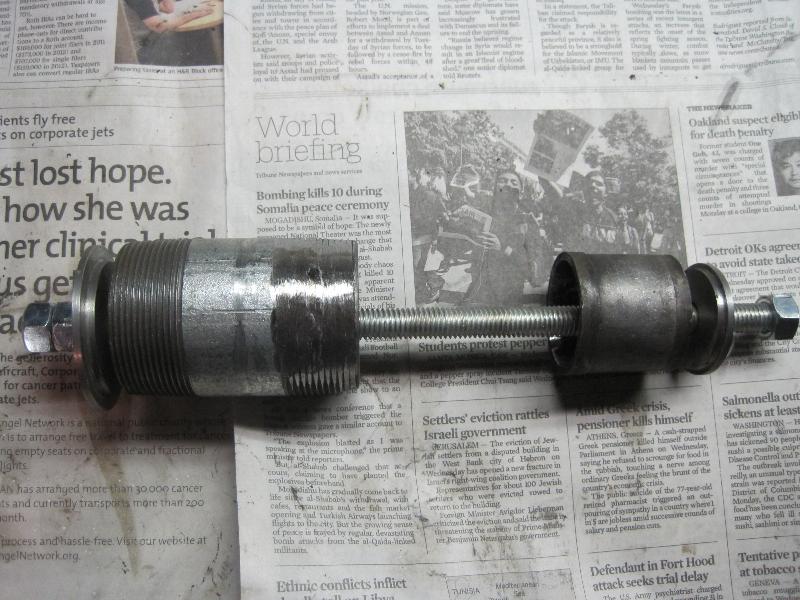
Put the pipe nipple and thrust plate No. 2 on the left side of the transmission, the new mount on the right, followed by the old mount housing to act as a pusher, thrust plate No. 1, and insert the threaded rod through the assembly.
Tighten the nuts to draw the new mount into its housing. Be sure to get the new mount started straight. It took a lot of effort but it finally went in.
|

"There was so much force that my 1/4" thick thrust plates actually 'dished'. I would suggest making those thrust washers from 3/8" steel instead of the 1/4". I did have to grind some off the threads off the pipe nipple during this step in order to clear the bulge of the transmission case".


|