The MGA With An Attitude
REPLACNG THE MGA GEARBOX REAR MOUNT - GT-105
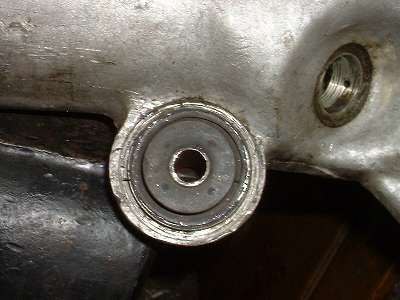
When the MGA gearbox has not been attended to for many years, it is common for the rubber bottom mount bushing to be badly deteriorated. This part has a steel shell that is a tight press fit in the aluminum housing, but you can replace it without a heavy press or any special tools.
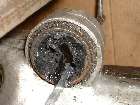
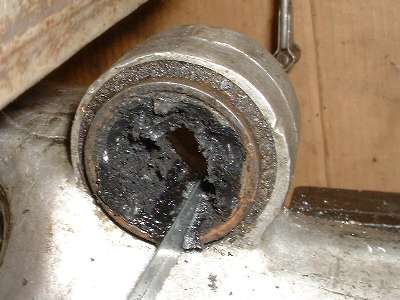
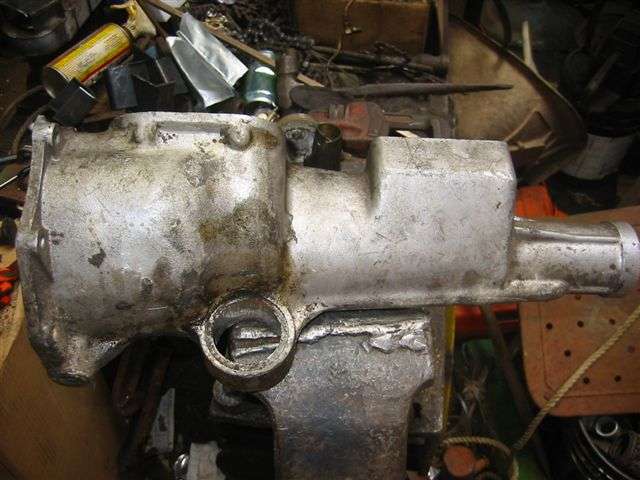
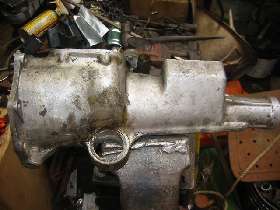
Start by removing the central steel tube. You can do this by running a 3/8 inch drill bit through the rubber material just outboard of the tube. Keep drilling and working your way around the tube until you can remove it. In this case the rubber was so soft that the drill bit easily walked one orbit around the tube, and the tube came out without removing very much of the rubber. With the housing inverted (and preferably clamped down) use a hacksaw to cut through the outer steel shell in the direction of the body of the housing. It is convenient to remove enough of the rubber in this area to avoid interference with the saw blade. Once the steel shell has been split it can be very easily tapped out of the housing.
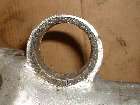

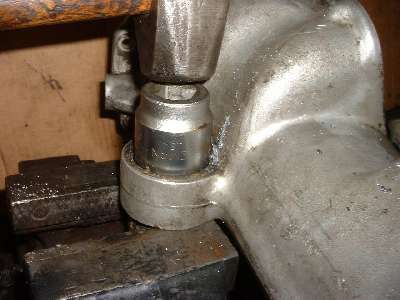
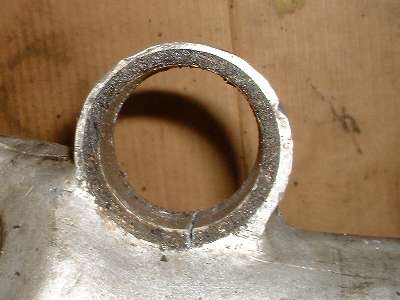
Your saw blade will inevitably make a small cut into the aluminum housing. This is no problem at all, as there is plenty of thickness to the aluminum in this area, so no loss of strength to the part. Just don't put the saw kerf in the thin part of the ring. Now the new bushing can be tapped into place. It traditionally goes in from the right hand side, but the finished installation should be nearly symmetrical, so it wouldn't matter much if it was installed the other way around. You will need to support the mounting ear on the housing all the way around before hammering on it to avoid breaking the thin ring. As luck would have it, the top end of my tubular jack stand is just the right size for this job. Otherwise a large wrench socket might do the trick. If you have more than two thumbs, it will be nice to have an assistant to hold the housing in proper position, level and firmly in contact with the bottom support.
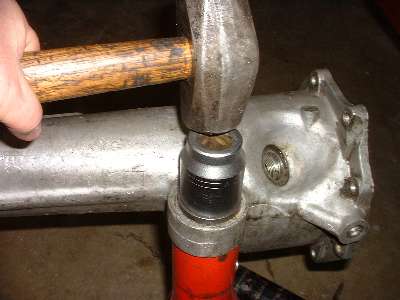
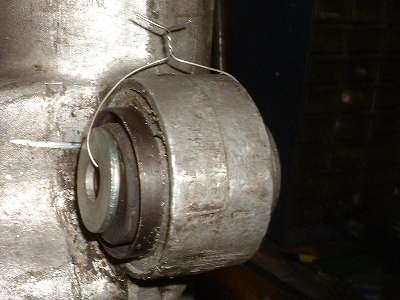
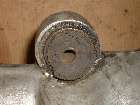
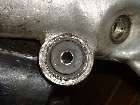
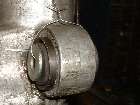
As soon as the bushing is started into the housing it will be quite tight, so hammering on the rubber core will not make much progress. You need to use a large tubular punch, and for this a large wrench socket also works well. With all metal on metal contact it will be relatively easy to tap the part home using a two pound hammer. Do not mash the thing too hard and break the housing. Just keep up a moderate tapping, and the part will eventually get there. Press it all the way in until the small shoulder on the outer shell of the bushing contacts the side of the housing.
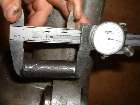
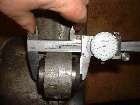
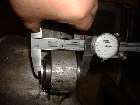
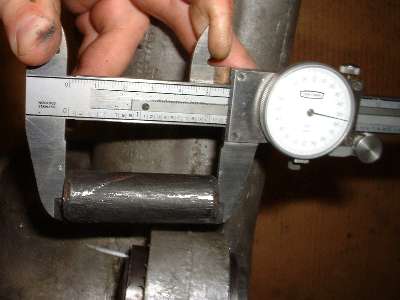
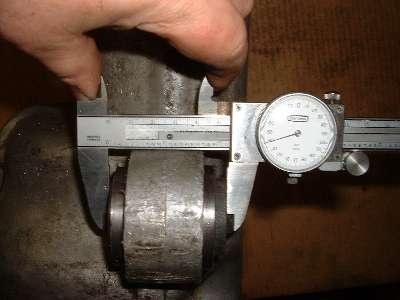
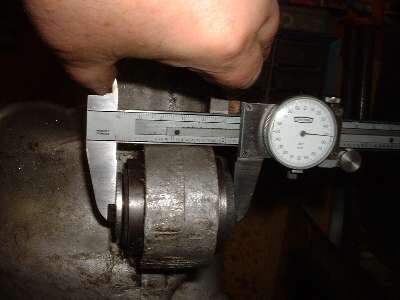
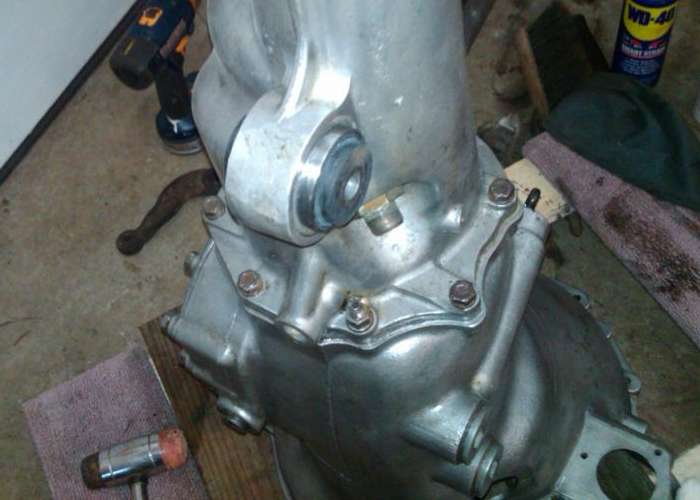
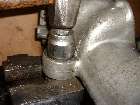
Then you may have one last little problem. You may refer to the faulty part report for this particular bushing. The center tube should be 2-1/4 inches long, but some of the replacement parts, at least as recently as December 2003, are somewhat shorter than required. Tightening of the mounting bolt in the car could bend the steel ear(s) on the car frame, bringing it into contact with the side of the gearbox housing (definitely not good). Measure the length of the center tube in your bushing. If it is not the full 2-1/4 inches long, then you should find a flat washer or two to make up the proper length. This one is only 2.140" long, and I was lucky to find a flat washer exactly 0.110" thick. Also note that the center tube of the replacement bushing may be thinner than the original part, so the center hole in the spacer should not be so large as to be pressed over the tube when you tighten the bolt in assembly. While you have these parts in hand it is a good idea to attach the proper spacer to the assembly so it will not be forgotten later.

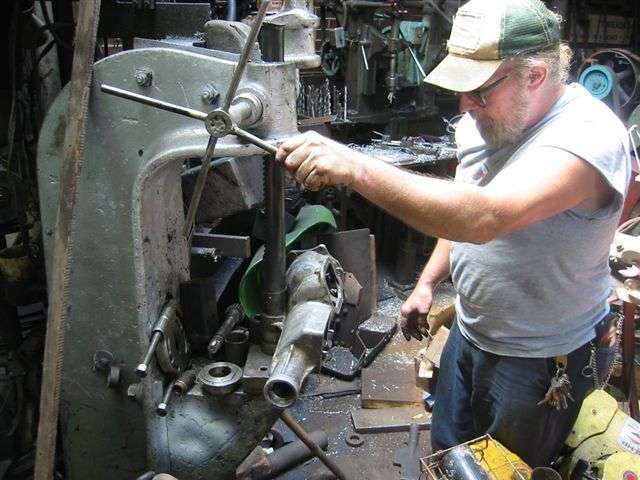
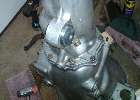
This is the more traditional way to replace the rear mount, if you have the right "big shop" tools, or if you can pay someone else to do it.

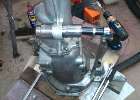
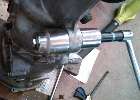
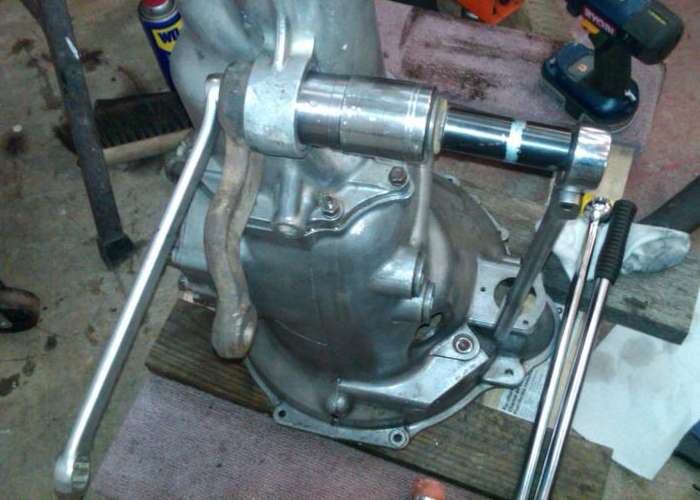
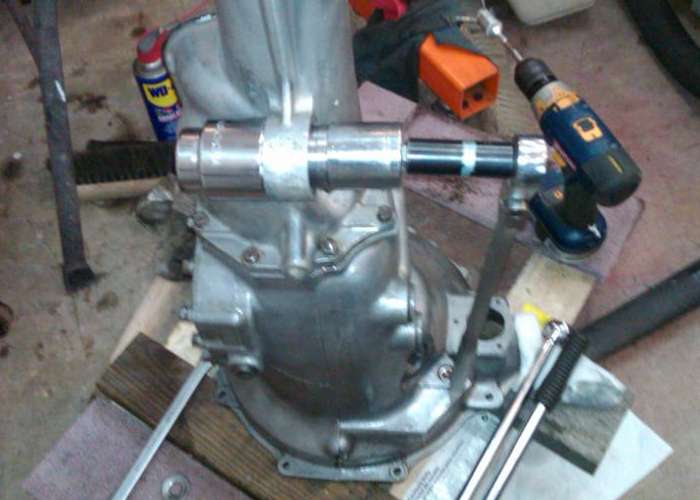
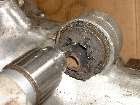
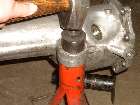
 On December 25, 2013, Bob Krzywicki in Arlington, VA, USA managed to push the new bushing into place with two large wrench sockets used as punches, and a long 1/2-inch bolt with nut and two flat washers. He used a 3/4-inch deep-well socket to turn the nut (and a 2-foot breaker bar for leverage). He also set the bushing and press socket on ice for a while before assembly. The first picture above shows a pitman arm from a corvette to start the process (in place of the puller socket due to limited length of the bolt).
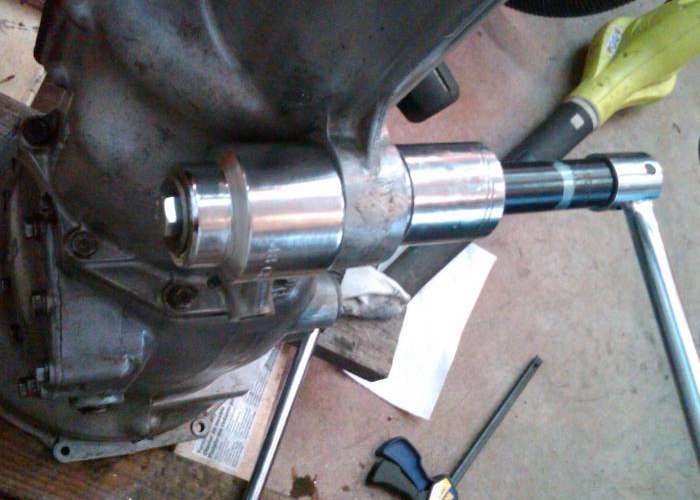
The bolt was a 7" x 1/2" coarse thread HD decking bolt. A 10" bolt would have covered it from start to finish without using the pitman arm. The black thing is 6 point deep well impact socket. The press socket was 1-1/2". and the puller end was a 48mm socket (2-7/8").
Mind you this requires a lot of force, and a lot of torque on the bolt. I tried this once using a 1/2-inch coarse threaded "Redi-rod" (ATR or All Thread Rod), but ultimately stretched and broke the threaded rod. Be aware that most Redi-rod is SAE grade 2 or A307 (mild steel), so this is likely to require a higher strength bolt.
|