The MGA With An Attitude
Carburetor HEAT SHIELD (2) -- CB-204

 This heat shield modification started out as a repair job while the carburetors were out during engine mount replacement. The internal structure is a recent (12 years old) reproduction of the original MGA heat shield. In place of the original asbestos pads it has more modern ceramic pads. These are rather like thick stiff cardboard except they are somewhat brittle. The factory riveting job was not so great, as most of the rivets had pulled through the pads. Proper repair would require removing all of the rivets and installing new ones along with wide washers to cover the oversize holes and prevent future pull out. While I was at it, I took this as an opportunity to try out the sheet of metal-and-ceramic-sandwich that Patrick Mulholland in Australia had sent me almost two years earlier (described on the prior page). It was initially going to be similar to his, but it changed a bit in process.
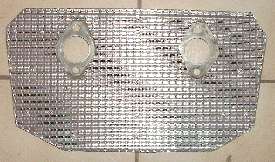
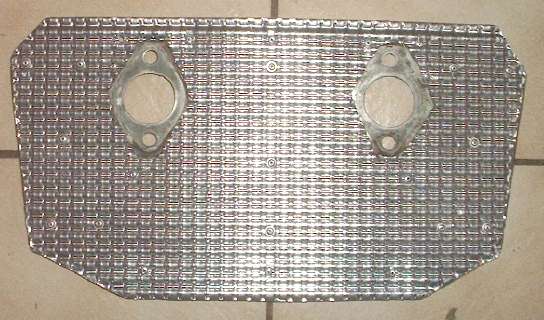
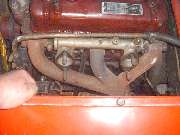
I first cut a piece of insulation to fit the front side of the heat shield, while intending to retain the original ceramic pads on the back side. The new piece is taller, extending 3/4 inch above and 1-1/2 inches below the original heat shield. The bevel on lower right clears the steering U-joint, the bottom edge clears the chassis frame, and the rest is just symmetrical. After installing ten rivets to hold the original ceramic pads and the new insulation, I added three rivets down the center to stabilize the full sheet (above left).
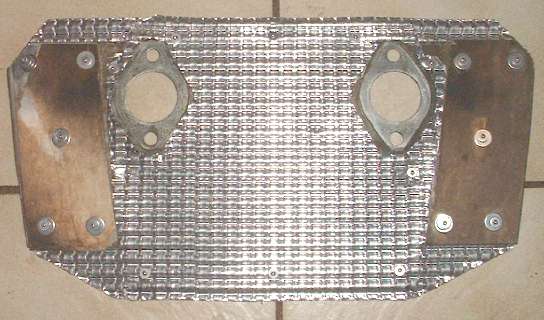
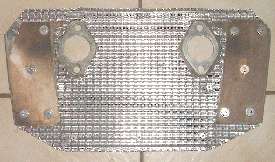
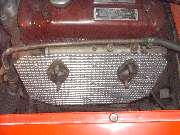
While this was looking nice I had more insulation material left, so I decided to insulate the back side as well (above right). Here I cut the new insulation to fit in between the original ceramic pads and same height as the front piece. This finally took eight more rivets around the edge of the rear sheet, (and through the front sheet as well). Three rivets at top and bottom fasten the two new insulation sheets together without passing through the original steel sheet. The head ends of the pop rivets are on the front side for appearance sake. There are notches in the top corners of the rear sheet to clear the bell flanges on the intake manifold ends. There cut outs on the rear side to clear the bolting flanges on the intake manifold, and cut outs on the front side to clear the thermal block spacers and carburetor mounting flanges. This allows the paper gaskets to seal on the thin steel heat shield as original.
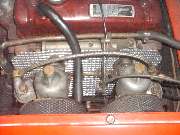
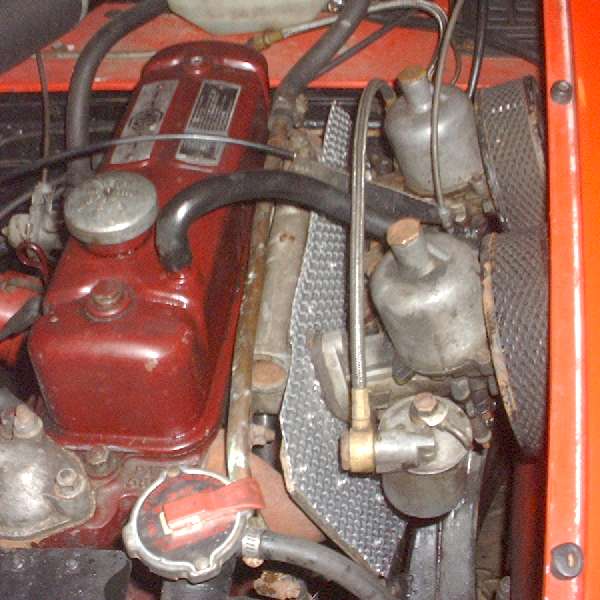
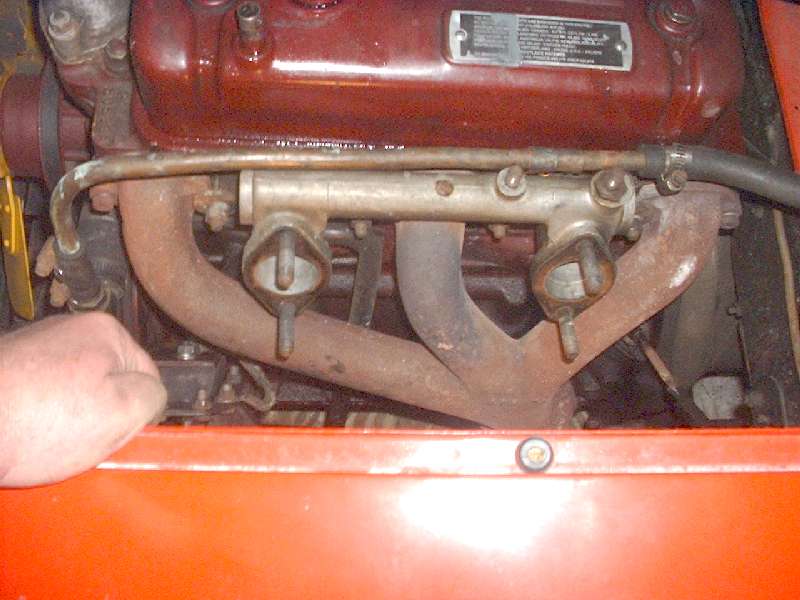
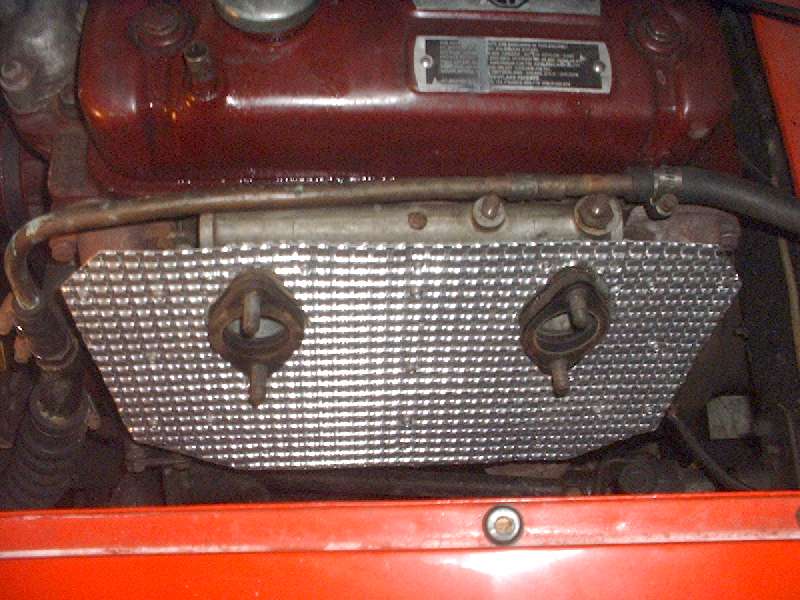
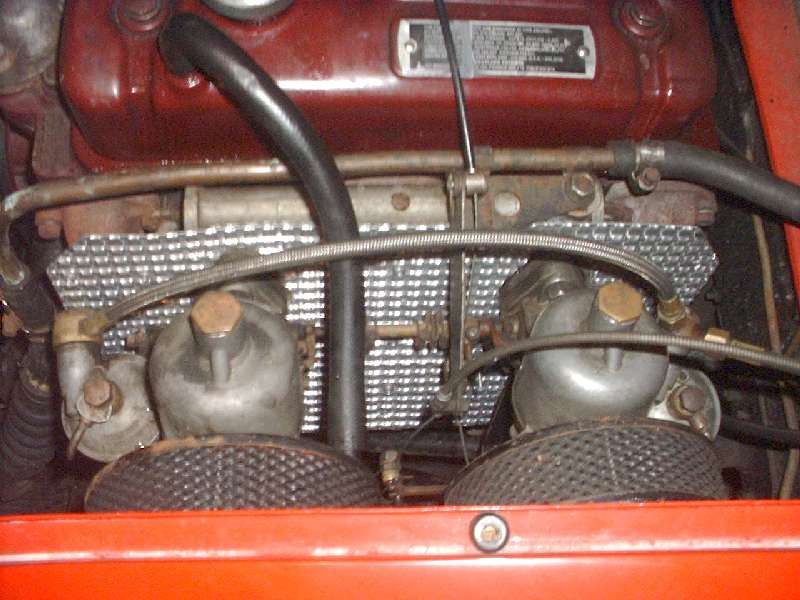
The last three photos show the final insulation, all very neat. The shiny corrugated pieces will take some getting used to. It is all reversible if someone doesn't like it, as it is a direct bolt in replacement for the original carburetor heat shield. If anyone should notice (or not), I doubled up on the thermal spacer blocks many years earlier, so thickness of the new front side sheet does not reduce the working space for carburetor linkage maintenance. Being the middle of January in Chicago, we will have to wait several months for hot weather before I can report on how well it might work.
|