The MGA With An Attitude
AIR CONDITIONING For MGA #1 - AT-201A
Everyone knows the MGA Coupe is one HOT little car. But you may want yours to be COOL too? Well maybe this is the answer. These photos and notes were collected at the UML Summer Party Reunion in August 2004. This Air conditioning installation was conjured up by Mike Hirschman from Maple Grove, MN <mhirsch13@yahoo.com>
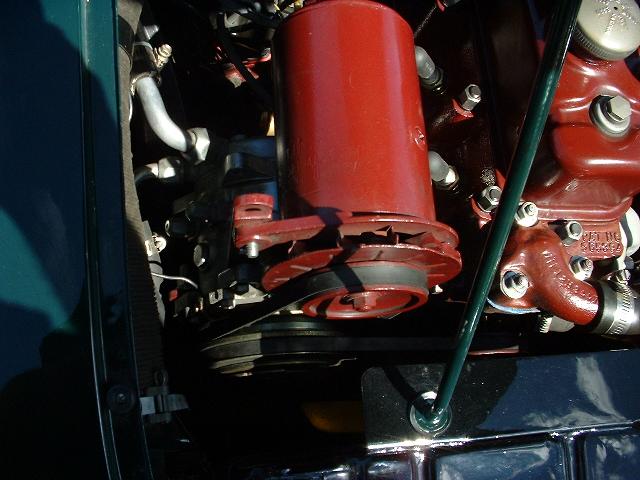
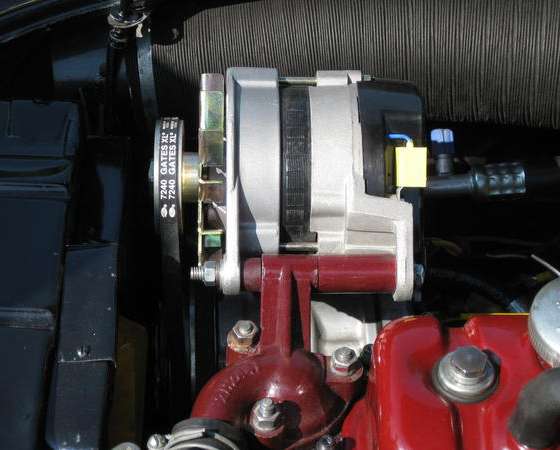
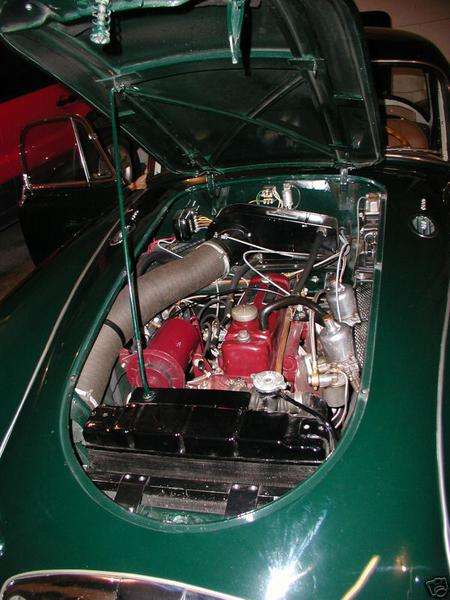
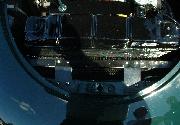
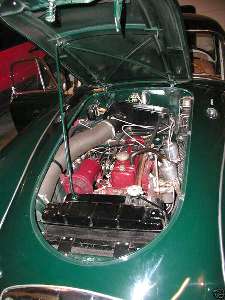
Starting at the working end, the A/C compressor is a Sandon model 507 mounted with the brackets originally intended for use in the early MGB GT with steel dash, vintage 1965-1967. See photo on right; click for larger picture. The compressor may have multiple sources, used in different cars, but the brackets for mounting it on the MG engine may be rather rare parts, so good hunting. Notice that the generator is mounted above the compressor. The compressor is driven with a double groove pulley which is part of the compressor electric clutch. When the compressor is turned off the pulley freewheels with a ball bearing. The compressor pulley is driven by the fan belt, and the second groove in the pulley is used to drive another shorter belt to run the generator. Note also that the thermostat housing and radiator have the top hose on the opposite side from the normal MGA (also MGB parts). The second picture is a different car mounting an alternator on the 1968 and later MGB thermostat housing (normal mount for an emissions sir pump).
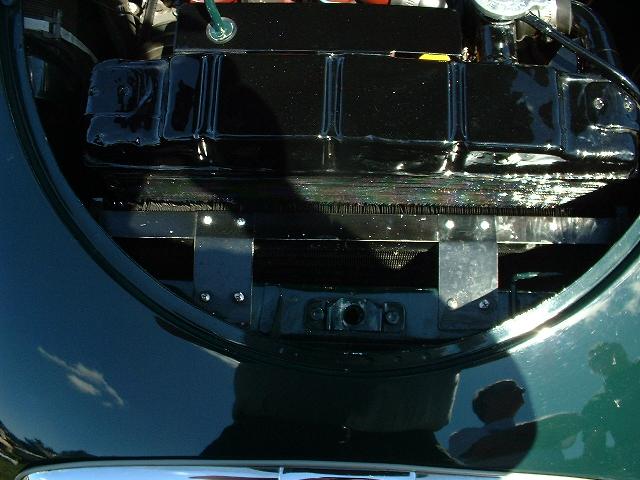
 I don't have a part number for the condensor radiator, but a radiator is a radiator, so to speak. This one is 10" tall and 18" wide. The key to success here is to think small (and I don't know if they come much smaller than this). Brackets are pretty simple, a couple of slightly offset thin steel straps attached to the bonnet latch brace, and a narrow frame for the condensor being attached at bottom to the body horizontal air pan.
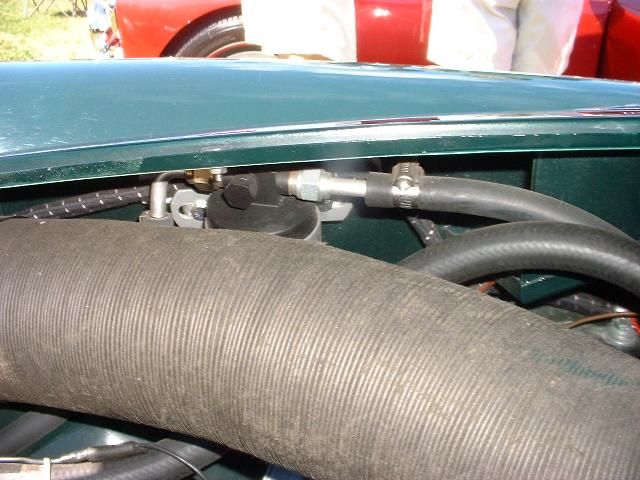
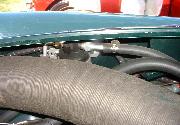 The receiver dryer unit is again generic and small. This is mounted on the inner fender just ahead of the air scoop for the cowl vent. For hose connections any good hose shop can match the end fittings and make up the length to order. Notice the worm drive hose clamp used to connect the hose to the steel pipe. Mike reports the existing hose clamps have been working okay for four years with no problem. While this works, I'm not sure if it will prevent leakage of the working fluid indefinitely. I think a professional A/C hose shop might use more sturdy and permanent crimp shell connectors. The tube end on the left has a 90 degree bend, which is no problem for a hose shop.
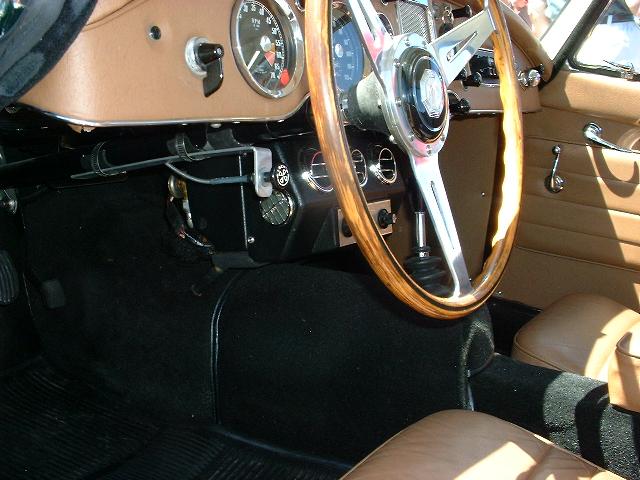
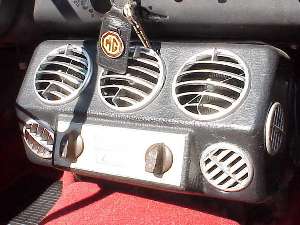
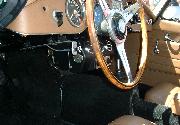 The evaporator and fan unit is seen here from the left side under the dash. Again this is a "standard" part from the steel dash MGB GT 1965-1967. I am assured that this part doesn't weigh much, having a small radiator and a blower fan in a molded plastic box with some adjustable vents. Here it is hung from the two center dash brace rails which attach to the bottom edge of the dash with the heater control panel mounting screws, and to the bottom corner of the heater shelf at the front end. Mike tells me this unit can be pushed fore or aft along the dash brace rails, so put it wherever you like.
The pull control knob and cable to the left of the cooling box (long "L" bracket attached to the steering column with a pair of worm drive hose clamps) is Mike's "quick and temporary attempt at cruise control". He says it works great to to give his foot a break occasionally. While this may work only on level roads or constant grades, it may be more reliable than the electronic and vacuum control units. I've had 3 or 4 of those on my MGA from time to time, all ending up in the trash bin for various reasons of failure.
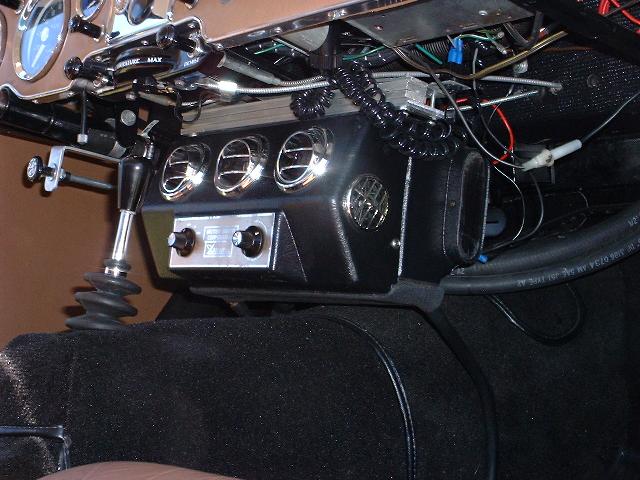
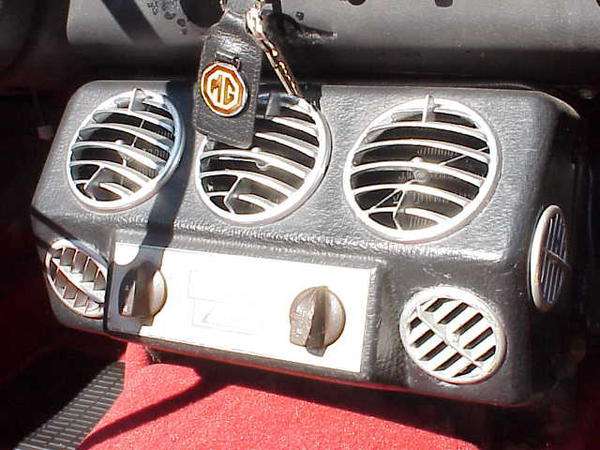
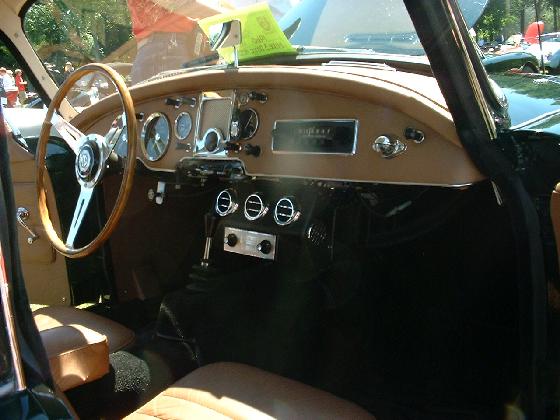
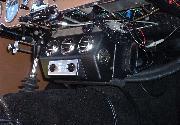 Here we have a better view of the evaporator unit from the right side, and some of the mounting bracketry. Control knobs on the front of the cabinet would be one for on-off and fan speed, and the other for temperature control. The air temperature sensor would be inside the cabinet and would cycle the compressor on-off. The coiled phone cord on the right is a plug in to charge a cell phone.
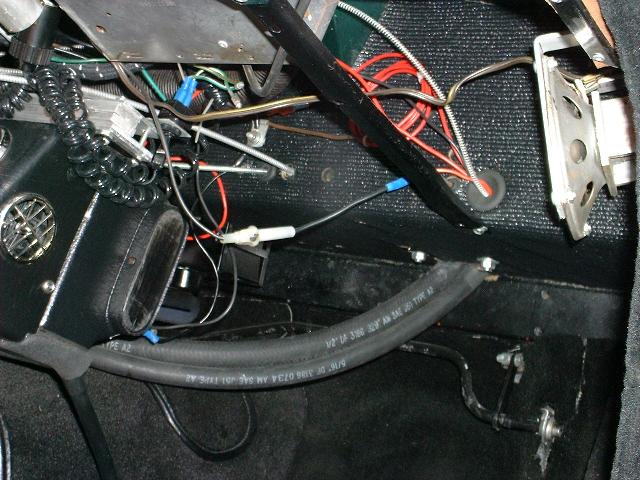
Finally a picture of the working connections showing the hoses dropping through the heater shelf and running to the back of the cooling box. Looks like a minor obstruction of the snap down carpet flap on the tunnel, but I'm sure the hoses can be nudged aside to check the gear oil.
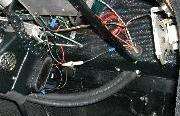 Also see the new wiring running through the firewall grommet along with the original temperature gauge sensor line. These wires would be the power supply wire with an in-line fuse, and a pair of wires to control the compressor clutch. On the far right a radio speaker.
That's about it for the installation. Well, yes, you do have to apply a near perfect vacuum to get the air out of the system and check of leaks, and install the refridgerant. Apparently this air conditioner works well and blows a lot of air. Engine idle speed was raised about 200 rpms to cover the A/C belt drive load at idle. No noticable increase in engine temp at road speed. Engine temp stays in the 185 to 190 degree range. On a hot day the temp will rise about 10 degrees with the A/C on at idle.
Now your hot little MGA Coupe can be a really cool car in more ways than one.
Addendum, 03 August 2012:
Later photos supplied by Ian Renshaw from Kitchener, Ontario, Canada
|
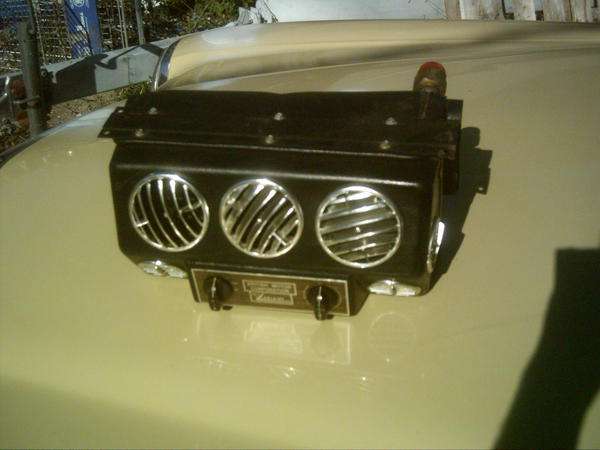
This last photo with different condenser
and fan unit is in an MGB.
|
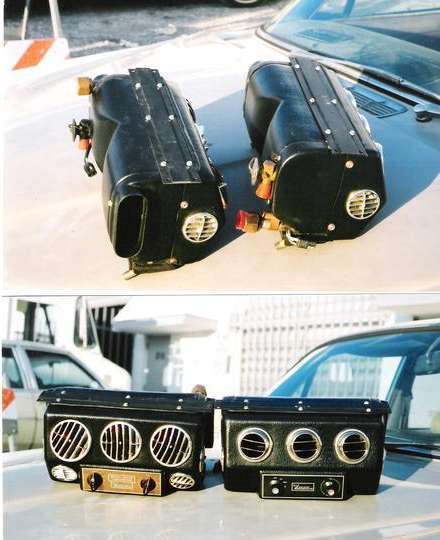
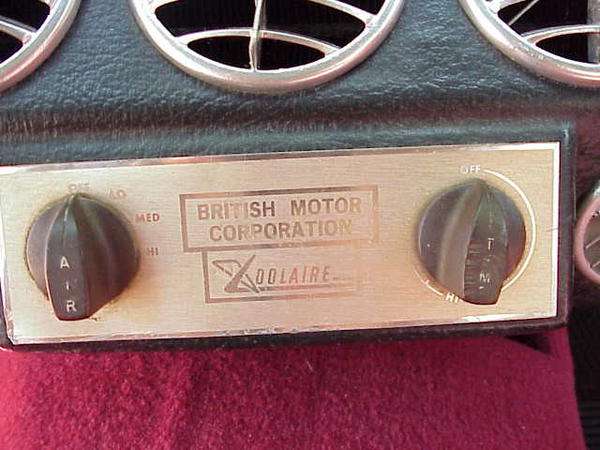
More photos of smallish evaporator units made for BMC by a company called Koolaire.
|