The MGA With An Attitude
FLASH TO PASS And Headlight Dipper - AT-113A
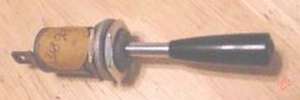 This starts with the same momentary contact bat handle switch from the prior article. You could alternately use any momentary contact push button to make a grounding connection.
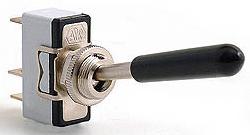
Since original style Lucas bat switches are now so rare, you can use the one shown here. It is spring loaded one direction; mount it either side up. See Holden part no. 020.145
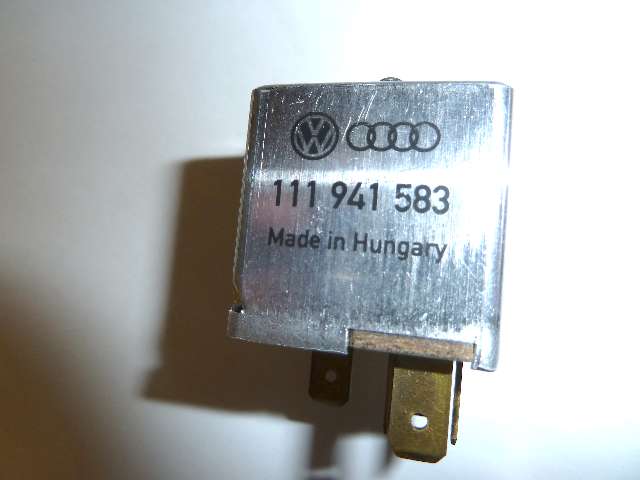
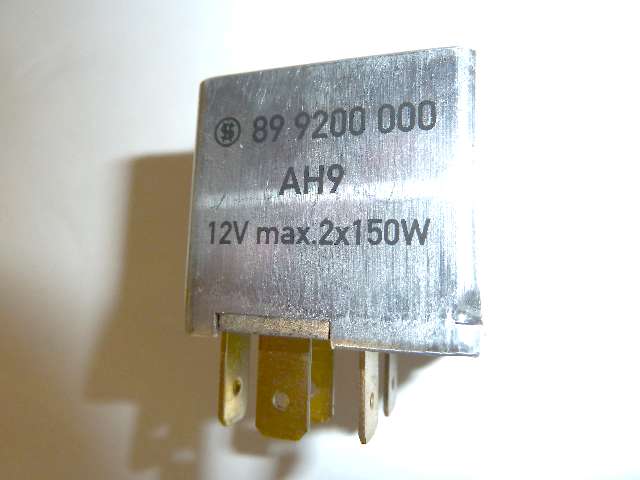
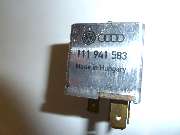
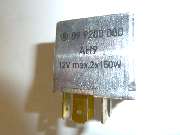
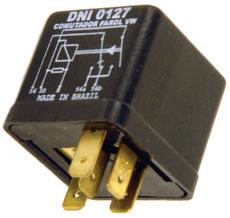
Then you need a DNI 0127 relay, part number 111 941 583, NAPA part number AR284, VW-Audi part no. 411 941 583 B, under $20-USD here:
https://www2.cip1.com/ProductDetails.asp?ProductCode=VWC-111-941-583
http://www.gex.com/empi/?type=19&code=&page=448
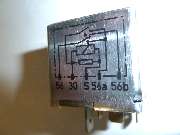

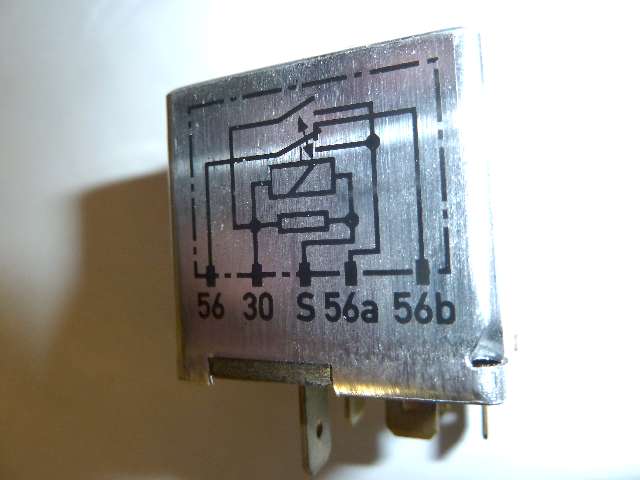
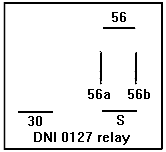 This is a (special) Single Pole Double Throw (SPDT) latching relay. When headlights are on, a short electrical pulse to terminal "S" will swap the high/low beams (standard dipper switch function). When headlights are off, a short electrical pulse to terminal "S" will flash the high beams, then return to the unlatched condition when the switch is released. If lights are on high beams (relay latched), and you switch lights off, the relay will return to the unlatched condition, so the next time you switch lights on it will be on low beams.
Disconnect the 3-wire harness branch from the original dipper switch, and re-route it to the new relay. Connect headlight input power from lighting switch (blue wire) to "56", high beam wire (blue/white) and the indicator lamp wire (blue/white) to 56a, low beam wire (blue/red) to "56b". Connect a separate 10-amp (16-gauge) always hot power wire (brown or brown/blue) to "30". Connect an 18-gauge wire from "S" to the momentary grounding switch on the dash. This wire should be black with a stripe (blue stripe would be good).
This is a very special relay. When headlights are on, pulsing the grounding signal on terminal "S" will alternately switch the relay between high and low beam, duplicating function of the original dipper switch with electrical signal rather than mechanical operation. When headlights are off, pulsing the grounding signal on terminal "S" will flash the high beam lights, as in "flash to pass" (visual horn). Power for the flash to pass function is taken from terminal "30", which is why the wire there must be capable of delivering 10 amps (60-watts x 2-bulbs). You then have two functions, headlamp dipping and flash to pass, controlled by a single switch.
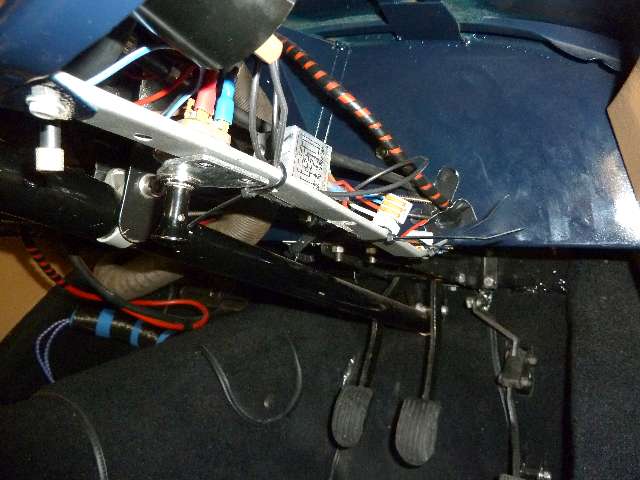
Since this is a non-original type relay, it may be appropriate to hide it behind the dash. Keep in mind, in case someone else might drive your car at night, that the original dipper switch is then non-functional.
Addendum January 12, 2012:
Original intention of this relay (as used in the VW) is to serve as the sole means to power the headlights as well as dipping beams and flash to pass. This is not the same logical function as original on MGA. On MGA the original foot operated dipper switch is retained. The only original function of the FTP relay is to apply power to the high beam wire. This will flash high beam when headlights are off. When lights are on low beam, it will add high beam to flash without switching off low beam. When lights are on high beam the original FTP does nothing (but that might remind you that your lights are on high beam when they shouldn't be).
This leads me to realize that this new DNI 0127 relay can be wired to exactly duplicate function of the FTP circuit as originally used on the MGA. All that is required is to leave the original kick switch connected, and then connect only terminals 30, S, and 56a on this relay. It will then supply power to high beam wire when the FTP switch is momentarily grounded, same as original function for MGA. That would be kind of a waste of a special DNI 0127 relay, as the original FTP function can be done with any 3 or 4 terminal 10-amp relay.
On 1/12/2012, Colyn Firth wrote:
"I got hold of the relay a few months ago from VW here in the UK and finally got around to fitting it and wiring it up last weekend. Just to let you know that I am delighted with the way it works, it is so easy to dip the headlights now and also it is great to be able flash the lights at the touch of a switch.
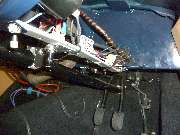
 "I mounted the relay on the dashboard brace near to the steering column and I found that the loom from the original foot operated dip switch can easily be re-routed to fit straight on to the connections on the new relay. I have a smaller diameter Moto-Lita steering wheel on my car so I fitted the new dip switch into the hole where the indicator light usually fits. This is now within extended finger range of the steering wheel. The indicator light has been moved in front of the steering wheel where the rheostat for dimming the dash board lights normally fits where it is no longer hidden by the Moto-Lita wheel rim. The rheostat is now fixed to a new bracket under the dash fitted to the dash brace in front of the new relay and is within easy reach if I ever need to adjust it. I have taken the main power supply to terminal 30 on the relay from the starter solenoid on my car through a new dedicated 25 amp in-line fuse". -- Colyn
See Colyn's full write-up on this installation with additional notes in a 485-KB PDF document.
On 1/12/2012, Colyn Firth wrote:
"I had to extend the wires for the indicator light to allow it to reach its new position in front of the steering wheel. Similarly, I had to extend the wires of the instrument light rheostat to allow it to reach its new position under the dash".
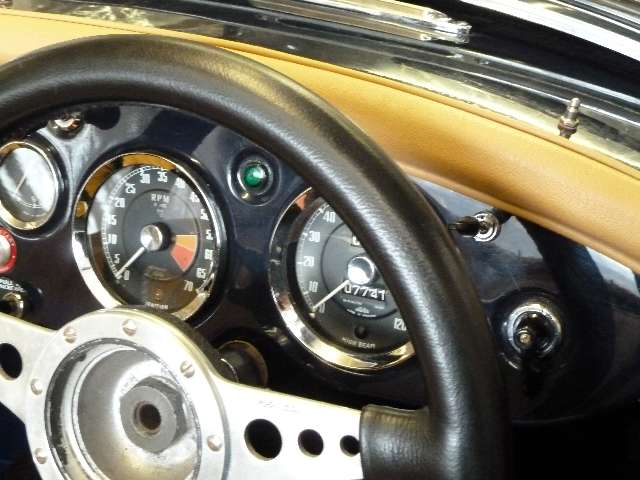
I trust he did all of the component relocations because the indicator lamp was obscured by the rim of his smaller steering wheel. If it was my car, I would have drilled an additional hole in the dash for the FTP switch to retain factory original appearance, and leave all other components in original locations. -- $.02 -- Barney
|