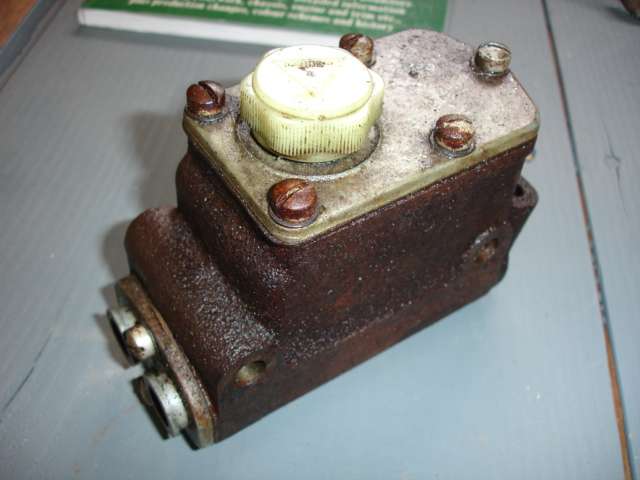
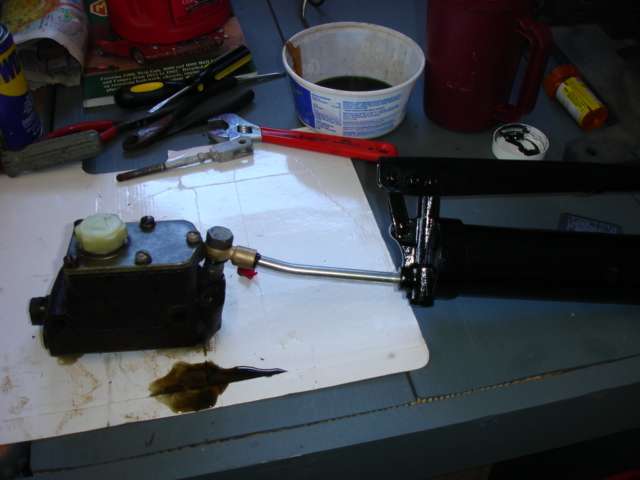
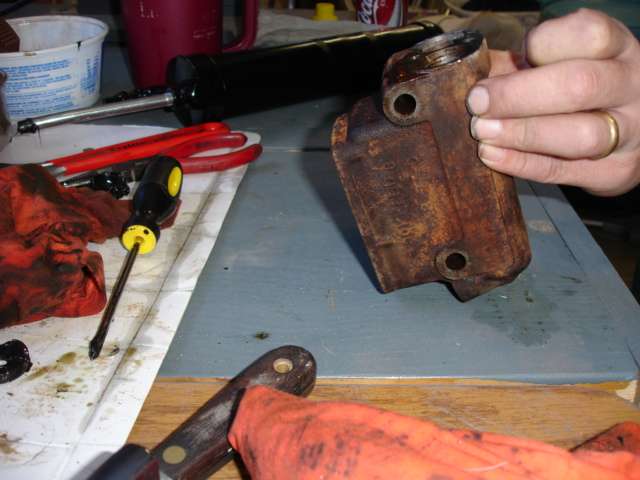
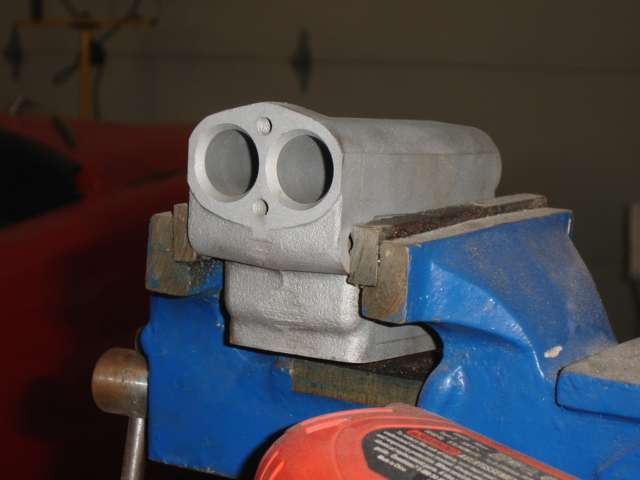
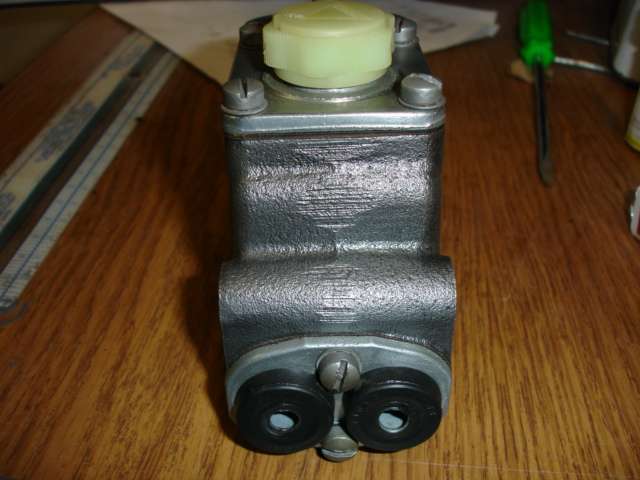
Master Cylinder 7/8" bore with locked up pistons. Getting ready to get rebuilt.

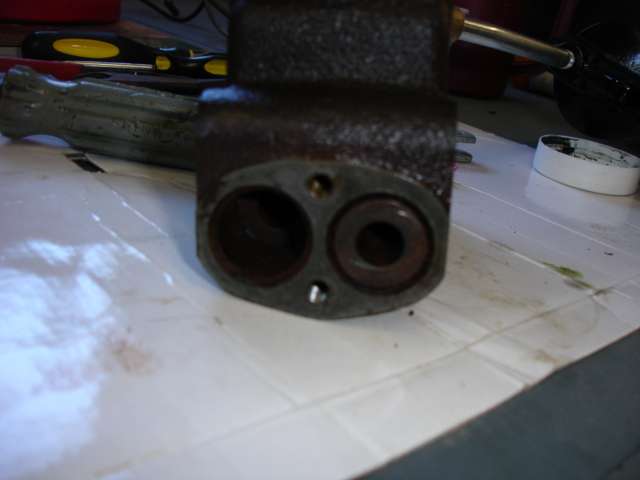
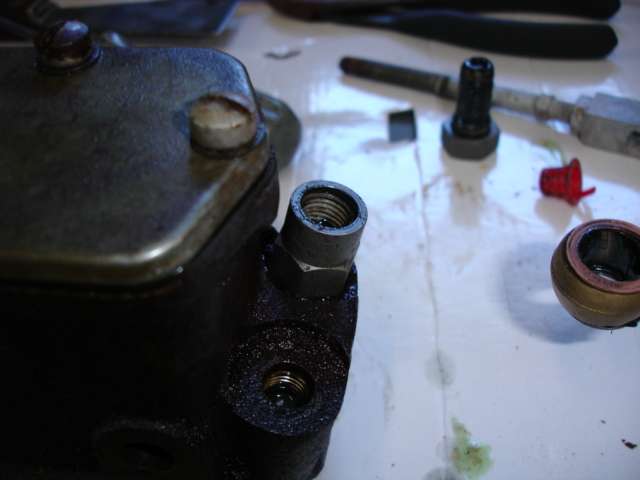
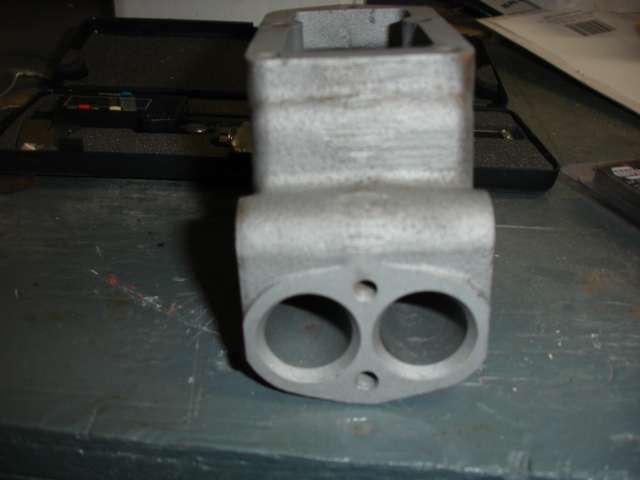
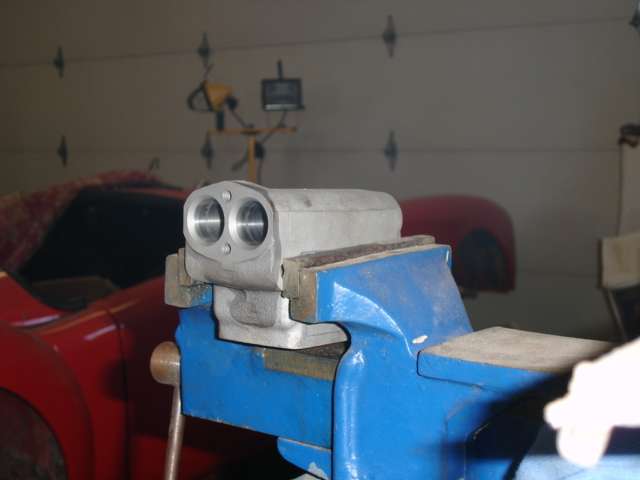
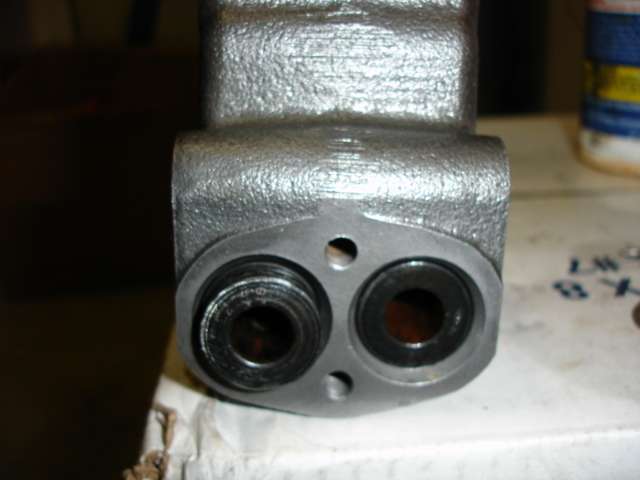
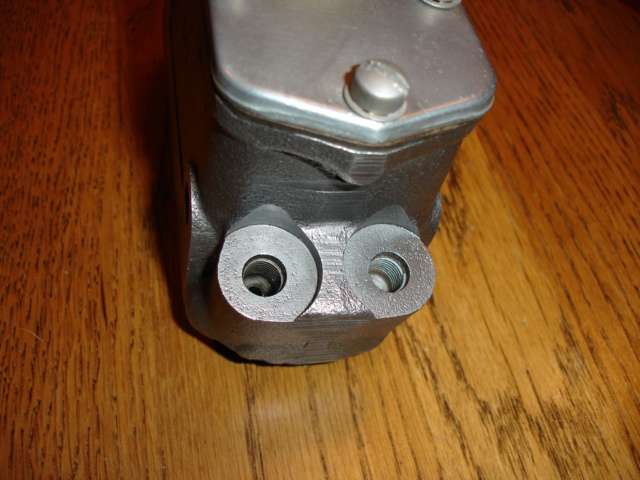
Front view
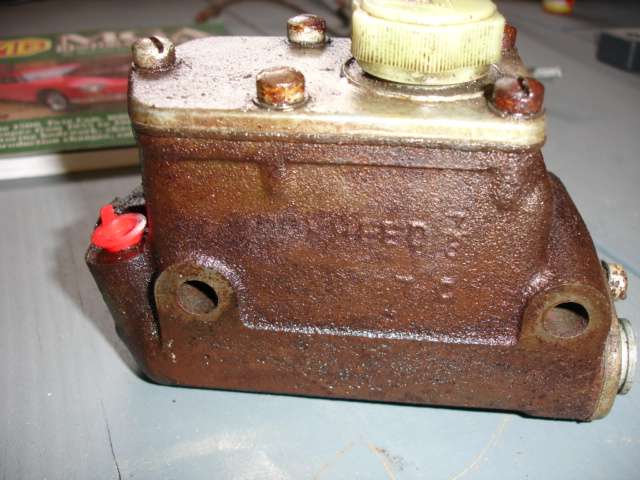
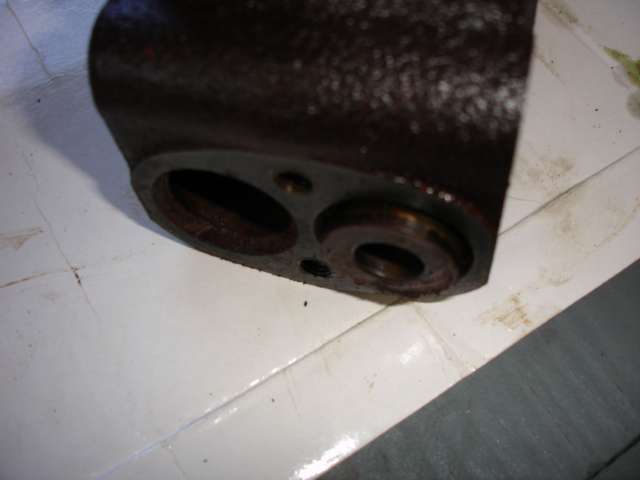
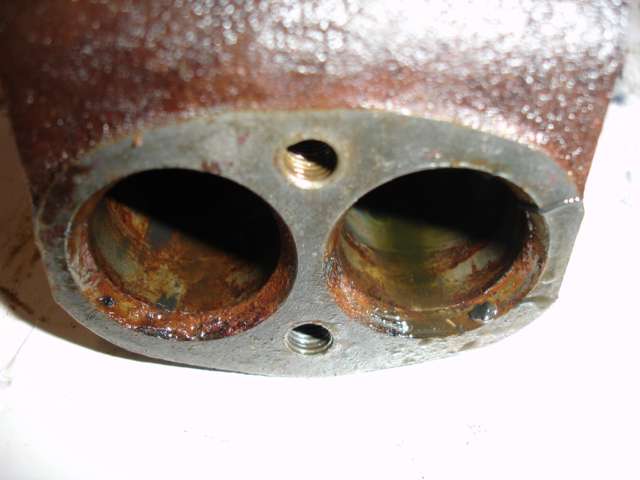
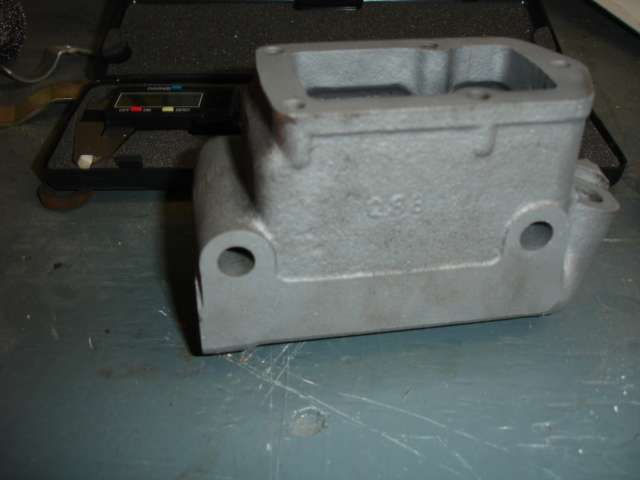
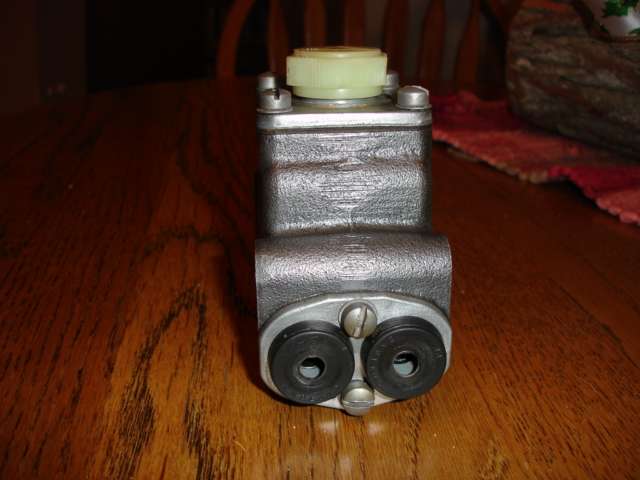
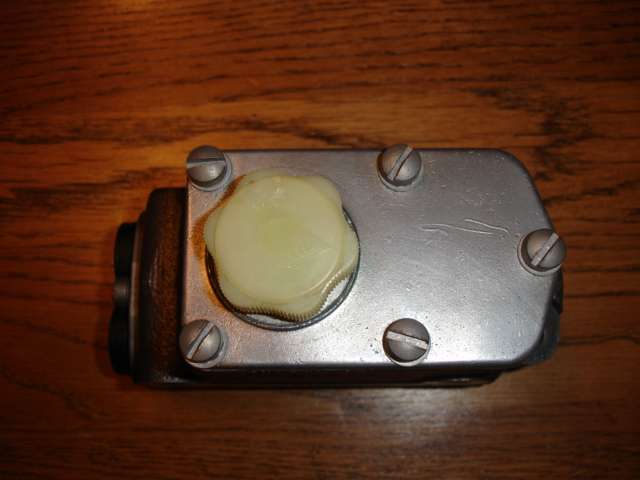
Side view
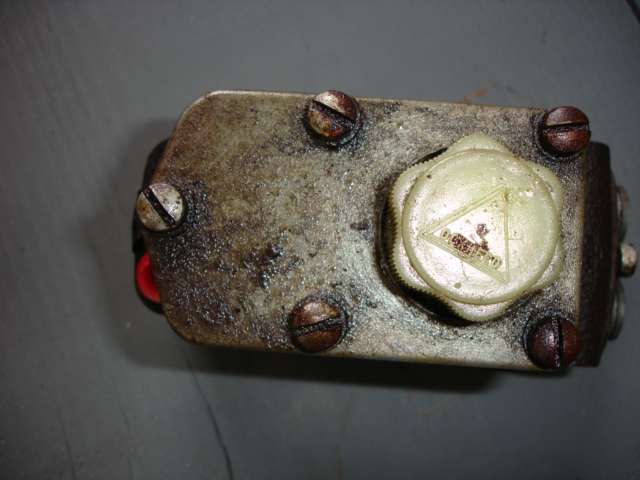
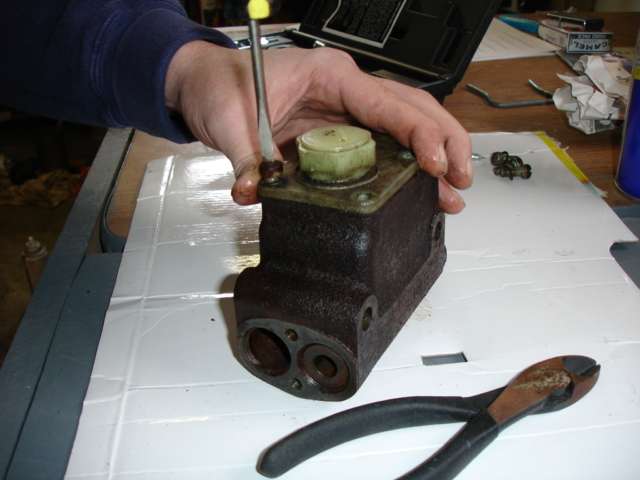
Noticed immediately that cap had crack in it.
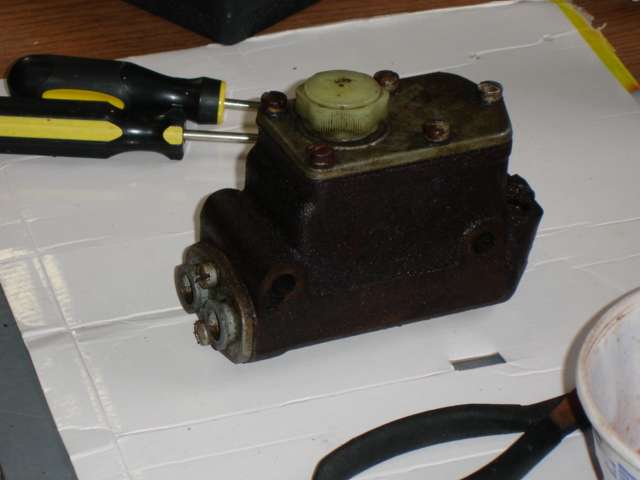
I would suggest getting a thick piece of cardboard with smooth surface so any fluids can be wiped up and not soaked in.
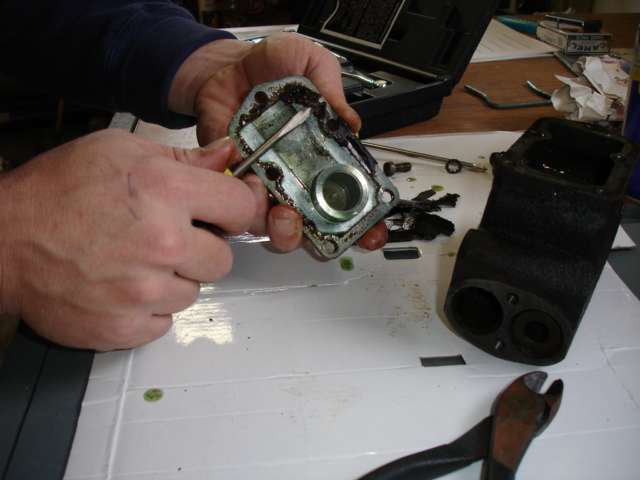
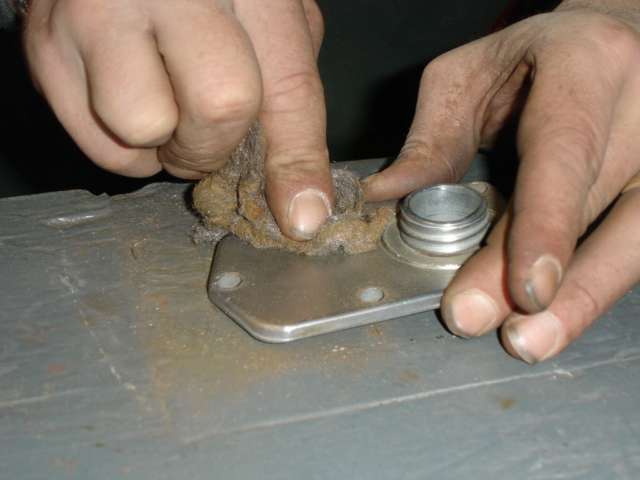
Unscrew two screws on front plate. If there was rubber caps, take off and discard.
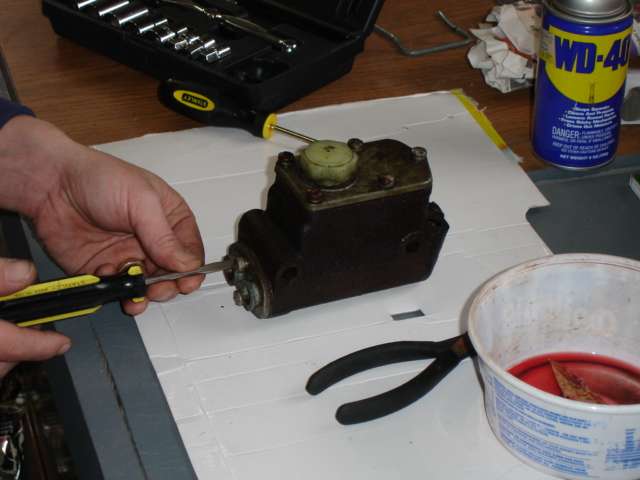
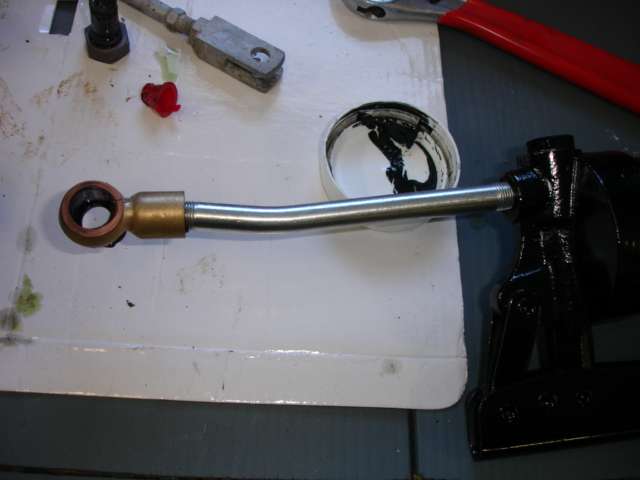
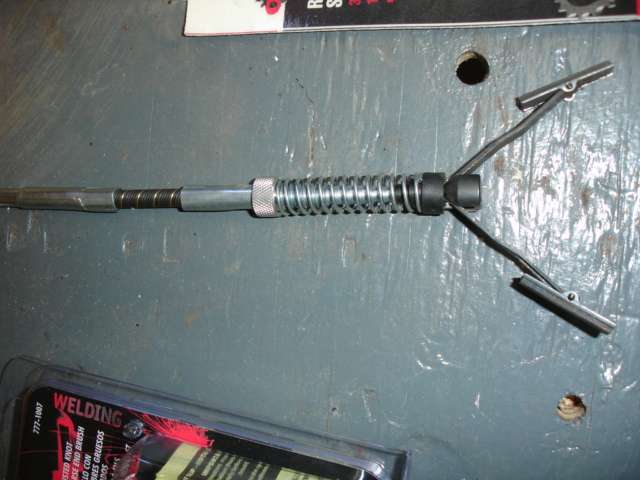
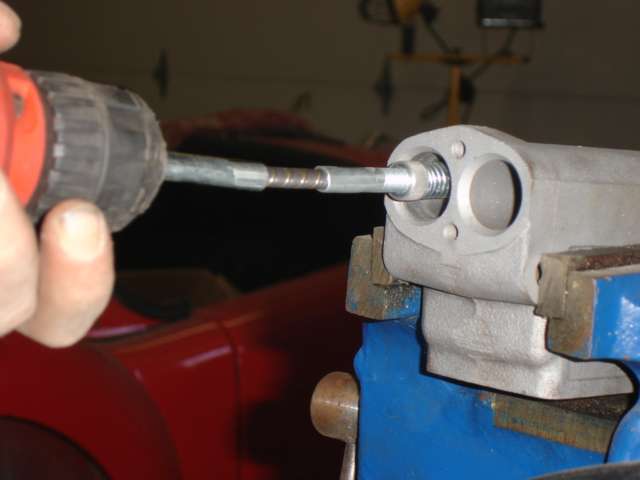
TRICK OF THE TRADE for seized pistons - place banjo bolt, banjo and adapter in one of the holes.
Ensure banjo bolt and adapter is tight, take grease fitting off and screw in rod from grease gun into the banjo.
Fill master cylinder reservoir with fluid.
Pump grease gun and watch the locked up piston come out.
Continue to pump until piston is sticking out enough to grab hold of. Be careful because it is being moved out with pressure and could cause injury.
If piston shoots out, keep clear.
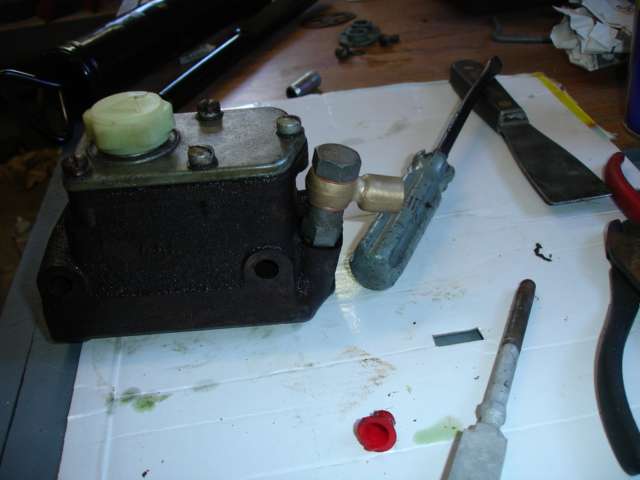
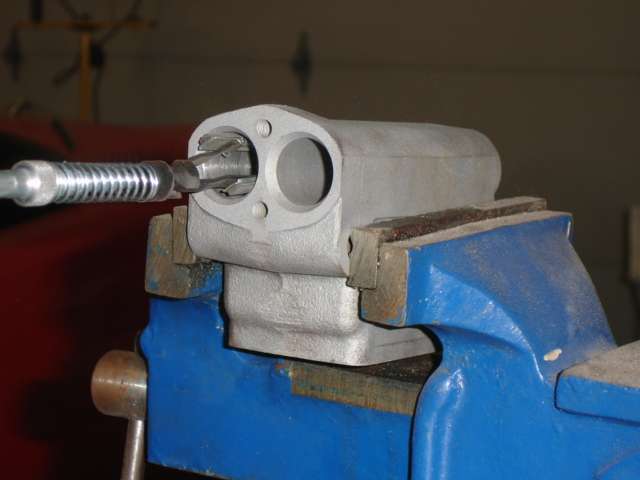
Once piston is far enough out to grab, Unscrew banjo bolt and adapter.
Place it in the other side.
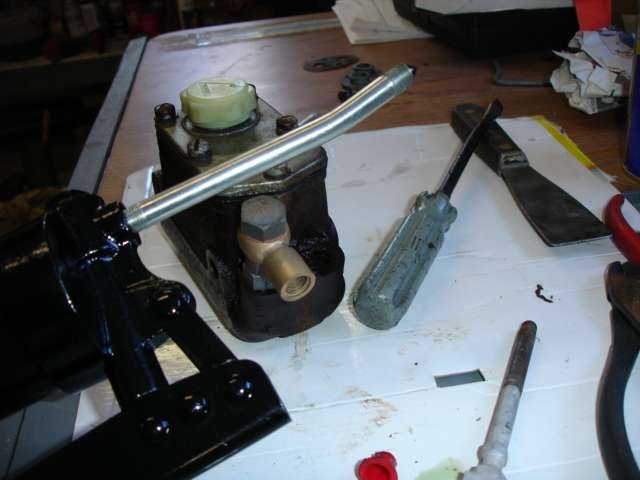
This piston is really stuck on this side. Typically brake side is worse than clutch side.
Start pumping the grease gun and watch it come out.
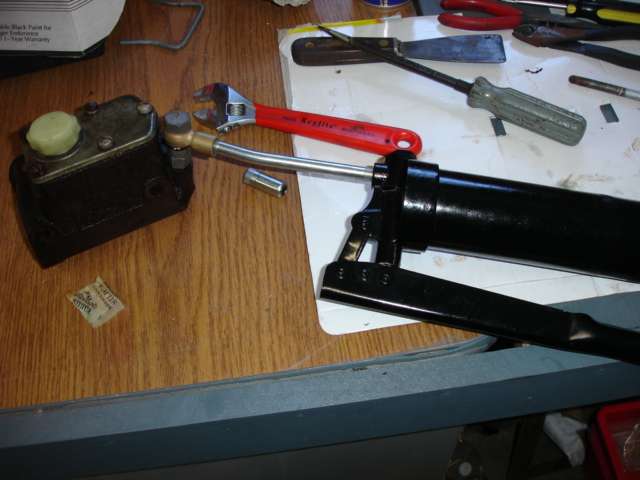
Once it is out enough, unscrew the banjo bolt and adapter. Use 101 of a grease gun is complete.
Easy as pie. Get ready for the mess. Fluid, grease and what ever was in there will be coming out.
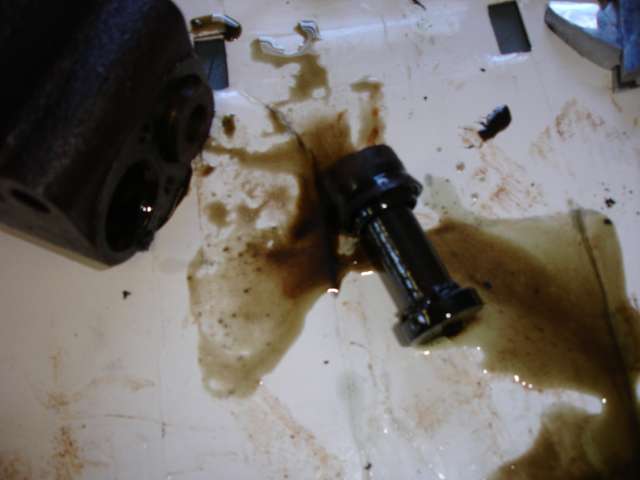
This one kind of shot out. Remember, be cautious when pumping pressure into this. Also Safety Glasses would be a good idea.
Now for the messy part. Grease everywhere.
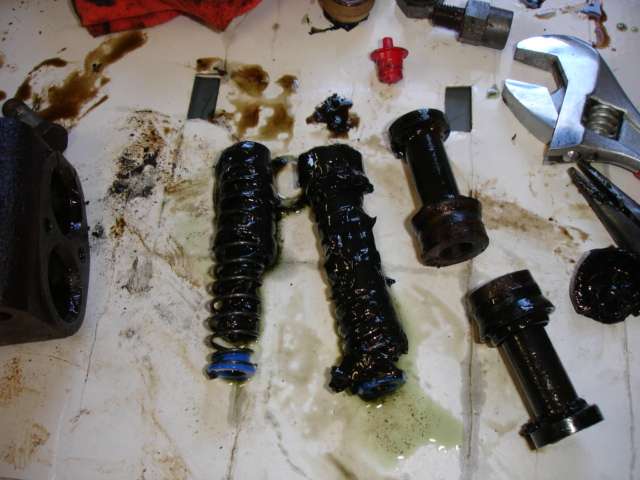
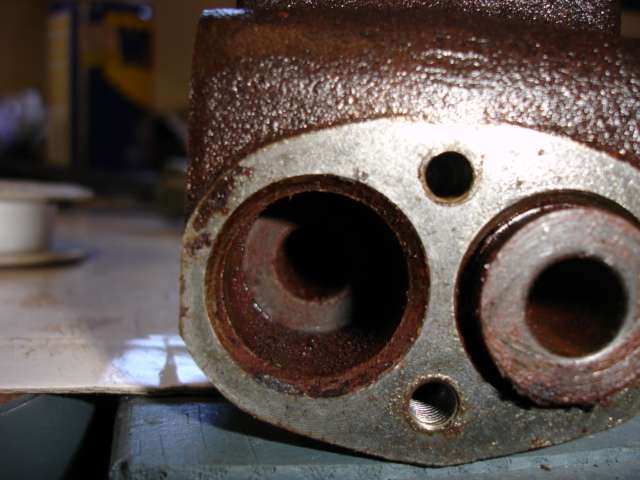
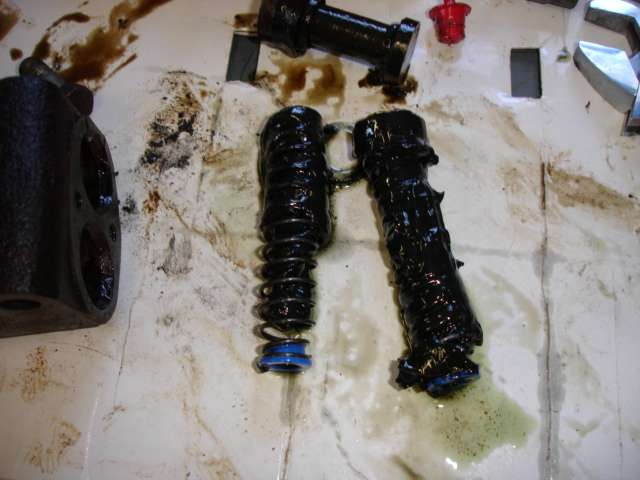
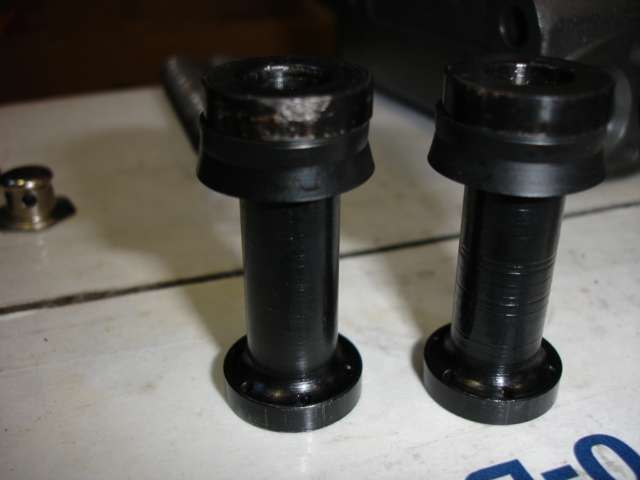
Now that you have springs, pistons and old rubber out.
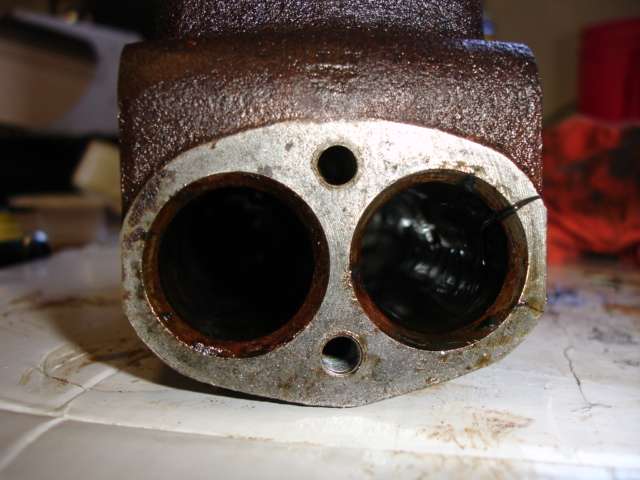
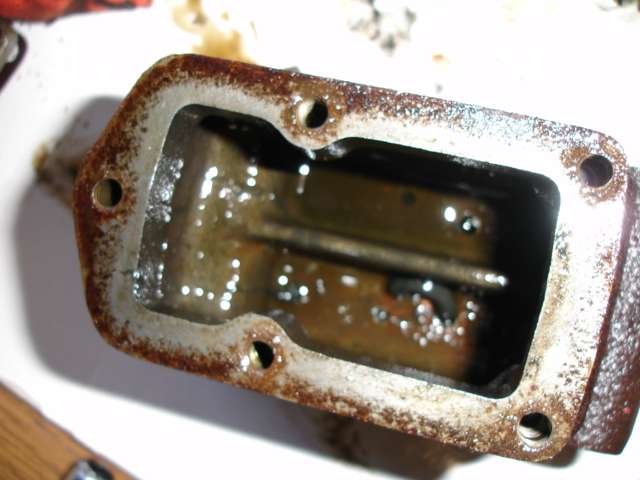
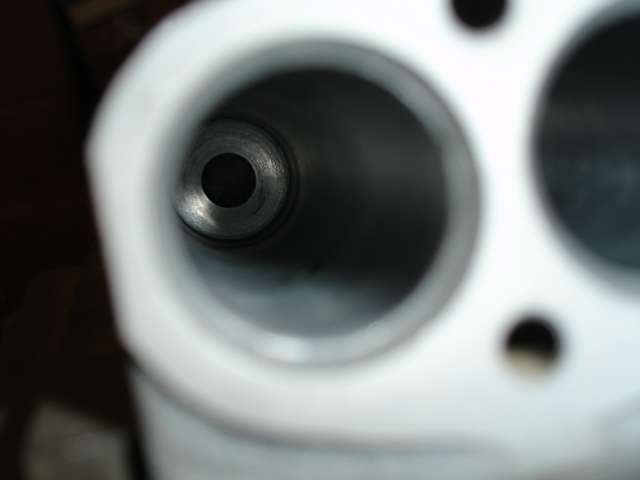
Wipe out bores and check the damage.
This particular one is in very good shape. There is only some surface rust and hardly any pitting at all.
Now go to top and take off lid.
Use putty knife or screw driver carefully as typically lids are aluminum and can be easily damaged.
Empty reservoir of any remaining fluids and note condition of surface where lid fits.
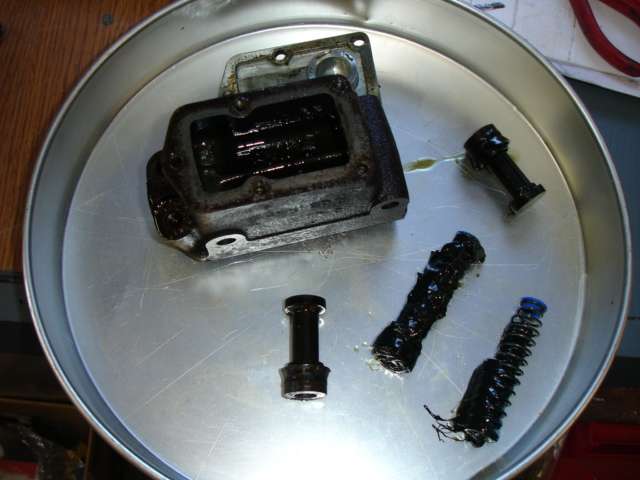
Place everything in pan.
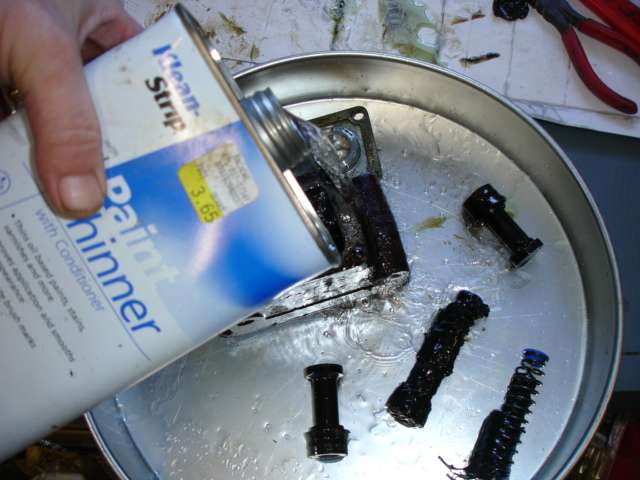
Pour a grease / dirt eating solvent. I use paint thinner which isn't good on rubber, but all rubber will be replaced.
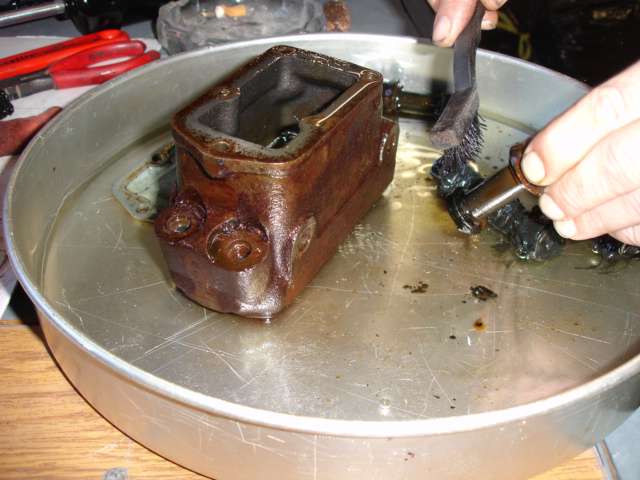
The grease will be pretty thick on everything, use detail brush or small wire brush to clean items. Soak core for 15 / 30 minutes to loosen grime.
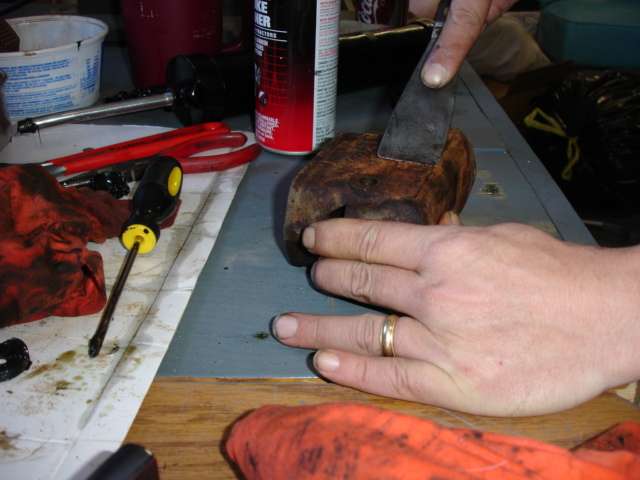
If rust is thick on exterior, take putty knife and scrape as much as you can. It will make sand blasting easier.
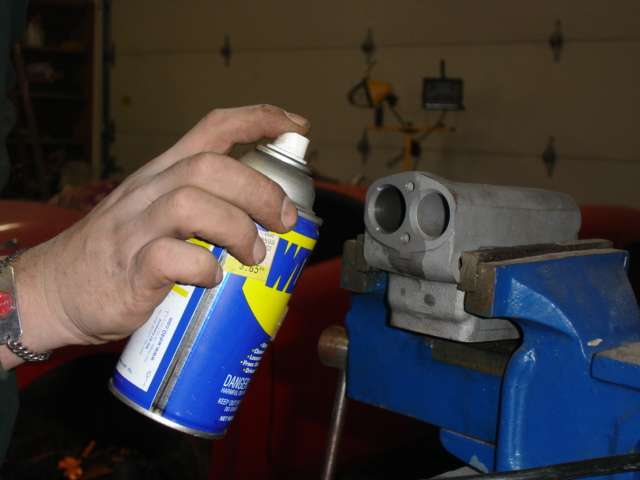
Spray core with carburetor cleaner all over, this will eat paint thinner and prep surface for sand blasting.
Make sure it is completely dry before sandblasting. Carb cleaner is perfect for that. Do a good job blasting as it will show at end.
Get it all, this is longest process.
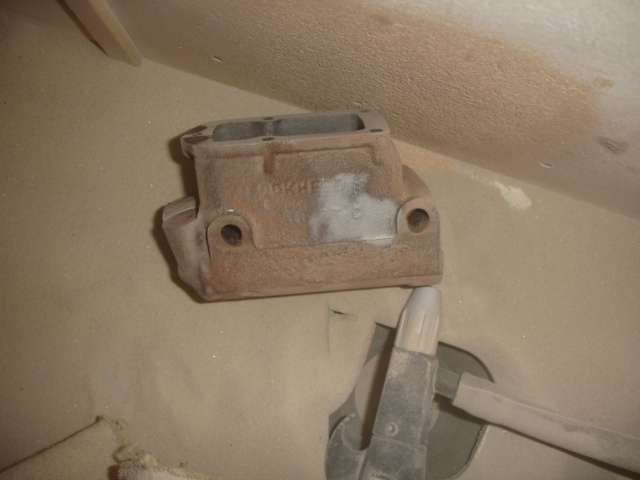
You are over the hump now. It is now rebuildable core.
Inspect and make sure you got it all.
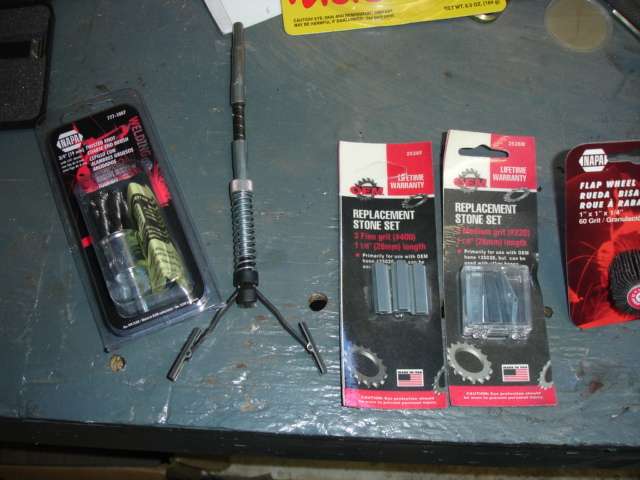
Get your hone ready with 220 medium grit hone stone. IF there is severe pitting, at this step it should be sleeved.
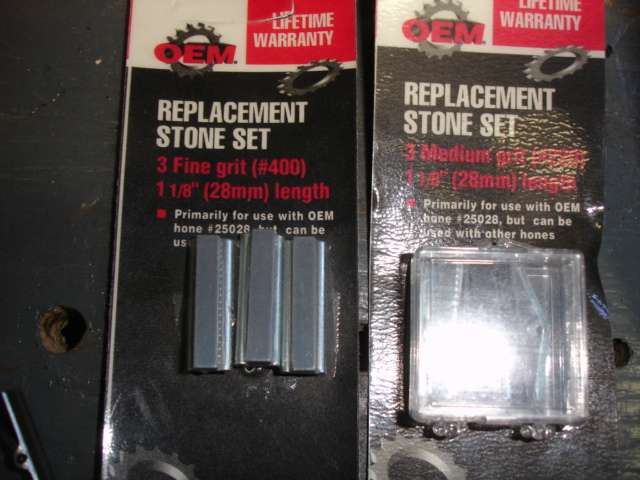
You can buy stone refills at auto part stores for approx. $3.50. these are the 1" stones.
Hone for 7/8" bore. you can pick this up at most auto parts stores for approx. $15 -takes 1" stone cartridges.
Set core in clamp and put your safety glasses on.
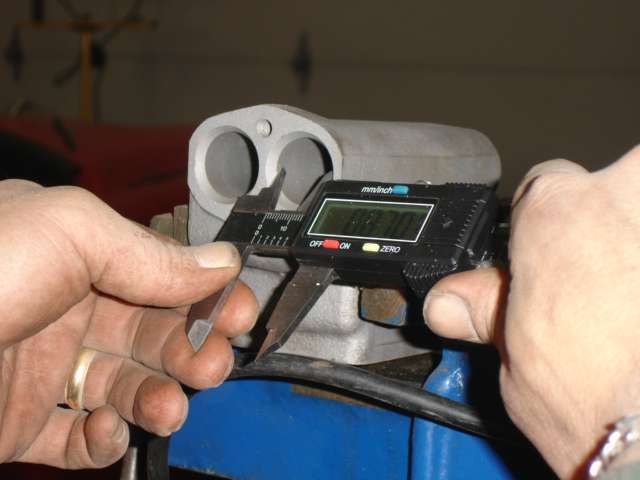
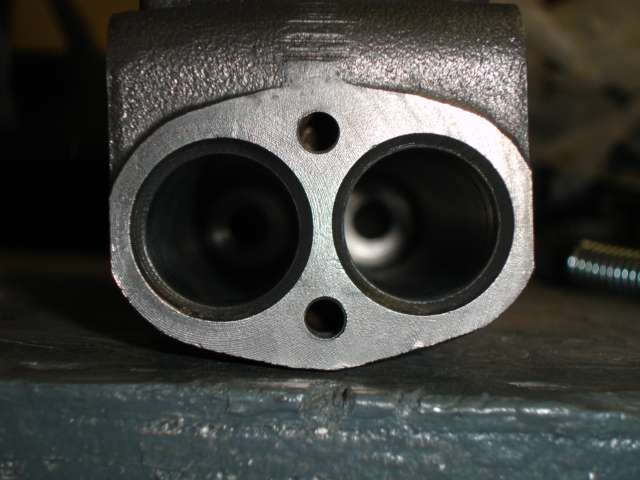
Measure your bore diameter and it should be .875 or close to it.
Put hone in high speed drill, insert hone before starting drill. Be cautious, parts may fly.
Slowly move hone in and out evenly first using the 220 medium grit stones.
Make sure you keep the stones lubricated.
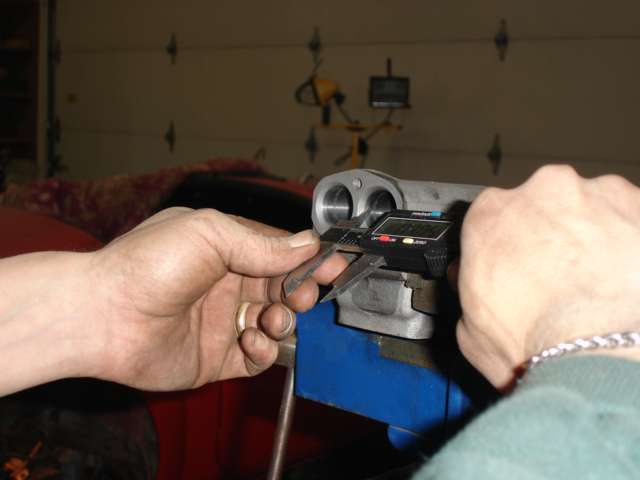
Continue to check the diameter. It will not change much using these grits of stones. Do both cylinders then use the 400 Grit stone same way.
When honing is complete, you should have a nice smooth cylinder walls. Maximum safe diameter size is .885 which is about .010 larger than starting.
It is important to have honed it evenly throughout entire cylinder.
After cylinders are completed. Put wire brush in drill.
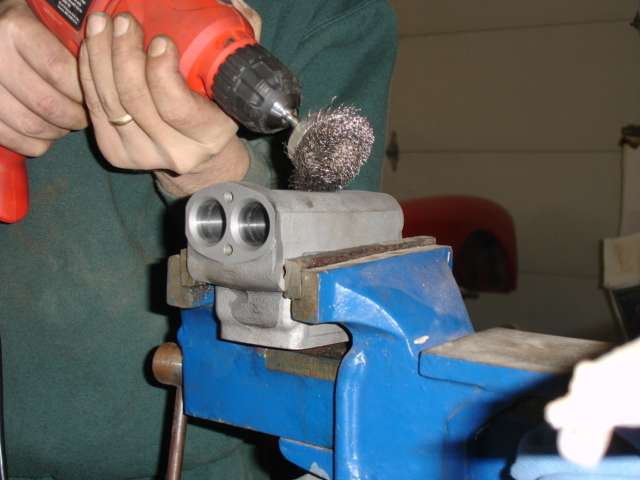
This process brings the core back to origional finish. It will look like it came right from the cast. USE SAFETY GLASSES. FLYING METAL HAIRS.

Shows difference, bottom brushed top still sand blated finish.
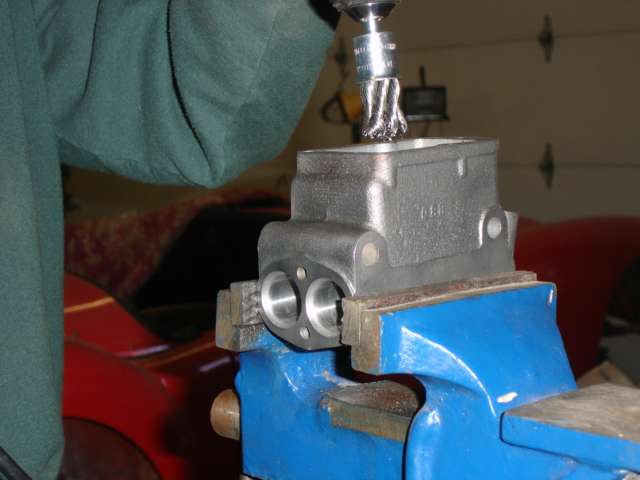
Use a very stiff wire brush to clean inside of reservoir.
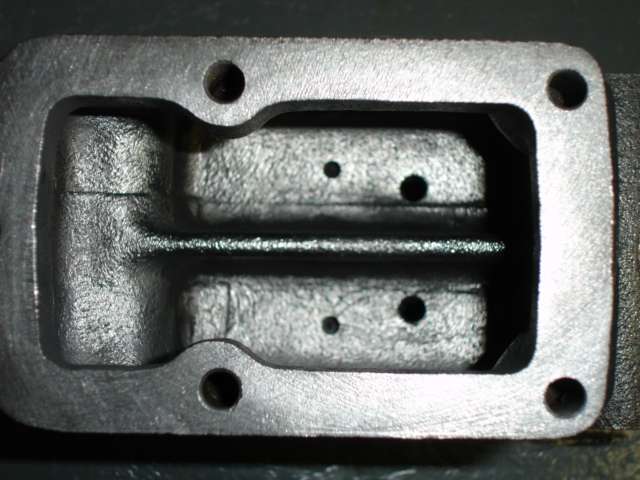
Very important to get reservoir clean and clear of any debris. If anyting gets into the cylinder from here, it could cause master cylinder to fail.
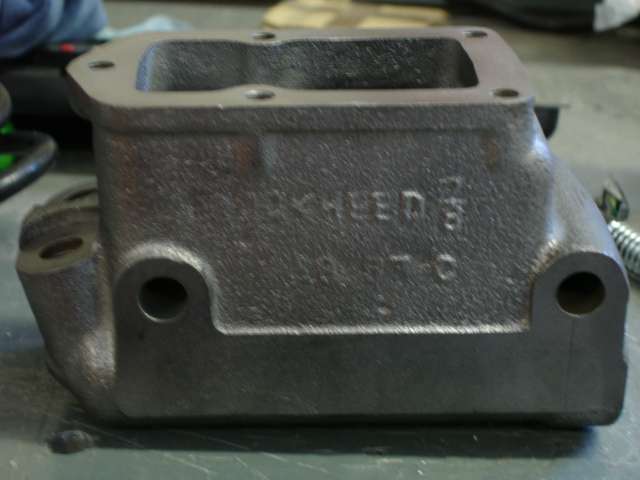
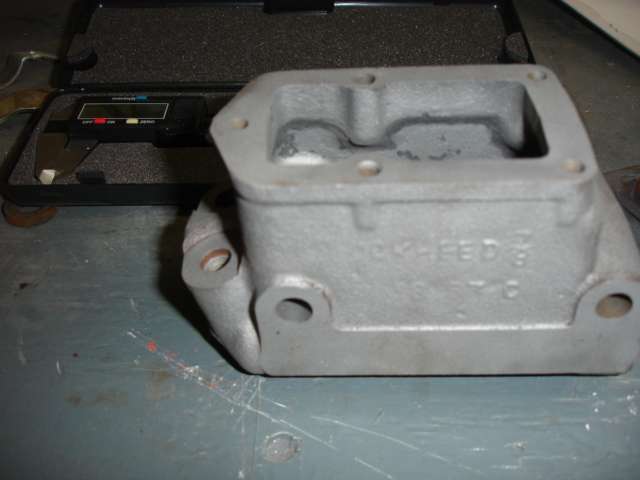
Exterior is finished.

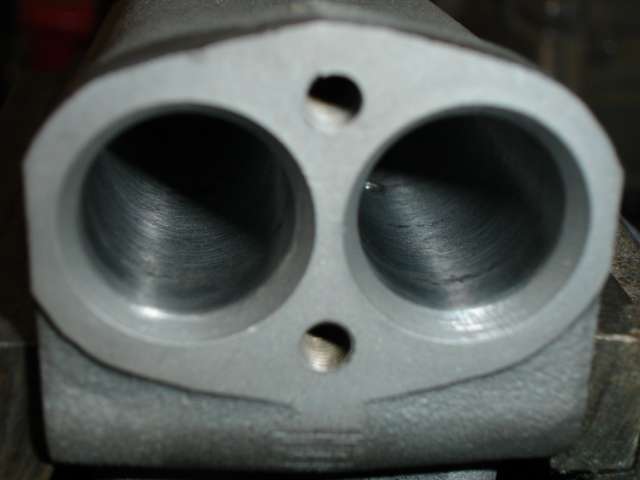
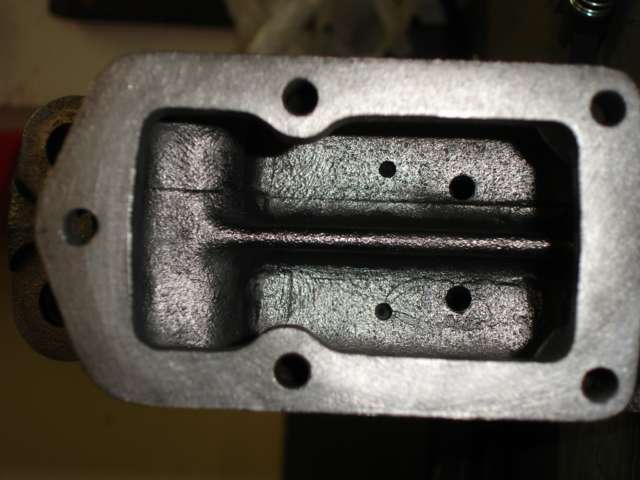
Bores finished.
Double check cylinders after working on inside reservior.
Reservoir finished.
Looks beautiful.
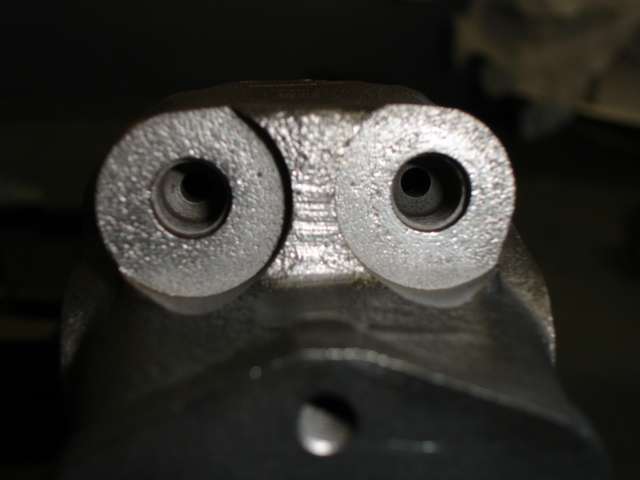
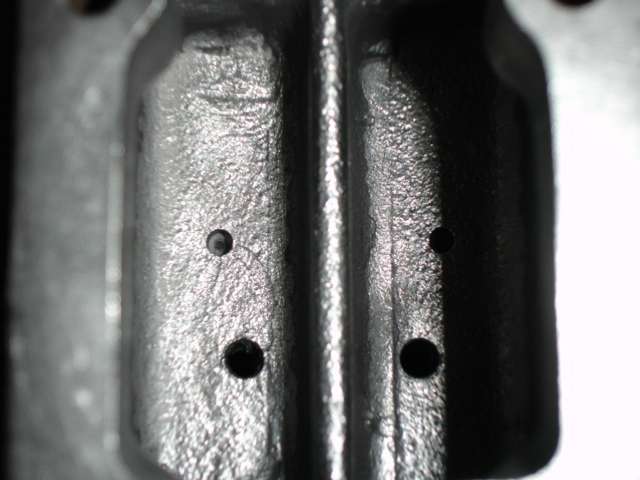
Make sure there is nothing stuck in these holes as it could make its way into cylinders and again could make master cylinder fail.
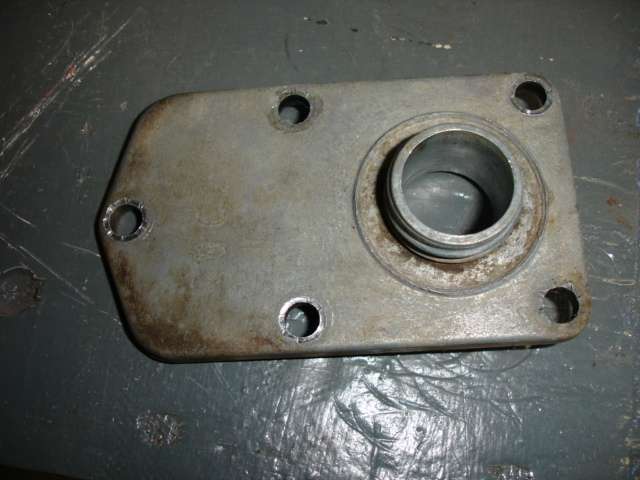
Now to work on lid. Check over it make sure no cracks.
Make sure butting surface is clear of any debris where it meets with core.
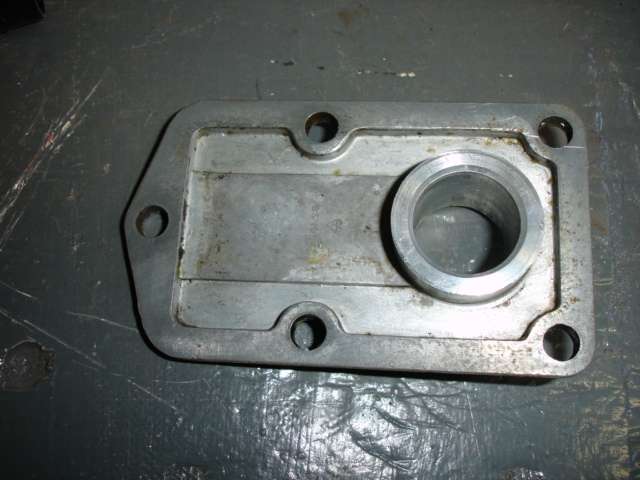
I use super fine grit steel wool to polish the aluminum lid. It brings a nice shine to it.

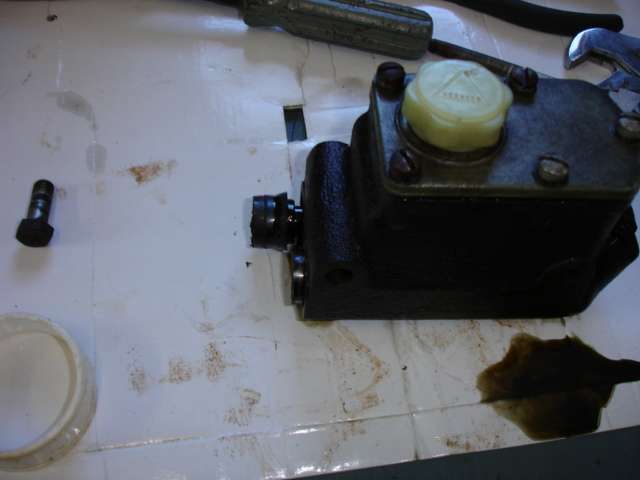
Core and lid complete.
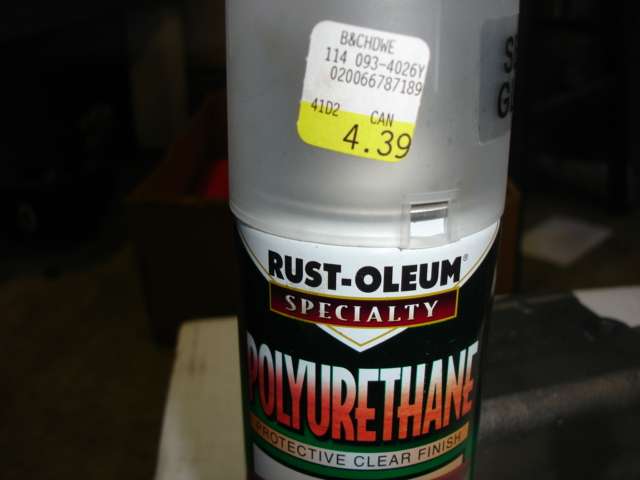
I like to take some polyurethane and spray the exterior.
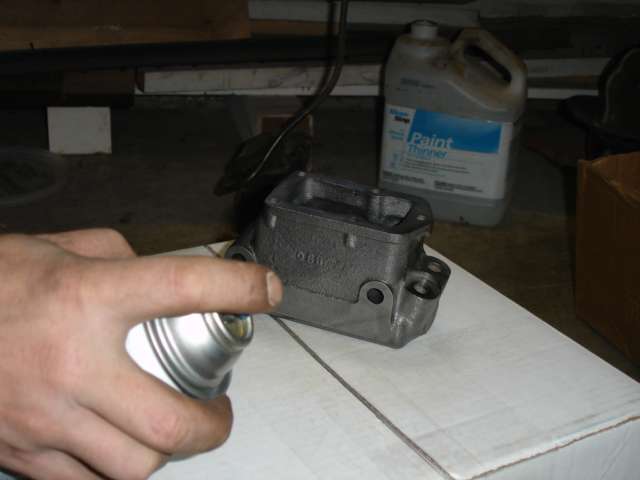
It puts a clear coat on it and keeps master cylinder from rusting.
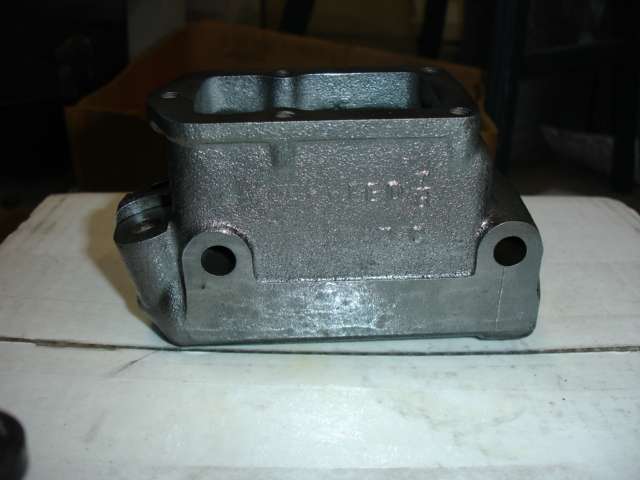
Hard to even tell it was sprayed.
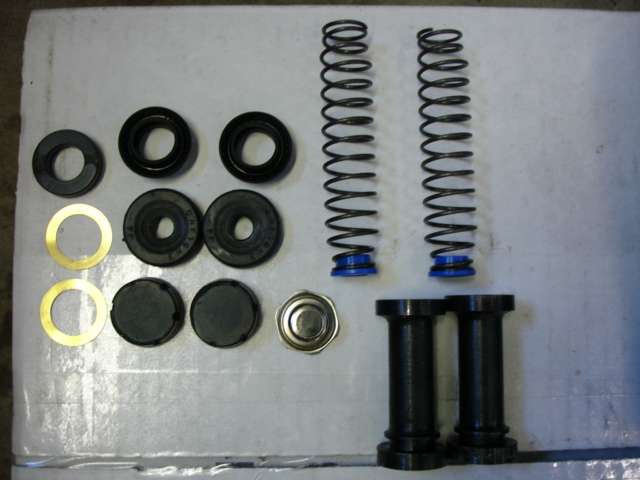
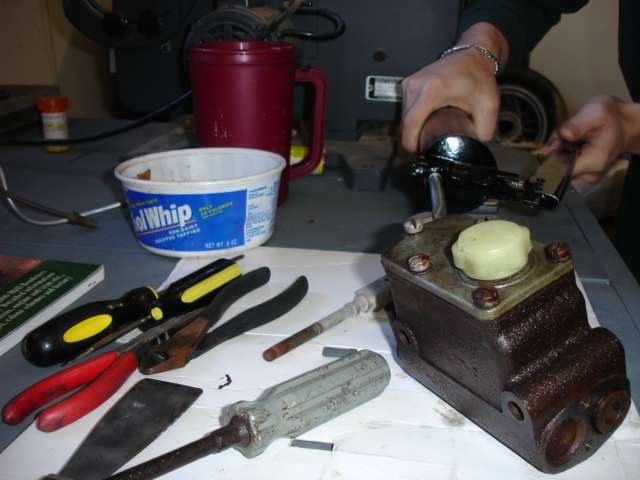
Ok, now the rebuild kit and guts.
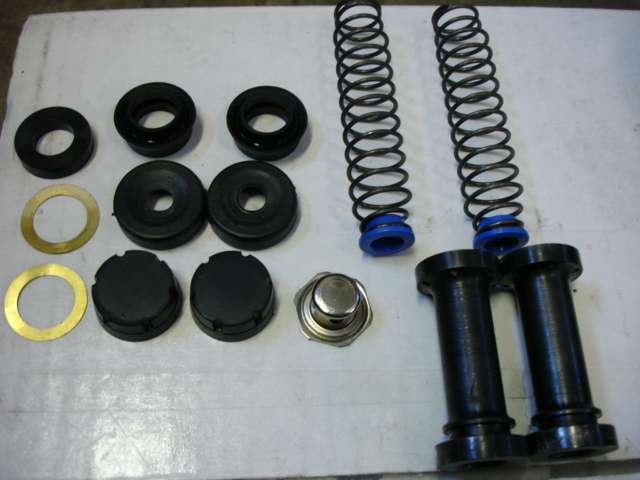
Check pistons for pitting, buggered edges, rust. make sure springs aren't cracked or expended.
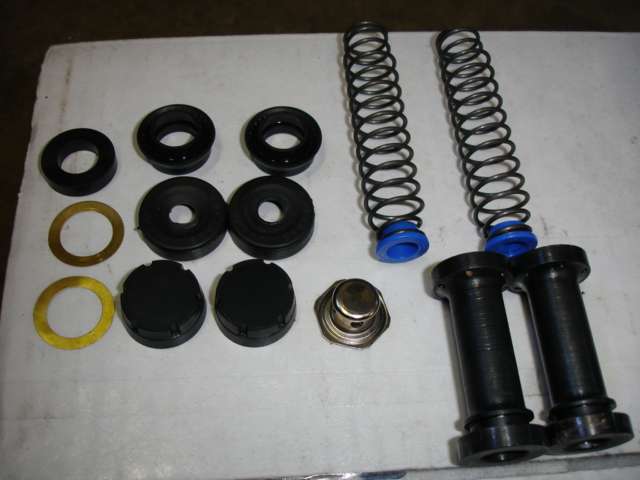
Rubber rebuild kits can be purchased for approx. $13 from Moss or other retailers. Pistons and springs can be also. Double check rubber for defects.
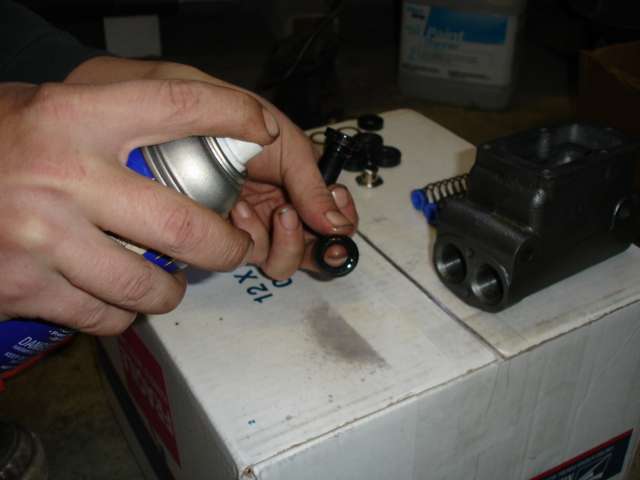
Lube the cylinder walls and rubber pieces. Do NOT use WD40. Use only brake fluid or red rubebr grease.
Put rubber seals on pistons. This can be a frustrating task as you have to get rubber over large end of piston. Lube it up.
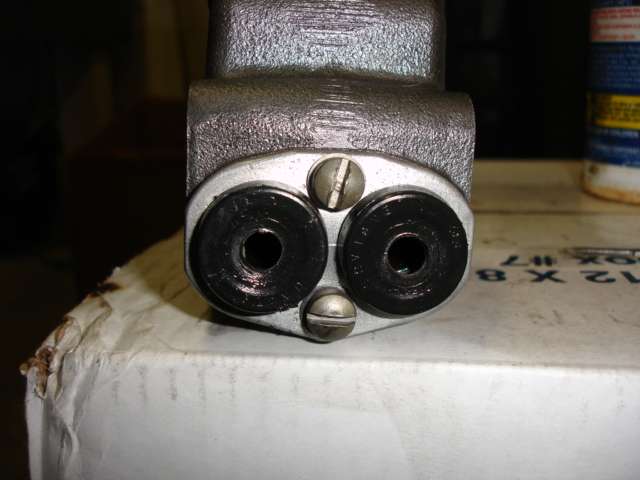
Hardware is different for each cylinder. Brake side has extra rubber ring and back flow valve.
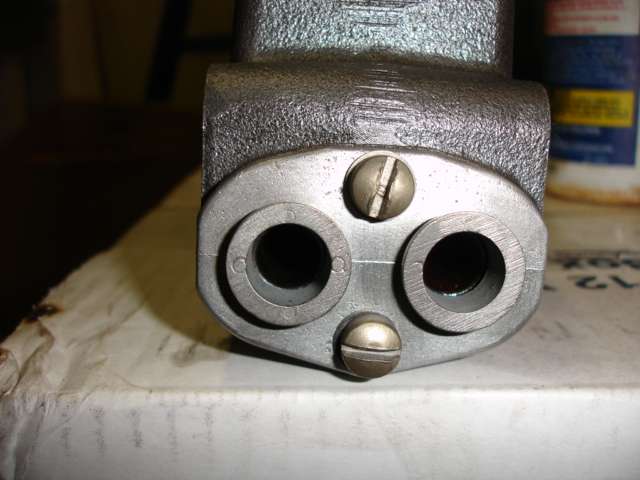
After you get guts in, put gasket on and front cap. Make sure pistons are in straight and not in a bind.
Place rubber boots on front plate.
Place lid on and cap. I would recommend always replacing cap during restore. These plastic caps can be cracked and not know it.
Critical: when putting lid on, make sure surfaces are flat and free of any debris. Don't over tighten screws. It doesn't take much to get good seal
with cork gasket.
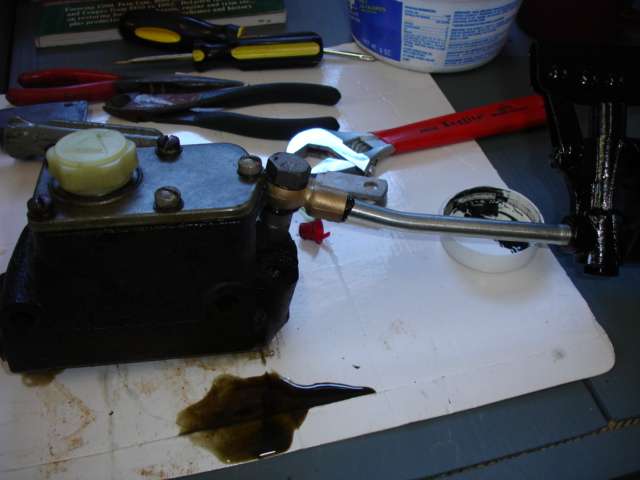
Your master cylinder is as good as new.
Check over everything, make sure you don't have any left over pieces. Throw all old rubber in trash as it should never be used again.
Double check to make sure new lid fits securely and has no cracks.

Double check all screws are tight. Hand tightened not torqued.

Last but not least, until it is ready to go back into your car, cap up the open holes. Thank you. Chad Pagel