The MGA With An Attitude
REPAIRING a Racing Screen, AUSTER BUBBLE - WT-210
These photos and notes are compliments of Jeff Sienkiewicz in New Milford, CT, USA
On Nov 20, 2016, Jeff Sienkiewicz wrote:
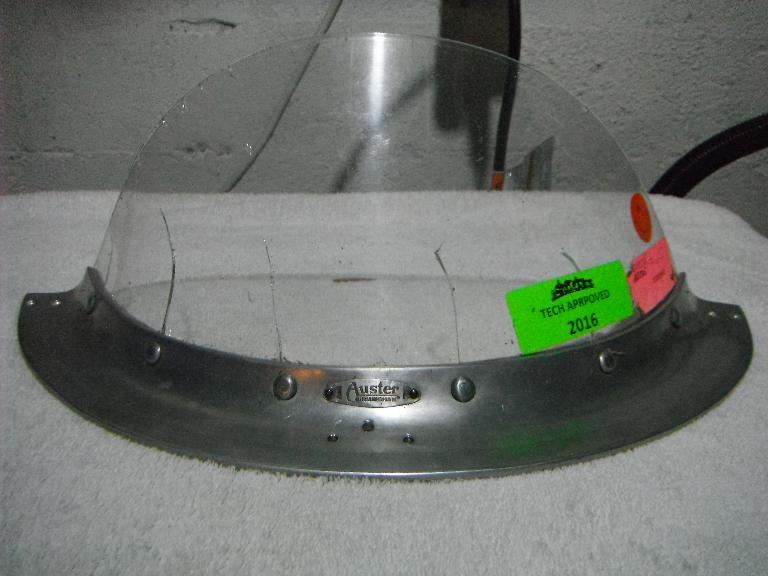
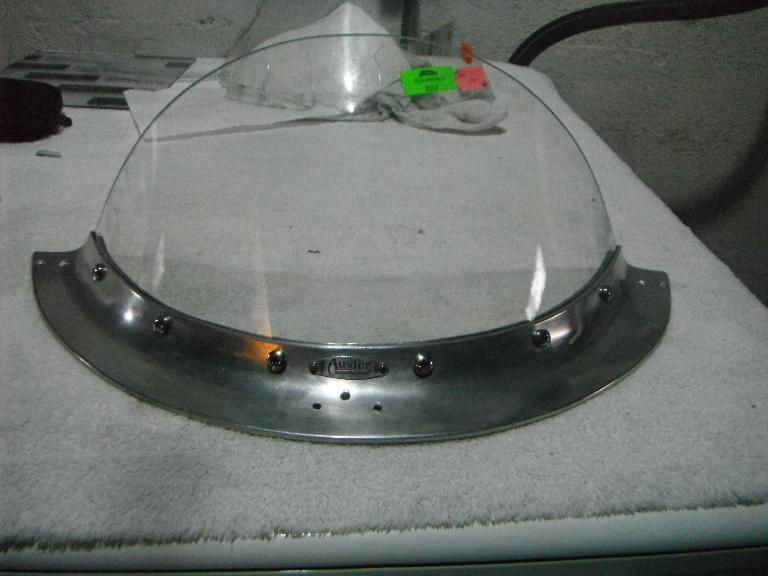
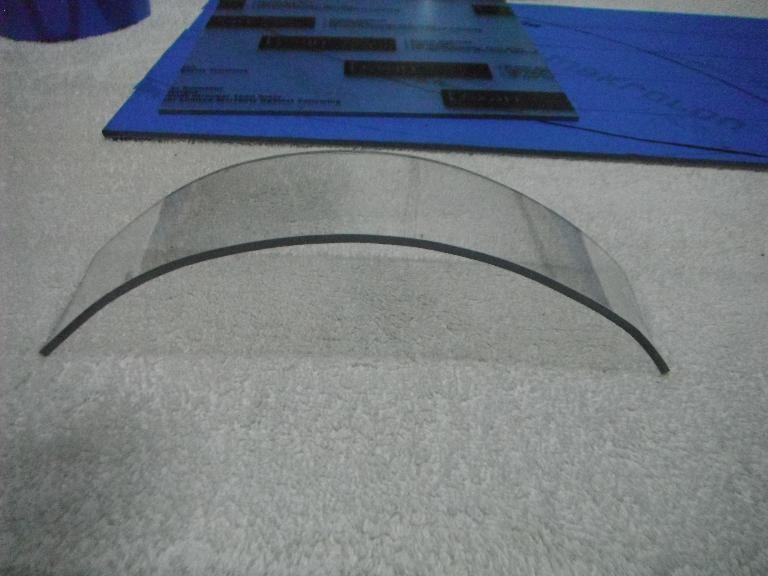
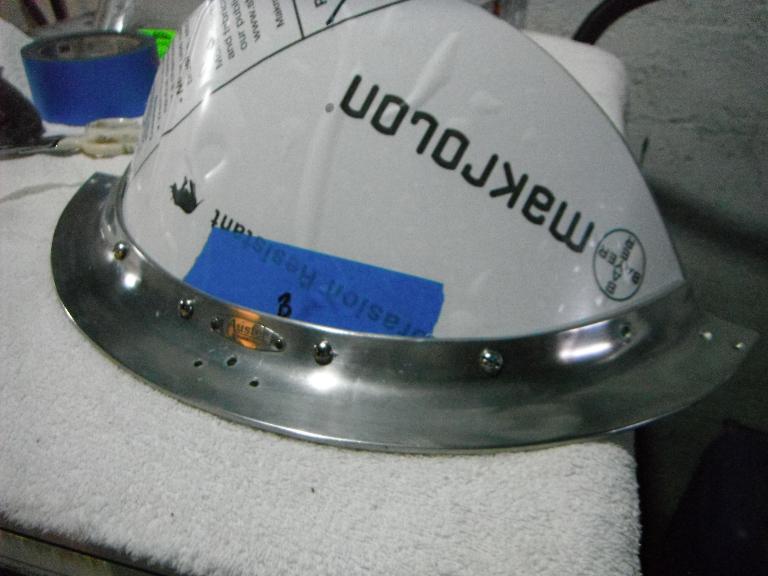
"My cockpit style windscreen needed some tender love to address serious cracks that had developed over the last two seasons. The windscreen was made of 1/8 thick material clear plastic.

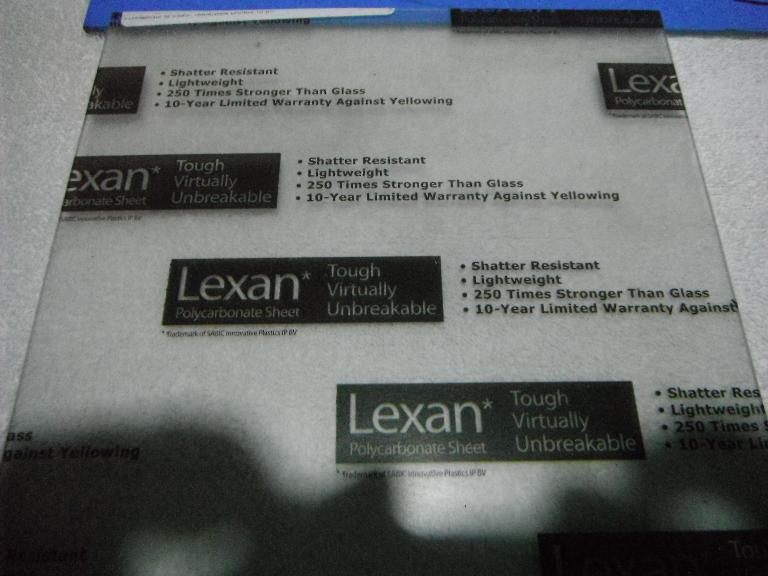
Research on the Web revealed that a polycarbonate replacement would be the material of choice. It also revealed that this stuff was expensive. Moreover, polycarbonate has a tendency to yellow with sun exposure and to scratch, and given my application, I was worried about these issues. It seemed like Lexan Excell D, or Lexan XL-10 were my best choices, but I couldnt find these materials readily available in small pieces. Eventually, I elected to use Makrolon AR. AR stands for abrasion resistant. I ordered my piece from TAP Plastics. It was about $40 with shipping.
The Makrolon was bendable, but seemed too stiff to use for the windscreen. The Internet has many articles and videos about how to bend polycarbonate with heat, but all seemed to relate to straight 90 degree bends. Some home gamers used a heat gun or hair dryer, but I didnt think that would work for me. I felt that I actually needed to bend my piece in two planes. After scratching my head for a few days, it seemed like the oven would be my weapon of choice.
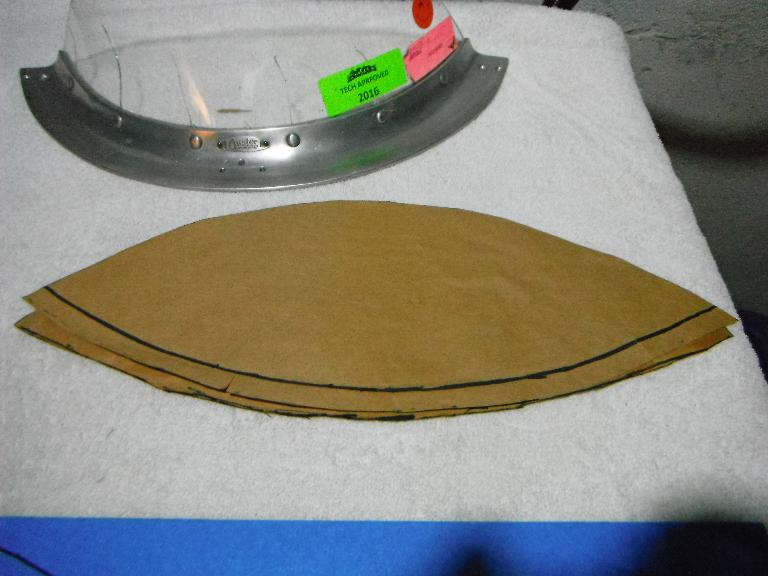
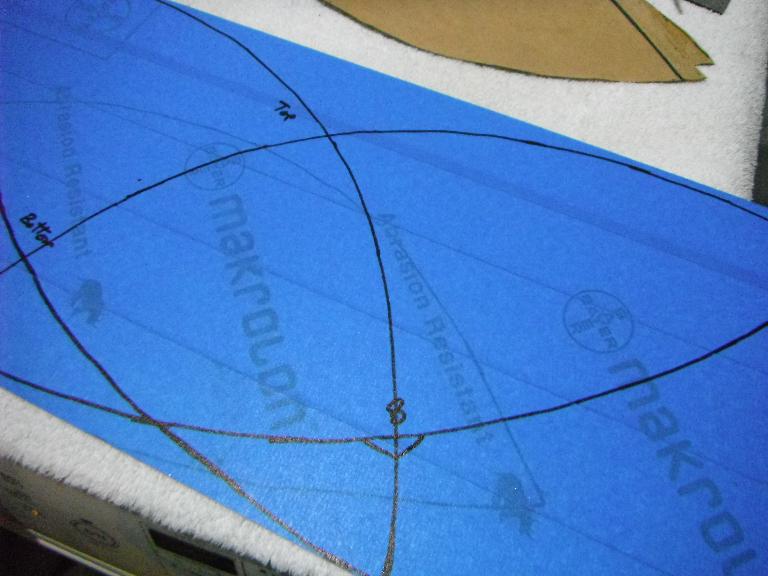
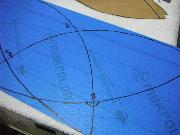
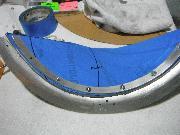
Afraid to rip apart the windscreen, I attempted to make a template for cutting my piece. With rubber cement, I glued some paper to the inside surface and then marked my lines and cut the template. But when I laid it on the outside of the windscreen, it seemed too small. So I followed the same process rubber cement and paper on the outside and made a second template. When I laid them over each other, I came up with a new form! Initially I used this combined template to mark out my cut on the Makrolon.

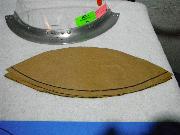
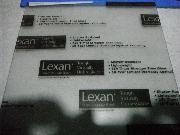
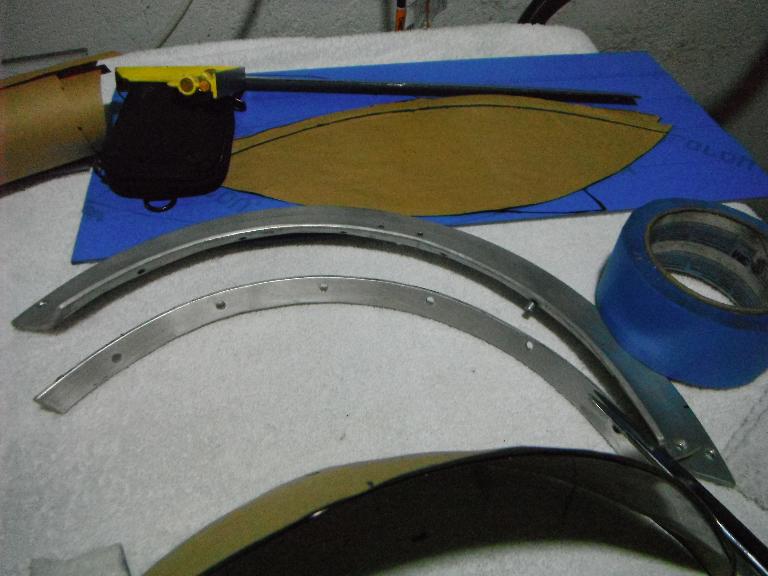
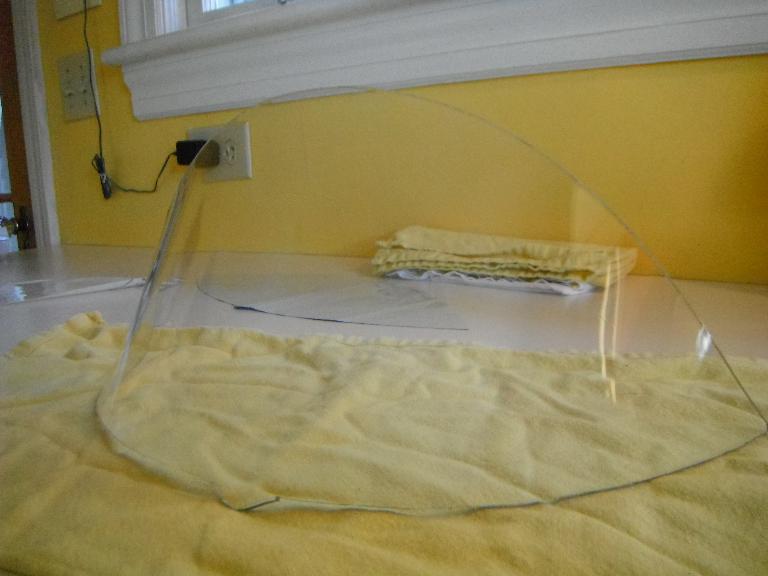
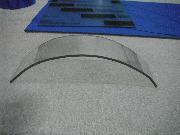
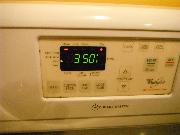
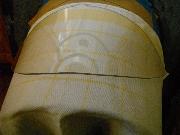
I planned to use a jigsaw to cut my piece and I wanted a sharp blade. Went to Home Depot and picked up a 36 teeth per inch metal cutting jigsaw blade. While there, I also picked up a small 6 x 8 piece of Lexan to use as a test mule. My initial efforts were promising. The saw blade worked fine and left a smooth cut on a 2 strip of Lexan. I heated up the oven and worked my way up in the temperature range. At about 325 degrees, the Lexan became pliable, but still too stiff. But at about 350 degrees it was easily bent. I pulled it out of the oven and draped it over the side of my wifes biggest pot covered with a cotton towel and ended up with this. Very promising indeed! I was still uncomfortable with my template, and decided that it was time to dismantle my windscreen. This was riveted together and required that I drill out the rivets. Once apart, I made a new template using the rubber cement and paper technique.


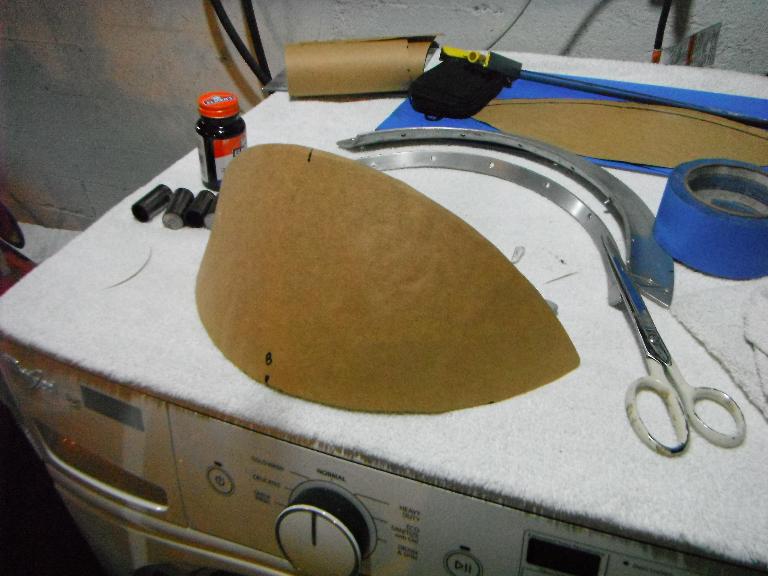
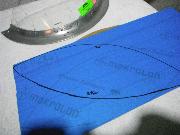
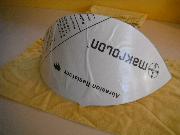
I laid out the new template on my piece of Makrolon. Because the bottom and the top were so similar in shape, I left a tab along the bottom surface that I would later remove once the piece was shaped. Now it was do or die. I felt I had only one shot to form my piece, so I experimented some more with the Lexan and with the scrap piece of the Makrolon. I wasnt sure if the Makrolon would react the same way as the Lexan since it was abrasion resistant. I would lay my piece on an upside down cookie sheet for the heating process. Of course, it was important to remove the protective sheeting on the Makrolon before heating! Experimenting, I determined that heating to 325 degrees for more than 5 to 7 minutes simply wasnt enough for the polycarbonate pieces to become pliable. Heating to 375 degrees for the same amount of time caused internal bubbles to form and ruined the piece.
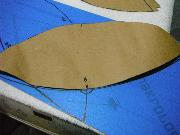


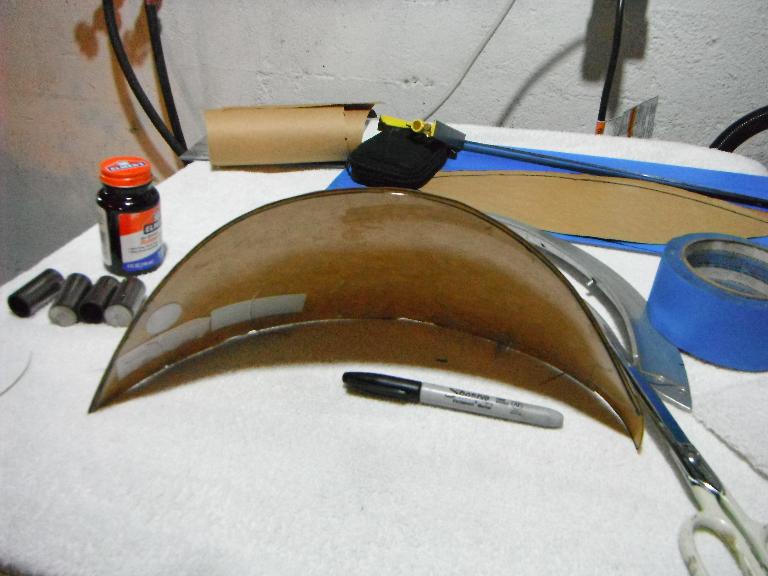
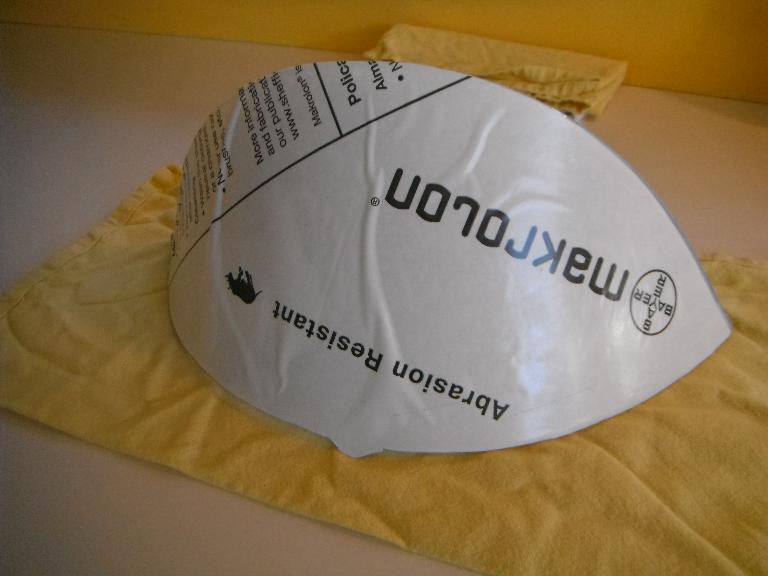
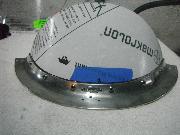
With a big caveat, a preheated oven at 350 degrees seemed to be the sweet spot. Experimenting with smaller pieces cut from the Lexan and Makrolon, however, revealed that 5 minutes at 350 degrees was too much, causing the internal bubbles and ruining the piece. But at 3 minutes, the pieces became sufficiently pliable to bend over my form. I took the decision to heat my windscreen piece to 350 degrees for 3 minutes. Aargh! That didnt work. When I pulled it out of the oven, the piece was still too stiff to bend. I let it cool down for about 10 minutes and started over. This time I heated to 350 degrees for 4 minutes, all the time worried that bubbles would form and ruin my piece. But at four minutes, the piece was pliable enough to drape over my form with some pressure from my hands. (I draped a cotton towel on my form and flipped up the excess over the hot plastic as it cooled). This is the result. I returned the protective sheeting back onto the surface of the Makrolon and I now needed to do some drilling along the bottom and some sanding of the top edge. Here you can see the little tab that I left to identify the bottom. I cut that piece off and remarked my piece for fitting.
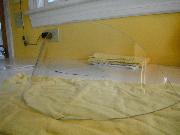
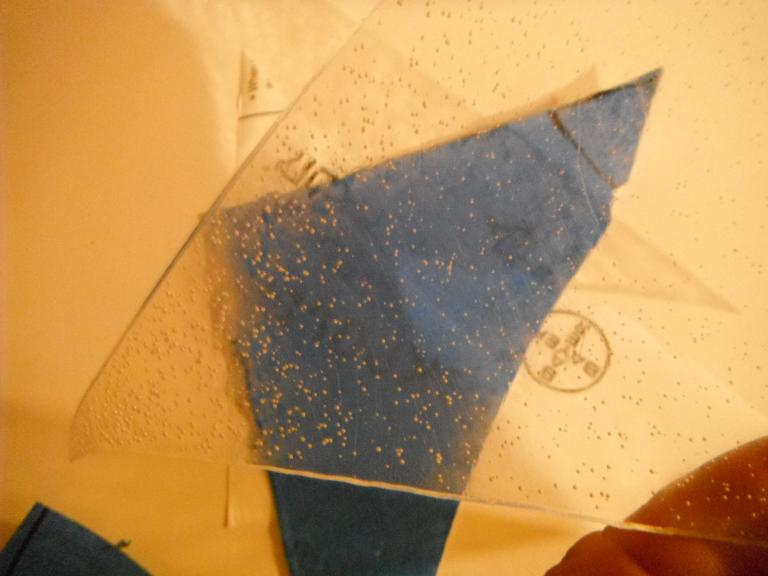
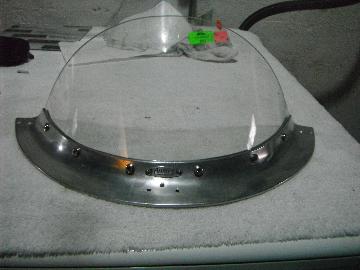
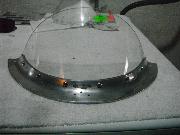
I lined the piece up with the front piece of the aluminum frame and started drilling my holes from the outside in, one at a time. Once I had a few holes drilled, I lined up the rear piece of the frame (which didnt fit so well). Once the pieces were all test fitted, I scribed a line so I could cut off the protective paper from between the aluminium. Then I put back together. I was going to use flush rivets like originally attached, but when I went to check my supply, all of my rivets were too short. So for now, I just screwed back together with 10-32 x 1/2" machine screws, using blue Loctite on the nuts. Once everything was back together, I pulled off the protective paper to reveal the final product.

So the moral of the story is 350 degrees for three minutes for a small piece, four minutes for a cockpit style windscreen.
Eric Russell in Mebane, North Carolina, USA wrote:
"Notice that the cracks in your old windscreen all emanate from the rivet holes. You need to stress relieve those holes and also make them slightly over size to allow for movement, expansion/contraction,etc. Heat up a metal rod the right diameter (a little bigger than 3/16" if you are using #10 screws) and push the hot rod into each drilled hole to melt the cut edges. Ideally, you'd use a drill bit specially ground for drilling plastic. Polishing the edges you cut with the jig saw (using finer and finer grades of sandpaper) also helps to minimize the propagation of cracks".
Repairing a Crack in Plexiglass -- www.plasticgenius.com/2009/03/repairing-crack-in-plexiglass.html
Rob Zucca in Camarillo, CA, USA wrote:
"You can also "polish" your edges and holes with a torch. I usually run the edges over a jointer if they're straight or alternately sand them to get the machine marks out. Then I use a torch with a finely focused tip and pass it quickly over the edges. Depending on the the material (some plastics work better than others) it turns perfectly clear without polishing and buffing. I would imagine this would also help with stress relief (on the plastic, not the operator)".
|