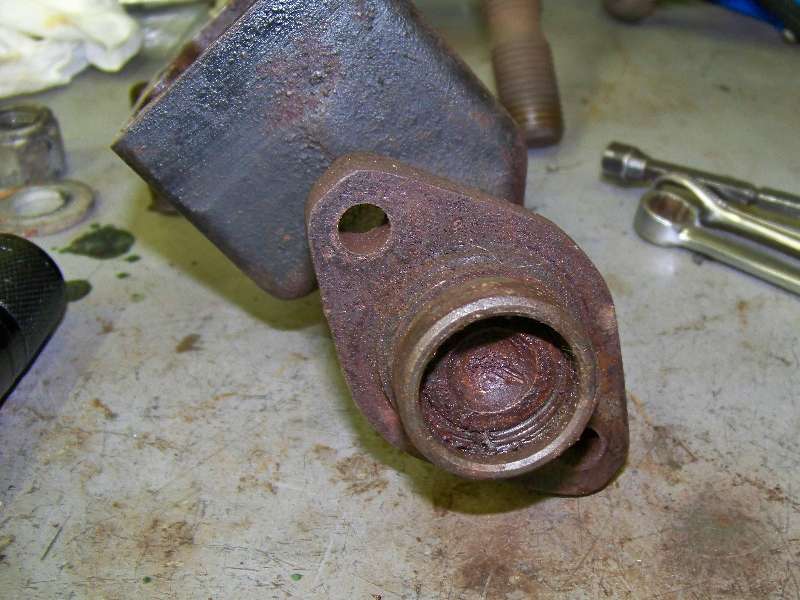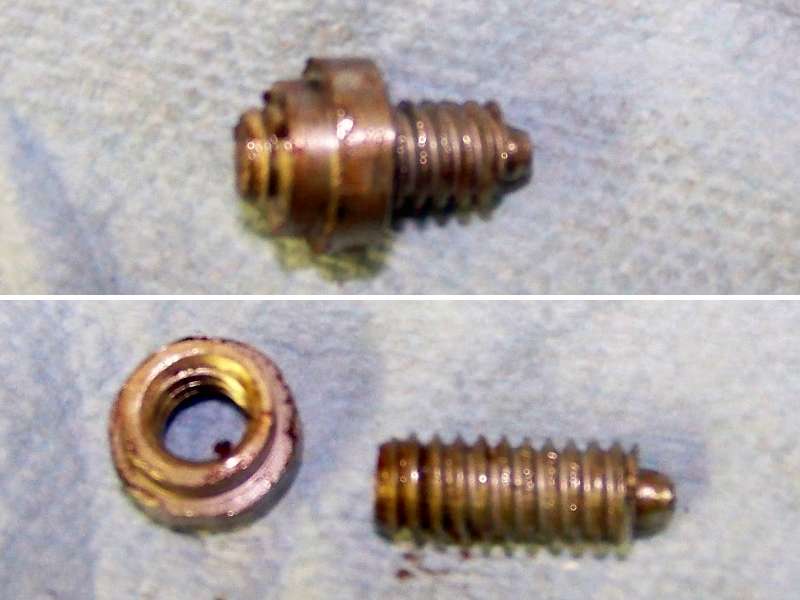
Shows the screw plug and nut in place. You will find other methods that will work just as well. I just wanted a permanent tool.
|
|
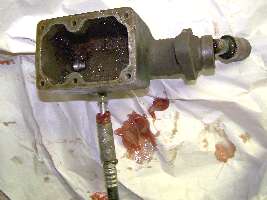
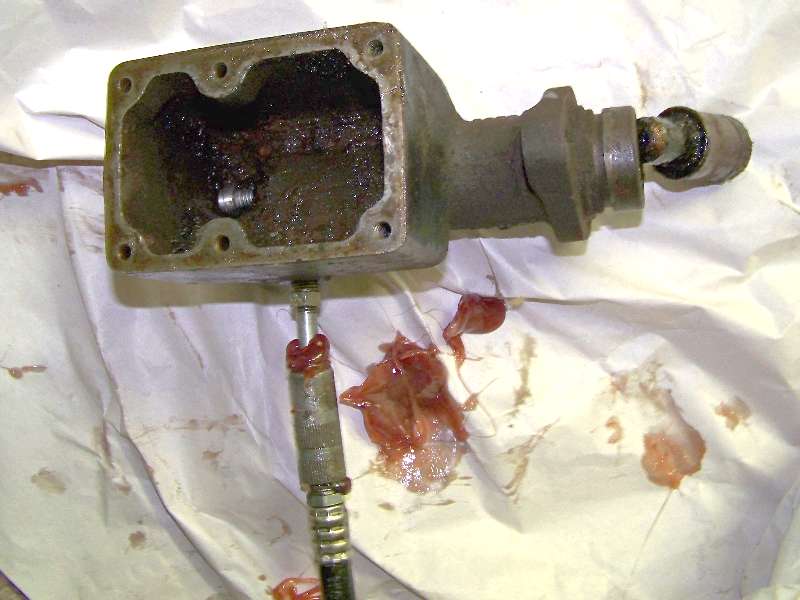
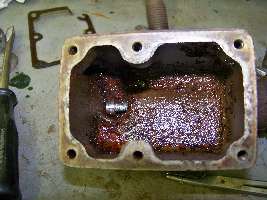
Illustrates the pumped out piston and no leakage past the screw plug. The Zerk fitting is simply screwed into a brake line fitting after the hole has been taped to the proper threads. Messy but quick and effective.
|
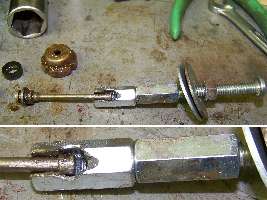
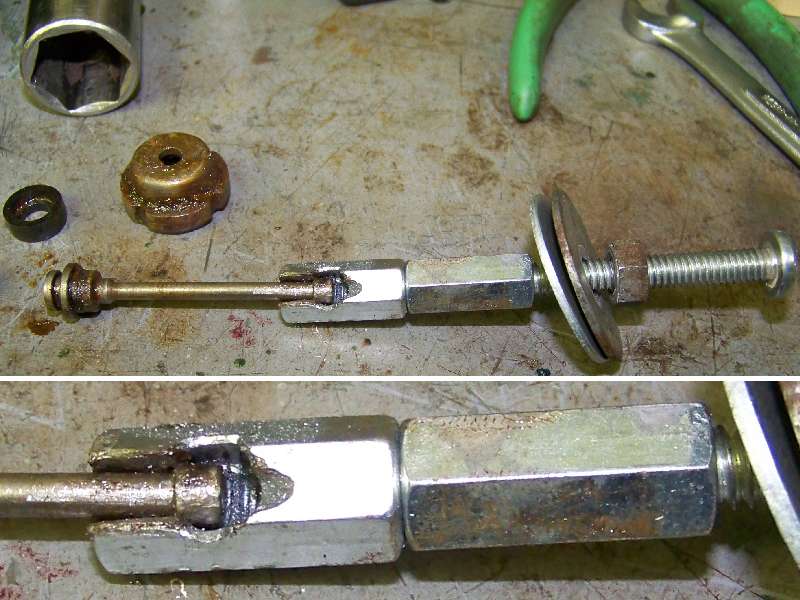
This is the tool to remove the pin and rear aluminum spring seat from the back of the cylinder. I could not get the seat to move by pulling on the pin. I made up this small puller from hardware store pieces that I had on hand. The stepped hole in the 1/4 x 20 hex coupler was made buy first making a slot lengthwise with an air cut-off wheel. A hole smaller than the end of the pin was drilled at the top. I then used a file and Dremel tool to shape the slot and hole to accept the pin shaft and end. The idea being the hole would hold the end and provide a way to build on the hex coupler to get a longer screw and a few back up washers to make a working puller.
|
|
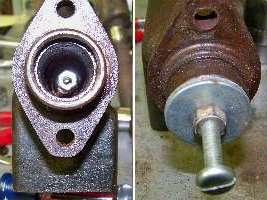
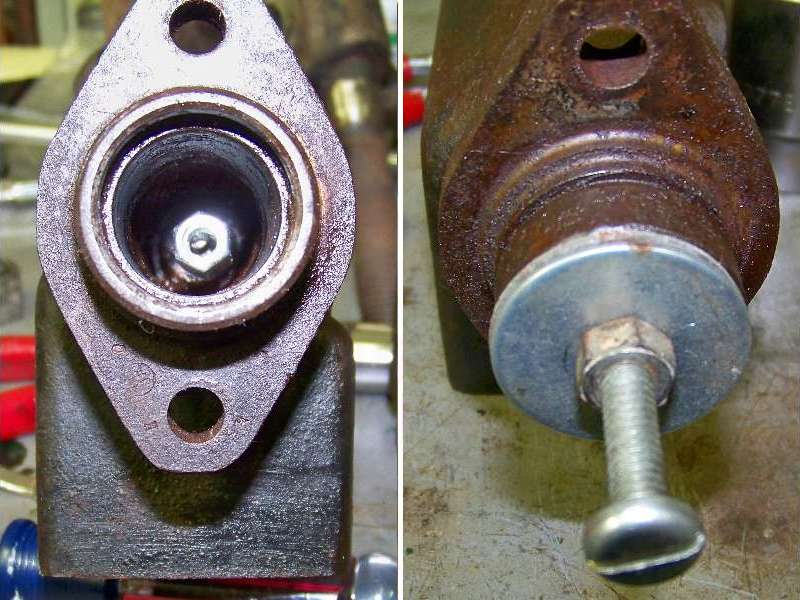
Left shows the end of the hex coupler in place. I added the second hex coupler as I needed the length so that I could see inside the cylinder as I attached the long screw and washers.
Right shows the puller in place. All that is necessary now is to hold the screw and turn the nut. Dan Suter's suggestion of using a wedge shaped wooded tool to just budge the alloy seat would very likely work in all but the worst cases.
Just as with the grease gun piston removal, it was surprising how little effort it took with the right tool.
|