The MGA With An Attitude
MORE NOTES on Top Installation -- TT-105
These notes were submitted by Ralph Cordell after completing his MGA top installation.
RALPH: >.... I decided to install the rag top on my '59 MGA myself rather than pay $150 or so to have someone else do it. .... and am really satisfied with the appearance. .... I made two modifications to Barney's procedure as a result of what I found when I removed the old top. Now I don't know that this was the original top but it had been on the car since before 1968.
>
>First - I rubber cemented strips of foam rubber weather-stripping to the bottom of the front bow before wrapping it with fabric. I also added strips to the tops of the first two metal bows where they rub against the top. The old set-up had this. I can see that the foam on the metal bows may have provided a bit of protection to the fabric. I notice that Clarke Spares offers a foam piece for the wood bow. I used 3/4" wide and 3/8" thick.
BARNEY: Installing the center latch makes a BIG difference in the size of the finished gap. And getting the front flap tight at the top of the windscreen is key to keeping the wind and water out, especially at high speed. With the center latch, the gap front is really small, no more than 1/16" at any point. I have seen a piece of garage door weather strip used here. It looks like a piece of upholstery piping with a round bead on the edge, but the bead is soft, closed-cell foam rubber, maybe 3/16" diameter. You just staple this piece under the top bow after the installation is complete, so it can easily be added to anyone's car. The rubber bead is narrow and soft, so it conforms nicely to fill the gap. Without the center latch, airflow over the top at speed can pull the center bow up 1/4" or more, so the weather strip alone may not do the job.
RALPH: >Second, I ran two strips of 2" nylon webbing from the front (wood) bow back to the last metal bow (just before the window). My original set-up had these made from the same material as the top but I did not have enough excess to do this and settled for nylon webbing. I believe the idea here is that the webbing will pull the bow in place rather than put pressure on those two little screws (and tear the fabric). I tacked the front part in place after I covered the bow and before I stapled the top down. I've not attached the rear yet but will loop it around, probably either staple or sew it together and then run the screws through the material.
BARNEY: These web straps are original issue on the early 1500's to hold the rear bow in position in the absence of the two top screws. I put the two screws through the thickest part of the sewn seam and have never had the slightest hint of any tearing, and I don't have the gentlest touch when it comes to handling the top.
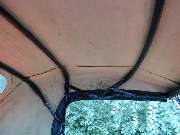
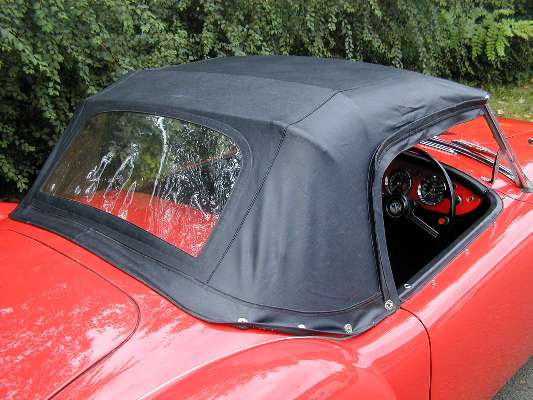
Original style 1500 single window top (photos compliments of Walter Tange). There are no screws through the fabric at the rear bow, but there are original style fabric straps inside running from the front bow back to hold the rear bow in position. The folding frame was originally painted tan with the fabric wrap on the bows being the same color as the inside of the rag top (usually tan). The black frame and wrap makes a nice picture, but is not original.
The fabric covering sometimes found on bows 2 and 3 was originally part of the fabric canopy, sewn into the seams of the rag top. I suppose this arrangement was intended to inhibit rise and flapping in the wind of the canopy at road speed.
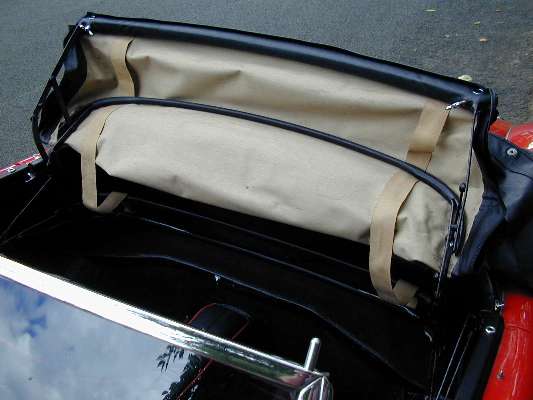
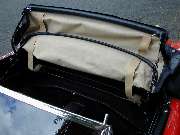
 The rear bow was not fabric covered. For early models (without fabric covered bows) the rear bow was secured in place by two fabric straps running from front bow to rear bow. For later models with the fabric sleeves on bows 2 and 3, the rear bow was secured in place with two screws (with finishing washers) driven through the fabric from top side into the steel rear bow. Picture here is from a fully documented very original low mileage MGA 1600.
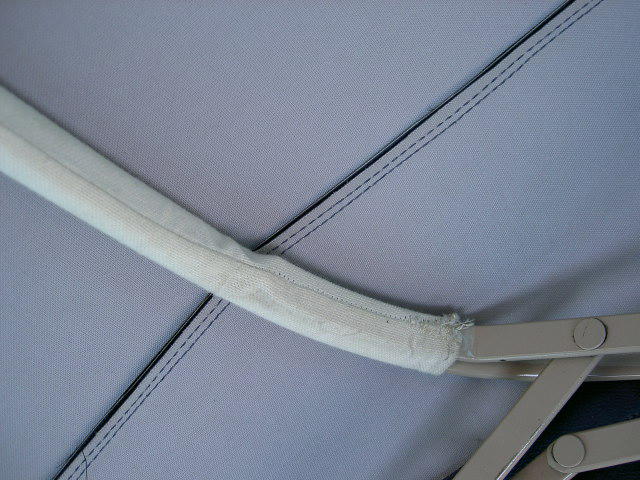
Here are pictures of the listing installed on the rear bow. I don't know if it was ever standard on the rear bow, but I have seen pictures of listing being just a wrap on the bows without bein attached to teh canopy. That is, just a decorative cover. My understanding is that when it was original issue it was sewn into the canopy to prevent wind slap of the fabric, and it was used on the 2nd and 3rd bows only, not on the rear bow. The rear bow either had two web straps from the front or two screws through the fabric. When the listing was used, the frame cross tubes could not be welded to the brackets, because they had to be disassembled to install the canopy with the listing slid over the bows from one end.
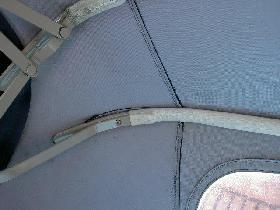
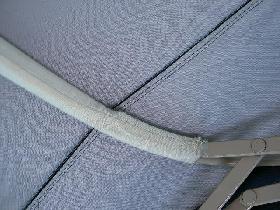
Notice the fabric for the listings had to have accurate tube diameter to fit properly when installed. Most current replacement tops will not have the listing. Most likely reason for this is to reduce the number of different parts for inventory and sales. As another side note, some early top frames had different location for the 2nd bow (first tubular bow). I believe these would all be the early style with web straps inside, and no listing on any of the bows.
|