The MGA With An Attitude
SPLIT RIVET Setting Tool - TS-216
On 8/1/2013. Jack Wannenwetsch near Rochester, New York, USA wrote:
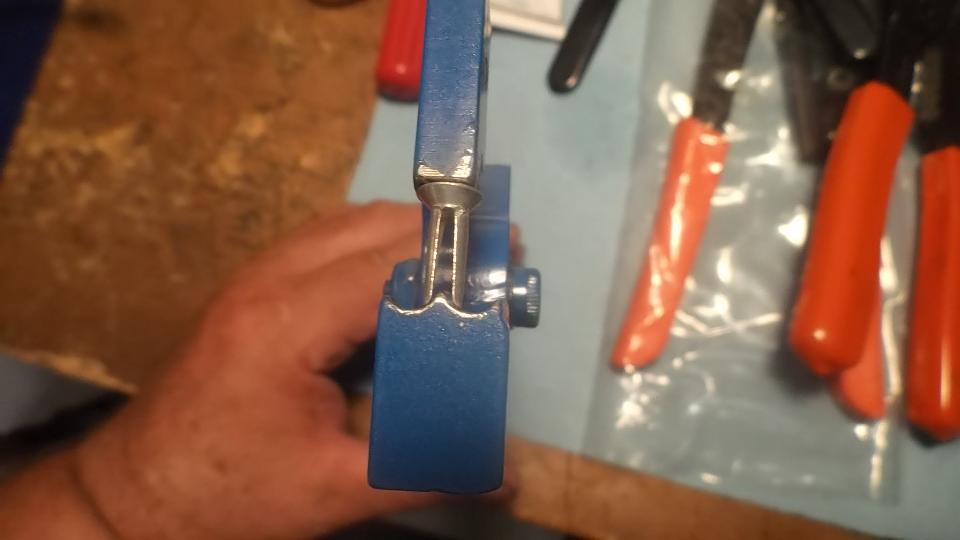
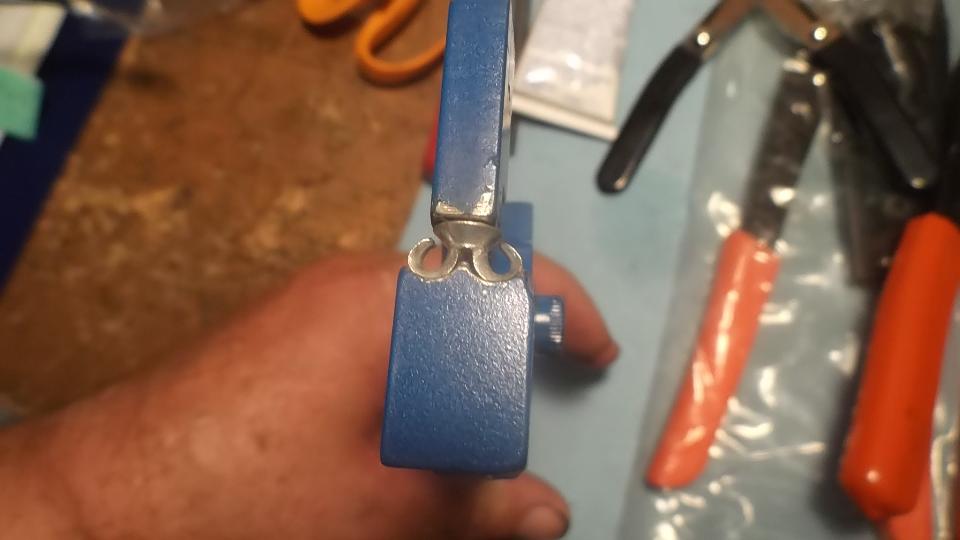
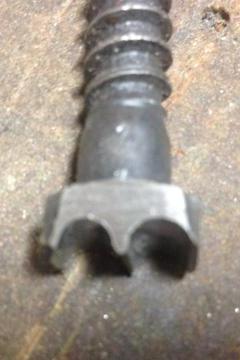
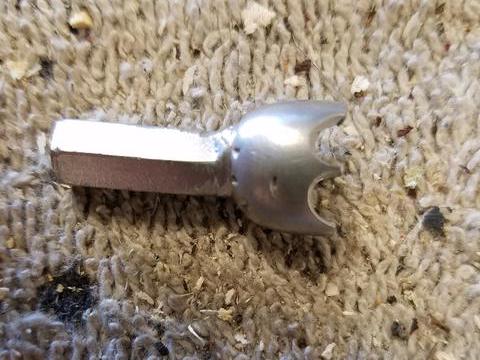
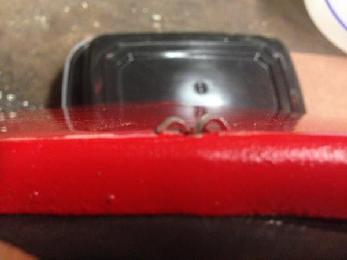
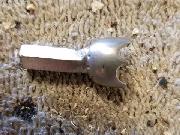
"Here's a simple setting tool for split rivets. It is 1/2 inch diameter, although anything close would work. I ground the 2 groves with my Dremel, using a cylindrical stone a bit less than 1/4 inch diameter".
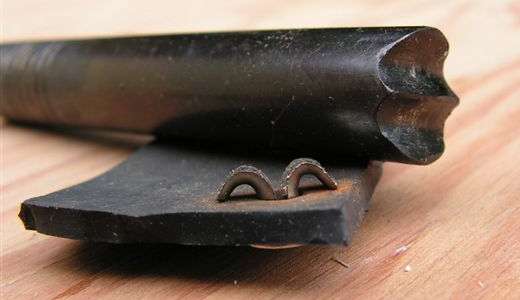
"When I frst tried the tool I did not support the rivet, just had it on a piece of steel. I thought, "Rats, doesn't work". Then I tried putting the rivet into a piece of rubber. Voila! (I learned a big lesson right there)".
For as long as it may remain posted, you can view a short YouTube video on how the split rivet works. ww.youtube.com/watch?v=YJdSC09Bt98
 If you want to buy a hand tool to do this job, see here:
https://dcmclassics.com/tools-and-accessories/567-tl-1011-split-rivet-cripping-tool.html.
 On 4/15/2015, Larry Wheeler in Hillsboro, OR, USA wrote:
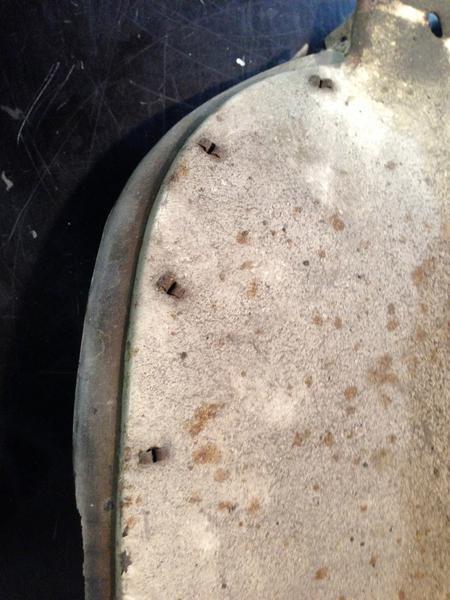
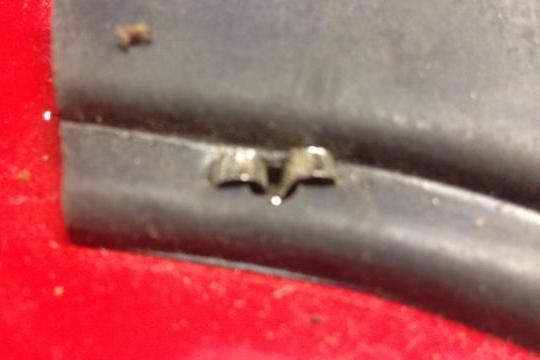
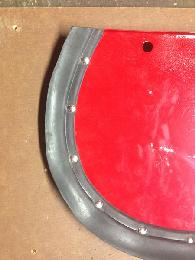
"I needed to install the rubber seal. I had read that the tangs on the split rivets are supposed to be curved so I built myself a tool to set them properly by grinding down the head of a lag bolt. I was pretty hesitant on the first one, but finally ended up beating the snot out of it and got it looking much better than the photo below. One trick I learned was not to split the legs too far apart when you start. I found if you pry them just enough to ensure they split instead of getting smashed together it puts a very nice curl in them".
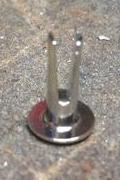

Notice the rivet shown is wrong end around. The round head should seat against the rubber, while the formed ends seat against the metal panel. Photos below have it the right way around.
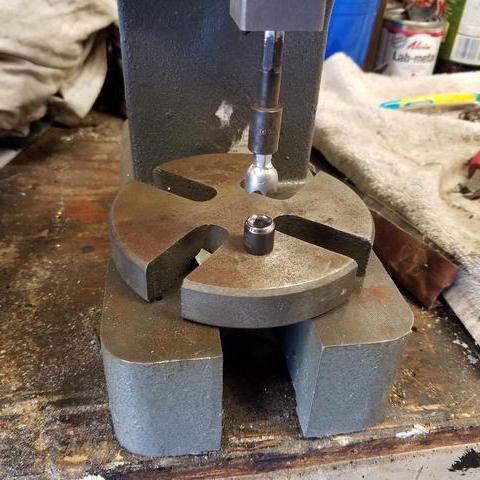
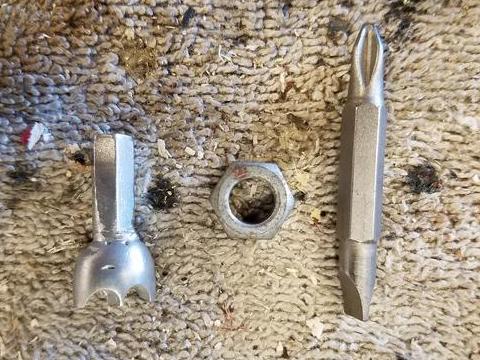
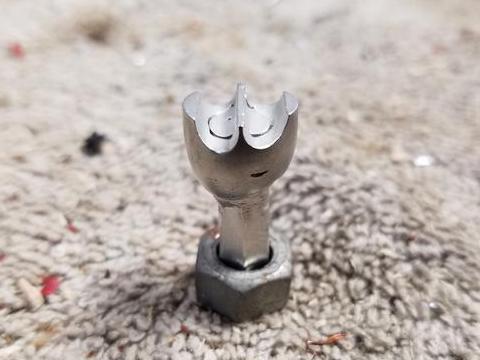
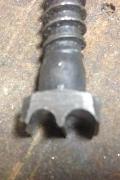
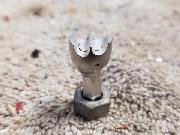
Here's another one from Ron Bissland in Kenosha, WI, USA. This is made from a screwdriver bit and a hex nut welded together, then ground down to the appropriate punch shape. The hex tail can be held in a standard bit holder in the arbor press.
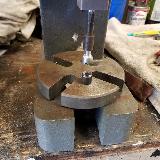
"I started with a flat blade screw driver Hex bit that fits in a cordless drill. Then got a 5/16 nut and drilled it out to the size of the bit. Then slid the nut on the bit and welded it all together. The blade inside the nut gave me a good working platform to use a Dremel and make the curves that will fold over the rivet. After it was all welded together I put it into the drill press and with a file made it look pretty. Then I got my arbor press and drilled a 3/16 hole in the base and the arbor to be able to accept the Aircraft rivet dies. The top piece that goes into the arbor was a Hex bit that will accept the Modified hex bit I made".
On Apr 18, 2015, Alan Wiedie in Bolton, CT, USA wrote:
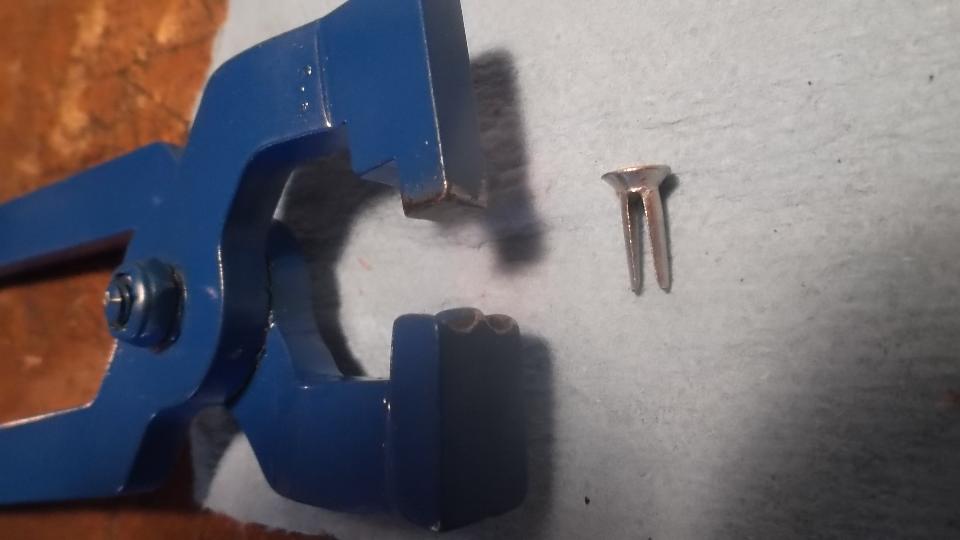
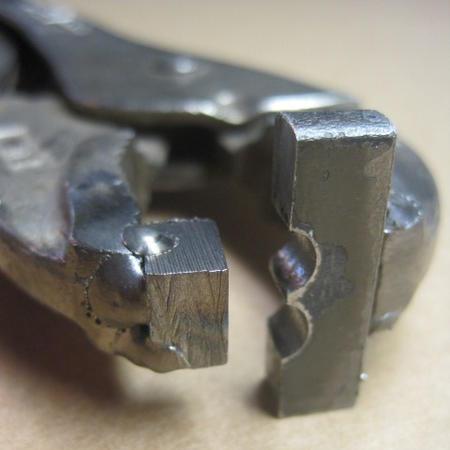
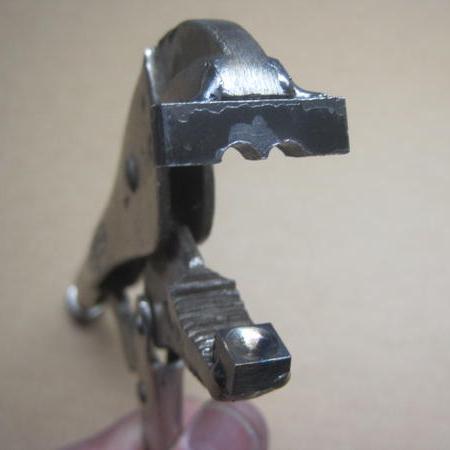
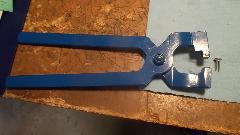
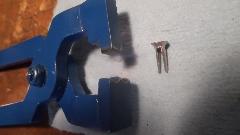
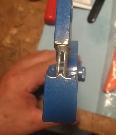
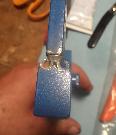
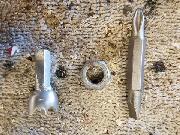
"I wound up making one using some 1/4" steel stock and an old pair of Vice-Grip I had lying around.
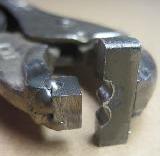
 I drilled two 1/4" holes, 1/4" apart in a piece of 1/4" bar, and split the piece just to one side of center, and welded it to the Vice-Grip. I drilled a depression into a small square steel piece with a 5/8" bit to act as a locator for the rivet head, and welded that to the other jaw of the Vice-Grip. Just put the rivet in, align the steel block with the rivet head, and squeeze, keeping an eye on both jaws".
Also see article BD-108B in the Body section.
|