The MGA With An Attitude
Using TUBES with WIRE WHEELS - TI-104B
Photo from the prior page shows a manufacturers sticker on inside of a wire wheel rim, and that sticker should definitely be removed to avoid abrasion problem with the inner tube (as well as removing any stickers from inside of the tire). The same picture also shows a rubber rim band in the center well of the wheel rim. The rim band may not be needed in bolt-on steel wheels, or in original 48-spoke wire wheels. The 48-spoke wheels have all of the spokes nested in the outer edge of the wheel where the spoke ends will be hidden under the outboard rubber bead of the tire (protecting the inner tube from contact with spokes).
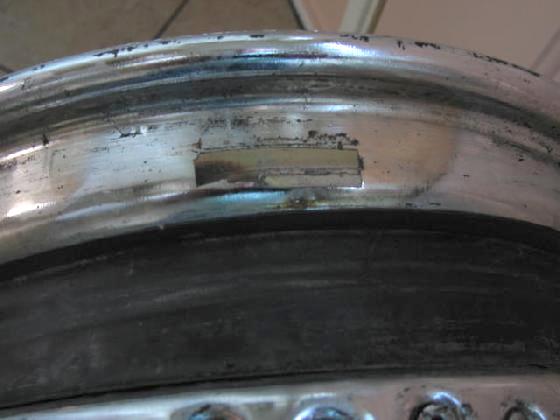
 However, 60-spoke and 72-spoke wheels, and any center laced wire wheel, will have some of the spoke ends nested in the center well of the rim. In this case the center well MUST be lined with a rubber rim band, available from most classic car tire dealers, including Coker & Longstone Tyre, etc.
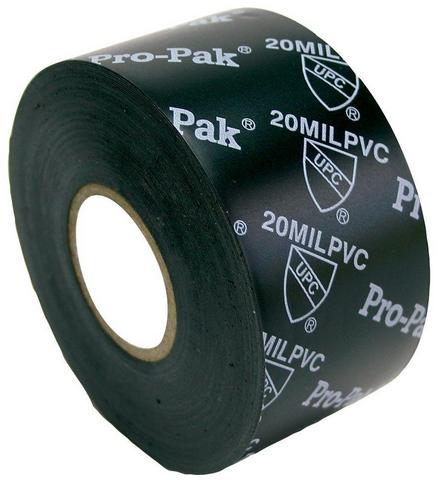
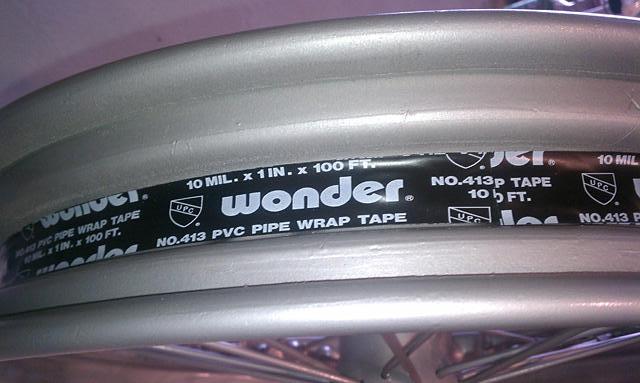
 Or alternately some suitable tape that will not pucker up or wrinkle to abrade the inner tube. You can use 20 mil PVC tape, availabe from Home Depot or Amazon, or 2 wraps of 10 mil. Or alternately some suitable tape that will not pucker up or wrinkle to abrade the inner tube. You can use 20 mil PVC tape, availabe from Home Depot or Amazon, or 2 wraps of 10 mil.


Also some vintage bolt-on 2-piece steel wheels may be assembled with rivets rather than welding, in which case the rivets may be exposed inside. Those wheels (if used with inner tubes) should also be treated to a rim liner to protect the inner tube from the rivets. Duct tape will work, but the adhesive typically used will dry out eventually and lose adhesion. It also doesn't like moisture. Some types have glue that melts in hot climates. Electrical tape is not a good idea, as it's too thin and the adhesive melts easily.
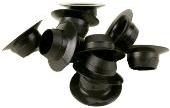
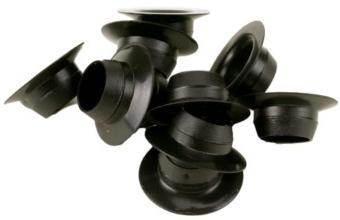
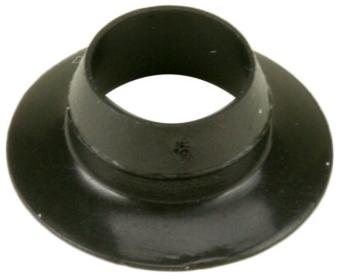
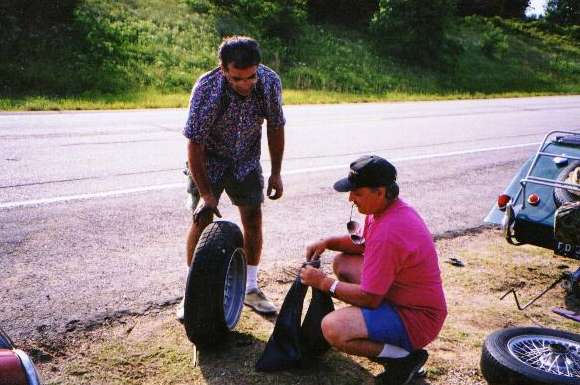
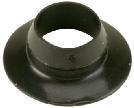 During installation, one tire bead is installed over the rim. Then the tube is installed with a bushing around the valve stem to protect the stem from abrasion on the edge of the hole in the rim. Pop the bushing into the rim first (from inside), and then push the valve stem through the bushing to seat firmly. The other tire bead is then assembled over the rim, being careful not to pinch the inner tube with tire tools or catching the tube between tire bead and rim.
Do follow prior cautions about removing any tags or stickers from inside the rim or inside the tire (repeat that a few more times). You may also consider smoothing out any significant molding ridges inside the tire that might abrade the inner tube. Vintage tube-type tires were supposed to be fairly smooth inside, but modern tubeless tires may ignore that entirely having lots of rough ridges inside.
There is a rumor that there used to be two types of inner tube available, thin ones for
 tube-type tires (smooth inside), or thicker ones for use in tubless tires (rough inside). Don't skimp on the tubes. Buy the thicker ones. Don't get suckered into the thinner ones by lower price. I don't think there are any tube-type tyres left on the market these days.
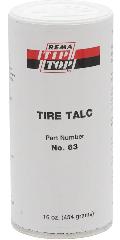
It is also a good idea to dust some talcum powder inside the tire to reduce friction between tire and tube. Do not use baby powder, as there is no talcum in that stuff any more.
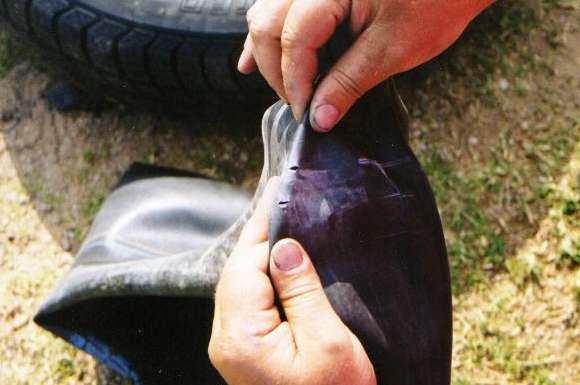
When inflating, raise the pressure, then bleed it down to near zero, and inflate it again. Maybe repeat that more than once to allow the inner tube to relax and position itself smoothly without wrinkles. Maybe push inward on the valve stem to release any air that might be trapped between the tire and tube. And certainly never use an oversize inner tube that would result in a wrinkle under pressure.

If you have a service shop do this work, it would be a good idea to watch the technician to see if they take the time to follow all these procedures, or just rush the job through in shortest time possible. Even if you don't do it yourself, it is good to know how it works so you know if it gets done right. You don't want to be that guy inconvenienced on the side of the road because of poor workmanship.


|