The MGA With An Attitude
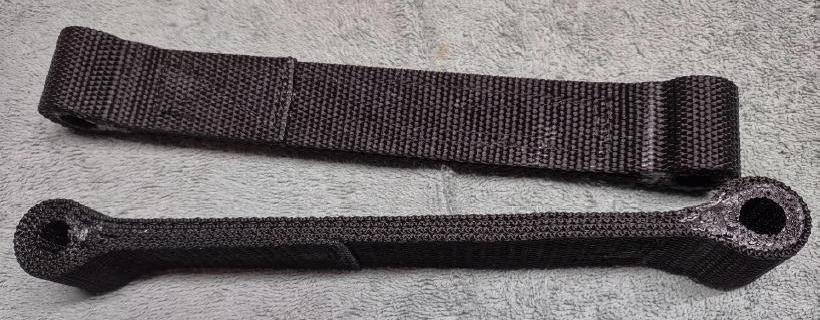
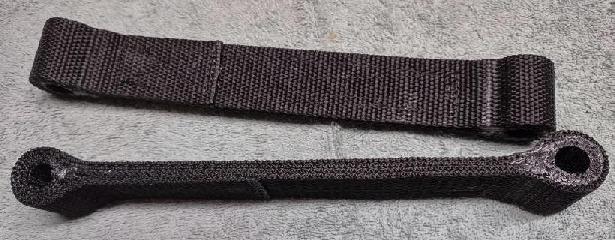
REBOUND STRAPS, Home Made Replacements #3 -- RS-116A
On 9/21/2022, Bob Shafto in New Hudson, MI, USA wrote:
"I have revised the instruction your page RS-116 to stitch each layer".
I tried cotton(like original) and nylon but liked polypropylene the best and it is supposed to the strongest.
The cotton was too thick, nylon too thin, poly about right .087"
I dissected my original strap (was delaminating anyway) to see how it was folded on the ends.
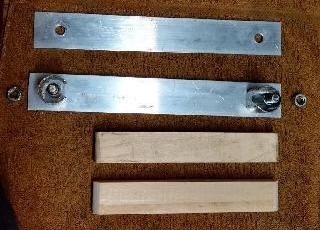
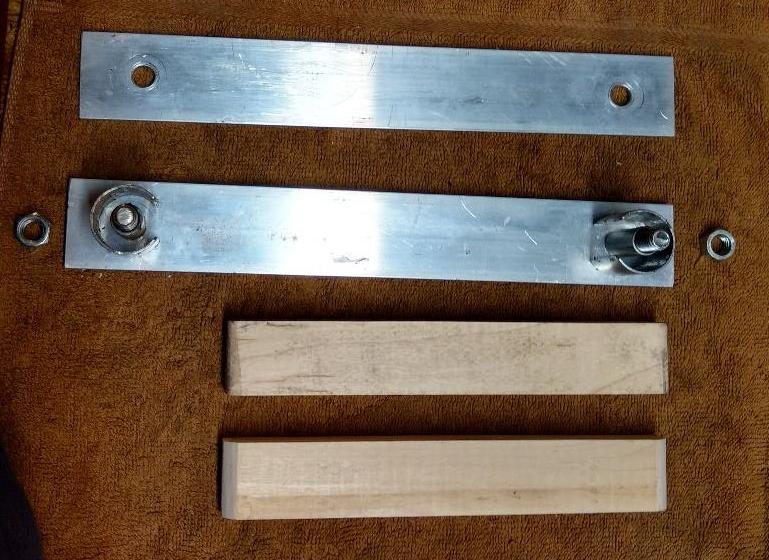
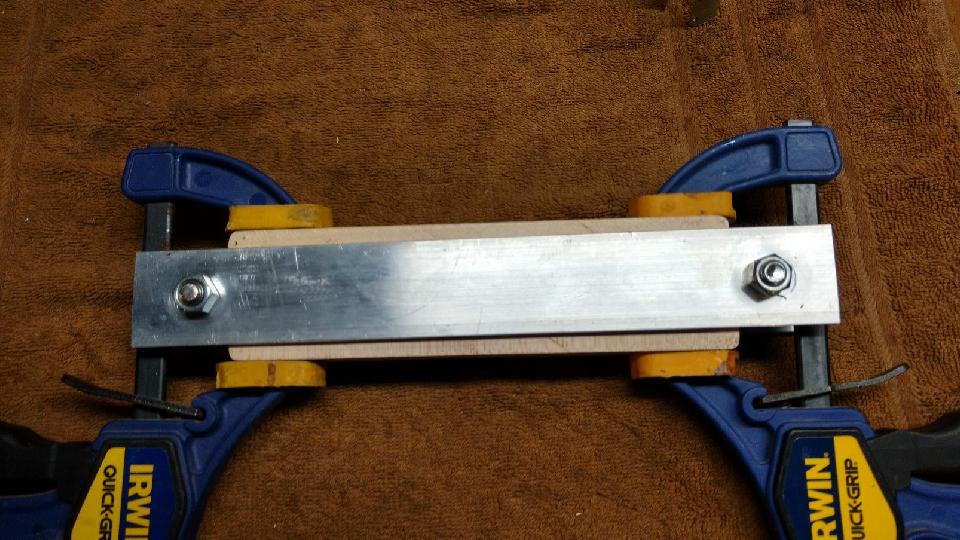
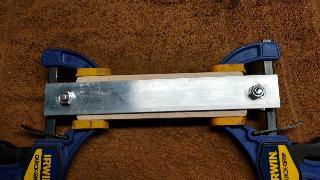
 1. Make a fixture: 1. Make a fixture:
Two pieces of 1 1/2" aluminum strap 10 3/4" long. Drill 3/8" holes 8 1/2" apart.
Cut 1 pieces of 3/4"and 1 piece of ½ steel conduit and cut one side of each length wise.
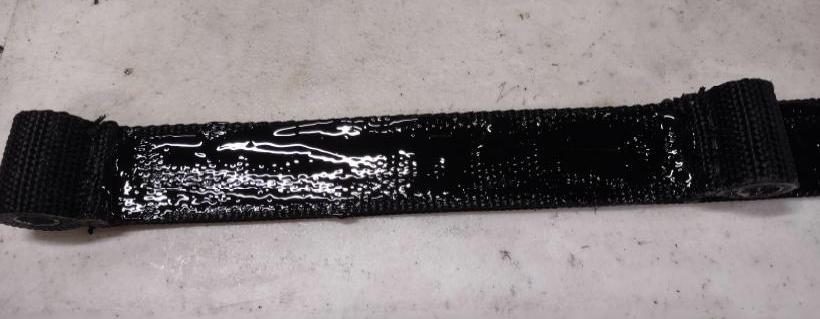
( 2) 3/8" X 2" bolts and nuts, two sleeves 1/2 " OD 3/8" ID, two pieces of 3/4" hard wood 7 3/4" long rounded on the end. 1 tube black E6000, Shoe Goo or similar rubber based adhesive. I imagine hot rubber would be the best but wasnt able to find any.
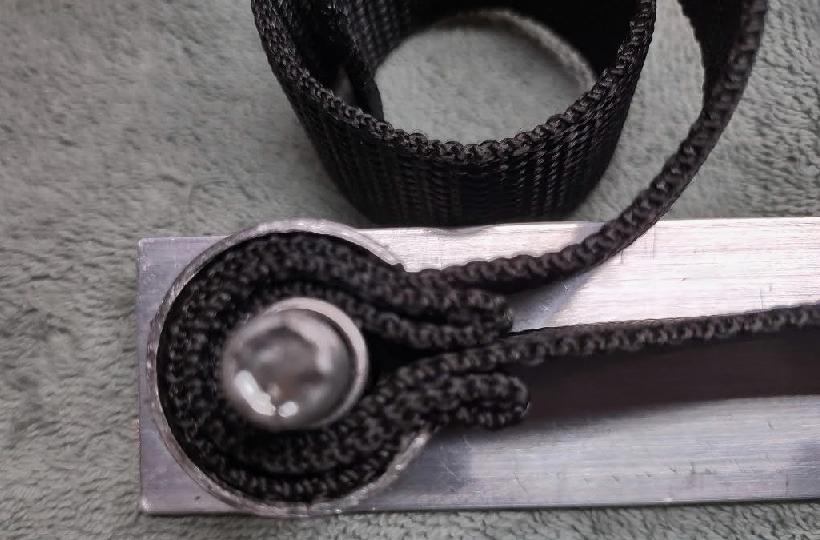
2. Assemble the fixture without the top, nuts and wood. Fold the ends as shown using glue between layers then slide the clamps in place.
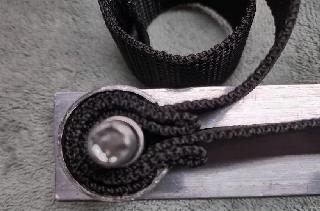
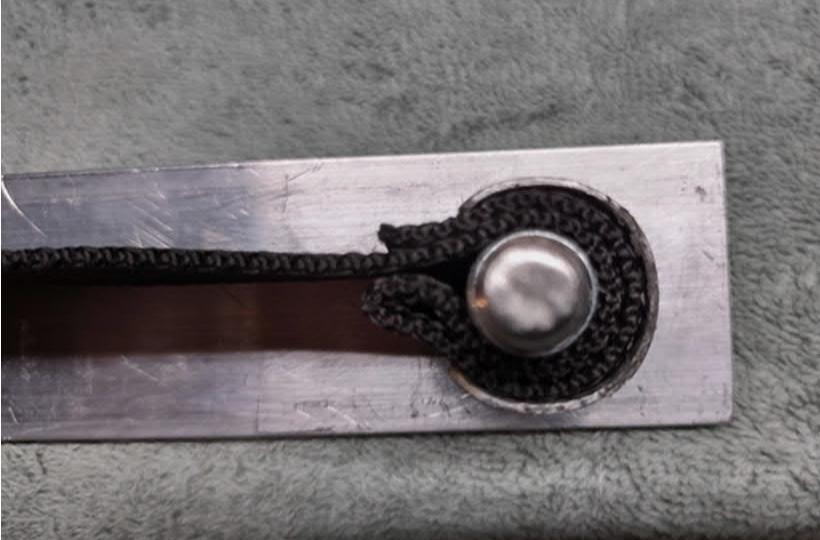
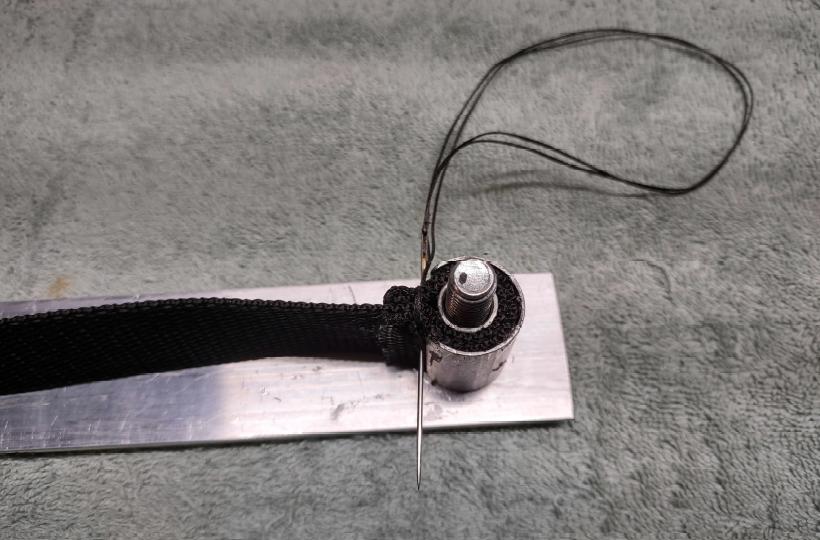
3. With the clamps in place, hand stitch next to the clamp through all layers and across the width of the strap. Heavy waxed thread for leather and canvas works well here.
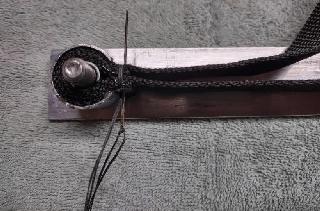
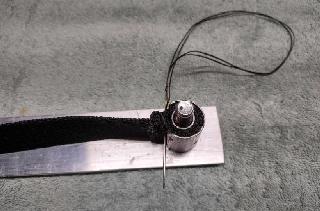
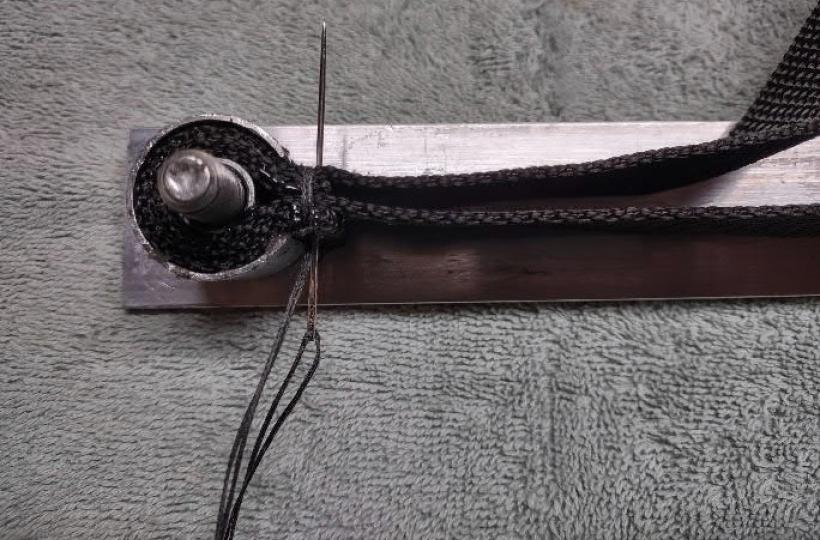
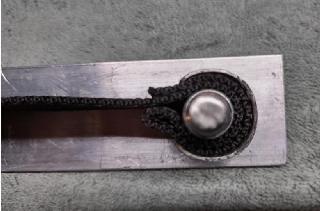
4. Smear a layer of glue on the strap then wrap one layer and sew the two layers together. Note this photo shows layer two done and ready to wrap and sew layer 3.
 5. When all 4 layers are done and sewn plus 3 to 4 inches of layer 5, assemble the rest of the fixture and
clamp overnight.
5. When all 4 layers are done and sewn plus 3 to 4 inches of layer 5, assemble the rest of the fixture and
clamp overnight.
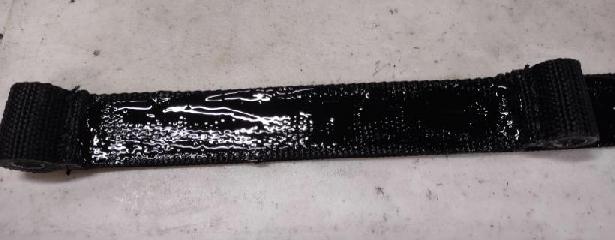
6. Remove the clamps and disassemble the fixture. The remove the steel sleeves from the ends and you
are done. The glue has not fully cured so let the straps set another 24 hours before use.
If anyone knows of a process for impregnating the strap with rubber (like the original was) please let me know.". -- Regards, -- Bob
|