The MGA With An Attitude
FRONT WINGS, Front End Repair - RT-710
These potos and notes compliments of Bob Krzywicki in Arlington, Virginia, USA
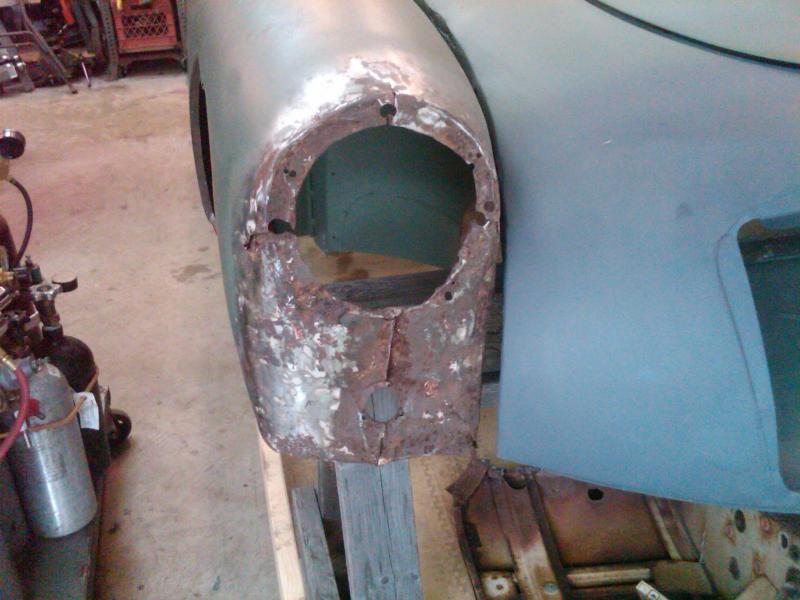
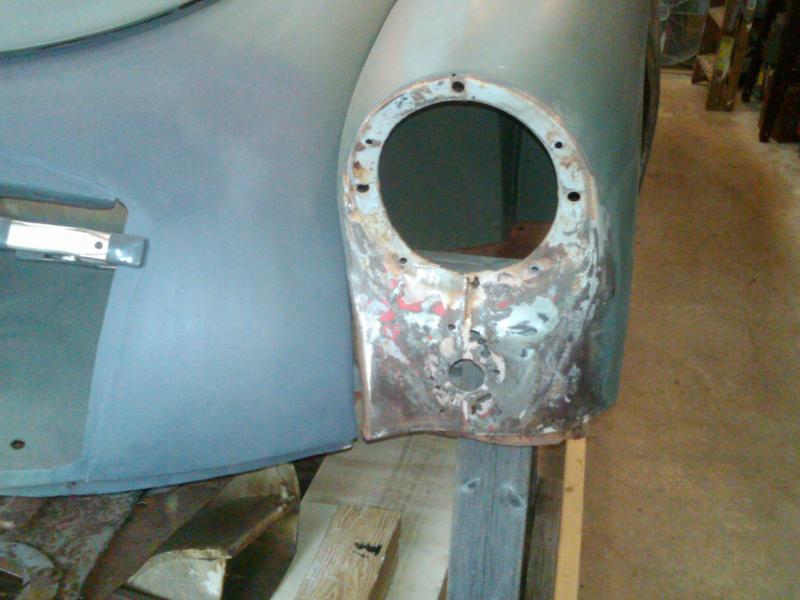
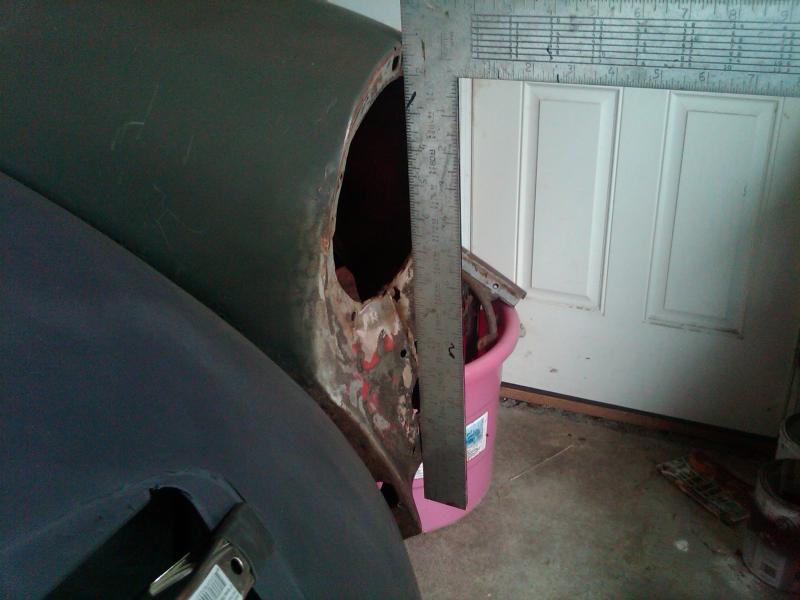
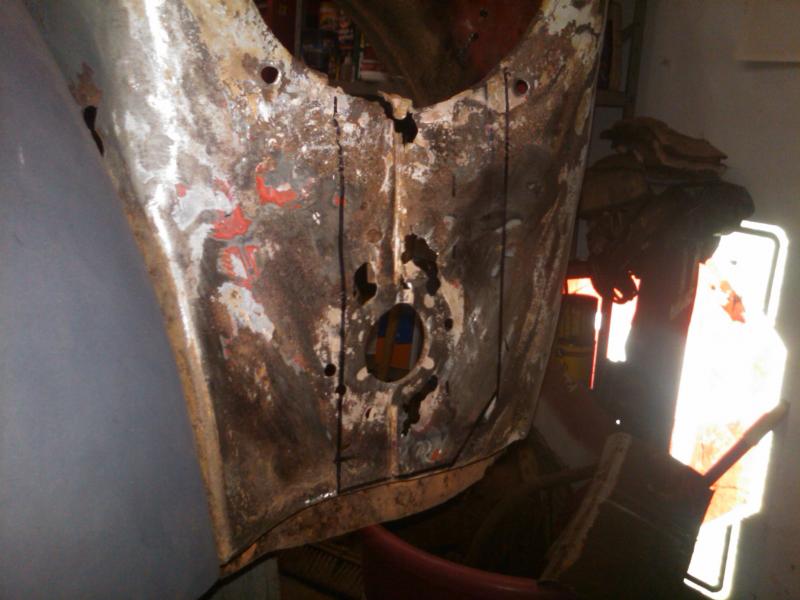
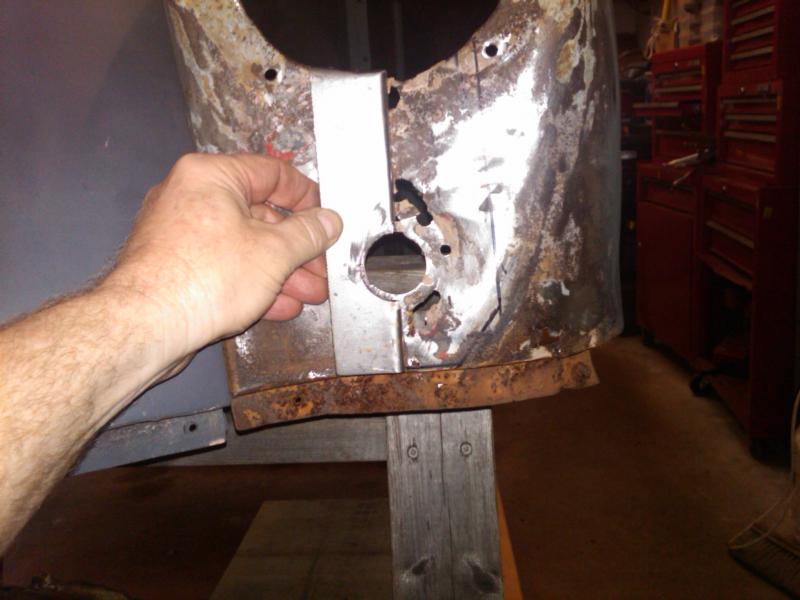
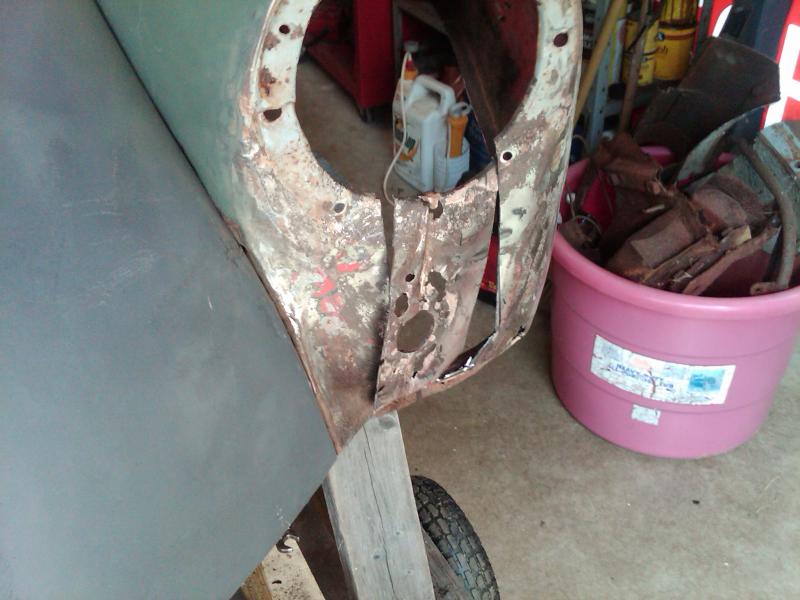
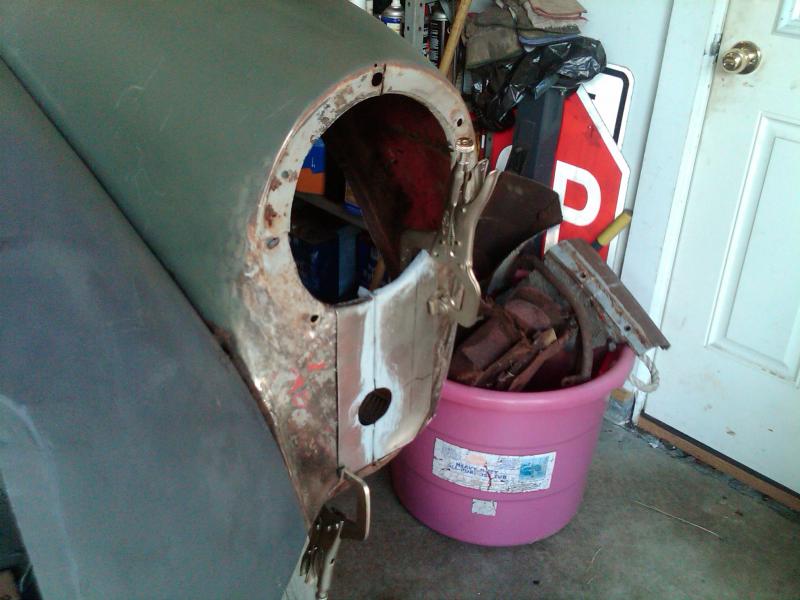
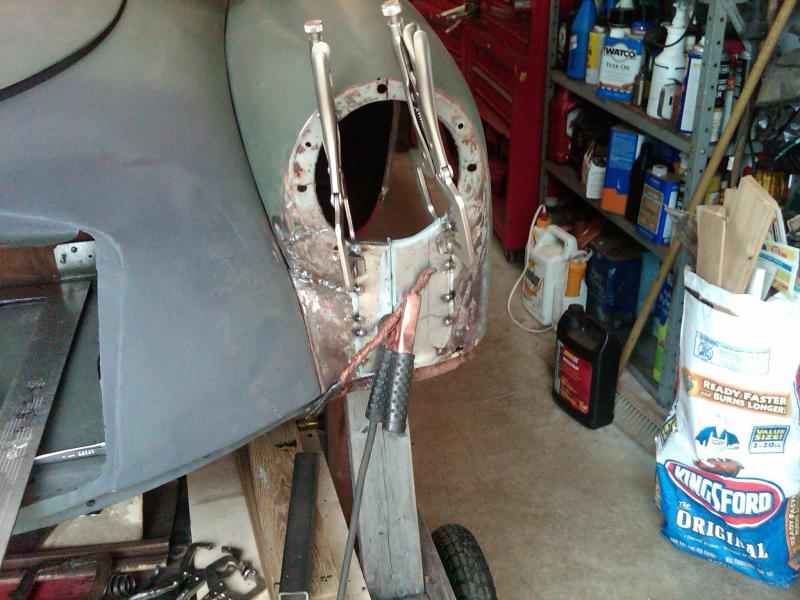
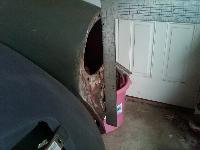
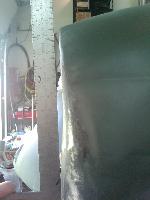
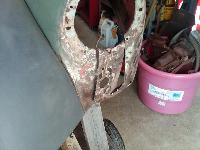
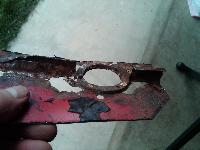
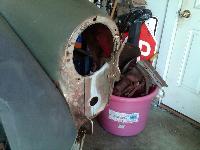
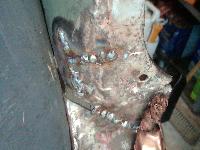
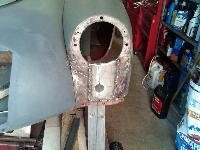
I think I will tackle the drivers side first. Right now the fender is attached with a few fender bolts. I think I will fasten it down pretty well with some additional bolts and see how it lines up. I have measured the front shroud area and the front nose is symmetrical on both sides. I don't see any real fender damage on the drivers side from an accident, only some areas that have been rusted out.


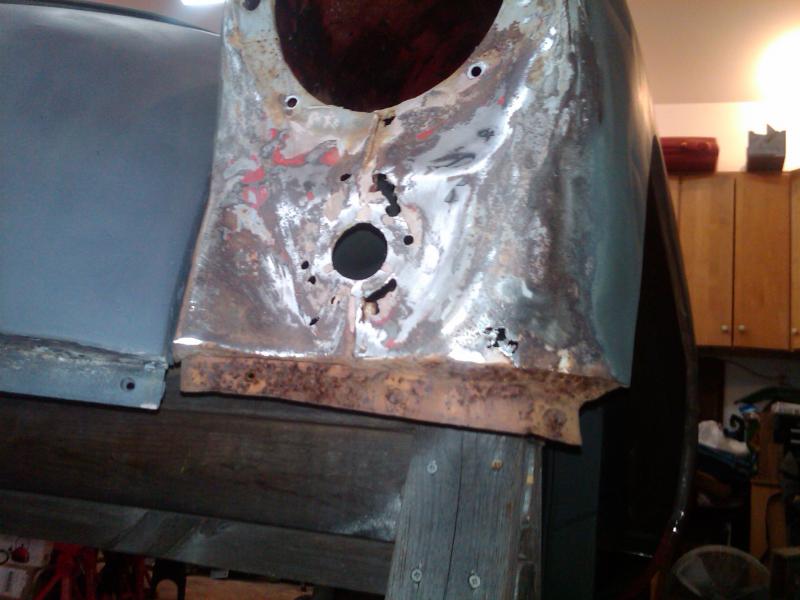
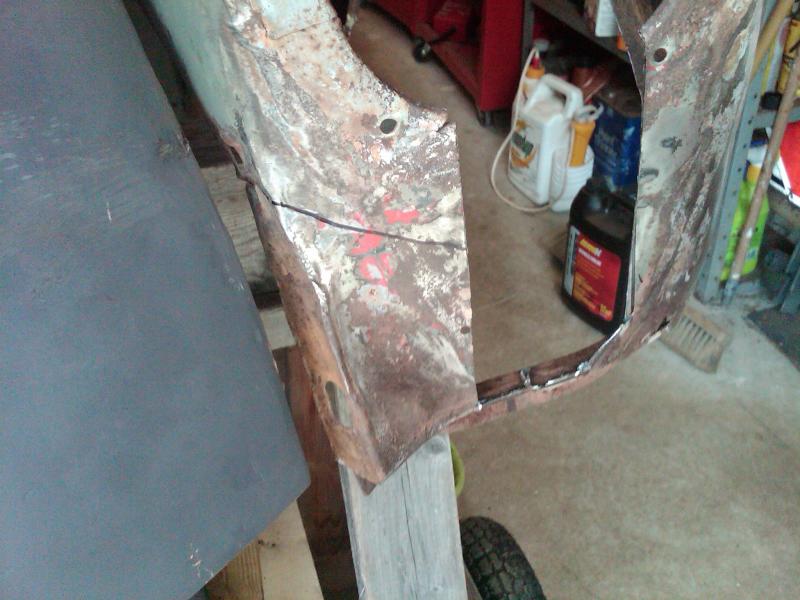
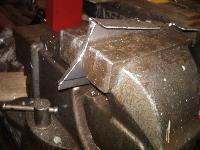
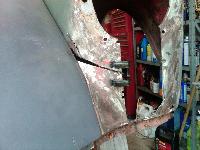
Looking more at my front drivers side fender and I think I am seeing distortion from a previous bump of some sort.
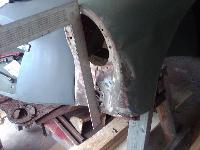


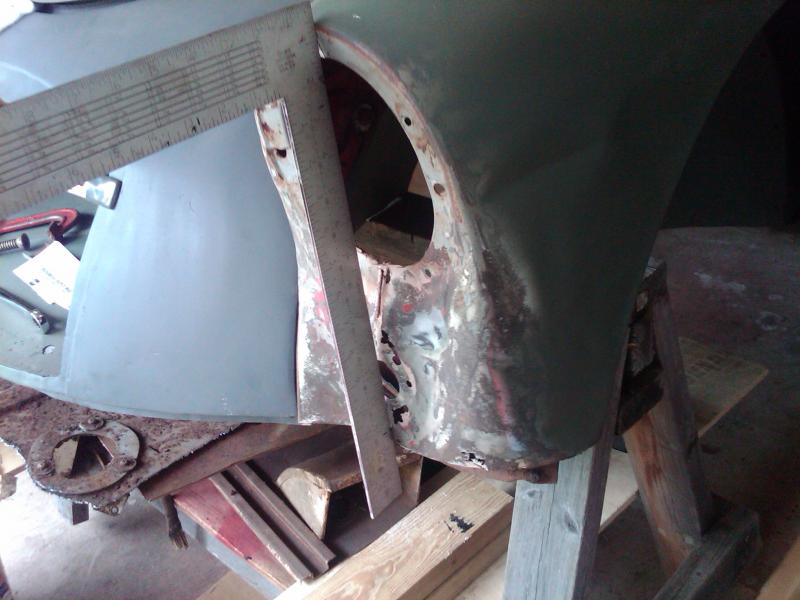
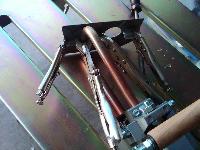
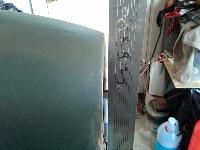
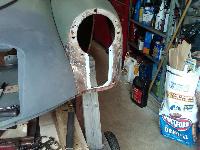
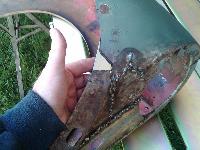
Lets pull it little bit.
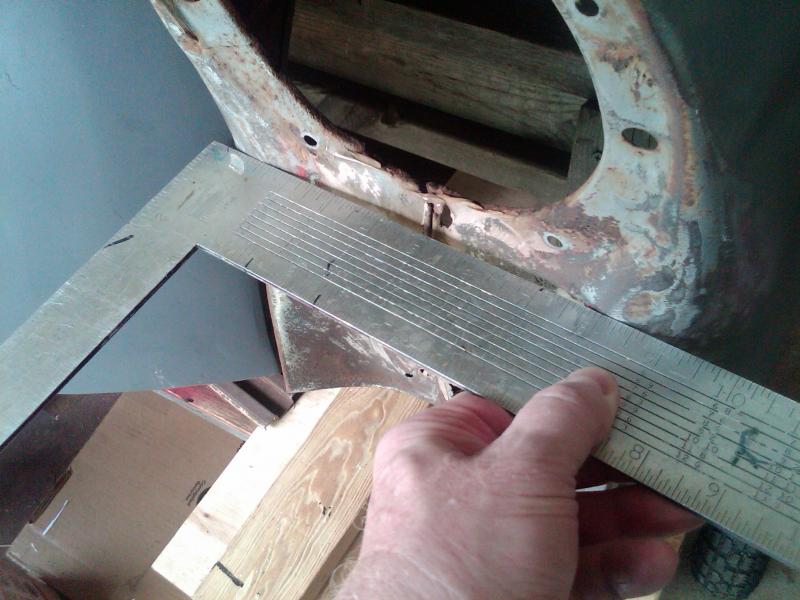
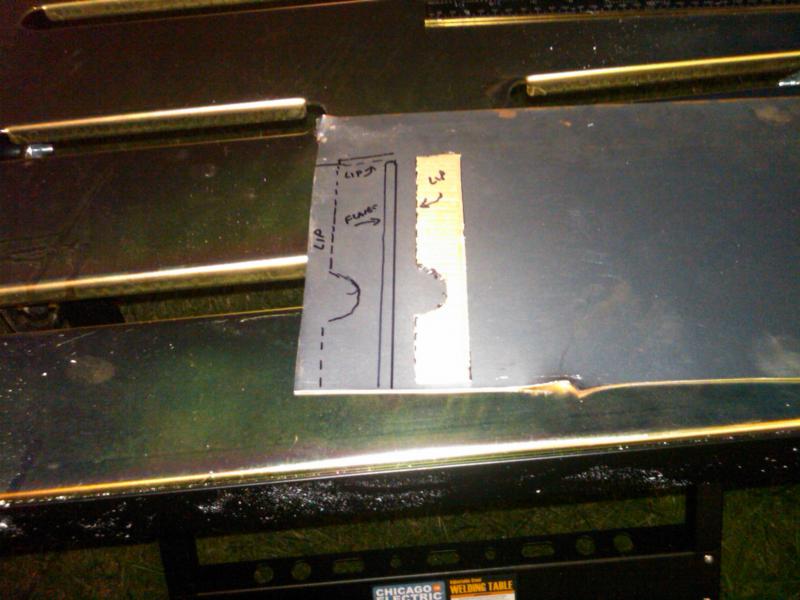
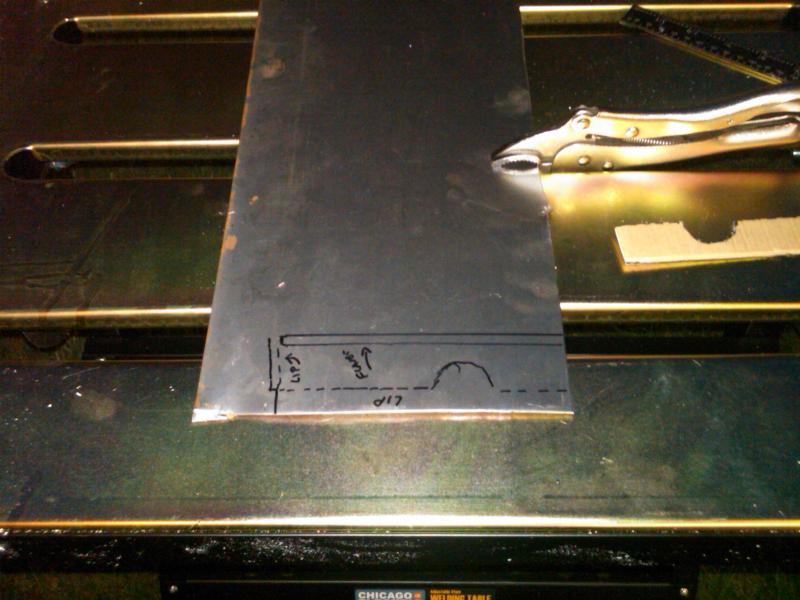
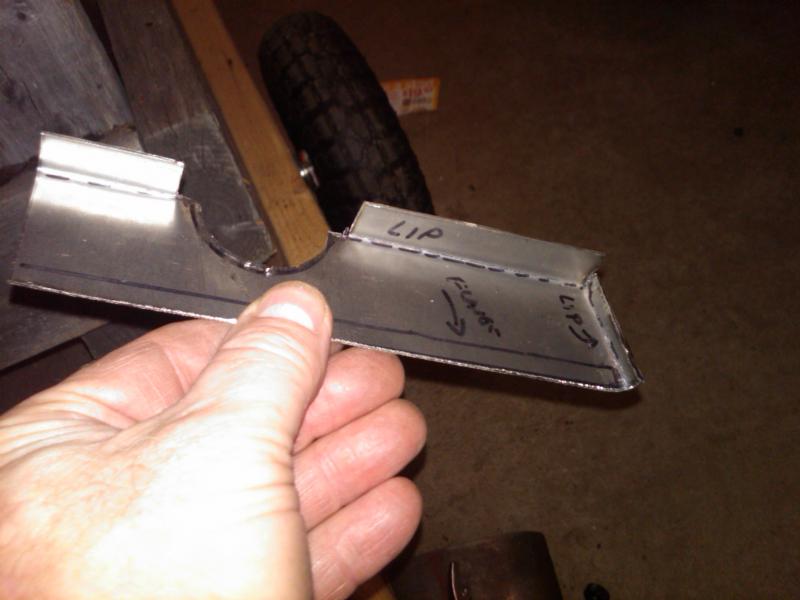
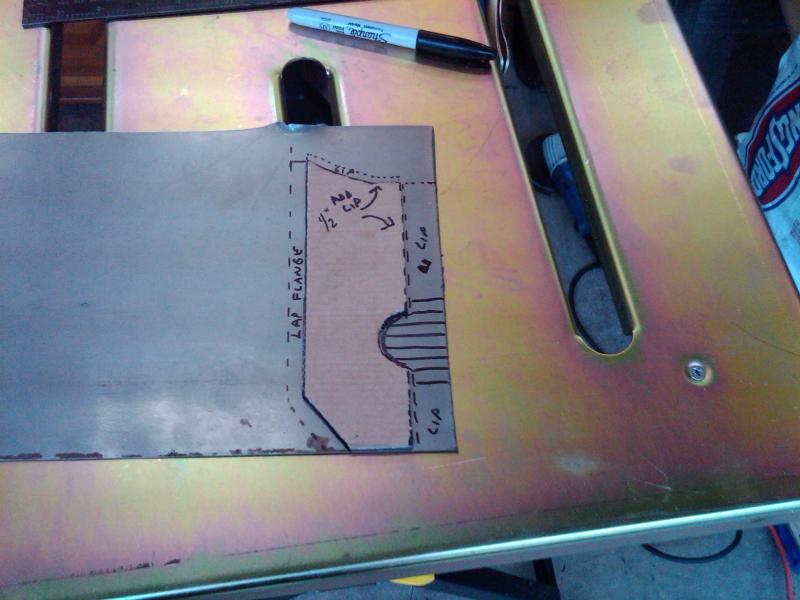
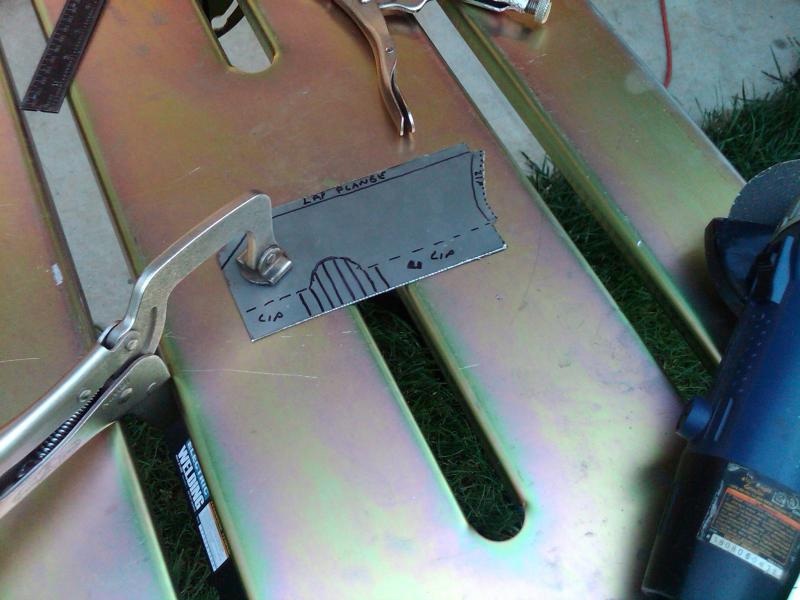
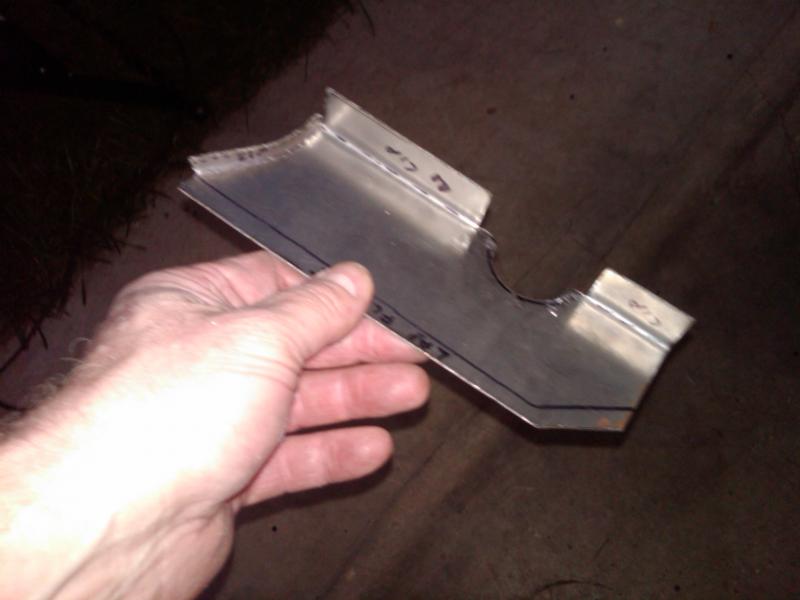
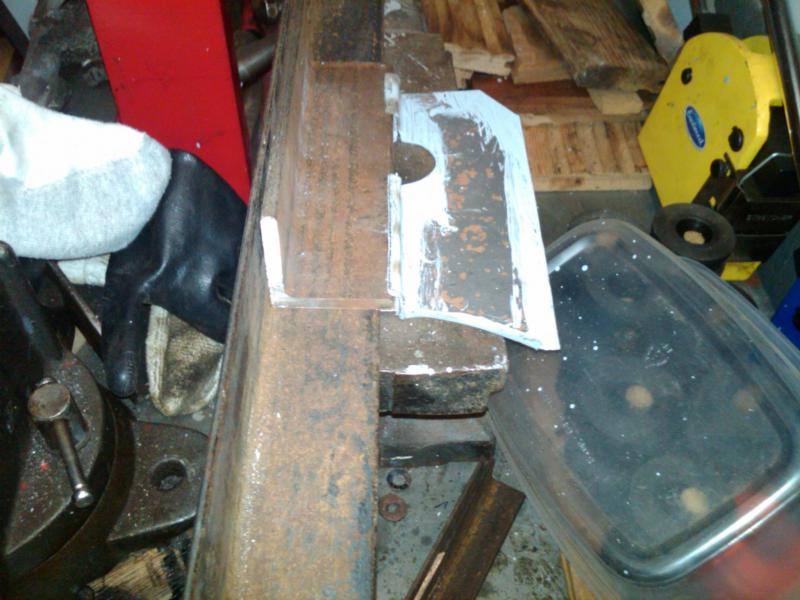
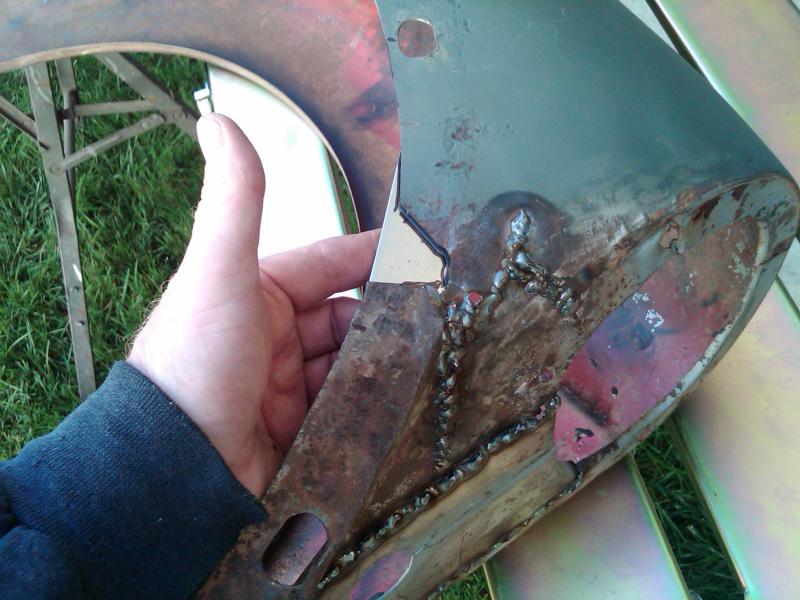
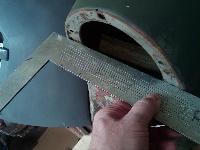
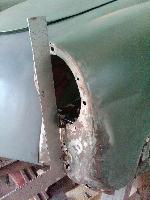
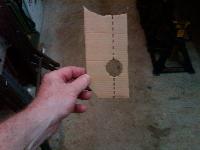
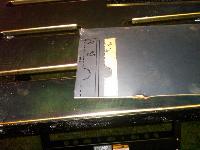
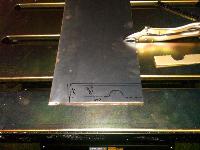
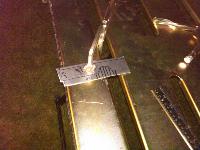
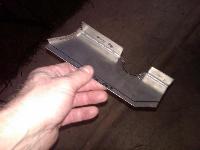
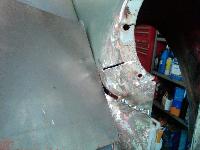
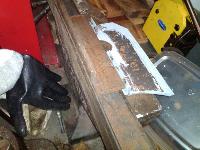
This will be the cut line. Here's the template it will be cut in half for the two sides. With this piece I will make it first and then do the cutting.
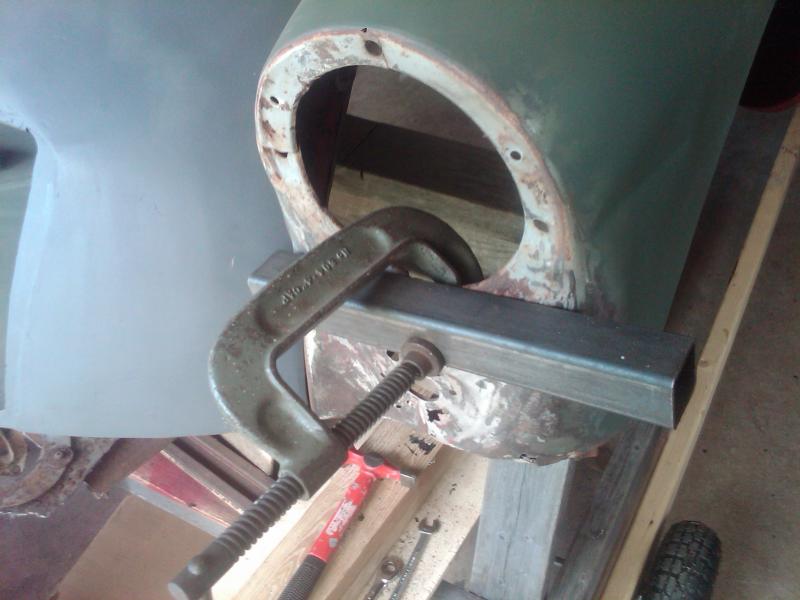
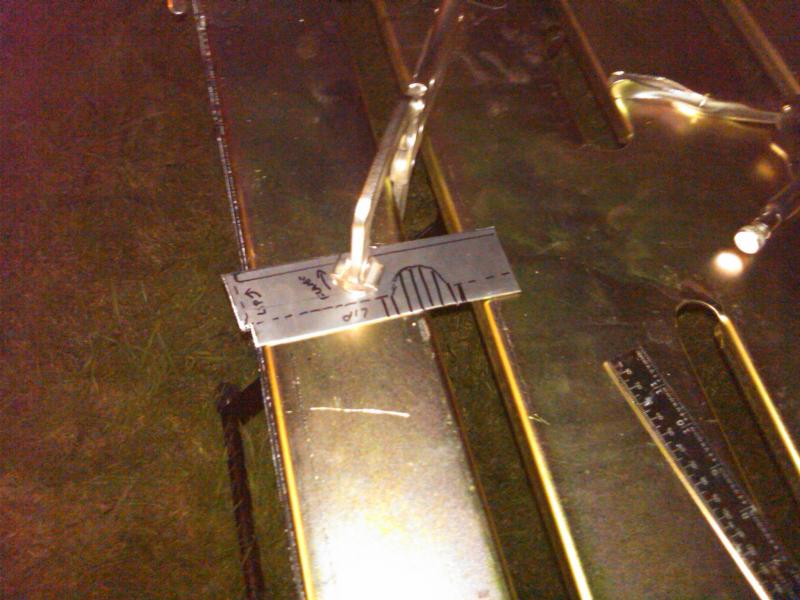
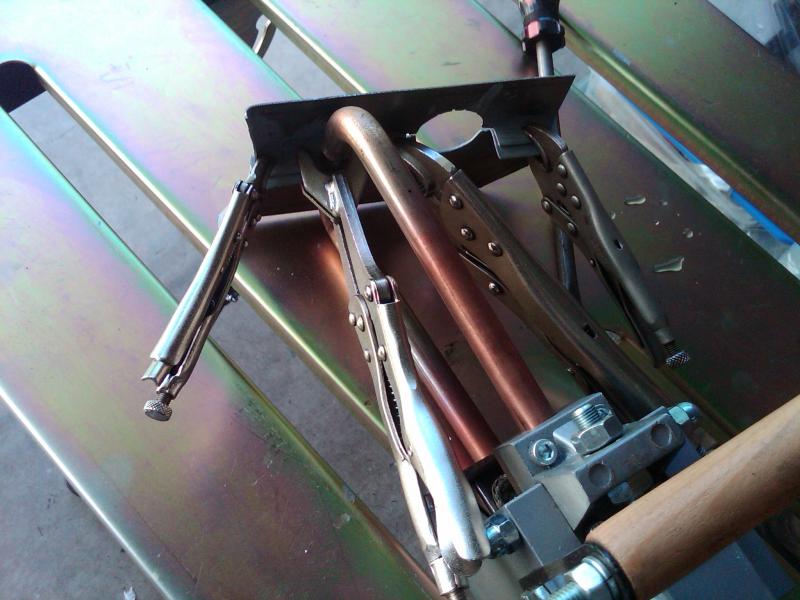
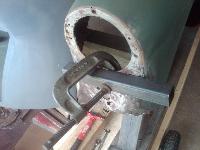
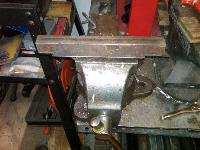
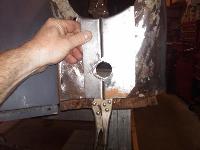
Easy clamping spots and you use a grinder with a cut off wheel.


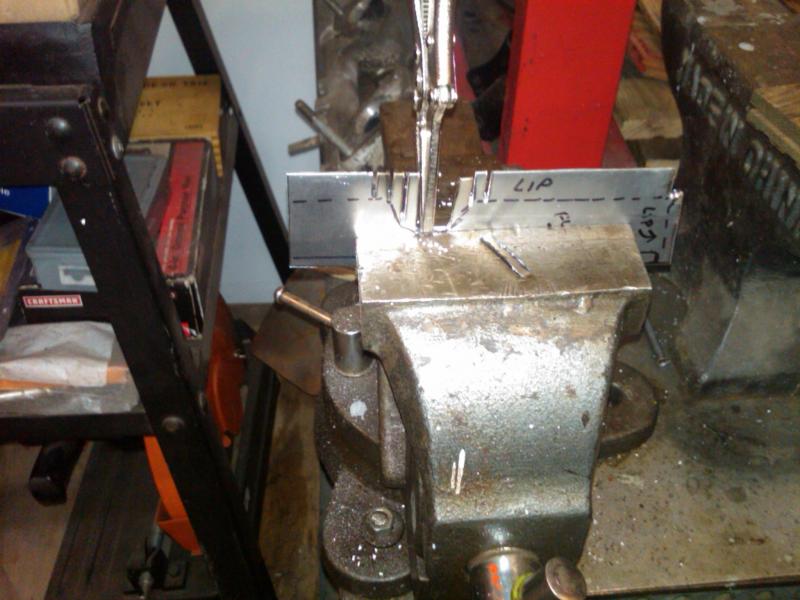
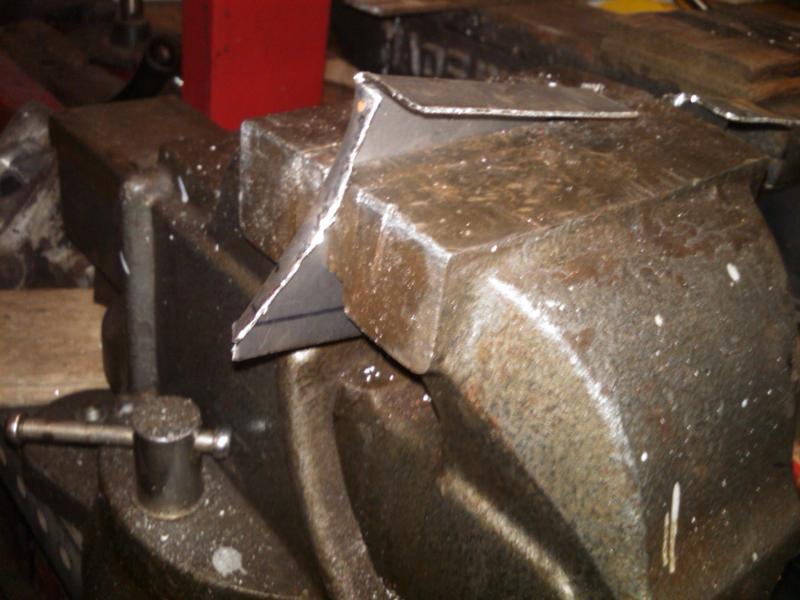
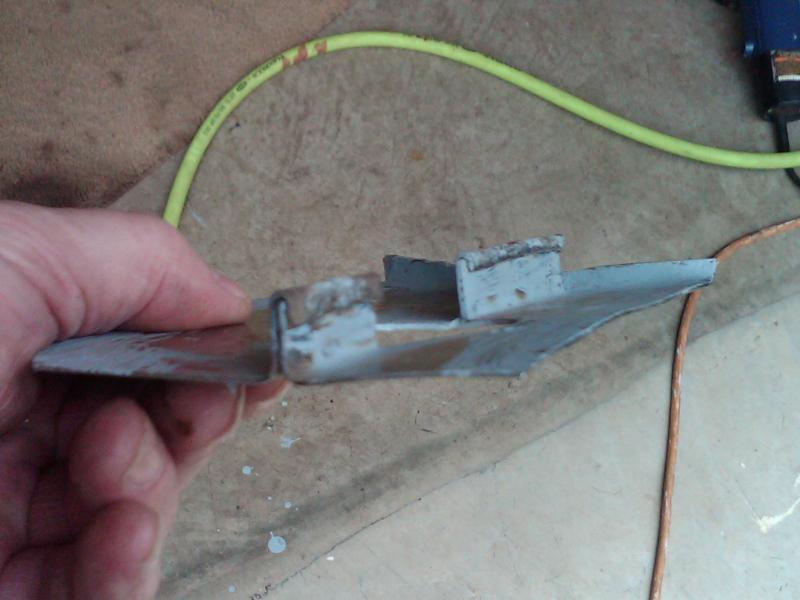
You can use the corner of the vise and a hammer to make a radiused lip.
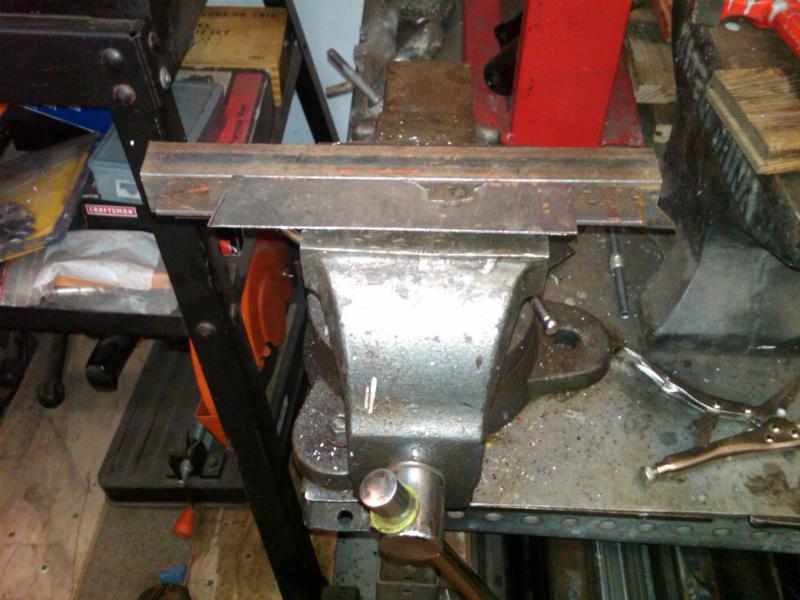
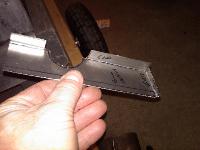
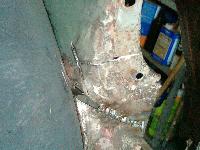
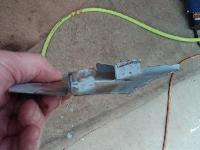
One lap side is longer so it can get crimped over the shorter side.

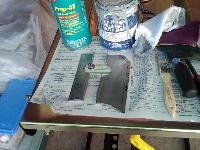
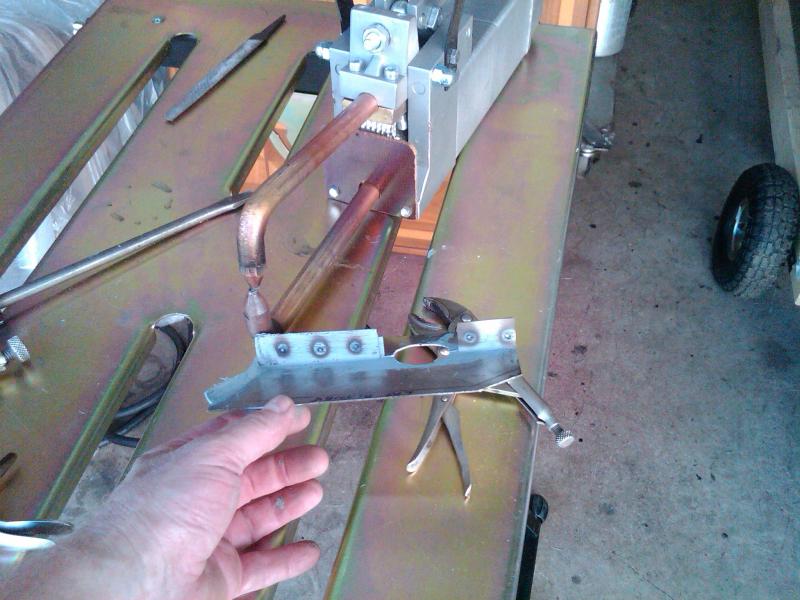
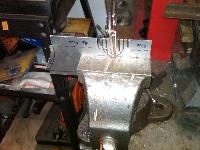
Prime the lip that gets crimped. Spot weld.
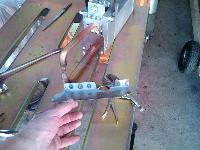
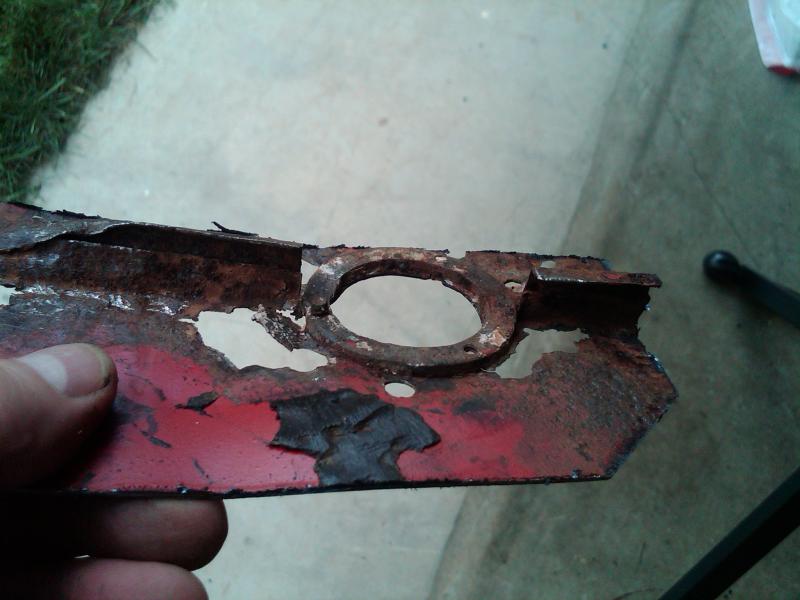
This is the ring .
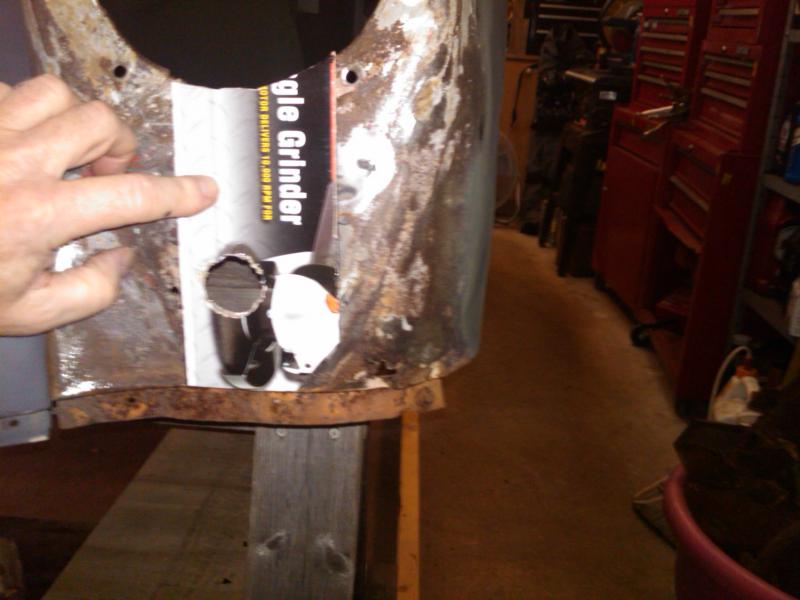
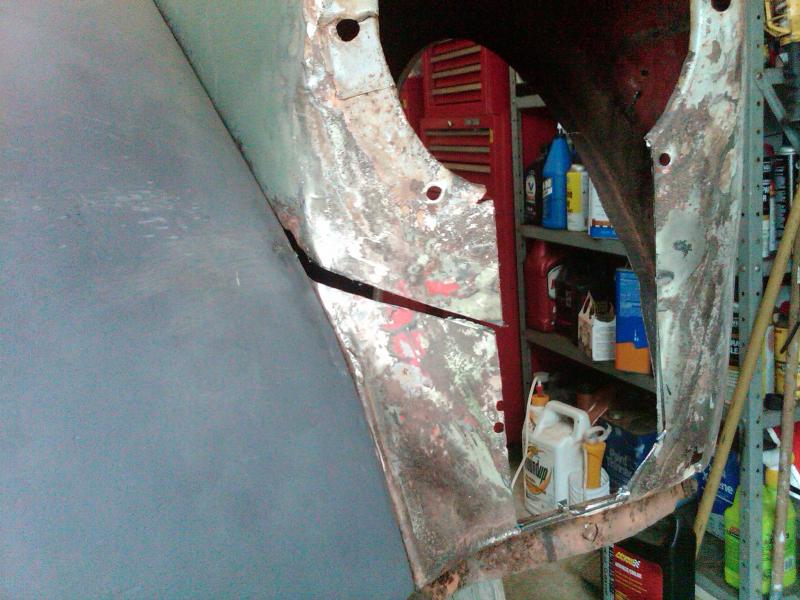
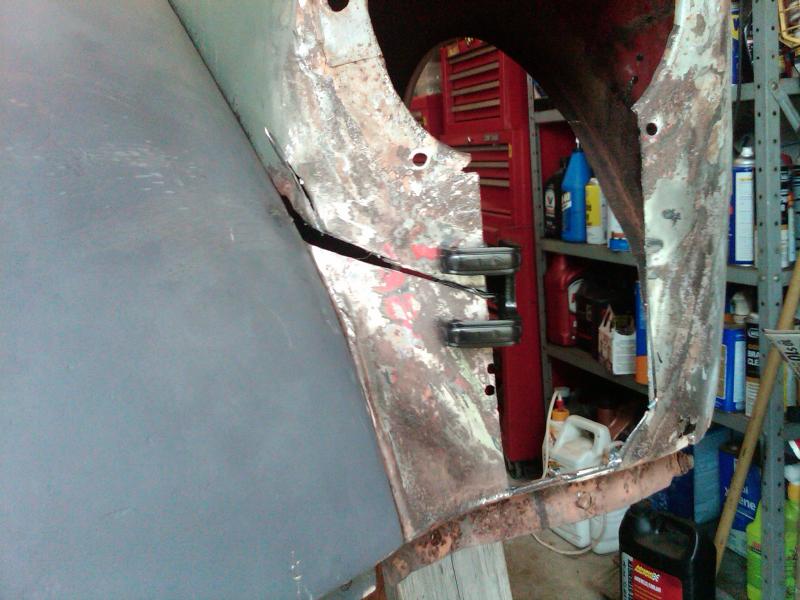
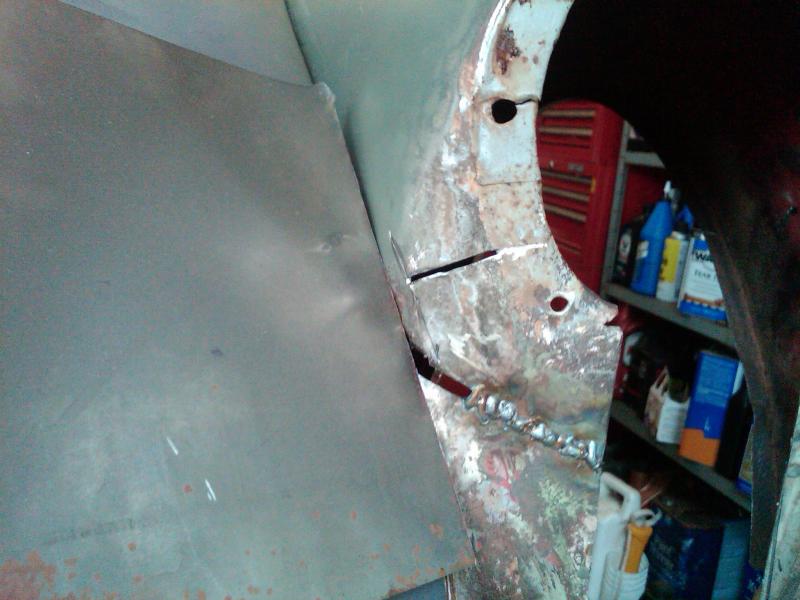
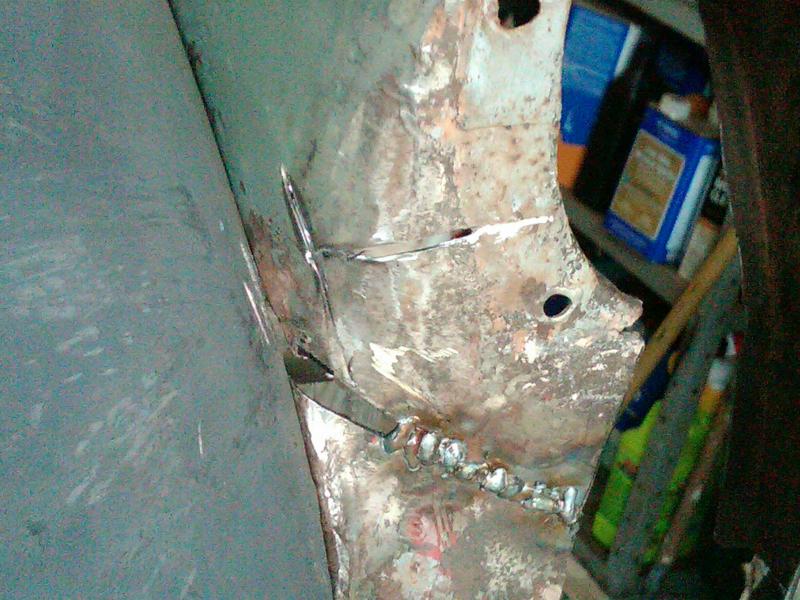
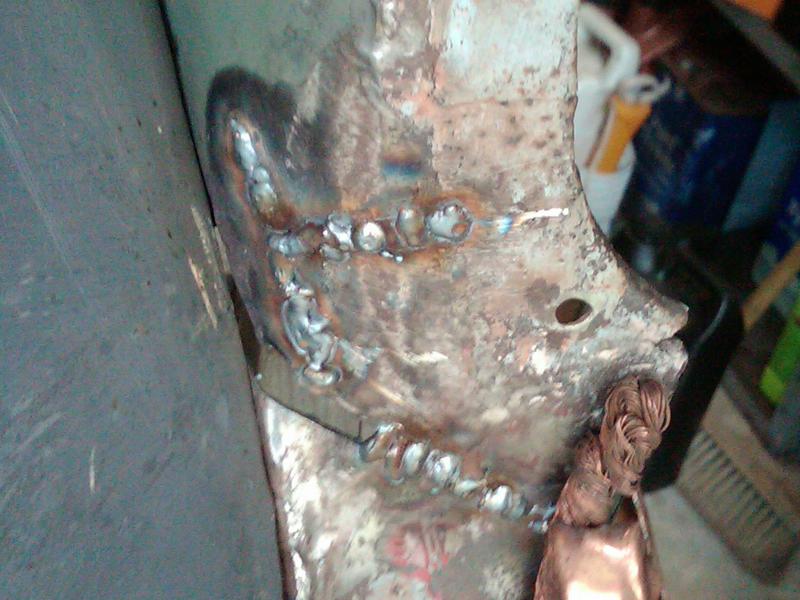
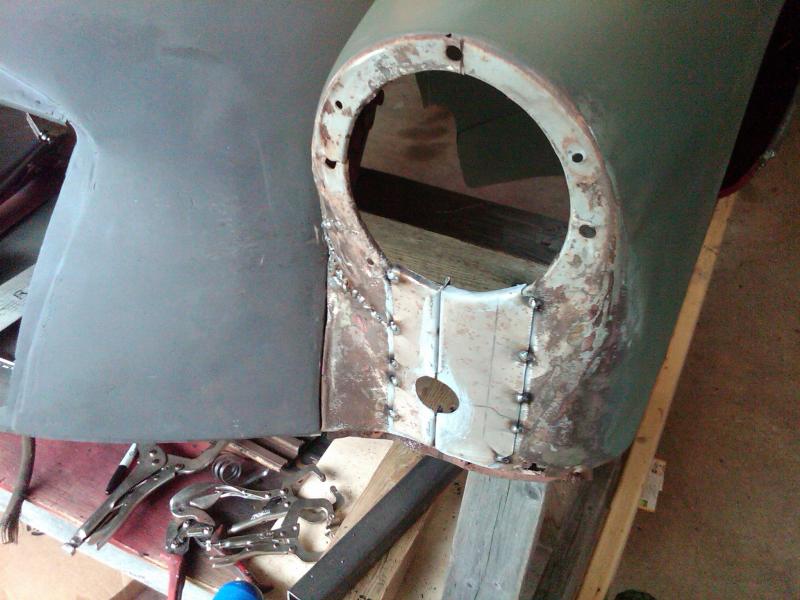
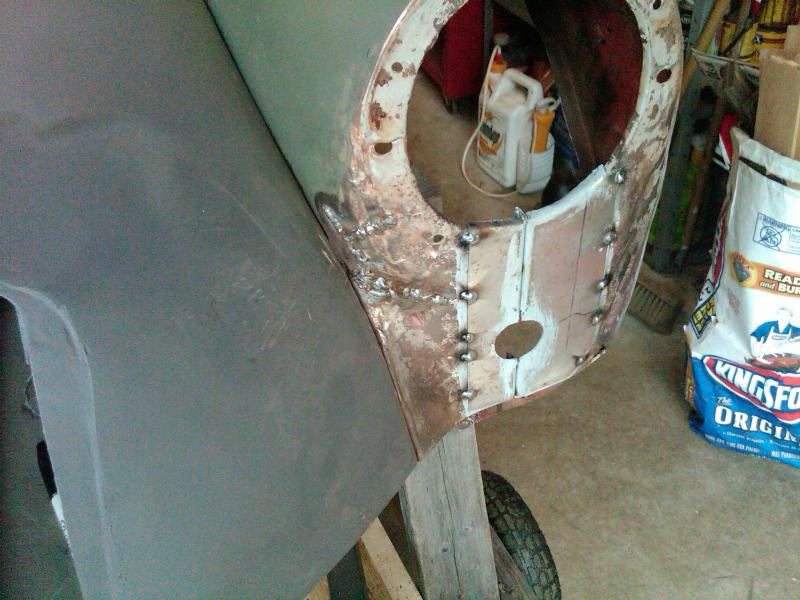
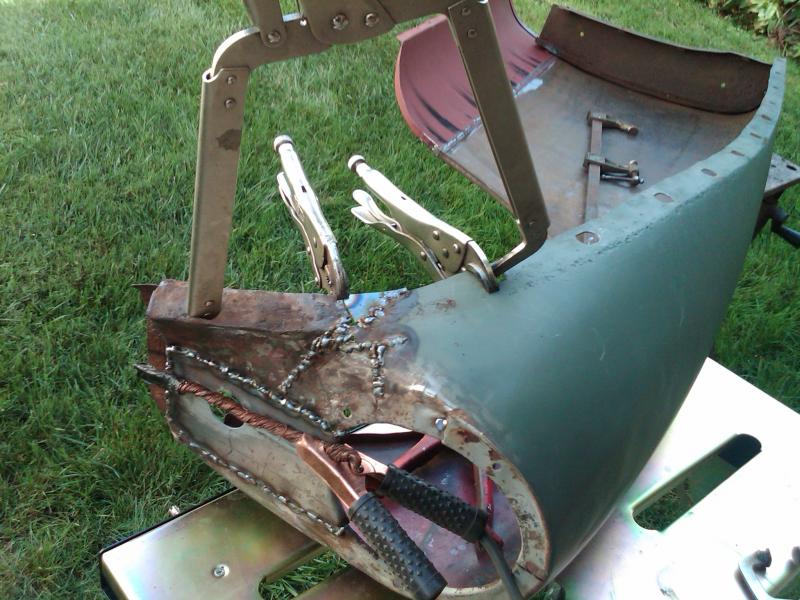
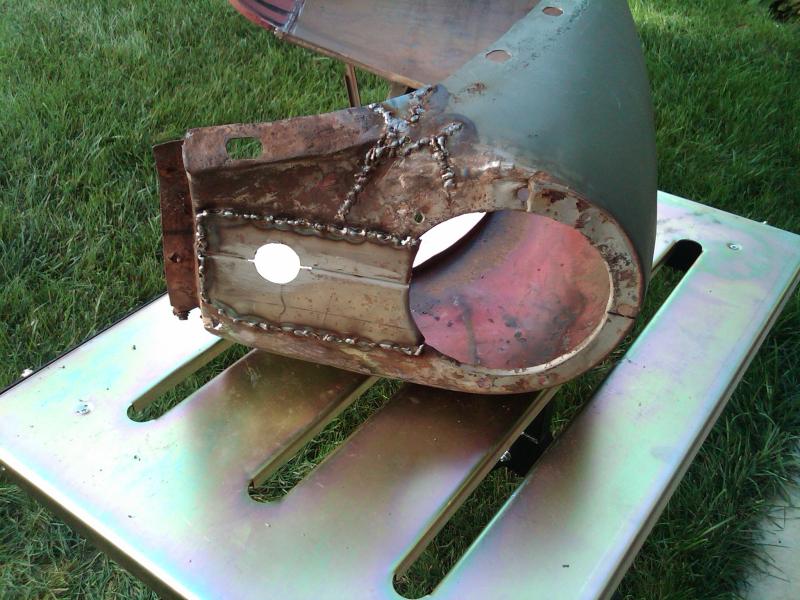
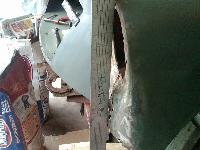
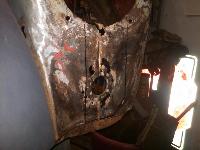
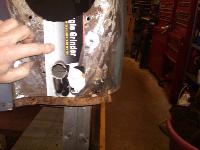
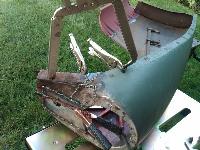
After much contemplation I got out the grinder and a cutting wheel, after all its just metal. I am relieving the stretched metal so I can hammer form the fender back into shape, and make sure it lines up nice to the body lines. I am also folding over the crimped flange on the piece I made and tack welding the repair panel in place.
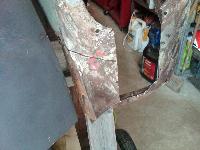

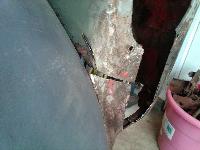
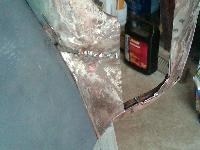


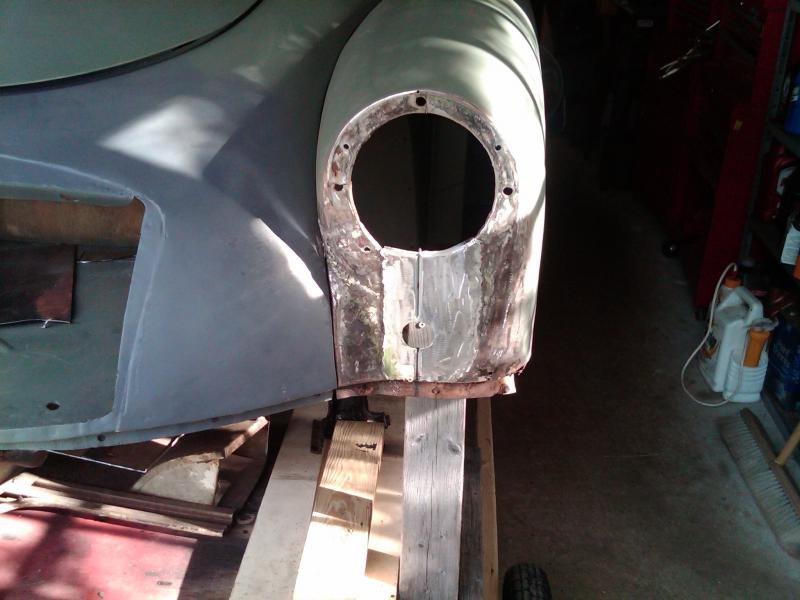
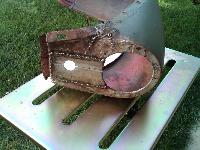
Some more welding and grinding and fabricating.
To put some tension to close the gap.

|