The MGA With An Attitude
|
| MGAguru.com |
|
MGAguru.com |
SEAT MOUNTING in the MGA -- INT-109
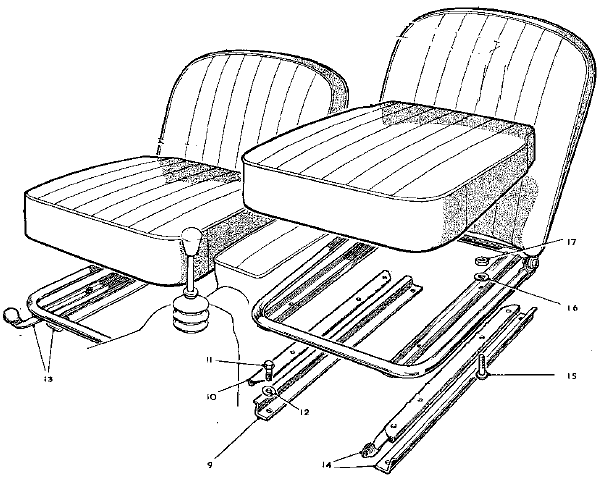
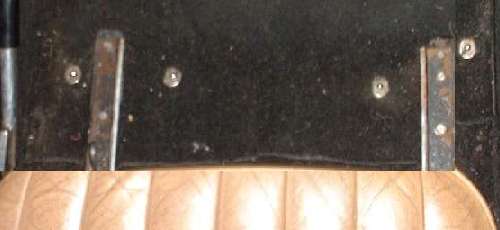
[Caution: don't let the pictures below fool you on another issue. My car incorrectly has two right hand seat adjusters. To place the rails in similar orientation for both seats, this puts one latch lever near the frame rail and one near the tunnel. Since I prefer the left one (driver side) to be outboard, I ended up with the rails turned inside out, so to speak. Originally the lower rails should have the slide edges toward the tunnel and frame rail, and the latch goes on the outboard slide.]
At 03:42 PM 9/7/04 -0400, Tony Thurston wrote:
>"How do you remove the seats?"
Slide seat forward, and remove screws from back end of floor rails.
Slide seat rearward, and remove screws from front end of floor rails.
Lift out the seats.
Original MGA seat rails have provision for three wood screws in each end of each floor rail, so there should be a total of 24 screws for 2 seats.
Replacement rails may be MGB type with one larger hole in each end. These are intended to bolt to welded nuts in the steel floor pan of the MGB. If this type floor rail is installed in the MGA, it needs a through hole with bolt, nut, lockwasher, and a very large flat washer underneath to prevent the bolt from pulling though the plywood floor.
Original MGA seat floor rails may have been screwed down on top of the thin carpet with no carpet pad, which prevents removal of the carpet piece under the seat. When the floor rails sit on the soft carpet they may get cocked a bit, and that misalignment could cause drag on the slides to make the seat position hard to adjust. With continued small movement of the floor rails the wood screws may also work loose, which can be dangerous as well as inconvenient. For these reasons I recommend that you cut slots through the carpeting to allow the floor rails to sit solidly on the floor boards. That will allow the screws to pull up tight and keep the floor rails secure for the long run, allowing the seat slides to operate properly and keeping the passengers safe.
In the MGB the floor rails are elevated slightly from the steel floor pan, attached with a small tube spacer at each end, and supported for full length on a thin spacer strip underneath (originally a wood strip). This allows the slides to move above the carpet, and may allow for increased thickness of carpet padding.
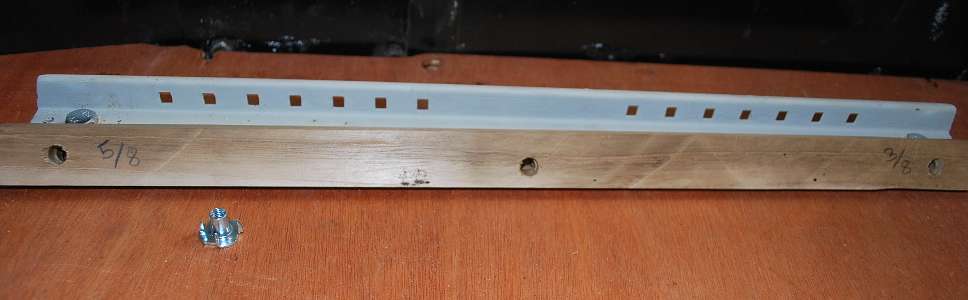
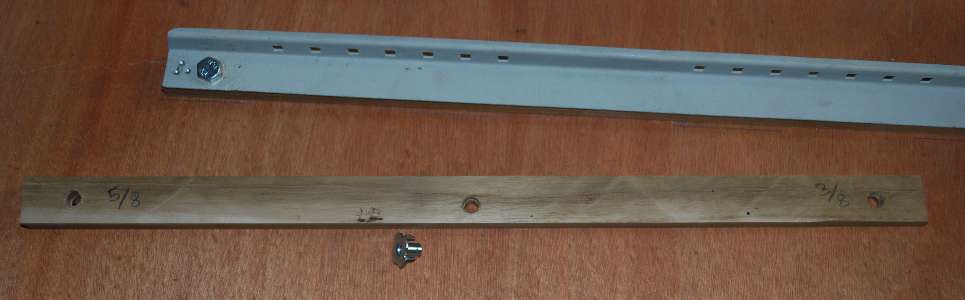
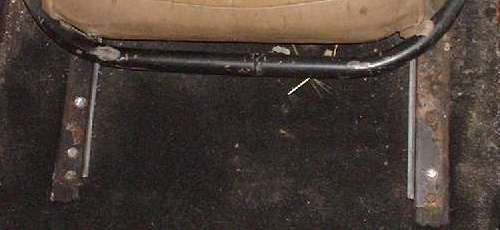
You may notice in the pictures that I have the floor rails in my MGA slightly elevated on wood strips. As a matter of choice, these are 5/8 inch thick plywood strips. This elevates the seats about 1/2 inch (vs. rails on carpet), which may or may not be to your liking. I may be a bit shorter of stature than the average bloke, so this spacer gives me better visibility over the front wings when autocrossing (trying to snuggle right up to those cuddly orange cones). With the rag top up it tends to cause me to whack my head a little more on the steel top frame getting in an out of the car. With the top down it tends to allow moderate rain fall to speckle my forehead a bit, where it didn't do that much with the lower seats.
That extra space under the seat frames allowed me to install 3/8 inch carpet padding (which is glued to the floor), and to leave the under seat carpet lying loose so it is easy to R&R for cleaning (or drying). Both padding and carpet are cut with slots to lie beside the wood rail spacers. The rear carpet piece stops a few inches short of the front of the rails, and lies nicely in place by gravity and friction.. The front carpet piece overlaps the rear piece and is secured in place with LTD fasteners. In about one minute I can remove all four floor carpet pieces for east cleaning, and they go back in almost as easy.
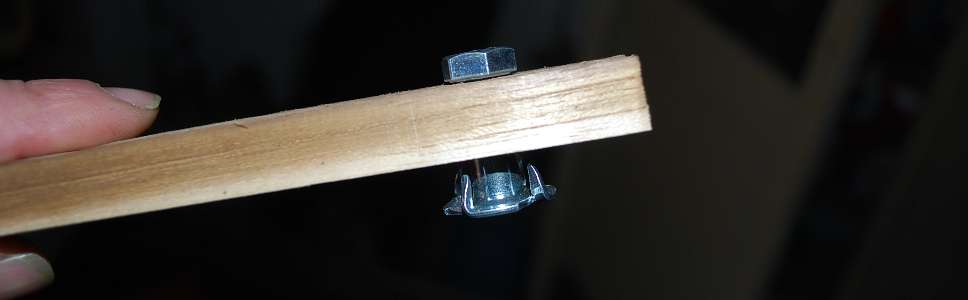
My replacement floor boards are 1/2 inch thick (vs. 3/8 original). This allows a better bite for the screws in the seat rails, assuming you use the appropriate length screws. I have the 5/8 inch spacer strips screwed down first with a number of 1 inch long flat head wood screws, sunken 1/8 inch below flush to bite the full thickness of the floorboard. The screws for the seat floor rails can then be as much as 1 to 1-1/4 inches long for extraordinary grip to secure the seats. Them babies ain't movin nowhere. Ignoring originality, I used slotted hex washer head screws, which are easy to install with a power driver.
Addendum June 3, 2013:
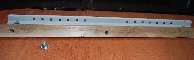
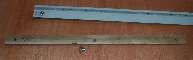
These pictures are from Noel Attard showing his wood spacers for the seat rails. They are 5/8-inch thick at front end and 3/8-inch thick at rear end to give the seat a little extra tilt back.

|