The MGA With An Attitude
COCKPIT TRIM Leather Covering -- INT-107C
This article was contributed by Alan Wiedie in Bolton, CT, USA
After months of procrastinating and researching how the leather-covered cowl pieces should be done, and how they were done originally, I finally got up the nerve to tackle the project. I learned a lot from Barney's site, MG experience and searching out what I thought were original cars. In the end, it wasn't that bad a job and just required some planning and patience and not as much physical pulling and stretching as I had been led to believe.
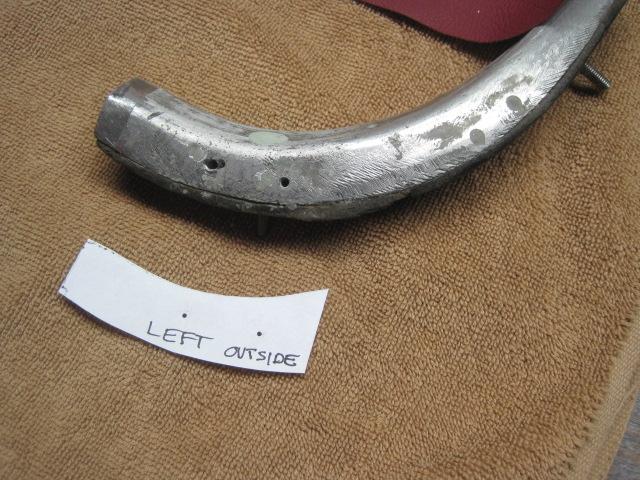
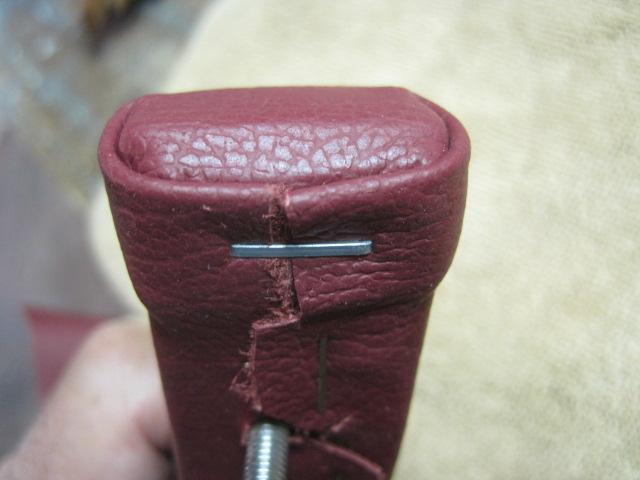
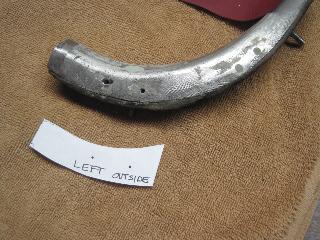
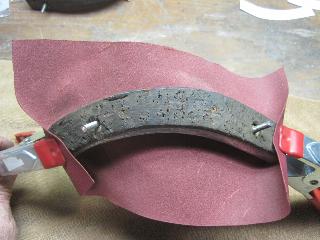
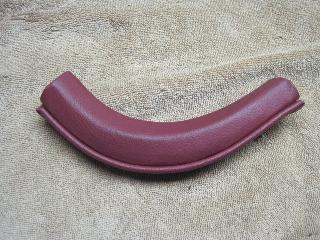
I started on the small rear corner pieces because, well, they were small - how hard could they be? They still had the original leather tack strips screwed to their bottoms and while riddled with tack and staple holes, I decided to reuse them. That proved to be OK as the new staples seem to hold quite well. I made some paper templates for the location of the inner and outer turn and LTD fasteners so I could easily locate them after the pieces were covered with leather, filled extraneous holes in the aluminum and all rough spots with Bondo.
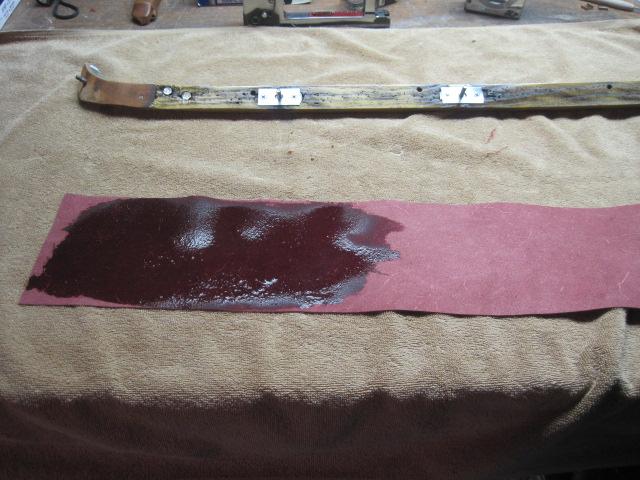
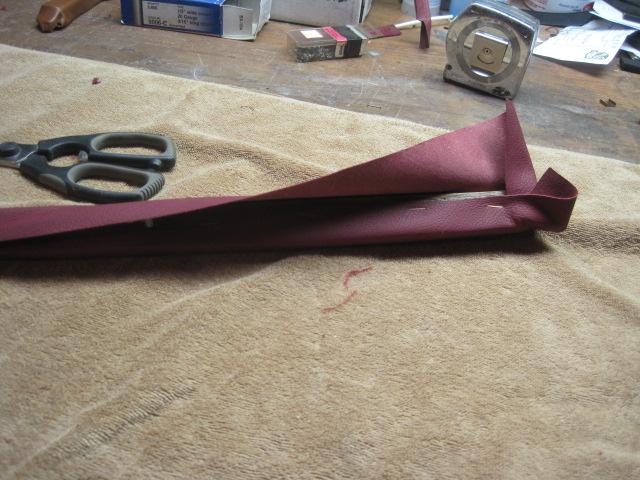
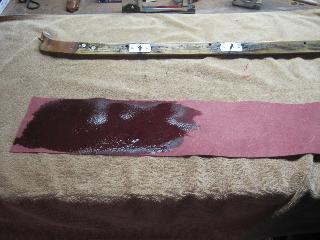
The leather for the cowl pieces that came with my seat cover kit was nice but quite thick, close to .050", and I saw that this was going to be difficult to fold at the corners . A friend of mine suggested having the leather skived, or shaved thinner, as he had done this when working on his E type. I went to the auto restoration shop where he had his leather thinned down and I would highly recommend this procedure to anyone going to cover something with leather. The machine they have, which was quite old, is amazing! Set the dial to the thickness you want - in my case we went for about .026" - feed the pieces through a couple of rollers and a continuous band-saw-like razor sharp blade slices the leather to the desired thickness! Like magic. It took less than a minute to do my four 5" wide strips. Machines vary as to how wide a piece they can handle.


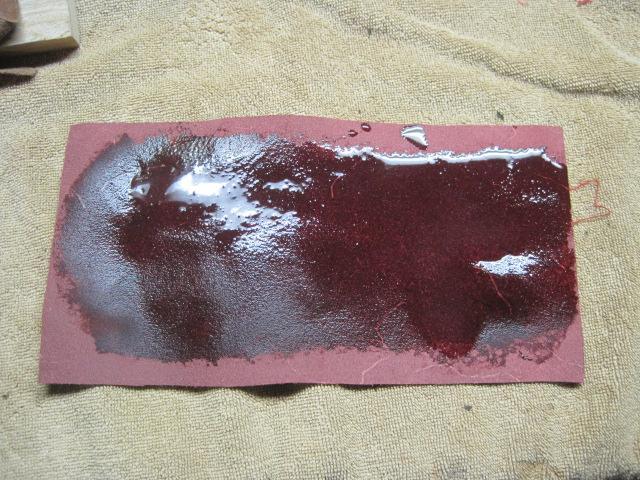
I had read about soaking the leather for hours or in some cases as long as a day to make it stretchable and pliable. I opted for just taking a small sponge and wetting the back of the piece just before starting the covering and only where it had to follow complex bends or at the ends where folds were to be made. This worked fine.
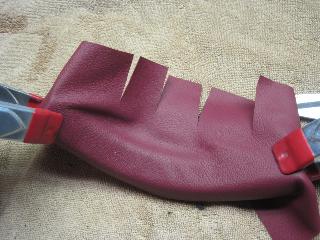
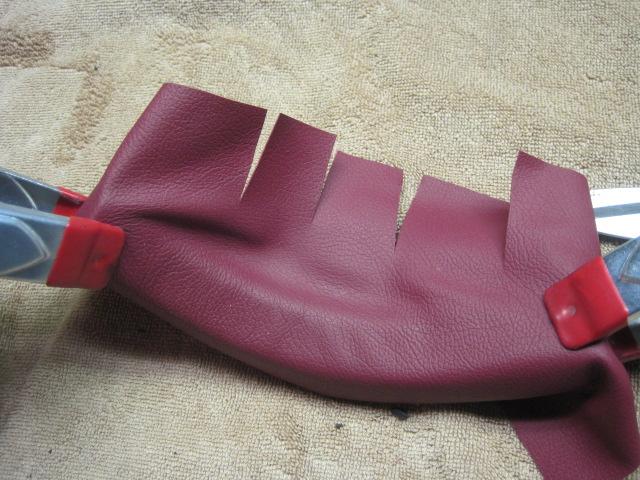
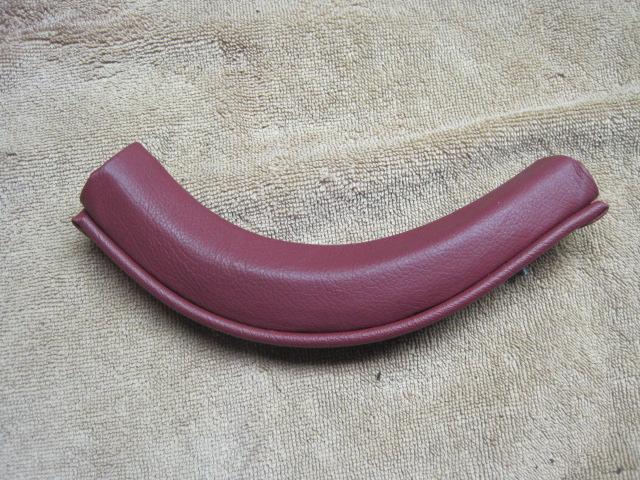
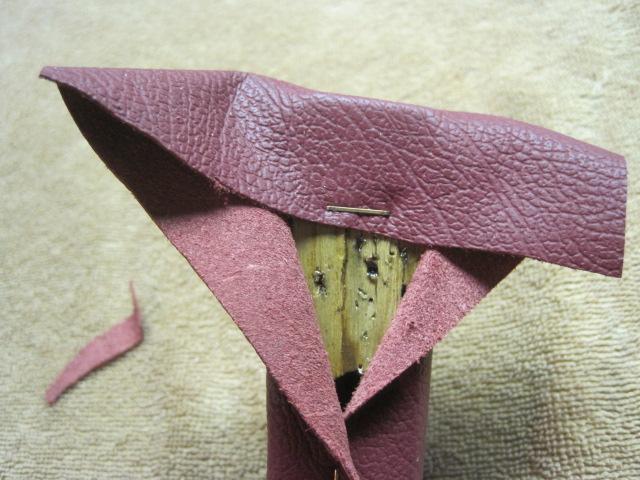
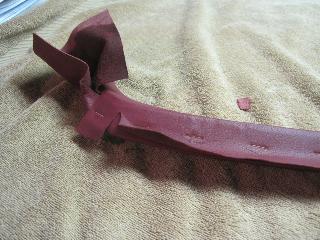
Lay the piece out on the leather to get the best orientation so that when you get to the ends, you have plenty of material to make the folds. I started on the outside of the curve, folding under and stapling while having the ends held with clamps so the material didn't shift. Next I did the inside curve which required snipping the leather to relieve tension and allow the leather to roll under the edge of the piece. Don't snip too far! The main thing is to keep the leather pressed smooth against the surface of the piece so you have no wrinkles. This may require an extra snip here or there.
At the ends I did something different from Barney. Instead of folding down over the ends last, I folded the leather down there first and put one staple to hold it underneath as I wanted only a single thickness on the ends.

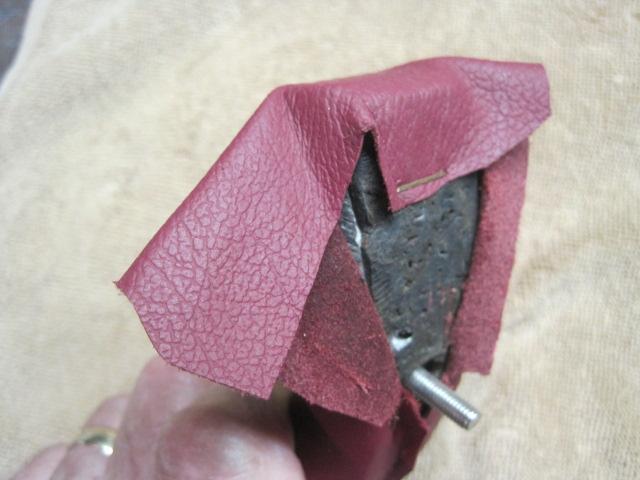
Next, I cut away material almost up to both corners on the bottom. Then I took the material on the sides and folded it back under itself, like you're tucking in sheets on the bed, and wrapped this fold down along the sides and under the bottom, keeping the fold flush with the vertical and bottom edges at the same time as scrunching that little corner of excess leather under the bottom flap. The damp leather was pretty pliable and the folds pressed down fairly flat.

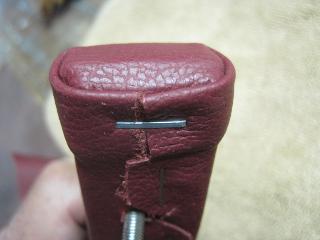
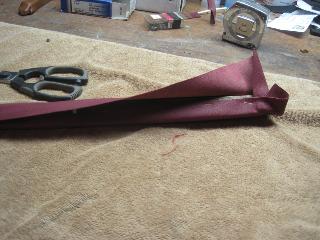
Do the same with the opposite corner and cut excess material away so the two flaps meet in the middle of the bottom. Staple. This is hard to put into words but it is not too hard to do. If you haven't done so already, trim the material that was stapled along the length of the piece so there is only one thickness of leather on the bottom. There will be several thickness right at the ends where the fold are made.
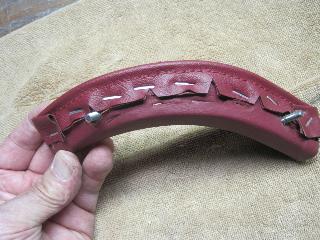
The piping is pretty straightforward. You need to snip it around the curves, tuck the ends under and keep it right on the corner of the piece so it lays down nicely along the sheet metal of the car. Where Barney suggests keeping the piping back about an 1/8" from the ends, I elected to pretty much run it end to end of the piece - just a personal preference.
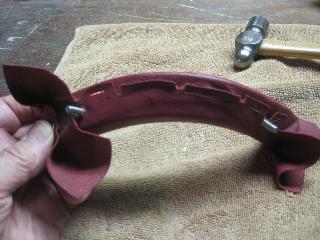
My wooden door pieces were in pretty good shape. One may have been original but the other was a reproduction and needed a little reworking. I actually had to glue another 3/4" wood piece to the ends because they had been cut short by a previous owner. I put new screws in to hold the aluminum ends and wood together and had to add new leather tack strips to the aluminum, gluing and screwing. Finally found a use for that piece of 3/16" thick leather that was in our basement when we moved in in 1967! Again, I filled all holes and rough spots and put a couple of coats of polyurethane on the wood. Be sure to check the fit of these pieces to the doors, especially the curving aluminum fronts and adjust as required. That piping will cover some gaps, but not big ones.
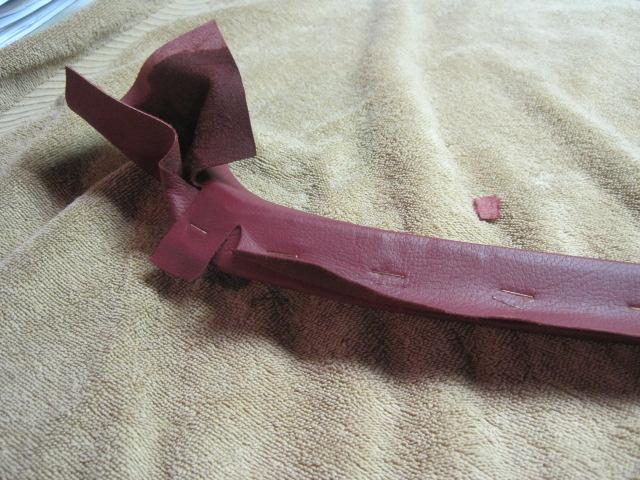
I wetted the back of the leather as with the rear cowl pieces, again only at the curving aluminum and rear ends.

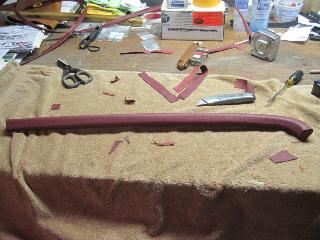 The straight runs were pretty straightforward (no pun intended) and by now the rear ends were a snap as I had done four before. The curving front, well, that was a little trickier. At one point I thought it would be impossible to get all the wrinkles out, but a little perseverance paid off and the leather eventually settled into place. Just be sure to leave plenty of material to fold down and under at the ends and don't snip around the curves too close to the side edges in case you have to shift the material one way or the other to eliminate wrinkles.
Again, hard to describe and somewhat harder to do than the rear pieces. I'm happy with the way the pieces turned out, so now it's on to the vinyl covered trim.
|