The MGA With An Attitude
HEATER CONVERSION, Standard to Twin Cam style - HR-200
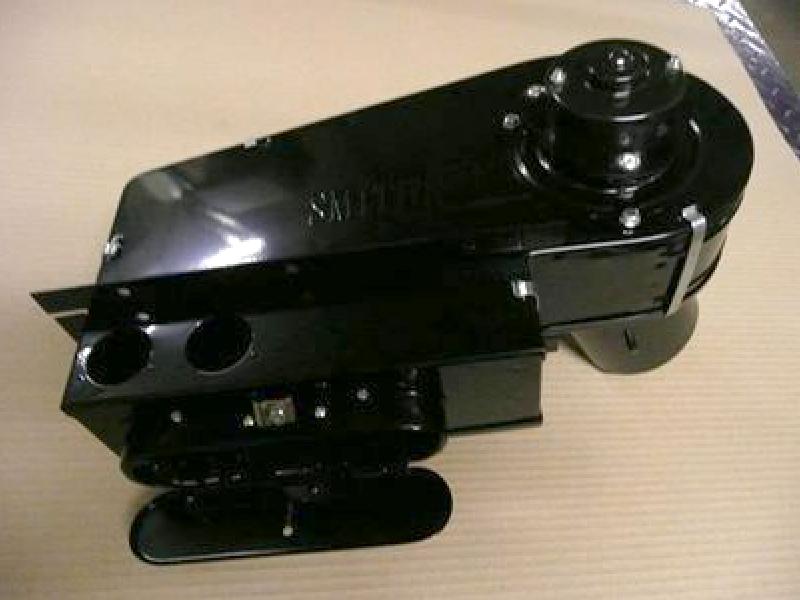
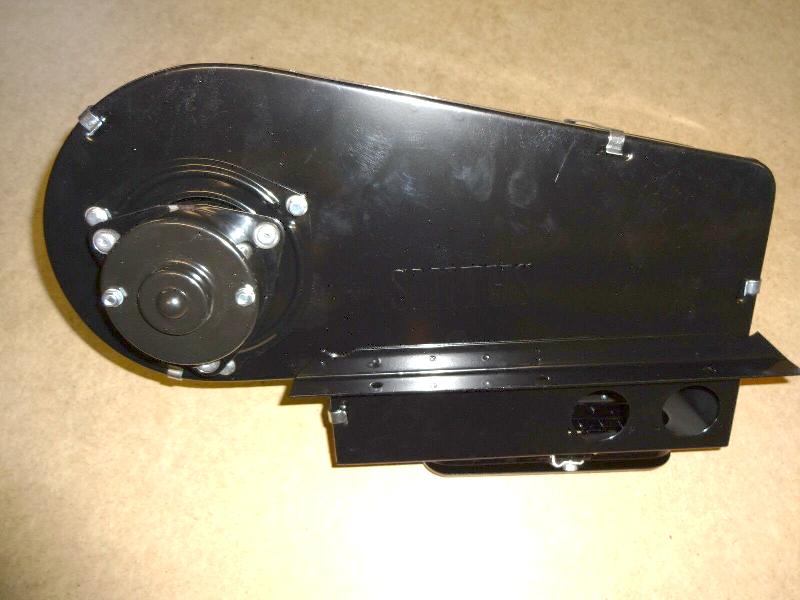
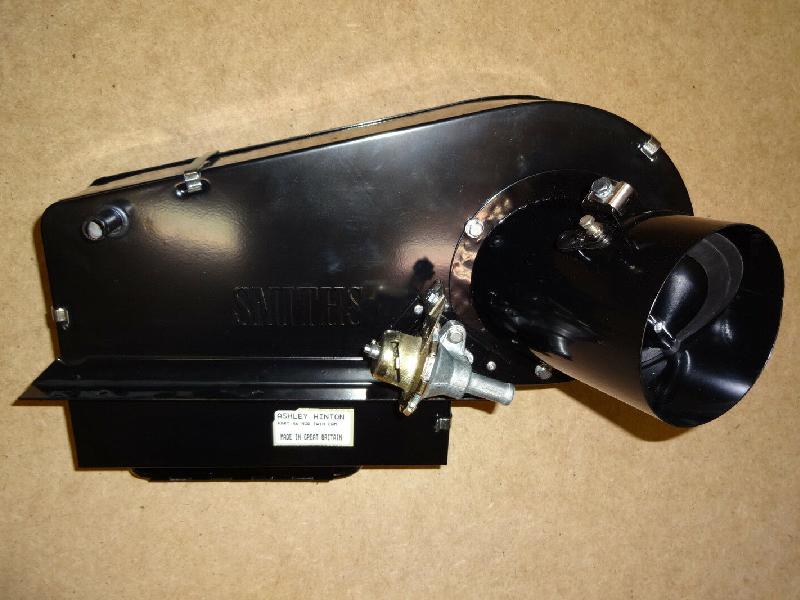
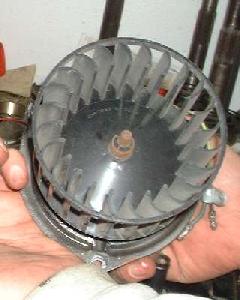
Many MGA Twin Cam cars were originally delivered without a heater (going racing, maybe). When people are restoring Twin Cams these days, they often want to add the heater. The Twin Cam heater is rather rare and hard to find, except maybe for a few being hand built by a specialist ($$$). As the Twin Cam heater is essentially a mirror image of the heater for pushrod engine cars, it is not too difficult to convert a pushrod car heater into a Twin Cam car heater. The objective is to make the one on the left look like the one on the right.

Most of the parts are same or similar, just reoriented (with a few minor mods) to transform the unit as a mirror image assembly.
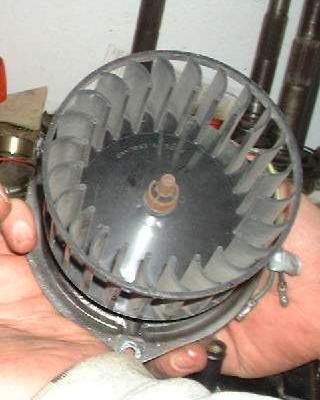
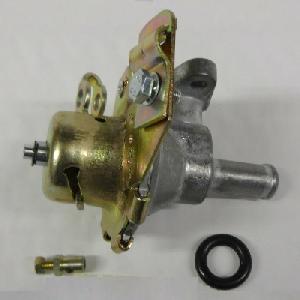
You will need to procure a few new parts. The Blower fan will rotate in the opposite direction, so you need a mirror image blower cage. This is one of the easiest parts, as it is the same as a blower cage for any MGB. You could buy a heater motor for early MGB that rotates in opposite direction, but it is fairly easy to modify the MGA heater motor to run "backward". The other special part is the heater valve that mounts on the heater box for the Twin Cam. This piece you can buy as a new replacement part.
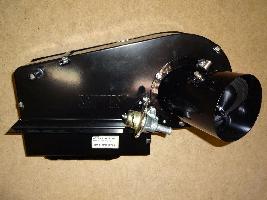
When all finished you have a heater box with the air intake on the opposite side, and a water valve on the front of the box, and the blower spinning in opposite direction. Otherwise pretty much the same mounting and plumbing and controls as the standard heater. Now the fun part, how do you do it?
- Remove air intake assembly (3 screws).
- Remove blower cage (just loosen one pinch collet nut and pull).
- Remove motor (3 screws).
- Remove the front to back metal snap clips (4 pieces).
- Remove font cover with 2 rubber grommets. ---- This side will end up in back generally out of sight, so your choice to use snap plugs or weld and finish flat.
- Remove rear panel (which will become the new front panel in the Twin Cam)
- Remove the core, reverse it and reinstall it with connector tubes on opposite side. ---- Replace felt packing around the water core if needed.
- Cut a short piece off the end of the water inlet tube (the bottom pipe) to remove the ridge, leaving a straight smooth tube inlet, just a little shorter. ---- No hose here, as the Twin Cam water control valve slips directly onto this pipe.
- Punch 2 holes in the previously blank cover to match the tube locations.
- Install the punched cover with new rubber grommets.
- This is where you want to check the fit of the Twin Cam style water valve that needs to be attached to the front cover with 2 screws.
- Install two captive nuts inside of the front cover for heater valve attachment. ---- Pressed in place PEM nuts would be nice, but those are a bit tough to source in small quantities. You can just drill the holes and solder hex nuts inside.
- Install the second (now rear) cover, welded or plugged.
- Install the 4 clips to hold the covers in place.
- Reverse the demister flapper valve assembly on the bottom (4 screws)
- Then the more tricky bit. You have to reverse rotation direction of the blower motor. See here:
http://mgaguru.com/mgtech/electric/ht_mtr_1.htm
When you get to this page:
http://mgaguru.com/mgtech/electric/ht_mtr_5.htm
You will find instructions for reversing direction of rotation of the motor.
- You also need a blower fan that has the fins in reverse direction for opposite rotation. MGB heaters run the fan in opposite direction, same as the Twin Cam, so if you can't find a Twin cam blower fan, then grab one from an MGB.
- Turn the revised heater box around, appropriate for the Twin Cam.
- Install the motor from back (3 screws)
- Install the blower cage from the front (slip onto shaft and tighten the collet nut).
- Look at the air intake assembly. To reverse this part, rotate it 180 degrees to point the angled 4-inch pipe toward the exhaust side of the car. Drill three new holes in the flange to match location of the three captive nuts in the cover.
- Then you have all of the cable driven air valve controls on the bottom when they should be on top. The butterfly plate and shaft can be flipped over to put the arm on top (not sure about the angle of the arm yet), For the cable jacket mounting bracket, you would need to drill out spot welds to relocate the bracket on top, weld in place or maybe use rivets.
- Also notice the angle of the air valve shaft. The Twin Cam originally has this shaft tilted over about 30 degrees toward the center of the car. To do this you would need to drill two new holes in the air inlet pipe, and plug the original holes.
- Reattach the revised air intake assembly to the box with 3 screws.
- Install the Twin Cam style water valve with a new O-ring and 2 screws.
|
|