The MGA With An Attitude
MGA FRAME STRAIGHTENING Tech Session - FR-201
April 12, 2003 - Naperville, IL
Hosted for members and friends of Chicagoland MG Club

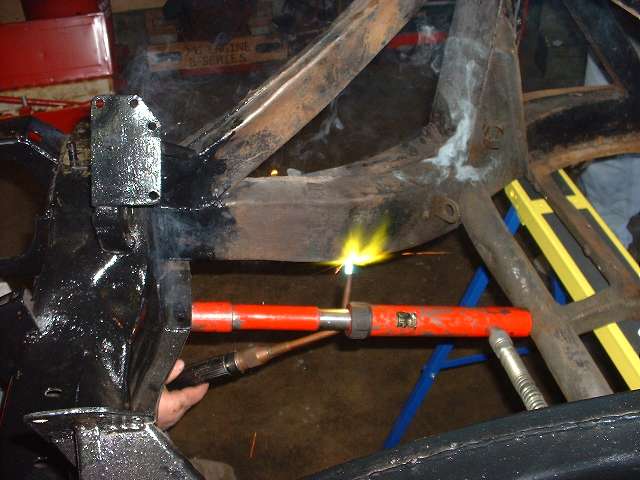
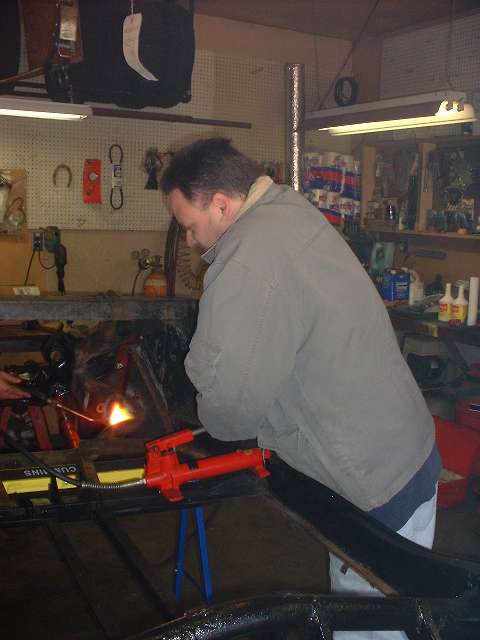
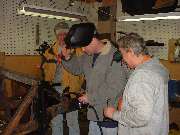
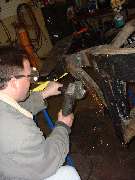
Two of the basic tools used for frame straightening, a hydraulic ram
to apply strong steady force, and a good hot torch to soften the metal.
Click for larger images. - Larger pics average 33KB.
 |
 |
 |
 |
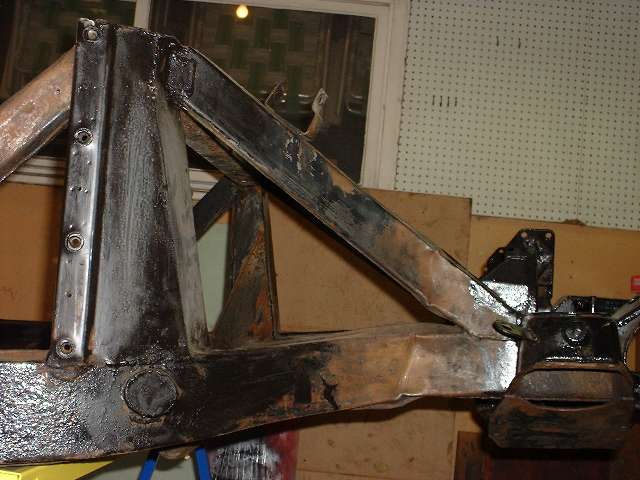
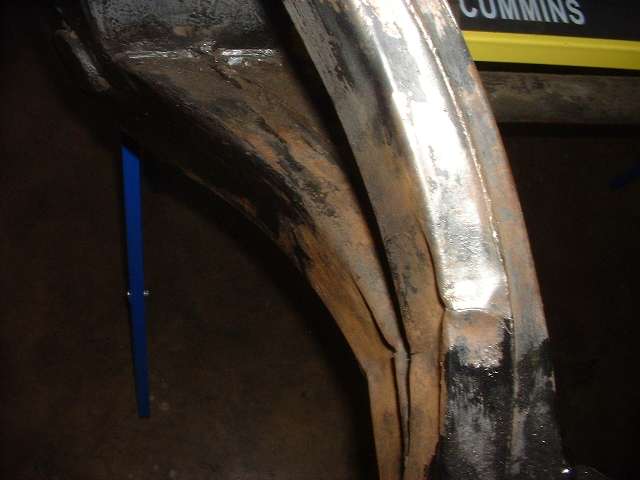
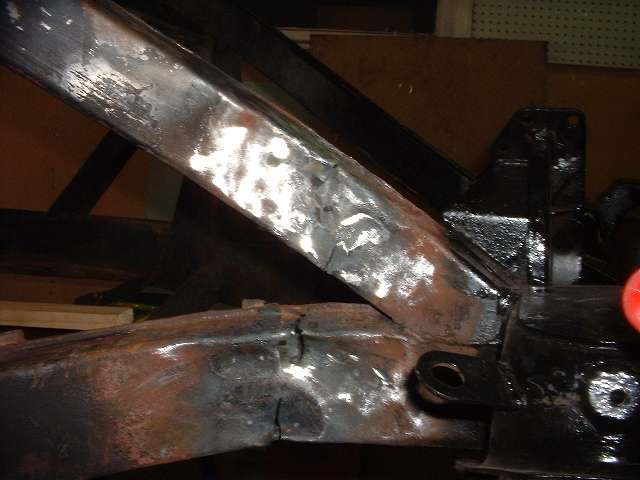
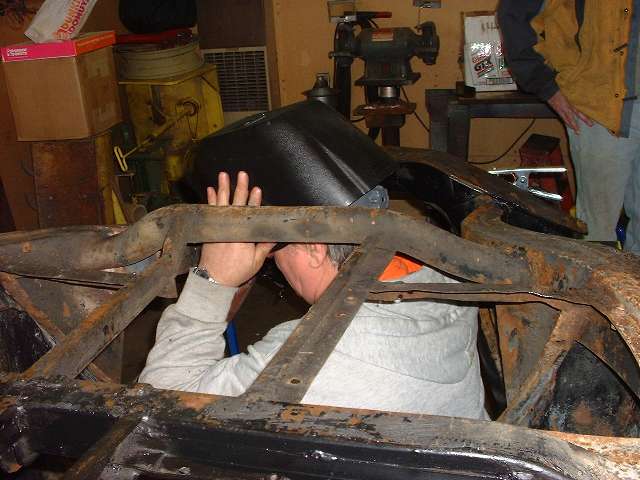
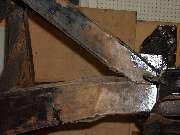
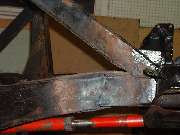
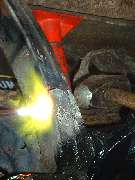
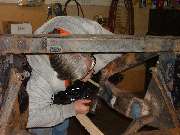
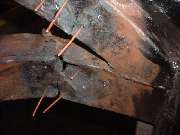
First a preview of the problem, a kink in the frame just aft of the right front suspension mount. This appears to have been bumped solidly on the front and pushed back about 3/4 inch. It didn't look too bad at first glance, but there were concave impressions and some cracks, and this would ultimately require quite a bit of heating and stretching to get back to the original frame dimensions. This sort of work is not an exact science like installing a cylinder head with a torque wrench. Rather one needs to figure things out as the job progresses. It doesn't actually require much experience, but more creativity and patience. Start with a tape measure to take in-line, lateral and diagonal measurements to compare left and right sides of the frame and to determine if something is off center. You can't fix it until you know exactly what's wrong.
The general technique is to apply force in the direction opposite the original impact to stretch the metal back to where it started from before the impact. The tool of choice in this case is the hydraulic body straightening ram with various end attachments. Then apply enough heat to soften the metal to the point where it will stretch and take a set and not spring back when the force is removed. This requires heating the steel to bright red, and for a large frame section this requires a lot of heat. We started working with the lower leg of the frame because that was the larger section, and if we couldn't move that one the rest would be for naught.
|
 |
 |
 |
 |
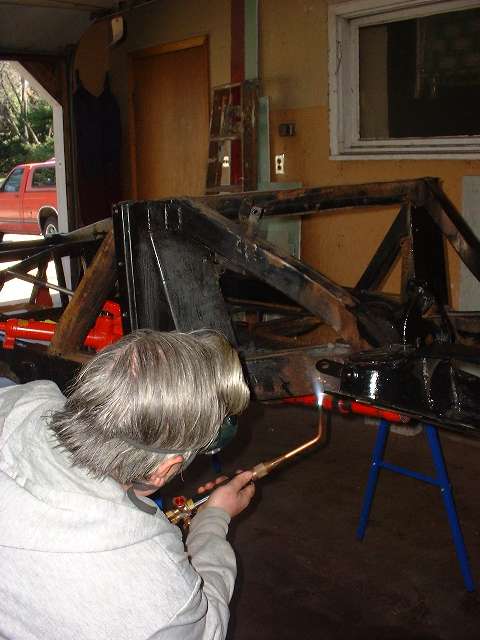
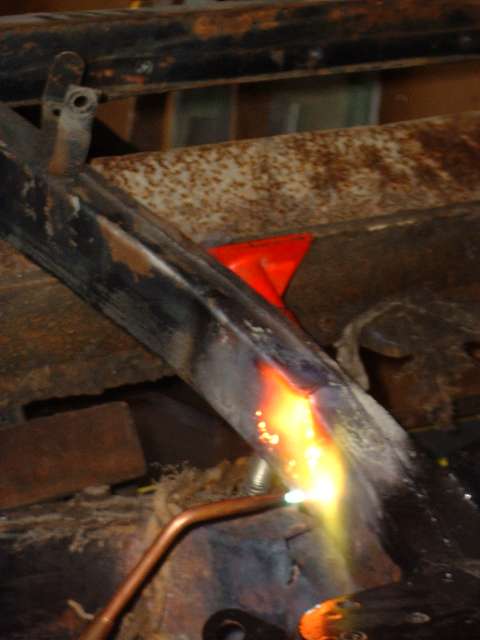
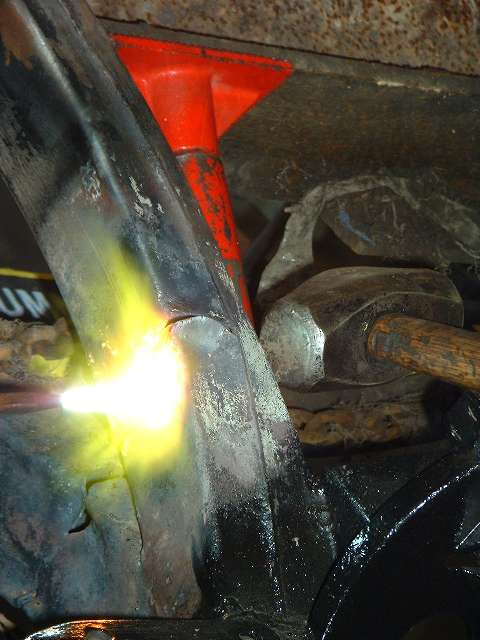
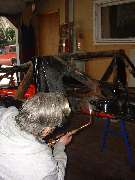
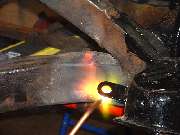
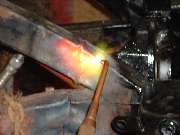
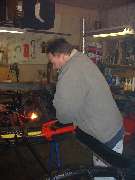
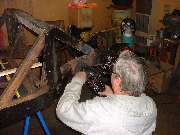
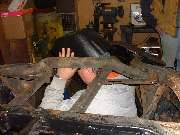
The appropriate tool conveniently at hand in this case was the oxygen-acetylene torch with a large tip to produce a BIG flame. Another heat source which can also work well for this is a gasoline blow torch. The gasoline torch uses ambient air for the oxidizer and does not achieve as high ultimate temperature as the acetylene torch, but it does throw a wider flame, can produce just as much total heat output, and does get plenty hot to bring a piece of steel to a bright red glow. If you were to try using a propane torch for this application, you would need a REALLY HUGE propane torch, and maybe more than one. In any case one must keep the torch moving over a larger area so as to not melt the steel in a small local spot.
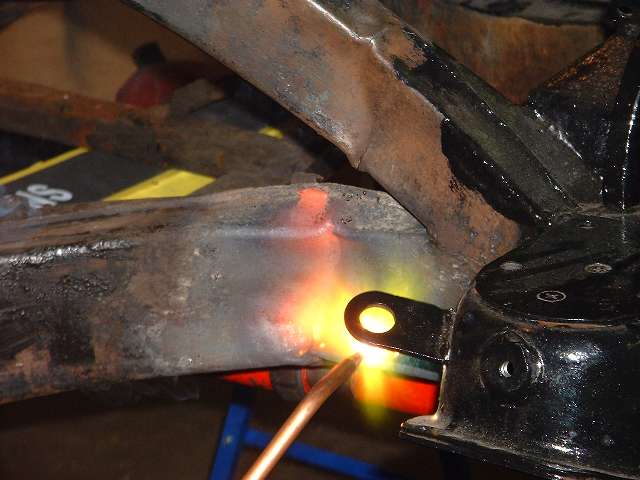
The hydraulic ram is pumped up to high pressure to start, and then the heat is applied to the frame. As the metal begins to glow red and yield, the hydraulic pressure drops a bit, which you can feel by way of reduced force for the pumping handle. At that point you can pump up the hydraulics progressively to keep the metal moving until it goes where you want it. Notice the bright exposed shank of the hydraulic ram in the photos above. Beginning at the left the ram is exposed for about 1-1/2 inches of length. At the right it is exposed for about 2-1/2 inches of length, indicating our success at pushing the frame out by nearly an inch. After allowing the frame to cool for a few minutes the ram was removed, and the steel frame did spring back about 1/4 inch, but ended up just about where it was intended. Having done most of the heating in the area of the depression in the frame rail, as the frame was stretched the depression was also pulled out at least part of the way toward being flush with its original surface point. A couple of cracks were also opened up some, but the remaining dent and cracks will be attended to later in the process.
|
 |
 |
 |
 |
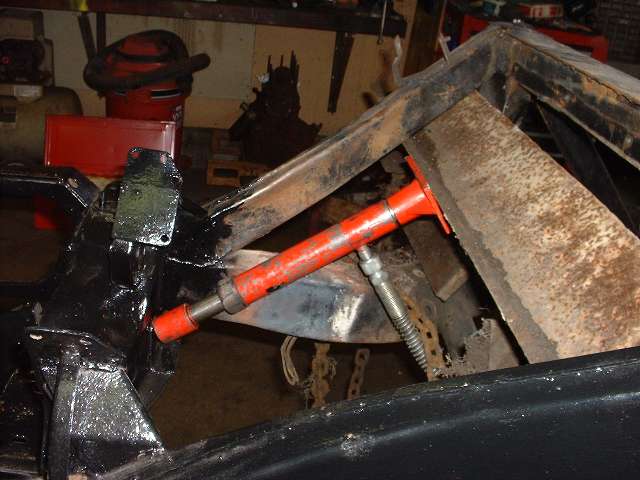
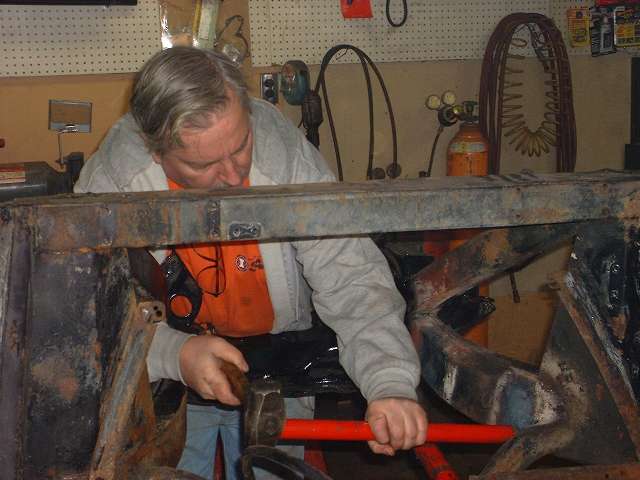
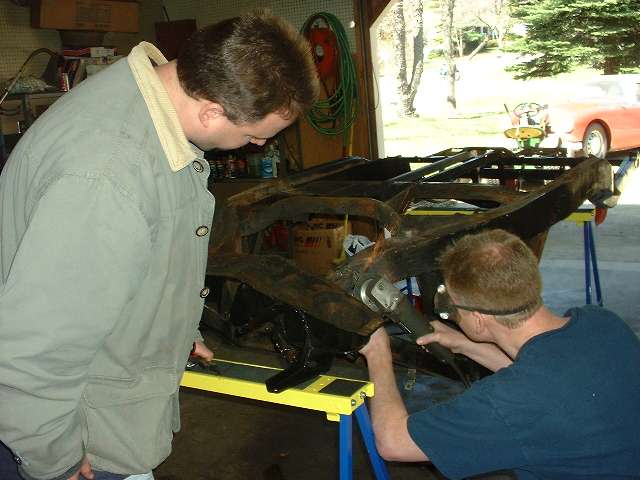
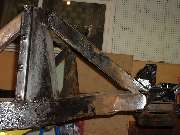
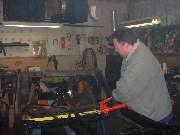
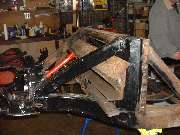
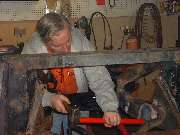
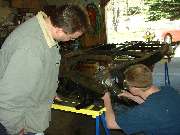
We then moved on to attack the upper angled rail in the frame in a similar manner. To position the ram parallel to the rail in process we needed to improvise a solid base point for the ram, as the top lateral frame rail is not strong enough to take the required force. By coincidence there was this large steel weldment just lying about which had previously been used as a road drag for maintaining the gravel driveway. By luck it appeared to be absolutely made to order for this assignment, and in short order we had a nice hydraulic stretching force applied to the angled frame rail. So crank up some more heat, and away we go, getting the hang of this process rather quickly.
|
 |
 |
 |
 |
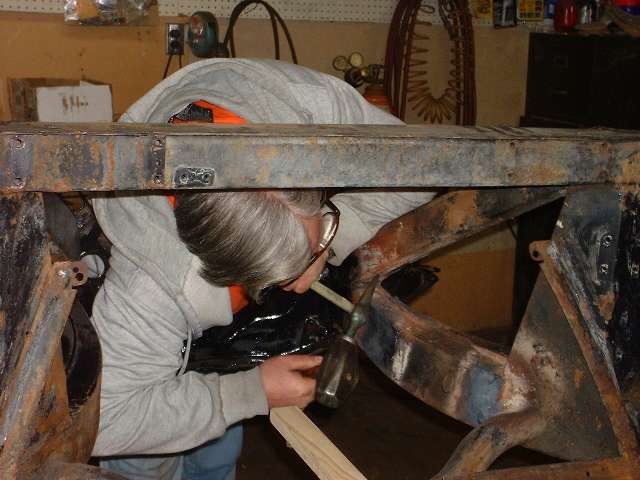
As the kink and dent were being pulled out of the top rail some cracks were opening up here as well, but noting we couldn't attend to later. As the metal was hot and stretching, just a light tap on the inside surface with a two pound hammer was enough to remove the excess bow from the rail and increase the length considerably. Some more heat and a few more strokes of the pump, and the top rail was back to normal length again.
Then we put the ram back to the lower work position for some more work on the lower frame rail. There was a small protuberant kink on the inside surface near the back end of that run of the rail, but not for long. More force, more heat, and finally a little tapping on the inside surface brought that area back to normal too.
|
 |
 |
 |
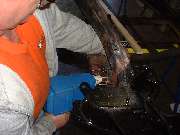 |
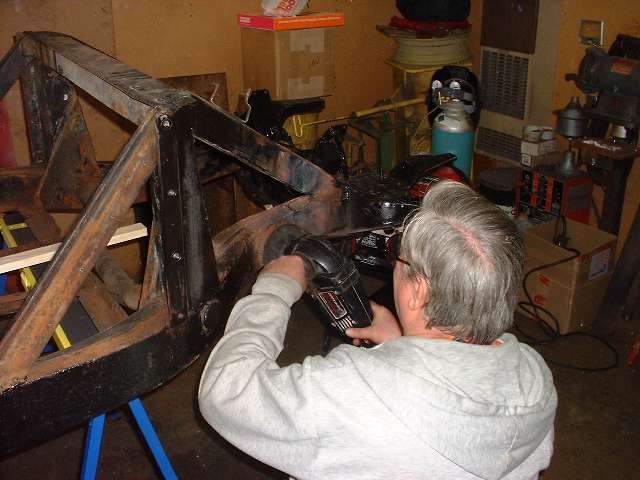
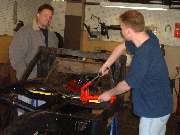
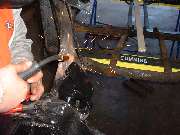
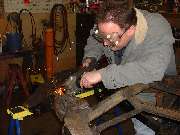
Finished with the heating and stretching, it was time for some cosmetic work. Using a cross peen body hammer for a punch and tapping with the 2 pound hammer, we soon made some considerable improvement in the position and straightness of the top and bottom flanges and weld seams. Having a couple more tricks to go, it was time to sand off some paint and rust to expose bare metal for a good electrical contact.
The next special tool to make an appearance was the hand held stud welder. This has a spring loaded conical center power tip to hold the stud, and a cylindrical copper grounding contact. The "studs" are copper plated steel nails. Insert a stud into the nose collet of the welder, press firmly against the bare steel surface to get good electrical contact, squeeze the trigger for a couple of seconds, and the stud is instantly spot welded to the surface. This tool works on any household 115 VAC 15 amp outlet. Weld several studs into the low spots at intervals of an inch or so, giving the frame the appearance of a porcupine.
|
 |
 |
 |
 |
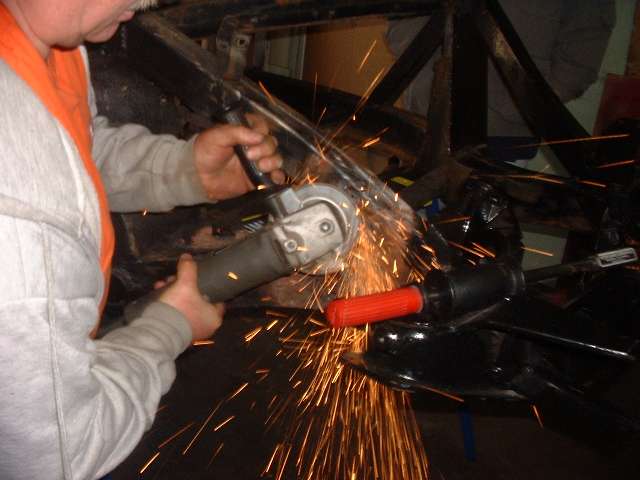
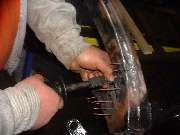
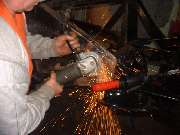
The sister tool that goes with the stud welder is a small slide hammer with a collet employing a knurled cam wheel to grip the stud. Slip this over one of the studs, turn the cam into contact with the stud, and then draw back the sliding weight with a crisp thump to pull out the panel. A few light taps generally work as well as one big yank (better actually), and are less likely to break the stud. This has about the same effect as tapping on the far side of the metal with a body hammer, but you don't need access to the back surface. When finished with the pulling, an angle grinder makes quick work of cutting off the studs and grinding them flush in just a few seconds each.
This stud welder was originally intended for use in pulling dents out of sheet metal body panels. Because the frame metal is considerably thicker than a body panel, it was a little slow going here, involving a few broken studs and some repeat tries, but we eventually prevailed against most of the dents. It was certainly easier and faster than some other methods. Another way of raising such dents in closed tubing is to drill a few holes in the far side of the tube, use a punch to reach inside and hammer out the dents, then use a MIG welder to close the holes and grind the welds flat. But in some places you may not have access to swing the hammer and punch. This is mostly cosmetic work, so at some point you decide for yourself what's good enough and move on to something else.
|
 |
 |
 |
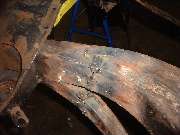 |
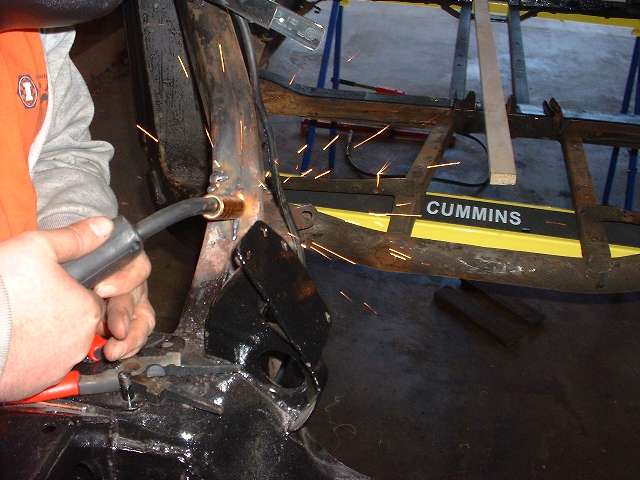
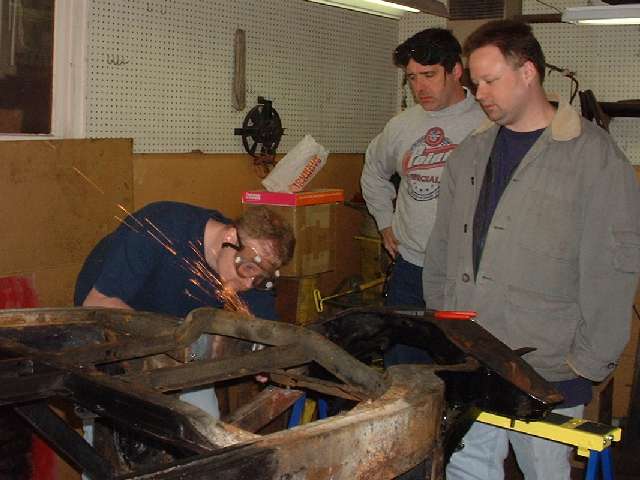
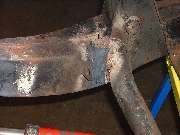
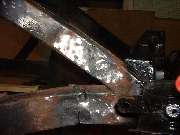
Then out came the MIG welder to weld up all the cracks and gaps in the frame. Weld some here, turn it over and weld some there. Truth be known, the beauty of the welds was not something to write home about, but they are structurally solid, and some work with the angle grinder goes a long way towards improving the appearance before painting.
|
 |
 |
 |
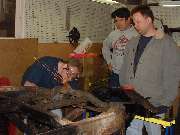 |
So we grind here and we grind there, and we change hands and change people a few times. Eventually we get to another point where we figure it's good enough and call it a day. The final payoff is in about four hours time we have saved an MGA frame from the crusher and will be putting it back into service (after a little more work on floor rails and battery cradles).
Guidance, photos and web page compliments of Barney Gaylord.
|
|
|