The MGA With An Attitude
SIDE CLOSURE PLATES - FR-122
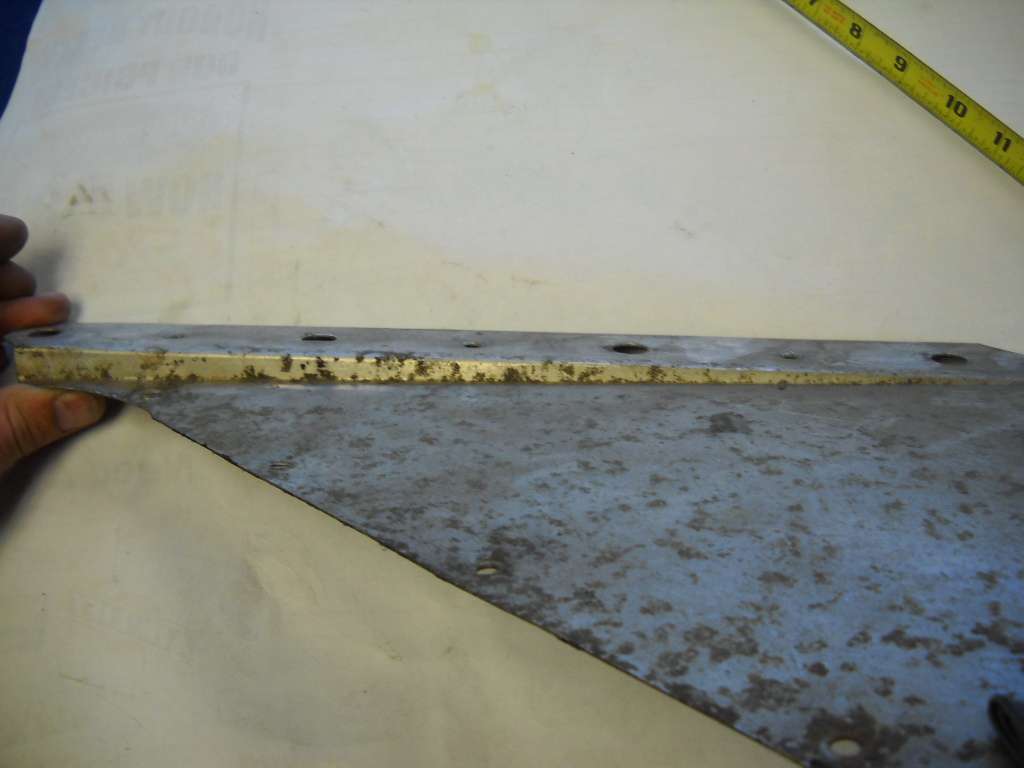
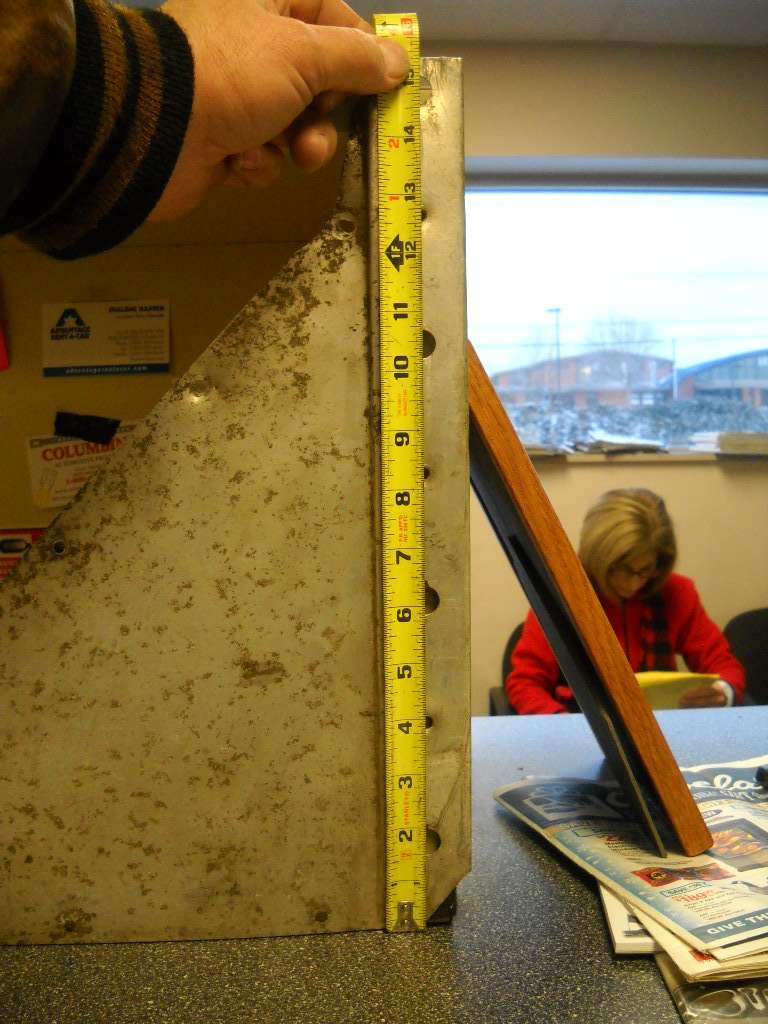
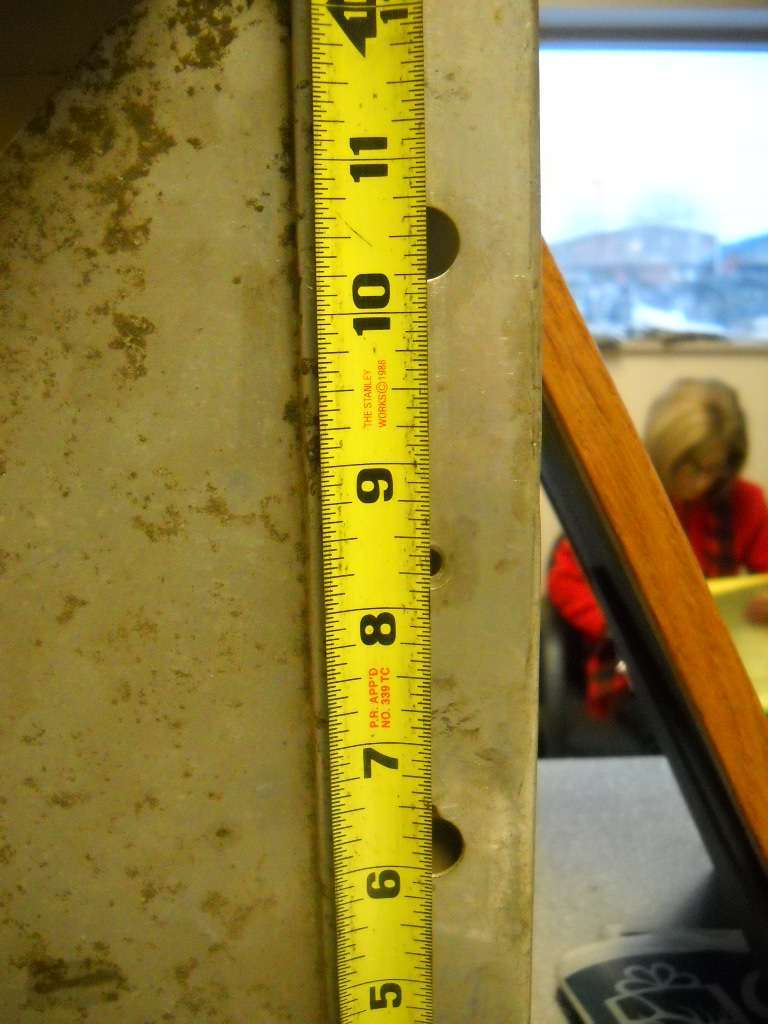
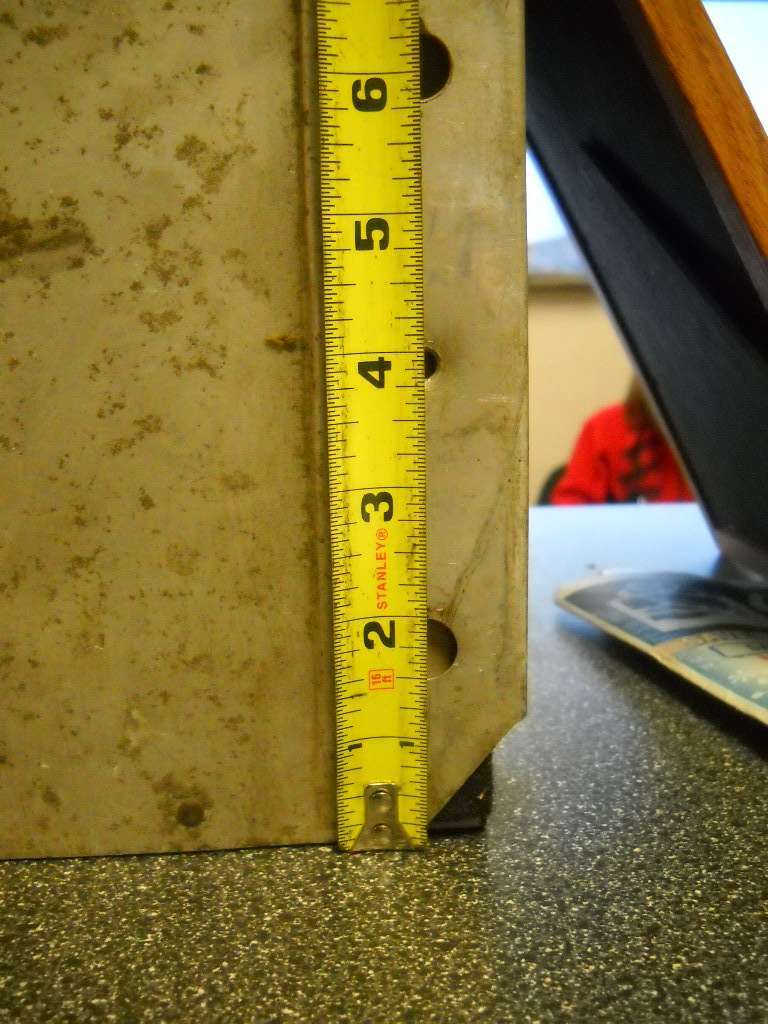
The MGA frame side closure plates (item 6 in the illustration) are thin aluminum sheets that are sealed and screwed to the side of the frame before the body is installed.
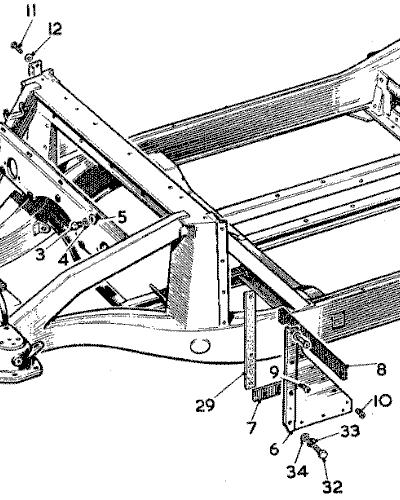
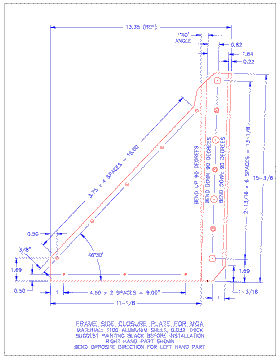
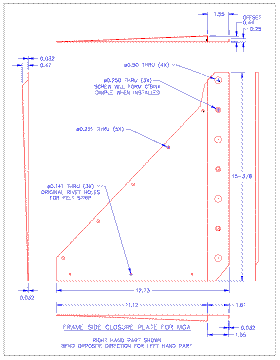
 Items 7 and 8 are (originally) felt strips between the closure plate and frame. Item 9 is a #8 x 3/16 countersunk tapping screw (zinc), 3 each side. Item 10 is a #10 x 3/16 Phillips tapping screw (zinc), 4 each side. Item 11 and 12 is a #10 x 5/16 Phillips tapping screw (zinc) and #10 flat washer (zinc), 1 each side (top position of the 5 holes in the angled edge).
Notice: Item 29 is a cork strip, which is a packing for body to frame mounting where the body would bear the load of body mounting bolts. The entire body to chassis packing kit is NOT shown in the MGA 1500 SPL. For the MGA 1600 SPL, the body to chassis packing kit is illustrated on the frame assembly page, along with the frame side closure plate. Item 29 [Packing - frame goal post upright (outer) AHH5178] is illustrated where it may appear to go between the closure plate and frame, but in fact it goes on the outboard side of the plate between the plate and the car body. There is therefore no seal along the front edge of the closure plate between the plate and frame. That seals by virtue of the wrap-around shape of the plate front edge.
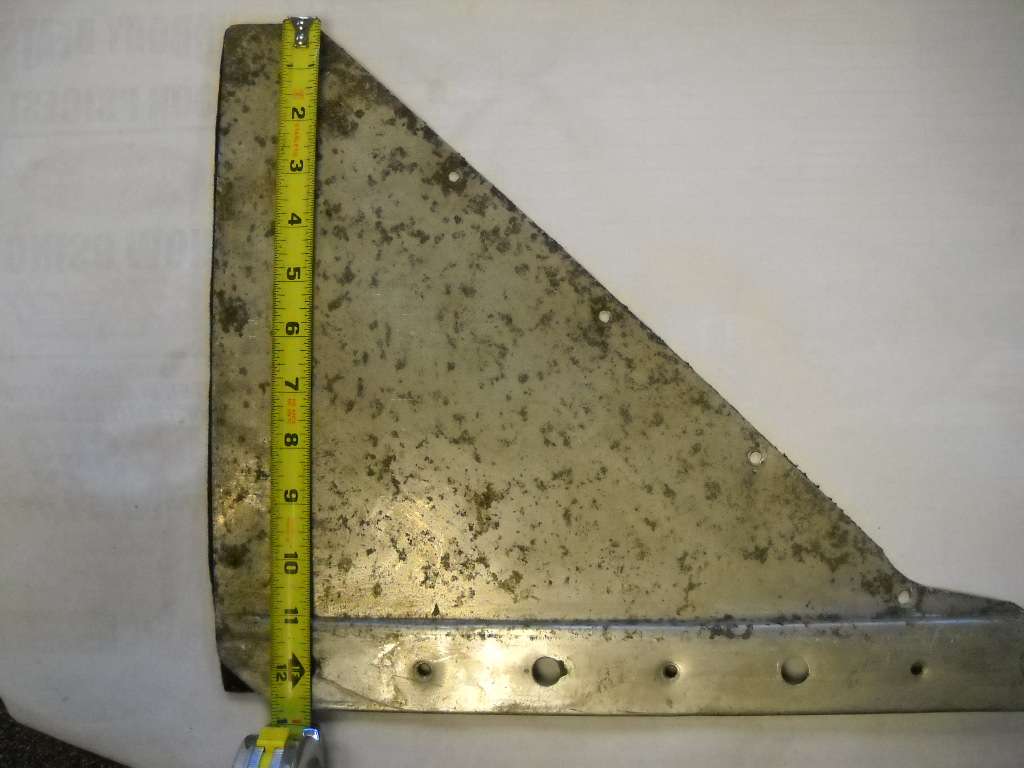
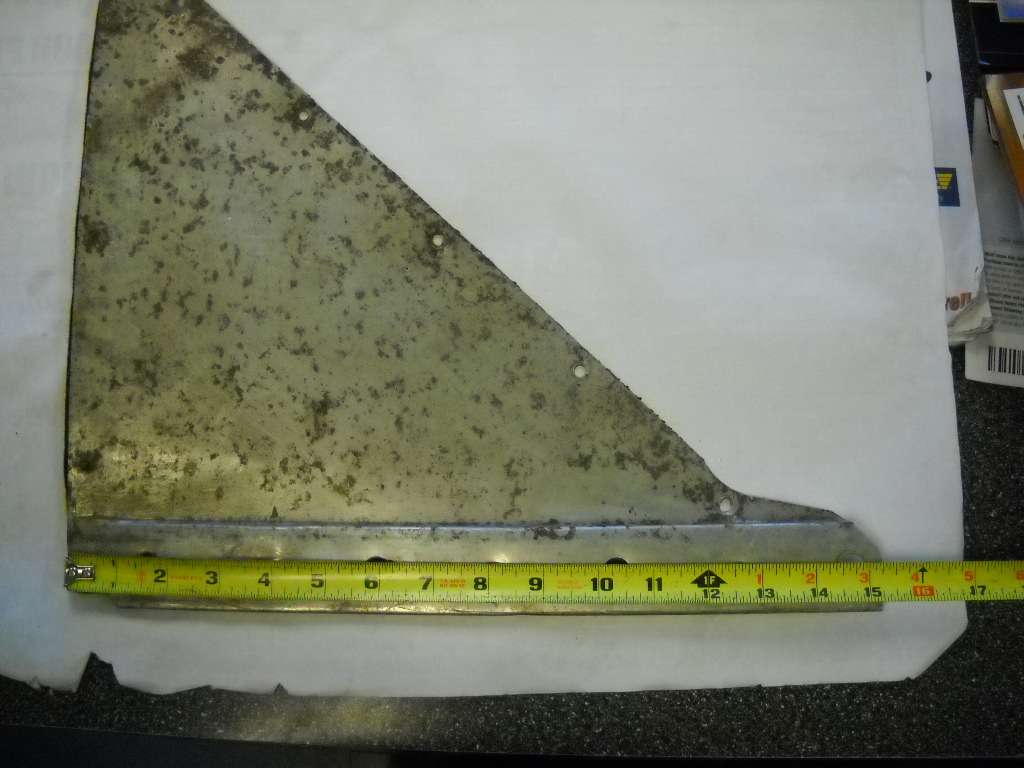
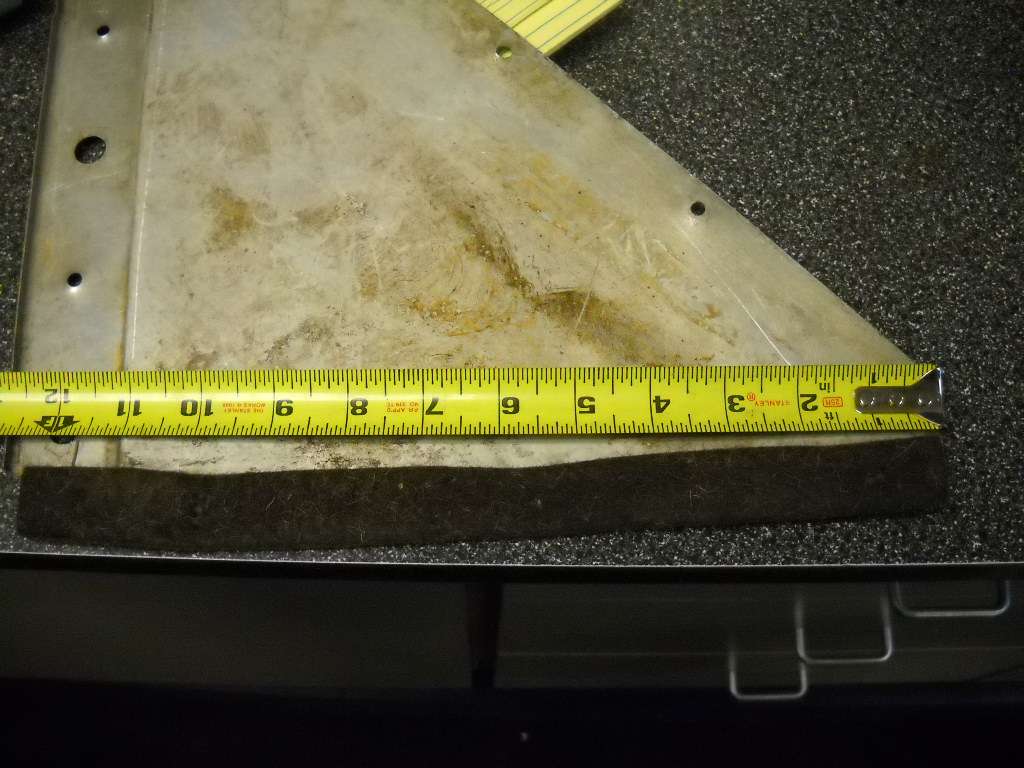
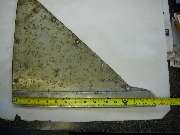
It can be simple, and perhaps a better seal, if you caulk this plate all around in place of the felt seal strips. Once installed during restoration it may never be removed again. You may also notice three holes in the bottom edge of the plate in the illustration. Originally it had three small rivets there to secure the felt seal strip along the bottom edge before installation (although the rivets are not listed in the SPL). More about these rivets below.
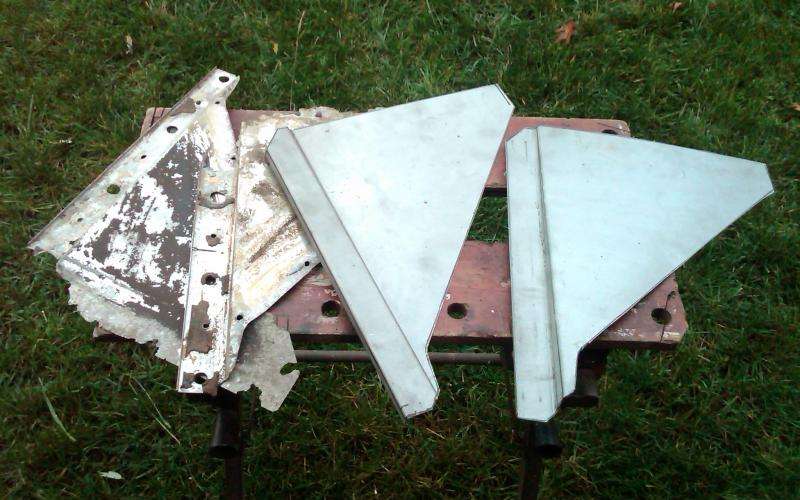
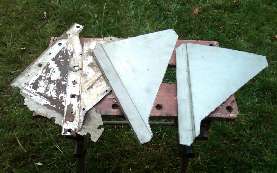
 These closure plates are sometimes missing or corroded, and in need of replacement during restoration work. These are available as commercial replacement parts, but are also easy enough to make yourself if you have a bit of time available. The material is aluminum sheet with a channel formed along the front edge only to fit over the upright ridge on the fame goal post with four large clearance holes for the body to frame bolts (to be installed later).
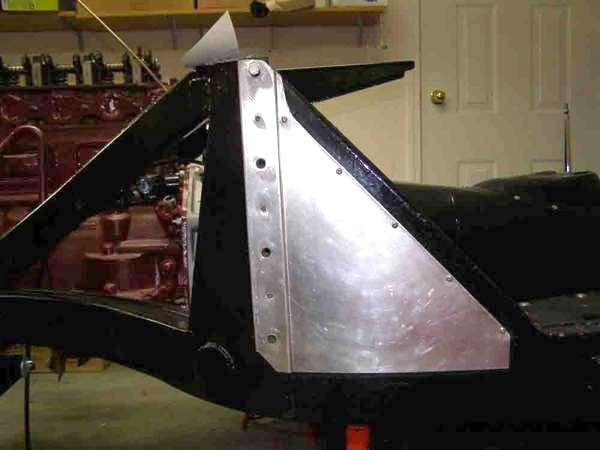
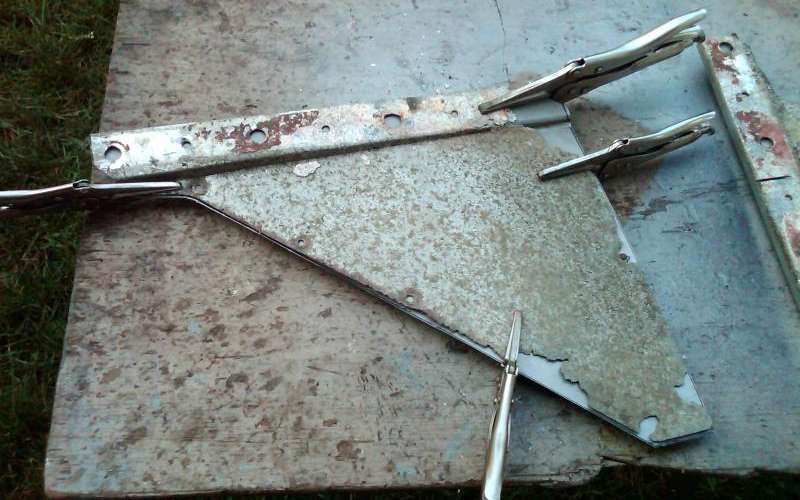
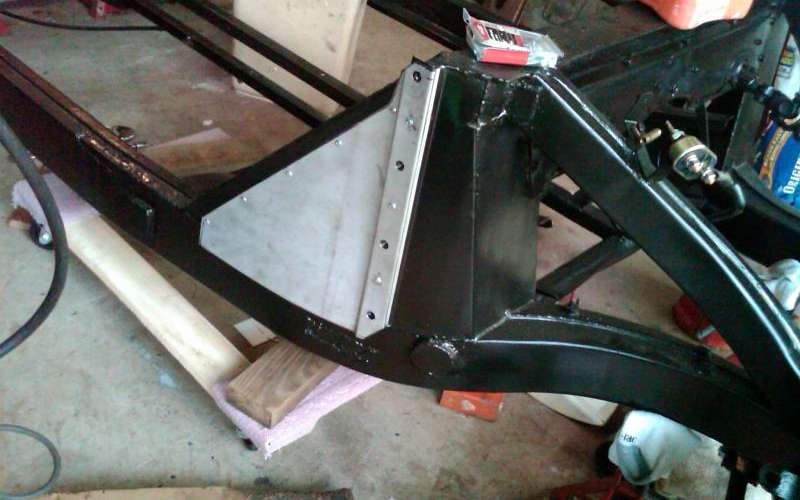
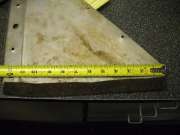
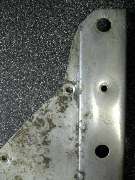
This photo shows the right side closure plate installed with the front edge channel covering the upright body mounting channel on the frame.
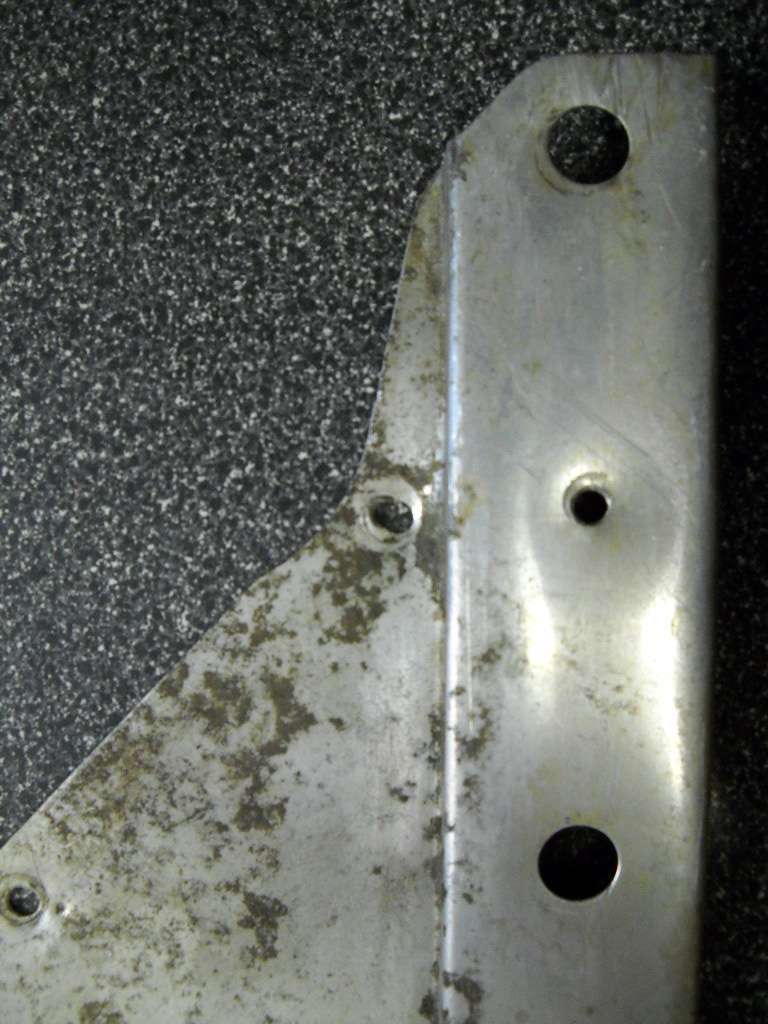
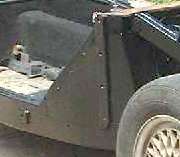 There are three small flat head tapping screws in front (hard to see in the picture after painting over) midway between the four larger bolt holes. There are five round head tapping screws about equally spaced along the angled rear edge. The triangular part of the cover is originally flat, then bent during assembly (spring loaded) to go around the curved part of the frame. The plate in the picture (my car) is an original part, cleaned up and painted when it was barely 20 years old. There are no screws in the bottom edge of this one, as it is caulked in place, but originally it had three small rivets there to secure the felt seal strip along the bottom edge before installation. You can see those three rivet holes in the photos below.
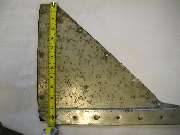

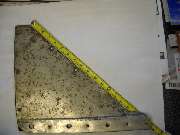
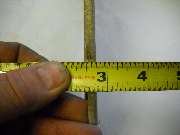

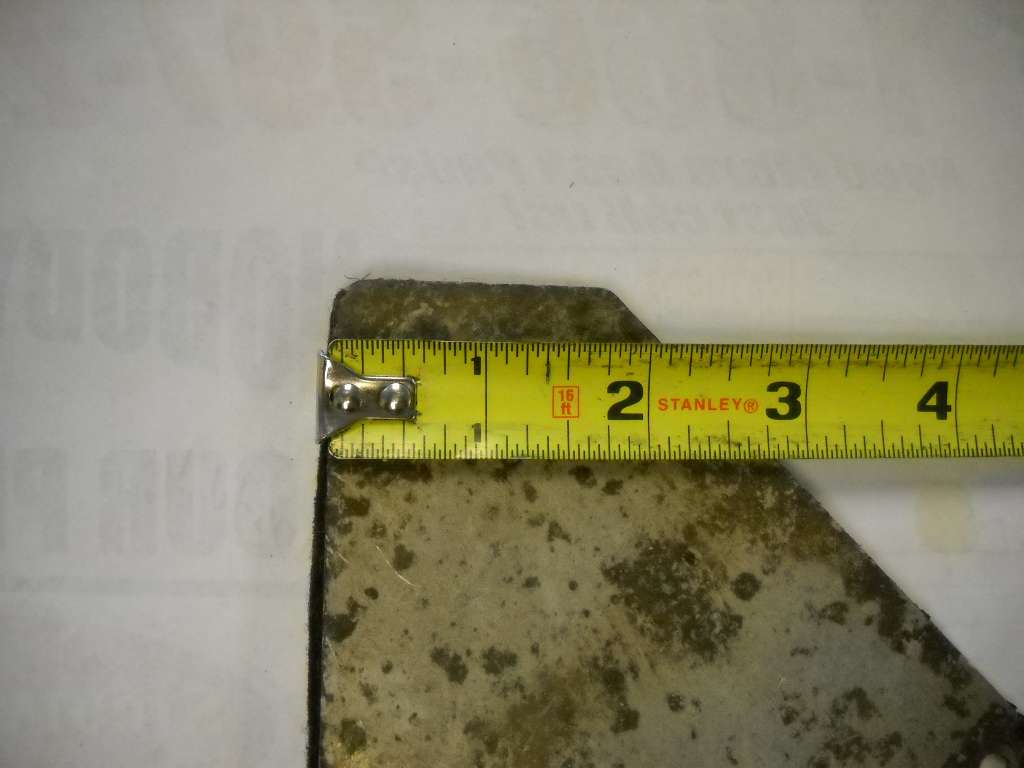
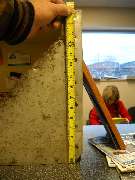
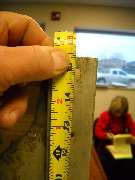
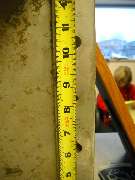
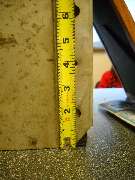
On 12/21/2012, Randall Brown wrote: "The taper starts flat at the bottom and widens to 7/16" at the top".
On 1/16/2013, Randall Brown wrote:
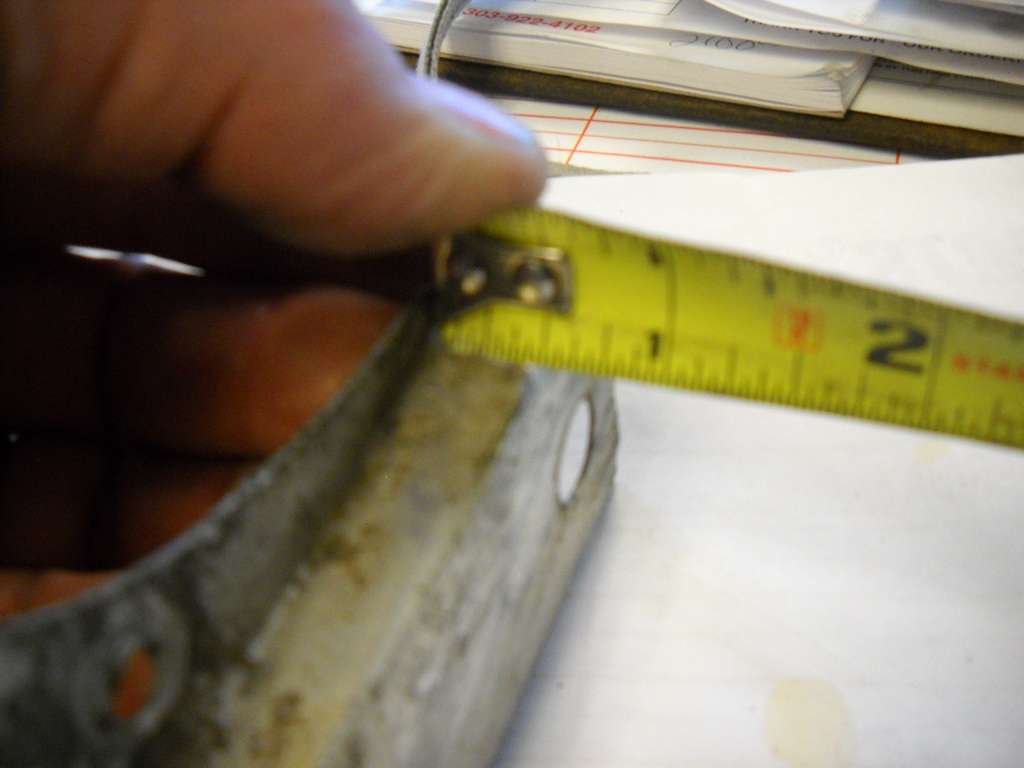
"Sheet is .032 inch thick. The channel is 1.55 inch wide inside dimension. There are (originally) three rivets that hold the 1 by 12-3/8 by 1/8 thick felt strip to the bottom edge".
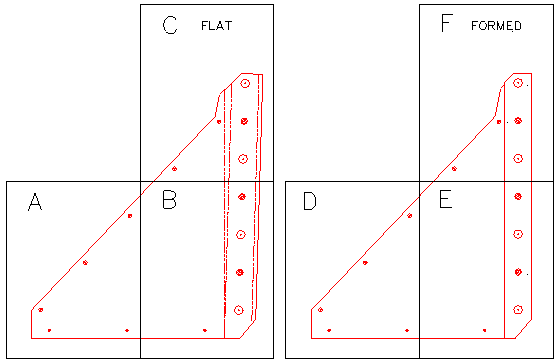
Click on images below to bring up PDF files of a drawing of the right side frame cover plate. The first two are the full fabrication drawing (2 pages). If this is printed to fit on 22 x 34 inch paper (D-size) it should be very close to full scale. The other one is full scale templates (6 pages) to be printed on 8-1/2 x 11 inch paper (ANSI A-size). Trim the triangular piece pages on the border line, and tape them on top of the third page. Width and height dimensions are on the resulting page. You may need to slightly adjust your printer margins or the printer aspect ratio scale factors for the overall dimensions to be exactly correct. Left side plate is mirror image of right side, (bend opposite directions).
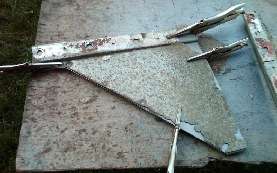
Photos below compliments of Bob Krzywicki in Arlington, VA, USA. He made his plates in sheet steel, to be painted with aluminum color paint (not original, but will look good).
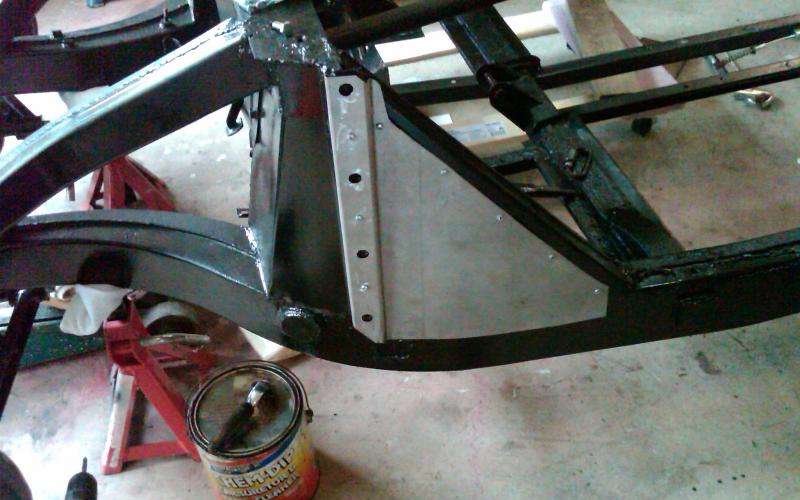
Above: If you have the original plates, placing them over the new ones (before drilling) is a good way to assure the hole locations will match. Below: Plates installed on frame.


|