The MGA With An Attitude
RUBBER REAR SEAL for Three Main Bearing Engine #2 - CS-203
Here is another version of rubber rear seal installation for rear of the crankshaft on the Austin B-series 3-main bearing engine. This one can use a standard shaft seal without modification of the seal and without the issues involving the "blue stuff" silicone sealant. However, it requires considerably more machining including modification of the crankshaft rear flange and modification of the flywheel. If the engine should ever need replacement of the crankshaft or flywheel, the replacement parts would have to be modified accordingly. This one as done by Garth Bagnall, and his notes follow his pictures.
The B series 3 bearing motor has always had a problem with an oil leak at the rear of the crank.
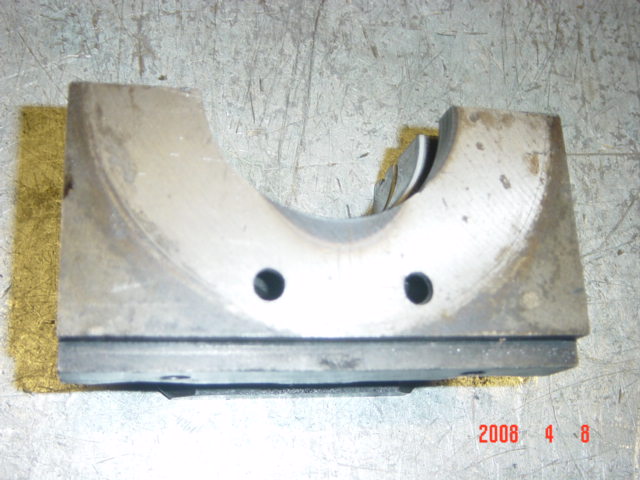
Pic 4 shows how the rear cap can be worn because the rear main bearing has worn out.
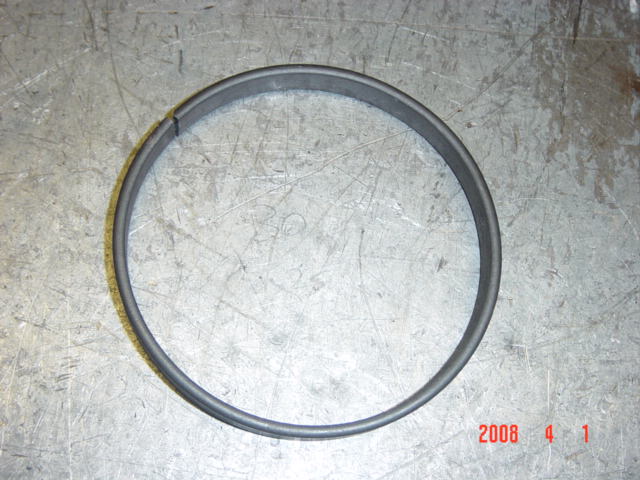
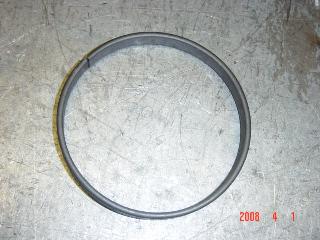
I made a ring of 1/2 x 1/8 steel bar 11-¾" long. Grind a small chamfer on each end for welding. Start by bending each end of the bar around the mandrel - (I used a Timken outer cone from a B series diff. HM801310) This is 3 1/4" O/D & after bending the 1/8 bar around it gives you a ring that is 3 5/8" inside dia.
Grind a small chamfer on one edge for welding onto the crank.

 The crank should have the flywheel bolts heads lined up so the flat is in line with the flange. The bolts heads can now be machined down to 3.640" and the ring can then be sprung over the flange, welded & then machined true.
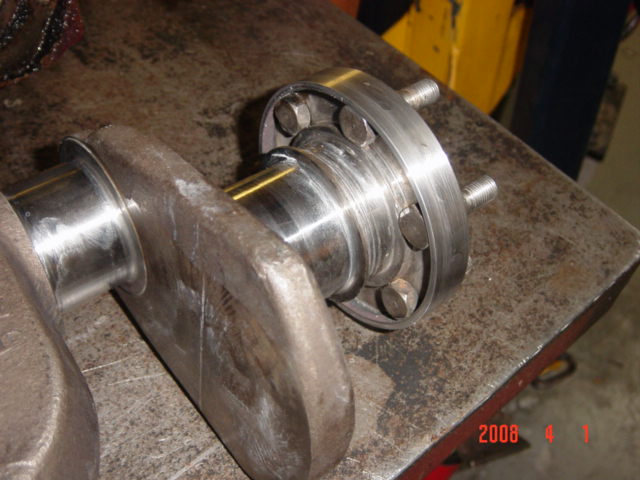
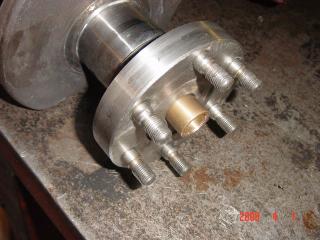
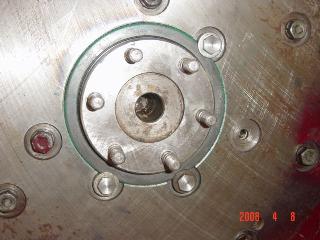
Pic 1 is the shaft after fitting the 1/8 steel ring before the Speedi-Sleeve. The Viton seal I used was a CR38649 - 3 7/8 x 4 3/4 x 3/8 and the sleeve CR 99387.
I left the rear spigot bush half way in to use as a center with the crank in the lathe [JBS note: referring, I believe to picture #2].
The crank should have the flywheel bolts heads lined up so the flat is in line with the flange. The bolts heads can now be machined down to 3.640" and the ring can then be sprung over the flange, welded & then machined true.
Pic 1 is the shaft after fitting the 1/8 steel ring before the Speedi-Sleeve. The Viton seal I used was a CR38649 - 3 7/8 x 4 3/4 x 3/8 and the sleeve CR 99387.
I left the rear spigot bush half way in to use as a center with the crank in the lathe [JBS note: referring, I believe to picture #2].

 When boring out the rear plate for the seal don't assume that the hole is concentric with the shaft because the one I have done were not. So before boring fit the back plate to the motor & check the gap with feeler gauges. Mark any error on the plate, take a cut out of it, refit & check again - it can take a bit of stuffing around.
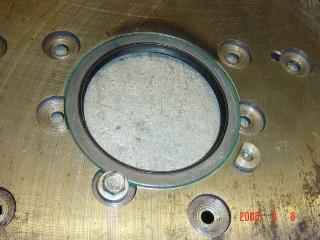
Pic 9 shows the special washers made to hold the seal in place.
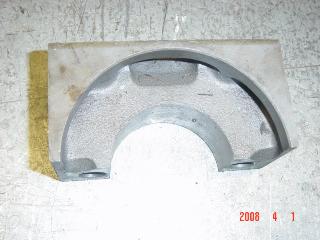
The rear main bearing cap Pic10 is shown with the drain groove soldered up. [JBS note: I believe this in error, looks like he meant the rear plate].
When boring out the rear plate for the seal don't assume that the hole is concentric with the shaft because the one I have done were not. So before boring fit the back plate to the motor & check the gap with feeler gauges. Mark any error on the plate, take a cut out of it, refit & check again - it can take a bit of stuffing around.
Pic 9 shows the special washers made to hold the seal in place.
The rear main bearing cap Pic10 is shown with the drain groove soldered up. [JBS note: I believe this in error, looks like he meant the rear plate].
 Pic 12 is the flywheel machined to clear the bolt heads.
After fitting the speedi sleeve I always machine them to remove the flange & with a very light skim to remove any bumps. Pic 7 shows the finished job. They are difficult to fit so be careful to keep it square when tapping on. Tearing off the flange can distort the sleeve.
Pic 12 is the flywheel machined to clear the bolt heads.
After fitting the speedi sleeve I always machine them to remove the flange & with a very light skim to remove any bumps. Pic 7 shows the finished job. They are difficult to fit so be careful to keep it square when tapping on. Tearing off the flange can distort the sleeve.

 Two holes will be drilled in the rear main bearing cap to allow oil to drain back to the sump.

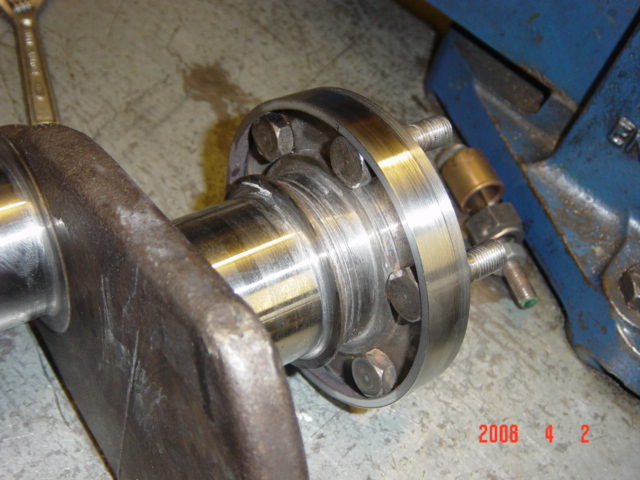
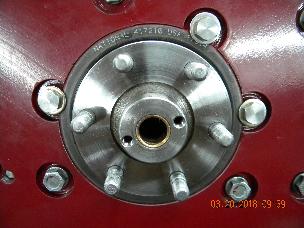
 Final assembly is shown at right.
Notice three bolt heads on top of the special washers may be machined thin to clear the flywheel. No lockwashers here, use thread lock adhesive. Alternately the flywheel may be machined outboard of the pilot diameter to clear these bolts.
Advantage of this design is that it uses a standard shaft seal, so the seal might be changed later with no modification to the seal. It does however require a lot more special machining than the seal shown on the prior page(s), including machine modification of the crankshaft and the flywheel.
Addendum April 23, 2018:
Here is one reported to be completed by Sergio Oliver. who wrote:
"Right from the get go this engine leaked oil from the rear main miserably. It was so bad that I rarely drove it because of the puddles that it left everywhere I stopped. I finally bit the bullet and had the conversion done that you described in CS202.
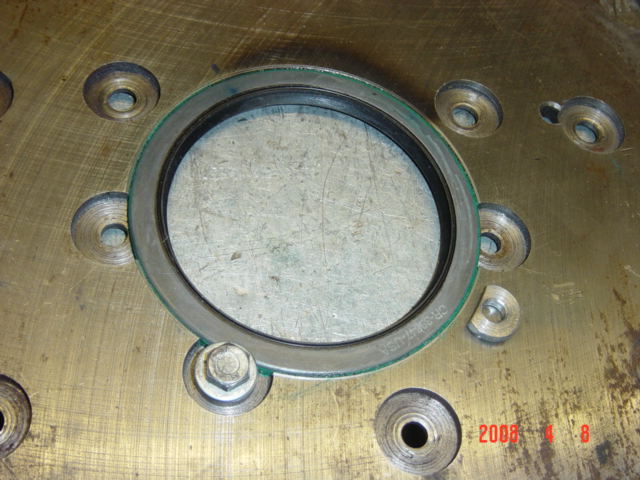
 I had the work done by a professional mechanic with extensive experience with MGs. After three unsuccessful seal installations, with successive seal failures after a few hours of running ,we threw in the towel. We found another bearer plate and did the installation as described in CS203. This stopped the leaking! !! I have so much more confidence in the CS203 approach that I would only advise anyone that was contemplating this conversion to only use the CS203 method even though it requires more machining. I think the tipping point is the installing of a seal with two lips rather that the one in the CS202 method. A picture of the installed seal is attached. Better to do it once".
|
|